About Jenni:
In this 15-minute Editing Toolbox, you are going to learn how to create the soft grey-green and warm yellow-orange tones as seen in the photos above, when starting from a relatively green SOOC image.
To be able to follow along in this tutorial you will need to know:
Below, you will find a link to a similar photo taken at the same location, so you can try the techniques on this picture.
Feel free to share it in our private network, but please do not share on social media as it was part of a client shoot.
As I say in the video, keep in mind that the exact settings and numbers used in each of the layers WILL CHANGE dramatically from photo to photo. Therefore, don’t try and copy the settings exactly. Or even the process!
Instead, use the process and concept as a starting point, and tweak, change, add, remove layers and colours as needed.
The main thing to remember is that you’re moving the green tones toward cyan and removing yellow from them, and you’re moving the yellow tones toward orange, and removing cyan from them.
Some of you may use your phone or an iPad or similar to edit your photos.
I wanted to show you that it IS possible to do a full edit using LR mobile, although I was a bit slower and way less precise than normal – and I think that’s the main point to note. With a stylus or similar, you could likely be very precise, but with your finger, it’s much more difficult.
I did this edit on the JPEG version of the photo as my computer and phone didn’t want to cooperate. You can download the RAW file here but if you can’t get it onto your phone you can download the JPEG version, or if it’s only JPEG version showing up, don’t stress.
Also… I was apparently feeling especially “unmasked” while filming this (I think being on my phone dropped the professionalism a little!) so enjoy this more quirky version of me, including laughing at my own jokes, singing about radial filters and more.
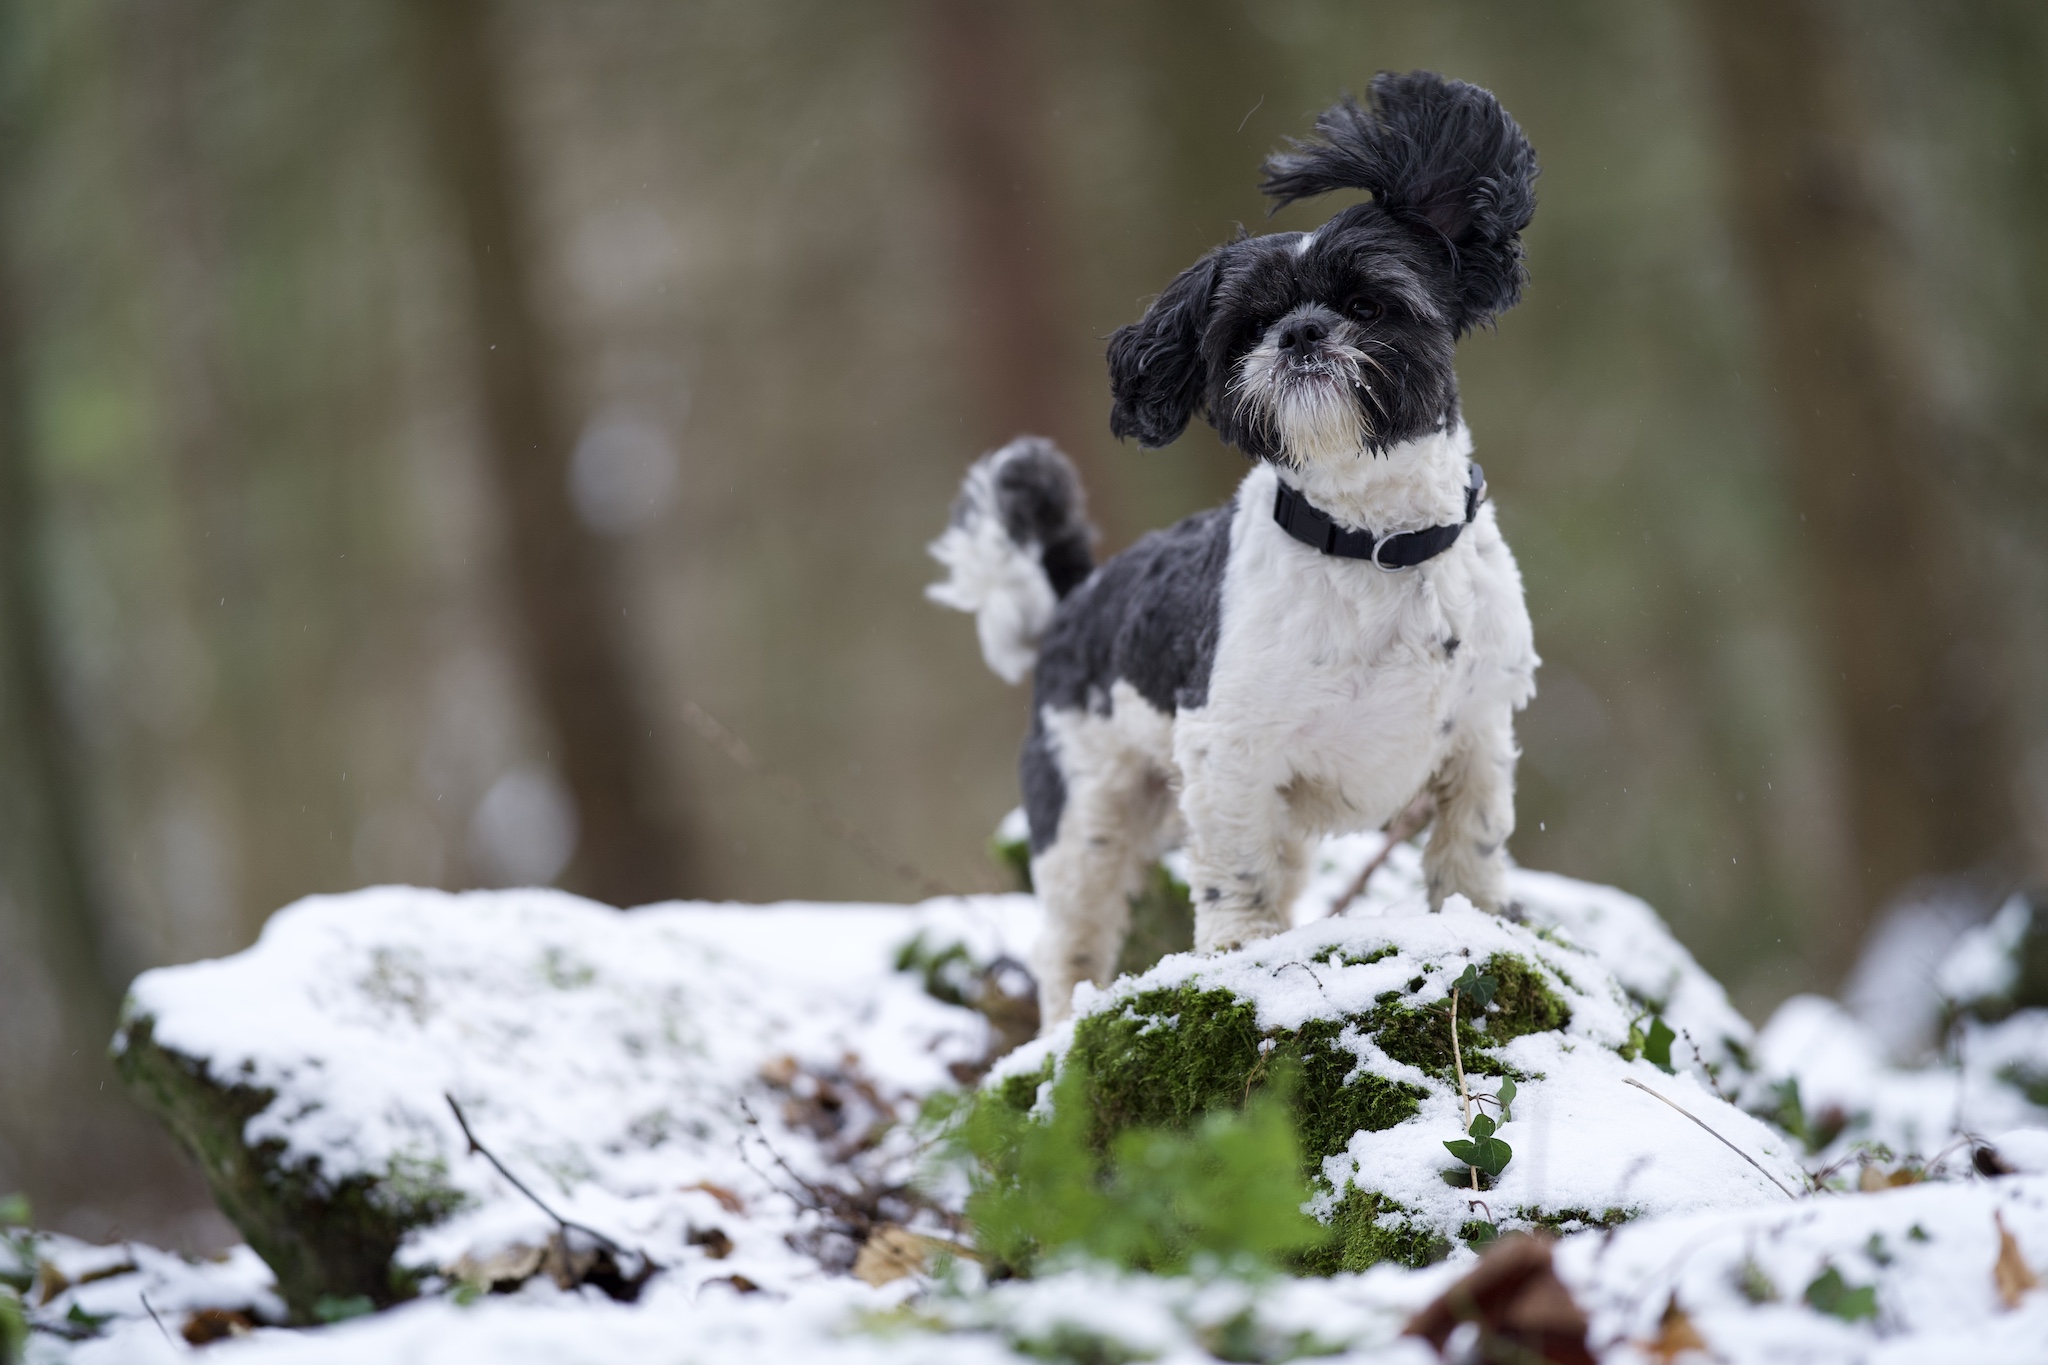
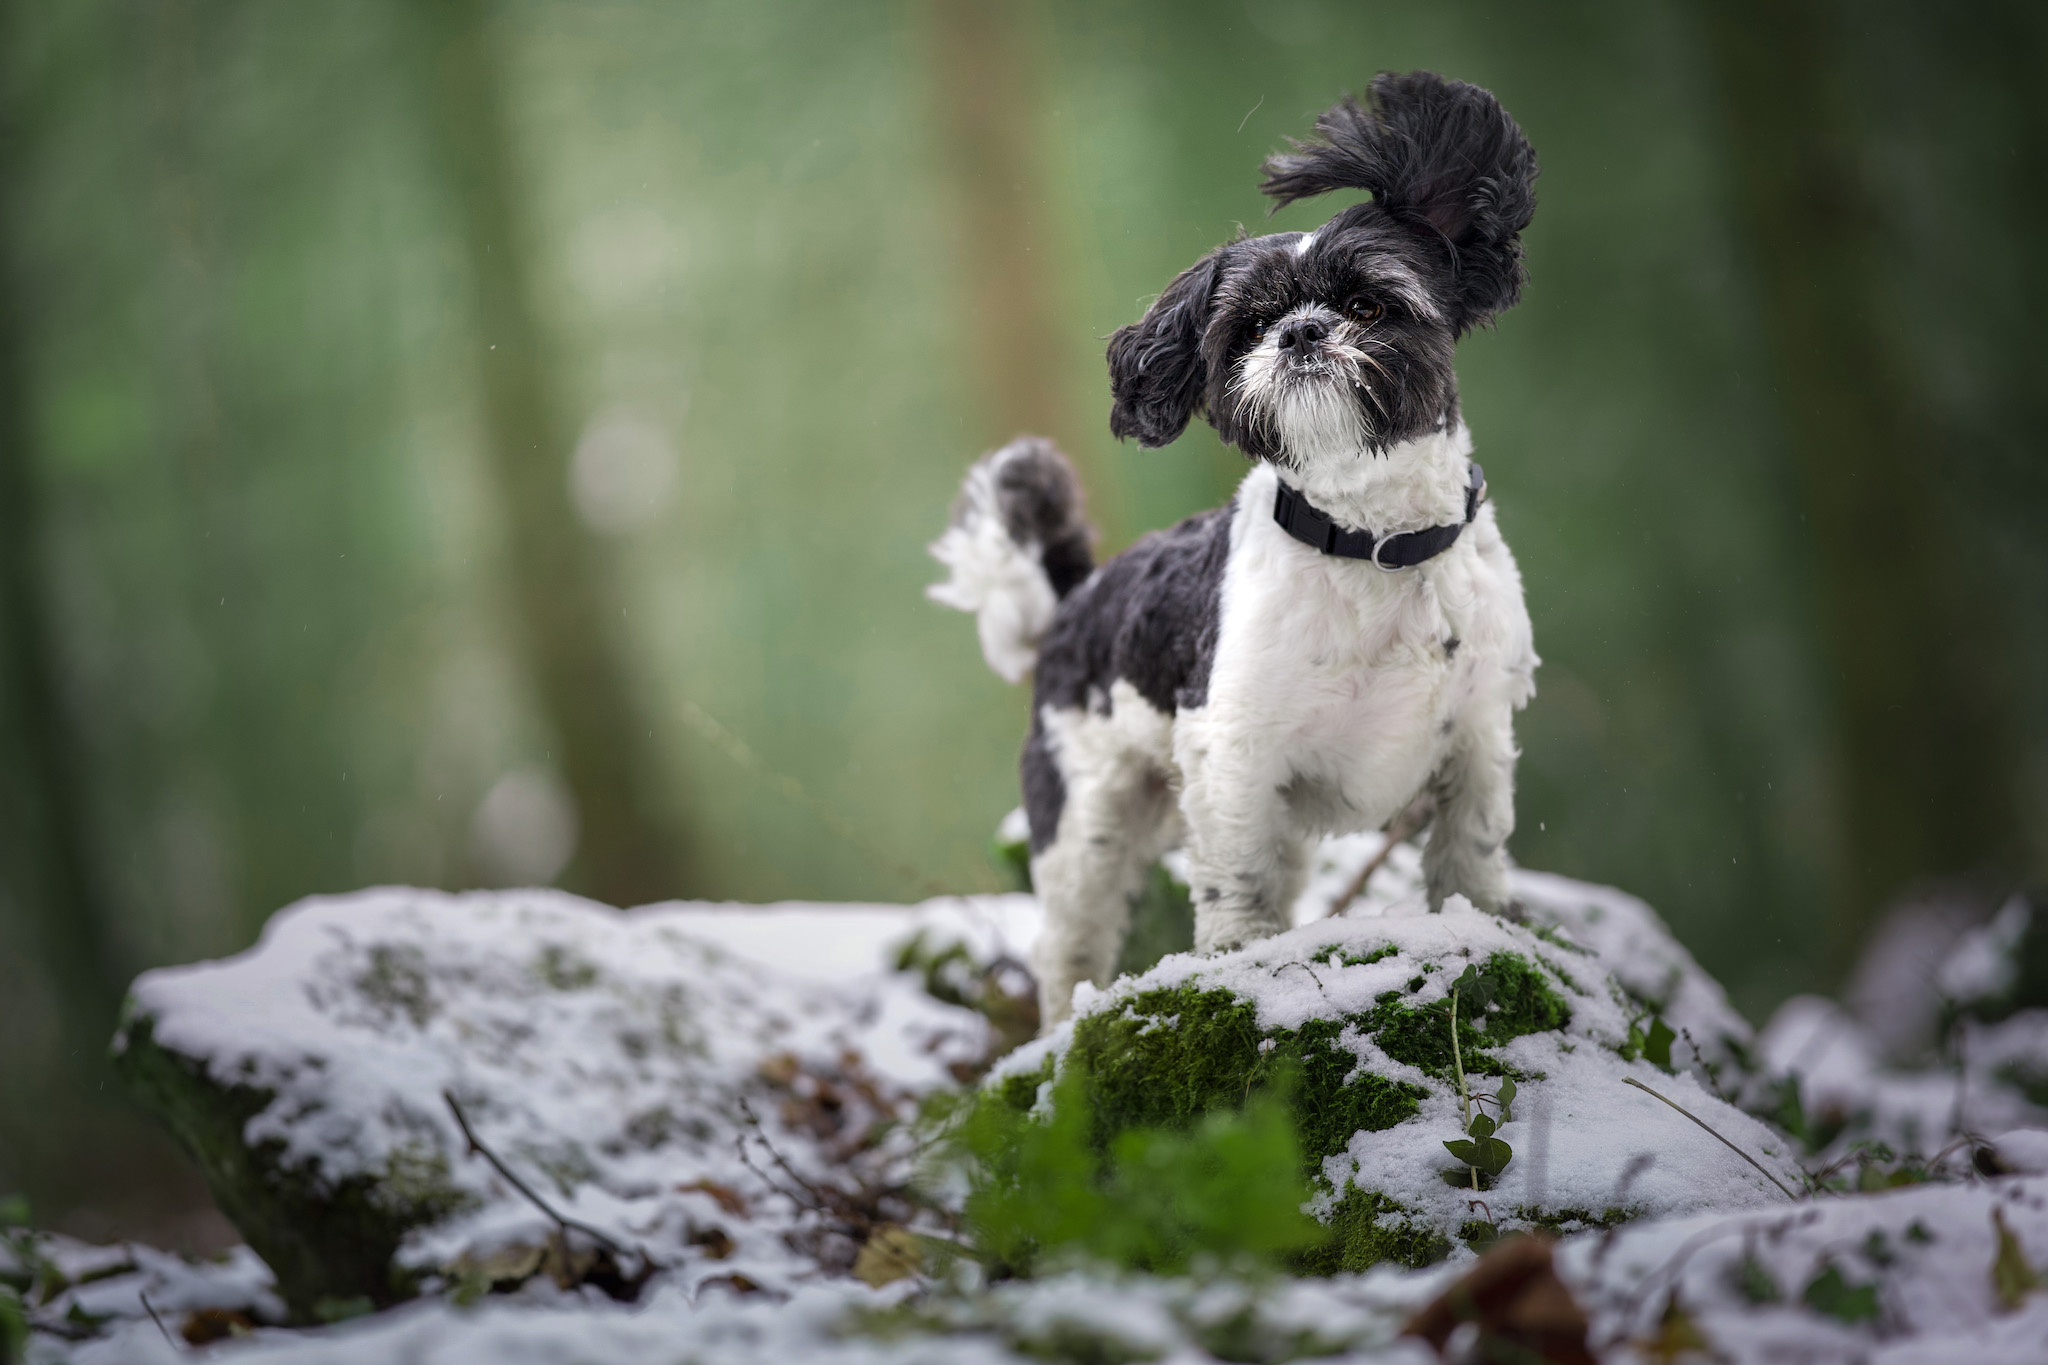
As always, our goal with the photo remained the same:
Draw attention to the dog. Remove distractions.
To do this we:
White balance is the overall temperature and tint of your image. I personally try to keep mine relatively “true to life”, and there are a number of ways you can go about getting the correct white balance in your images, from camera settings to editing.
Keep in mind though that:
You guys uploaded 20+ images and I went about fixing the white balance on all of them, discussing what I’m looking for and at in order to set the right WB, tricks I use to help me, things to consider, and even what to do about colour casts.
Note that although I used Lightroom for this, you could easily use Adobe Camera Raw. I would not recommend using just Photoshop or working on a jpeg file. Why? Because all the subtleties of the RAW data has been lost, so instead of making small, subtle changes, you’re smashing your WB with a sledgehammer.
Any questions? Ask below!
Woo hoo! Time for your first editing challenge!
No pressure here, this is just a safe opportunity to practise some new techniques with a nice, uncomplicated photo.
Keep your photography goal in mind (draw attention to our subject and keep our audience in our image!) and at stage 1 & 2, work on creating a nice, balanced image. There’s plenty of time for special effects and more extreme edits in later stages.
For this edit, these are some steps you might want to take. Of course at the end of the day, the method and style you choose is up to you.
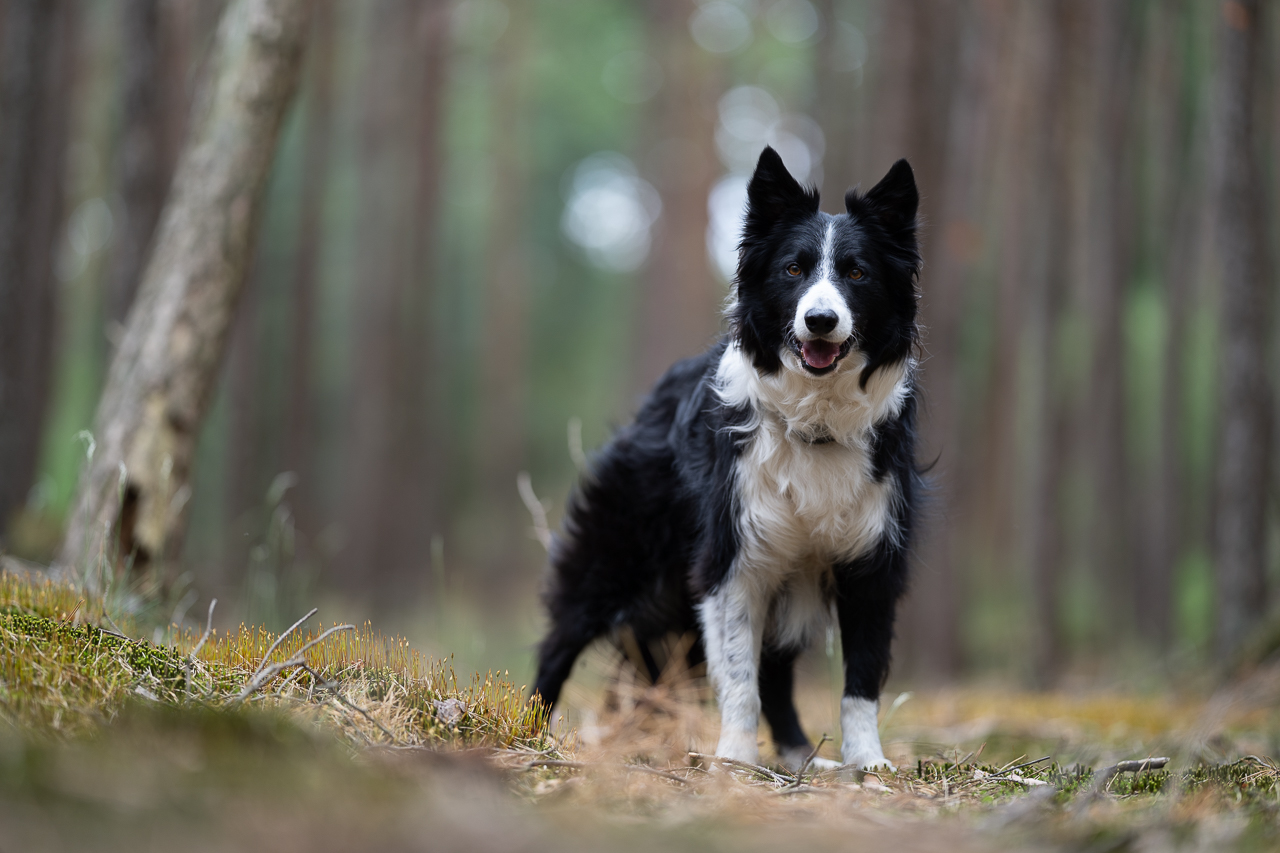
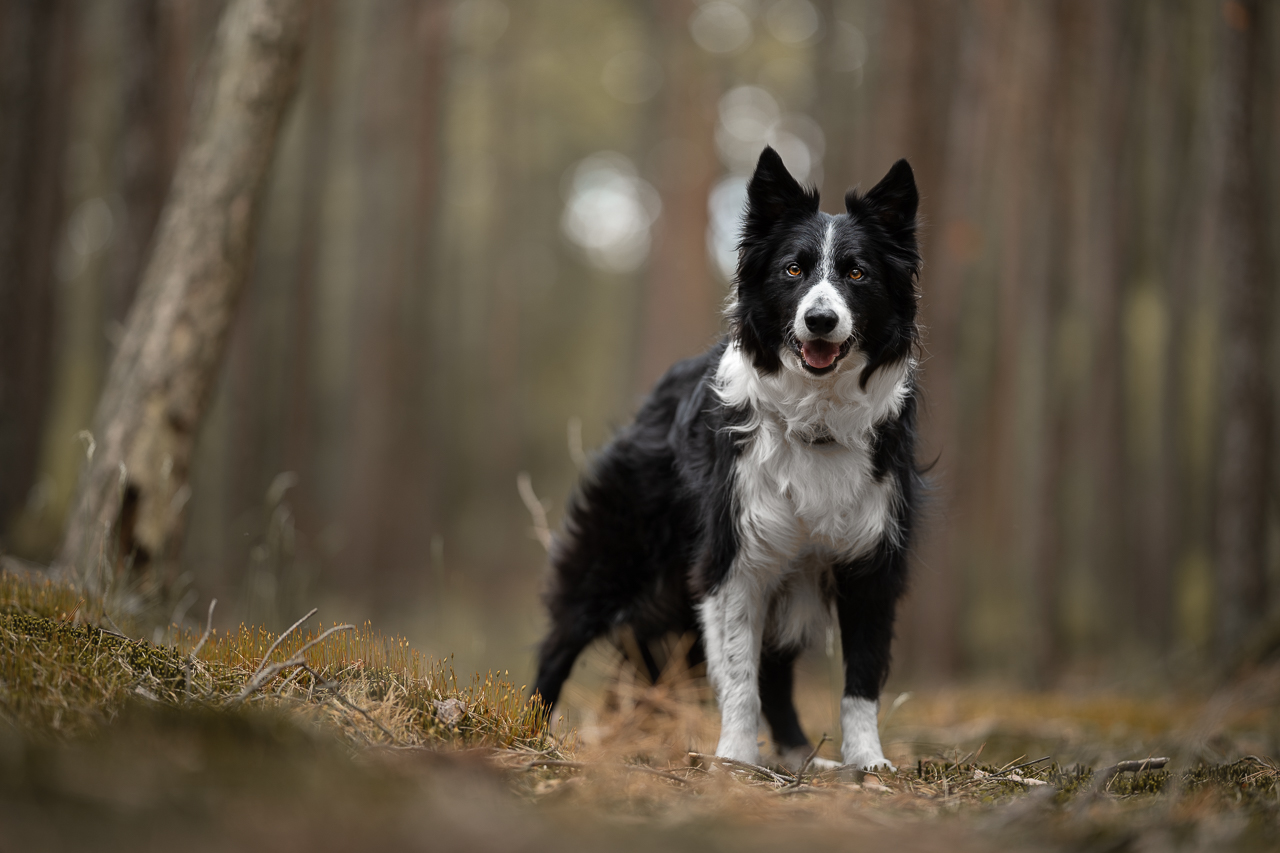
in this tutorial we’re going to work on this photo of Ike & Cecilia, cuddling in the green woods.
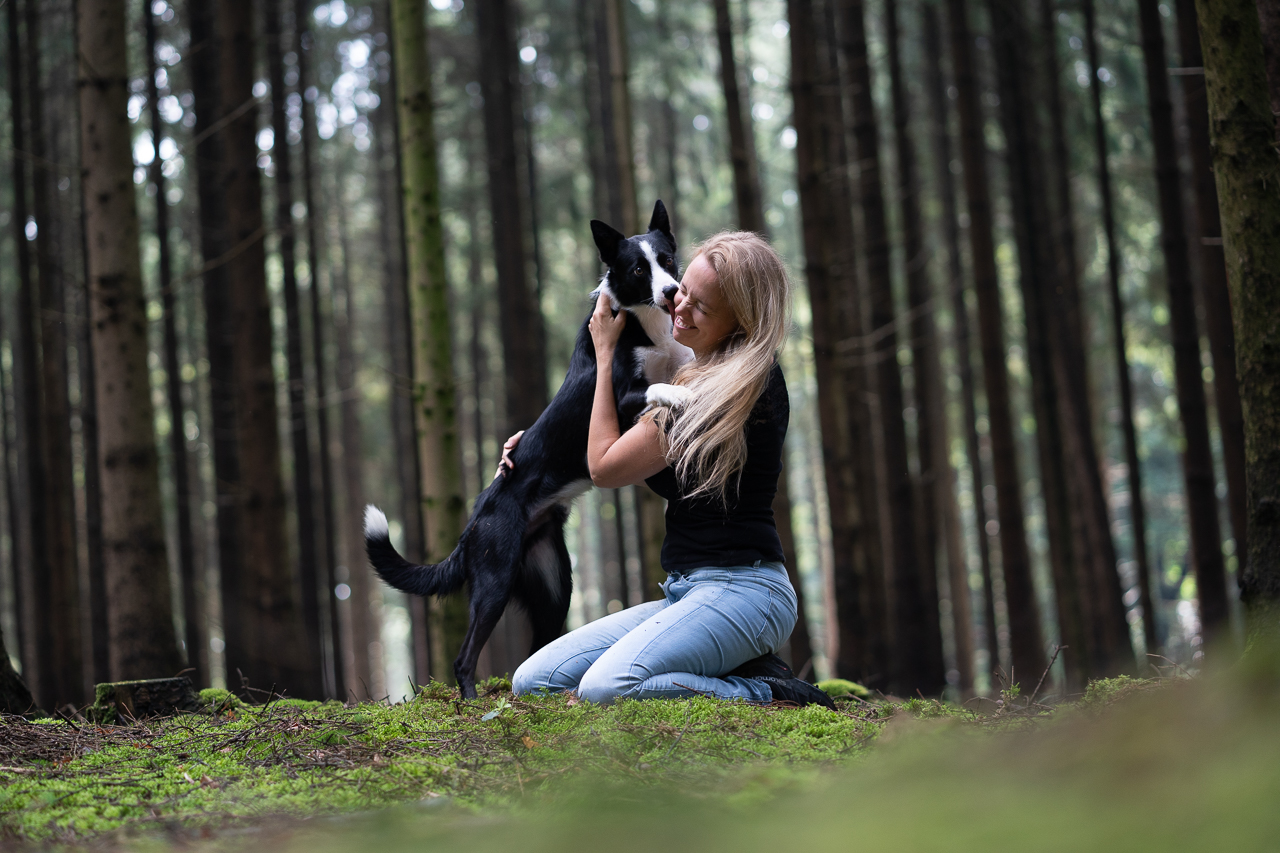
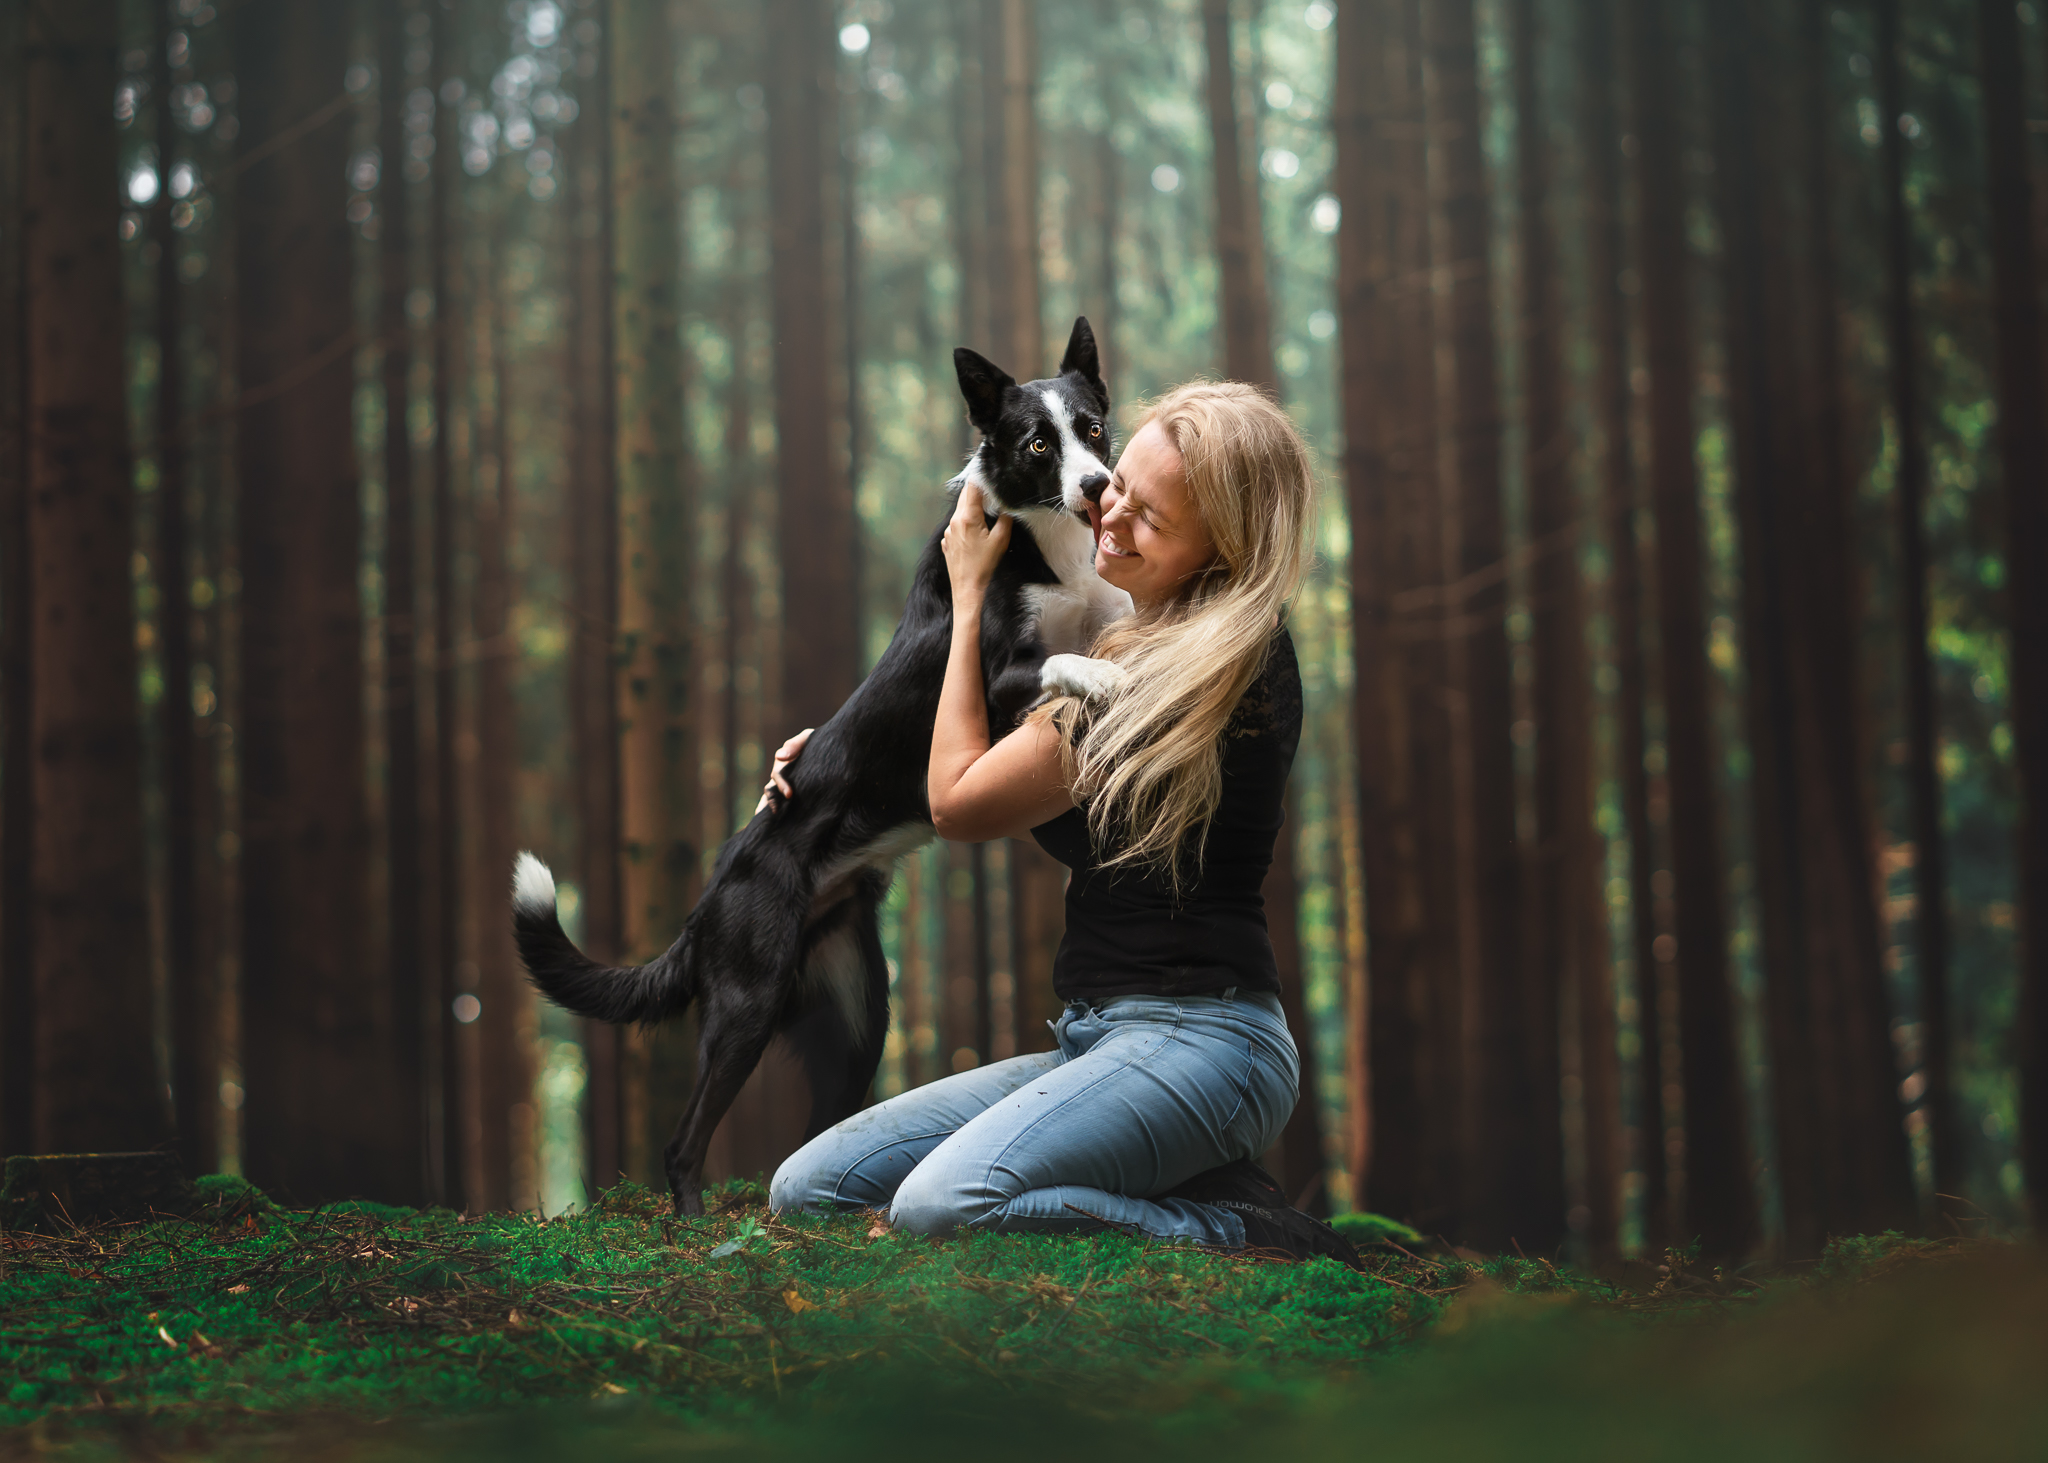
You are welcome to edit along, but I’ll ask you not to share this one on social media! Thanks!
After I finished recording, I went and cooled down the image a bit, as it finished feeling a bit too yellow/warm for me. Other than that I don’t think I changed anything afterwards.
A change of perspective can mean a world of difference in how we see things, both in photography and in life.
Taking photos from higher or lower can completely change the feeling of a photo.
Approaching photography like a sprint, wanting to dive into the “sexy stuff” and missing out on foundations can lead to frustration later on. Looking it as a way to build your relationship with your dog, explore your creativity, and begin seeing more beauty in the world… well, that’s an entirely new perspective!
This month’s challenge is all about perspective, and how changing your perspective can give us more variety, more story, and more interest in our photos.
Depending on your learning stage, you may want to adapt this challenge to make it more… well, challenging for you!
This month’s challenge is to play with perspective in your photography!
Create at least one (or more!) photos where you have thought about, and tried a new perspective.
If you’re in the Beginning Stage, do you normally take photos like this?
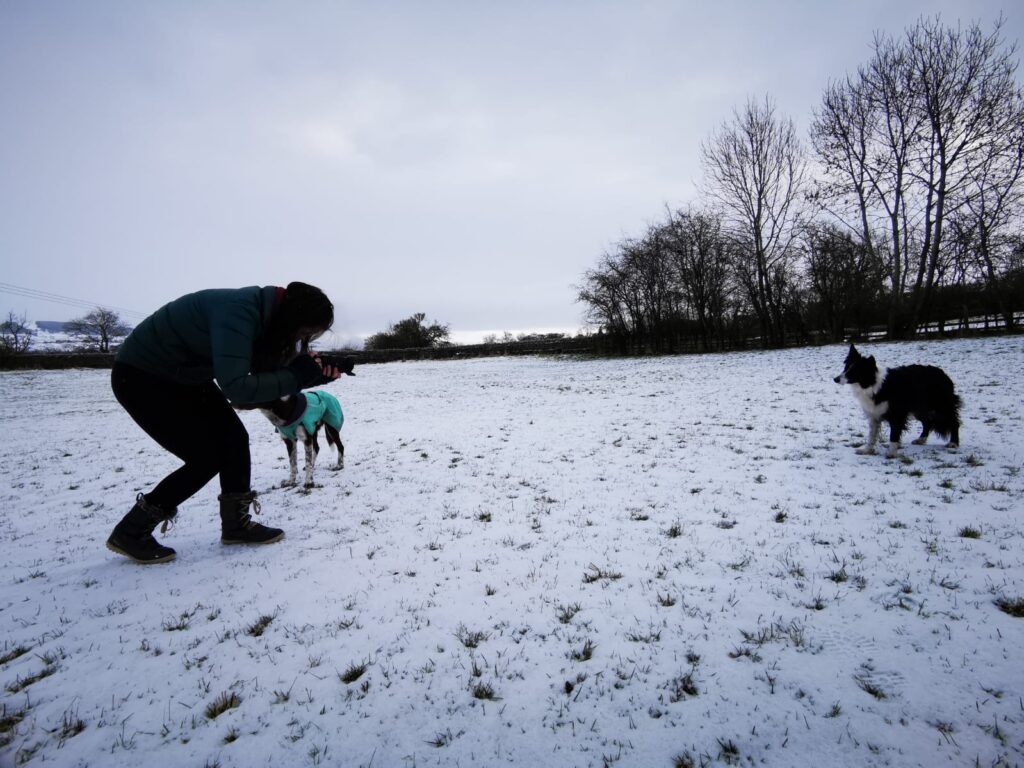
Then now is the time to really get low. Crouch or lie on the ground and focus on getting some foreground elements to add depth to your photos. Play with this! What happens if your camera is literally just off the ground? Is that too much foreground?
What happens if you tilt the lens more upwards compared to straight? Perspective isn’t just about our body and where we hold the camera, but about the angle of our lens as well!
There are plenty of ways to adapt this challenge, or to return to it in the future! Don’t worry if this section is too much for you right now, and don’t attempt to do everything all at once!
For example…
Those in Stages 3 or 4 could find a backlit location. Place the dog in a ray of sun. Play with the angle of your lens. What happens if you get some lens flare? Do you like the photos with this flare, or not? How does it change the feeling of the photo?
Taking photos from above is a favourite, as it’s a perspective we have most often when looking down at our dogs. This is a great way to adapt the challenge for Stage 2.
These photos usually work best with a slightly wider lens than a portrait lens (unless you can stand on a log or chair and get high enough! Or you have a small dog!) with the ground being something interesting (leaves, flowers, moss etc). Again, play with the angle to find one where the it isn’t too extreme
You could put the dog on a log or rock, and shoot from right underneath looking up. This could be a great option for those in Stage 3, as it’s a bit more challenging!
This will probably work best with a wider angle lens, and either a flash (if you’re looking up at open sky) or reflector (if the sky is shaded by tree cover), as there’s no light coming from the ground onto the dog’s face, and lots of light above, so you’re going to want to make sure the face gets some light!.
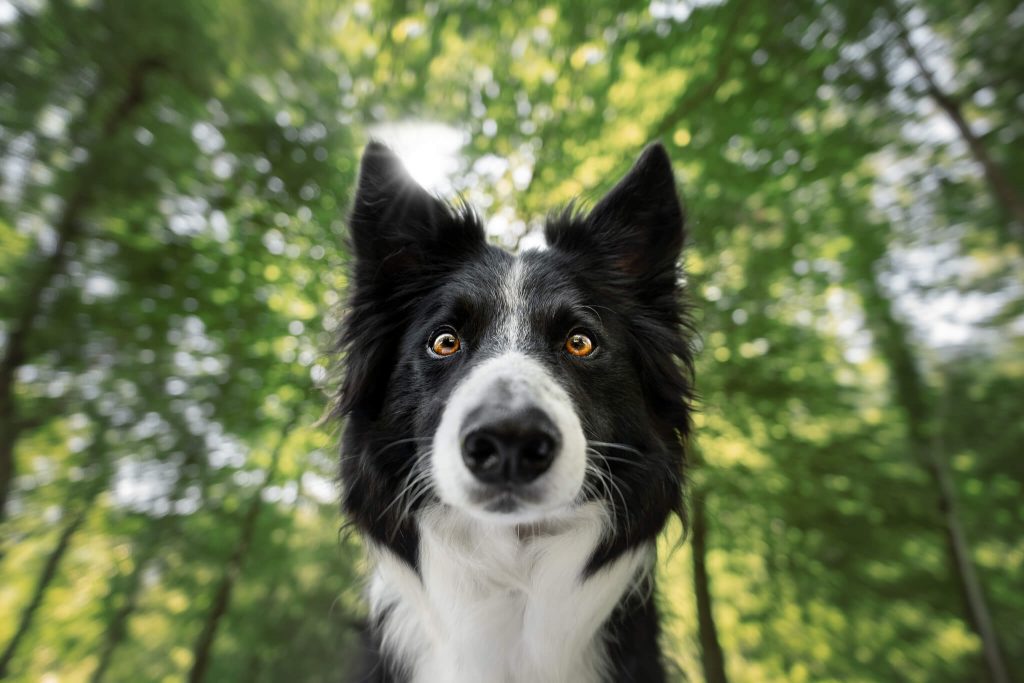
Lauren Smith Kennedy from the Tilly Project joined us to talk about her heart’s work: End of Life pet photography. Capturing the bond between owners and their pets who will soon be crossing the rainbow bridge, and inspiring other pet photographers to not avoid this heart-breaking aspect of photography.
| Cookie | Duration | Description |
|---|---|---|
| cookielawinfo-checkbox-analytics | 11 months | This cookie is set by GDPR Cookie Consent plugin. The cookie is used to store the user consent for the cookies in the category "Analytics". |
| cookielawinfo-checkbox-functional | 11 months | The cookie is set by GDPR cookie consent to record the user consent for the cookies in the category "Functional". |
| cookielawinfo-checkbox-necessary | 11 months | This cookie is set by GDPR Cookie Consent plugin. The cookies is used to store the user consent for the cookies in the category "Necessary". |
| cookielawinfo-checkbox-others | 11 months | This cookie is set by GDPR Cookie Consent plugin. The cookie is used to store the user consent for the cookies in the category "Other. |
| cookielawinfo-checkbox-performance | 11 months | This cookie is set by GDPR Cookie Consent plugin. The cookie is used to store the user consent for the cookies in the category "Performance". |
| viewed_cookie_policy | 11 months | The cookie is set by the GDPR Cookie Consent plugin and is used to store whether or not user has consented to the use of cookies. It does not store any personal data. |

