

They say Eyes are the the window to the soul, so it’s no wonder that one of my most frequently asked question is: “How do I edit the eyes in my dog photos?”. In this post, we’re going to look at a few tips, tricks and techniques for editing the eyes for your next pet photoshoot!
I’ll be using Adobe Lightroom and Photoshop, but you can use whatever software you have. Most of them will have exactly the same tools.
So, with that being said, let’s get to tip #1, which is…
Top Tips
Shoot in RAW
Hold up, Em, isn’t this a blog about editing eyes? Why are we talking about file formats?
When you shoot in RAW, your camera records ALL the available data from the scene. This means even if your subject has really dark eyes, or you have to underexpose, you can bring out way more detail from the eyes than you could if you’d taken the photo in .jpeg.
If you want maximum control and flexibility over your editing, you really need to be taking the photos in RAW.
Understand how eyes work
“I know how eyes work, you use them to see with.”
Sure, but one of the main issues I see with people struggling to edit eyes, is that they lose the structure of the eye.
Each photographed eye is (usually) made up of three parts:
- the pupil, which should be dark, if not completely black.
- the iris, which is the coloured part wrapping around the pupil
- the catchlight, which is the eye’s reflection of whatever light was hitting the dog’s eye at the time. A small or far away light-source (like the sun, or a very small gap in the canopy of trees) will create a small catchlight. Larger areas (like open snowy fields) will create larger catchlights, or sometimes even two catchlights (not so pretty!)
- Catchlights are very important in pet photography. Nice bright catchlights can make your dog look alert and bright-eyed… a lack of catchlights can often make them look a bit dull, sleepy, or disinterested.
Often, pet photographers are terrified of having the eyes of their subject be too dark. So, they brighten the whole thing, including the pupil. Now the eye looks hazy, or demonic, or just a bit strange.
Check out the examples below. These photos were taken at a Christmas market with lots of very strange light bouncing around everywhere. This caused some funky reflections in Loki’s pupil, and since they were taken at ISO 5000, everything is a little strange.
The photo on the left is with some basic edits and brightening the eye as a whole. The image on the right I worked separately on each “part”: brightening catchlight, darkening pupil, and slightly working on the Iris. Which one looks better?
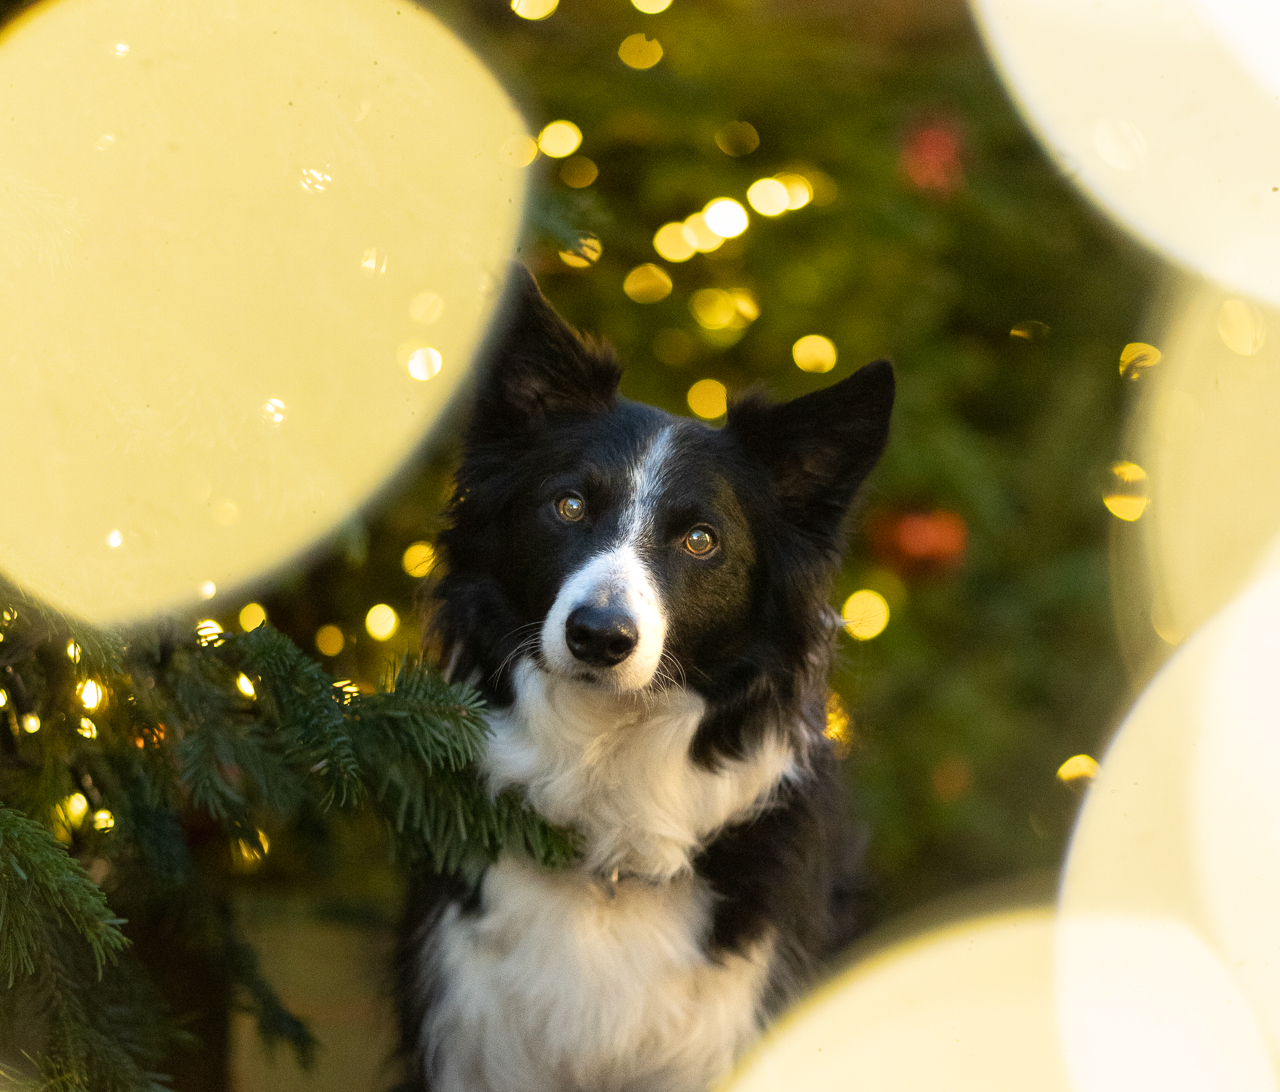
Remember… not everything has to be lightened. Some things are supposed to be dark.
Selectively Edit
Lightroom is a fantastic tool for editing photos but most people don’t use it to its full potential.
With a huge range of options to edit small, specific parts of your image, you can easily brighten, change colours, or sharpen the eyes of your subject as needed.
Personally, I always use a couple of radial filters to work on the eyes. I usually:
- add some clarity
- raise the whites
- work on the catchlights, brightening them and removing saturation
- fix the eye colour if needed
Exactly how much you’ll need to do will really depend on the eyes of the subject you’re working on. I have some lessons specifically on editing eyes included in the Lightroom for Pet Photographers course, AND the Photoshop for Pet Photographers course (coming very soon!)!
Add Colour, Not Light
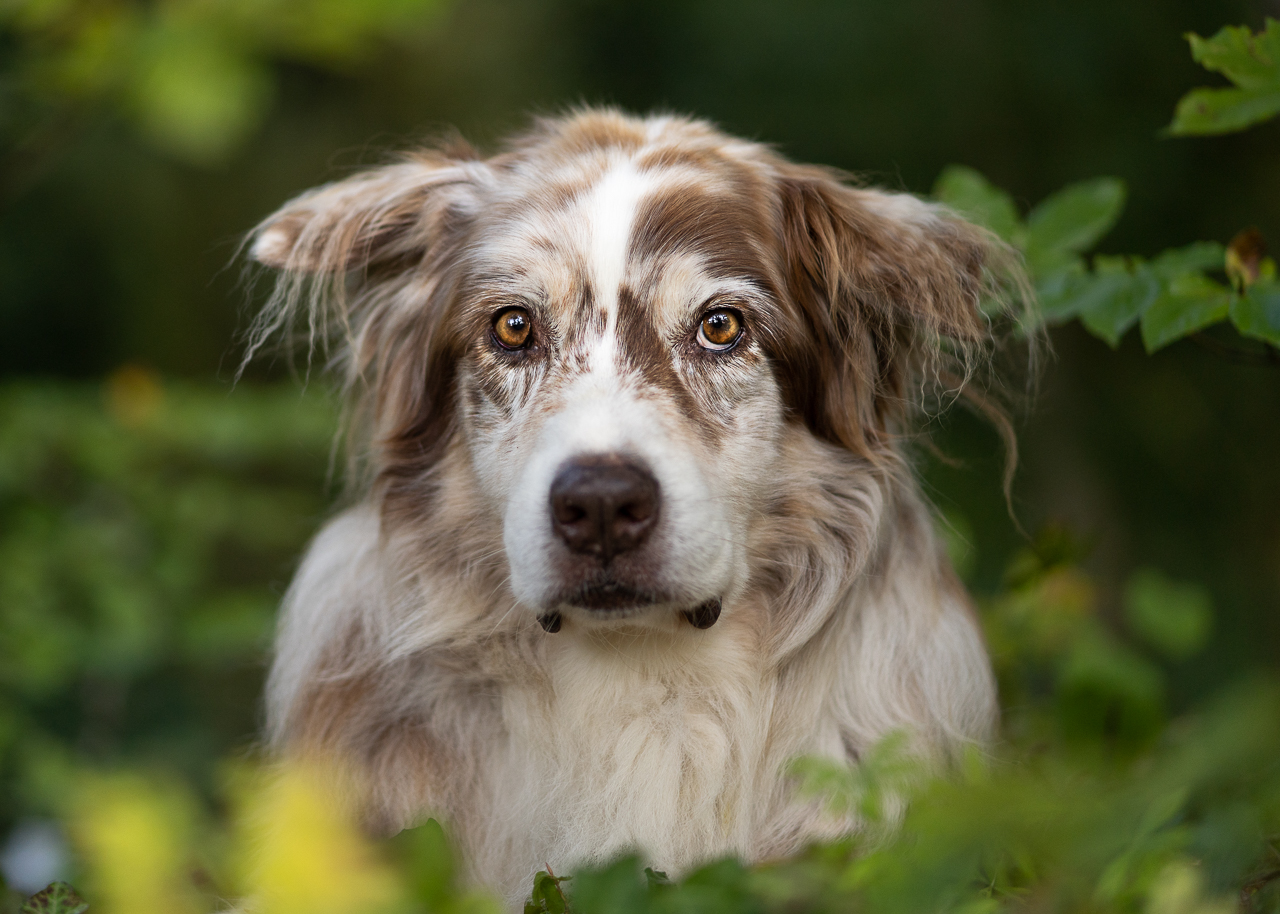
Some dogs have naturally very dark chocolate eyes and it’s important to keep them true to their natural depth and colour.
Often, people want to go in and raise the shadows or exposure to try and lighten them up, but they end up with eyes that are washed out and grey.
When working with these dark eyes, try adding yellow, and even a bit of magenta first. This often brightens the eye while keeping it the correct dark chocolate colour.
Remember the selective edits I mentioned above? Try using the brush to change the temp and tint sliders. If the eyes are still very dark, then you can raise shadows or exposure, just a little. Now, they should be brown, not grey.

High Pass Filter
Another handy tool can be to use the high pass filter in Photoshop.
Select your image layer, and duplicate it.
Go up to the menu, and go Filter > other > High Pass
Your image will turn grey, and you will have a window to select the radius. Don’t go overboard here. You want it to be about where you can just see the outline of your image. Probably not over 2.0
Change the blend mode to “Overlay”. Your whole image will get sharper. Since you don’t necessarily want this, apply a layer mask, change it to black, and using your white brush, mask in where you want the sharpening to occur.
Turn down the opacity of the layer. 50% is usually enough otherwise… read the next section!

Above, Dusty’s eyes have been sharpened with High Pass, left at 100%. Note that this filter won’t help in every situation. It works by finding the edges of things in the image, so if your eyes are completely out of focus, or have no detail due to being severely underexposed or with very high noise, then it won’t bring out detail that doesn’t exist. Remember that all tools in PS operate either by manipulating existing pixels (so if there are no pixels/data/information present, it can’t do anything) or by using AI to “guess” what should be there.
Don't Overdo It
Occasionally, even the best of us get a little… overenthusiastic when it comes to editing eyes.
It can be especially easy to go overboard with dogs who have naturally light or bright eyes (like Loki) because we’ve been conditioned to believe that “more is more” and if we don’t edit like crazy, the eyes won’t be good enough.
First of all, get that notion out of your head in general. Editing isn’t a competition. I write about this more in this blog post.
But basically, you don’t have to edit for three hours in order to create beautiful photos, you just don’t. Some need more time, some need less time. Some people like editing, some people don’t. In any case, some eyes – especially naturally bright or colourful ones, really don’t need an extreme abundance of sharpening, clarity, brightening and added saturation. Unless you want them to look demonic.
I always recommend to edit your photos, save them, step away, and return a little while later. Are those glowing demon eyes you see? If so, maybe tone down the edits a tad.

And that’s it!
Remember, if you can get a good amount of ambient light on the dog’s face, you’ll have a much better chance of getting bright, clear eyes with beautiful catchlights. I go over using natural light in the Light course within the Learning Journey, so if you’re wondering how to make the most of natural light, be sure to check it out. Or, if you want to delve deeper into editing eyes, you’ll also find two video lessons specifically about editing the face and eyes, plus over 20 editing toolboxes AND full editing tutorials within the Learning Journey membership.
In the meantime, happy photography!
~Emily, Loki & Journey
Take your editing up a notch with our free Seeking Distractions webinar
Discover how to see and fix parts of your photo that may be drawing your viewer’s eye and ultimately bringing down the look of your photo, with this free webinar.

As they say,eyes are the gateway to the soul. Capturing a shot with perfect eyes is the one we all want