Updated July 17 2025
Photographing black dogs are a challenge for many beginner and aspiring professional photographers – but they don’t have to be!
Here’s the secret: black dogs aren’t actually hard to photograph! In fact, I find them easier than white or coloured dogs. Once you understand how to use light, exposure, and a few simple editing tricks, you’ll see there’s no “trick” to photographing black dogs.
If you’re wondering how to make your black dog really pop, without becoming washed out and grey, OR nothing but a black hole, you’re in the right place. Here are my top 9 tips for photographing black dogs, whether you’re using a phone or a camera.
What we’ll cover in this post:
1. Avoid harsh light
One of the biggest mistakes people make with black dogs is shooting in full, harsh sun. It seems like the logical choice: brighter light should make your dog more visible, right? But the problem is that harsh sunlight creates intense shine, deep shadows, and strong contrast… which black coats amplify. In short? It’s not flattering, it’s not pretty. It’s harsh.
Instead, opt for softer light: shade, overcast skies, or golden hour. You’ll retain more detail without the blinding glare, or the extremes of shiny highlights and deep, black shadows.
2. Consider the Light Direction
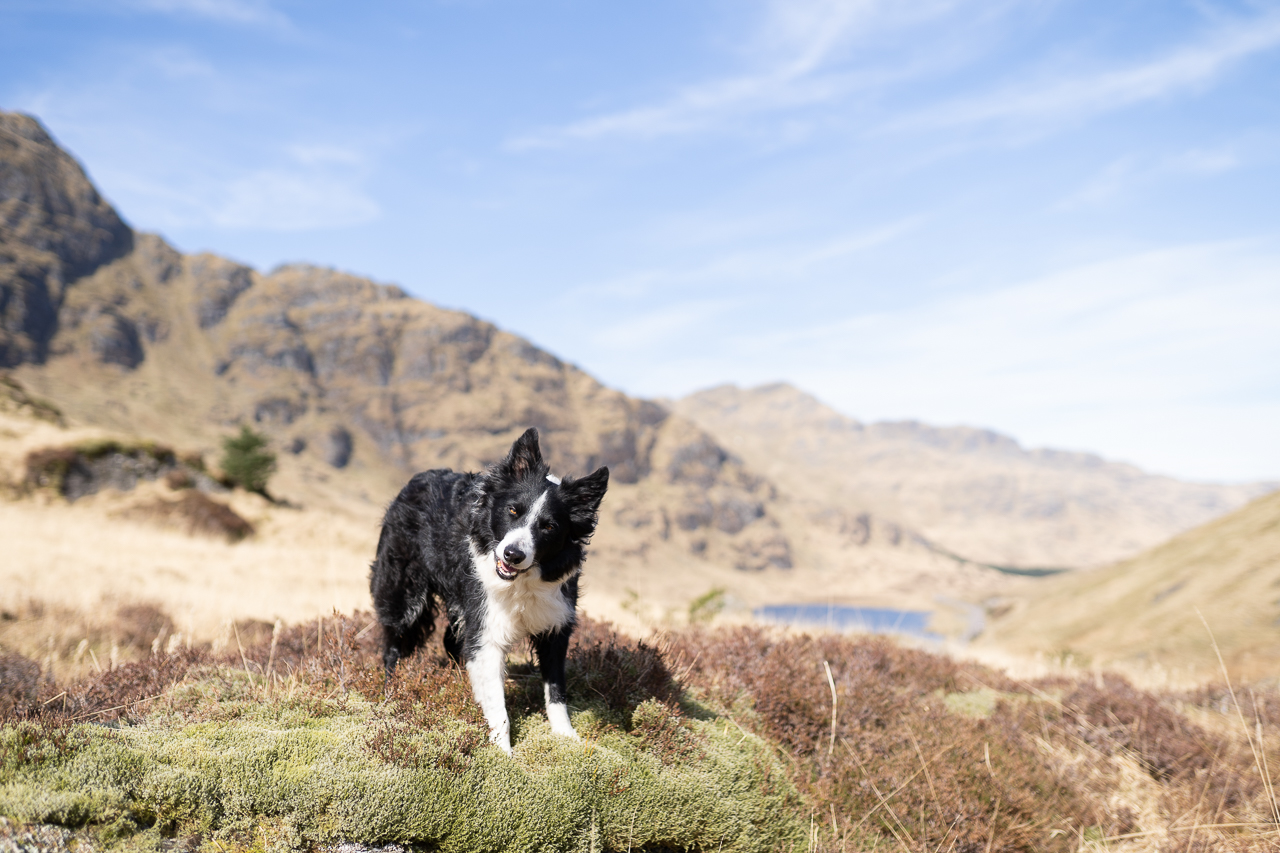
An example of what not to do. Where is the sun coming from? Over to my left. Notice how half Loki’s face is bright, and half is in deep shadow. This isn’t super pretty.
If you have to shoot in sun, think about where the light is coming from.
Light directly on the dog’s face = more even exposure, fewer odd shadows, super shiny
Backlight (sun behind the dog) = gentle glow and minimal facial shine IF the sun is low and soft. If not? You’ll likely end up with a pure black dog, glowing white around the edges.
- Overhead sunshine = weird shadows, with the top of the dog shiny white, and the rest deep black
- Light from the side = VERY difficult. You’ll likely end up with 1/2 of the dog bright & shiny and the other half deep shadow. Try and point the dog INTO the light.
Even when working with soft light, ALWAYS be aware of the direction of the light. Black dogs show light contrasts much more strongly than other coats.
If you want to learn more about light direction, we cover it in the Pet Photography Masterclass (along with basically everything else Pet Photography!)
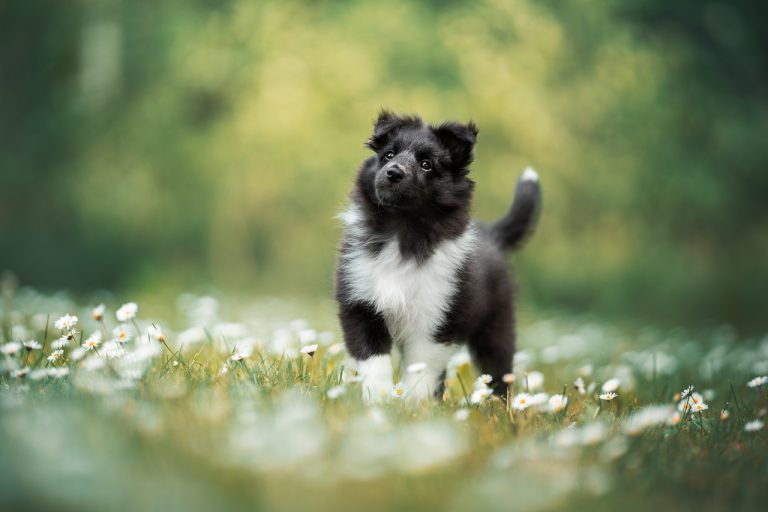
3. Get enough light on the face.
Listen… this probably should have been tip #1 because it’s honestly THE thing that will help you take photos of black dogs…
But most people, when they hear “get light on the face” think about sunshine. That’s NOT what I’m talking about.
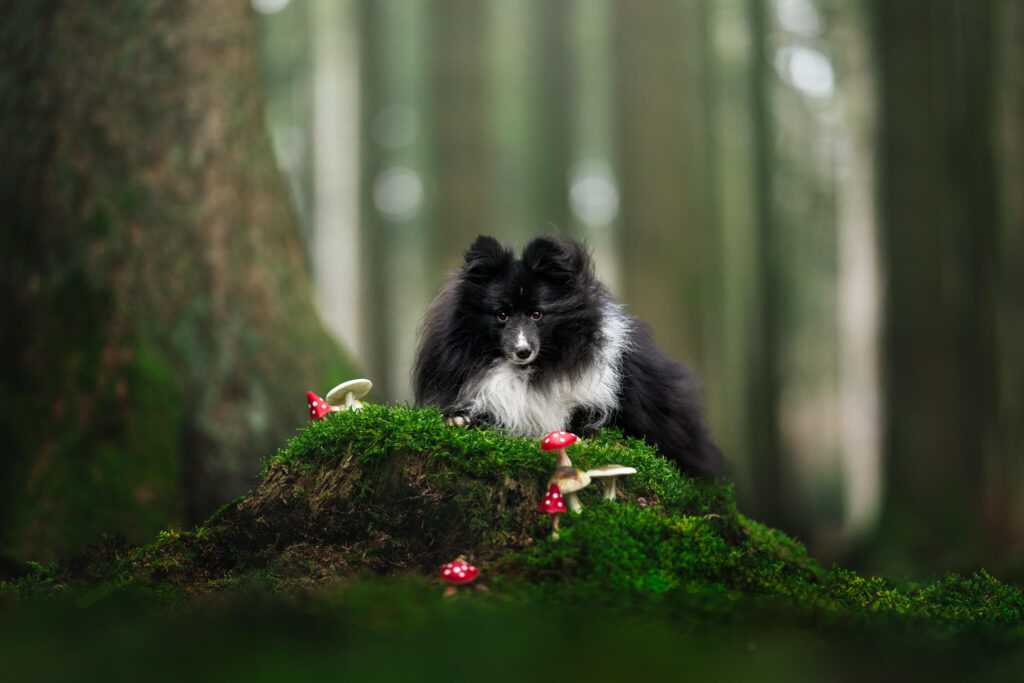
Well, most of the time a cloudy day or a spot in the shade will provide enough light to still get all the important features of your dog, without any weird shadows or unflattering shiny coats.
Sure, being deep within the deep dark woods with no ambient light on the dog… but with ANY dog, you’re better off finding a spot on the edge of the woods, eg. on a path or the road, and making sure the dog’s face gets enough light while still getting the forest vibes you were looking for.
When I’m out taking photos, I’m often looking UP. Why? I’m looking for areas of open sky, and positioning my dog beneath them.
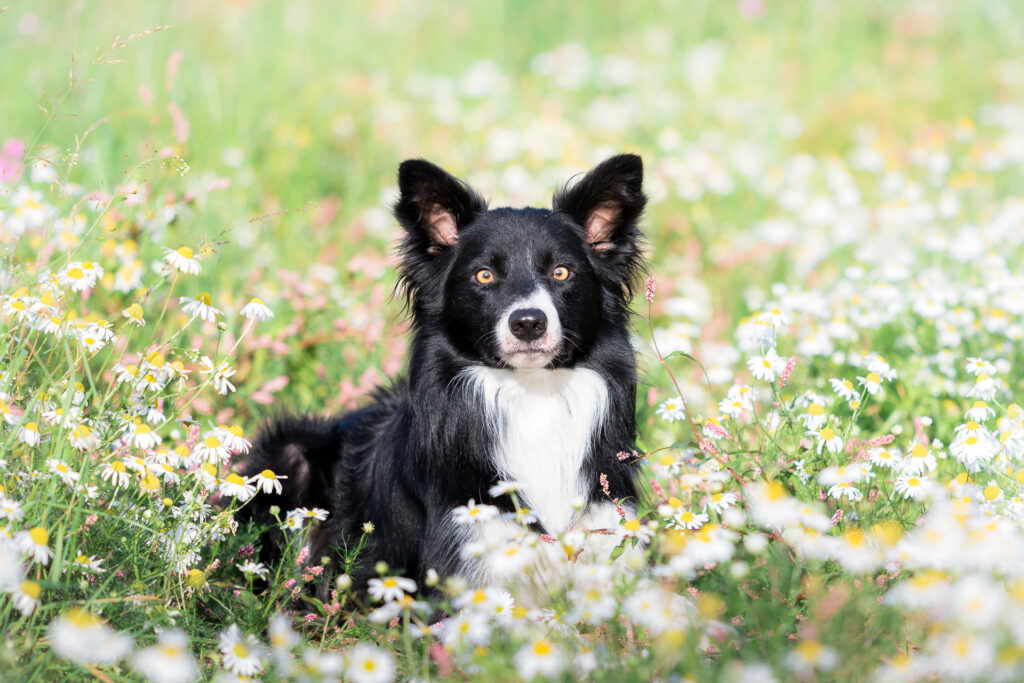
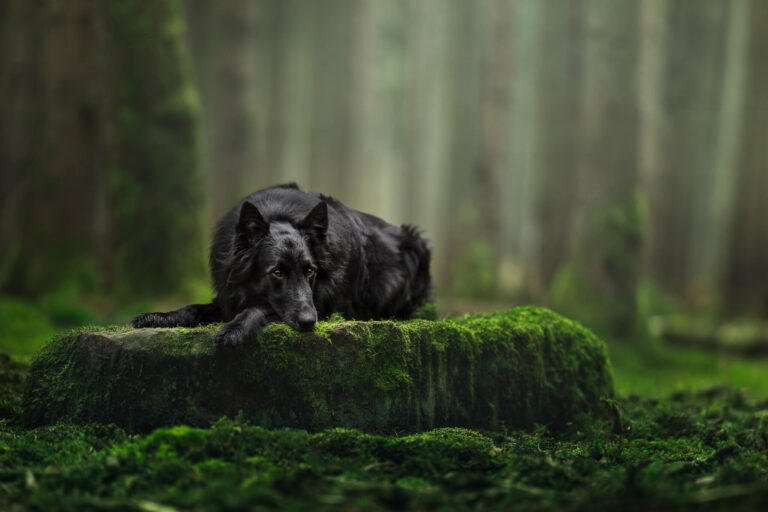
4. Pay attention to your backgrounds

Be smart about choosing your backgrounds! Your dog is black so if you put it in front of dark backgrounds you are going to have a harder time making it the centre of attention in your photos.
At the same time, putting them in a totally bright and light scenario might have them “drowned out” by their surroundings. Open skies in landscapes is different to random patches of bright whites.
Try and find mid-range backgrounds pose your black dog in front of. Not too dark, not too light. Look of tunnels through trees (like the photo of Khronos above!) and avoid big thick dark tree-trucks or dark bushes directly behind the dog, as they’ll just blend in.
And as always, be considering your backgrounds in general! Is it pretty? Is it busy? Are there bins, chainlink fences or ugly elements?
5. Raise shadows in editing
One way that you can easily bring back the detail in your black dog’s face and body in editing is to raise the shadows in the editing program of your choice.
This doesn’t come without its pitfalls though, when raising the shadows too much, the dog’s coat can quickly become a kind of “washed out grey” without contrast, which is when you know you’ve raised up the shadows too much!
Make sure your black dog stays black. Don’t be afraid of them looking black. They are black, after all (and that’s why we love them).
6. Try silhouette photos!
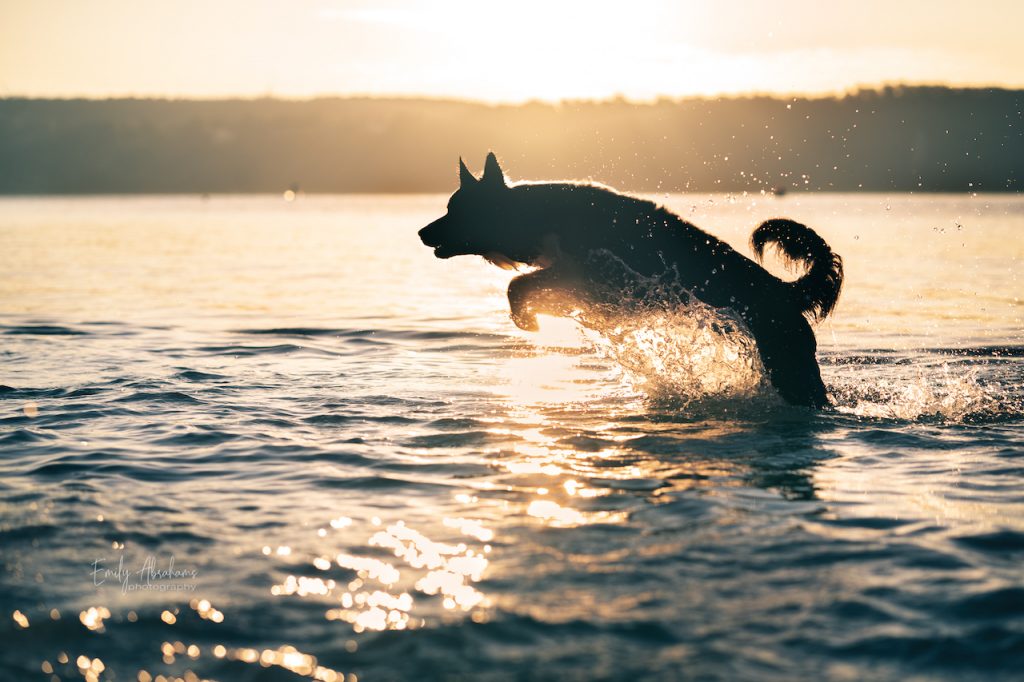
Black dogs make amazing silhouettes. Their coat already reads as a solid shape, so all you need is a dramatic sky and a strong pose.
Lower your exposure
Shoot against sunset or sunrise
Choose clear, distinctive outlines – you might need to be on a hill, get them up on a rock or log. Make sure their body and legs are visible or they’ll just be a blob.
Bonus points for a windswept tail or perky ears.
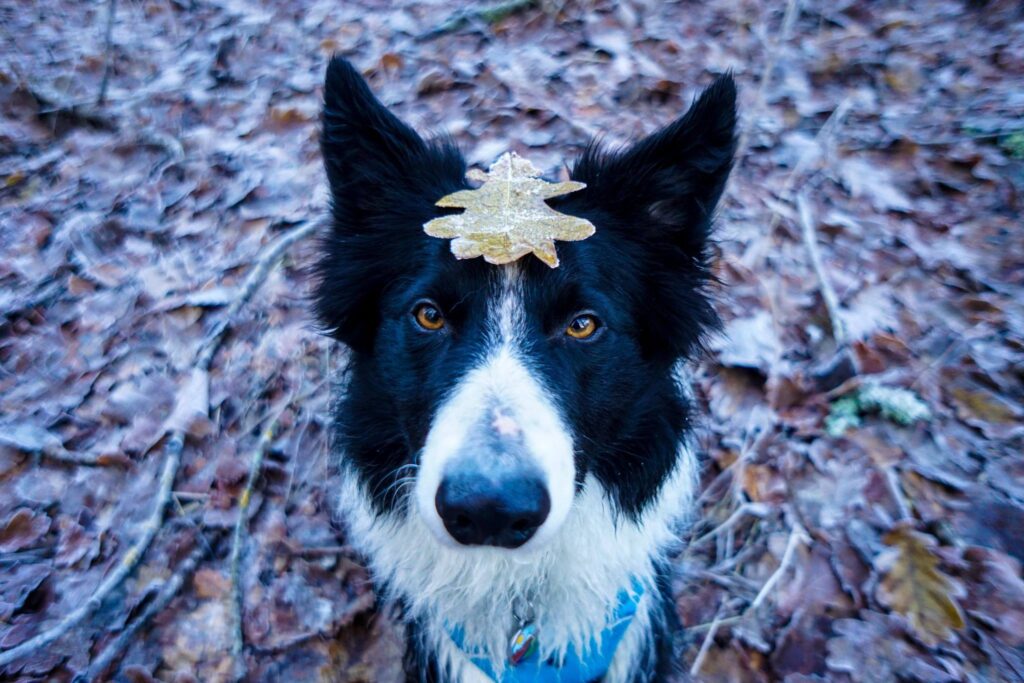
7. Get enough light on the face & eyes!
Just in case you hadn’t been paying attention, the most important thing when taking photos of a black dog is making sure their face is evenly lit and getting enough light.
With black dogs that have very dark eyes it’s especially important that you really make sure they face the light (even just the open sky!), which is the only way they will get the catchlights in their eyes which in turn make them look more alert and awake.
This is the way you make sure they don’t have black voids for eyes because enough light and the catchlights will provide at least a bit of texture.
For some dogs, you might need to get them to tilt their faces upward a bit more in order to get catchlights on their eyes.
This doesn’t mean every single photo needs them to look up like Squeeze in the photo above… but even just looking SLIGHTLY up can help.
8. Take control of your camera with manual exposure
Cameras on auto-mode often overexpose black dogs because they think the scene is too dark. They see the subject and think “oh boy! That is VERY black! Let me lighten the whole photo for you”. That means your dog may come out too light, with crazy blown highlights in the background.
If you’re using a camera, try manual mode. Expose the photo how YOU want it to be exposed (if you’ve ever been overwhelmed by the whole “Exposure Triangle” thing, check out my Camera Settings Masterclass)
If you’re on a phone, tap to expose for the dog, and drag the slider to adjust brightness.
Remember: it’s usually easier to brighten things that are a bit dark, than to bring back detail in areas that are too bright.
9. Adjust the White Balance in Editing
Because of the nature of the black dog’s coat their coats tend to reflect a lot of colour casts (light and colour bouncing around from the environment), most commonly blue casts from the blue sky.
One way you can keep your dog black and not have them look blue, like a smurf, is to correct the white balance in the photo editing program of your choice.
You can check if your photo has any colour casts by turning up the saturation and if you see a lot of blue on your dog’s coat where it shouldn’t be (because your dog is black) adjust the white balance. If there’s still areas of blue, you can either selectively edit these, or try the HSL sliders if your editing program has it!
Black dogs aren't difficult!
Here’s the truth: I don’t treat black dogs any differently than white, brown, or merle. It’s not about the colour of the dog, it’s about how the light interacts with that colour, and making sure you get enough light on the dog.
Once you understand light, exposure, and a bit of editing, photographing black dogs becomes not just doable, but actually really satisfying.
Ready to Go Deeper?
📥 Grab the Free Pet Photography Guide – filled with tips on settings, light, location, and more.
🎓 Join the Pet Photography Masterclass – a 5-hour, deep-dive into natural light, emotion-first photography that goes way beyond dog colour. It’s for beginners and passionate hobbyists who want to learn how to see like a photographer.
Black dogs? White dogs? Any dogs. You’ve got this, and I’m here to help.
Until next time!
Emily, Loki (who taught me so much about photographing black dogs) & Journey