With more and more pet parents investing in a camera to take photos of their pets, many are finding themselves confused as to what settings to use with their DSLR or Mirrorless cameras. From shutter speed to aperture to ISO, from priority modes to full manual exposure, we’re going to look at what settings you should use, and why.
Why even consider learning camera settings for dog photos?
While there are several “priority modes” that come with most cameras, I encourage you to move to manual exposure and take full control over your camera. Why? Because your camera doesn’t know what you want.
Selecting auto mode or a priority mode gives us control over only one aspect of what the camera does, which could mean that:
- your pet subject is out of focus,
- your photos are too bright, loosing detail in the highlights,
- your photos are too dark, requiring lightening up and possibly resulting in a loss of quality or
- your background is in focus, instead of being soft, creamy and blurry.
Exposure Triangle: the Most Important Camera Settings
If you’ve been working on your photography basics for a while, you’ve surely come across the term “exposure triangle”. You’ll be pleased to hear, that it is just a fancy way of describing how the three main camera settings interact when you’re trying to take a photo.
The main basic camera settings that influence how our photos turn out are:
- Aperture
- Shutter Speed
- ISO
Each one of these interacts with the other two and they all have an effect on how our pet photos turn out. The main thing you need to remember is that when you change one of these settings, you will probably need to change the other two to compensate.
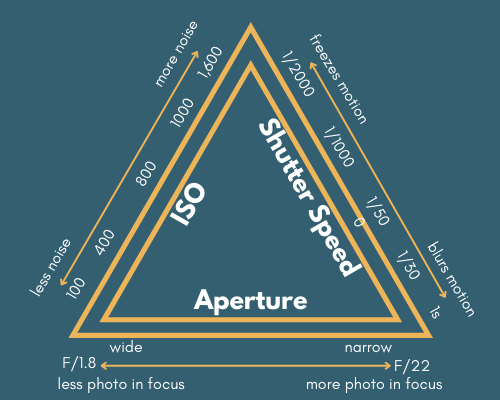
I believe most photography websites complicate this way too much and explain it in a way that puts beginners off learning, but I promise, camera settings are really not that complicated.
If the exposure triangle complicates you, I tried to create a new visual representation of how the 3 parts of the triangle work together. On the left hand side are settings that will allow more light into the camera… and on the right are settings that allow less light.

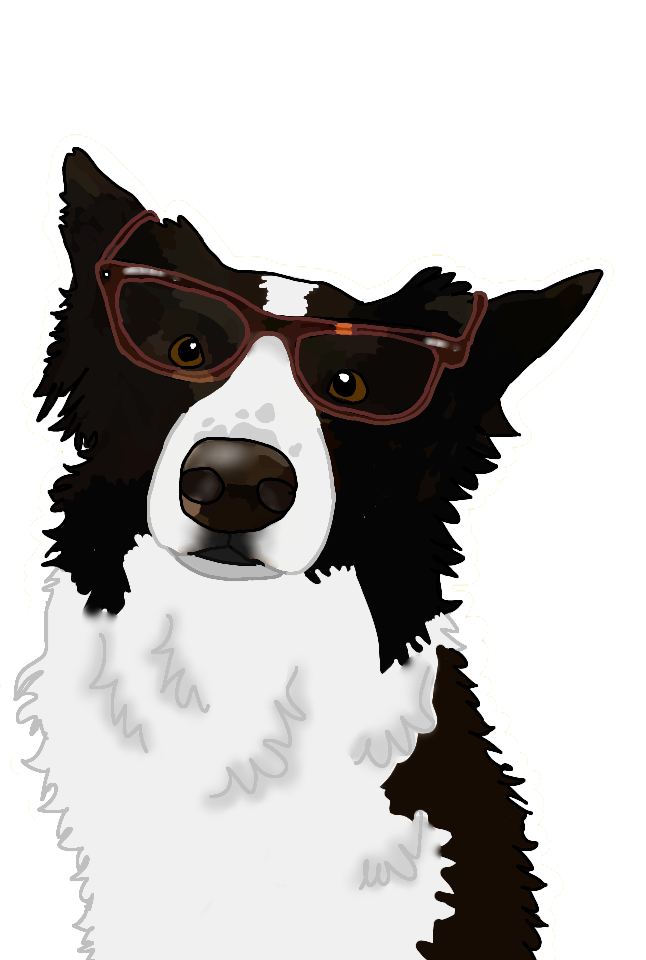
If nothing else, remember:
If you change one setting, the photo will get darker, or brighter.
Therefore, you may need to change another setting to compensate.
Aperture
Aperture is what I call the pupil of the lens. It is one of the numbers you usually see when people are describing lenses, for example 85 mm f/1.8. The 1.8 is the maximum aperture of a lens.
This camera setting is also the main way I take the perfect dog photos in my portfolio.
Aperture controls the amount of light you let into your camera, the lower the number (or, sometimes called F-stop) the wider the aperture, the more light can get to the camera’s sensor.
Similarly, the higher the number (eg. 11, 16), the smaller the aperture, the less light can get to the camera sensor.
So, How Do I Even Use This?
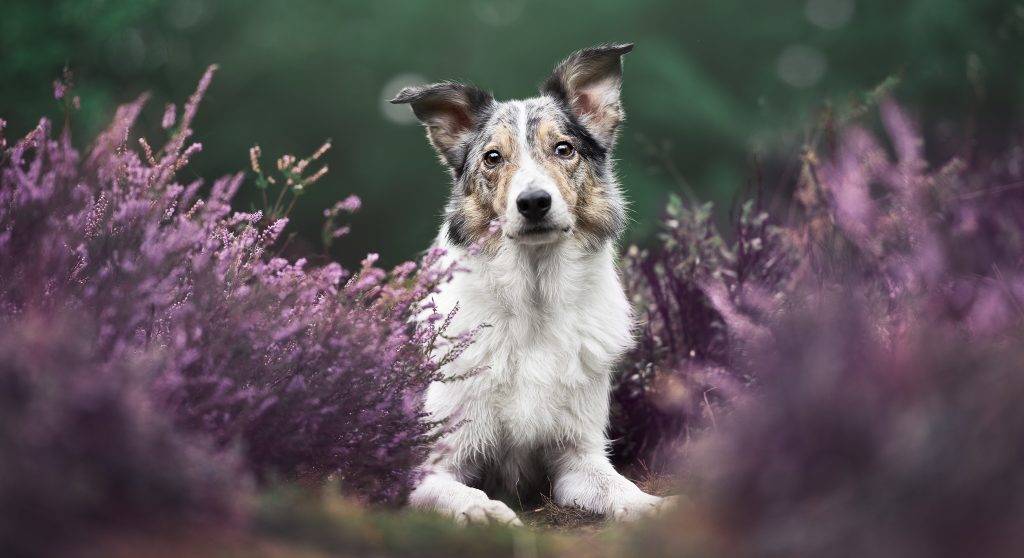
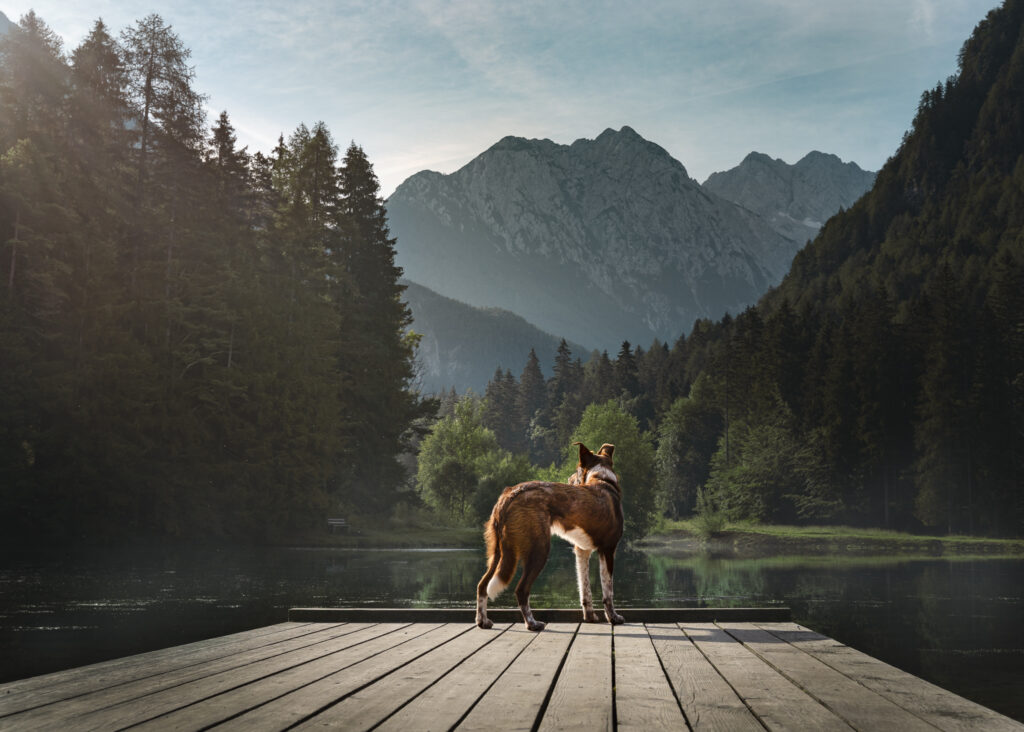
Aperture has another very important function. It determines how much of your photo will be in focus. The higher the number (or F-stop) the more of the photo will be in focus, and vice versa. The lower the number, 1.8 or even lower, the narrower your plane of focus.
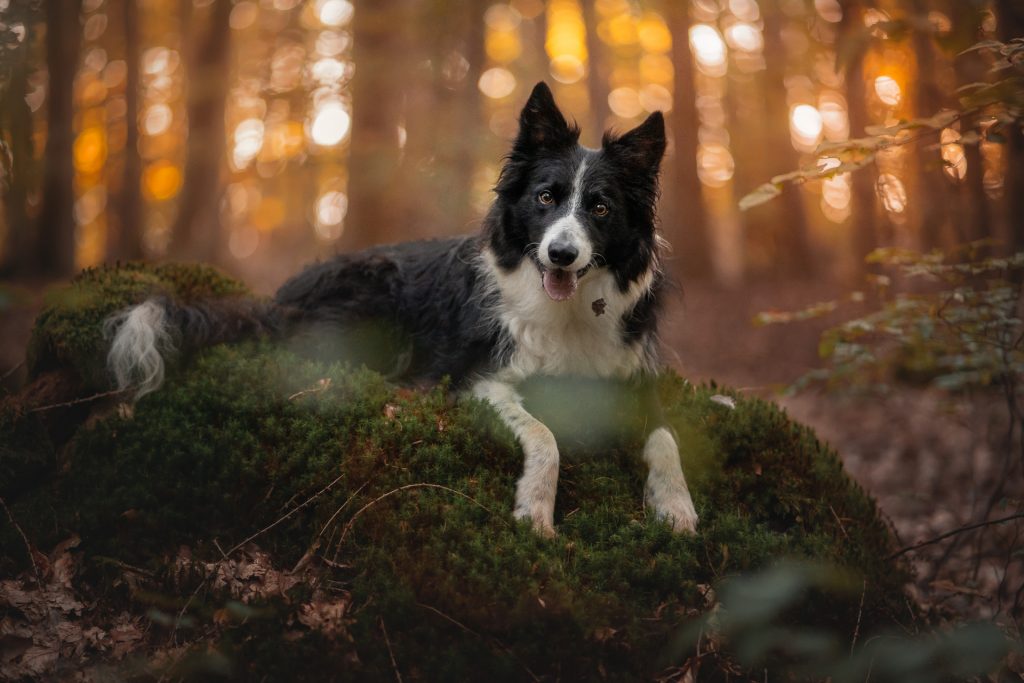
For my style of pet photography, I want the dog’s eyes to be in focus. Ideally, they are the ONLY element of the photo that’s perfectly in focus, because that draws attention to them as the main subject of the photo. To get only the eyes in focus and that soft, blurry background I almost exclusively use the lens’ widest apertures.
Shutter Speed
Shutter speed, like the name suggests, describes how fast (or slow) the shutter of your camera closes.
The speed is normally measured in 1/whatevers of a second. For example, a decently fast shutter speed for pet portraits is 1/500 or 1 five-hundreth of a second. But you can find out what works best for you. For me, anything from 1/320 sec or slower results in an unacceptable amount of photos ruined by motion blur.
Because the shutter closes after a certain time, shutter speed dictates how much light we let into the camera. The faster the shutter speed, the less time light has to go through the shutter, meaning we let less light into the camera. And vice versa with slower shutter speeds.
The slower the shutter speed, the more light we let into the camera because the shutter is open for more time.
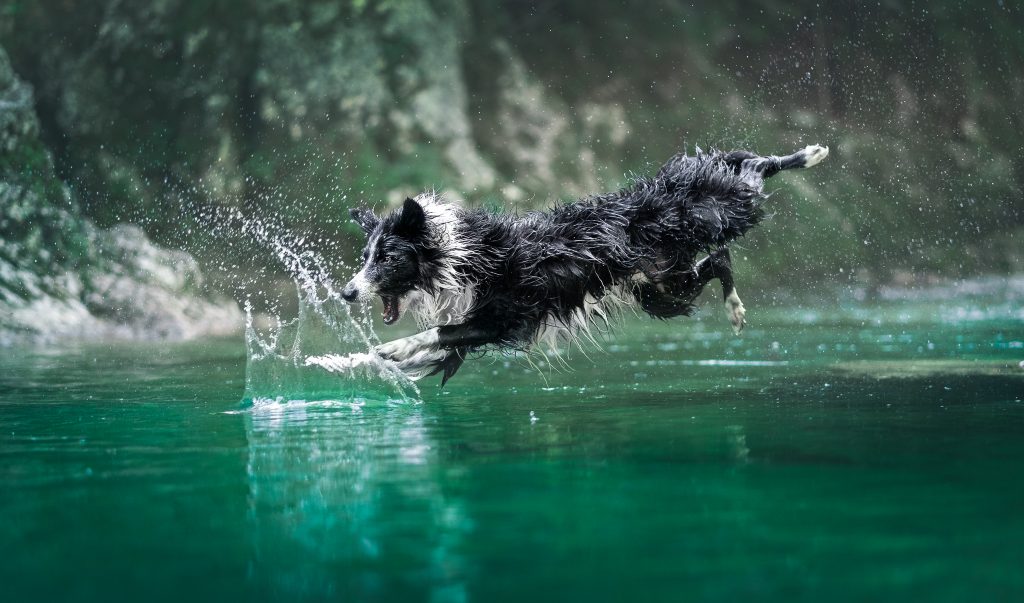
Very importantly, shutter speed also dictates how well we can freeze the movement of our pet subjects. Faster shutter speeds (1/1000 and above) freeze movement better and are as such better suited to action shots. Slower shutter speeds do not freeze movement that well, which could result in motion blur.
While photographing dogs I found that no matter how still they can stand, dogs are still living, breathing, moving creatures. This often results in motion blur even in portraiture when they’re standing still and posing. For me, getting the photo sharp, clear and detailed will always be the most important thing. If my shutter is too slow, then the perfect photo might be ruined by slight blur.
ISO
The ISO describes the sensitivity of the sensor to light. Like most of basic photography principles, it comes from the film photography days, when one would choose a certain speed film, for example (200, 400 or even 800) and have a set ISO for the whole of that roll.
Luckily, digital photography is a little more flexible than that. Our cameras allow us to change the ISO from one shot to the next. A higher ISO number means the sensor is more sensitive to light and will thus result in a brighter image, so a lower ISO means a photo will be darker.
Why wouldn’t we then just crank up the ISO through the roof and even bother keeping it as low as possible? Well, because a high(-er) ISO often means more noise in your photo and worse photo quality.
The one thing I want you to take away from this is that your ISO should always be the lowest it can be according to the lighting conditions and your other settings. (Remember: if you change one setting, it’s very likely you’ll have to change another to compensate!)
A Short Note on Noise:
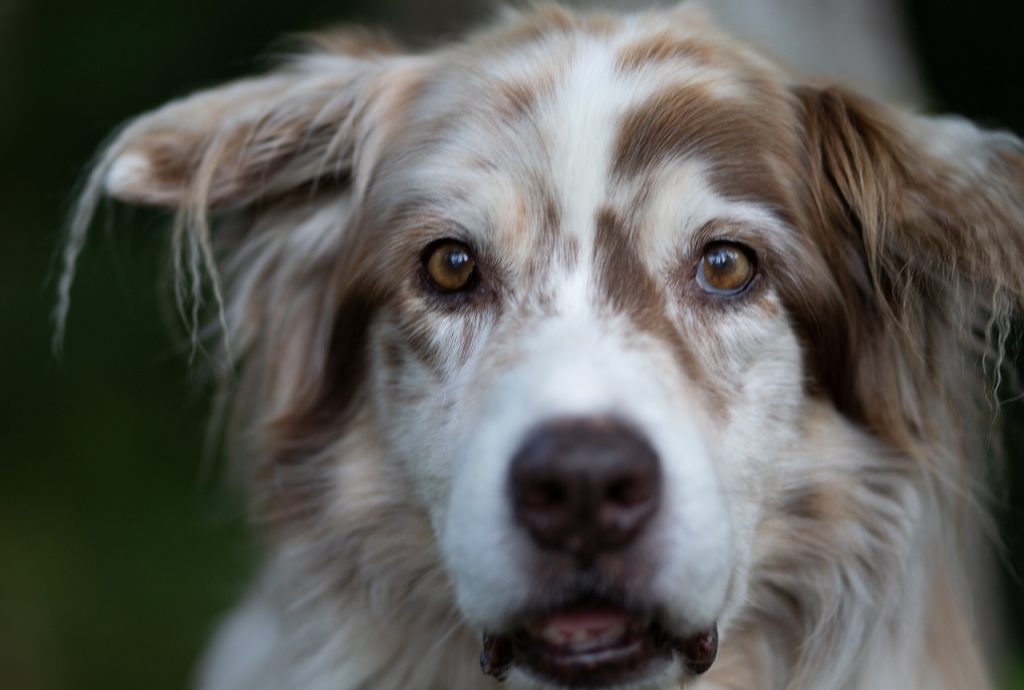
We, as pet photographers, are incredibly scared of noise. Meanwhile, in other spheres of photography, people sometimes add grain for character. I don’t want you to go adding grain willy-nilly, I would just like you to consider taking the photo first and worrying about noise later, rather than the other way around.
Take a look at the photo on the right. How much noise do you see? Do you think this amount of noise is acceptable and how high of an ISO can your camera handle?
Taking Photos in Manual Exposure Mode
Now is the time when I tell you to go out and practice shooting!
If you’re still feeling a bit unsure, take it easy. Try changing one setting at a time and analysing the results. Observe what happens and try another setting. In time, you will find your own camera setting for dog portraits.
As a stepping stone, you can always set your camera to auto ISO, which will make the transition a bit easier.
If you’re still a bit confused, want some more information, or to learn more about noise, depth of field and the exposure triangle, check out the recording of my “Master Manual Exposure” workshop held in March! It went for 2 hours and includes a downloadable .pdf booklet packed full of information (Psst: the workshop recording is included in the Learning Journey, as well as a whole “Master Your Camera” course… sooo why not just join us there?).
The sooner you take control of your camera, the sooner your photography can continue to improve, the sooner you will be taking your own perfect pet photos!
Happy shooting!
~Emily, Loki & Journey


Thank you so much for the tips! As you said, a lot of photographers can make this sounds confusing and overwhelming. I appreciate you breaking it down and easier to understand. I feel like I can start practicing with this knowledge!
So happy I could help!! I definitely think starting with an idea of what settings you might like to use is helpful! Then adjust as needed! Good luck, and let me know how it goes!