ArchivesResources

Pets and People Challenge

This was the May Assignment in the Community! You’re welcome to still complete it and post it in the Challenges section of the Community, however you won’t receive a tag for your profile. You can still use it toward your Snoot awards.

This Challenge was brought to you by Sabrina.

A “classic” pose from a client shoot from 2022 (ignore the distracting things left and right 🤓)

We all know, pets & people can be hard. Tricky to pose, to manage and sometimes it is intimidating to direct our clients/ the owner and tell them what we want them to do. BUT you all know, we only learn when we try something new and leave our comfort zone, even if it’s only with one toe for the start. In this month’s assignment, we want you to try something different than only the „classic“ portrait where the dog and owner sit next to each other and look at the camera or look at each other.

Don’t get me wrong, these photos are beautiful too and for me a must capture in every shoot to get one classic shot. I often use it as the starter pose and work myself towards a more individual pose together with the team to include their uniqueness. We want our clients to go home with a variety of shots showing different moments, feelings, characteristics, moods and energies. You do not need to invent something knew, but we challenge you to try something you never did before. Grab your friend, family member, neighbor, model or even client (when you feel comfortable with it in that situation) with their dog (or take a self portrait if you want to show off or have no other option 😄) and create one image that shows their bond, character, feelings with their connection. 

Some ideas what you could switch up coming from the classic – sitting next to each other – pose with a semi telephoto lens:

  • Pose and position of the dog/owner
  • Angle
  • Lens 
  • Different kinds of movement
  • details and candid moments
  • Visual forms of connection (touch, lines, gazing direction,…)
  • Integration of the location
  • Anything else you can think of!

Just some examples of different poses t show that they help with variety and different moods which give us an overall feeling of their connection, bond and character. Most of the time I use my fave lenses: 135mm, 85mm & 35mm

Little tip on directing people

Take some time to think of your idea or what you want to capture. Maybe save some poses to your phone and try to recreate them. Be bold directing the person in front of you! Only you can see how it looks from the outside and also in the final image. If their hand could be better placed – tell them! If their hair is messy – go fix it! You can do all this very kind and soft. Try to avoid saying something negative and instead say something like „That already looks great, now gently start petting your dog at his chest with your left hand. *moves the hand to a better place* Yes perfect, that is so sweet!“. Reassure them when something is good and make tiny adjustments one after another. That way you’re constantly leading them so they feel safe and confident and at the same time you’re getting many different poses and moments, no stiffness because of the movement and a great variety of shots.

To Complete the Assignment 

Your assignment submission should be a new photo, not one you have lying around (after all, what are you learning/achieving then?)

Go and take your photos! Pick your favourite one (or make a collection of up to 5 images, to compare them. They don’t need to be final edits, light adjustments are enough) and upload them to the Challenges topic in the Community, in order for the entry to count toward your Snoot Awards.

Different Action Challenge

This was the April Assignment in the Community! You’re welcome to still complete it and post it in the Challenges section of the Community, however you won’t receive a tag for your profile. You can still use it toward your Snoot awards.

With Chris’ “Sideways Action” webinar happening on April 6th, this month’s member assignment is focused around action!

But! In the spirit of creativity, pushing you out of your comfort zone, and encouraging you to try something different, we didn’t want typical action photos, eg., dog running toward the camera/jumping a log toward the camera.

There’s absolutely nothing wrong with these photos, but the goal of the assignments is to stretch your skillset, to expand your horizons, and to encourage you to experiment and try different things. If you’ve never done a run-to-the-camera photo before, then of course this course be an option for you, but I would encourage the majority of you to explore other options. The same can be said for any of the ideas below. If you’re quite familiar with shooting discdog for example, maybe try something else.

Some ideas could be:

  • sideways action
  • leaping/flying
  • dog sports (agility, discdog, dock diving, herding, canicross, dancing with dogs, search and rescue, etc)
  • two dogs playing
  • treat catching
  • panning/slow shutter speeds
  • anything else you can think of!

Panning action is HARD 😅 (settings here: 1/40 sec, f/4, ISO 100)

To Complete the Assignment

Take some time to think of your idea or what you want to capture. Your assignment submission should be a new photo, not one you have lying around (after all, what are you learning/achieving then?)

Go and take your photos! Pick your favourite one and upload it to the Challenges topic in the Community, in order for the entry to count toward your Snoot Awards.

Reflections Challenge

This was the March Assignment in the Community! You’re welcome to still complete it and post it in the Challenges section of the Community, however you won’t receive a tag for your profile. You can still use it toward your Snoot awards.

When we think of reflections, most of us think of water. Puddles, lakes, standing pools without much movement…

But reflections give you an amazing opportunity to be creative! This assignment is about both reflectionsand about thinking outside the box.

While your assignment is to take a photo featuring a reflection, we are encouraging you to move beyond reflections in puddles or pools of water (although this is totally ok too, if that’s something new to you, something you’ve always wanted to try, or is already enough of a challenge for you!) and experiment with other kinds of reflections!

Some ideas for where to find or how to create reflections include:

  • those buildings with super reflective glass walls
  • using mirrors – big and small! Small mirrors can be held up beneath, above, beside your lens to create cool effects, even your phone’s screen can create a reflection! Big mirrors can be used in a HUGE number of ways even outdoors, to create fun effects and stories
  • eyes can have reflections in them. How can you use that to your advantage? 
  • why not create a story? Spray some water on a window-pane for a rain effect and photograph your dog gazing through to the outside world. 
  • you could take a fairly normal reflection photo in water, and use Photoshop to make that photo a bit more magical! What about an adult dog looking into the reflection of his puppy self? What if the real dog was looking away, while the reflected dog looked directly up at the real world?
  • remember, water is also ok especially if you’re still Beginning! You can also play with perspectives with water reflection, composition, ripples, and more

To Complete the Assignment

Take some time to think of your idea or what you want to capture. It needs to feature some kind of reflection.

Go and take your photos! Pick your favourite one and upload it to the Challenges topic in the Community, in order for the entry to count toward your Snoot Awards.

Challenge Instructions: START HERE!

Challenges are a fantastic way to keep you accountable.

New challenges will be added often, and will cross all learning topics, so whether you’re beginning, or deep into your business, there will be challenges for you.

Once a month, choose a challenge, and focus on completing it by the end of the month.

To complete the challenge, follow the instructions below:

  • Choose your challenge, read through the information and guidelines. Check the Challenges topic in the Learning Community for examples of people who have entered the challenge already!
  • Take/edit the photos for the challenge. Unless stated otherwise, photos should be new, and taken for the challenge! The point of (most) of the challenges is to learn and improve, and you won’t do that by submitting photos you took 3 years ago. 
  • Upload the photo to the “Challenges” topic of the Learning Community. (if you haven’t joined the Community yet, you’ll need to do that first by clicking here)
  • Tell us which challenge you’re entering – use a hashtag! And give us some information about your photo! What challenges did you have? What went well?
  • Comment on 1-2 other photos already in the Challenges topic. 
  • Mark the Challenge lesson “Complete”. 

Bronze Snoot Award

When you’ve completed 5 challenges, you will be awarded the “Bronze Snoot Award”. 

The system to get your Bronze Snoot is a bit complicated because I just can’t find an elegant way to set it up, and my IT guy calls this kind of system a “practical Em solution”. 

  • Once you’ve submitted your 5 challenges, and commented on other people’s challenge entries, return to this lesson.
  • You will find the “Bronze Snoot Award” attached to this lesson as a quiz. 
  • Go into the quiz. Read carefully. Remember, this is the honour system. Nobody is going to leap out and arrest you if you haven’t done 5 challenges but lie and say you have, but let’s be honest, doing so would make you a rubbish human being. 
  • Submit the quiz. Hint: there’s only one correct answer. 
  • Your Bronze Snoot Award will be available to download (it should even be emailed to you!)

Silver & Gold Snoot Awards

As above, once you have completed 10 Challenges you can complete the “Silver Snoot Award” quiz (again, based on the honour system) and download your Silver Snoot Award.

The Gold Snoot Award is available after 15 completed Challenges.

It’s likely that as we add more challenges going forward, there will be more snoots available. Platinum, Diamond, Carrot…

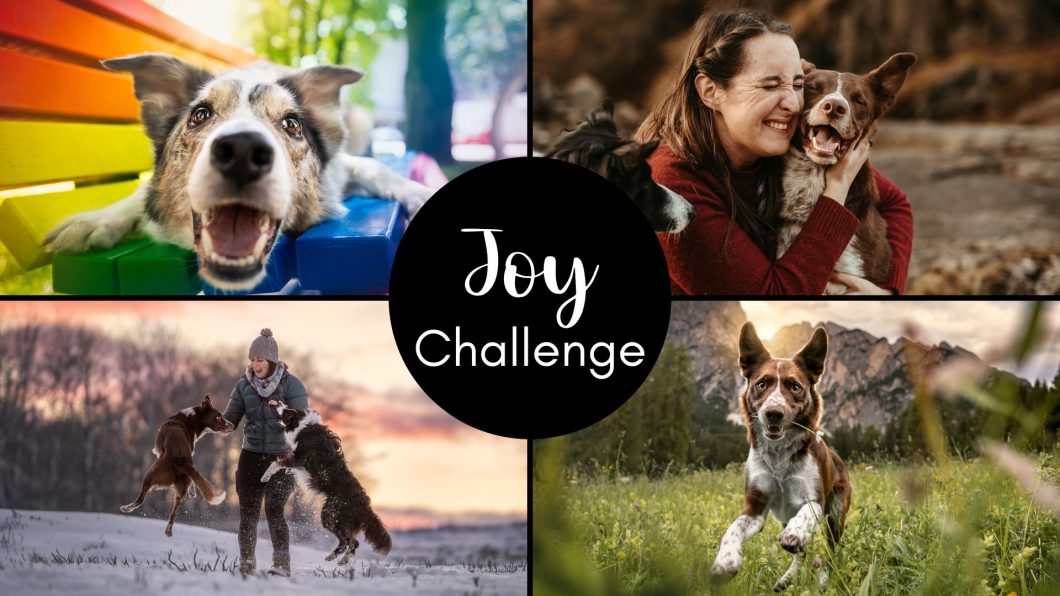
“Joy” Challenge

The “Joy Challenge” is all about capturing the essence of joy in your pet photography. Even the most serious dog can show joy in the right circumstances, and there’s nothing better than looking back on joyful photos.

Here are some guidelines to get you started:

  1. Focus on the dog’s expression: The key to capturing joy in a pet photo is to focus on the dog’s expression. Look for moments when the dog is relaxed and happy, with an open mouth, raised ears, and bright eyes.

  2. Choose a bright and happy location: To enhance the joyful mood, choose a bright and happy location for your photo shoot. Beaches, flowers, and plenty of bokeh can all create the feeling of joy. Avoid deep dark forests, solid backgrounds and places that feel a bit “closed in”. 

  3. Interaction can create joy! Get your dog moving! Interact with your dog or have your owner interact. Prompt them to cuddle, play and be silly. Be natural with your dog and muck around. These will create genuine moments of laughter and joy together. 
  4. Use a fast shutter speed if you’re working with more candid moments and movement: To capture your dog in motion and to avoid blurry images, use a fast shutter speed, over 1/1250 sec. This will help to freeze the moment and capture the essence of joy in your pet’s expression.

  5. Edit for brightness and color: In post-processing, edit your photos for brightness and color. By going dark and moody, you likely won’t be supporting that bright, joyful mood you want to create. Remember as well that warmth has more of a feeling of joy than cooler temperatures.

Get to it! Make sure you check out the Challenges rules before you get started. Can’t wait to see your joyful photos!

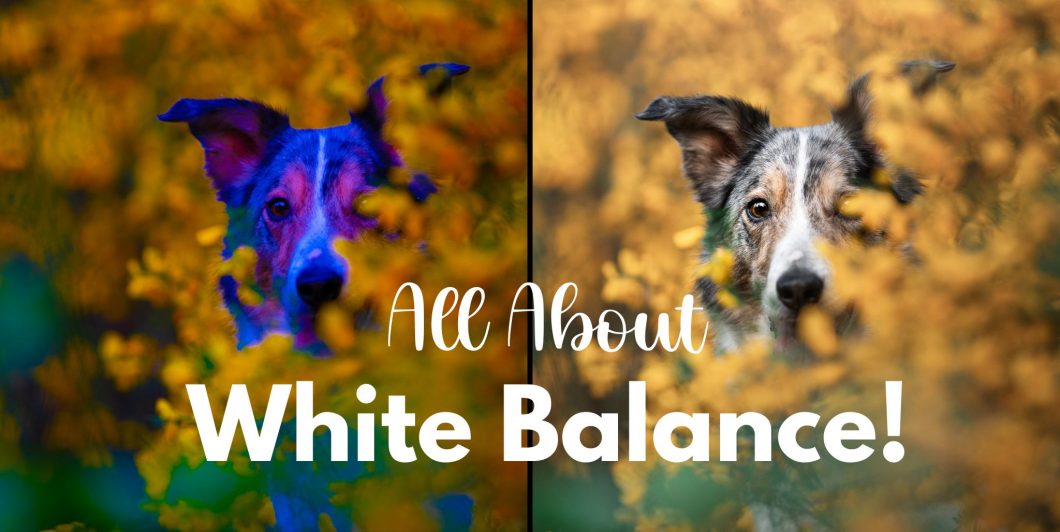
All About White Balance

White balance is the overall temperature and tint of your image. I personally try to keep mine relatively “true to life”, and there are a number of ways you can go about getting the correct white balance in your images, from camera settings to editing.

Keep in mind though that:

  • nobody cares as much about the WB as we do about our own work. Don’t drive yourself crazy with it. 
  • WB can be shifted in one direction or another for artistic reasons/choices. 
  • The WB can be “wrong” because of the light temperature making everything warmer. This is ok.  

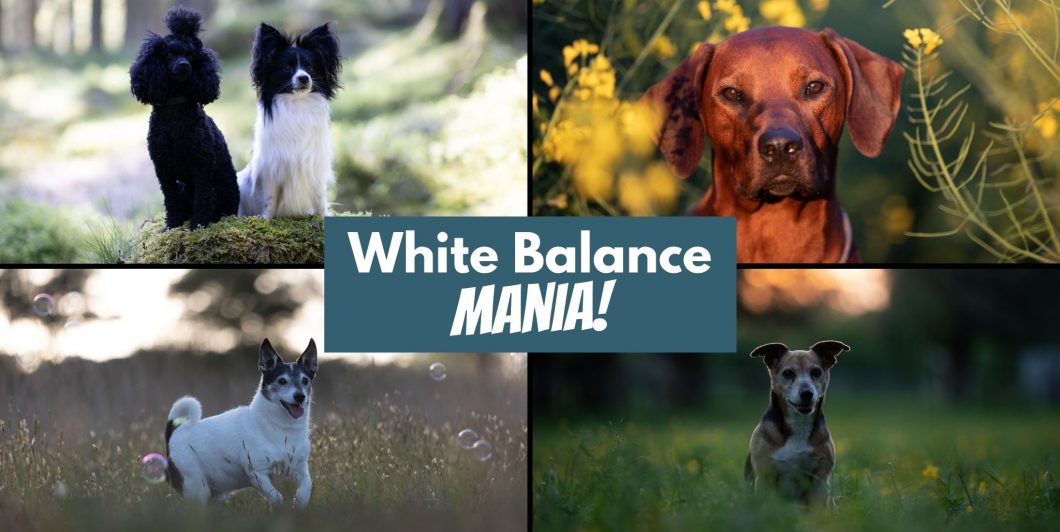
White Balance Mania

You guys uploaded 20+ images and I went about fixing the white balance on all of them, discussing what I’m looking for and at in order to set the right WB, tricks I use to help me, things to consider, and even what to do about colour casts.

Note that although I used Lightroom for this, you could easily use Adobe Camera Raw. I would not recommend using just Photoshop or working on a jpeg file. Why? Because all the subtleties of the RAW data has been lost, so instead of making small, subtle changes, you’re smashing your WB with a sledgehammer. 

Any questions? Ask below!

Editing Pets & People: Ike & Cecilia Tutorial

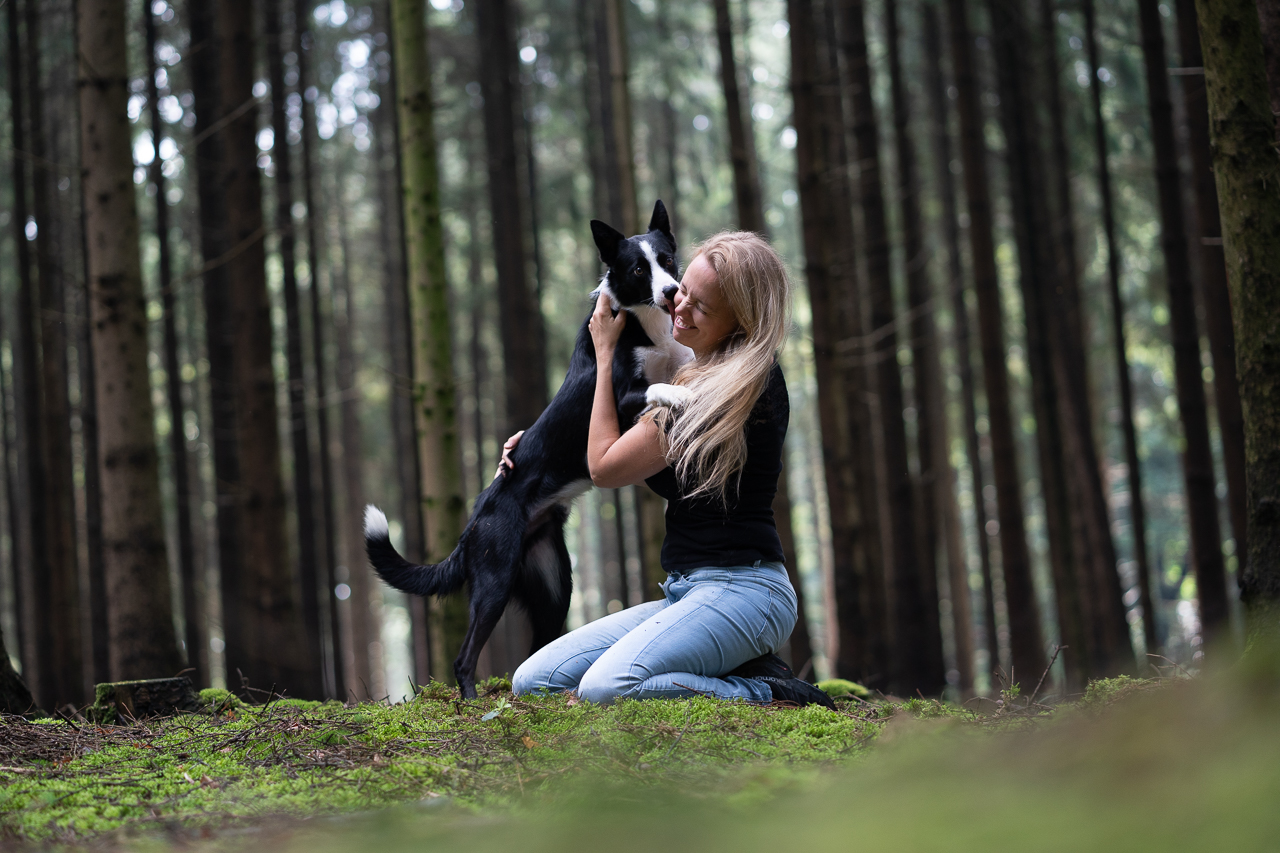
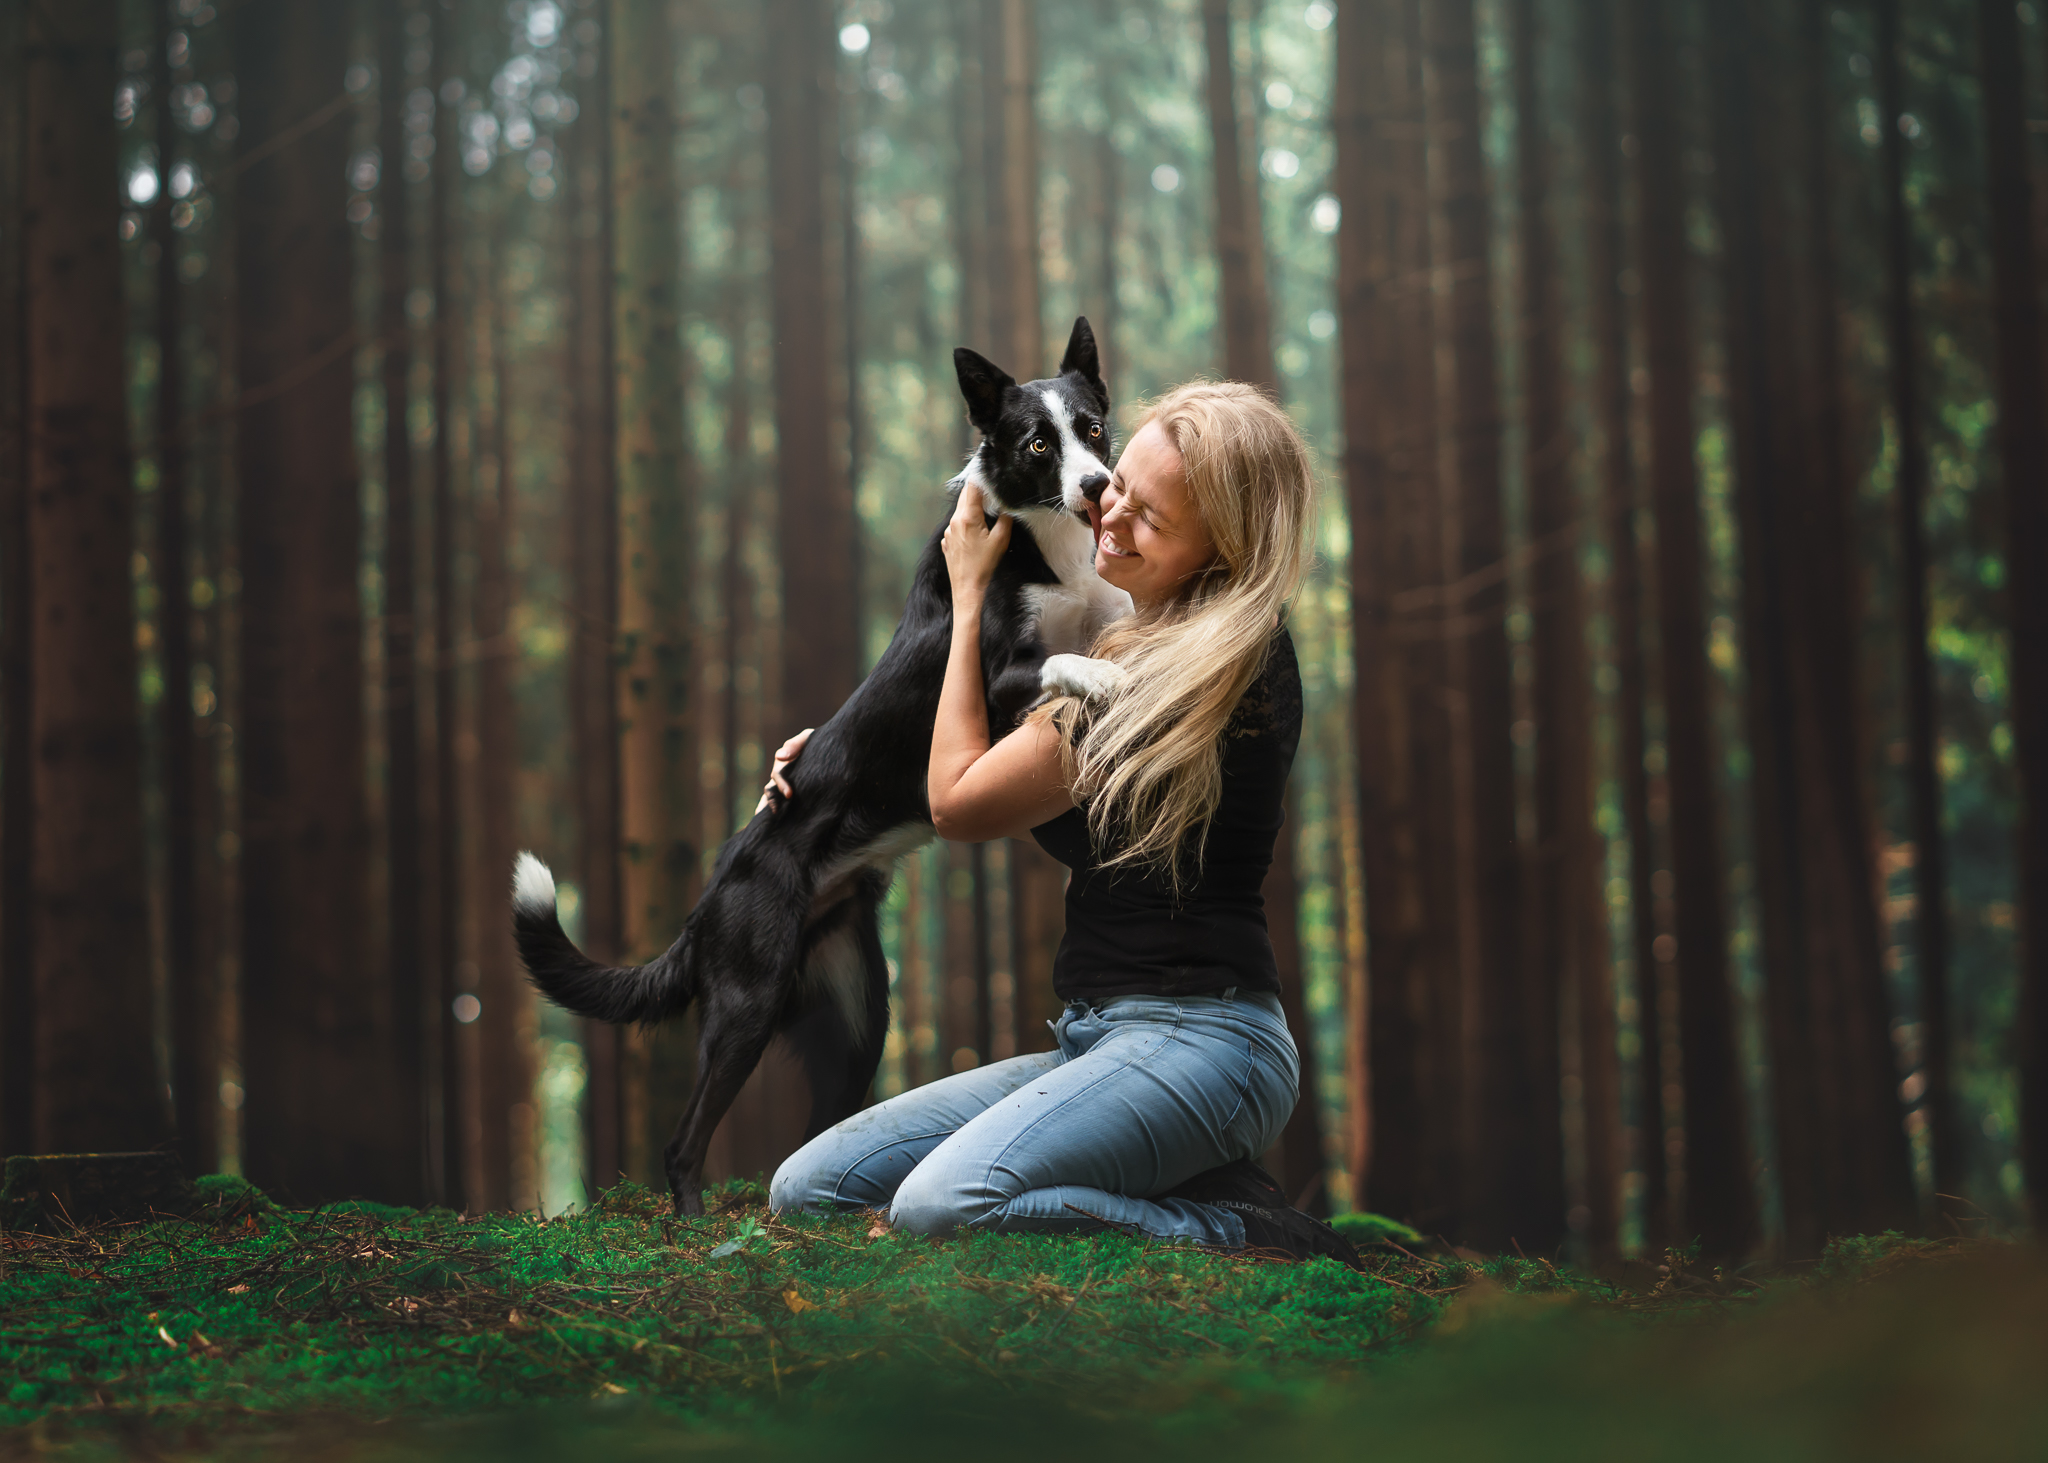
in this tutorial we’re going to work on this photo of Ike & Cecilia, cuddling in the green woods.

DSC06712 DSC06712-Edit

You are welcome to edit along, but I’ll ask you not to share this one on social media! Thanks!

After I finished recording, I went and cooled down the image a bit, as it finished feeling a bit too yellow/warm for me. Other than that I don’t think I changed anything afterwards.

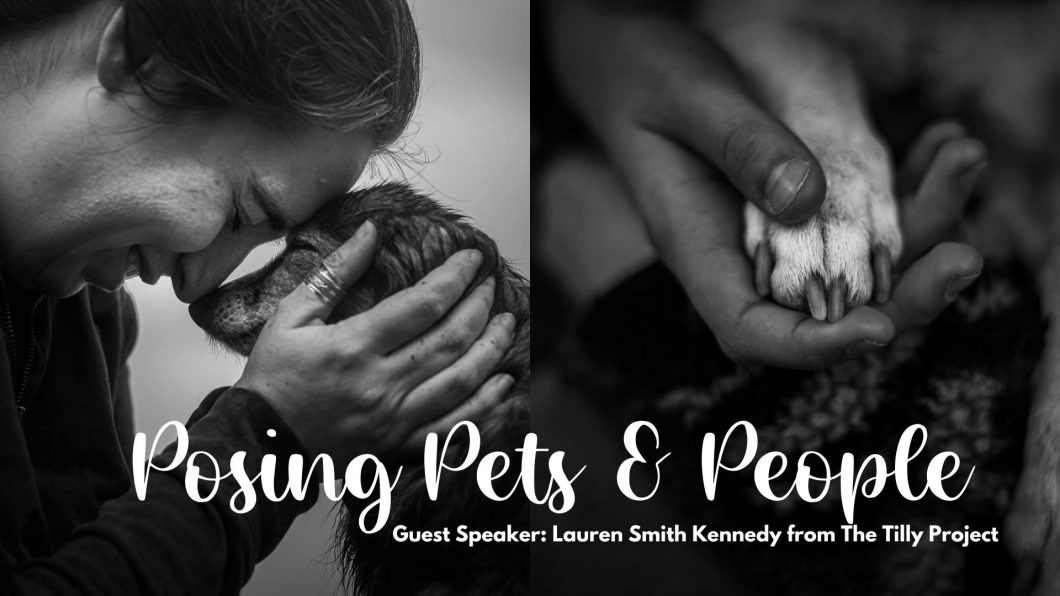
End of Life Sessions & Posing Pets & People: Guest Speaker Lauren Smith Kennedy

Lauren Smith Kennedy from the Tilly Project joined us to talk about her heart’s work: End of Life pet photography. Capturing the bond between owners and their pets who will soon be crossing the rainbow bridge, and inspiring other pet photographers to not avoid this heart-breaking aspect of photography.

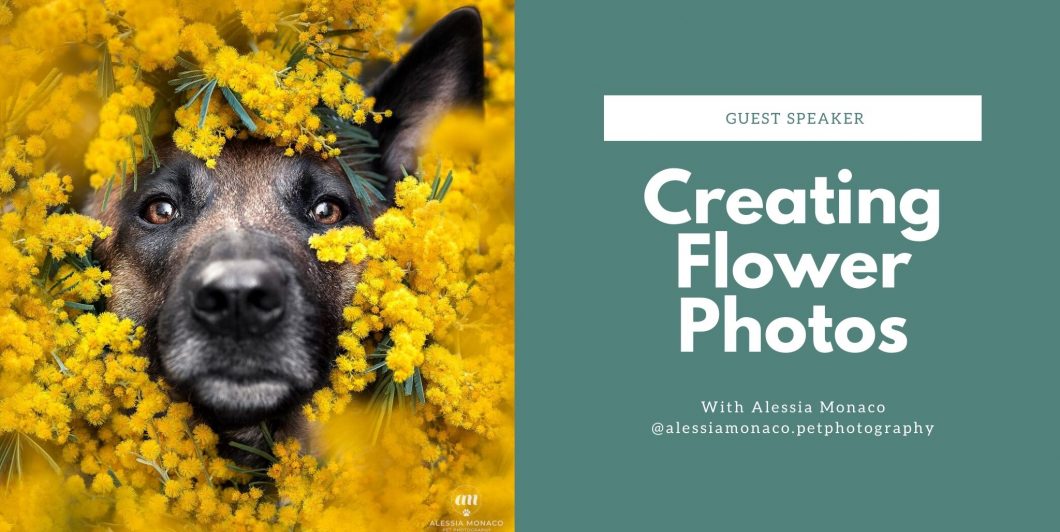
Creating a Flower Photo with Alessia Monaco

We were so lucky to have Alessia join us live to talk us through the process of creating this gorgeous photo of the dog in the wattle flowers.

Hands up if you thought these photos were created by finding the most perfect flowery bush and getting your dog to stick his head through the branches? 

Prepare to have your mind blown. 

All you need to create this kind of photo is:

  • Your camera and lens (Alessia used an 85mm lens)
  • An assistant or two
  • A patient dog
  • A branch or two or bunch of flowers
  • A lot of patience in Photoshop!

I would love to see everybody’s attempts at these photos in Inspawration Connect, so make sure you jump over and share them! Feel free to tag Alessia too if you run into trouble.

And, of course, make sure you go give her a follow on Instagram!