ArchivesEditing Fundamentals

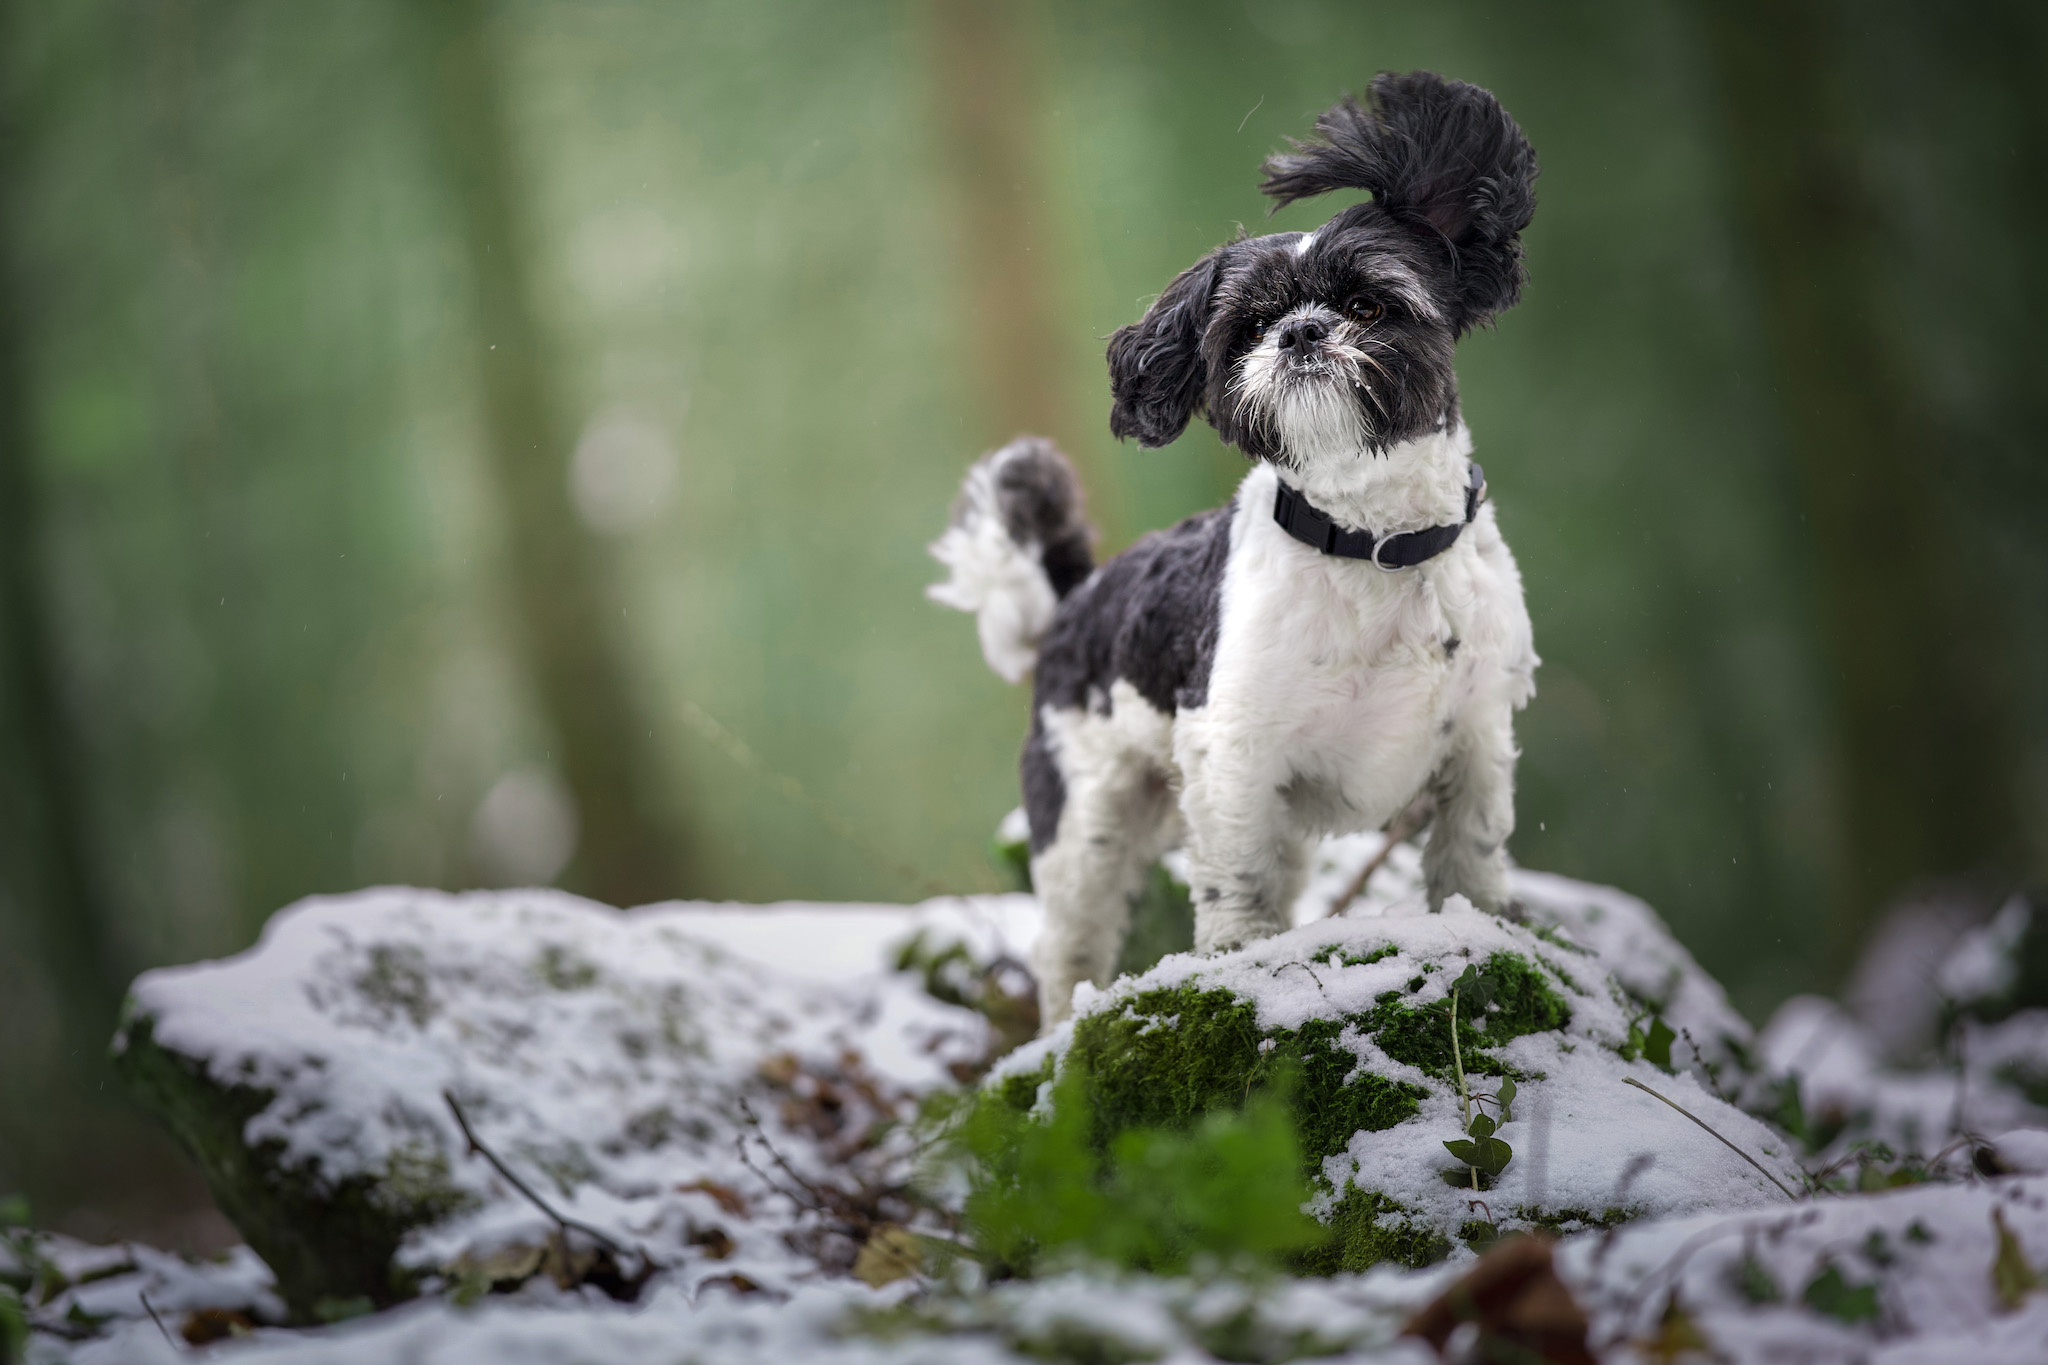
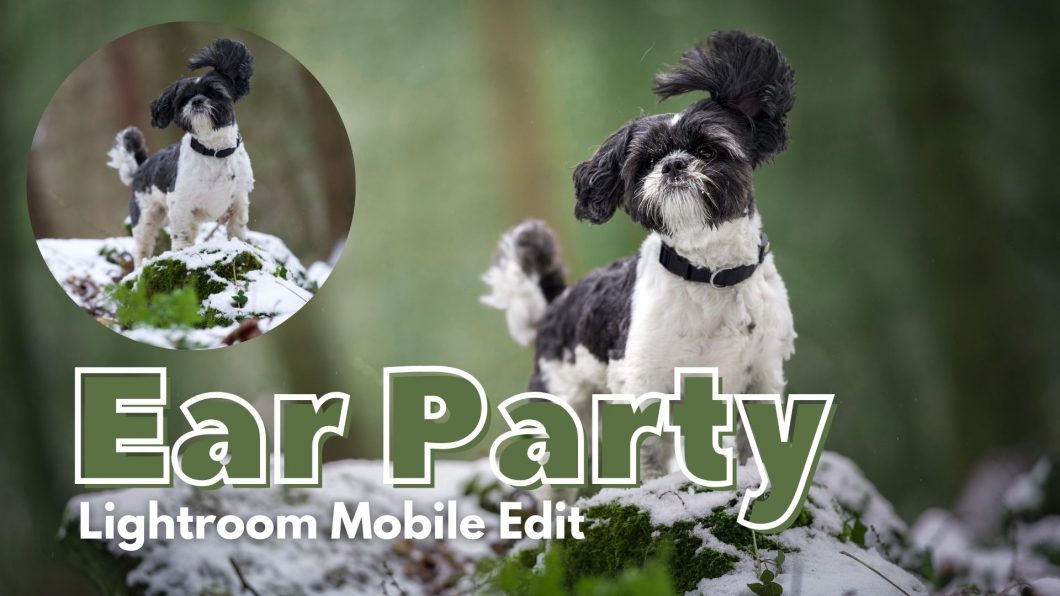
Ear Party: Lightroom Mobile Edit

Some of you may use your phone or an iPad or similar to edit your photos.

I wanted to show you that it IS possible to do a full edit using LR mobile, although I was a bit slower and way less precise than normal – and I think that’s the main point to note. With a stylus or similar, you could likely be very precise, but with your finger, it’s much more difficult.

I did this edit on the JPEG version of the photo as my computer and phone didn’t want to cooperate. You can download the RAW file here but if you can’t get it onto your phone you can download the JPEG version, or if it’s only JPEG version showing up, don’t stress.

Also… I was apparently feeling especially “unmasked” while filming this (I think being on my phone dropped the professionalism a little!) so enjoy this more quirky version of me, including laughing at my own jokes, singing about radial filters and more. 
DSC01871 DSC01871 2

As always, our goal with the photo remained the same:

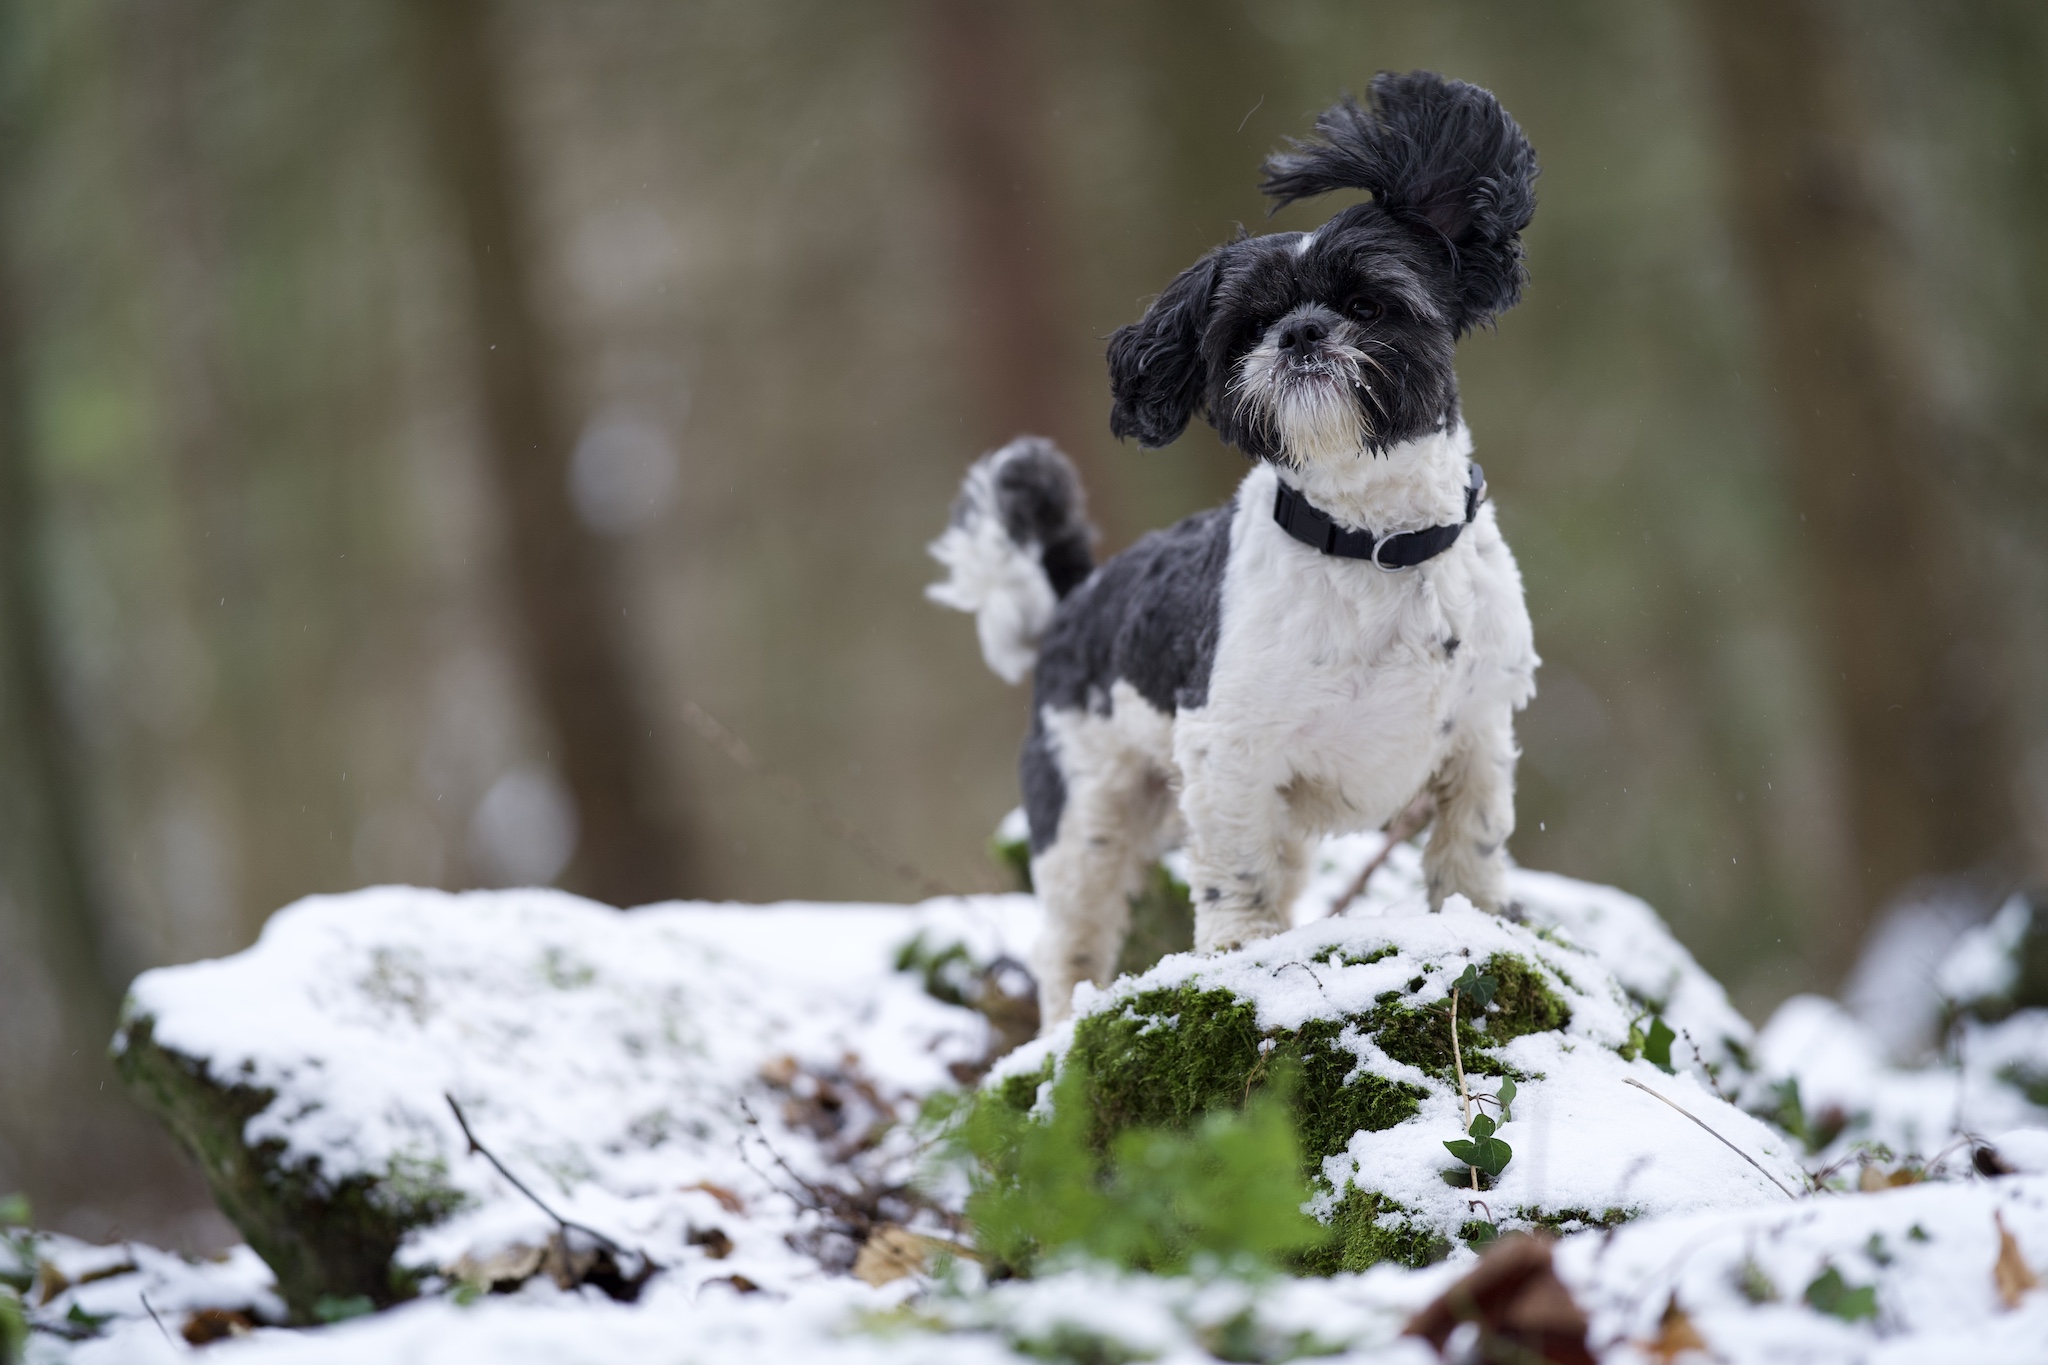
Draw attention to the dog. Remove distractions.

To do this we:

  • Fix the White Balance
  • Add clarity and texture to the face
  • Lower highlights in the snow
  • Adjust the colour of the background to make it more Christmassy
  • Remove colours from Alfie’s legs and chest
  • Bring detail, colour and light to his eyes.
  • Spotlight effect! Darkening the outside, lightening the inside
  • Slight tunnel effect, dehaze behind Alfie.
  • Some dodge & burn for a 3D effect.
Editing Software

I use Lightroom and Photoshop for all my photos, but you also don’t need some super fancy editing software to improve your photos.

The main functions that you need will be found on most free software. Of course, you might want to upgrade later, as your needs become more sophisticated and you feel limited by the features of free programs.

Check that you can:

  • crop and rotate your photos
  • adjust the temperature or white balance
  • adjust the highlights, shadows, whites and blacks.

Those are the main things we want to change at least at first so as long as you can do that, you’ll be able to fix a lot of the elements of your photos if they aren’t perfect straight away. 

Lightroom mobile (free version) does most of the global edits you need. Snapseed is another good option, and I’m sure there are others.

Later, we will definitely want to make more specific edits to parts of our photo, so I highly recommend finding an app or program which allows you edit small, specific areas of your photos. 

Snapseed does this (though it doesn’t allow you to be super accurate), as does the subscription version of Lightroom. The reason this is important is to fix specific areas of our image. For example, dogs often have yellow or green chests due to the light bouncing up from the grass. If we desaturate the whole image, well, the whole image will be desaturated. 

Selective edits allow us to JUST edit the colour of the chest. Or, in photos where there are distracting bright areas, we could selectively darken those areas, rather than the whole image. I don’t know every editing app or program on the market, so try some and find one you like, but know that most professional photographers use Lightroom and Photoshop on a monthly subscription. Other options like Affinity Photo and Pixelmator Pro are also options, but I’ve found they lack some of my favourite and important features from the Adobe software.

I recommend though that you stay away from most filters and presets. Why? Because they don’t know what our photos are. They don’t know the lighting conditions or the colour our dog should be. They may look trendy, but I feel they rarely do our photos justice. From presets, I’ve seen plenty of too bright areas which draw our attention from the dog, I’ve seen orange dogs or tan dogs turned cherry-red, blacks pulled up so that the dogs are matte and hazy, and so on. 

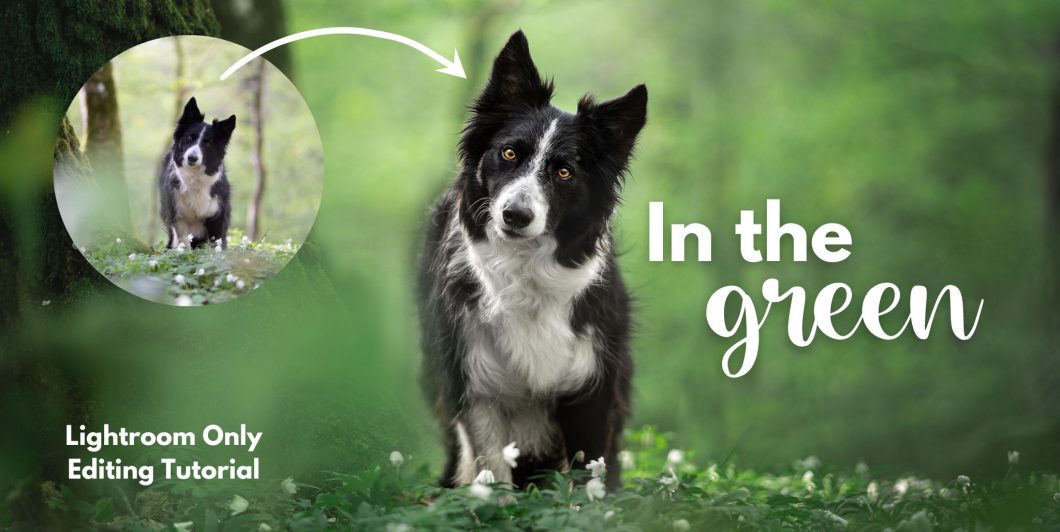
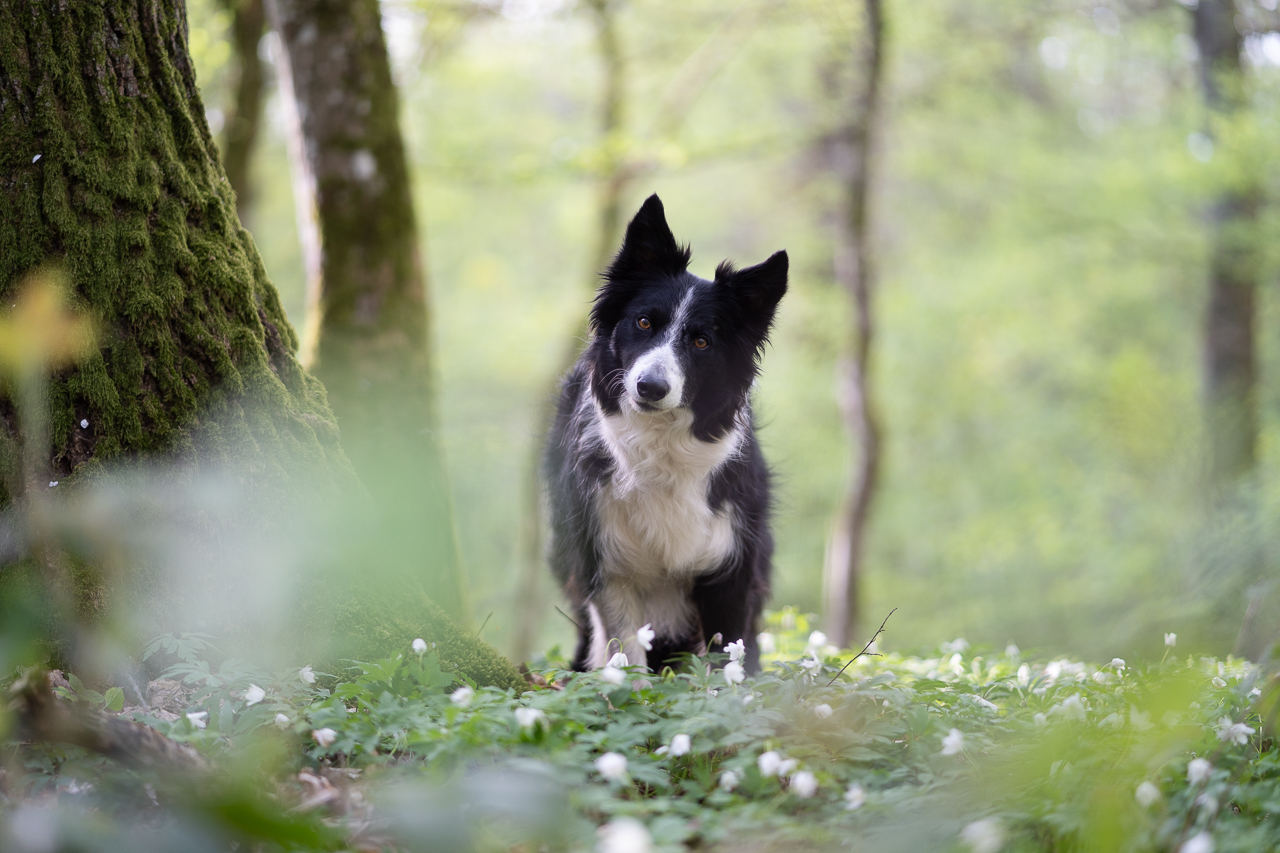
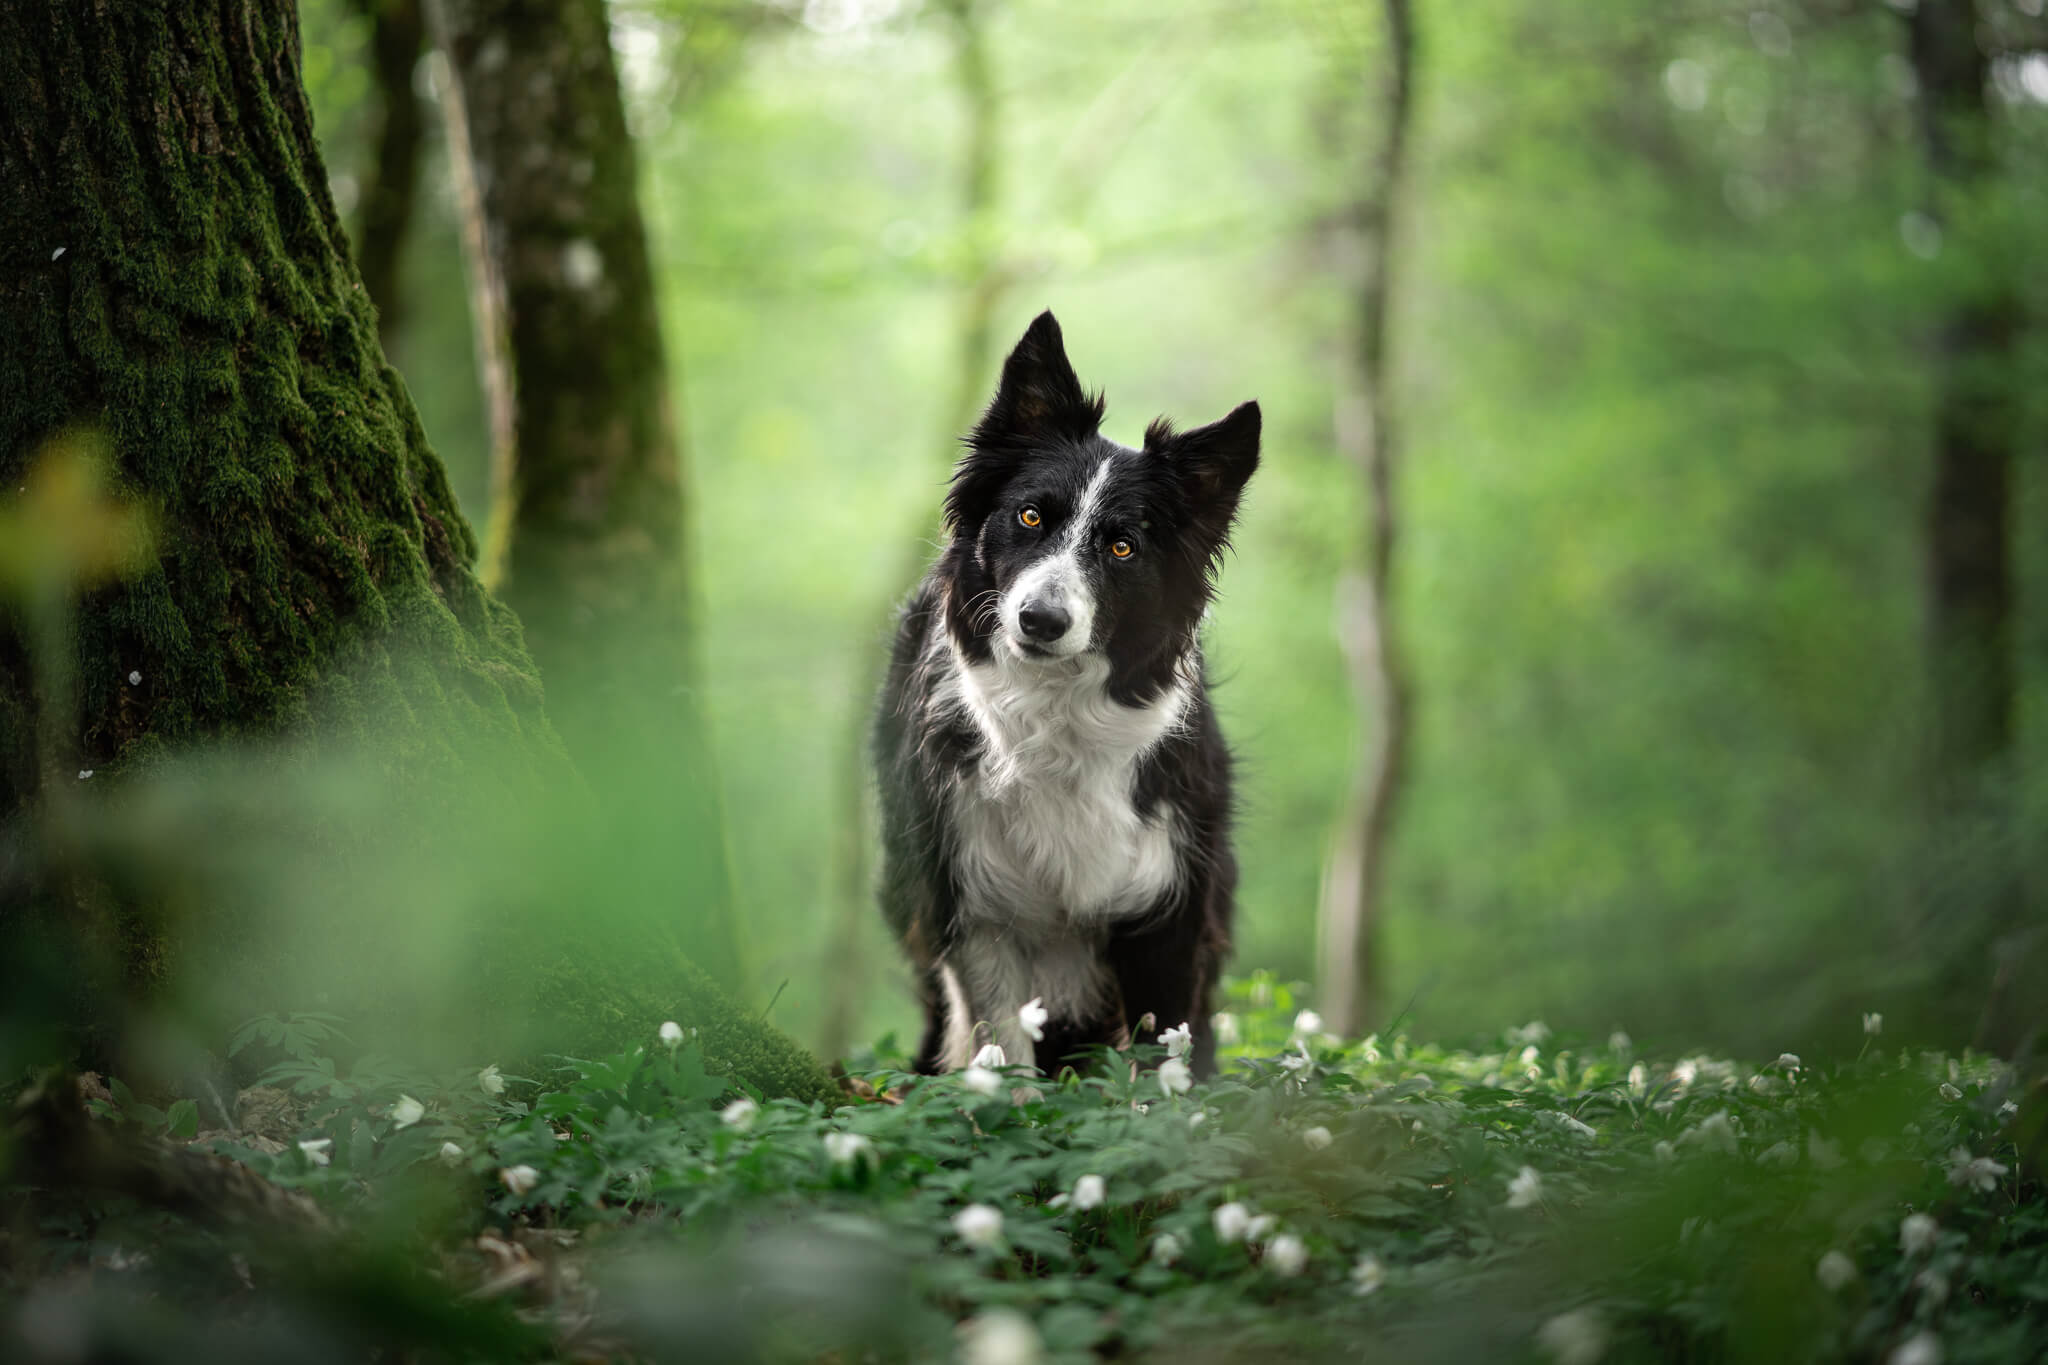
In the Green: Beginner-Friendly Editing Tutorial

This tutorial takes place on Lightroom only, and discusses with some emphasis making editing choices or having an editing rationale, rather than blindly following a tutorial. 

This tutorial will work best if you have explored around Lightroom before, even if you aren’t totally comfortable using it.

We will discuss:

  • what our goals are in editing
  • various methods to set the white balance
  • using the global adjustment panel
  • removing chromatic aberration/fringing
  • using masking, especially radial gradients
  • creating a soft glow behind the dog
  • briefly looking at the clone/heal tool
DSC06683 DSC06683

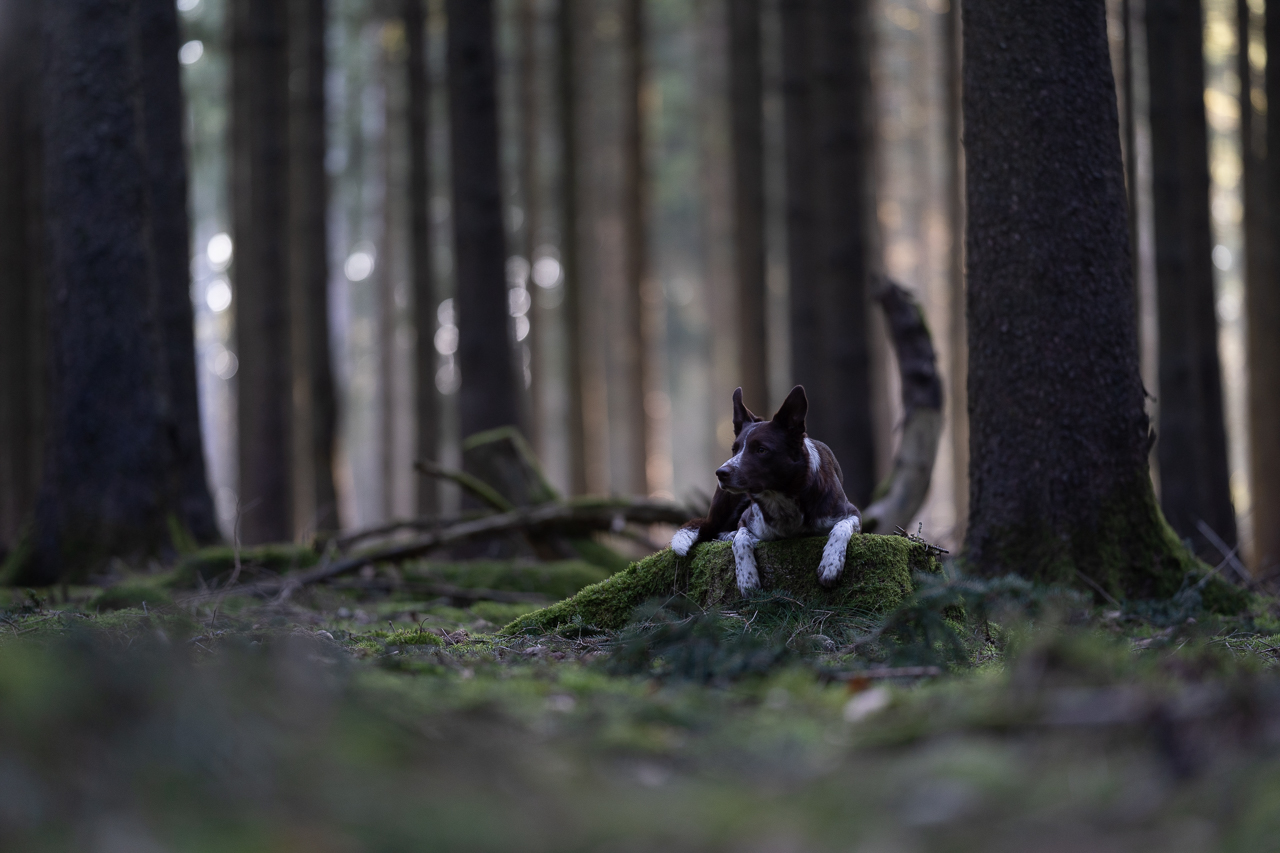
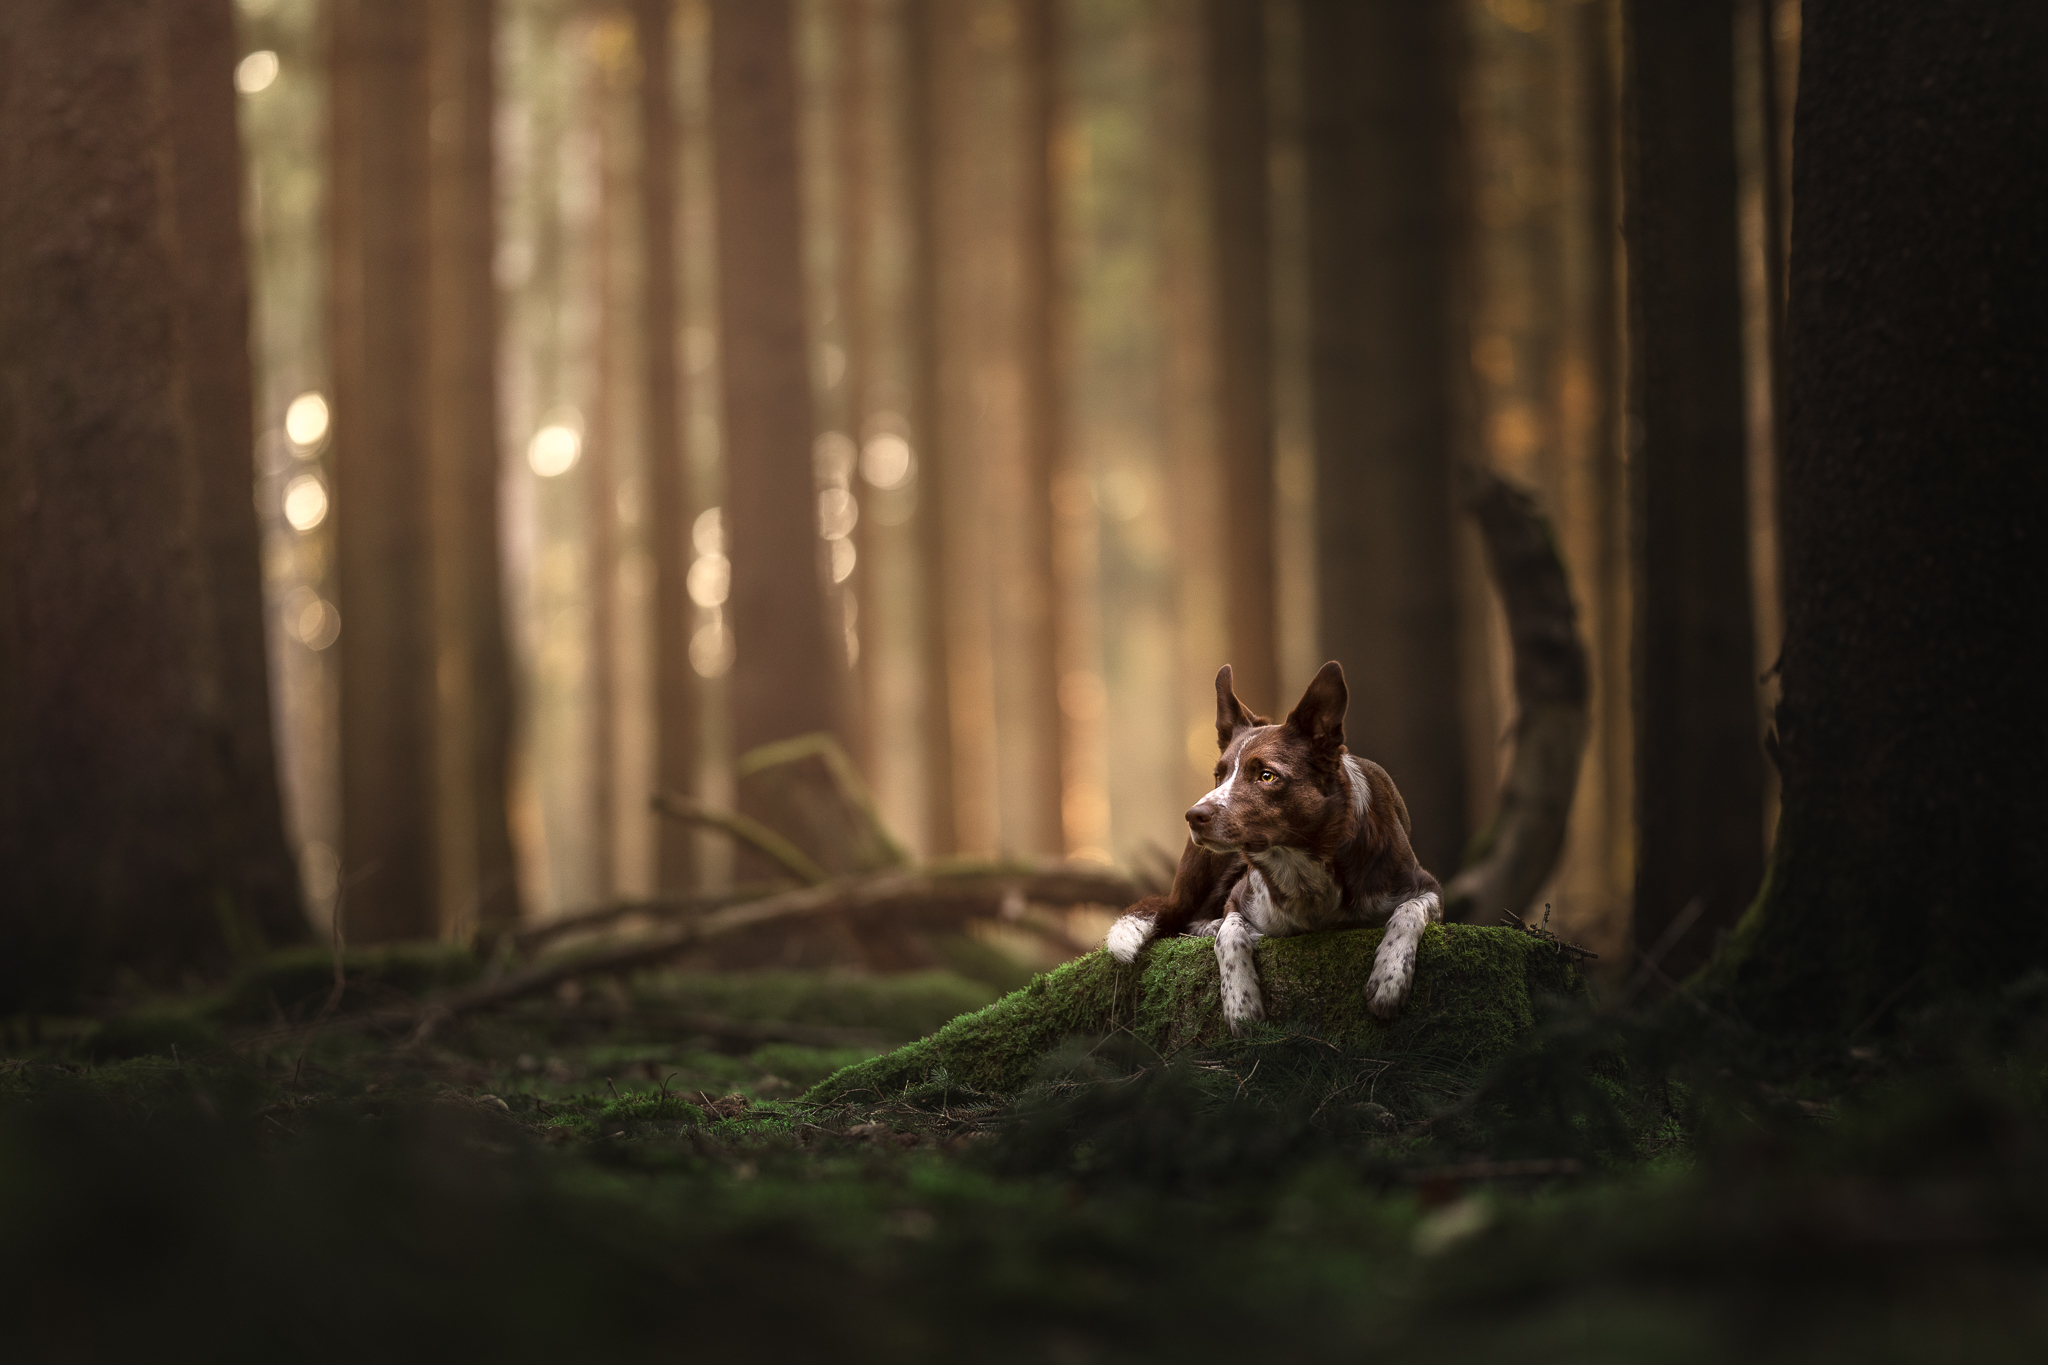
Editing Rationale Talk

On this lesson page you will be able to access:

  • Any downloadable material (pdf booklet and RAW file if included)
  • The link to access the live event, and/or the recording afterwards
  • any other helpful material or resources
DSC01350-2 DSC01350-Edit

Note that the pdf and images in the booklet look VERY pink/red on my screen due to the way my PDF reader renders colours. My images are NOT that red.

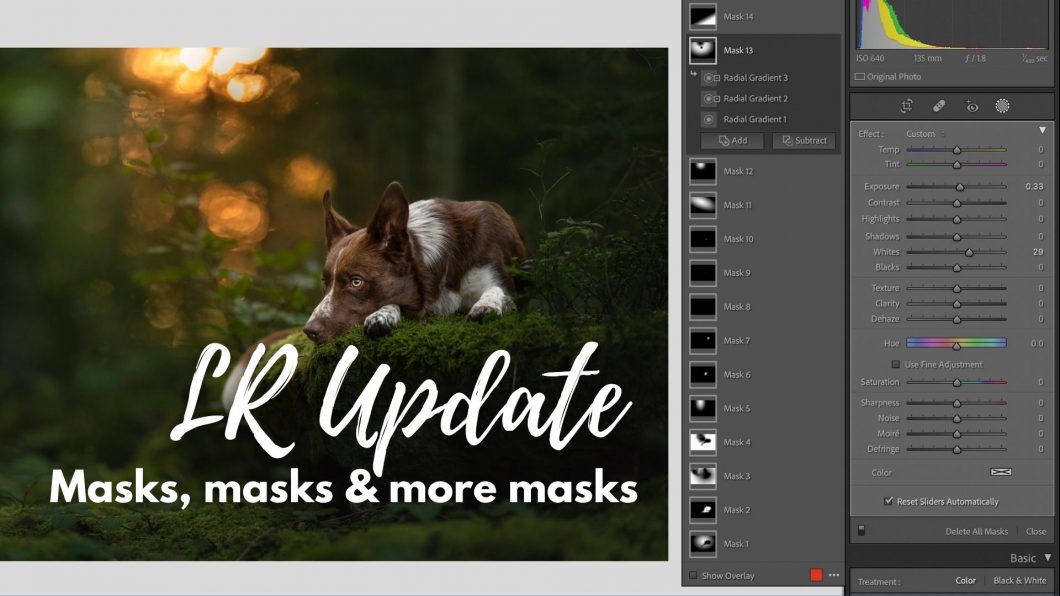
LR Update: Masks, Masks & More Masks!

In this lesson we’re going to be exploring how Lightroom’s new masking features, discussing ways we might want to use them, and what to do if we don’t want to use them (hint: you don’t have to do anything differently, if you don’t want to!). We’ll also be talking about some of the traps or pitfalls that we could stumble into if we rely too heavily on the “select subject” feature (hint: do you want your dog to look like a sticker?) and how we can hopefully get the most out of this update for our editing work!

Check your masks

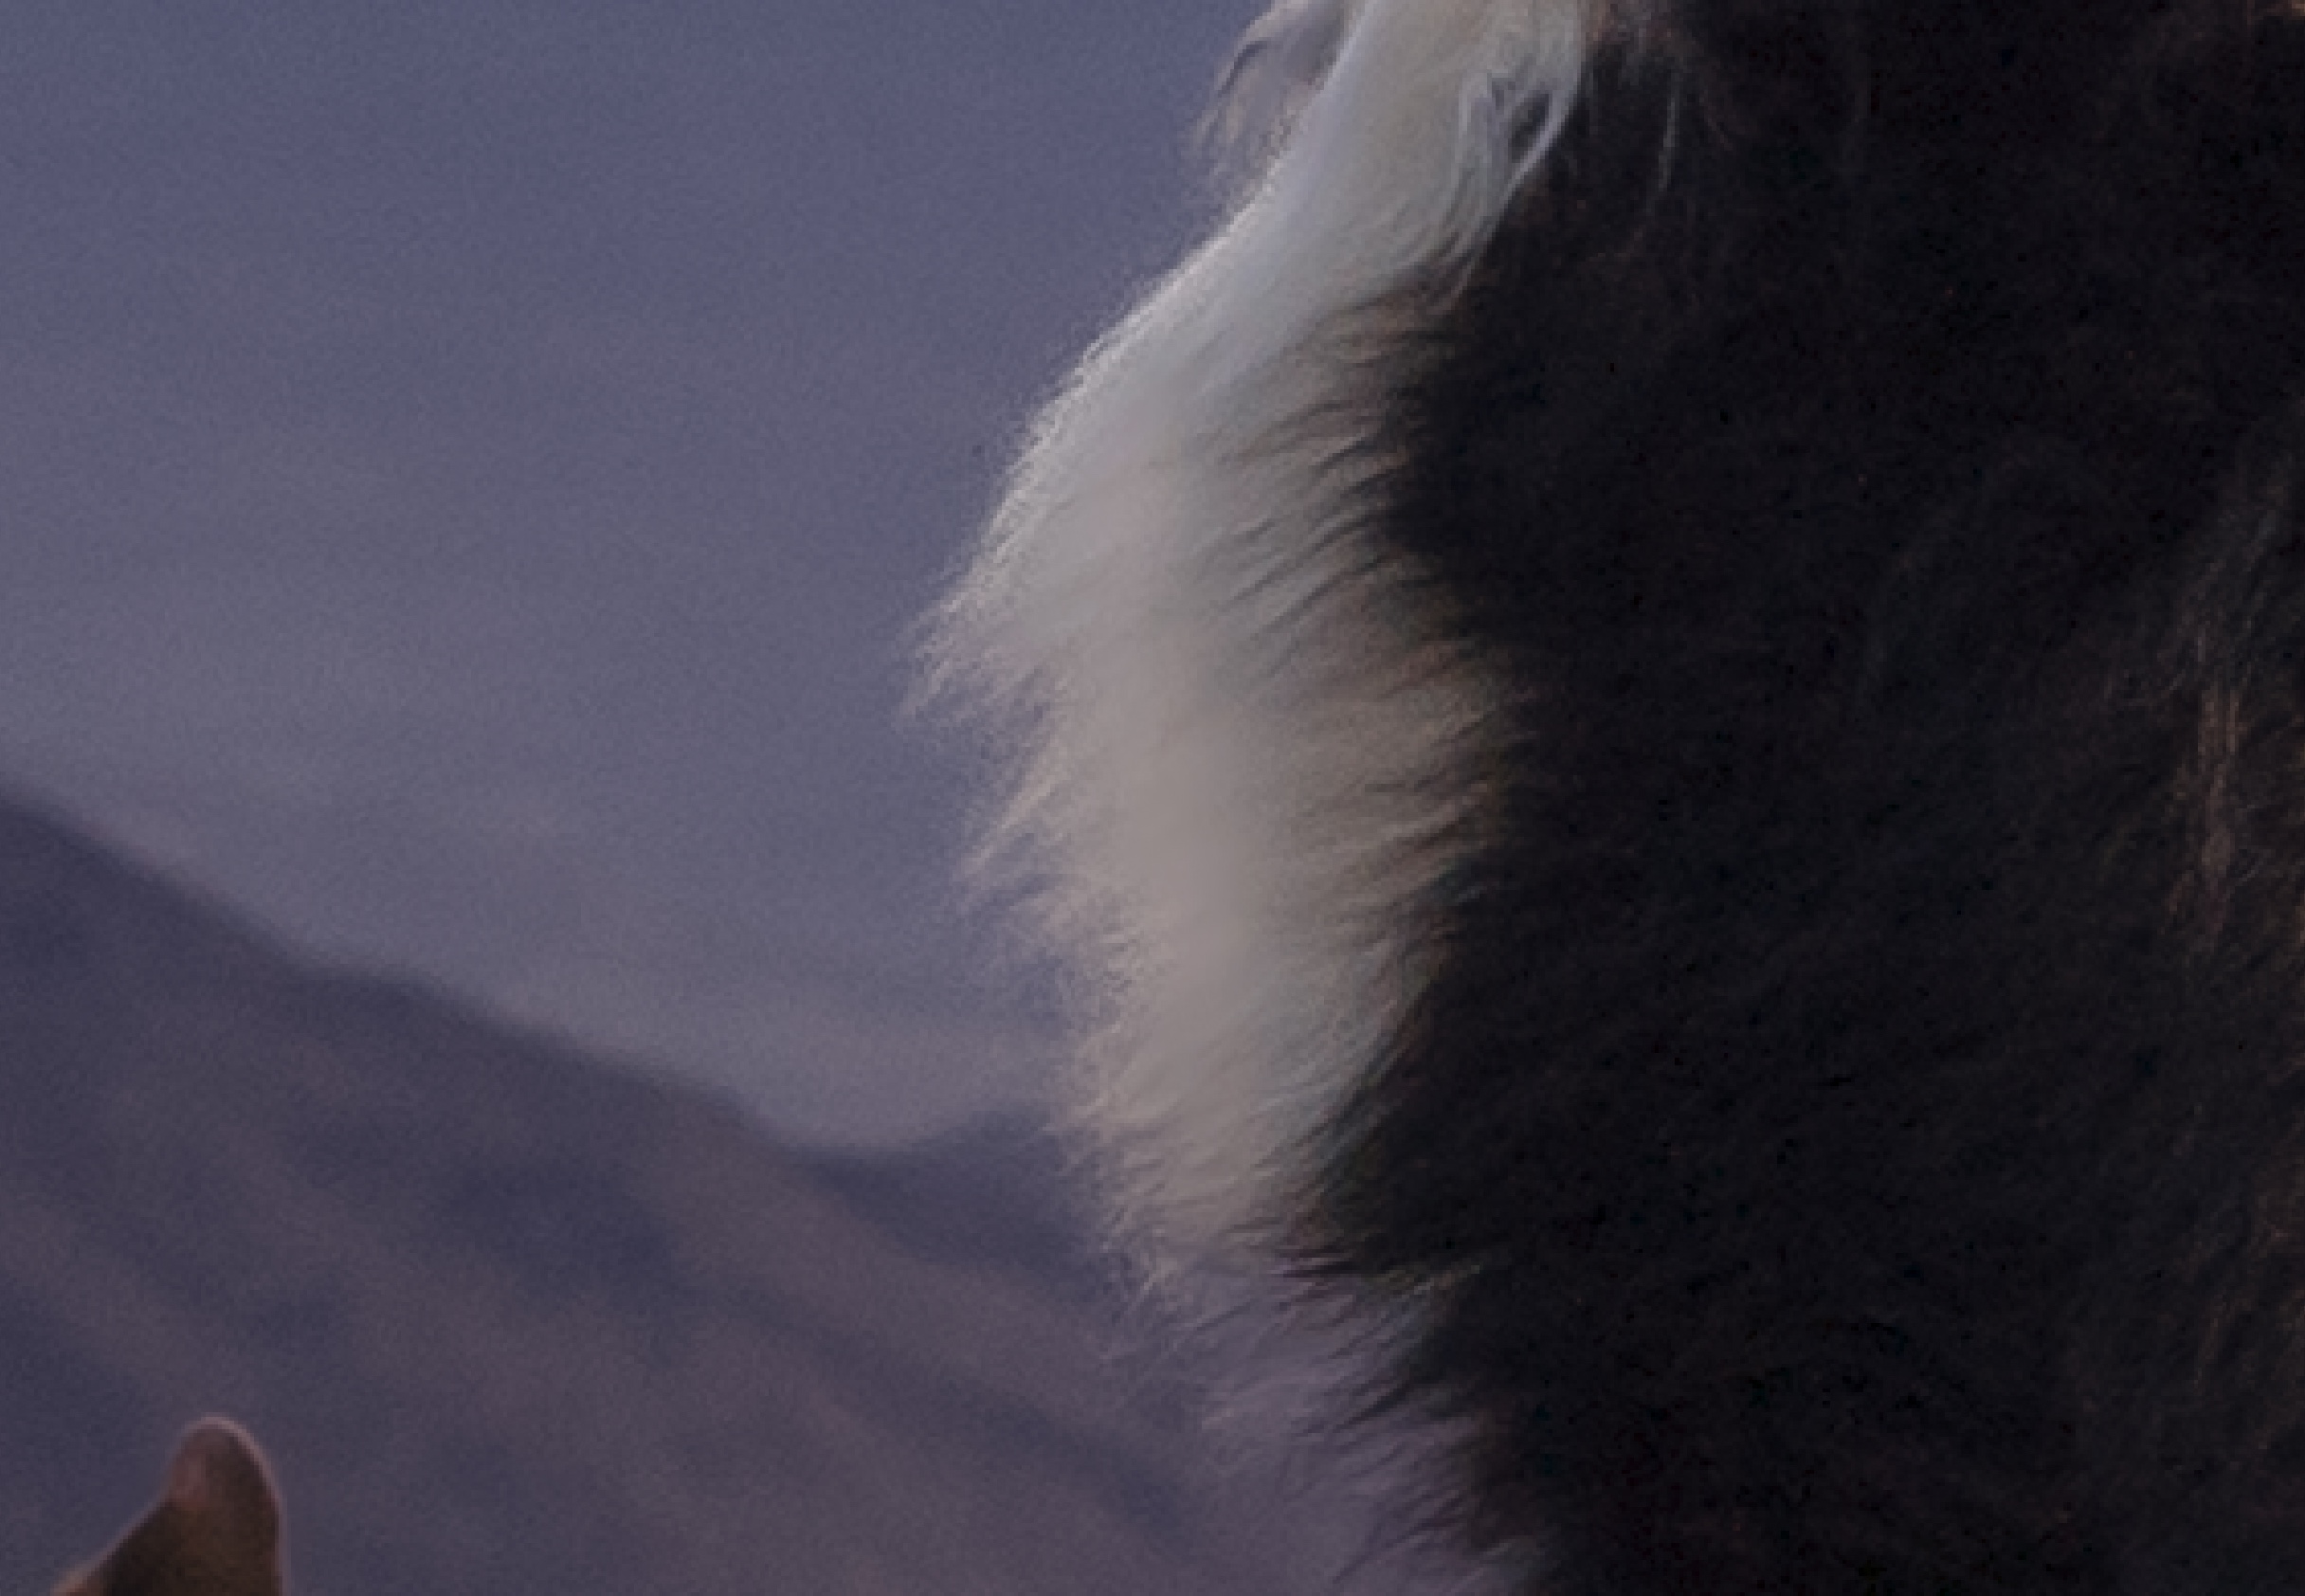
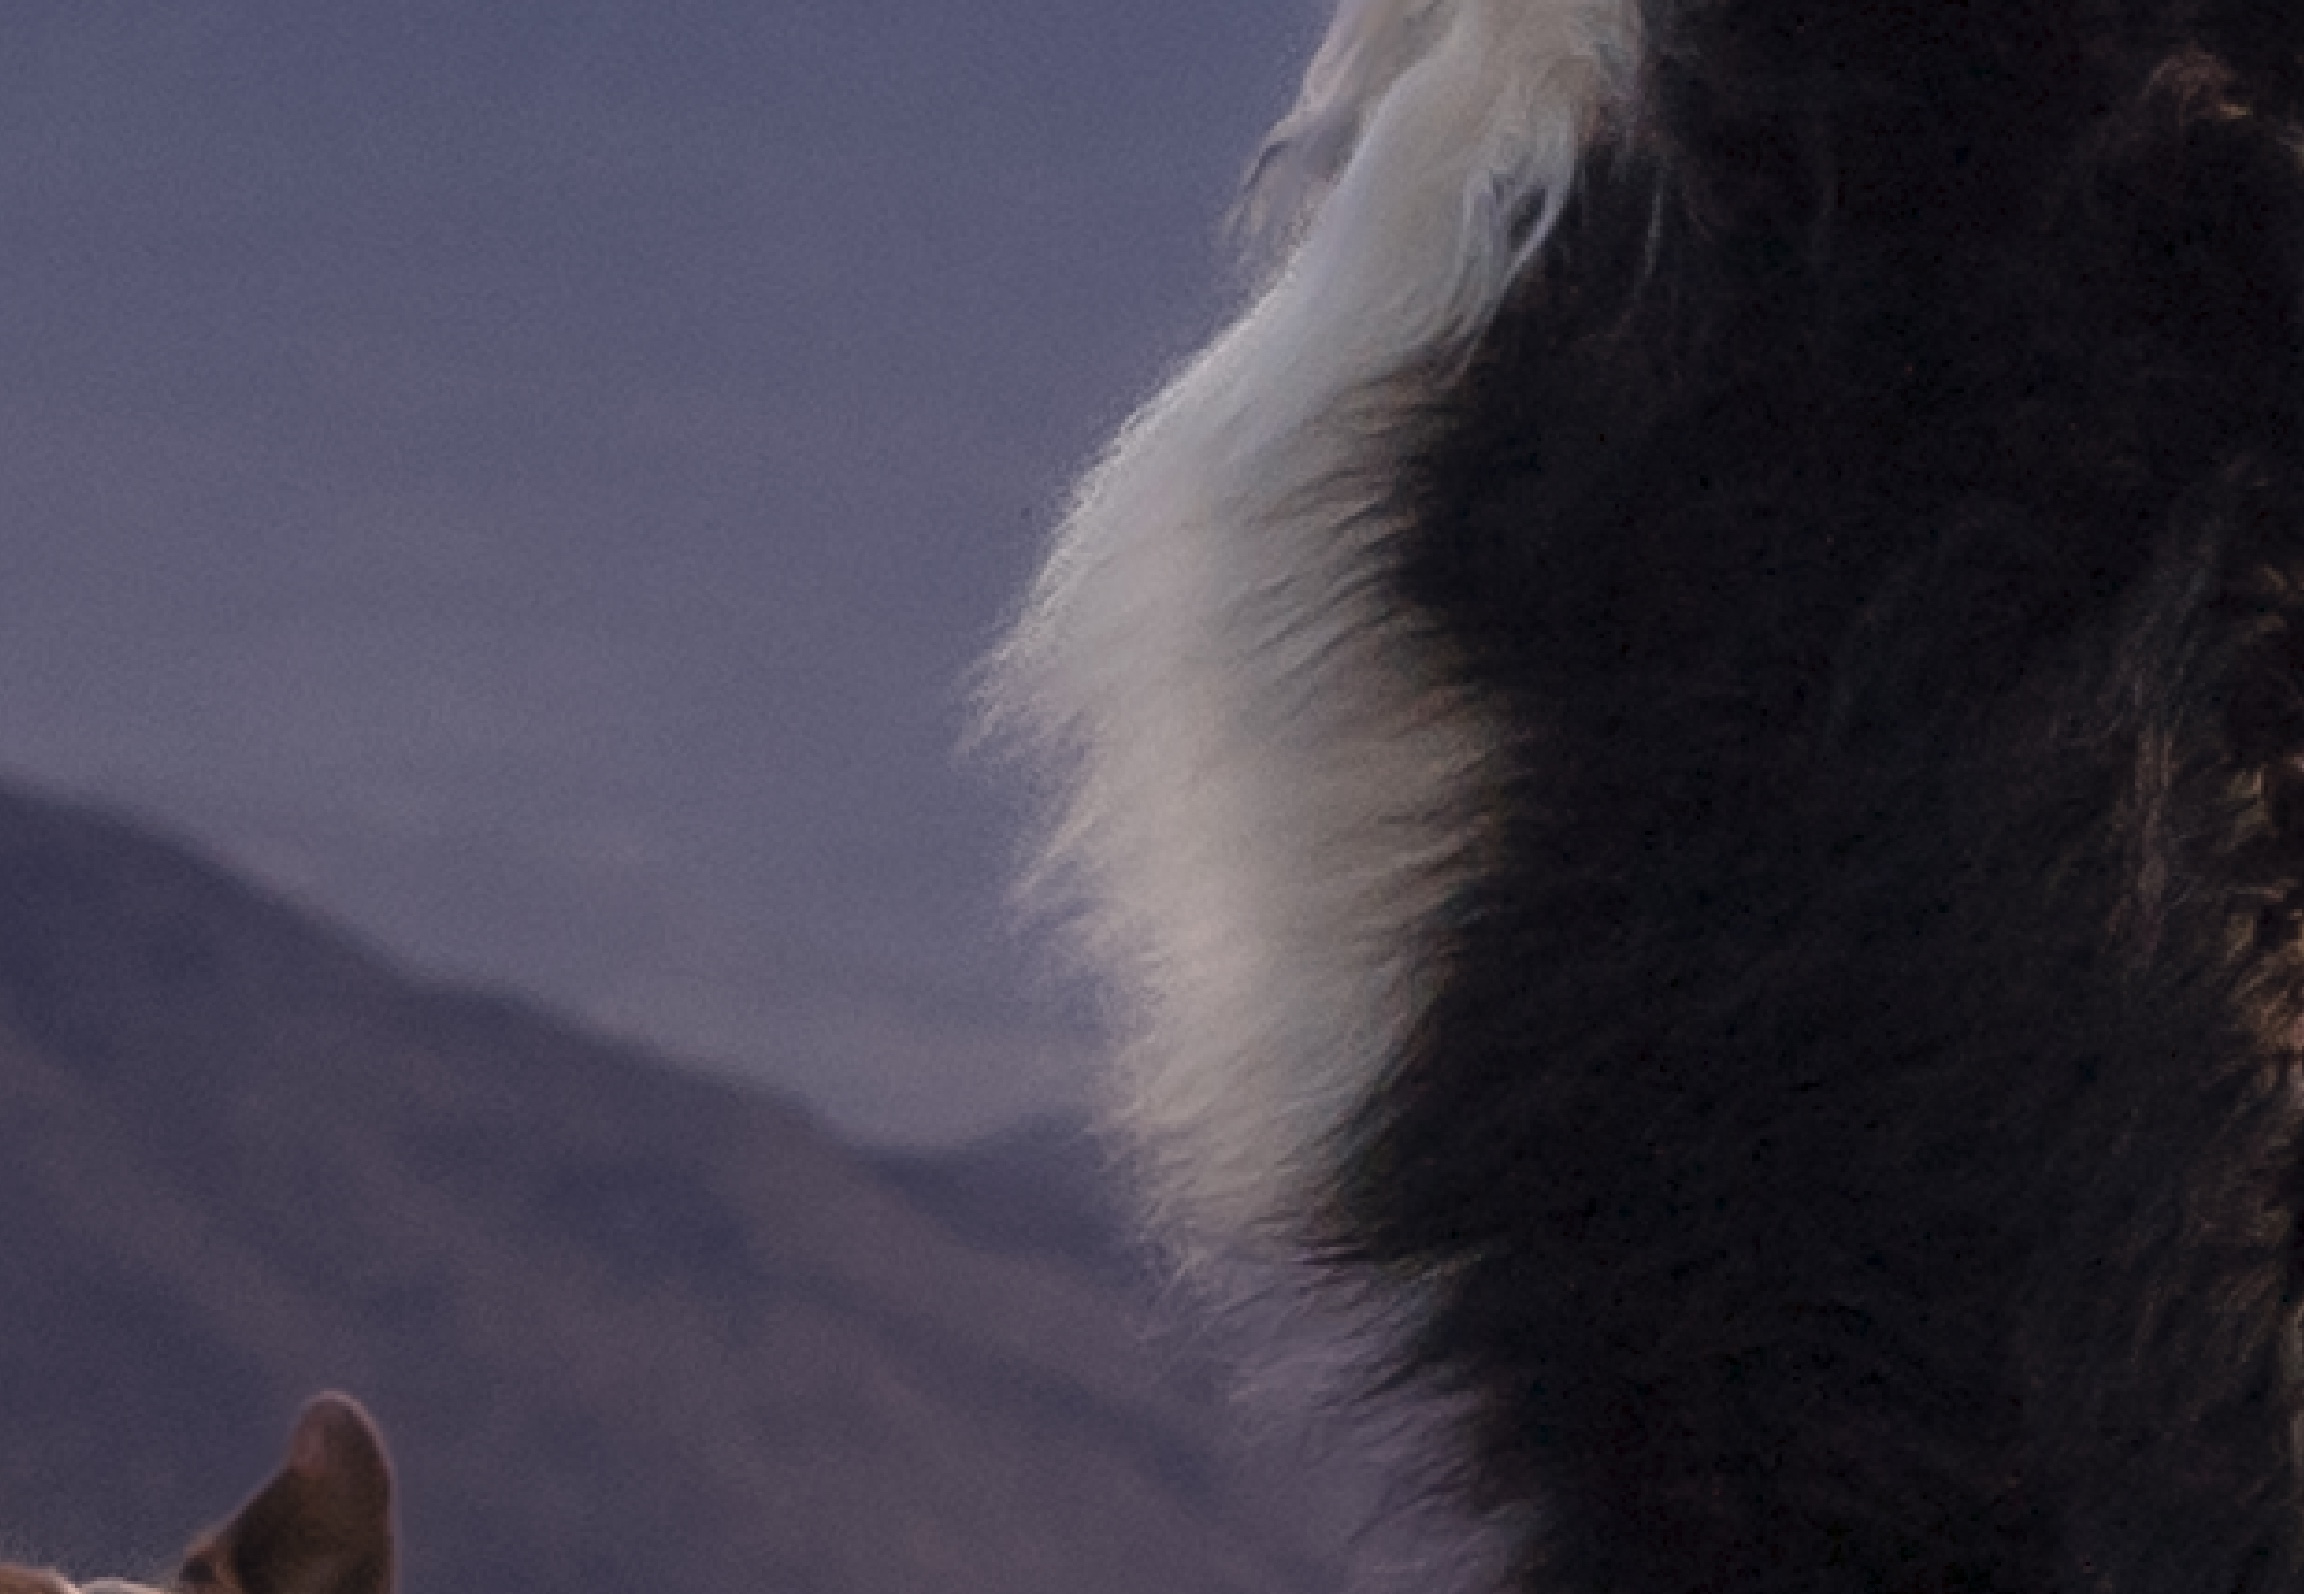
Before moving on to more extreme edits, or exporting your photos, do a good, thorough check of your masks if you’re darkening the sky/background and brightening your subjects, especially if you’re using the “Select Subject” tool. Often, it can miss small bits and pieces (see below example!) and these can look very strange and out of place!

Watch out as well that the new masking features don’t just blur furry parts of your subject, or parts where some fur meets the background and it has a hard time finding the edges. You will want to fix these masks up.

Below: before & after. If you see these blurry edges, just use the brush tool to either add or remove the effect from where it’s blurry.

Mask blurred edges Mask blurred edges 2

Workshop: Seeking Distractions

Here is the screen recording of the free workshop for mailing list members, held in December 2020, where we discuss different kinds of distractions and then set about finding them and fixing them in a few of my images. As it’s a screen recording of my screen, rather than the meeting itself, the perspective you see might be a little different to what a participant would have seen – but I’m sure I’ll work out these technical issues for future workshops!

I know as well that a lot of participants were pretty quiet, and that’s totally ok! This was the first time we’d all gotten together, and it can be pretty intimidating to unmute yourself and speak up for the first time. My sincere hope (and goal) is that when I open the membership area of my site, that we will form a supportive Learning Community together. I’ve always called it a learning community, because it reflects how I operate. Although I want to teach you and share my knowledge with you, we will all learn better together, sharing and exploring, trying new things, asking questions, and engaging with one another. As a teacher in schools, this was how I ran my classroom. I never believed in “chalk and talk” as the most effective way to teach… So while this workshop was a little bit quiet, I foresee workshops run once the learning community is open as interactive events, where we can discuss, share, ask questions and receive guidance on our work.

But enough from me, I’m sure you want to get to the video. Below you will also find a link to download the PDF I walk through at the beginning of the workshop. Please do not share this with others, or screen-record this workshop. 


How to Edit Out a Leash in Photoshop!

This tutorial will require a bit of editing in Photoshop. Unfortunately there’s no real way to remove a leash in Lightroom (at least the results when I’ve tried haven’t been good) – and I’m quite sure there would be no way to do it in most free apps.

That being said, you don’t always have to remove a leash from a photo. Sometimes photos of a dog standing next to their people who are holding the leash adds a connection between them. Sometimes the photo was a candid, and the leash is too big, or crosses too much of the dog’s body to be able to remove it without making a complete mess of things.

If you’re taking a photo of a dog which has to be on leash for whatever reason (instead of, say, to represent the connection between dog and owner), my recommendations to make your editing job much  easier would be:

  • Use a thin, black leash
  • Stretch the leash out either behind or straight away from the dog. Don’t let it drape or cross over the dog’s body or it’s much more difficult to remove
  • Remove the dog’s harness and/or halti. Using a thin collar without tags will also make editing your images easier
  • As always, think about your background and location. For leash editing, a simpler background will make your job easier. The more detail and variation there is, the more specific and detailed you need to be in the edit.
With the introduction of Photoshop’s “Remove Tool” (which works EXCEPTIONALLY well) I’ll be doing an update to this lesson soon!

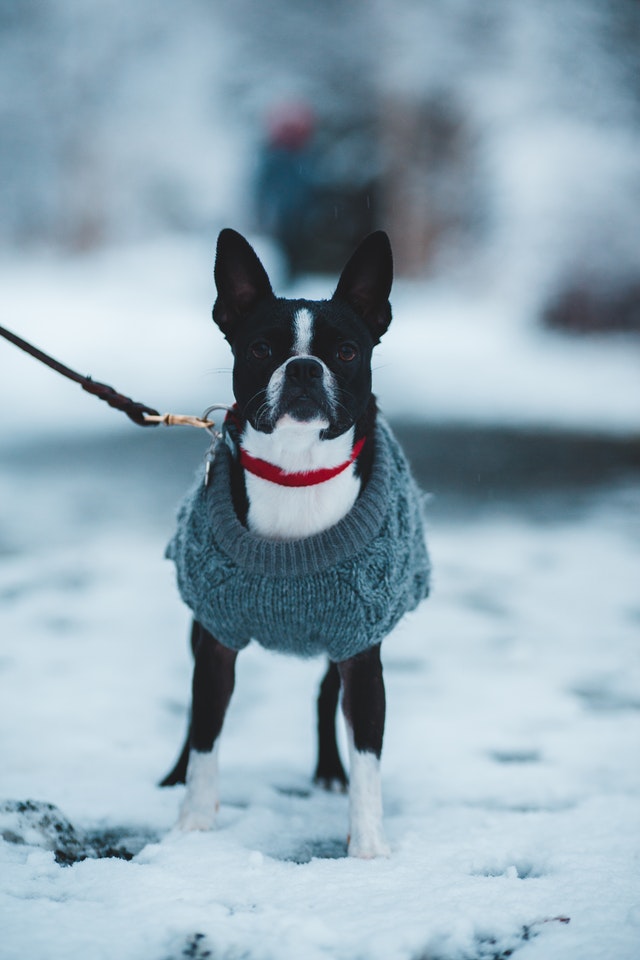
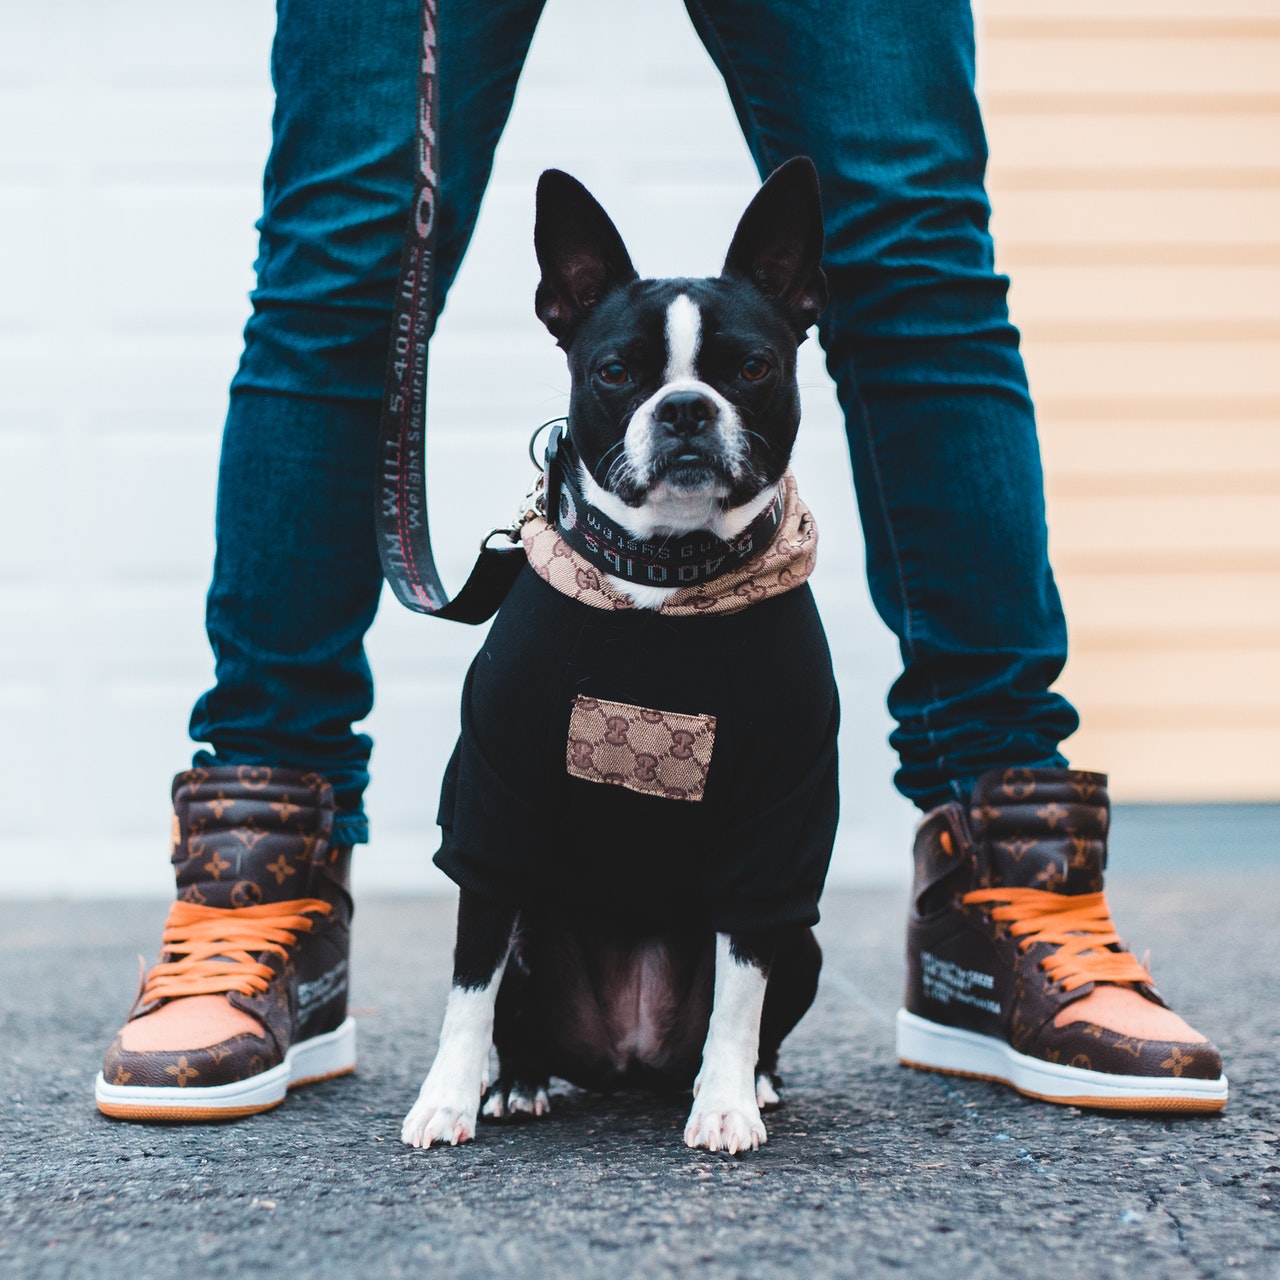
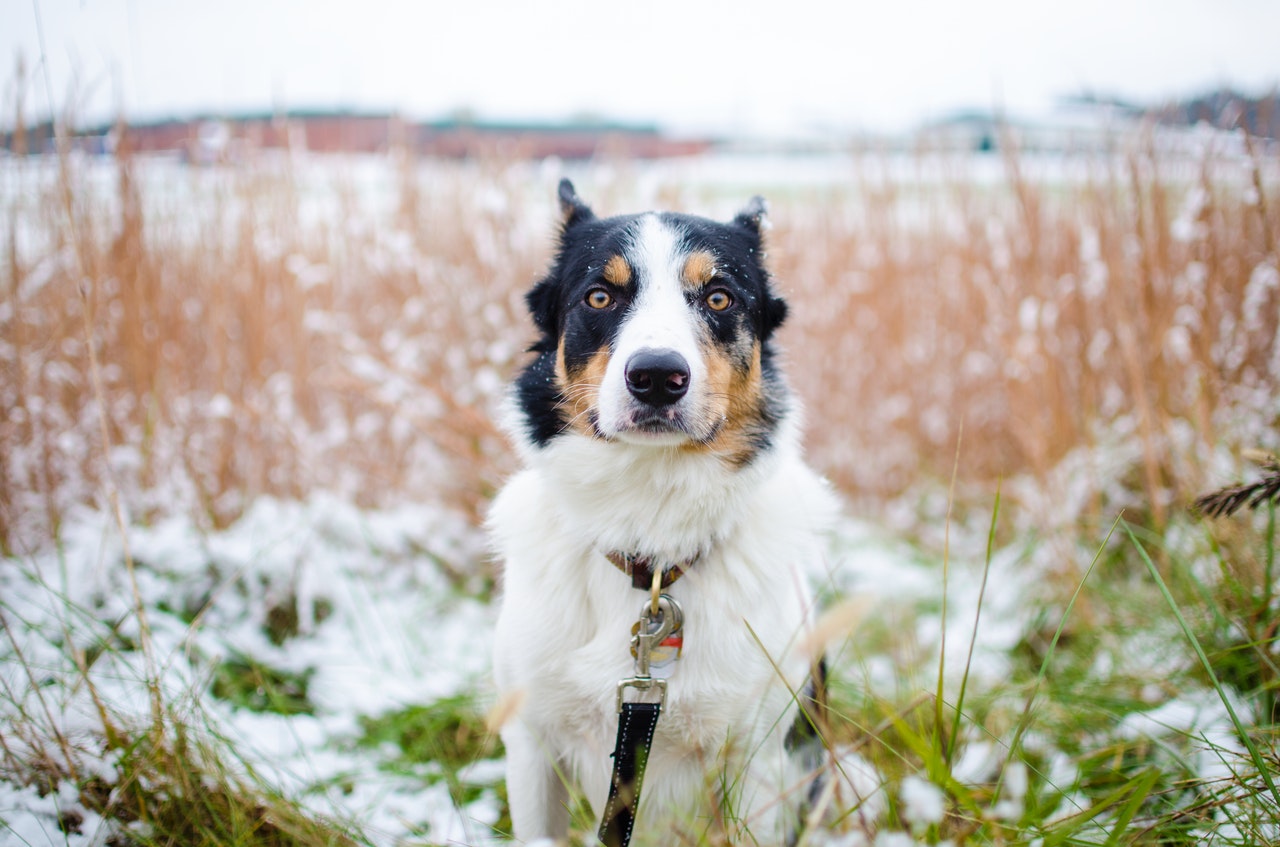
Leash example photos

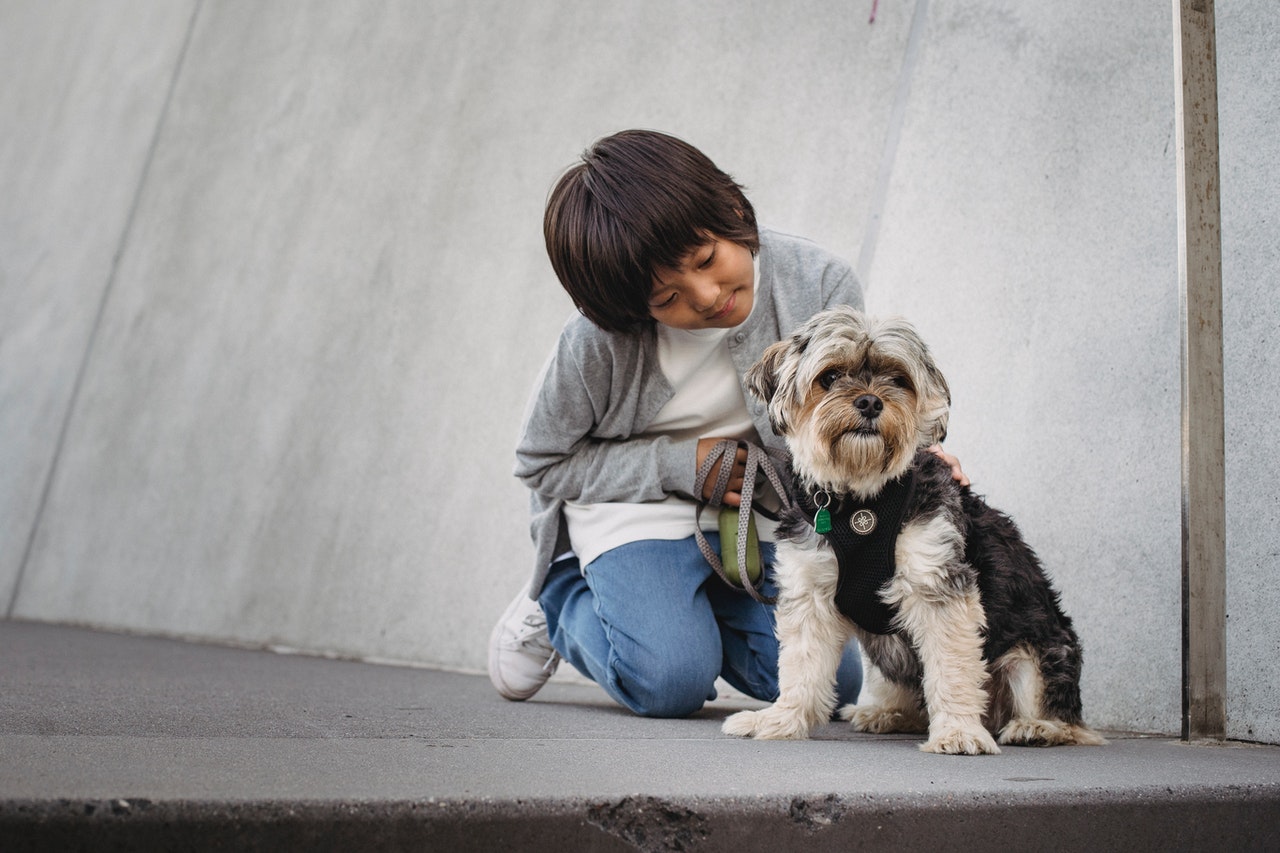
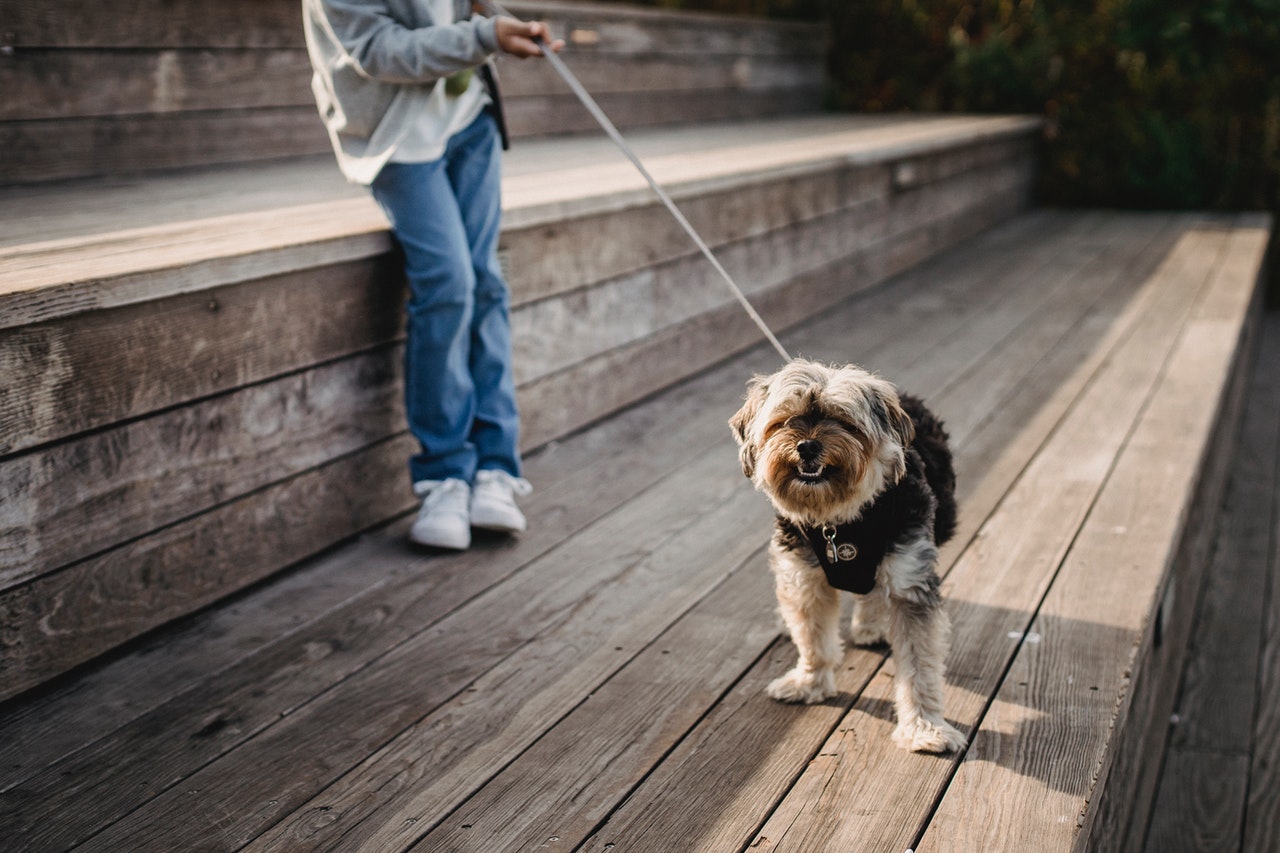
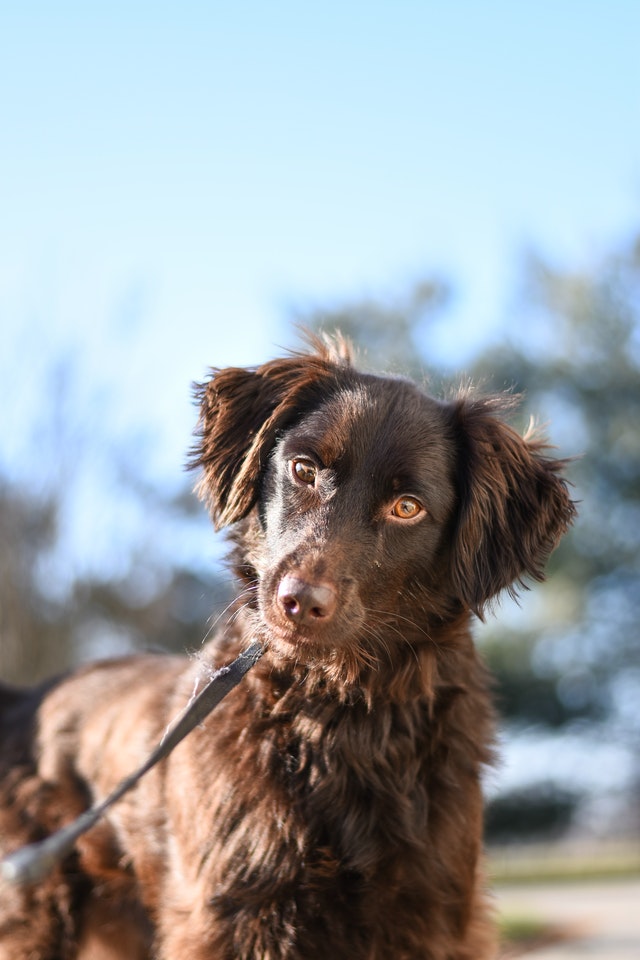
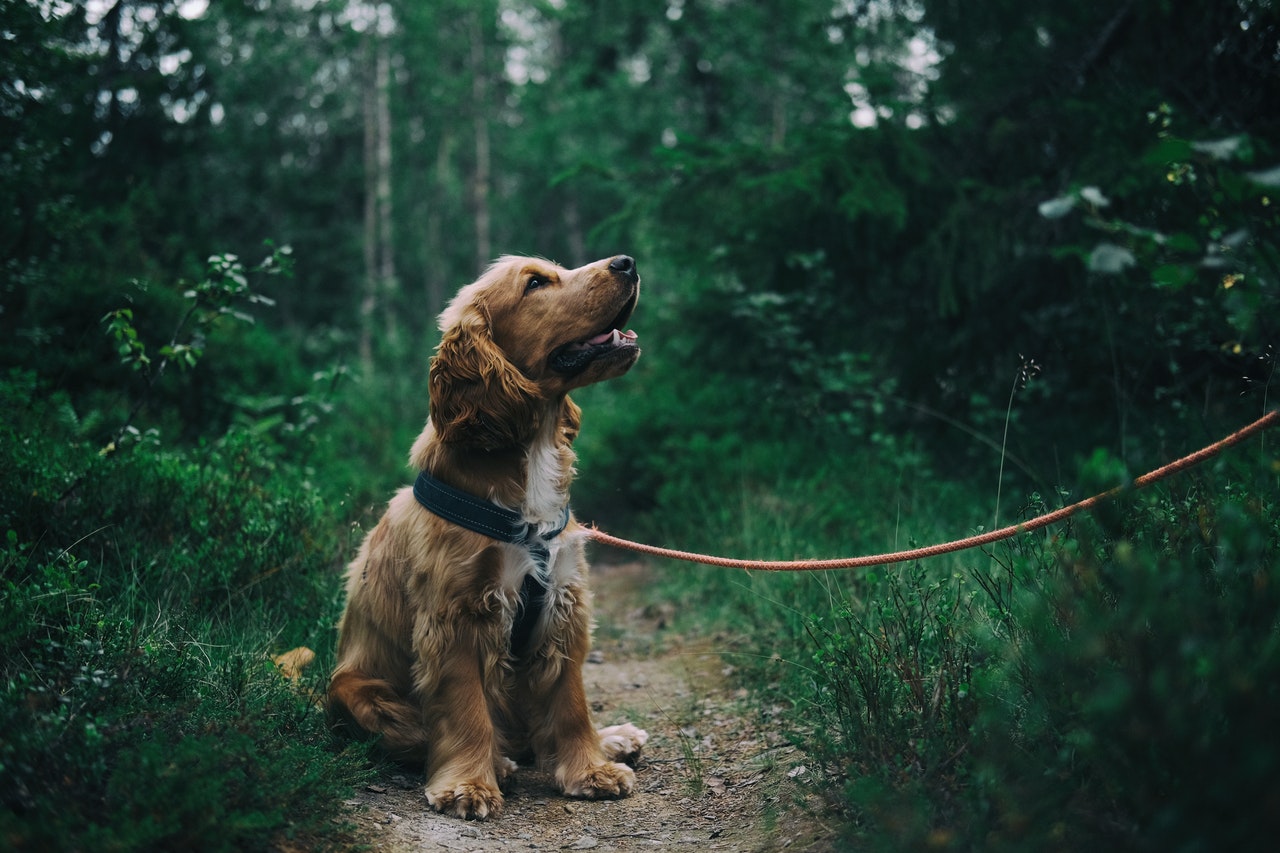
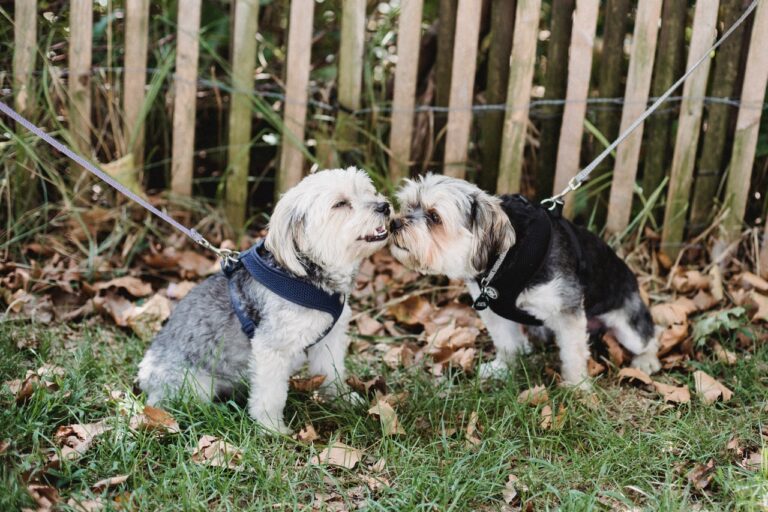
The photos below have all been taken from pexels.com so you can find them yourself if you want to have a go at editing out different kinds of leashes – these are only the small resolution files so I wouldn’t recommend working on them from here. If you hover over each image you can read my thoughts on the leash removal for that particular photo.

Leash removal steps, in Photoshop

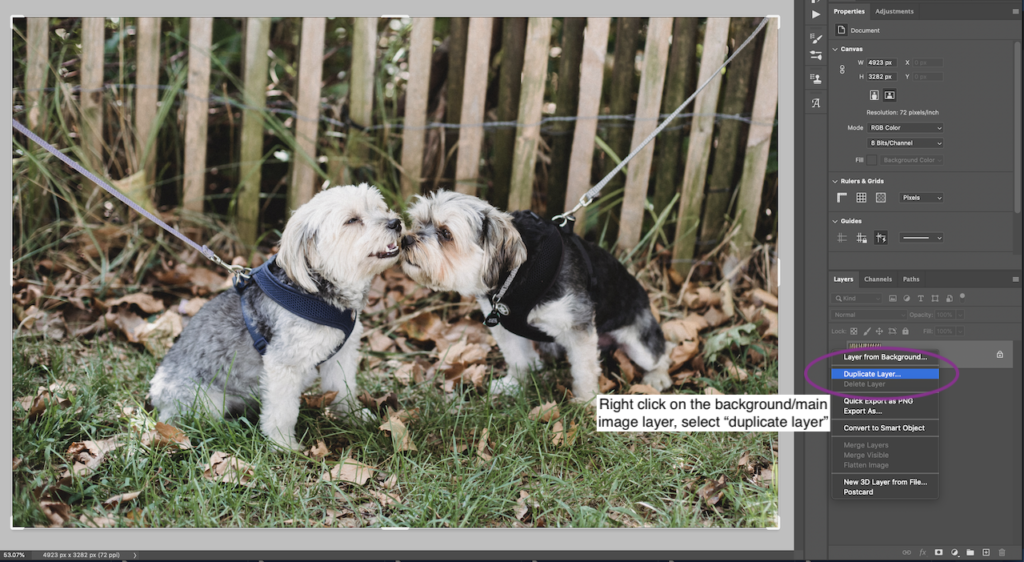
I will be using this image (also from Pexels) for the step-by-step guide – it is a more “standard” photo, without a soft blurry background, so more likely something that would be achieved from a kit lens or even a phone, while you are still learning. Learning Community members will also have a step-by-step guide to editing a leash that crosses the dog’s body.

1. Duplicate your layer

We always want to keep our original image safe, so that if we make some weird edits, we always have an untouched copy as a backup. I recommend not working on the duplicate layer, either. The worst thing in the world (and trust me, as someone who taught myself Photoshop over 15 years ago, I dealt with this MANY MANY times) is to do an hour of editing, realise you made a mistake way back in the process, and to have no (easy) way to fix it without undoing all your work, or making a big mess of things. 

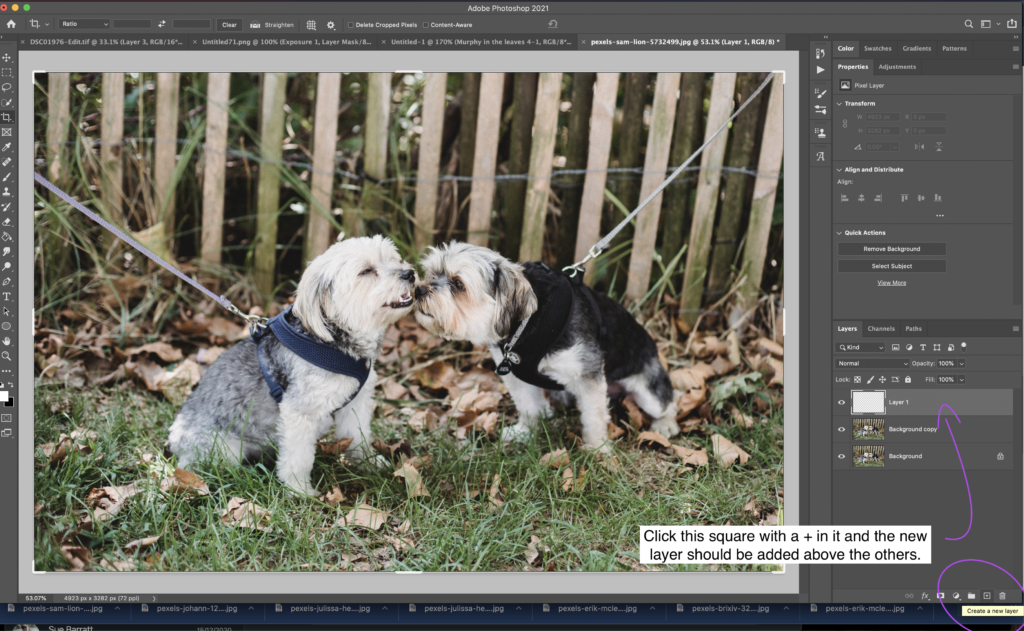
2. Create a new transparent layer

Since we don’t want to work directly onto our image if we can help it, we can remove these leashes on a transparent layer. This means if we want to turn that layer off and hide our edits, or erase part of our edits, or even just make some changes to the leash-removal parts of our edits specifically, we can. Get into the habit of working on separate layers now, to save yourself trouble down the line!

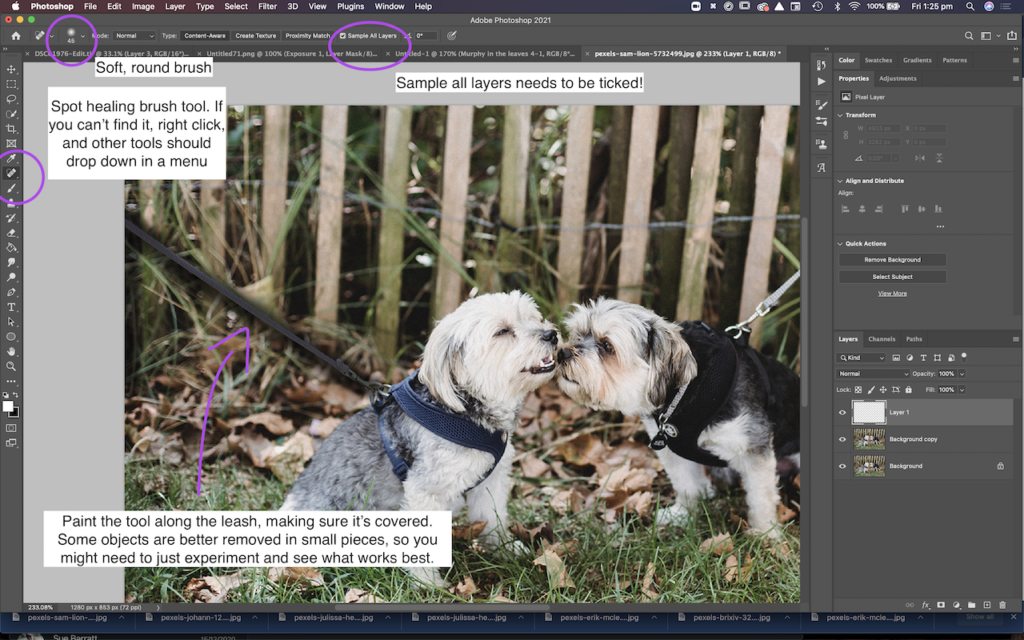
3. Use the Healing Spot Brush

The healing spot brush is usually best for removing small things like bits of dust, eye boogers, thin blades of grass and so on. You can just paint over the top of something and PS will fill in that area with what it thinks should be there. It doesn’t ALWAYS work with leashes, but since it’s a lazy and easy way to do the job, I like to try it first. 

Also, sometimes it can set a nice but imperfect “base” which we can fix up with other tools.

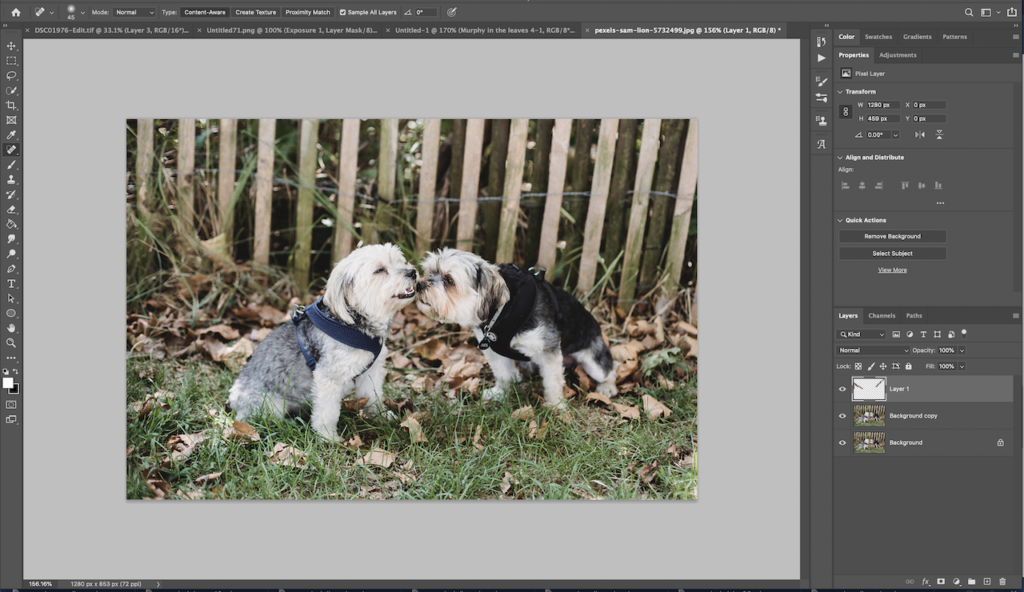
The Result...

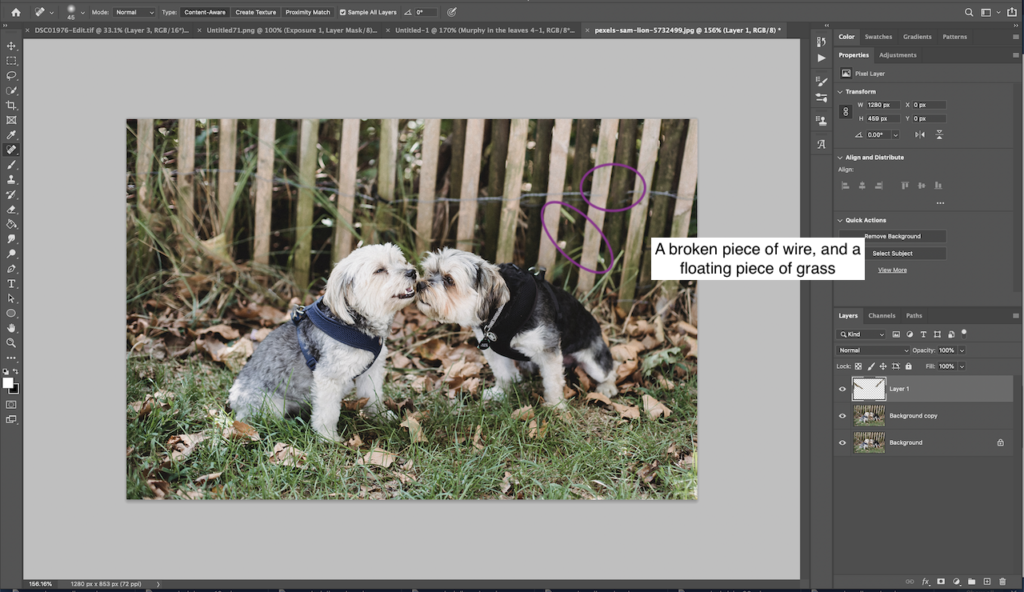
So! This is after a VERY quick go with the spot healing brush tool. It’s not too bad, really! Much better than the result I got in the video above. You can see the edits in the “Layer 1” layer, which I can turn on and off with the eye button. There’s definitely a few issues I could fix up, which I’ll use the “Clone Stamp” tool for. You could also use the clone stamp for the entire edit, as with the video above. 

As I said, the Spot Healing brush tool won’t always work. It depends on what’s around the object, how well it can fill in that area, even how well it can pick out the “wrong” thing from the background. So don’t worry if it looks like a mess, just head to the next step.

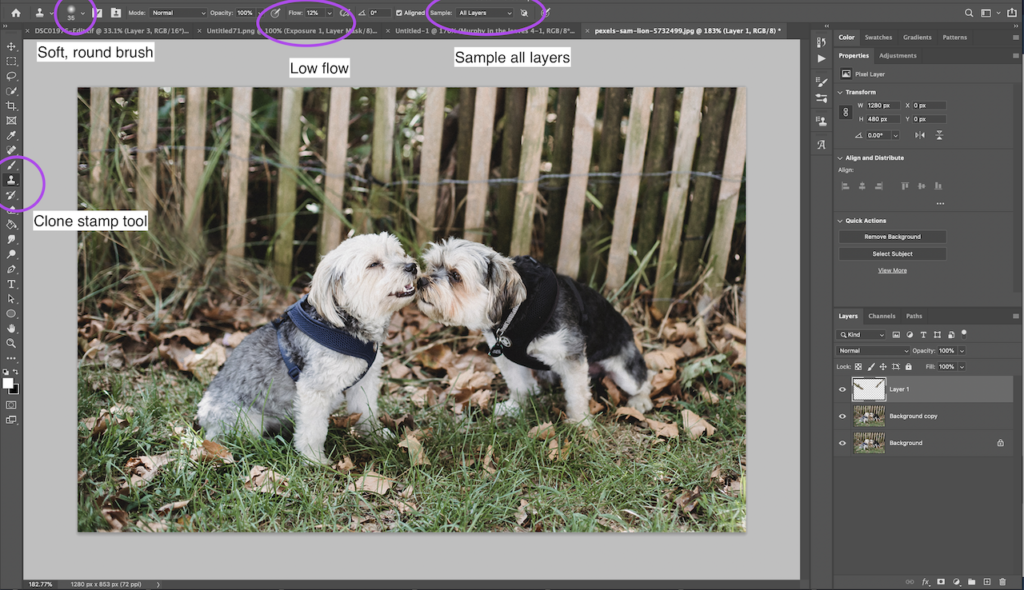
4. Clone Stamp tool

I can’t screenshot usage of the clone stamp, because the keyboard shortcut to screenshot alters the tool. But you can see it in operation in the video, 

Select the tool, as shown below.

Pressing Option on your mac keyboard, or alt on your Windows keyboard, will bring up a circular target. Use this to tell Photoshop which part of the image you would like to “clone”. Choose parts of the image that are similar to the background. Be careful though, our eyes are very good at picking up “repeating patterns”, so if you clone large or distinctive areas from one part of the image to another one, it will be easy for our eyes to see.

For example, the shape of a bush, or a tuft of grass, or even a distinctive leaf, could all be distracting if repeated, particularly if they are repeated close to one another, so try taking from a target a bit further away if necessary.

It may take a bit of work, selecting different target areas and gradually working over the leash, or area where the leash was, until it looks seamless.

Try turning the leash layer (Layer 1) on and off, to “reset” your eyes and see any areas that are a bit weird. Zoom closer in or further out for a different perspective.

Be careful of problems like suddenly floating bits of grass or twigs which aren’t attached to anything, broken wires or lines (you can see this in the screenshot above, above n the right-hand side dog there is a grey wire which is suddenly and weirdly broken.

To Preset, or Not to Preset

What are presets?

Presets are actions which you can install to LR – they are  basically pre-determined settings and conditions, so that with the click of a button, all those settings (including radial filters, gradient filters, colour adjustments and so on) are applied to the image. 

In short, I don’t use presets. I used to! When I was first learning and wanted an easy solution and a way to press a button and have a result, I used presets. Looking at the presets I used to use, I cringe a little now, because I can see how they were holding me back in really digging deep into editing and getting the best results for my photos.

To me, the way I edit is like being a baker. I put the ingredients together myself, for each individual cake; a bit more of this, a bit less of that, exactly as needed.

Presets are like a box cake mix. There’s nothing wrong with them. They’re quick, convenient, easy, and usually reasonably tasty. You don’t learn how to bake a cake, how to mix ingredients for different flavours or effects or for different occasions.


I think presets would work in a couple of scenarios:

  1. You take a LOT of photos in the same place at the same time and want to edit them exactly the same (eg., in a studio where you control the conditions).
  2. You take a LOT of photos and don’t care to individually work on each one. A “slash and burn” kind of situation where you need to deliver 300 photographs and can only spend a limited time on each (wedding photographers, or at an agility competition, show or other trial, for example, where images only need basic white balance and light adjustments). 
  3. You only use Lightroom and want to create your own presets for different common scenarios that you shoot under (one for backlight, one for ferns, one for the woods and so on) mostly for colour adjustments as I think this could be the most “fiddly” and time-consuming part of editing solely from Lightroom, and the space where your own individual style can come through a bit more. 

Personally, if I used a preset, I would go and change ALL the adjustments anyway (because my lighting is always changing so the global adjustments can’t possibly be right for every individual photo), and as you’ll realise as we go through this course, we really need to be able to quite selectively edit our photos. And as each one of our photos is completely different, a preset can’t really do all that for us.

So in short, I would save my money for something other than presets. If I were to use them, I would create my own and name them based on common scenarios I shoot, and learn the tools of LR to further improve the image, especially using selective editing. In the video below I have a look through some of the presets I had saved on my computer and try them on a few different types of images, and further share my thoughts on presets in general.

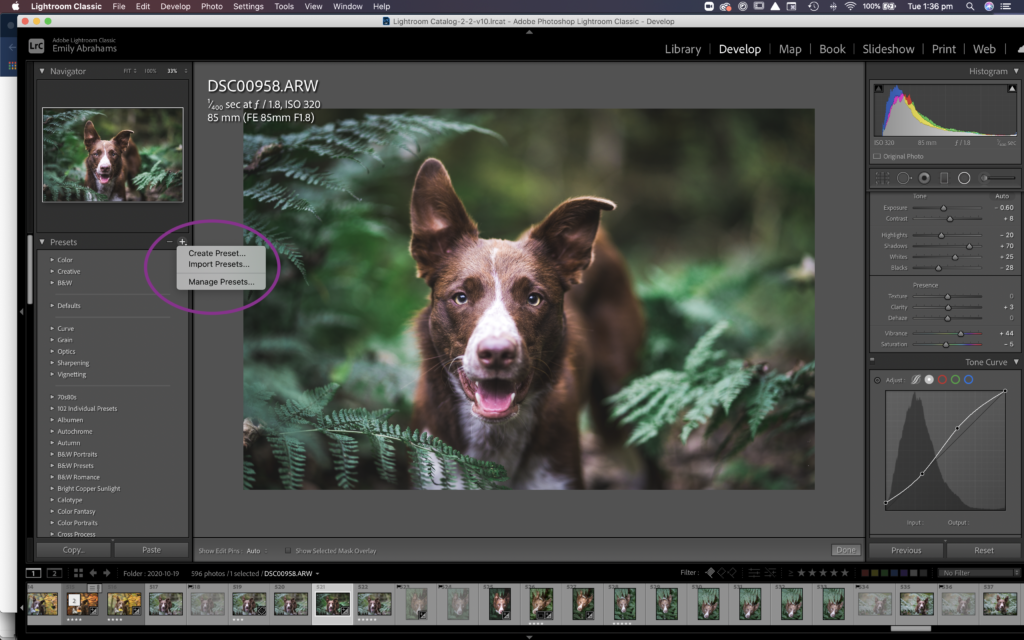
Below is a video explaining how to create a preset.  Essentially, you choose an image, apply all the settings you want to use in the preset, particularly regarding colour changes. Then, in the presets menu on the side, click the plus button, and you’ll see an option to “create a preset”. Click this, name it, and you’ll find it in the “user presets” section of your preset collection.

I actually had quite a lot of trouble coming up with a preset, as I’m used to doing these kinds of colour changes in Photoshop, and I was creating the presets with the mindset of doing further selective edits with radial filters (more on this soon, so don’t panic!) so mine ended up being more of a base than a “one click and the image is finished” kind of solution. 

highly recommend that you learn your way through Lightroom, how and when to use the various tools and effects, and then, IF you decide you want to create presets, you will do so with the knowledge of what makes a good edit.