ArchivesEditing Fundamentals
Introduction to Editing
As I mentioned on the course information page, I highly recommend doing everything you can to get your photos right in-camera first, before tackling the editing side of things. You can spend 7 hours on editing an average photo, and it still won’t become “magical” if the dog looks bored, if the composition is flawed, if the mood and the editing don’t match and so on. Get as much right in camera first, then use your editing to really make it “pop”. AND save yourself time! Photos with poor lighting and composition CAN be saved (usually more with PS than LR) but it’s such a pain and takes way too much time.
Throughout the course we’re going to look at each of the tools or panels, to understand how they work and how we could use them, and then as we progress, there will be larger, more in-depth tutorials using LR only. I recommend you follow along with photos of your own that are similar to the ones I’ll be working on.
Before we jump into the tools, I want to discuss a few editing principals that I adhere to in most of my edits, as they shape and dictate the way I approach editing each photo – even if the process ends up being more or less the same.
What is our main goal as photographers when we approach editing?
Most people would probably say: “to make the photo better,” or “to make the photo ‘pop'”.
But this is pretty vague and unhelpful.
Instead, approach all your photography with the mindset of creating a flattering image of your subject – everything you do should be to emphasise your subject/s.
Does this change your thought process?
- Start with a good base photo. It’s ok if it’s too dark, we can fix that. But there’s some things (expression, poor composition, crazy light, pose, busy distracting backgrounds, etc) we can’t fix, especially in Lightroom! I really recommend you work through the Foundation course before going through this one.
- Our job is to “trap” our viewers in our photographs and have them focus on the dog’s eyes. Our goal at all times, therefore, should be to draw them back to the dog’s eyes – and not because the eyes are so unnaturally bright and glowing that we can’t help but see them!
- Our eyes are naturally drawn to the brightest areas of a photo, and we need to be conscious of this as part of our editing process. If our audience is distracted by bright areas other than the dog, we aren’t keeping them where we want them – they will be distracted and keep scrolling.
- By manipulating light, we can direct a viewer’s gaze, by acting as a path toward our dog.
- Constantly ask: “Where does my eye go next?” and if the answer isn’t “The dog’s face”, I need to fix it.
- Are the colours helping or hindering our image? Thinking about how many colours there are, whether the colours are complementary to the dog, if they are light or dark, and whether that helps our image or not. eg., a black dog might stand out better on a lighter background. New photographers often feel like strong colours make the picture better, however so much saturated colour can be a distraction, as our eye is drawn to so much colour and visual interest.
- Strong pops of random colour or very strong colour can also be a distraction.
- What kind of MOOD does our photo naturally have (a golden retriever puppy will have a much happier mood than my serious Loki) – different moods require different editing.
- Consider what is “natural” in terms of light– thinking about where the light would naturally hit and how much it should be lightened up, etc, so that it’s not crazy or unbalanced, or doesn’t make sense to our eye, or that there is a strong vignette on the ground, where there should be no shadow because it’s on the beach where there is only open sky above. Similarly, strong vignettes in the sky – the sky does not naturally get darker at the edges.
- You will need to discover your own style and it might take you some time and experimenting to be able to do that! All the tools we’re going to use can be applied in hundreds of different ways! Go and play with it. Just always ask if your edits are serving a purpose. Are your edits detracting from your subject?
White Balance
Setting the white balance (WB) should be one of the very first things you alter about your image.
Most cameras are set to “Auto-WB”, meaning the camera will read the scene, the light and the colours and try and adjust the WB for you. Most cameras can also have different settings for different conditions (Shade, cloudy, etc). However these aren’t foolproof so you may need to still adjust the WB in Lightroom!
Getting the correct white balance is about finding a temperature and a tint that is natural and correct for the scene the dog is in.
Mostly, that involves us looking at the scene and remembering what colour the dog’s coat is, getting a “sense” of whether the scene looks too warm and too cool, and adjusting the settings until it feels correct.
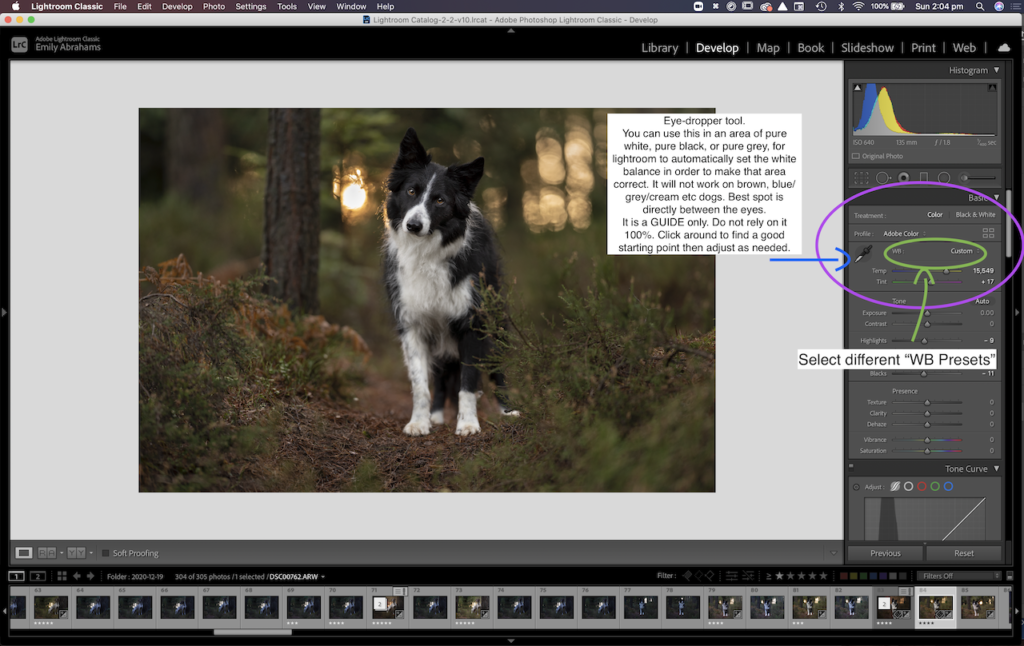
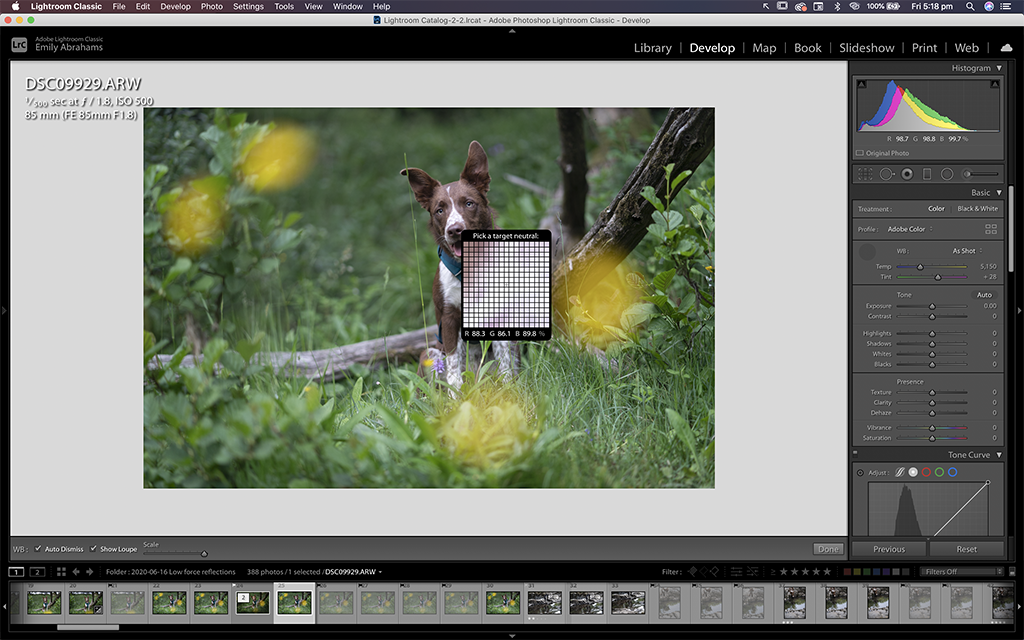
With a dog that has white on it, we can use the eyedropper tool to tell LR where a part of pure white is, and it will set the white balance off of that area! Careful though! Different parts of the dog can pick up and reflect different colours, so it’s not a foolproof method! Between the eyes is usually pretty safe, but chests can be yellow or green, and the tops of noses and heads can be blue. Keep in mind though this only works if the dog’s white (or grey or black) areas are pure neutral colours! I can’t, for example, use this tool on Journey because his white areas have red spots in them.
There is also the option for LR to suggest some presets based on the conditions of the photo: Cloudy, shade, etc. However, again, these are generalisations only, and mightn’t apply to every scene, especially if there’s a lot of other colours around, so you may still need to adjust the settings.
Don’t forget that chests, the tops of heads and noses and under the chin are VERY likely to reflect the colours around the dog (blue, yellow, or green!) so don’t base your adjustments of of those areas. Have a look at the face, particularly around the eyes.
Quick tip!
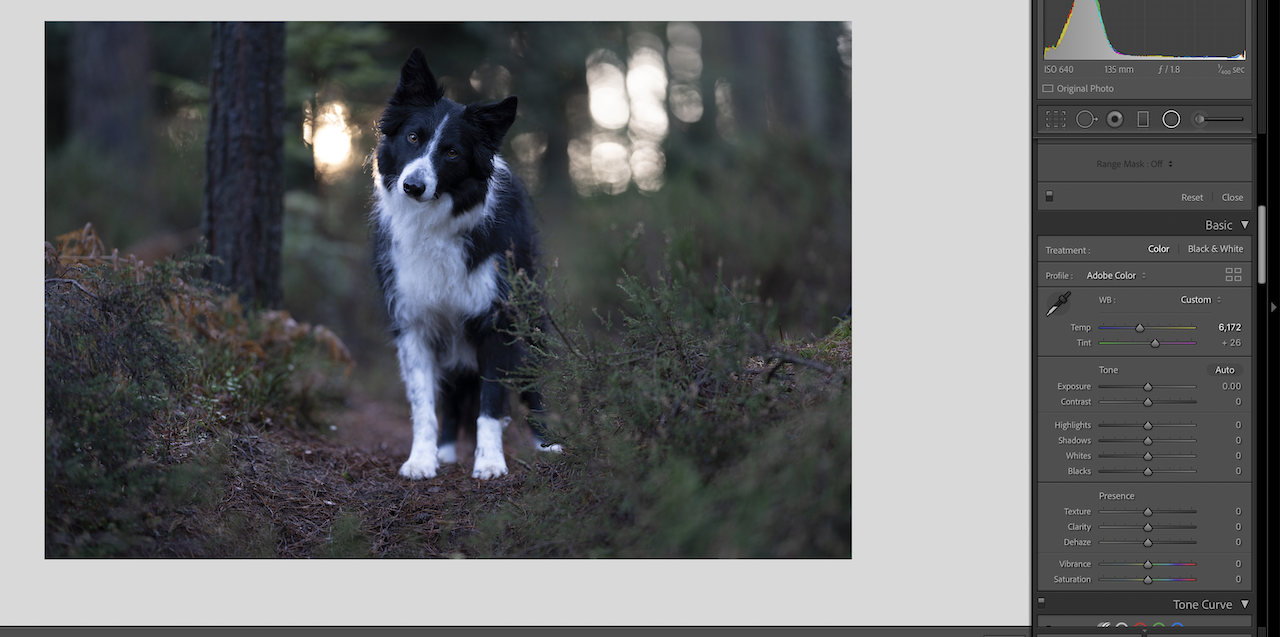
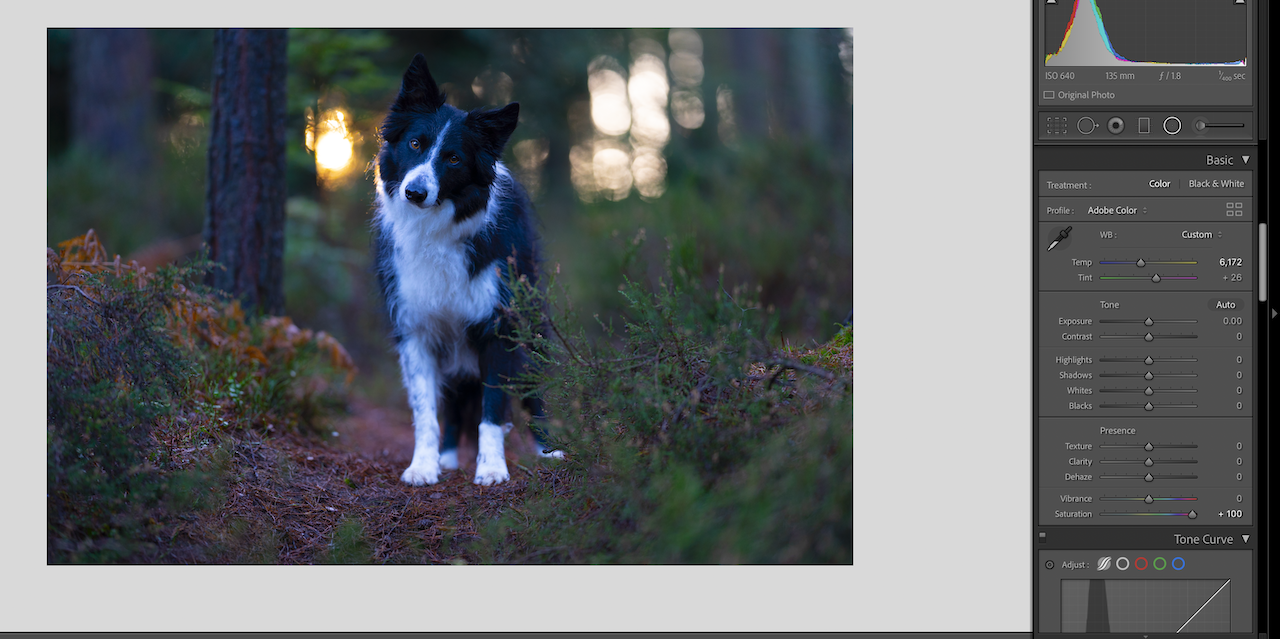
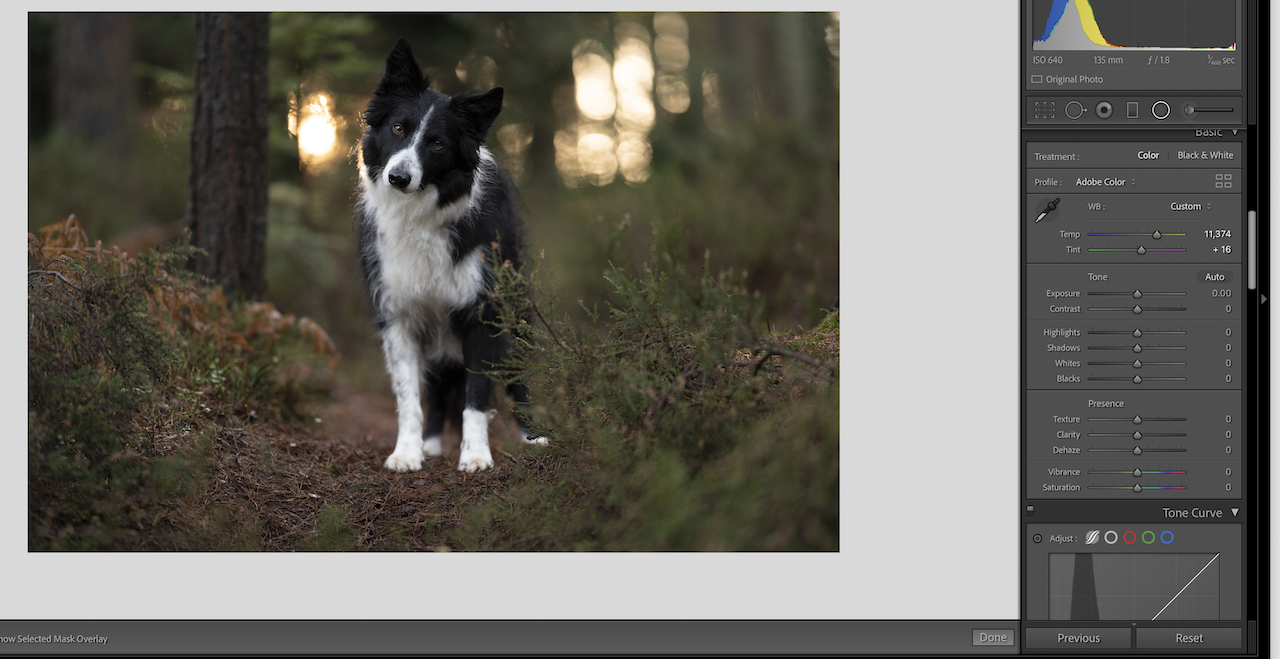
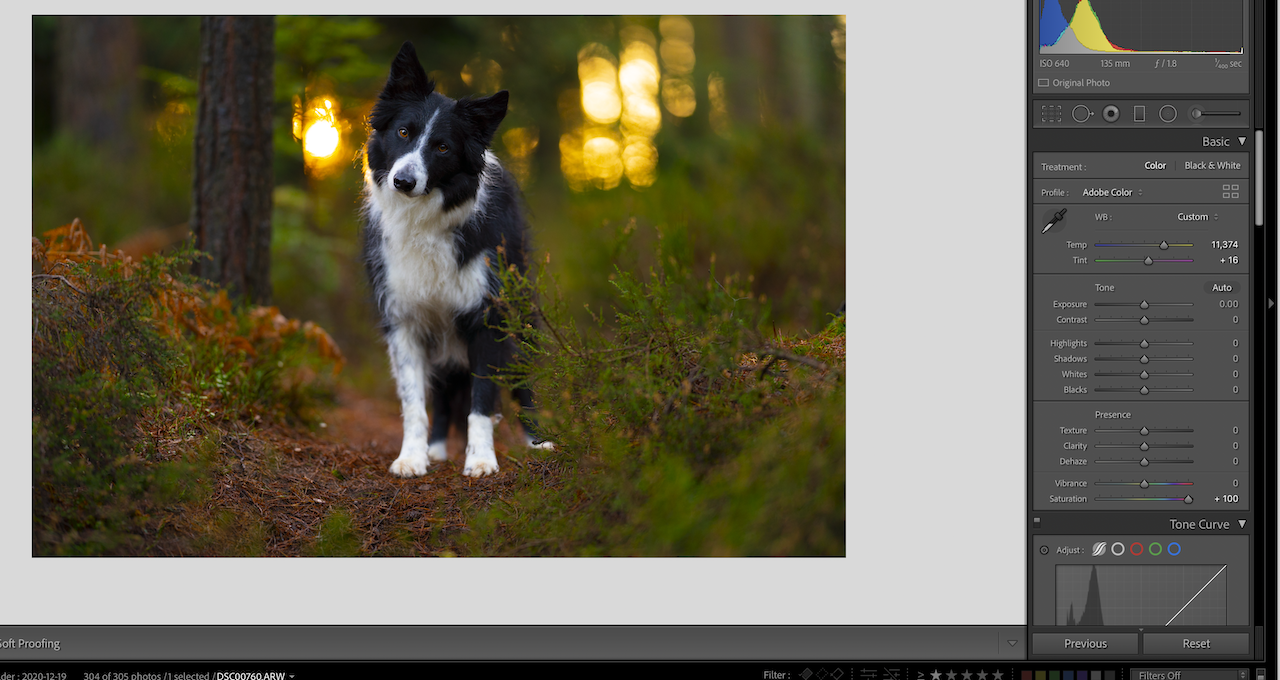
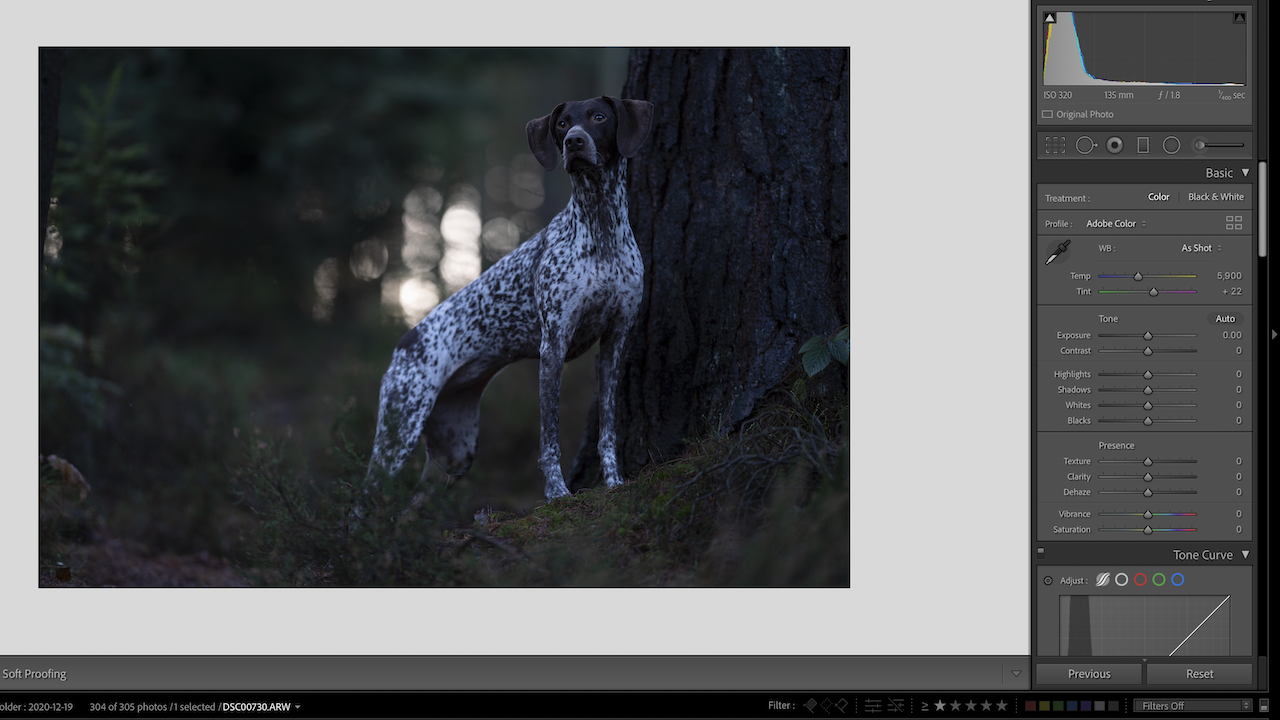
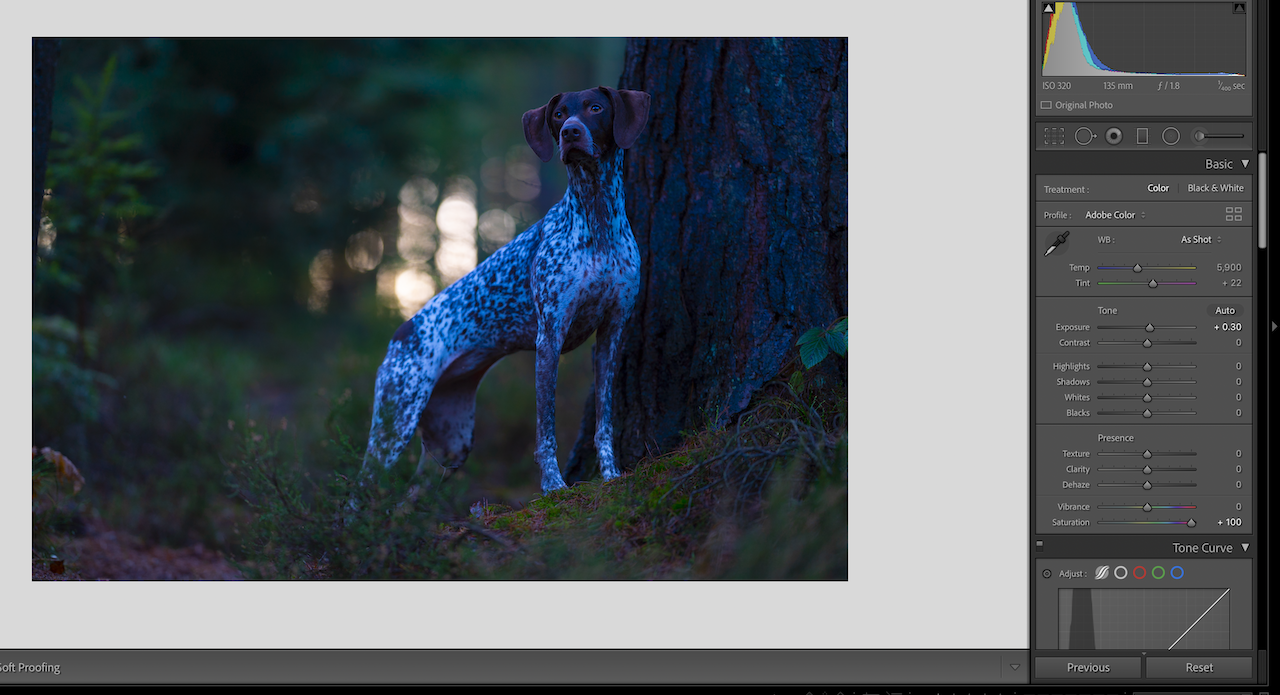
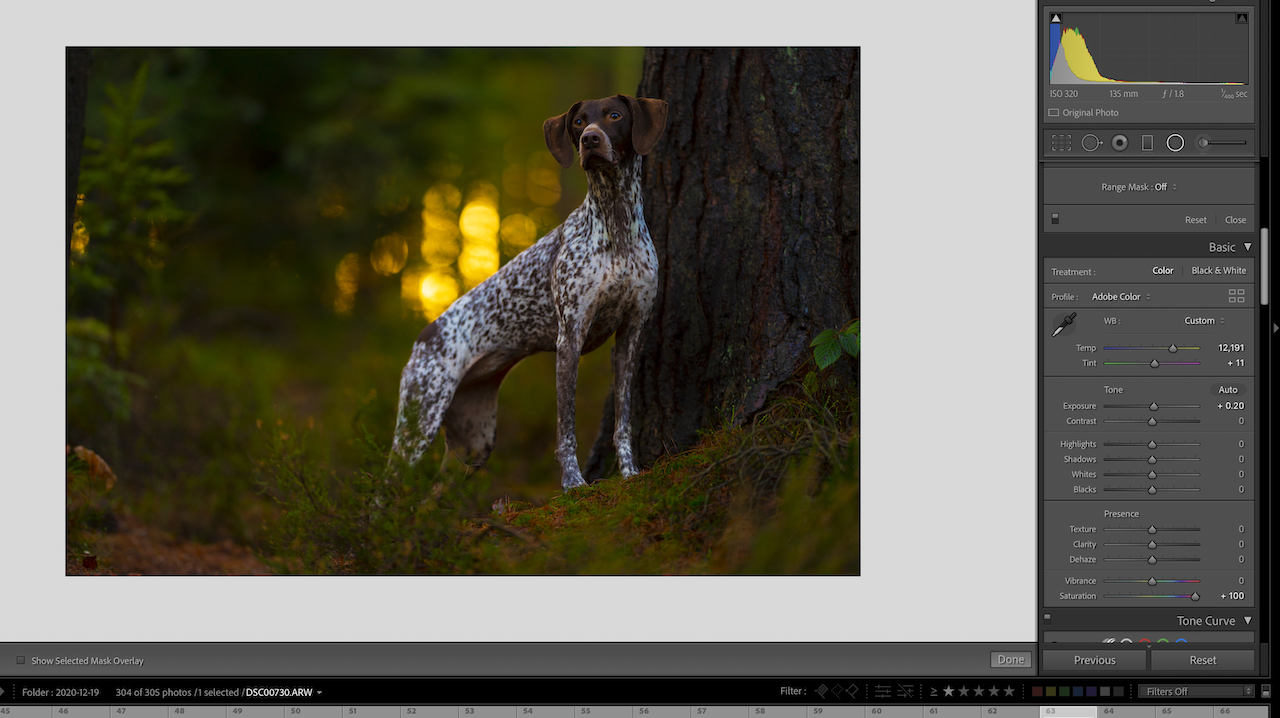
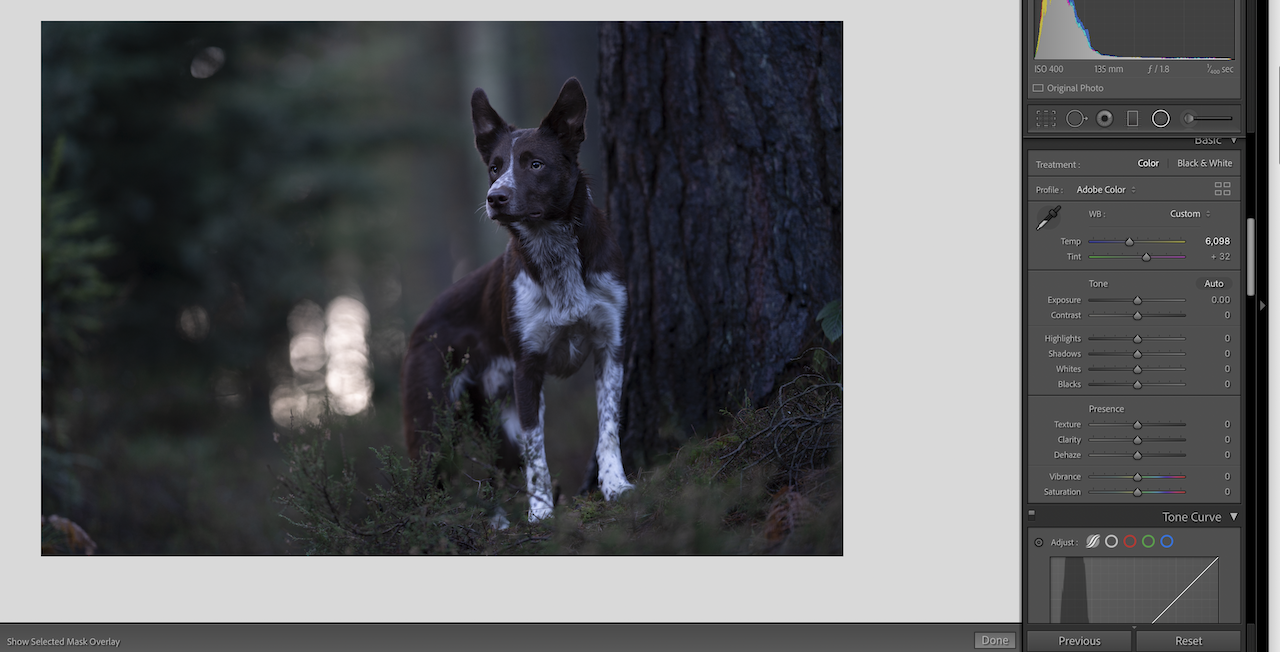
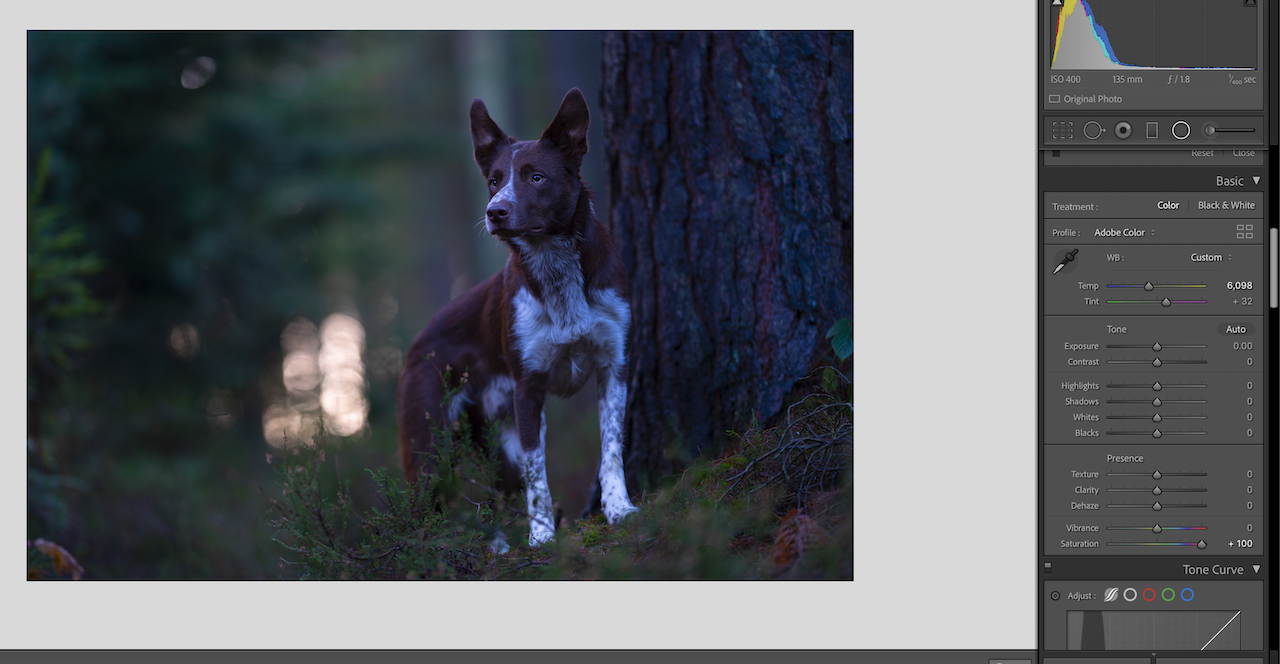
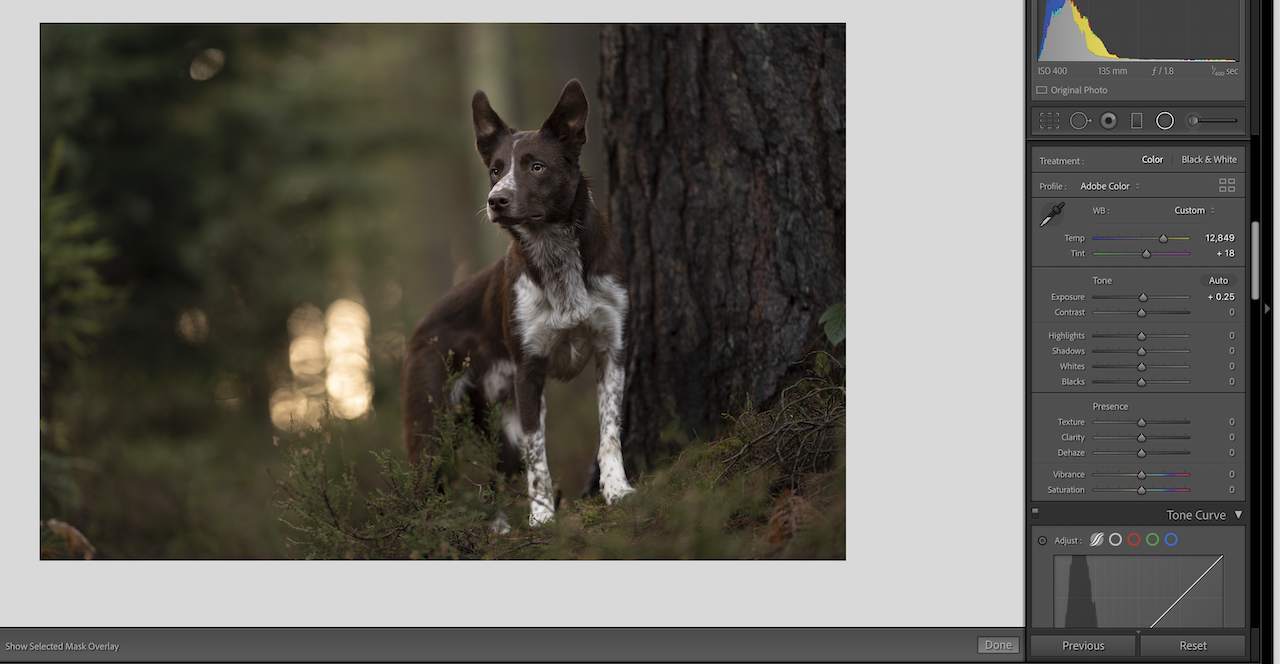
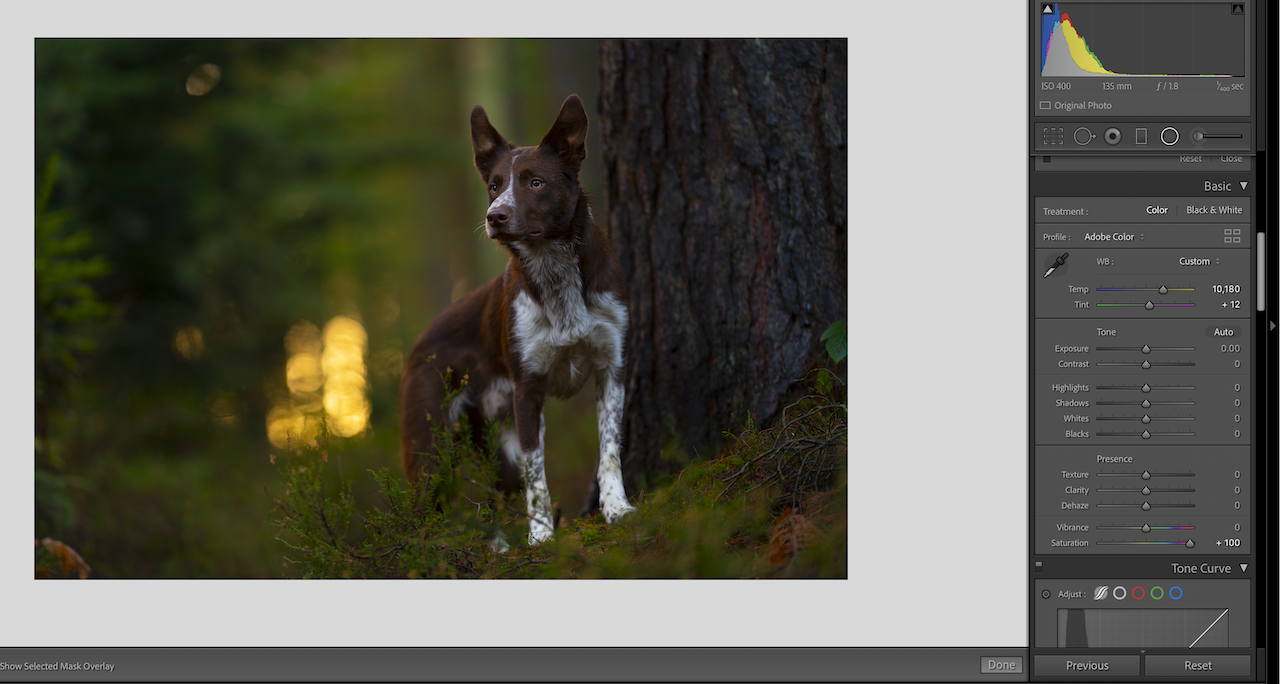
You can possibly check if your images are about the correct white balance by increasing saturation to +100. This works especially well on black, white, or grey dogs, who will suddenly be turned pure blue if the image is too cool.
You will probably not be able to remove ALL the blue from their coat – the idea is to find a median point between too-blue and too-yellow.
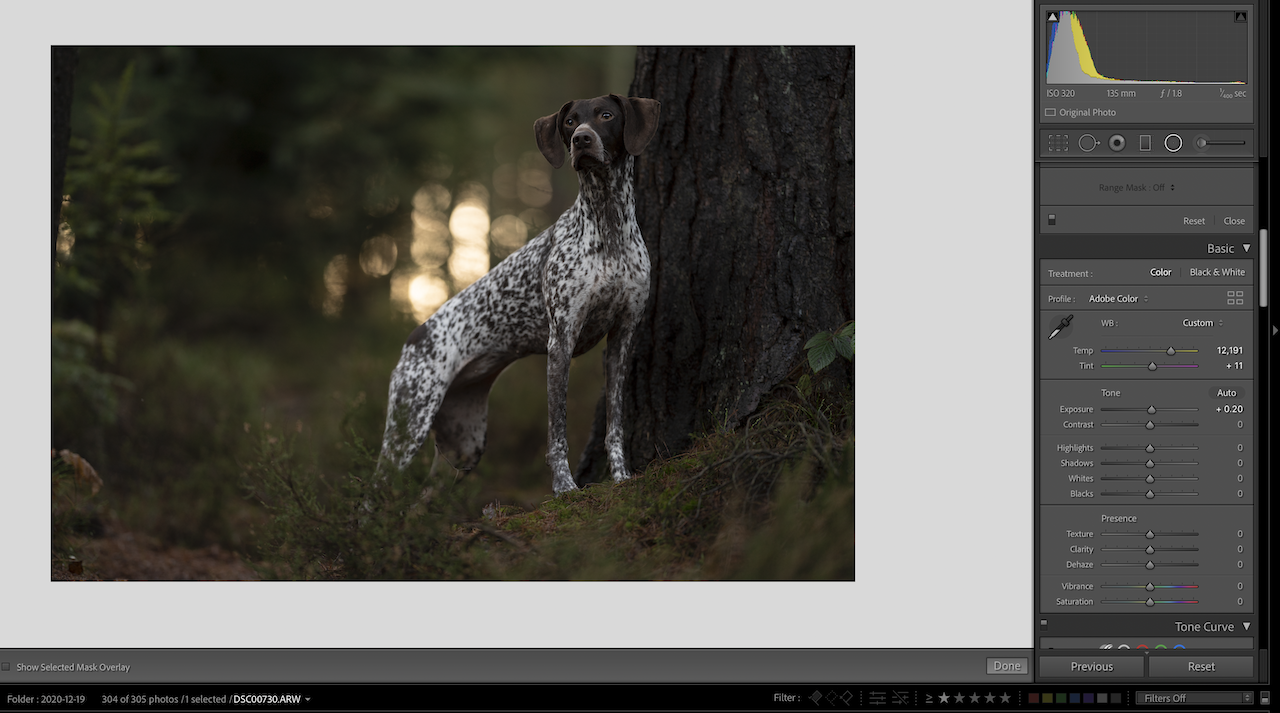
Don’t worry too much if their chest is very yellow, if they have a white chest. This is normal. Below are some examples of this technique in action. Click to enlarge.
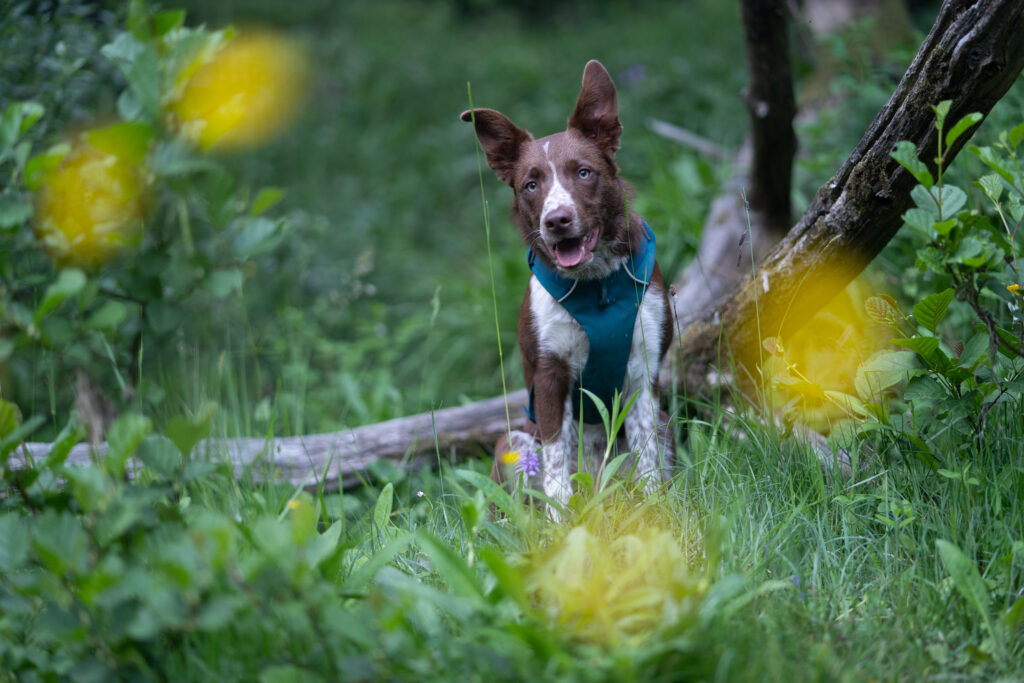
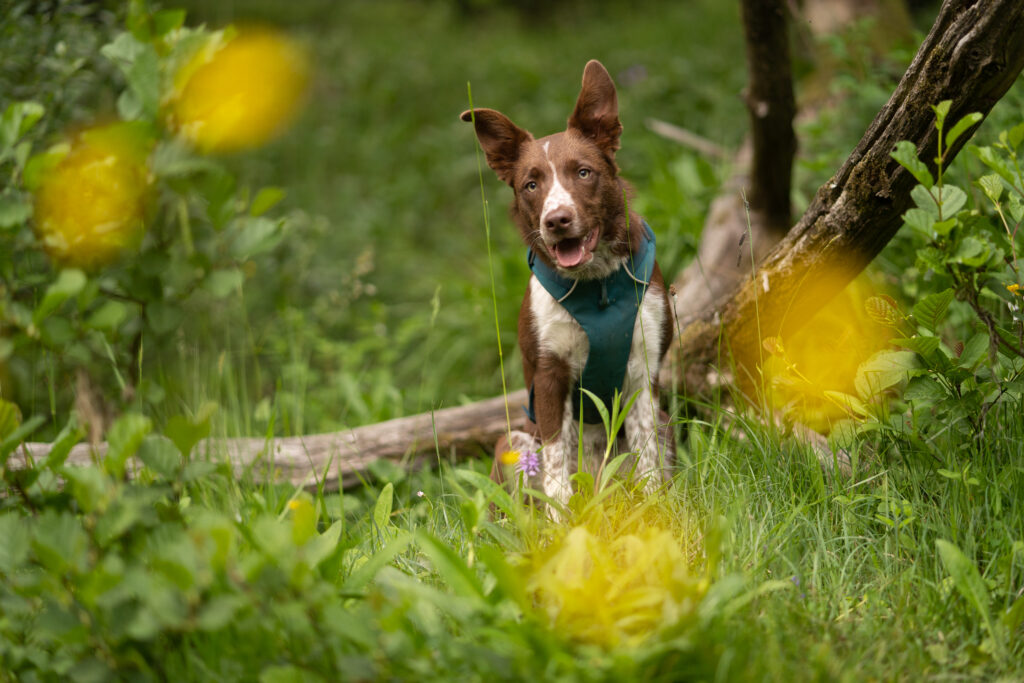
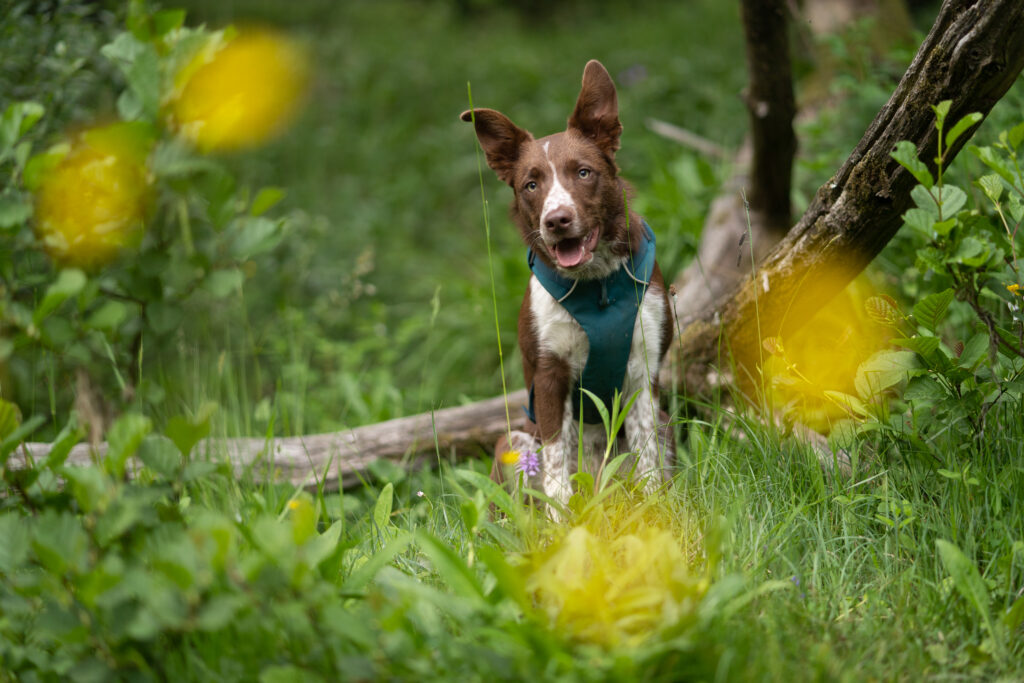
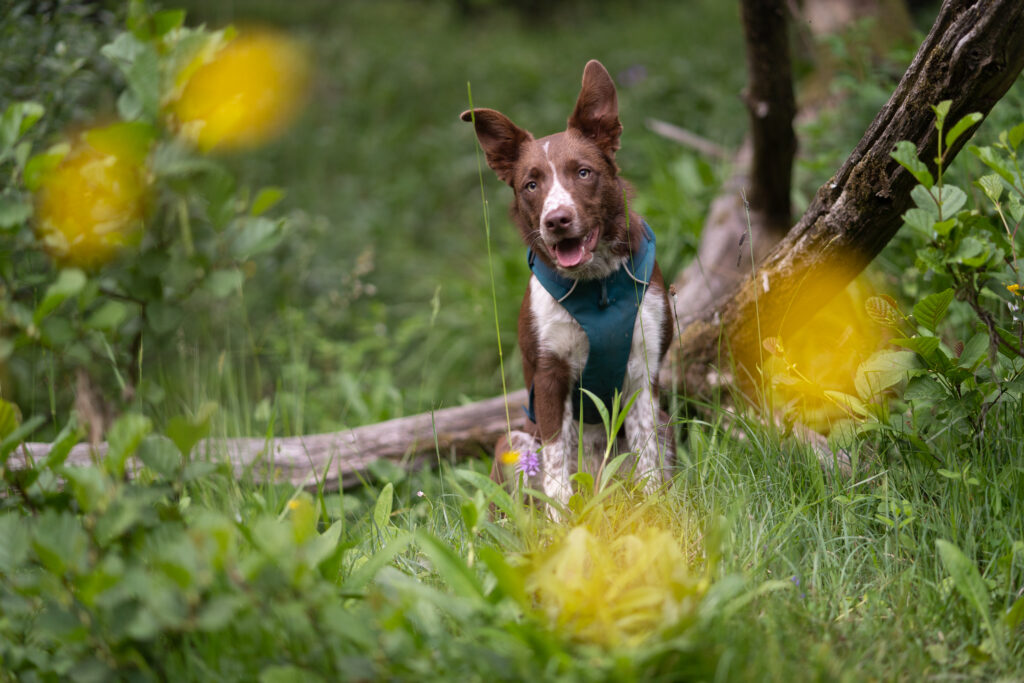
Below are some different examples of the image of Journey – from too cool, to just right, to too warm and below, looking too magenta or too green.
Setting the white balance does take some time and practise to train your eye, and don’t feel discouraged if you continually look at your images even after you’re happy with them and question whether you have it right! This is really normal and means you’re thinking about it and analysing it, and that is a great thing to be doing!
Of course, you can be a bit creative with the white balance. You may want a cooler, moodier scene! Or a warmer, more sunny scene. My recommendation is to set the white balance correctly first, and later to do some selective edits on the area around the dog. Personally, I like the dog’s coat colour to be as close to correct as possible (although of course it will be warmer if the light at that time of day was warmer, and so on. I want it to be natural for the scene it was in).

