ArchivesWorkshops

Advanced Editing Workshop

There are several files available to download:

  • Image 1 (Loki)
  • Image 2 (dark Journey)
  • Panorama for image 2
  • There are also two other images, you are free to edit these if you want!
  • BONUS Editing Workbook  I recommend you follow this as the workshop goes because it reflects the order we proceed through the information
DSC04895 DSC04895-Edit
DSC01282 DSC01282-Edit

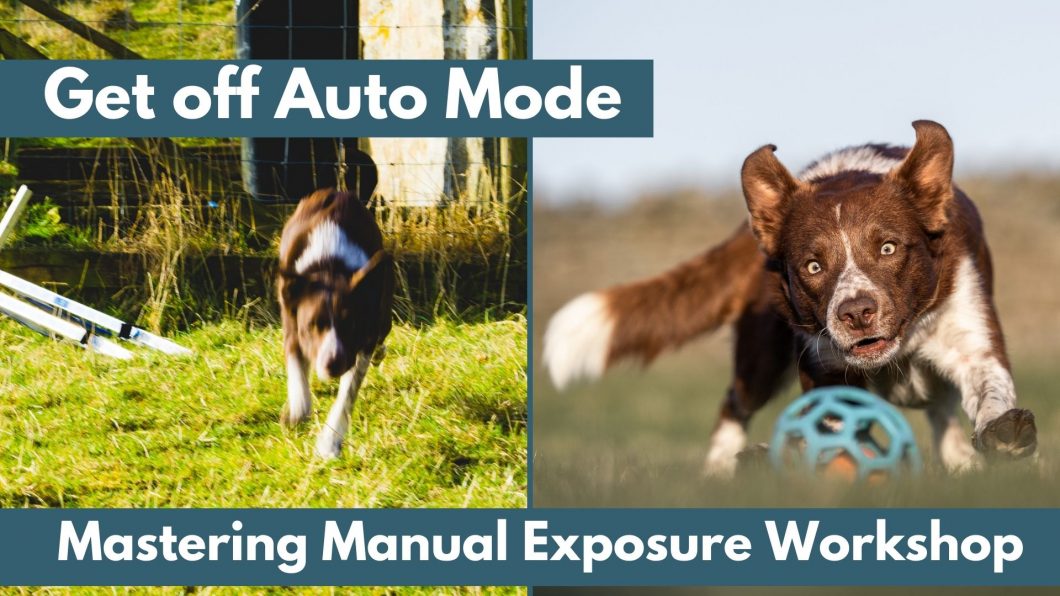
Get off Auto Mode: Mastering Manual Exposure

Welcome!

On this lesson page you will find:

  • the .pdf workbook
  • the zoom link for the live workshop
  • the workshop recording
  • any other materials, information or resources 

Here is a diagram of the exposure triangle. If you find it helpful, use it, if not… don’t!

The problem for me with the triangle diagram is that it feels misleading. Eg,. if you have your shutter speed at 1/2000 you’ll need your ISO at 1600? Or why are they at the same end of the triangle? Does 1/30 go together with f/22? For me, the triangle as a visual doesn’t work so well.

I therefore made these diagrams as an alternative way to try and show how the 3 parts of the triangle go together, representing one side of the scale as making the image darker, and one side of the scale as making it lighter.

Therefore, if you adjust one setting toward the dark end, another setting will need to go toward the light end in order to keep your exposure where it was. 

Similarly, if you want to make your photo lighter, you would need to adjust one or two sliders toward the “lighter” side of the scale.

Below the first “scale” are some hypothetical scenarios where you would need to change the settings of your camera. I will put answers beneath each shortly.

You have two options here.

One could be to slow the shutter speed to 1/400 sec. I wouldn’t go any slower than this or I begin to notice a lot more unusable photos due to motion blur. So going slower than 1/400, while it WOULD make the photo brighter, may result in less sharp photo, or fewer useable photos.

If the photo is STILL too dark, the only other option is to raise my ISO, since my aperture is already as wide as it can be – letting in as much light as it can.

ISO 200 isn’t very high, so even if I had to go up to ISO 400, 640, or 800, for a lot of newer cameras this isn’t a big deal. Of course, it depends on your equipment!

First, I would lower my shutter speed. It doesn’t need to be this fast any more as my subject isn’t going to be moving around. I could lower it all the way to 1/400 or 1/500 of a second. This is going to make the photo a lot brighter

I could also widen my aperture. It must have been at f/2.8 to give myself a better chance of getting the dog in focus while it was running, by having a slightly wider depth of field. But now that it’s standing still, I might want to have a softer background. Of course if my lens is soft when “wide open” I might not want to go all the way to f/1.8 but find the “sweet spot” where it’s sharpest.

Finally, because I know the photo is going to be much, much brighter due to the slower shutter speed letting more light in to the sensor, I know I would need to lower my ISO. Here is actually a handy calculator to figure out how much you’d need to lower it by. You’re trying to match up the EV since the calculator obviously doesn’t know what the lighting conditions are.

On mirrorless this is much easier as you can just adjust the ISO and see how the photo will look. 

Assuming the photo was correctly exposed with the above settings (eg., not underexposed for highlights), then dropping the shutter speed to 1/500 and the aperture to f/1.8 would mean our ISO would be around ISO 200.

There are two possible options but only one of them makes sense.

If I had been doing action photos and wanted to CONTINUE shooting action, I wouldn’t want to touch my shutter speed (ok, MAYBE it could go to 1/1250 but let’s say it’s fast for a speedy boi). In this case, the only option for more light is to raise the iSO. Lowering the shutter speed will result in blurry action photos. 

On the other hand if you were doing portraits and had the shutter speed up because of the previous bright sunshine, then it would make more sense to keep your ISO as low as possible, and instead drop the shutter speed. If the dog isn’t zooming around, you could safely go down to 1/400 or 1/500 second – you may not even need to go this slow. It depends on how dark it got!

The answer to this greatly depends on your camera and its dynamic range (eg., how much detail it can store in the darkest areas). It also depends on how confident you are with underexposing and editing, and whether you can be bothered dealing with blown highlights or not. 

For me, in this situation, I would opt to underexpose, at least a little bit, to save SOME of the highlights – if it’s not possible to save them all. See the lessons on underexposing for more. 

This means making the photo darker.

So if we assume that the settings above were the correct exposure, there are only two options, and only one of them really makes sense.

On one hand, we could theoretically make the shutter speed faster. That WOULD make the photo darker. But then we have ISO 500 for no particular reason, and a fast shutter speed for no particular reason.

Instead, it would be better to lower the ISO to get the best image quality with the lowest amount of noise (especially when underexposing!) and keep the shutter speed where it is.

I wouldn’t do anything.

Trick question, sorry!

While you COULD underexpose more, at ISO 4000, you’re potentially (and probably) going to notice a lot more noise if you need to brighten up your underexposed photo, than you would at a lower ISO.

By about ISO 2000+ I stop underexposing much, and by ISO 4000 I’m not underexposing at all – even if that means blowing the highlights. Because if my dog is underexposed at ISO 4000 and I need to brighten him up, there’s going to be a LOT of noise, and a large loss of image quality. 

Workshop: Style, Self Analysis and Goal Setting

In this workshop, we discussed style and goal setting, but there are some prompts in the PDF booklet for you to work through to help you analyse your photos and where you’re at, and what you might want to work on going forward.

I recommend setting aside a bit of time to dig into the prompts when you’re not stressed, distracted or multitasking. 

As I say in the workshop, I personally don’t think it’s necessary to “nail down” a style – I certainly didn’t spend any time thinking about or worrying about mine, I just created what I liked, and when I saw things I liked, I tried to create them too. It surprised me when people were like: “Oh I knew this was yours, I can spot your style immediately”. That was the first and last thought I gave to my own style until working on these lessons and courses.

But, since it’s such a “pain point” for many students, and a potential source of stress, if the advice to just create what you love and to continue learning isn’t enough for you, then maybe these tools will help.

But at the end of the day, I truly don’t think having your style defined or labelled is useful. If you create what you love, it will show through in your photos. If you get too locked into creating certain photos or in a certain way, you might find yourself stagnating and getting stuck.


Last point:

with the goal setting exercise, I give you permission to dream big. Seriously. We are often told our goals need to be achievable, or we (especially women!) tend to feel like we’re not allowed to want too much. 

Be audacious. Put down the biggest thing you want, even if it seems like “too much”, or that you aren’t deserving… you are. You’re here, you’re showing up for your craft, you’re investing in your education. You are totally deserving of whatever big dreams you have. Why not? But the only one who can make them happen or at least set the wheels in motion, is you.

And trust me when I say that I know this, better than most, having somehow managed to achieve some massive dreams in my life so far. But nobody else did it for me. If I hadn’t dreamed big, grit my teeth, and made it happen… nothing would have happened. 

As I said in the workshop: I would love for you to share your little galleries, your thoughts on style, and to hear about you taking action steps toward your goals. I want to celebrate your success, and you never know how your small wins could inspire others!

Video recording coming as soon as my computer lets me export it.

Workshop: Websites, Social Media, & Canva

If you are a photographer wanting to book clients, or an aspiring photographer hoping to launch your business, this workshop is for you.

We’re going to go over a few key points relating to websites and social media. This will not be a hugely in-depth workshop as I’m not a website or SM expert, and those two topics alone could fill a whole course. 

Instead, we’re going to look at: things you absolutely must have in your website, a few places you can build your own site, and some important notes and advice, and strategies relating to Social Media. 

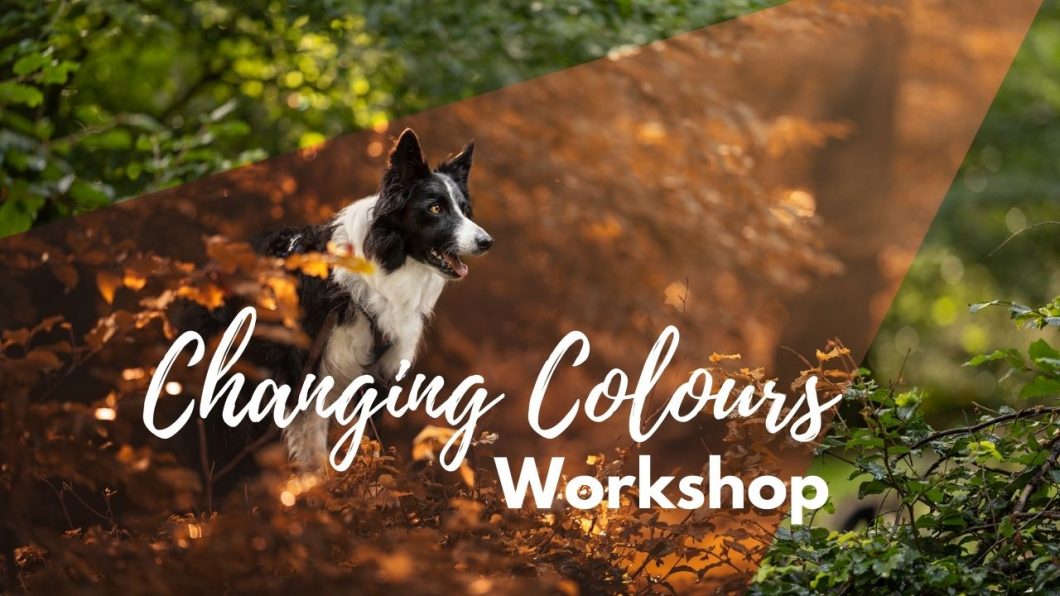
Changing Colours Workshop

In this workshop, we will be learning several methods to change the colours of your photo.

The recording of the workshop is available below.

There are many times and situations where we might want to change some or all of the colours in our photo. In this workshop, we’re going to look at both the how and why of changing colours, as well as covering multiple tools in both Adobe Lightroom and Photoshop in order to create the effects we want.

We will be looking at:

  • Options in Lightroom:
    • HSL Panel
    • New masking features
  • Options in Photoshop:
    • Selective Colour
    • Hue/Saturation
    • Using your smart object
    • Colour Balance
    • Gradient map
    • Gradient fill

We have two RAW files for this workshop. One, we will work on together, and the other you will have a chance to edit at the end of the workshop in your own time. 

There are actually 5 RAW files there. We will work on “Colour Change-1” together in the workshop to turn green to autumn. You can then download any of the Journey files you like, and work on making it a more deep, rich mossy green.

Please remember: you are welcome to edit and share your edits to Social Media, but they must link back to me, and not be used for commercial purposes.

There is also a downloadable .pdf workbook in the folder 

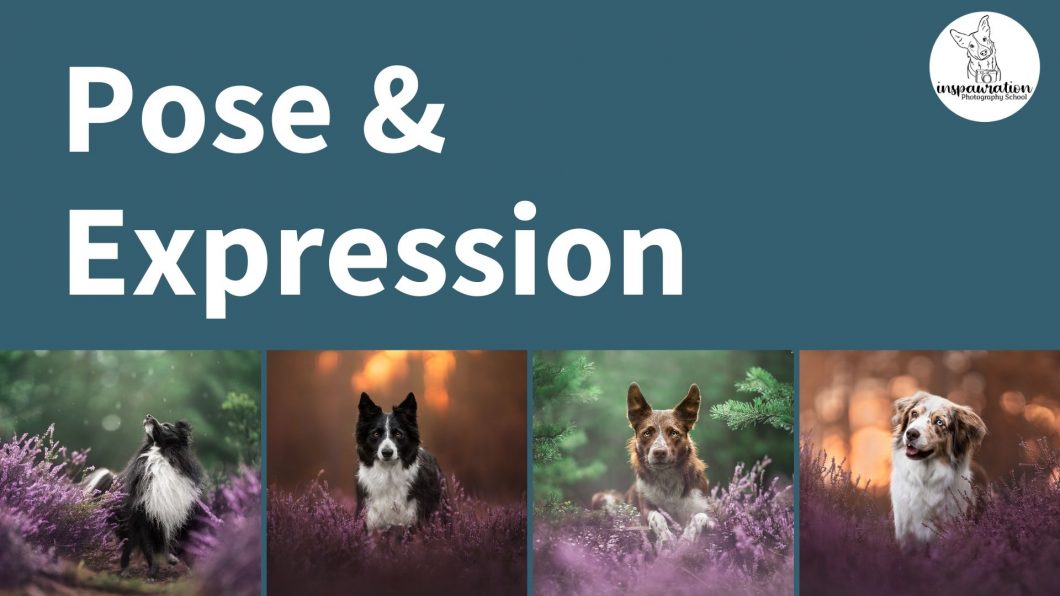
Workshop: Pose & Expression

We often forget that one of the most crucial elements in our photo is..

the subject!

And yet, so many photos I see have a dog plonked into a sit somewhere, the ears listening in two different directions. 

There is so much we can do with our subjects to create photos with strong moods and stories, and yet I think they are one of our most under-utilised resources! 

In this workshop, we’re going to explore different expressions and the feelings we might get from them, how gazing direction can change the feeling or story of the photo, and how we can use different poses for different purposes.

Download the .pdf booklet below.

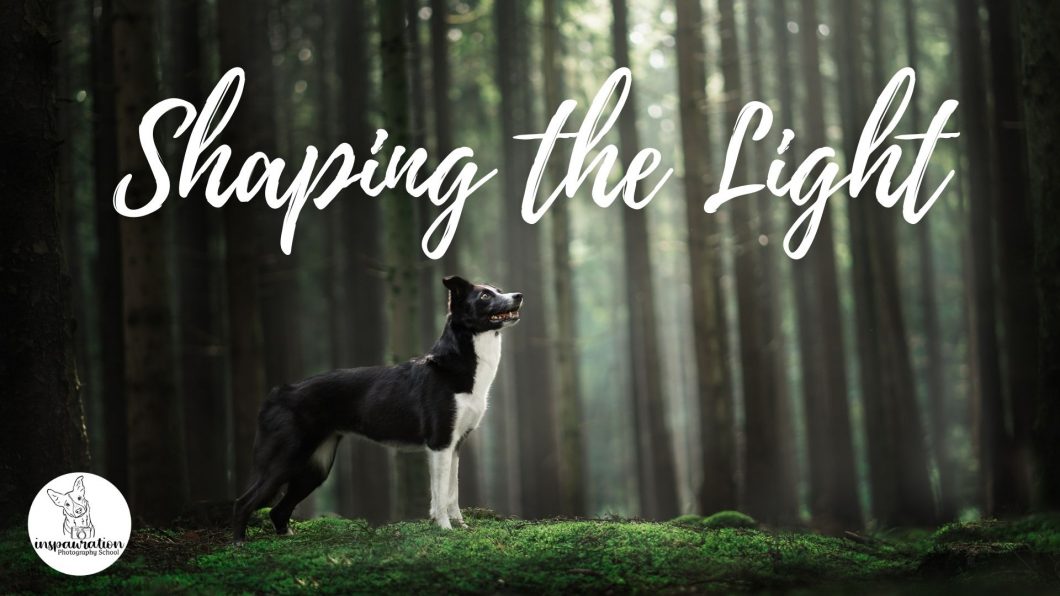
Workshop: Shaping the Light

In this workshop, we will be discussing Shaping the Light. 

This is a technique used by many pet photographers to draw attention to their subjects through careful use of a range of editing techniques. By “shaping the light” we can create natural spotlight effects on the dog, add shadows and darkness where needed, and really tell a story or create a mood.

In this workshop, not only will we be looking at the tools to shape the light, but we will be discussing how, when, and why we should use these techniques.

We have two RAW files for this workshop. One, we will work on together, and the other you will have a chance to edit at the end of the workshop in your own time. 

There is also a downloadable .pdf workbook in the folder.

Pre-workshop assignment

Before the workshop begins, I recommend downloading both the raw files, and getting them “set up”. That is to say, correct the white balance, bring a bit of clarity to the dog’s face, work on eyes, reduce distractions or anything else you might normally do to get the photo to a “neutral base”…

You don’t have to go overboard, but as the workshop won’t be a full editing workflow, we won’t be spending much time on these basic initial steps.

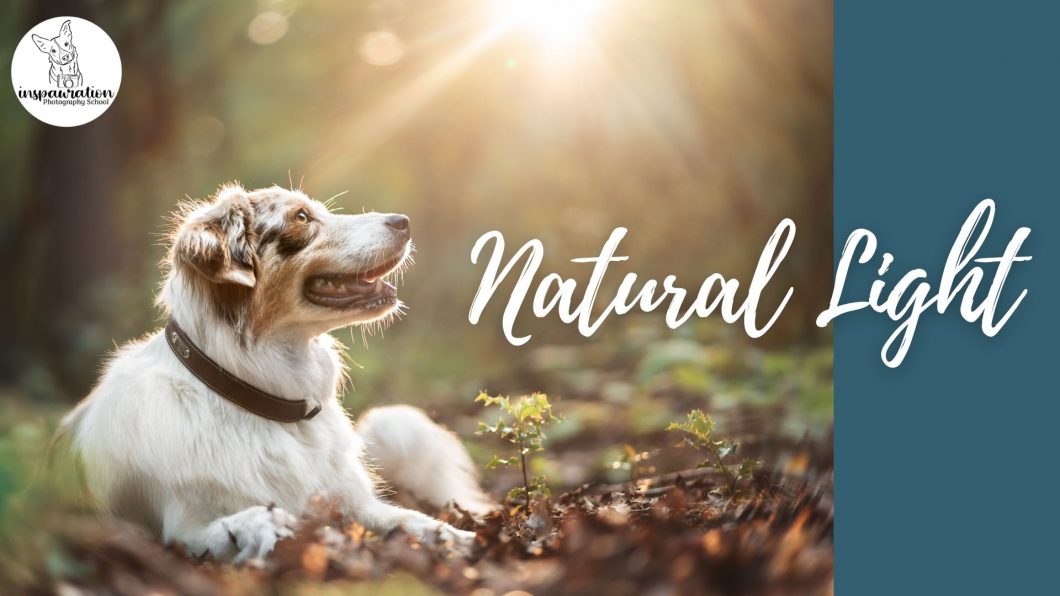
Workshop: Natural Light

Knowing how to read, understand and use light is one of the most important things we can do as photographers.

In this workshop, we’re going to look at:

  • light quality
  • light temperature
  • light direction

Have ready some photos where you had really good, or really tricky lighting conditions so we can discuss what could be done differently in future (or what worked really well!!). This is a case where the more example we see, the better!

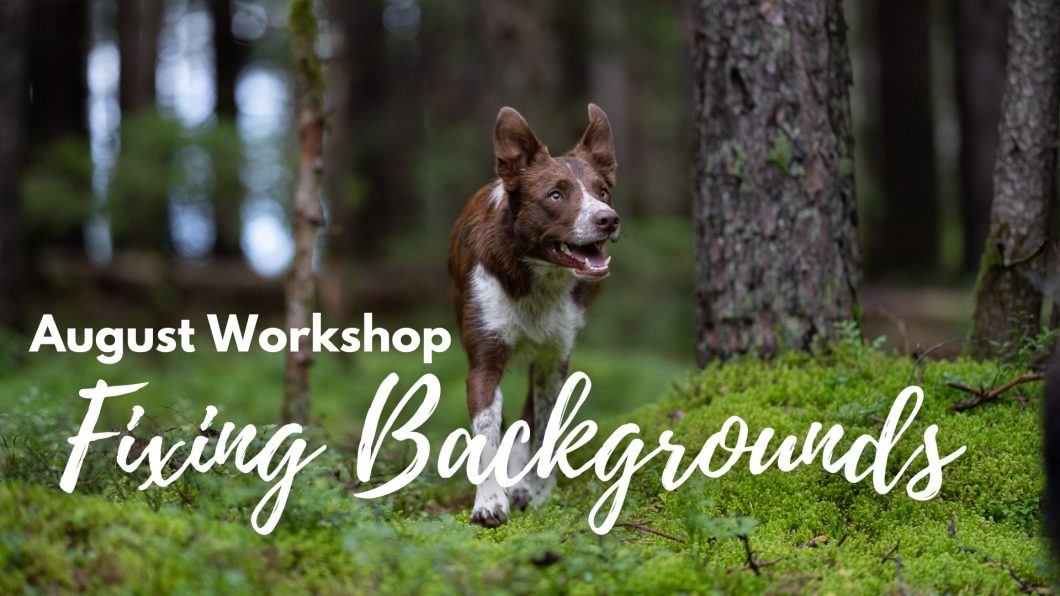
Workshop: Fixing Backgrounds

In this workshop we’re going to look at a variety of methods to make changes to the background of our image including:

  • taking part of the background, flipping it and masking it in
  • using the clone stamp tool
  • using content aware fill
  • using content aware crop to extend the background
  • using content aware scale to extend the background
  • things we might want to consider (when we might/might not want to mess with the background)


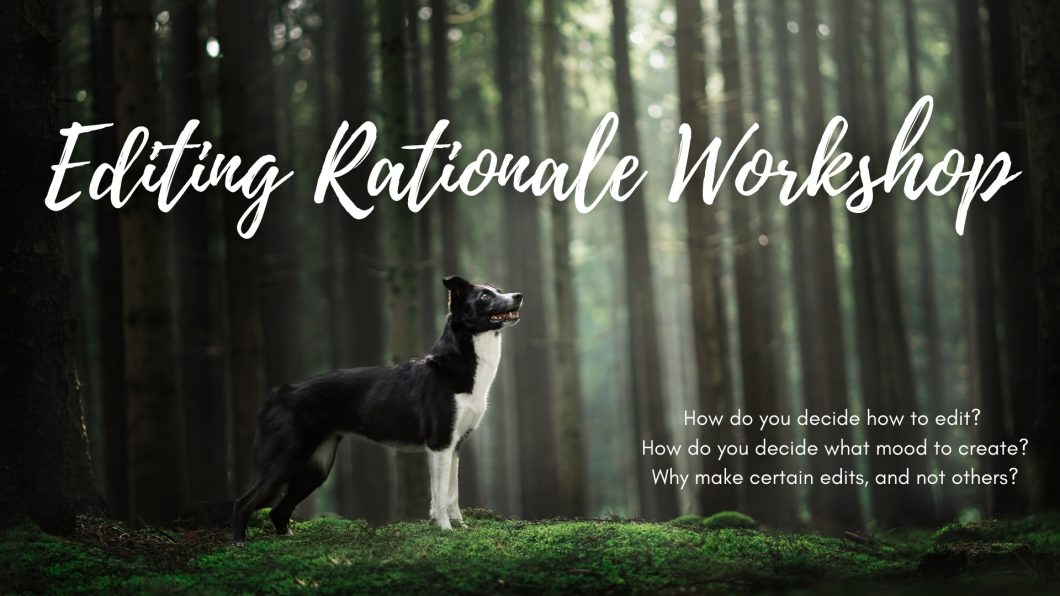
Workshop: Editing Rationale

This workshop aims to be very interactive and “hands-on”. We will likely use a combination of my photos and photos uploaded to the Google Drive. 

The aim is to discuss and answer the question:

How do I decide how to edit a photo?

Many people take beautiful photos then get stuck with what to do with them. After all, our editing programs are FULL of tools. We could darken, lighten, raise blacks, increase contrast. We could make the photo more cyan, desaturate it, make it orange. We could add light flare, haze, or completely blur the background. Sometimes the possibilities are overwhelming.

So, while keeping in mind that there is no right way to edit a photo, we will look at some guiding principles and things to think about when you open your photo up. Things like:

  • What needs to be done to draw the audience’s eye to the subject?
  • What mood can we already see/feel?
  • What shapes are naturally in the photo (curves in the foreground etc)
  • What colours are naturally occurring?
  • What style are we working with? 

As a group, we will look at a variety of photos, with different moods, in different locations, with different lighting, and you will help guide me through what edits you think we should use – and discuss as a group why this might work (or not), what we need to consider when making those edits, and what we’re trying to achieve. Once we have a rationale behind why we edit the way we do, we will be able to choose more intentionally from the editing tools, styles, and options available to us. 

If you have a photo that’s driving you crazy because you don’t know how to edit it or where to begin, keep it handy!! It would be great to be able to have a look at some of those images and discuss as a group what you might do with it and why.