
Have you been wondering if you should throw in the towel and get a camera to take photos of your pup? Maybe you’ve been scrolling through Instagram, seeing beautiful dog photos and wondering why yours don’t look like that?
In this post, I’m going to give you some advice to help you better use your phone to take photos of your pet (without editing for hours and hours to make them perfect!).
Get the Basics Right First
Whether you’re using a camera or a phone, it’s so important to understand the basic, fundamental techniques behind taking good photos. In fact, I would say it’s even more important to learn about lighting, composition, perspective and so on when you’re using a phone, than if you’re using a camera!
This is because with the wider angle of our phone’s lens, and the smaller sensor that is capturing the information of the scene, we need to be even more conscious of the conditions that we’re shooting under!
Using Natural Light for Your Phone Photos
It’s really important to be conscious of the light in the scene. Many new photographers and pet owners are under the impression that more light = better photos, so they rush out in the middle of the day when the sun is bright and shining…
and they take photos like this (click to view larger):
Possibly in editing I could somewhat fix these up (I show an edited version below!), but it’s also really annoying. You’ll notice dogs get super, blindingly shiny in full sun, or there are shadows across the whole face, or half of it. Full sun is rarely flattering for photos, even less so with our phone, where the sensors aren’t that great and they struggle with these big contrasts of light vs. dark. Honestly, you don’t need the entire strength of the midday sun to have enough light to take photos!
I promise.
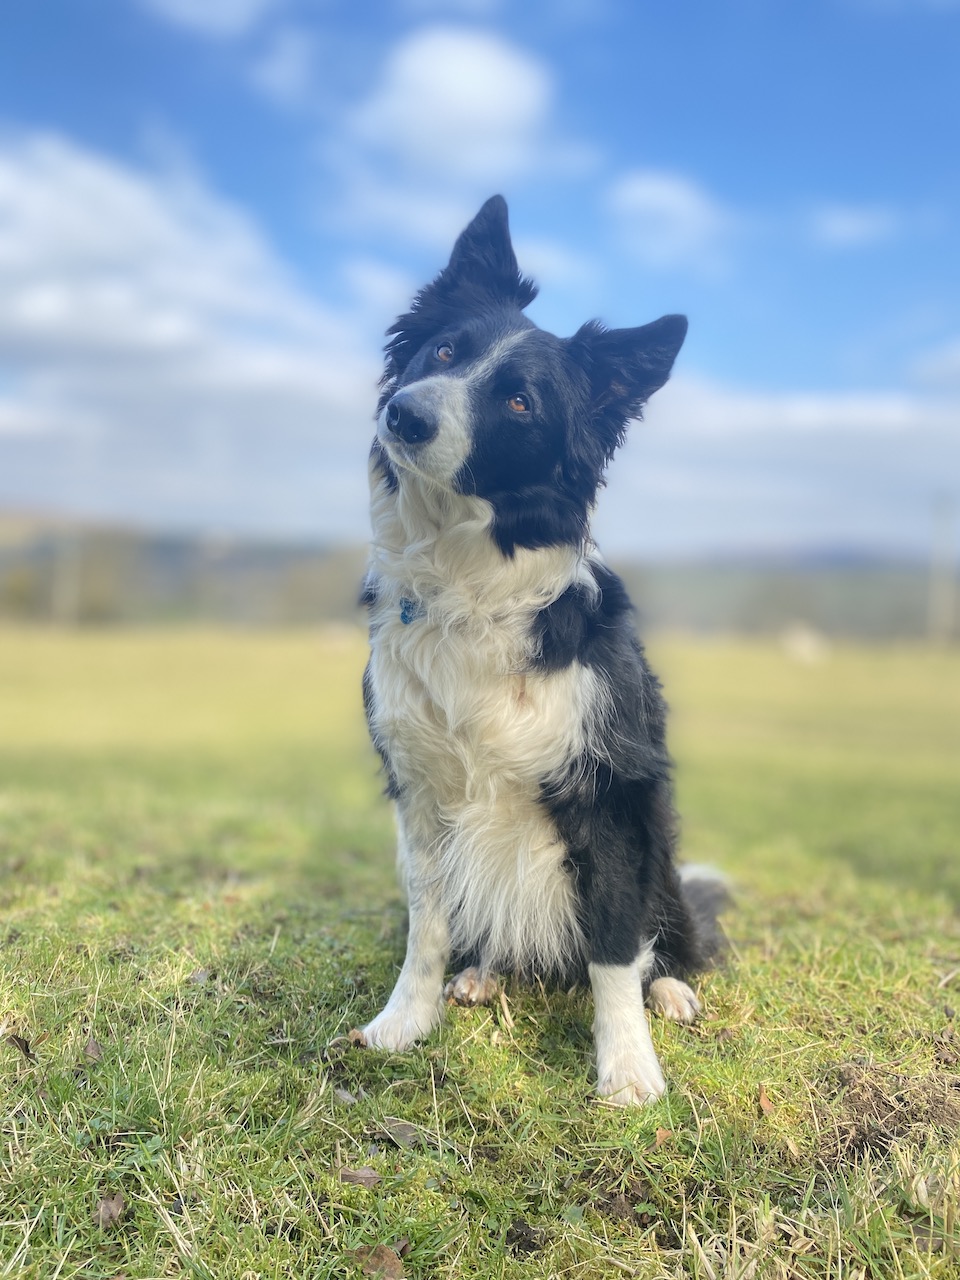
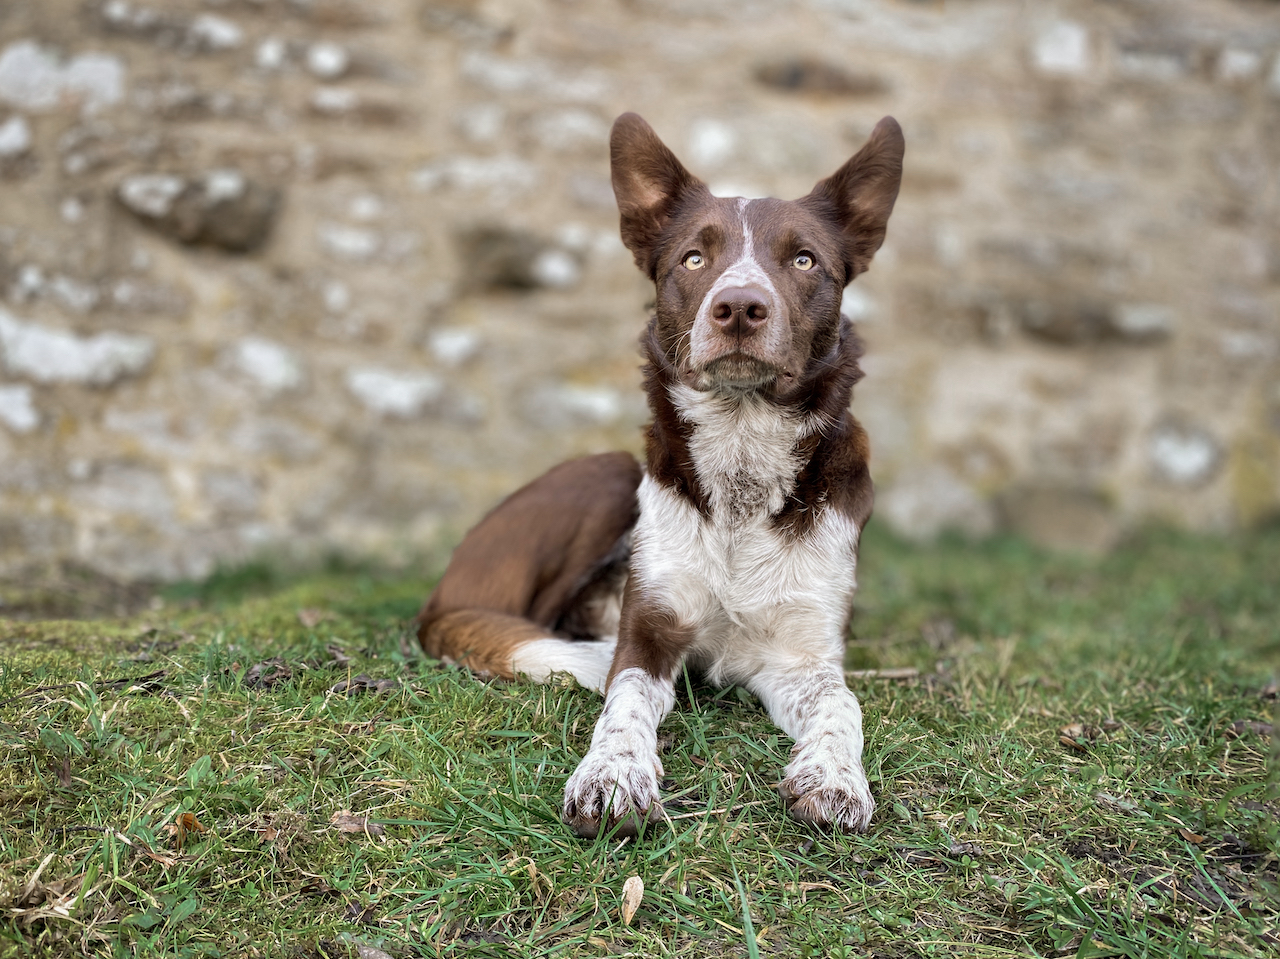
It’s better to take your photos in some open shade (not dappled, patchy shade) or on an overcast day. There’s so much more to say about light and how to use it and what to look out for, but I’ll save that for the Improve your Pet Photography Course.
Here are basically the same images as above, but taken in the shade on a sunny day (so it was a bit dappled), and in the total shade cast by a house. These are also unedited (let’s try and compare apples to apples here).
So. What if we did edit those full sun photos? Won’t they turn out better because of all that extra light?!
Truthfully, probably not. You have to fight the crazy highlights and the crazy shadows and the natural shiny shine of the coat… and the softer light photos would STILL look better (and be less work to edit!). Let’s do a comparison. Below, I edited the full sun and shade photos allowing myself to use the exact same tools: crop & change horizon, any basic/global adjustment to highlights, shadows, and colours, as well as very small selective edits to the chest and brightening the face as needed – editing tools that most free programs offer.
I did not intentionally edit one image to be better or worse than another one. I go over all these types of edits in my Lightroom Course.
What do you think? Yes, the sun photo of Journey isn’t his prettiest photo ever but it was the only one I got (there is a blog post on getting your dog’s attention coming soon!) and enough that you can see the difference in terms of the lighting at least.
Raise the Exposure (if needed)
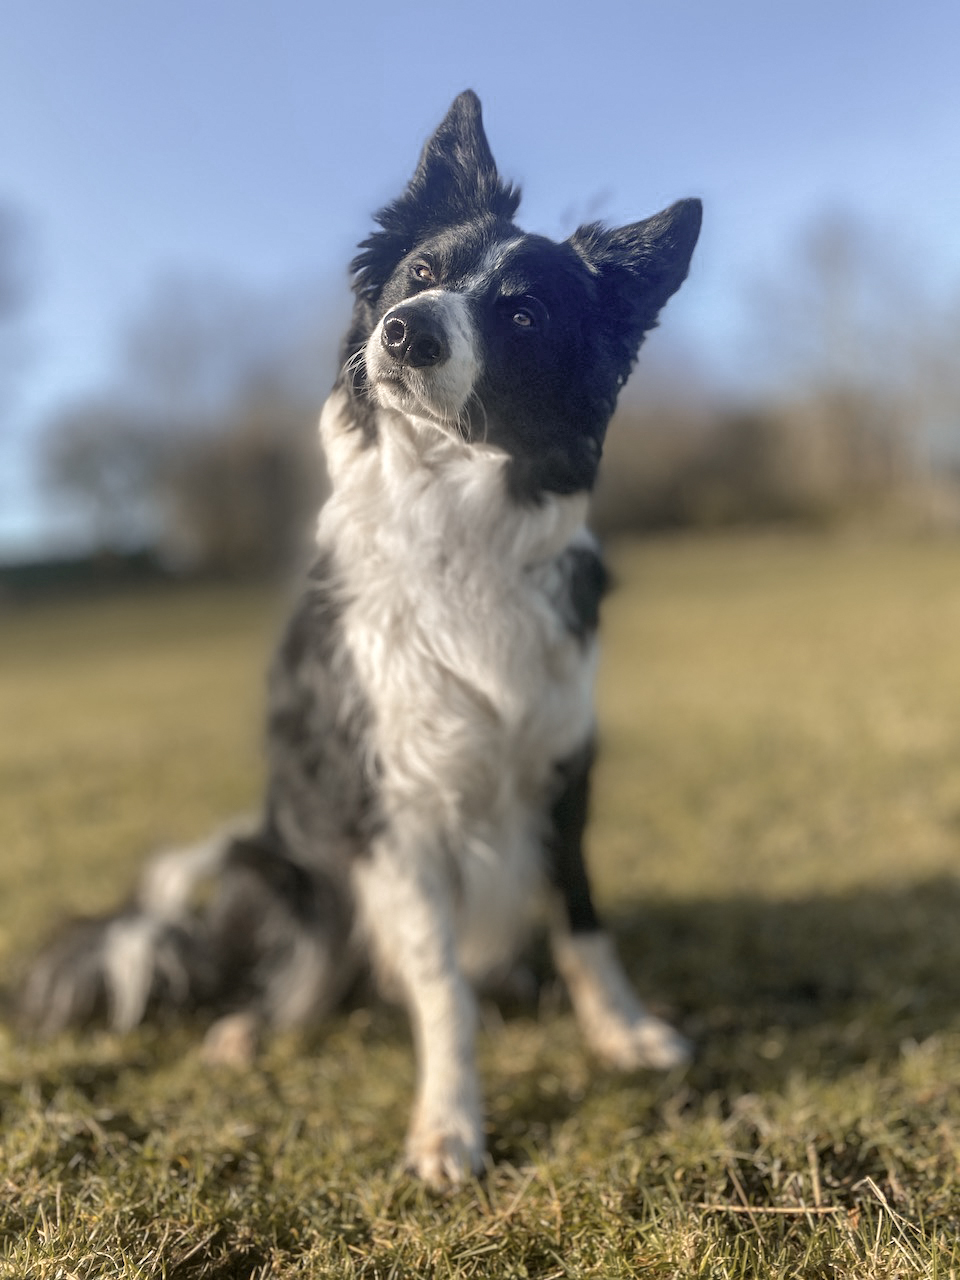
When we tap on the phone’s screen to focus it somewhere (hopefully on the dog’s eye), it will decide how bright or dark to make the image based on what it “sees”. When taking photos of Loki (a black dog) in the shade earlier, it was determined to make the whole scene, including Loki, very dark. Which seems counter-intuitive, but that’s what it wanted to do. Possibly it was reading the sky behind him, rather than his black fur.
To fix this, so I didn’t have to try and brighten him a lot in editing, I set my focus by tapping the screen, then slid my finger up, to increase exposure (brightness) of the overall image. This can be tricky if you have a lot of light/bright areas in the background as they will quickly get TOO bright, so use with caution and pay attention to your backgrounds!
Both unedited! Since the phone’s sensor isn’t that great, I bet I’d get a lot of noise and loose a lot of detail trying to brighten up the very dark version of Loki on the left.
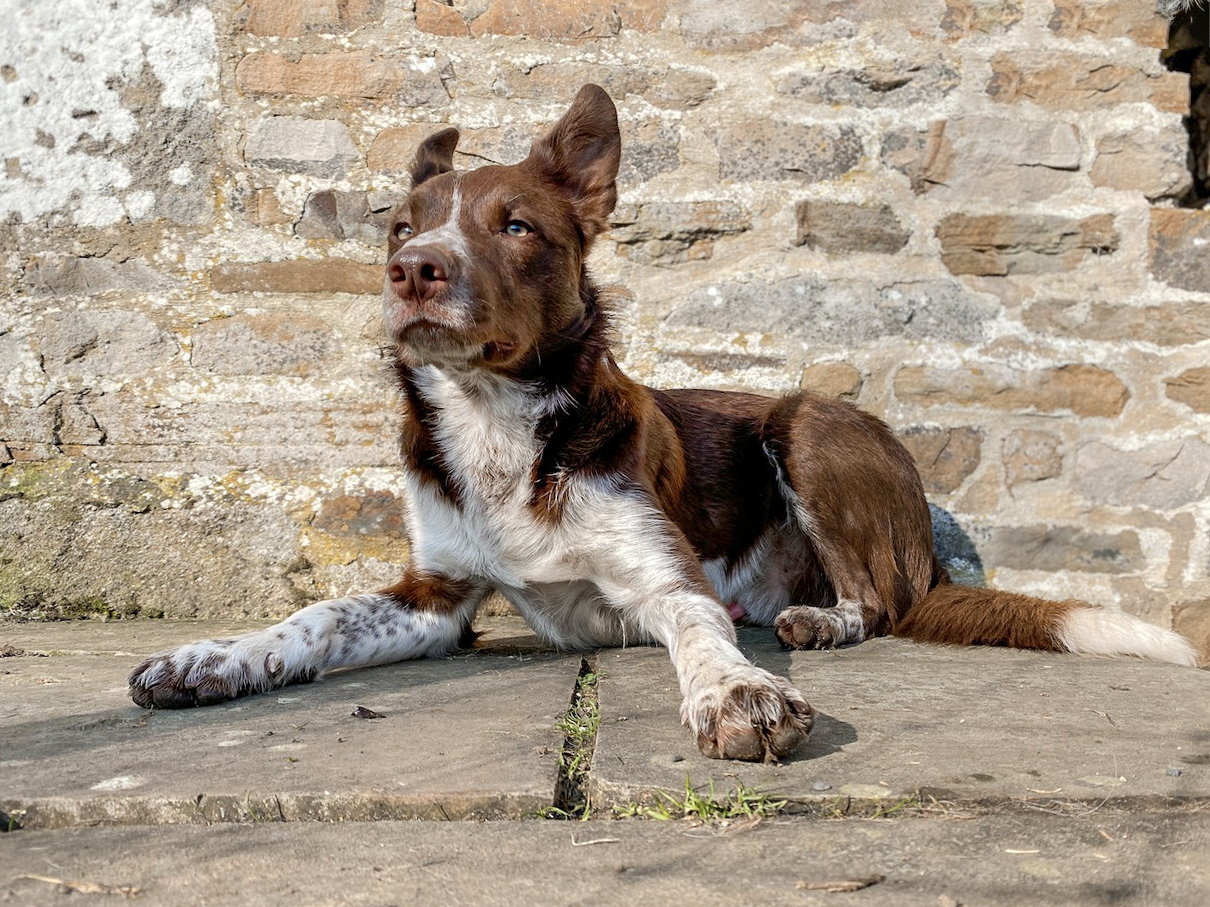
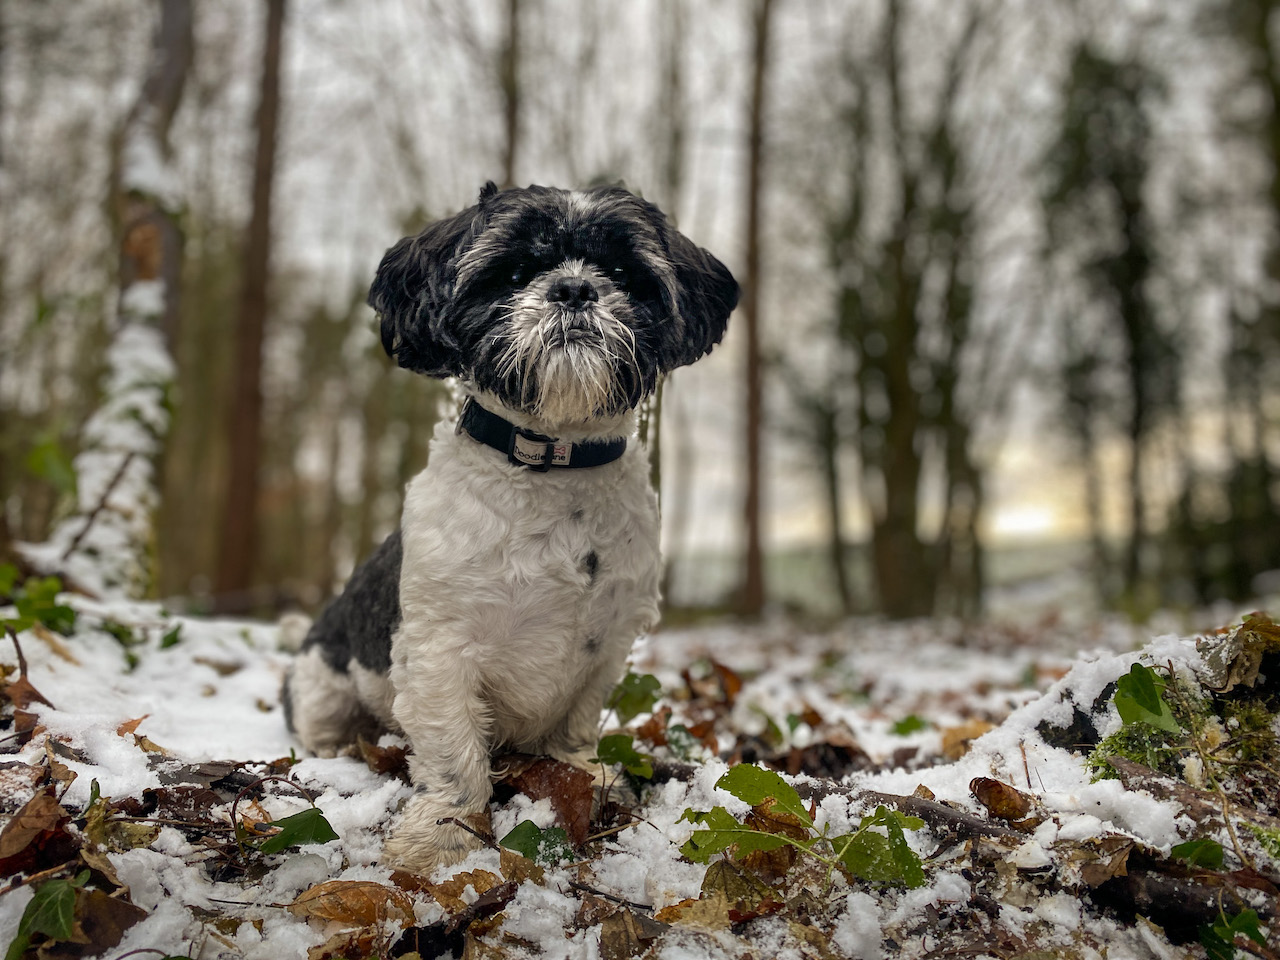
Get Down Low
What’s the difference between these two photos?
Different location? One with phone, one with camera?
Nope. The exact same location, same phone, same everything. The difference? Perspective. Our pets are usually pretty small. Getting down low helps us to connect with them at their level. It can give them a sense of presence and can really take your photo to the next level.
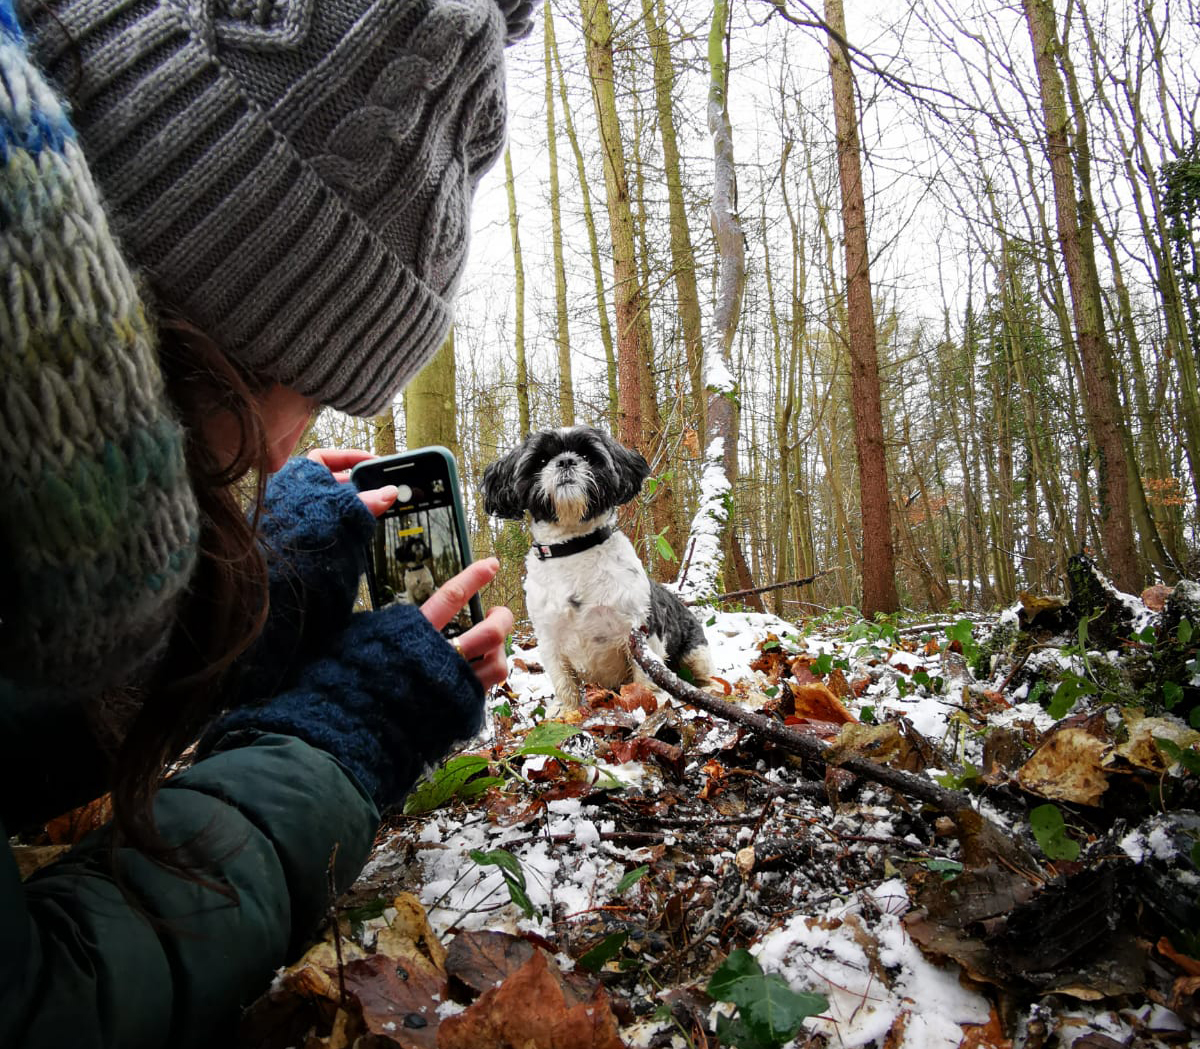
With a phone, just experiment with different heights to find one where the dog isn’t looming over you, but you really get a sense of his height, and you’re seeing the world from his level.
Here you can see “behind the scenes” as I prepare a lesson for the online courses, showing how low I would be with a small dog, if I was using my phone for photos.
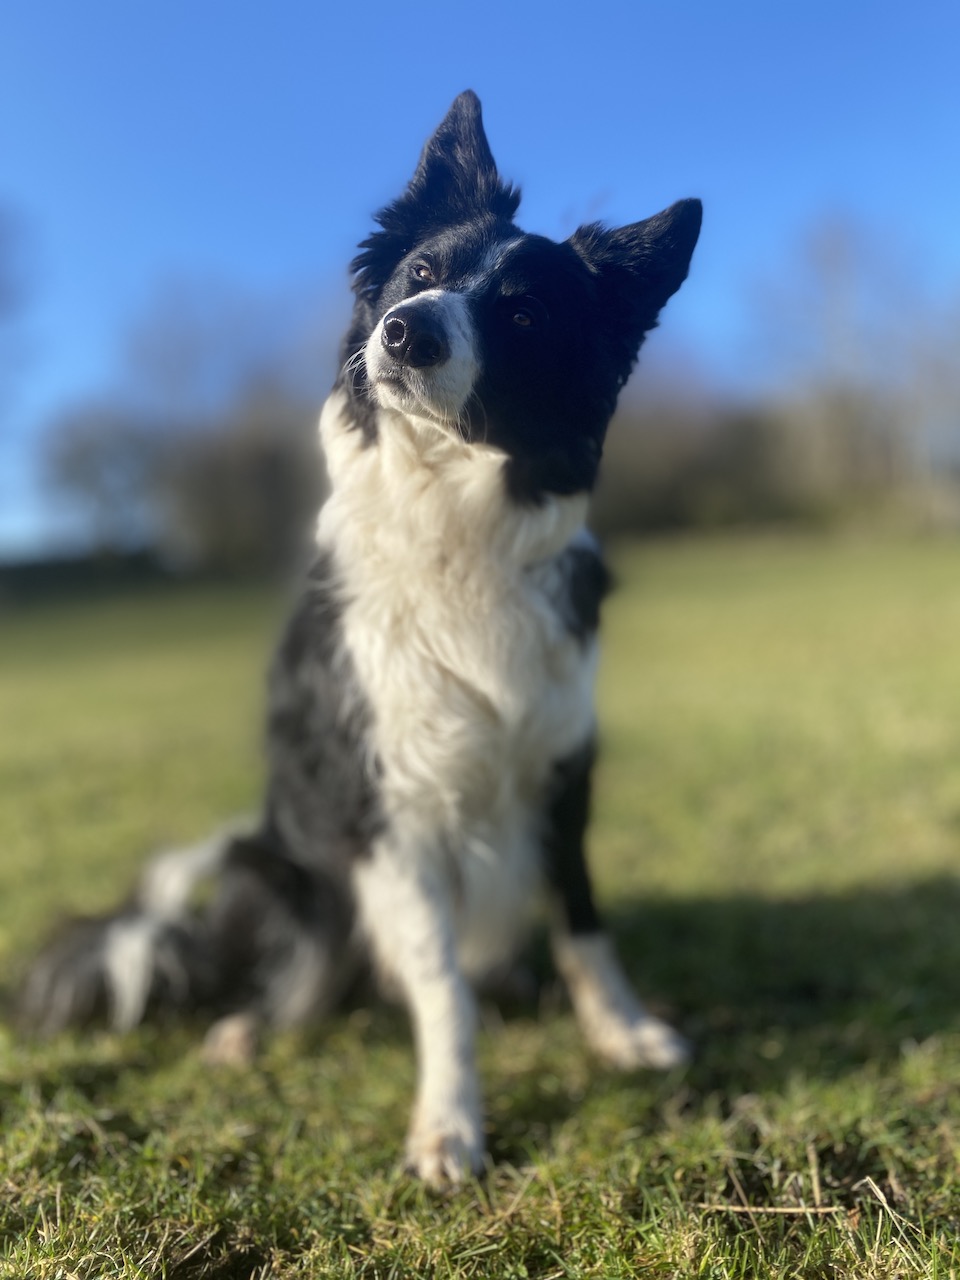
Use Portrait Mode
The software and hardware on phones is becoming better and better. One great feature you can use on most phones is portrait mode.
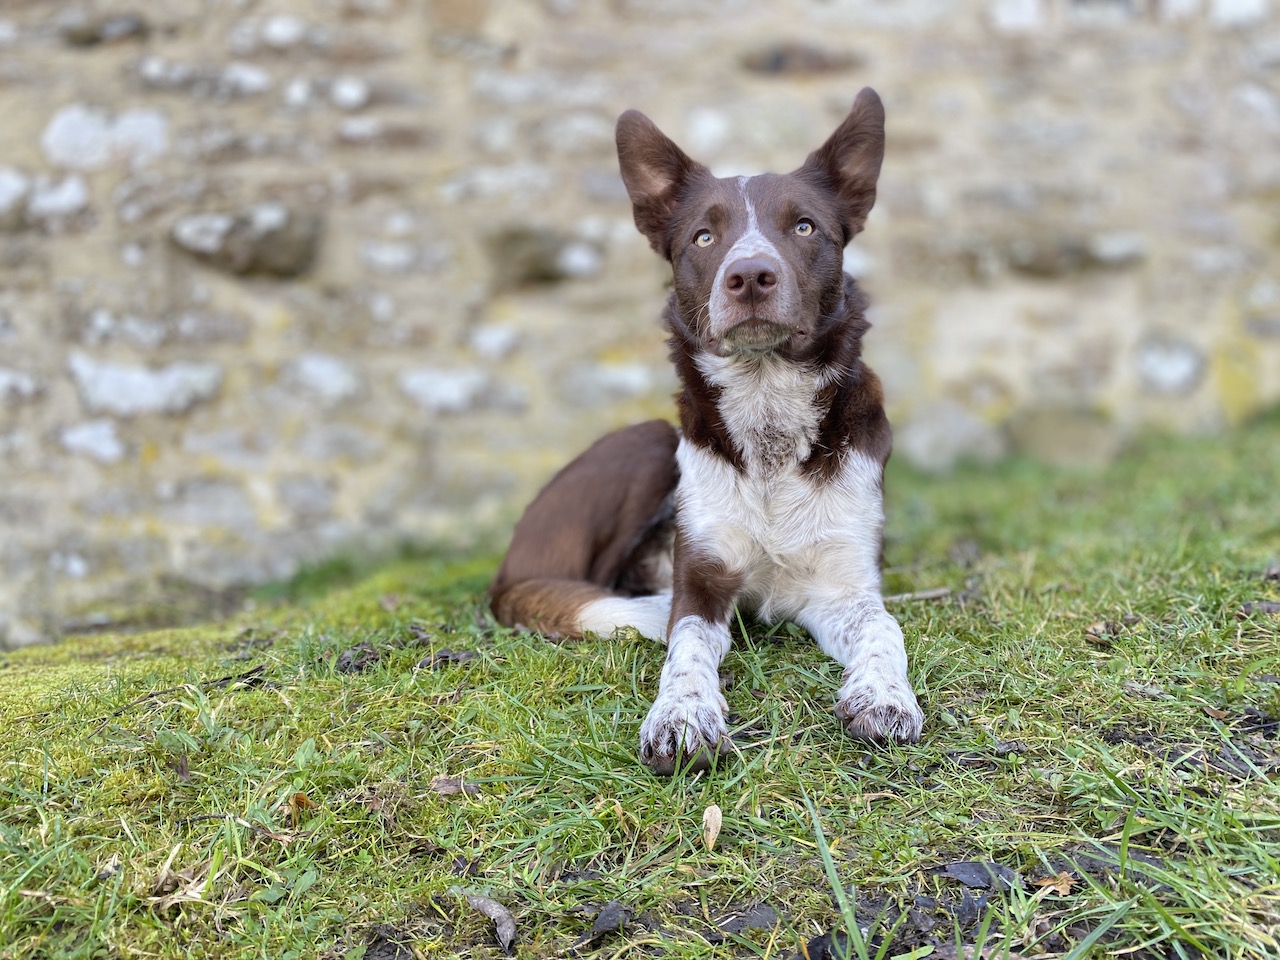
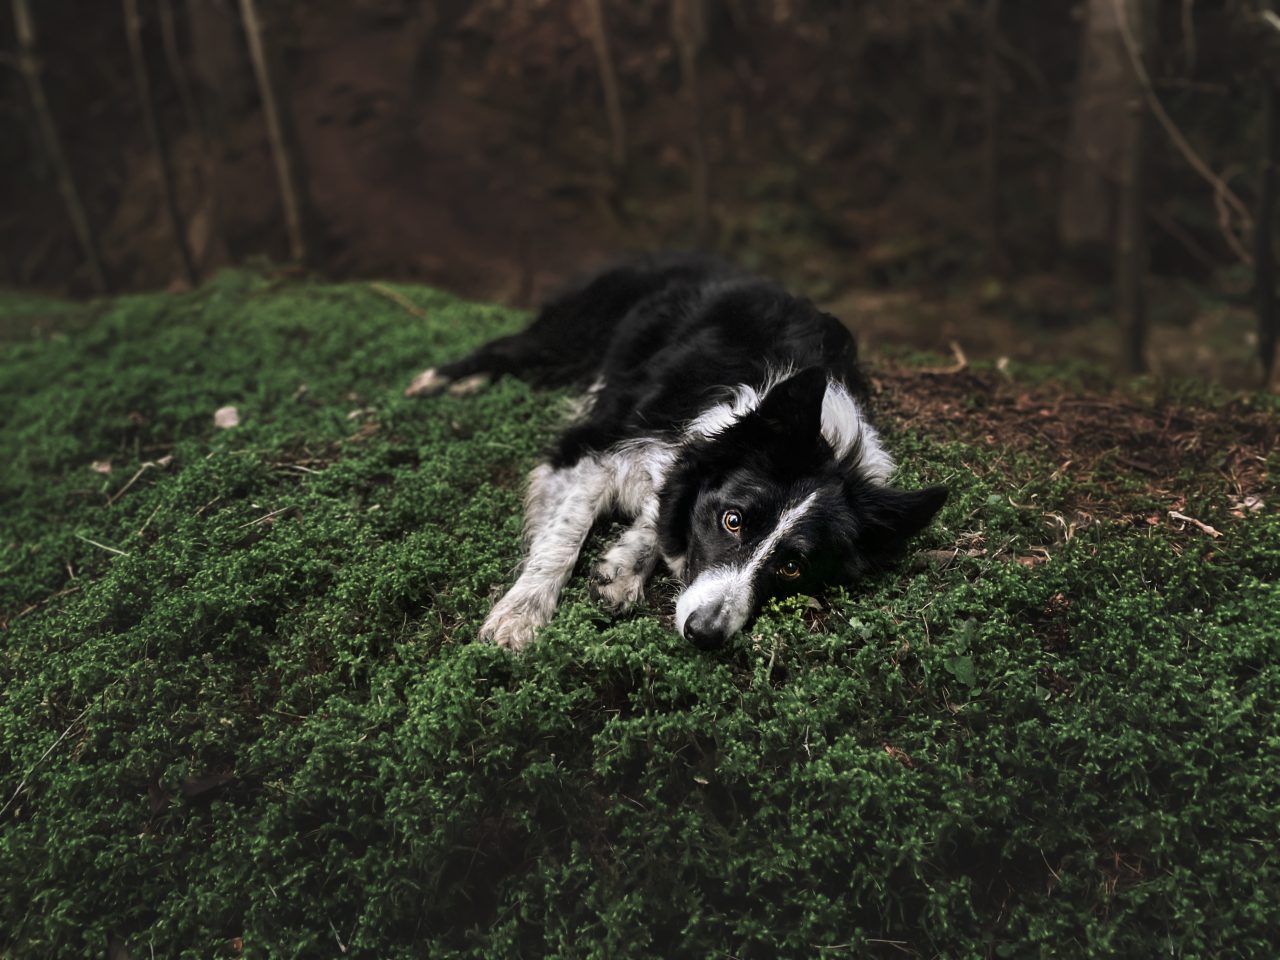
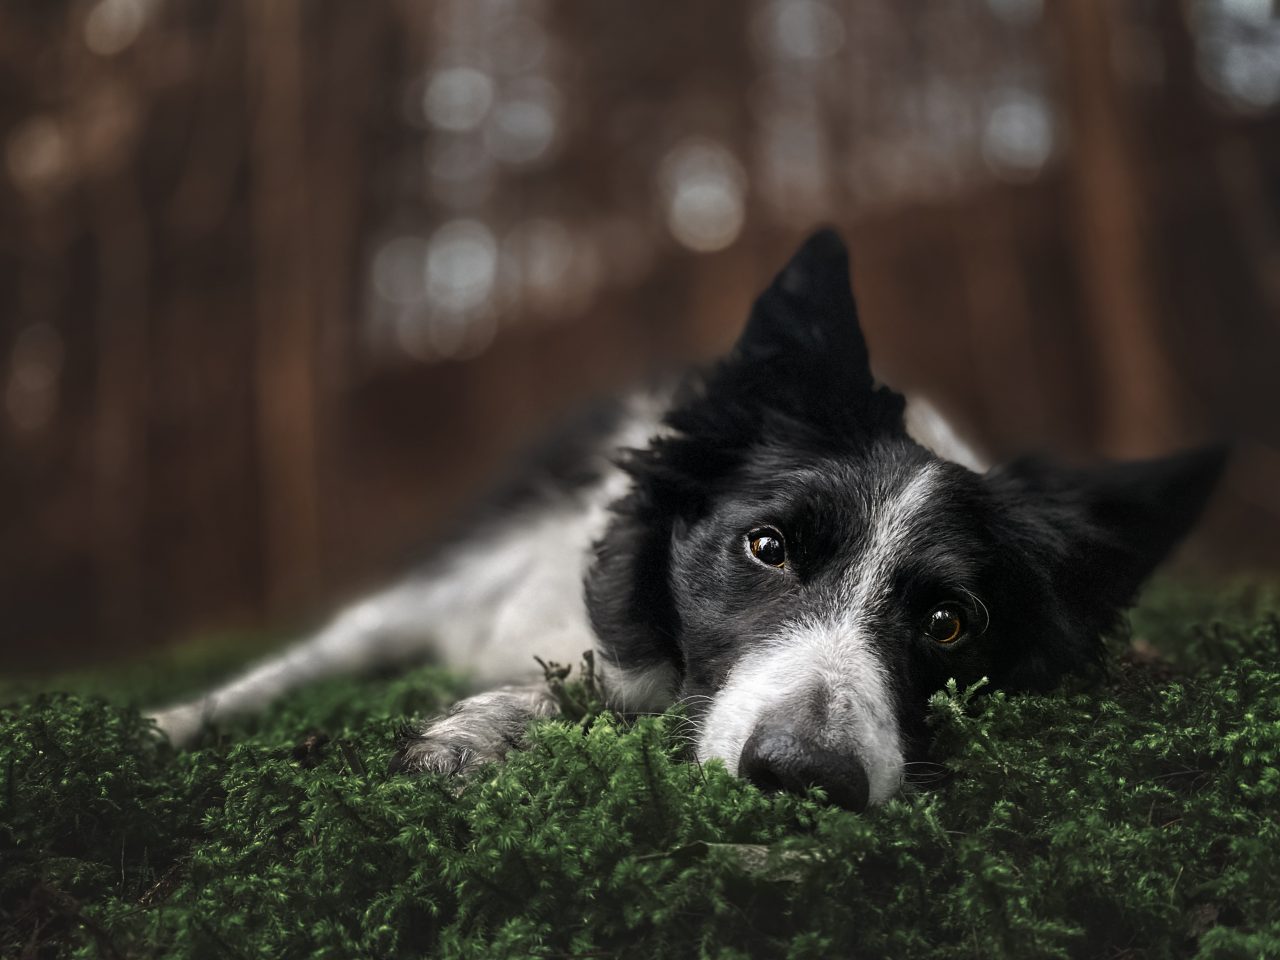
This simulates the blurred background effect that you normally only get with cameras and lenses. You can see it especially well in the image above of Loki on the moss.
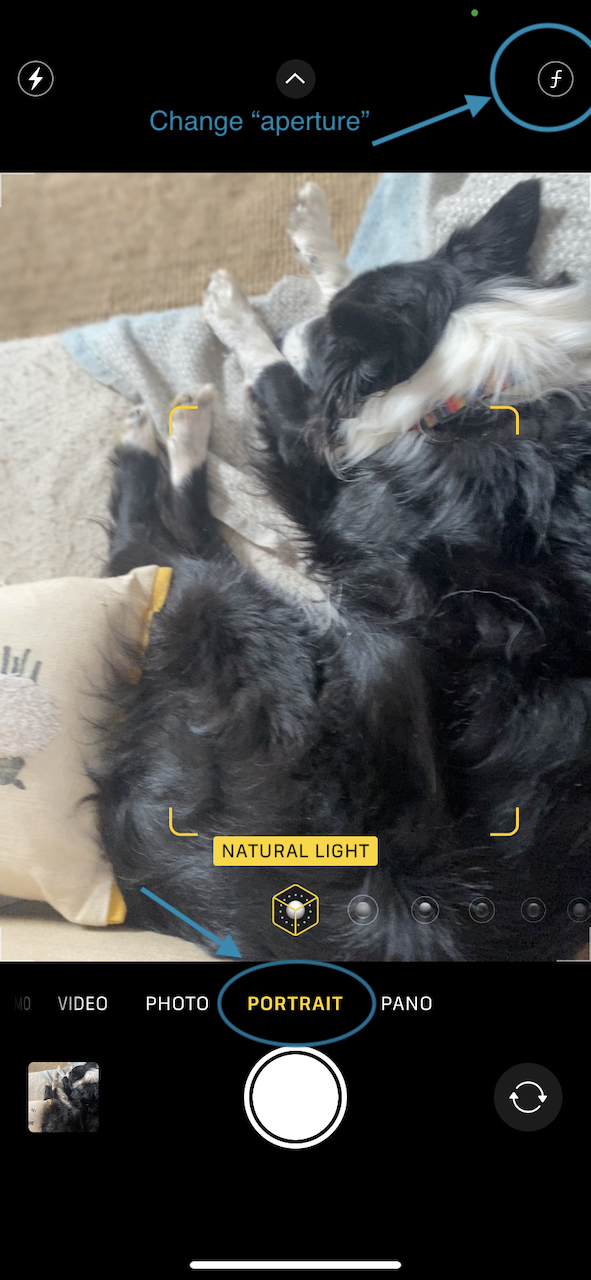
Did you know, on some phones, you can also change the “aperture” of the camera? This determines how blurry the background will be! Make sure you find out what your phone is capable of so you can get the most out of it! Some even allow you to change the shutter speed, ISO and aperture! If you’re not sure what all these things are, we cover them in detail (without being overwhelming!) in the Foundations course.
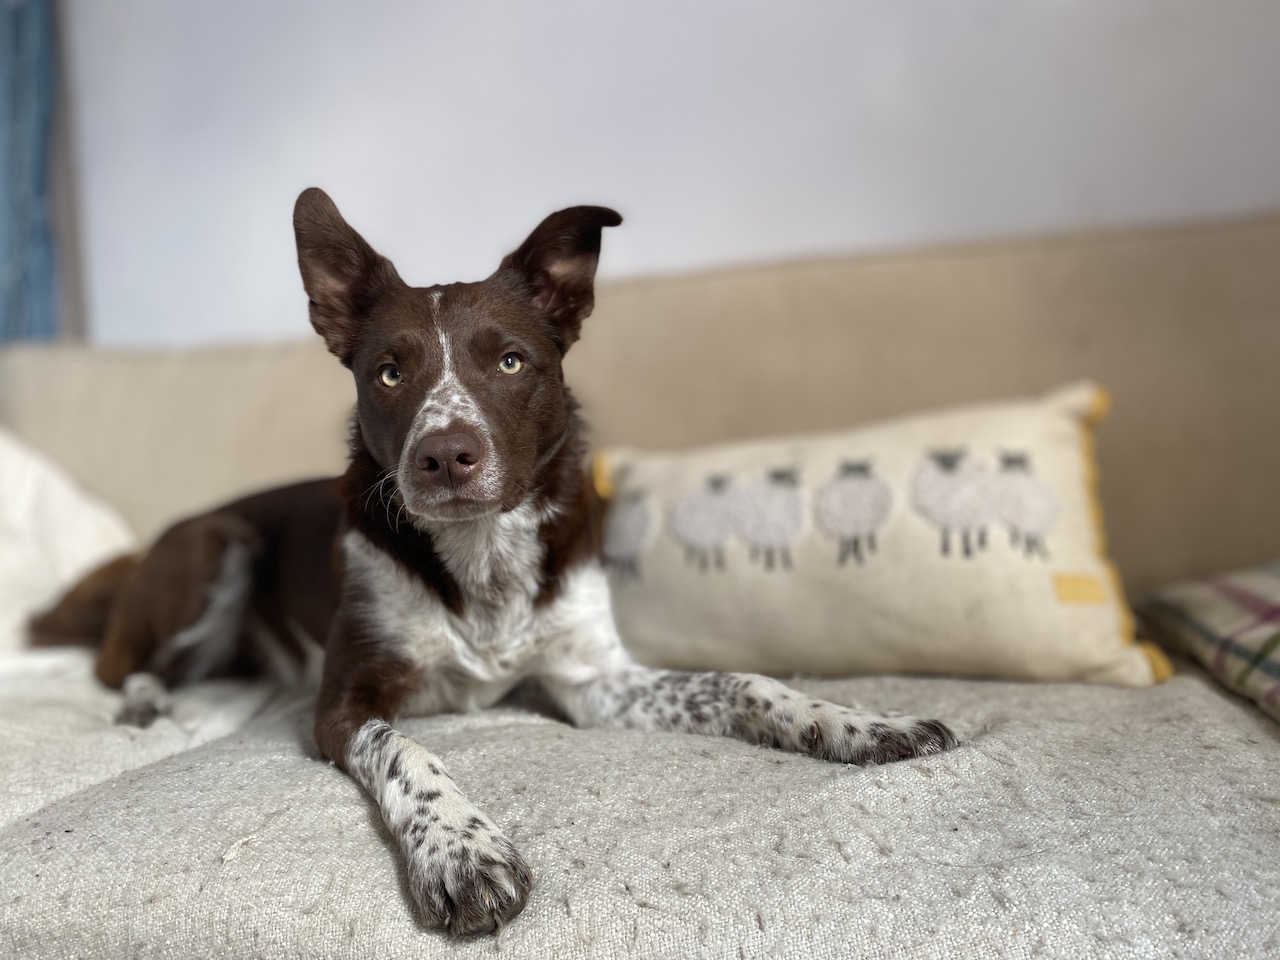
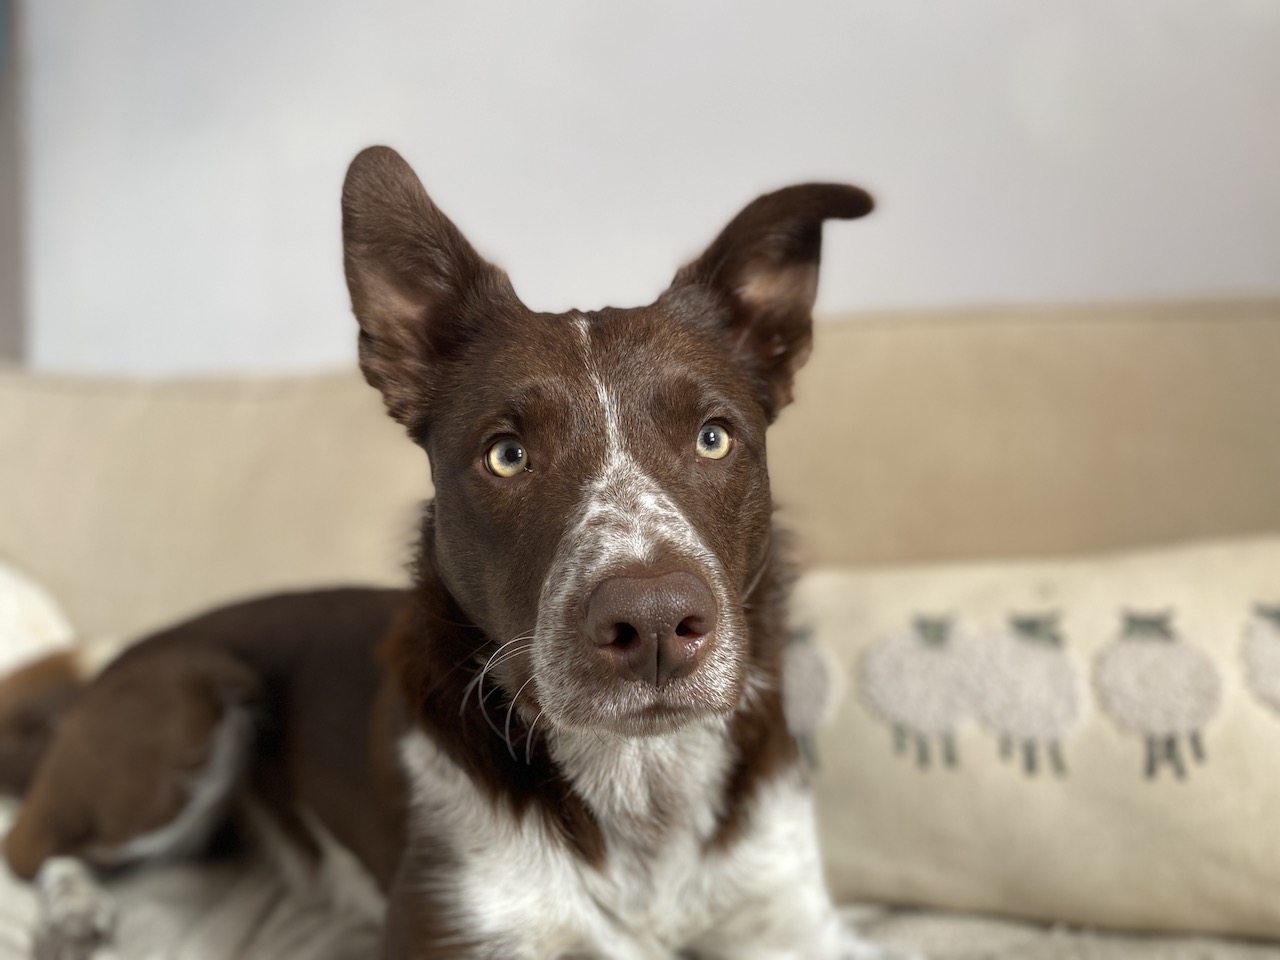
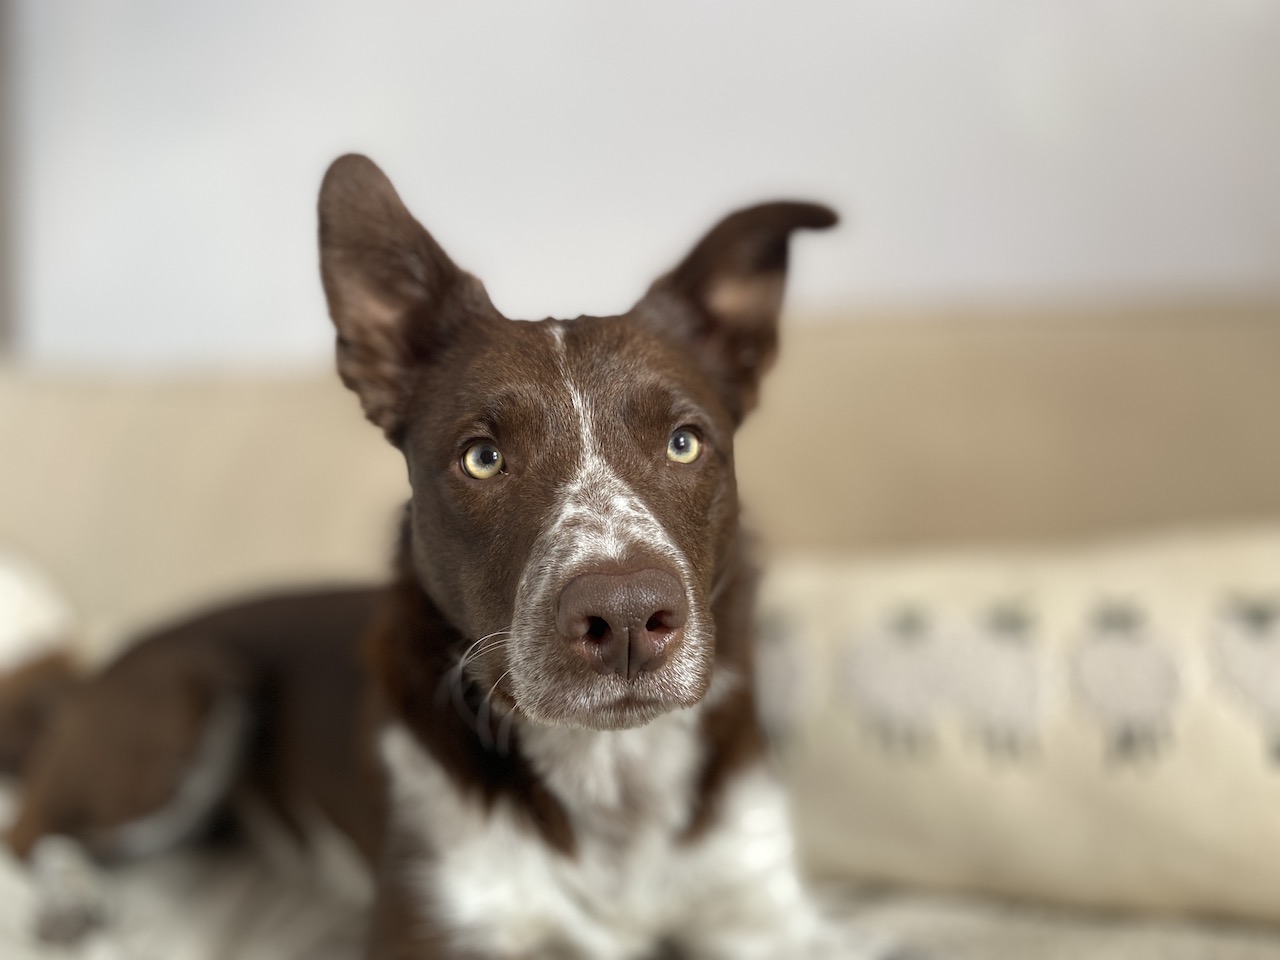
Here’s how to do it on an iPhone (11). Go into portrait mode on the menu down the bottom. In the top right hand corner you’ll see a funny looking f. Press this, and you will be able to slide a slider. The smaller numbers (f/1.4) will give you more background blur. The larger numbers will give you less! You can also play with this effect by being closer or further from your dog, or having them closer or further from the background.
Some examples of different apertures on an iPhone 11
Have a look at the sheep on the cushion behind Journey. Notice how they get softer not only with each aperture change, but also as I get closer to him.
Using Portrait Mode
- Be careful of backgrounds which are the same colour as the dog. If the phone’s software can’t tell what is background and what is dog, you may get parts of the background very sharp/in focus around the edges of the dog.
- Phones struggle with the very fine detail of long coated dogs and will make the edges of their ear fur very jagged. It might be worth trimming their ear fur, or brushing it so it isn’t so “shaggy”
- Take multiple photos to make sure the eyes are in focus. Tap on the screen to tell the phone where to focus but don’t rely on that only! Phone cameras love to focus on the nose of the dog, especially when we are quite close to them. The nose is then the closest thing to the camera, and it’s usually shiny (contrast!) which sensors are easily able to grab onto and focus on.
Do Some Basic Edits
Editing doesn’t have to be a long and involved process, but most phone photos – especially when taken outdoors or in less than ideal lighting conditions, will need some basic edits to help them out a little. Here are some ideas of what you might like to try, and you can do these in any basic/free editing program or app. When editing, try and do things in moderation. Big edits tend to end up rather weird.
- Correct the white balance. There will usually be a blue tint to everything in shade or overcast photos. We don’t want blue dogs. Black dogs especially will end up VERY blue (you can see this on Loki in the unedited images in this post), even after white balance corrections. Therefore…
- Consider lowering the saturation on blue hues. This will take the blue out of their coats.
- Consider lowering the saturation in general. Most new photographers & pet owners seem to think that more colour = a better photo. It really doesn’t. Sometimes (often), less is more.
- Lower the highlights. This will make the bright parts of the image less bright.
- Raise the shadows. This makes the dark (but not black) areas of the image less dark. Great for bringing detail back to dark-faced dogs. Don’t go overboard!!
- Add or remove contrast. The full sun photos? I removed contrast. The shade/overcast photos? I added some contrast. Don’t go overboard.
- Gently change the huge/saturation/luminance to your tastes. This alters different ranges of colours, so you can add or remove saturation from just the yellows, or blues, or greens for example. Some free apps/programs will have something similar. You’ll have to check if yours does. Remember, less is more. Don’t change the colour of your dog or their eyes.
- Do selective edits on the chest to make it less yellow or green, if needed. Brighten the face using selective edits.
- Add a very soft, faint vignette if you want, to further draw attention to the centre of the image. Don’t. Go. Overboard.
And that’s it! I hope this gives you some new ideas and techniques to try with your phone! Personally, I still love the images I get with my camera, how much data I can work with, the quality of the images, and the real bokeh/blurred background, but I know not everyone has, or wants to have a camera. So these are some ways you can get the best images of your furry companions just by using your phone!
If you want to learn even more of the foundation photography skills that will help you improve even if you don’t have a camera, make sure to check out the Improve your Pet Photography course! It’s absolutely packed with information that applies whether you’re using a camera or not, a complete beginner, or a big more experienced. Check out the testimonials on the page to see what my students are saying about the course!

