
Open to access this content
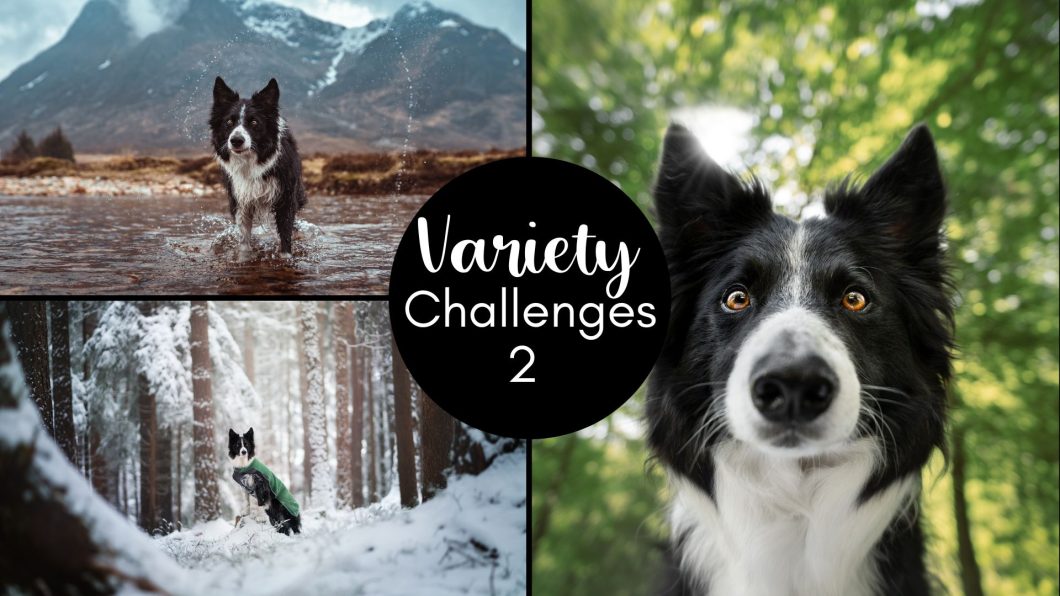
Variety Challenges: All about the dog
Open to access this content

Open to access this content
Open to access this content

Open to access this content
Open to access this content
Open to access this content

Open to access this content
Open to access this content
Open to access this content

Open to access this content
