Archivesbeginners

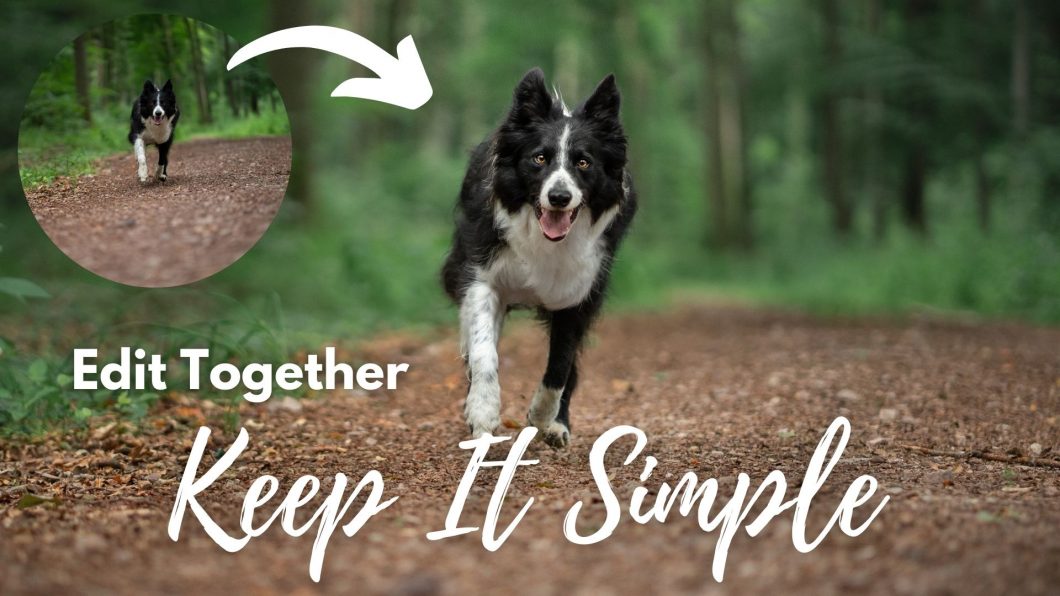
Edit Together: Keeping it Simple

In this edit together we’re going to work on one or two pretty simple photos, to show that you don’t have to spend hours editing, and you don’t need ten thousand layers, to create a good photo. Some photos, because of the location, mood, or whatever, don’t need much.
Often we feel like these photos are “boring” or that we need to do more to them… but then we can end up overdoing it. 

So, let’s Keep It Simple.

Apologies for the awful recording quality. Zoom records in really low quality, and my computer can’t handle editing + screen share + separate screen recording right now. I’m going to look into a solution but at the moment it is what it is.

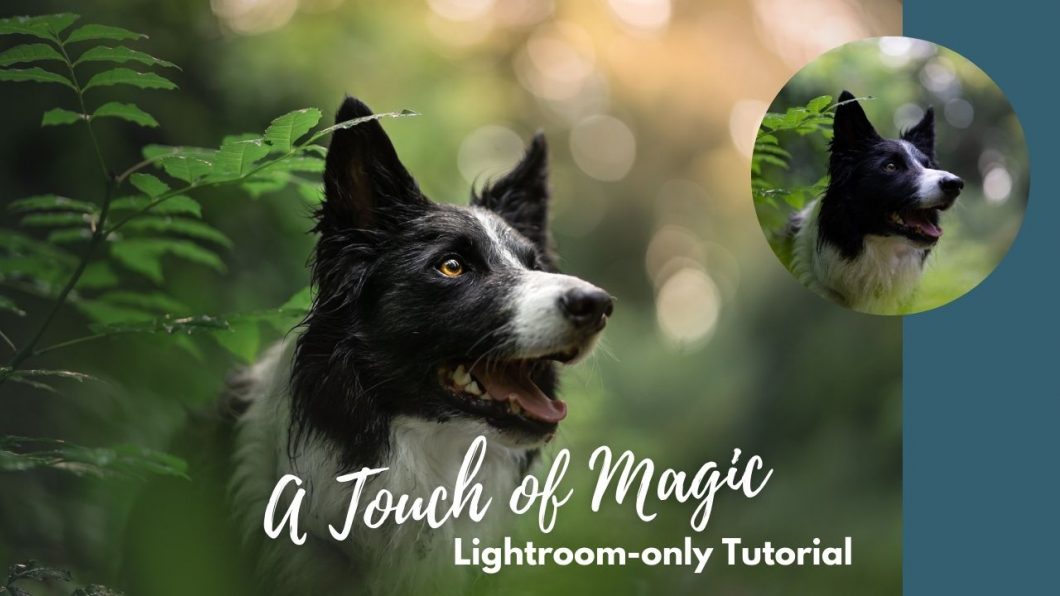
A Touch of Magic: Lightroom-Only Tutorial

In this Lightroom-Only tutorial, we’re going to work on this photo of Loki. Some of the skills we’re going to work on are:

  • brightening up a black dog
  • changing the background colours
  • creating a bit of haze & warmth in the top corner
  • using range masks to automatically mask certain things in or out
  • contouring his face for a 3D effect
  • removing colour-casts
  • making sure his blacks stay black
  • bringing nice detail and texture to his face
  • shaping the light to create a gentle “spotlight” on his face, and help our viewer be drawn to him.

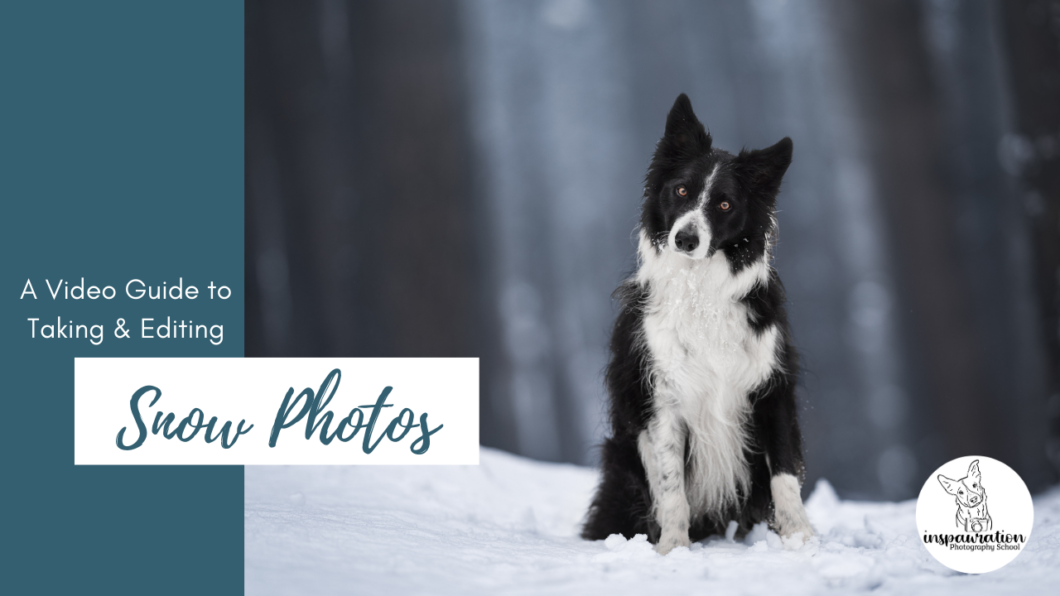
Snow Photos

In the video, I discuss some difficulties we may have in terms of taking and editing snow photos, then go through a full tutorial, trying out some new techniques (please don’t worry about the “channels” thing just yet. I’ll explain it further when I figure out how it’ll be useful for us!), do some colour changes and so on. 

There are some parts where I skip ahead in terms of masking things in or out. You will probably be able to follow this tutorial pretty well if you are at an intermediate level (or advanced). At the end, I break down how I constructed one of my favourite snow images of Journey. 

Remember as well the free blog post which has some more snow tips!

Any questions or comments, please let me know below, or in the group, and remember to use the #inspawrationcommunity on Instagram!

The Main Points

  • Snow photos do not usually give us much opportunity for a foreground (or mid-ground) so we need to look for other interesting things in the scene, like “tunnels” of light in the background
  • We can’t go overboard doing crazy editing with snow photos (usually) because we don’t have as much to work with in the foreground/midground and a lot of darkening or vignetting will be obvious and unnatural. 
  • We can shift the colours slightly to blue, but need to make our own stylistic choices as to HOW blue we make it (I prefer to err on the side of “still more or less realistic” but you might want to make it more fantastical).
  • Eyes can get weird with the snow reflection. Try a bit of “dehaze” to take it away a bit.

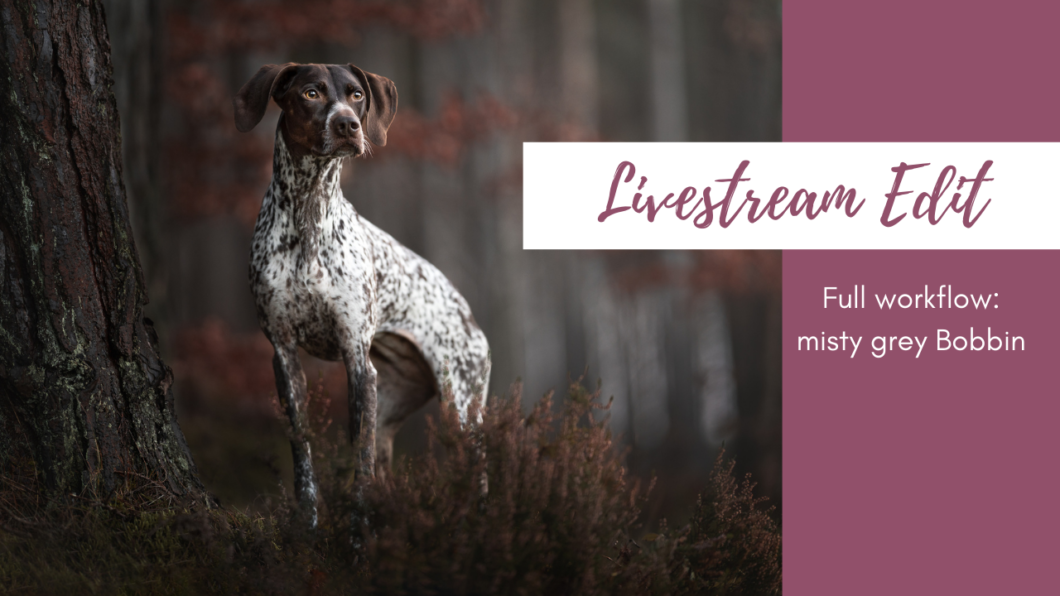
Editing Livestream: Misty Grey Bobbin (GSP)

This livestream was a special event to thank the first sign-ups to the Learning Community (and to test some of the technology – which didn’t work) and to start settling in to our work.

Unfortunately I missed recording the first part of the chat, where we tried unsuccessfully to decide which image to edit, and I also set the white balance. But other than that, I think everything is included here.

Next time I’ll actually read out the questions from the chat so I’m not just replying to the question – but the chat transcript is below, so you can see the questions people asked, and I also wrote the keyboard shortcuts people were asking about there too. 

Also, you can download the .tif file or a high-res jpeg file here (they’ll open in a new window).


I’ve made it a .tif file as older versions of Lightroom (or other programs?) might not be able to open the .RAW file since my camera is reasonably new – I know I had trouble as I was using a super old version of LR when I first got it. The .tif files should operate pretty much exactly as a RAW file.

And! You can upload your finished edit to the Facebook group album: “Edits Together” so we can see how you went! You don’t have to edit it like mine either – take it in whatever direction you like! 😊

Chat transcript:

19:27:12 From Romy Van Hemert : it also was me 😂 I hadn’t turn my audio on yet. I can here you now
19:34:13 From Emily Abrahams : \\\\\\\
19:34:42 From Sandra B : how do i see befor and after?
19:35:16 From Sandra B : when im editing 😀
19:35:18 From Romy Van Hemert : sorry! i am at work and secretly watching👀
19:36:47 From Emily Abrahams : \
19:37:16 From Océanne Martel : Same I missed it too!
19:39:00 From mattb : My dog has to be on lead so I always have to remove collar and lead when would you remove it?
19:40:21 From angelakamper : When will you crop? In the begin?
19:40:39 From mattb : Perfect thank you
19:48:55 From Rosie : Keyboard shortcut to show the overlay mask on photoshop?
19:49:05 From Emily Abrahams : \
19:49:09 From Mirella : And the shortcut for bush size?
19:49:14 From Emily Abrahams : []
19:49:48 From Emily Abrahams : [ ]
19:50:02 From Mirella : I have those behind cmd/alt + () combination
19:54:42 From angelakamper : My oval is very hard on the edge?
19:55:05 From angelakamper : thanks
19:57:05 From Mirella : I have the smallest Wacoom that’s been serving me for like, idk, +5 years at least 😀
20:05:50 From mattb : would you sharpen as the last step?
20:06:34 From mattb : What camera are you using?
20:12:44 From Felicia : What was the keyboard shortcut for making new radial filter in LR?
20:14:20 From Sandra B : YEEEEES!!!!!!
20:14:25 From Océanne Martel : Yes I would love that!
20:14:33 From Felicia : Yes
20:14:35 From Mirella : It would be hard to listen, focus and do at the same time 😀
20:14:42 From Mirella : I’m gonna stick with watching & taking notes
20:15:27 From angelakamper : Yes love that idea
20:15:31 From Rosie : Or we can rewatch the video after and edit along.
20:15:33 From Romy Van Hemert : yass I that would be lovely. like a real class
20:16:03 From Océanne Martel : yessss
20:16:11 From Romy Van Hemert : yess I would want to practis on that photo also
20:17:47 From Romy Van Hemert : awesome!
20:18:27 From Sandra B : how do i reverse white frame to a black? Dont remember the name
20:18:48 From Sandra B : windows
20:18:51 From Emily Abrahams : Cmd +I or ctrl + i
20:28:30 From Mirella : You explained everything very well on the way!
20:28:34 From Océanne Martel : No not for now! 🙂
20:28:34 From Mirella : No questions left
20:28:40 From Rosie : Nope thanks!
20:28:53 From Sandra B : Why are all my notes om Swenglish 😛 haha.
20:29:05 From mattb : Perfect thanks, awesome work…
20:29:16 From angelakamper : Wil jou share also the edit version? So we can see the colors? Because zoom has flatting
20:29:42 From angelakamper : thanks
20:29:52 From mattb : Is it ok to post and ask for critique?
20:30:52 From Romy Van Hemert : awesome work em! love your vision and ideas. thankyou!
20:31:42 From Océanne Martel : Love your ideas!
20:31:45 From mattb : I also have a Canon 1d mkII body that I would happily give to someone if it would help them out – perhaps your scholarship
20:31:49 From Felicia : That would be awesome!
20:34:13 From mattb : No problem
20:34:27 From Rosie : Thank you! Have a great evening!
20:34:31 From Romy Van Hemert : have a nice night! thankyou
20:34:32 From Mirella : Thank you em!
20:34:34 From angelakamper : Have nice evening and thanks, great edit
20:34:36 From mattb : Great session thank you
20:34:36 From Sandra B : Thank you!!
20:34:40 From Océanne Martel : 😂 Honestly I have so much to learn from you and I think it’s worth it, you’re amazing and I still have a lot to learn! 🙂 thank you good night!

You can edit this photo however suits you – either follow along, pausing the video as you go, or put your own spin on it! As you’ll see, the colours on the video are VERY desaturated so don’t worry if it looks different to yours!

Journey in the Woods: Full Tutorial

This is a full editing tutorial, from RAW file to finished product, going through my entire workflow (more or less). There’s nothing too fancy, making this a great tutorial for someone who is familiar with both Lightroom and Photoshop, but it probably doesn’t suit a complete beginner. I do mention the keyboard shortcuts I use, and really try and describe most of the process, so this could be a good one if you’re still gaining confidence in PS.

You can also download the .tif file (which works the same as a RAW file, more or less) to follow along!

Program: Lightroom & Photoshop

Difficulty: Medium

Recommended prior knowledge: radial filters, adjustment layers, masking

My aim with this image was to turn a fairly plain image into a powerful portrait, by minimizing distractions, brightening Journey, and then shaping the light (or the impression of light) to further draw our viewer’s eye to our subject. This is a fairly simple version of my normal workflow, when there’s nothing particularly difficult or “interesting” to fix up, change, or work on except for a few bright ferns.

Note: this is quite an old edit now! My techniques have changed and evolved, though still follow many of the same processes.


While following along with an edit is super fun, make sure you think about what you’re doing and why. The aim of Inspawration isn’t to churn out carbon copies of my style and technique, but to equip you all with the skills and knowledge to find your own style. So don’t feel like your image needs to be exactly the same as the finished product!

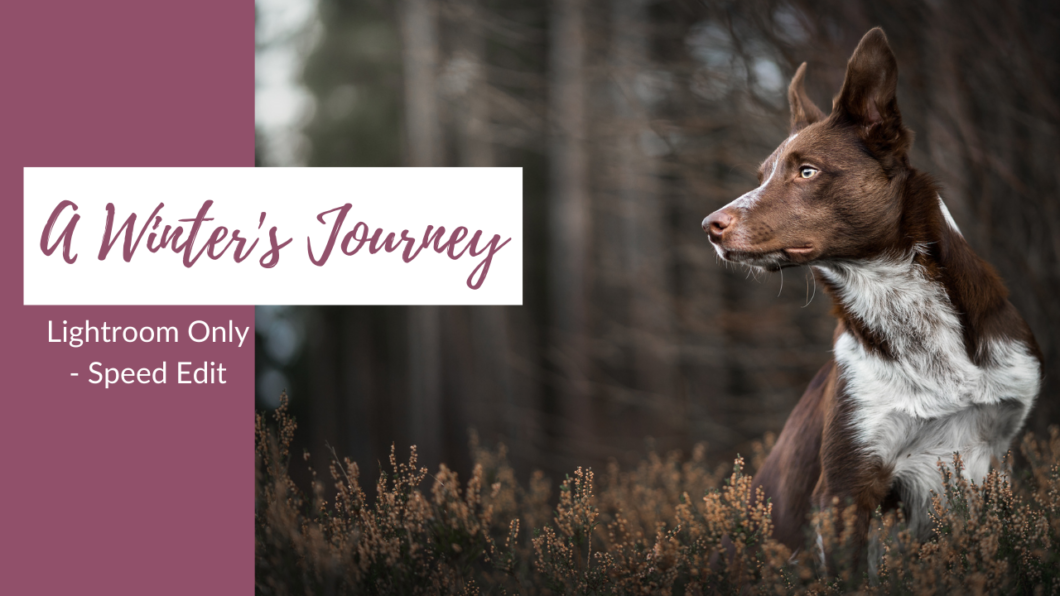
A Winter’s Journey: Lightroom Only Tutorial

This tutorial sees us using Lightroom only to take a pretty even, simple photo of Journey, and turning it into something special. You will also find this tutorial in the Lightroom Course, but it’s such a good one I wanted to share it in the bonus tutorials as well.

We go through a thorough workflow in Lightroom, from basic adjustments to very selective edits on the background and the dog, brightening his face, enhancing his eyes, selectively darkening around him in a natural vignette. I show you how to bring together all the tools we learnt about in the Lightroom course and apply them to a photo.

You can download the .tif file of the photo and follow along too if you want! Just remember that all copyright remains with Emily Abrahams, so you’re not to use the photograph in any way, for any commercial purposes or in any competitions. If you want to post it on your social media channels you MUST make it clear that the photo belongs to me, and that you edited it as part of the course.

Note: this tutorial was created in 2021, before Adobe released some BIG changes to Lightroom. Therefore, the process is quite old, and some of the tools will look and work slightly differently than they do now.

Before
After
Student Journey

When did you last really test your skills by using just one program, or limiting the number of tools you could use, or seeing if there were other methods to achieve the same effect?