As more of us in the northern hemisphere are getting snow now, a lot of pet owners are getting out with their cameras or phones to try and take cute photos of their pets (dogs mostly!) in the snow. Here’s a guide to taking lovely snow photos of your pup (or cat, or ferret, or… parrot?)

Watch the Highlights!

Snow is white.

And the obvious statement of the year award goes to me. There’s a reason for reminding you of this seemingly obvious fact, however, and it’s this: when we are taking photos, we need to pay careful attention to the lightest and brightest parts of the image. When these areas (highlights) get too bright, they loose data, and all the editing in the world (even by a very skilled editor!) can’t get that data back, and you end up with a white blob where snow detail should be. This is particularly true on bright or sunny days where there’s a lot of light reflecting off the snow! Have a look at this post, to read more about blowing out highlights & underexposing your images.

This is a bit more difficult to judge on a phone screen, especially since a phone’s sensor isn’t that great anyway and won’t be recording a ton of data compared to a camera. So just stop occasionally and check that the snow isn’t too bright. 

On a camera, most have got several display modes to check your highlights, as this is really important to taking good photos. Personally, I use a histogram as part of my camera’s display while I’m taking the photo. This shows me if there are any spikes of light toward the whites/highlights end of the scale, and if so, I need to lower the exposure. 

There are also some display modes for checking your images once you’ve taken them, which may flash black in areas of “clipped” highlights, or with zebra stripes over that area. Check out your camera to see what assistance there is to keep an eye on highlights. 

Here is an image I took the other night. Check out the histogram? See the two spikes? In fact, the one furthest to the right is the blown out sky, and the one closer to the middle is the white snow.
But just to show you what "blown out highlights" look like, here is the image after reducing the exposure quite significantly. See how the sky is a white blob? There's no data there. Even if I keep making the image darker, it will just end up as a weird dark grey blob.

White Balance

Snow is white.

Wait wait wait. I know what you’re thinking. You didn’t come here to be told multiple times that snow is white. It’s obvious that snow is white. But, it seems like everywhere I look, there are photos of dogs in very, very blue snow.

And last I checked, snow isn’t blue. But cameras have a hard time with snow, reading the scene as being in shade, OR, the snow is reflecting the blue of the sky back. Blue snow, and general blue/cooler hues can be a stylistic choice of the photographer and something applied during the editing process, and there’s absolutely nothing wrong with that. I know that with the shoot I posted above, I’ve tinted most of the snow more toward magenta, due to the colour of the twilight and clouds that was naturally reflecting on the snow. But in general, most “neutral” situations will call for reasonably white snow. It’s highly likely as well that if your snow is blue, your dog will be blue, too.

And dogs, also, aren’t blue.

A random photo I took of Journey on my phone this morning - apparently my camera deals with the colour of snow much better than my phone does His coat is much too blue.!
Oh boy. I used the "eye-dropper" tool in Lightroom mobile to try and set the white balance based on the snow, and this was its suggestion. Not great.
My attempt at setting it to white, using LR mobile and no fancy tricks. It's not perfect but working with .jpeg phone photos are hard.

Everything is a bit grey and flat...

Taking photos in a snowy scene, on an overcast day, can result in grey and flat photos. There’s not a lot of contrast between the soft grey light, and the soft grey snow, and you plonk a dog in the middle of that and it’s all a bit uninteresting.

Here’s a few things to try:

  • Find something in the scene which provides a “pop” of colour. Maybe a tree with some bright orange/red leaves still left, or a deep green fir tree, or even some moss if you can find some. Try a scarf or a blanket for a cosy feeling (check out my January challenge if you want to take some cosy photos!)
  • Raise the whites (just be careful not to go too far and lose detail in the bright snow). This can add a bit of light and vibrance to the image.
  • Use a snow overlay. If you’re decent with photoshop, you can find plenty of snow overlays or snow brushes online, which you can place over the top of your image. Use with caution! I’m not a HUGE fan of snow overlays because I generally don’t like “faking” too much in the scene, but they can add an extra something to an otherwise flat photo. Mask out or erase some of the snow off the dog’s face – personally I recommend leaving some snow falling “in front of” the dog, since naturally falling snow doesn’t tend to avoid falling between the camera and the dog. 
  • Increase the contrast. If you’re not so confident with editing, you can try increasing the contrast using any editing program or app. This will make the bright areas a bit brighter, and the dark areas a bit darker, and will add a little more “punch” to your image. 
  • Try taking photos at a different time of day. This isn’t a guarantee, but if you’re lucky, you could get one of those incredible beautiful golden winter sunsets, or pink and purple twilights. These conditions can be tricky, but will add some warmth and colour to your snow photos. While a lot of people are tinting their snow photos toward much cooler temperatures, I love these days where the sun is out and it’s constantly a rich, warm yellow.

Get a bit of snow in the frame...

I’m not sure why this has turned into the world’s most obvious how-to guide, but here we are. “Of course I’ll get some snow in the frame! It’s a photo of a dog in the snow!”. What I mean is, if you’re taking a photo of the whole dog (eg., not a head and shoulders photo) take it from such a low angle that you’ll get some snowy foreground in the photo. This creates a sense of layers in the photo (foreground, midground with the dog, and background) and will make the dog more imposing and majestic in the photo. Yes, even if they’re laying down, and yes, even if you’re using a phone. 

"Behind the scenes" of taking a photo for a lesson... Have a look at where my camera is...
The result! Not the most interesting photo, but the perfect perspective!

Snowy Speed Edit

I just uploaded this speed edit of working on a snowy Journey picture to YouTube! Make sure you check it out! The full tutorial with instructions and explanation of the process will be available to members of my Learning Community once the doors open!

(Visited 1,083 times, 1 visits today)

4 Comments

  1. Cailean & Babe January 10, 2021at3:24 pm

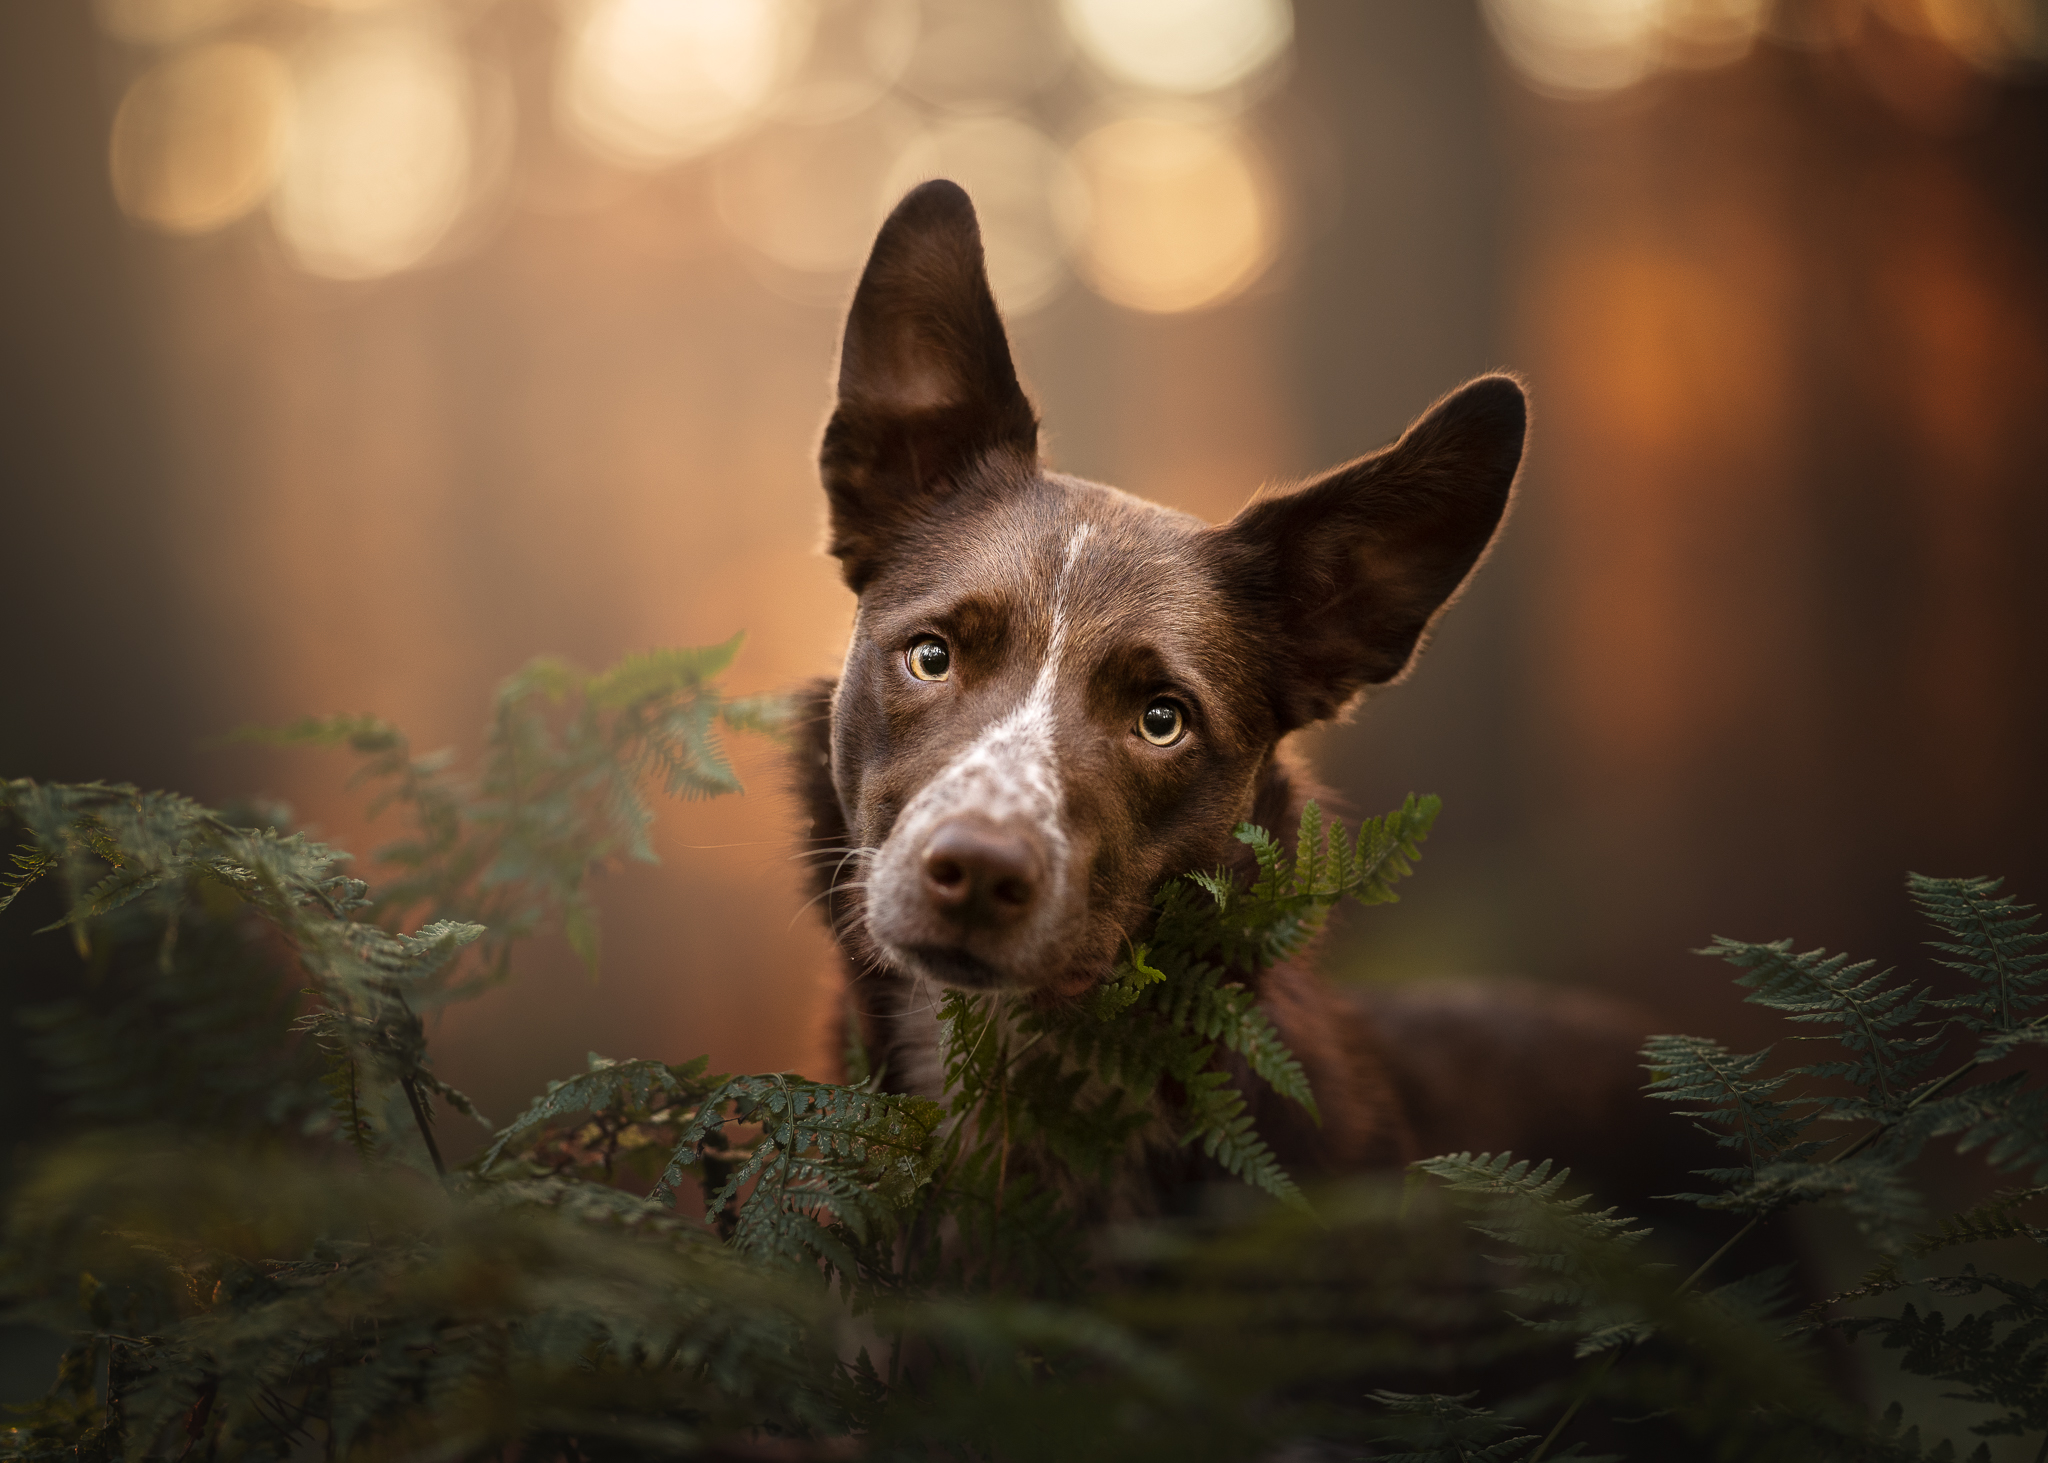
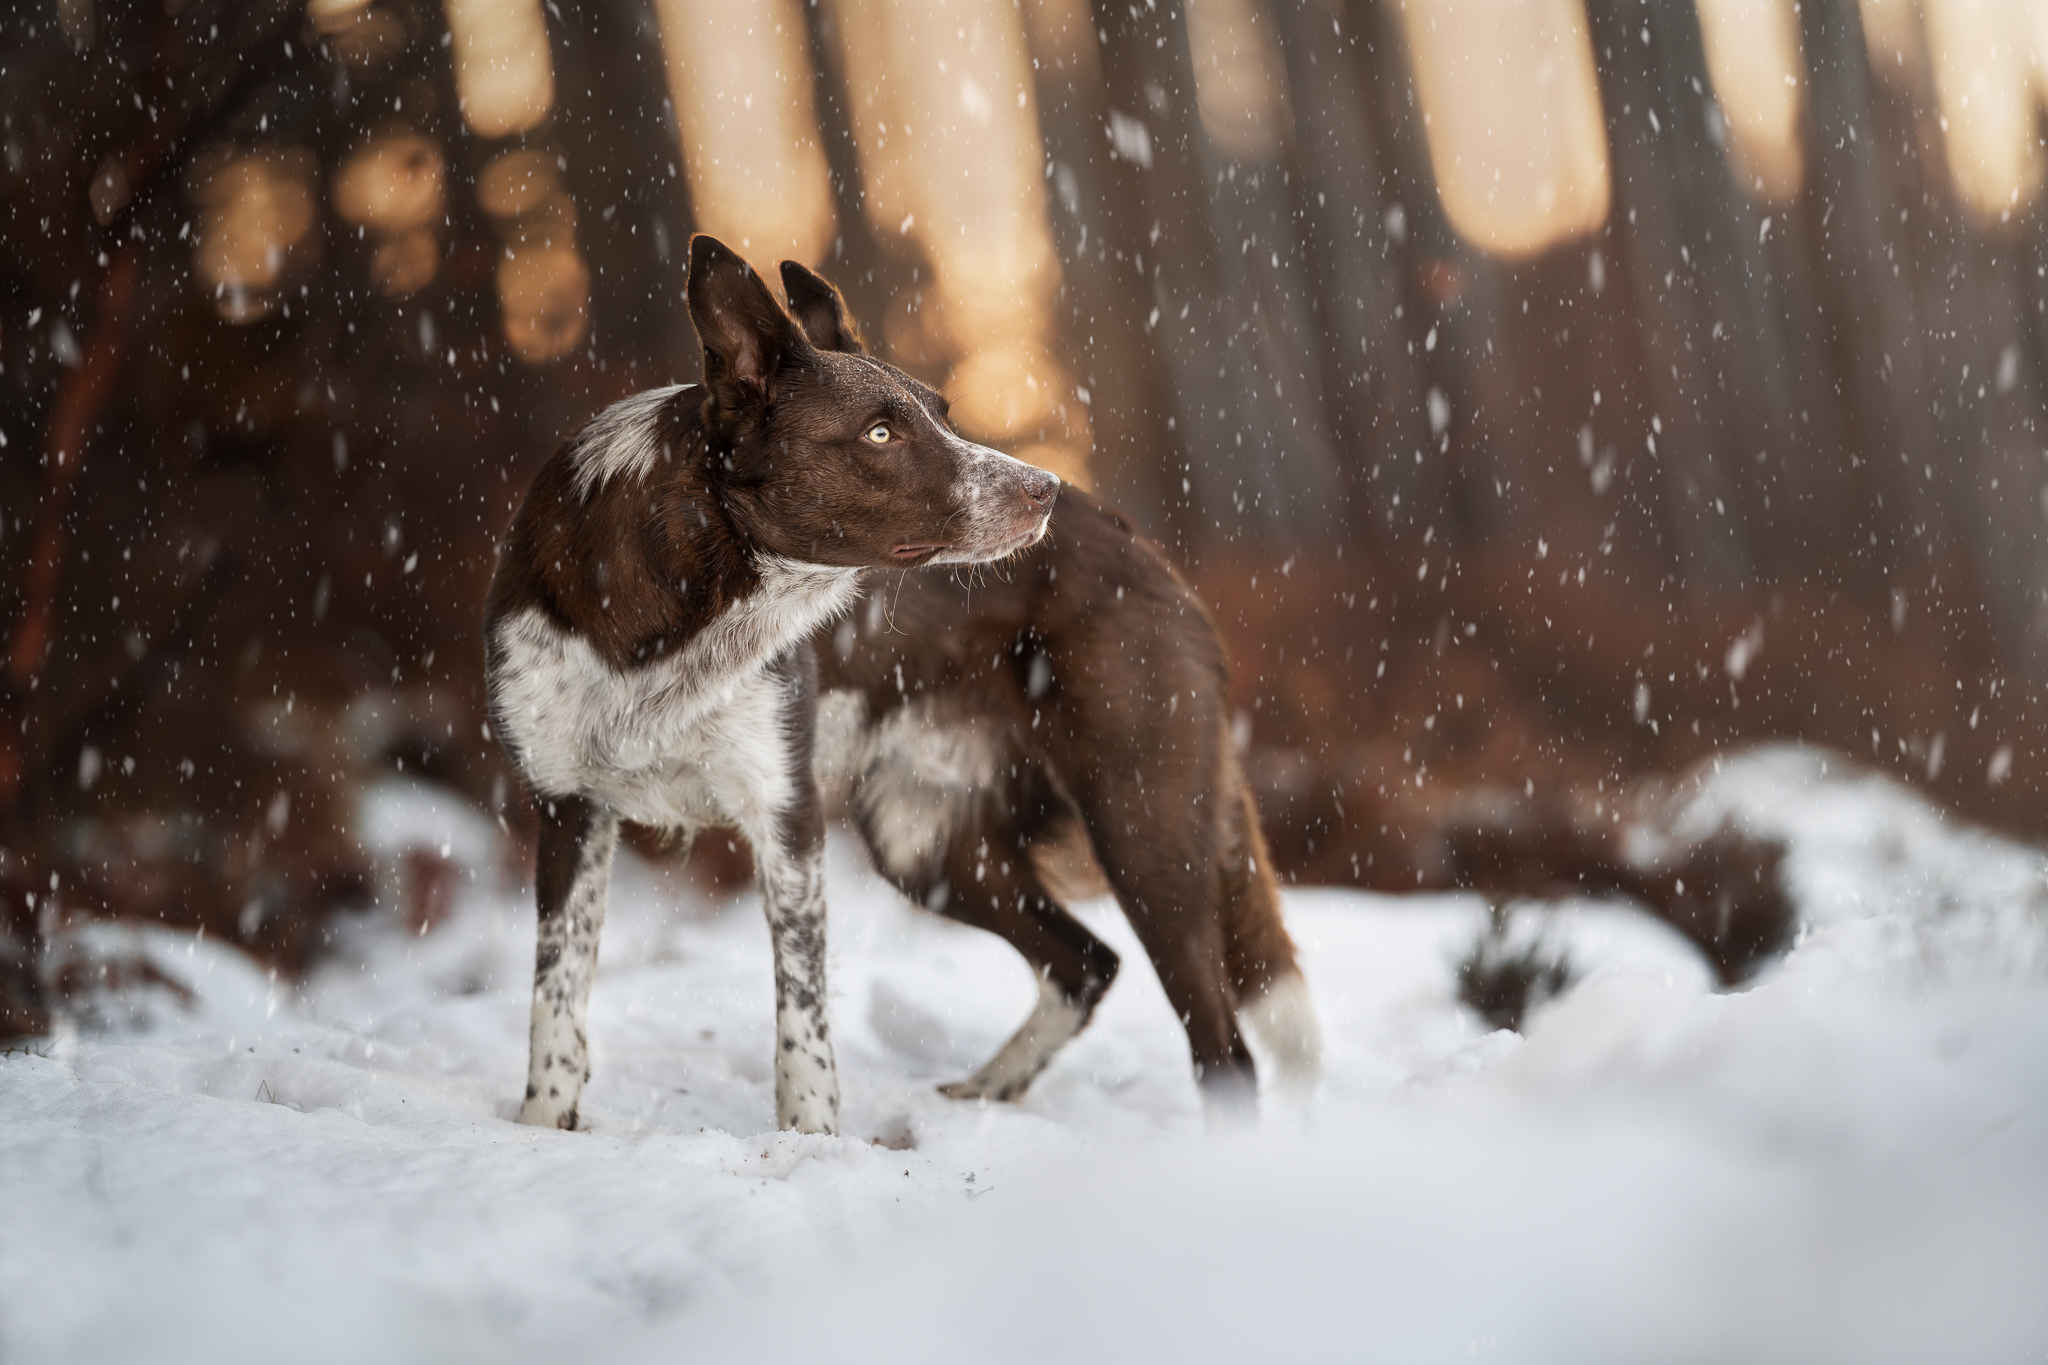
    Fantastic tips! I often struggle with the snow since my dog is also white!

    1. Emily January 10, 2021at5:40 pm

      Ooo I hope this helps! Try positioning them against some darker or coloured background to get that contrast and help them be seen!

  2. Isabella January 13, 2021at8:11 pm

    Hello Emily,
    Again a wonderful post. I smiled at your “snow is white”, but yes, it is a problem for me and my camera 😀
    Could you maybe give further tips on how to use a snow overlay? Did you make your own or did you find it somewhere online? I once made my own mask for “rain”, but I just can’t get “snow” to work.
    Thanks in advance.
    Love, Isabella

    1. Emily January 13, 2021at9:04 pm

      Hey! I’m glad you smiled at it, it was half a joke but also a serious thing! Are you on the mailing list (I can check if you’re not sure)? I sent out a link to the tutorial video a couple of days ago. ? I found the brushes i use by searching for “free snow brushes” – there’s two reasonable ones from the top link that comes up (I think). Let me know about the video. if you’re on the mailing list but didn’t get it I’ll send it through privately. 🙂

Leave A Comment