
Open to access this content
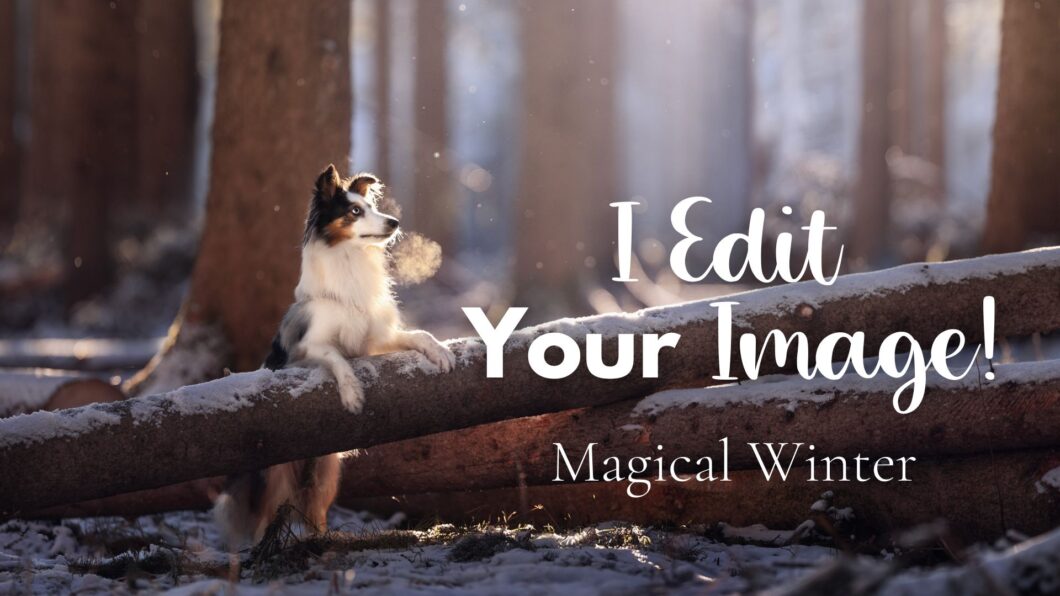
Magical Winter: Edit Together
Open to access this content

Open to access this content

Open to access this content
Open to access this content
Open to access this content

Open to access this content

Open to access this content
