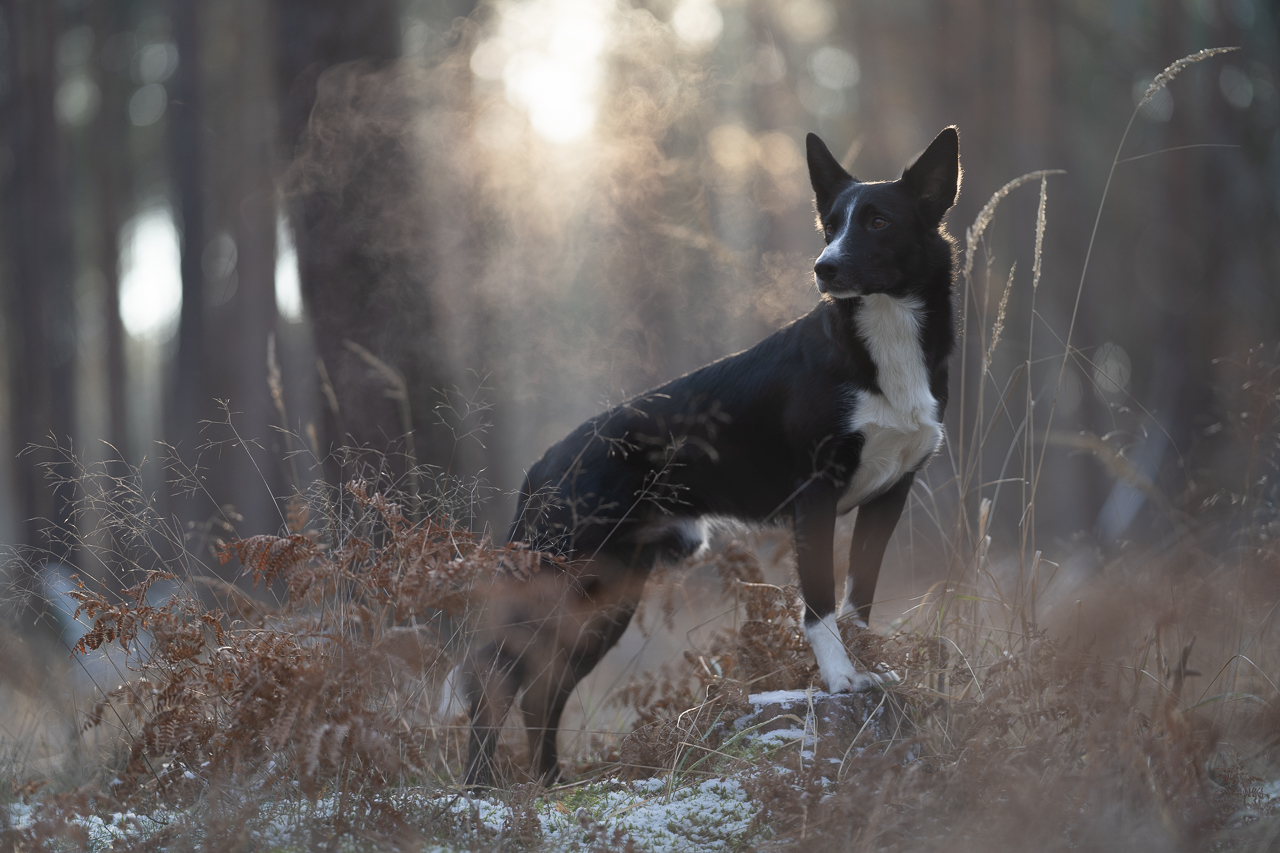
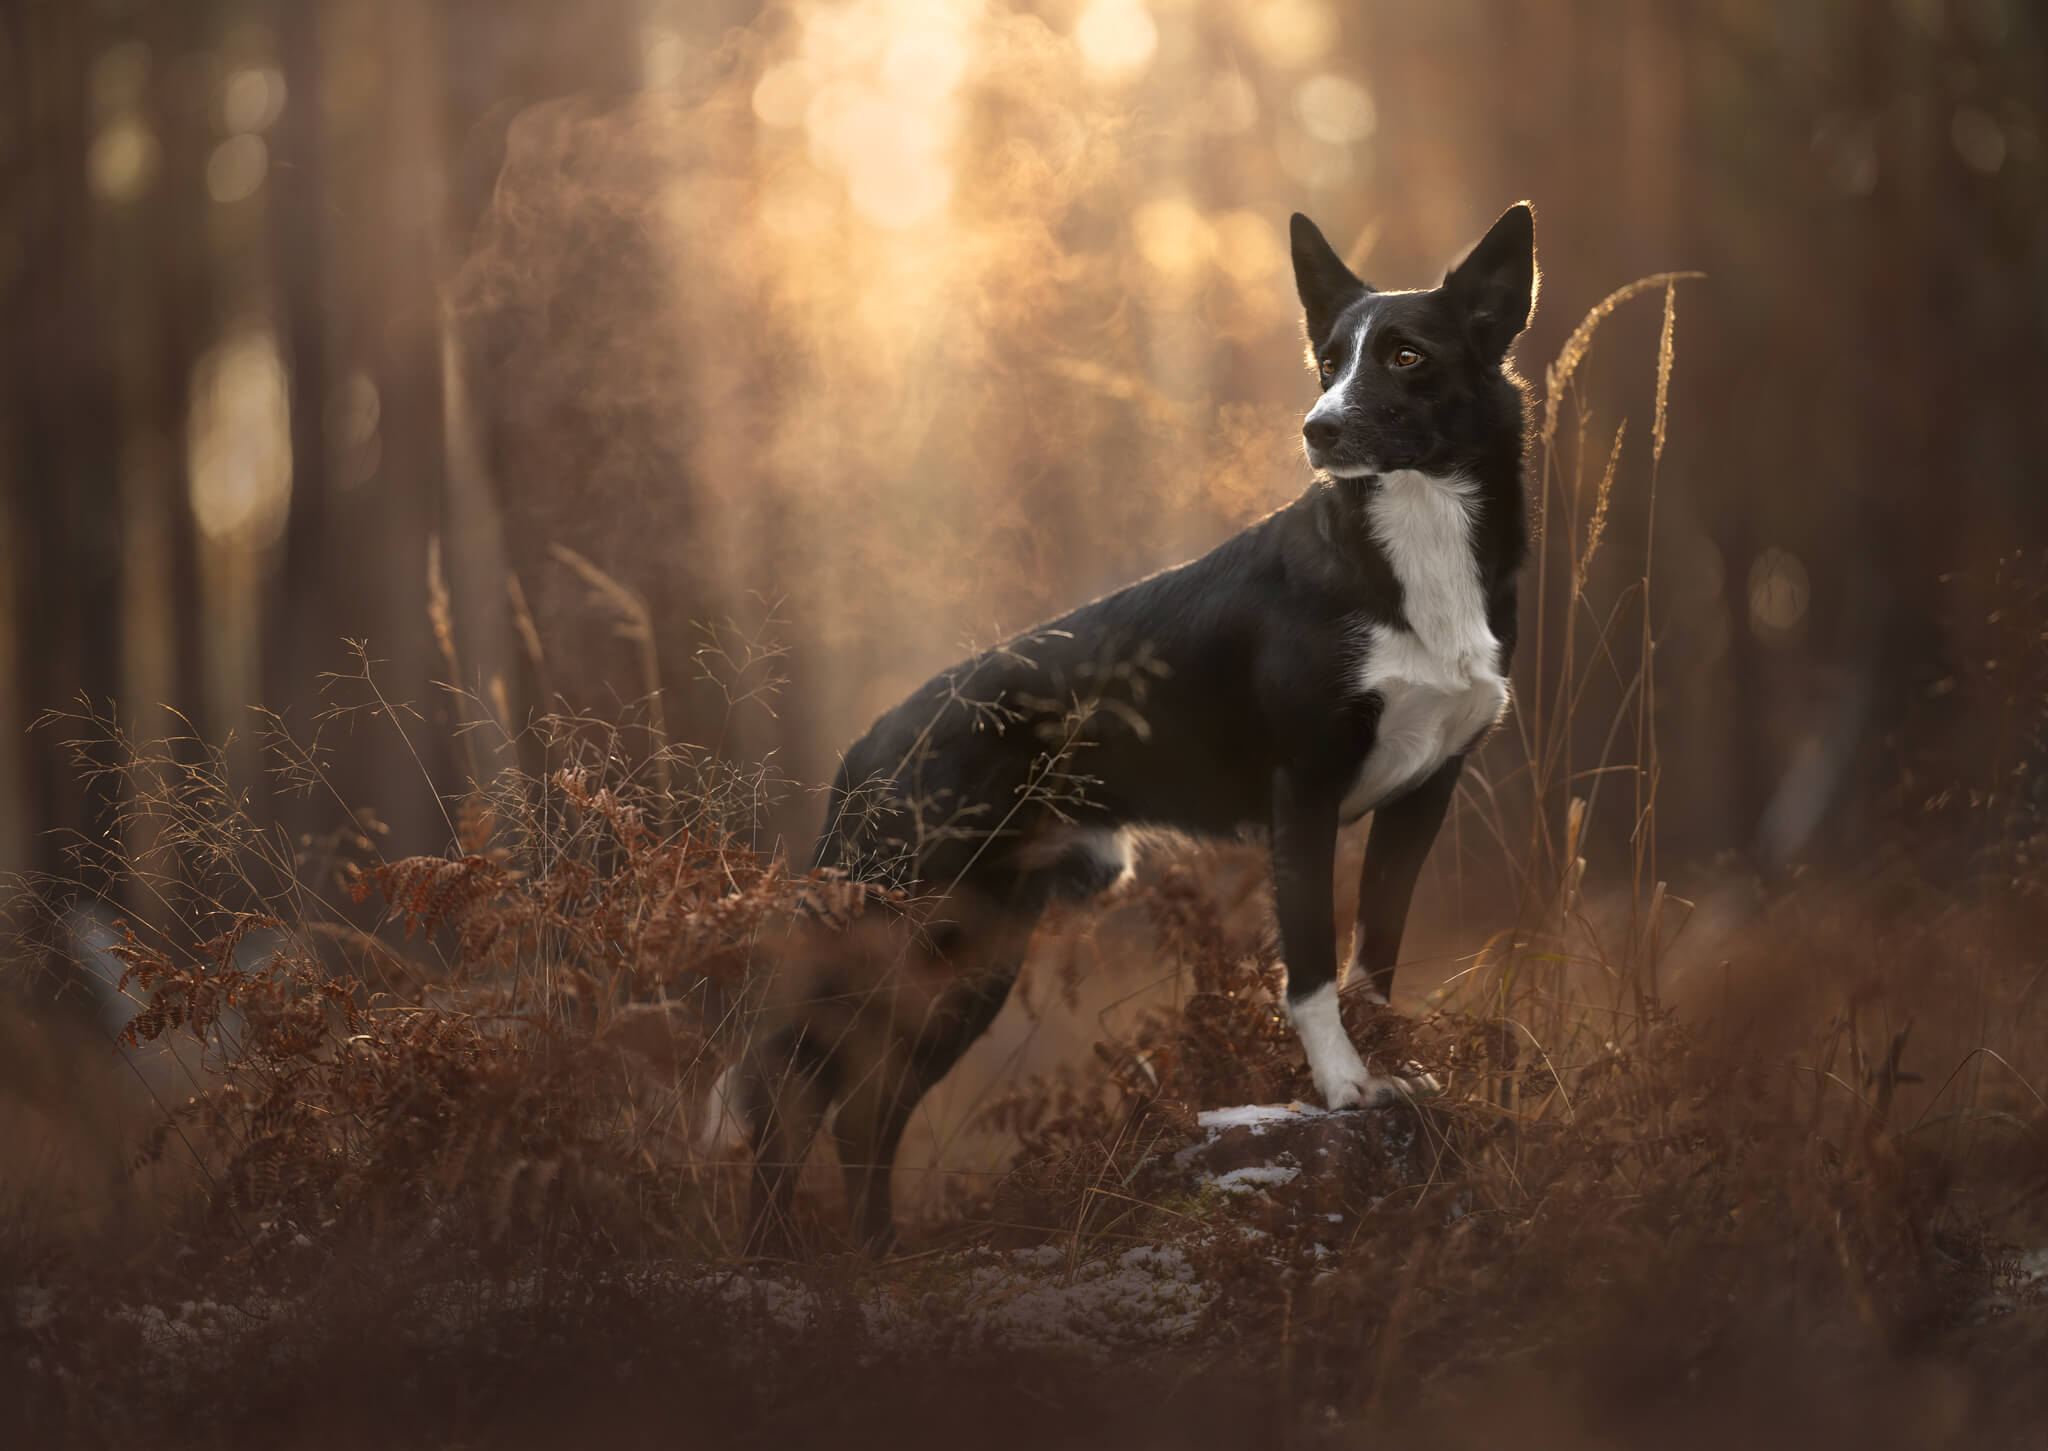
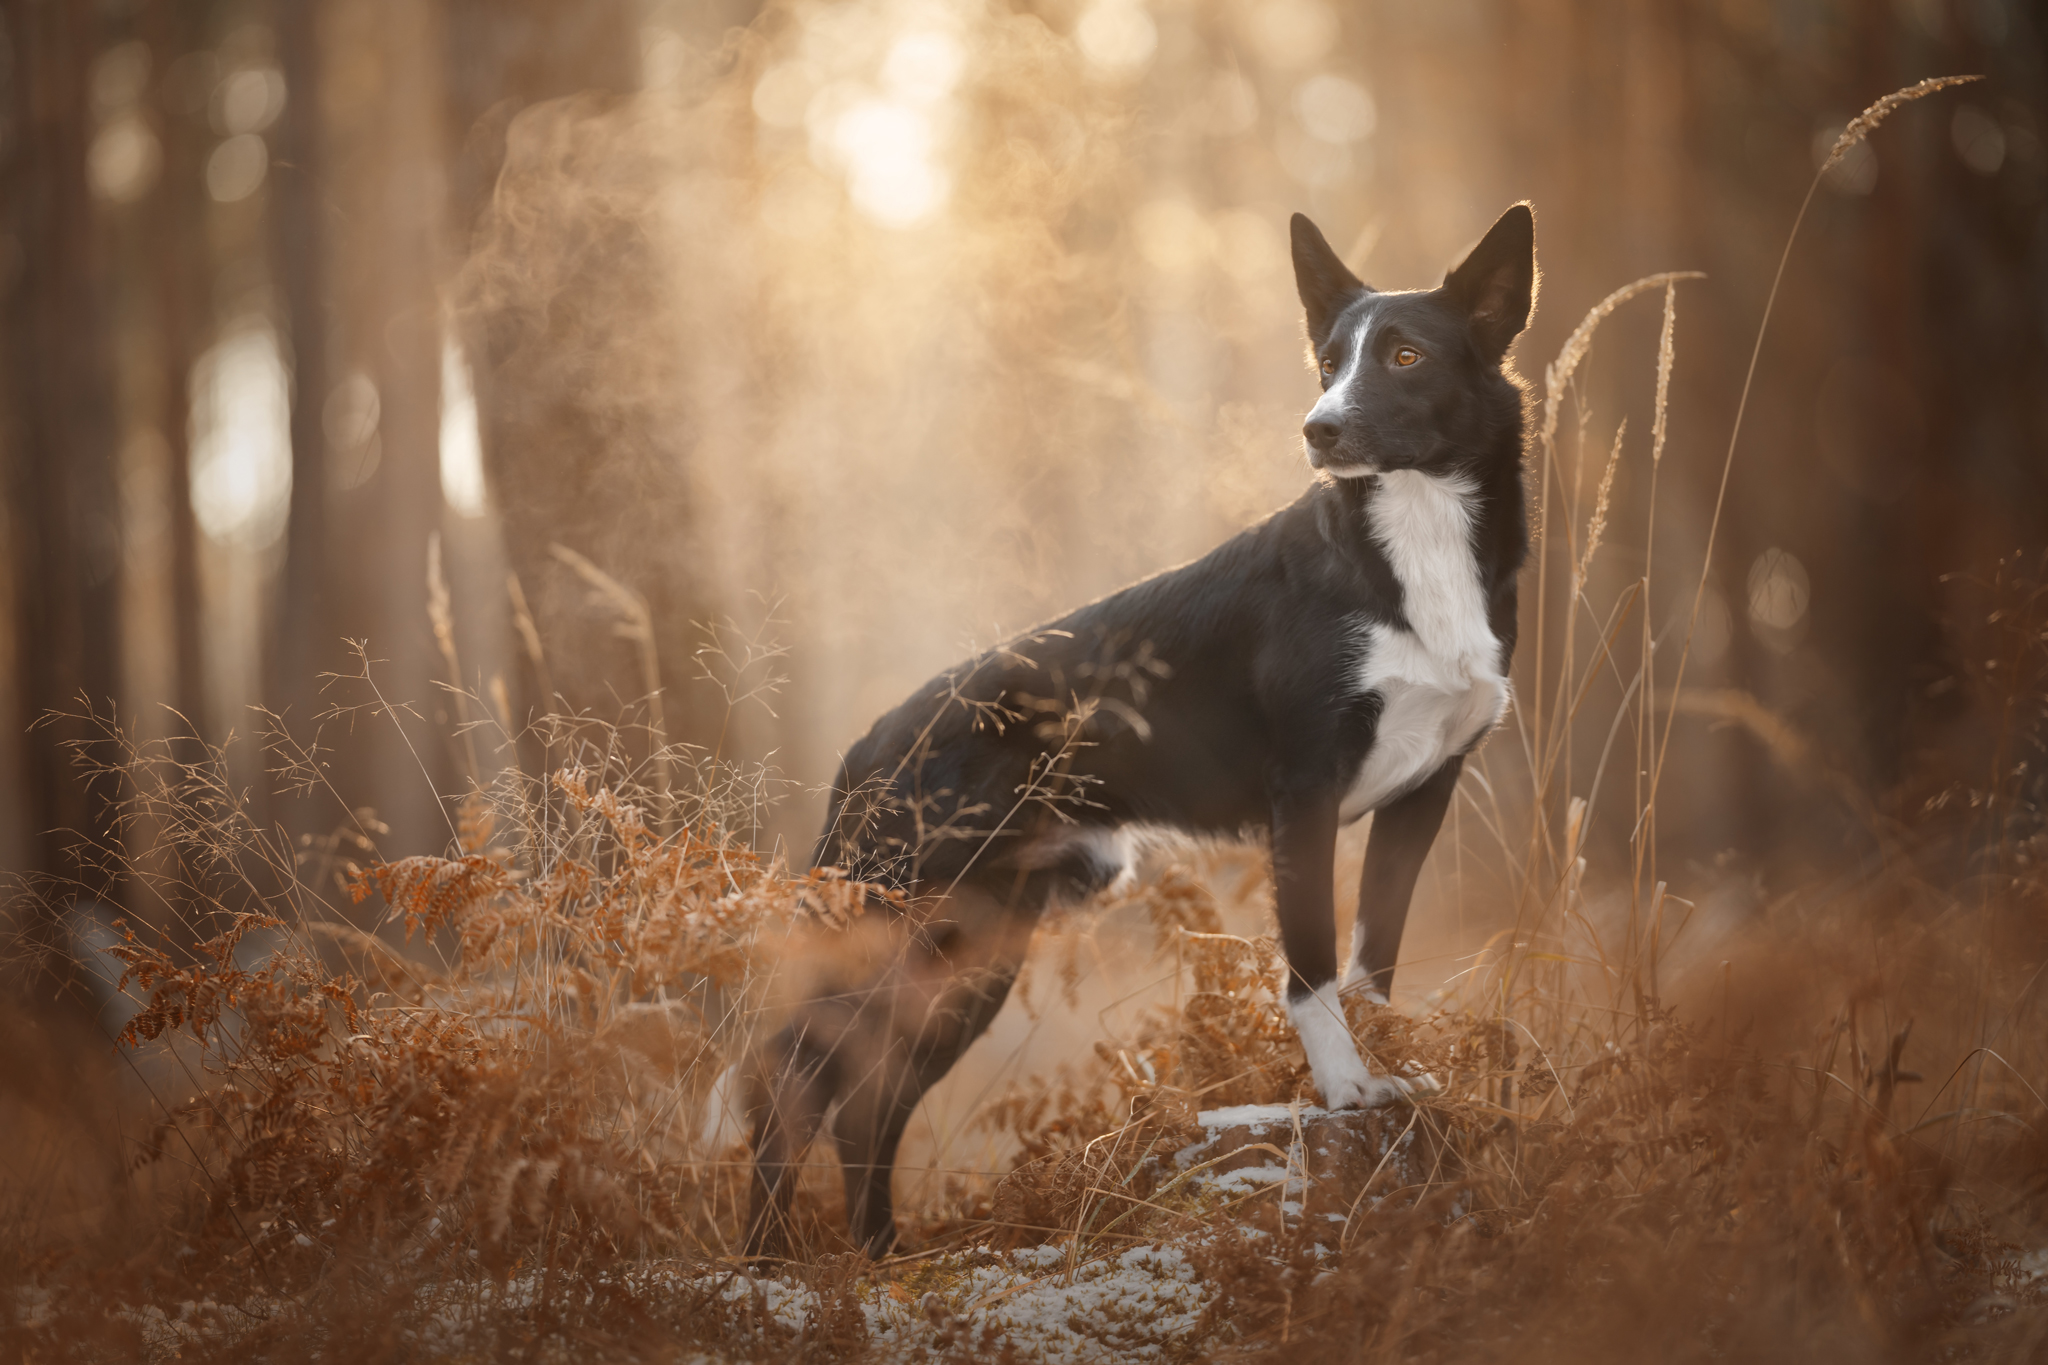
This is a tutorial I recorded for Nicole over at Hair of the Dog, going through my full process from start to finish, as well as the editing rationale and all my normal bits and pieces, re-editing this photo that I took in 2020 or 2021.
You guys voted in the Learning Community, and “simple winter (dead grass, brown, backlit) won out – so this is what we’ll be editing for our next edit together!
You can download the files below. Inside the folder you’ll find 2 variations of the “Main” photo – one looking forward, one to the side.
We’ll be working on the one looking to the side, but you’re welcome to download the other one if you want an extra photo to play with (but be aware, the way we shape the light would likely differ for a photo with the dog looking to the side vs looking forward!)

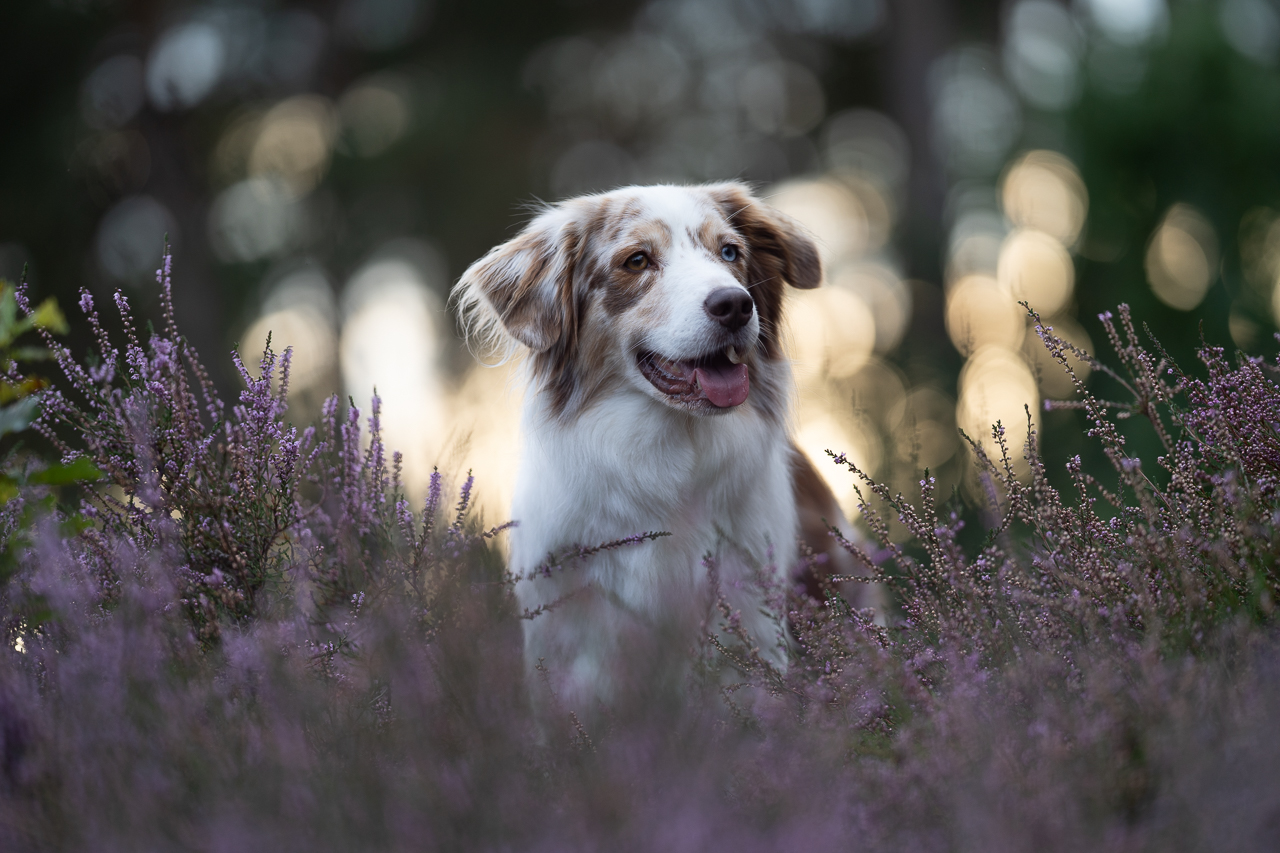
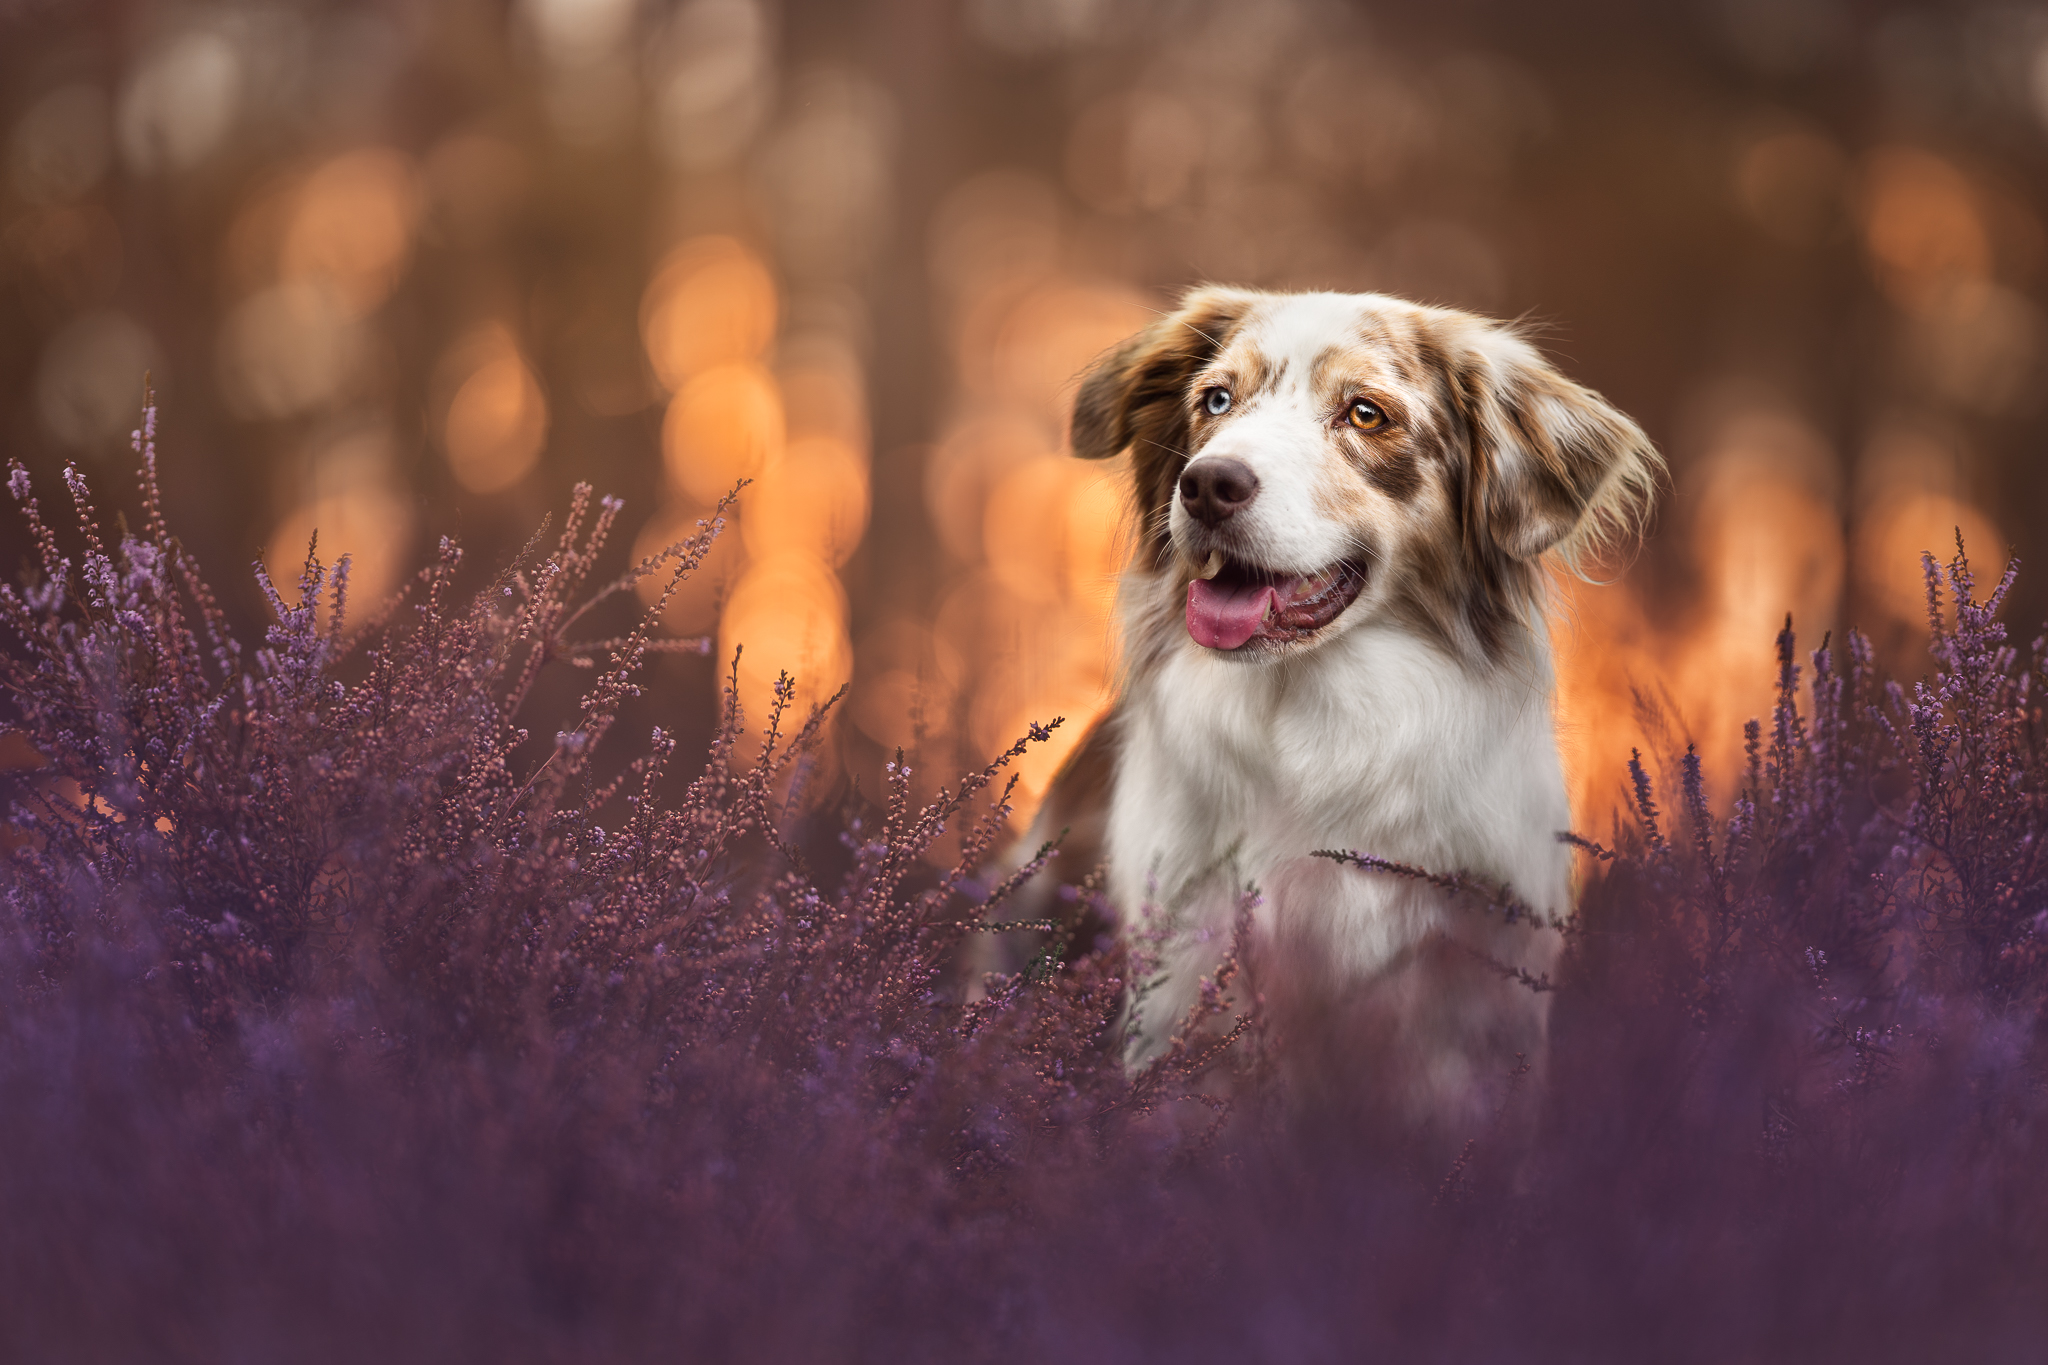
In this tutorial using Lightroom & Photoshop and following most of my normal process, we are going to work on a well-exposed photo of Luke, a red merle Australian Shepherd.
You will need decent knowledge of Lightroom & using radial filters, as well of how to use masks and adjustment layers in Photoshop.
In this tutorial we will:
Note: I probably wouldn’t (and didn’t!) give my client the flipped version of the photo. Why?
Because Luke has two VERY distinctive sides to his face, with his mismatched eyes and mismatched ears, and I want the photo to properly represent him, rather than flowing more comfortable. For social media though, I’ll post the flipped version.
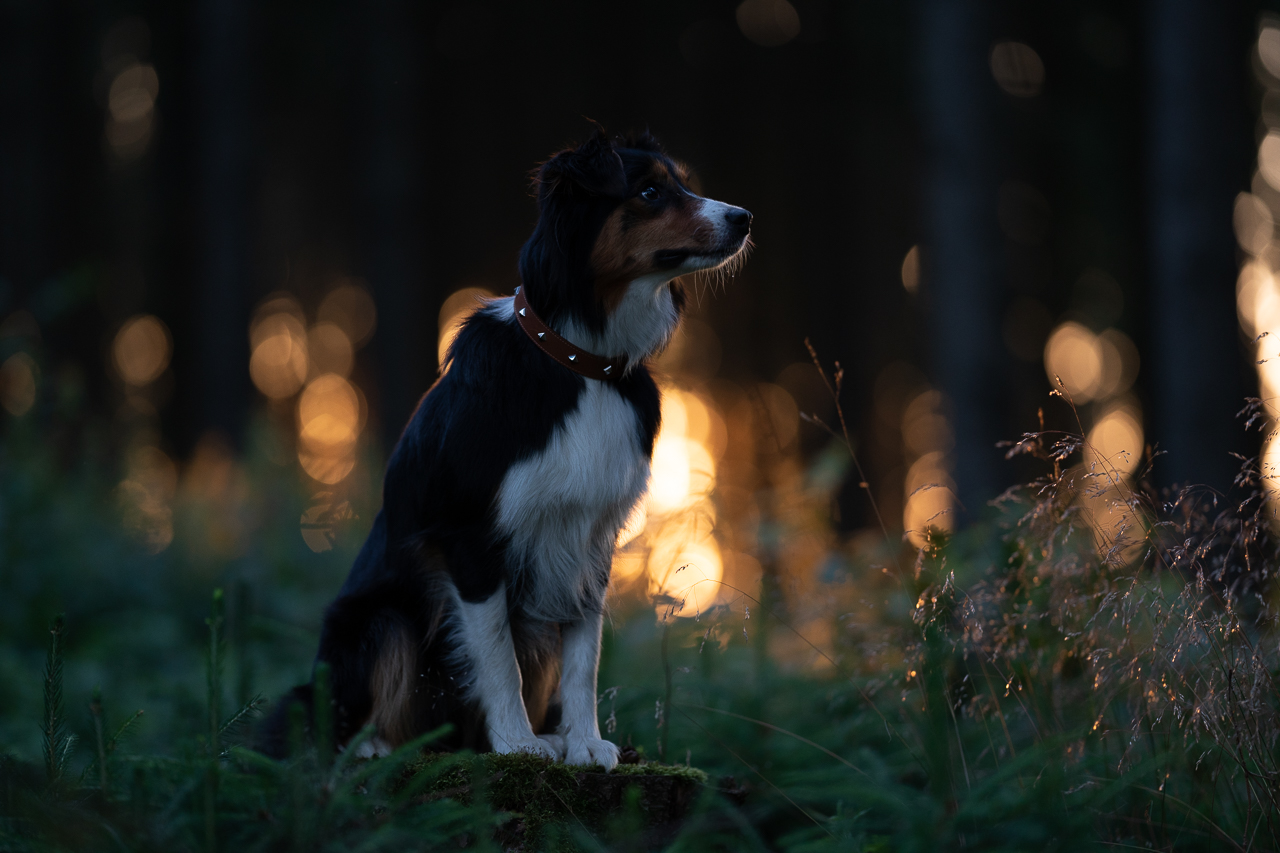
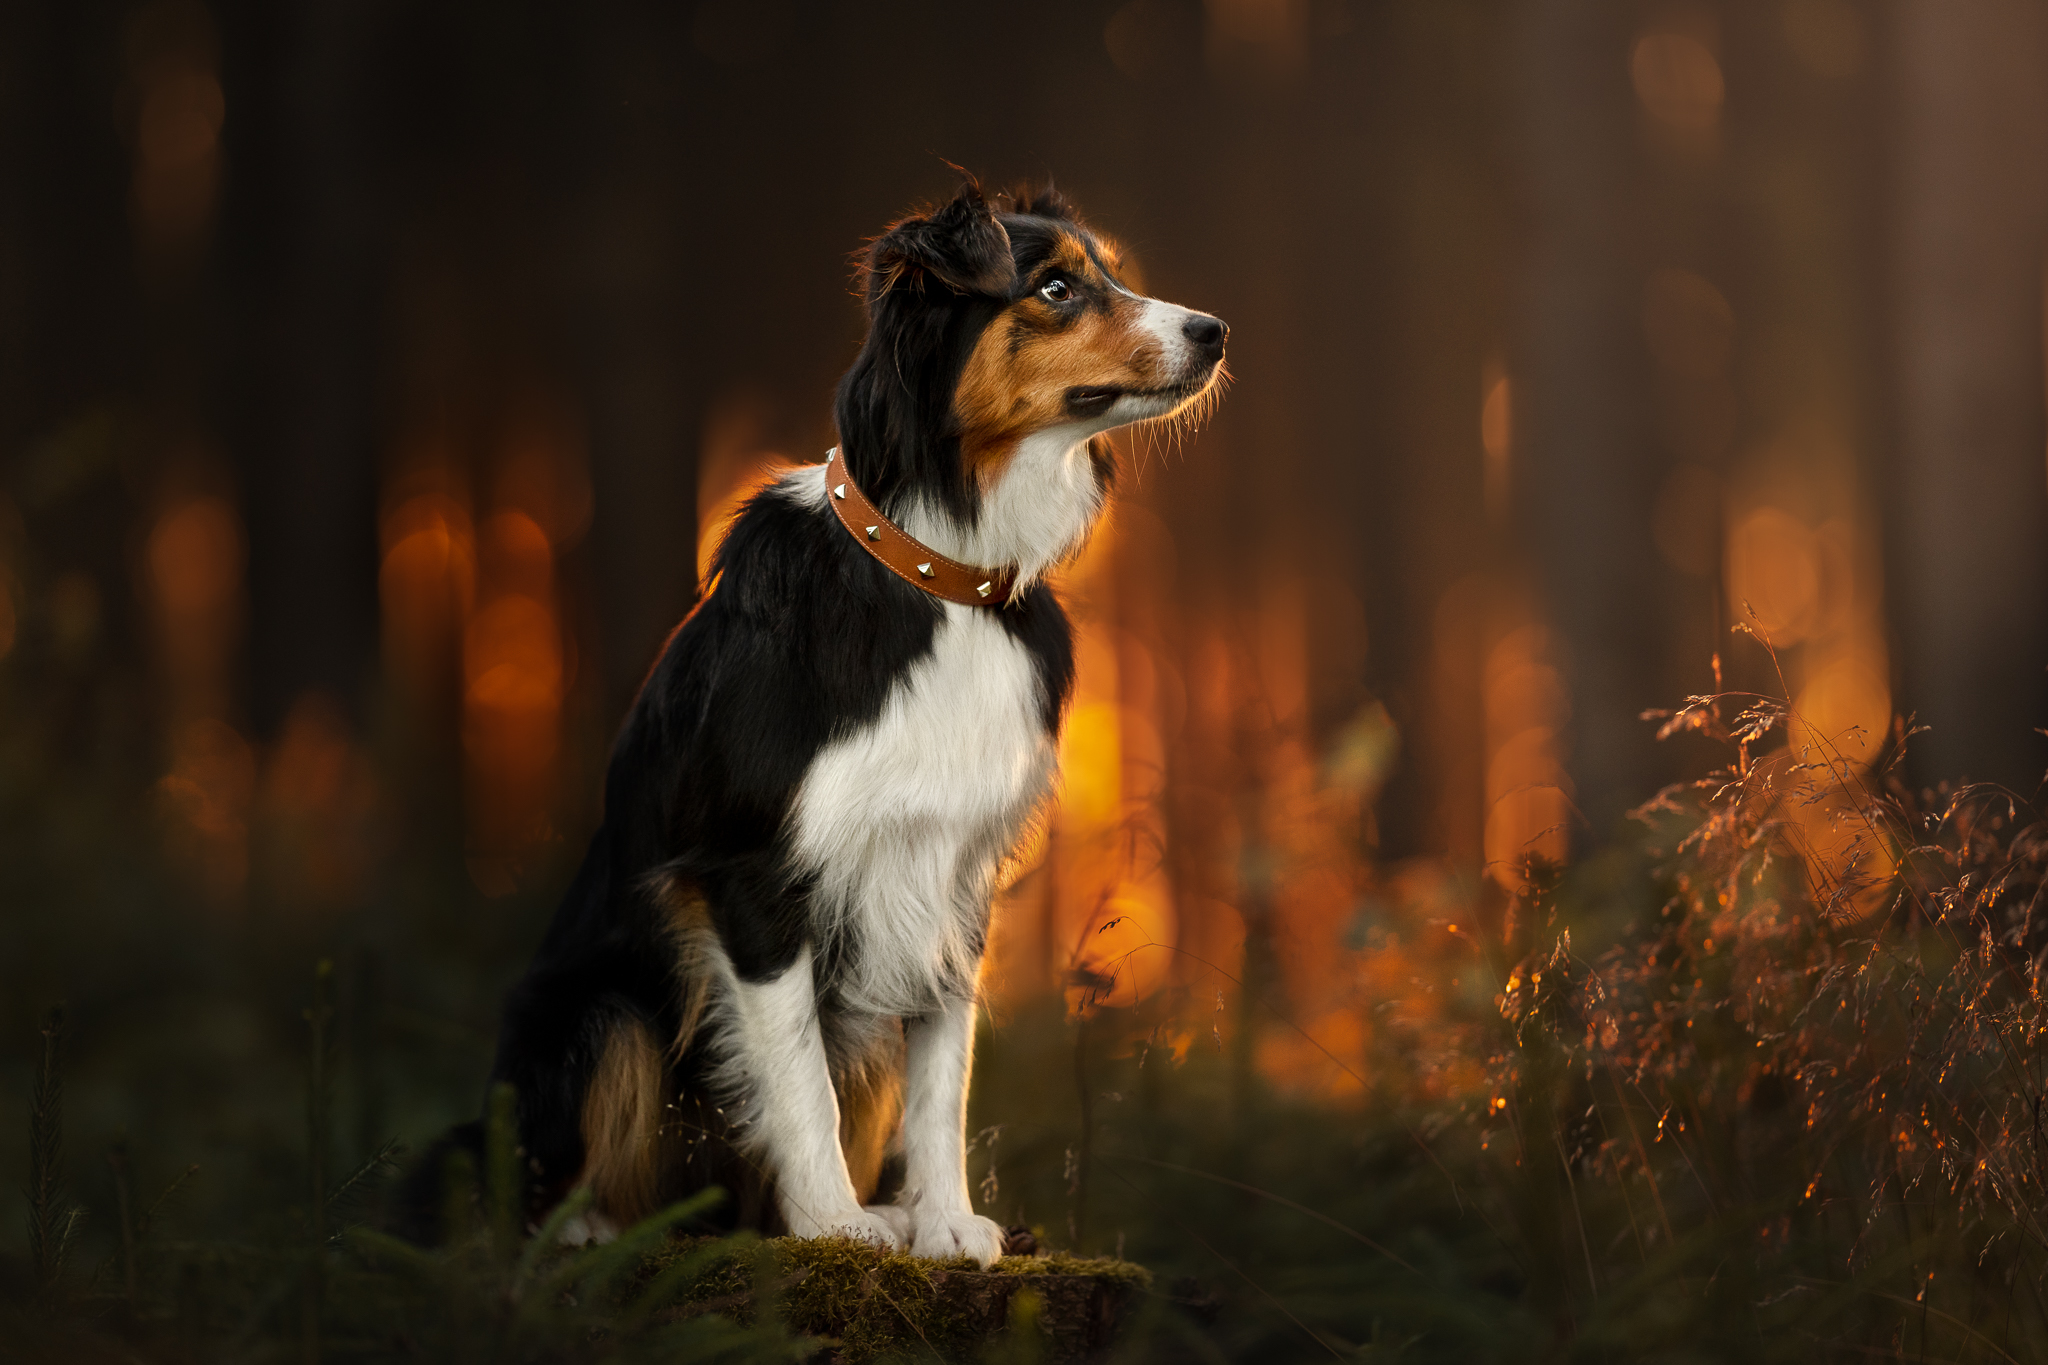
In this tutorial, I work on a reasonably underexposed image of Amie, that I took for a collar company (hence the weird composition of the photo!) .
I had recently jumped on a couple of zoom calls with some LC students who were using programs other than Photoshop, and neither of them had access to radial filters, so had made their own work-arounds, which is amazing, but, the problem with these work arounds were that they couldn’t be re-edited later.
A big part of my process and the way I work, is ensuring that any of my edits are able to be changed later down the track – whether at the very base level of being able to easily adjust the white balance of my RAW file by working with my photos as smart objects, or by using adjustment layers and keeping any changes to the “base image” at the bottom of my layers panel. As much as possible, my process allows me to be flexible, to come back at any point and make changes to the edited image.
This isn’t always possible (for example when doing a content aware fill or content aware crop that covers the original image file. But for the most part, my edits can always be undone, turned off, changed slightly, added to, etc.
What I realised from these zoom calls was that a) not everybody had access to radial filters, and b) possibly some people find them fiddly and time consuming, or just don’t like them. So in this editing tutorial, I ditched them completely. No radial filters at all.
I use Camera Raw Filter to begin with – this is basically Lightroom and includes all the most basic functions of any editing software, making global adjustments to the image/RAW file.
The rest I do in Photoshop.
There are some slightly different techniques in here to what I’ve shown before, a bit of an explanation about how I would organise my layers when needing to do some clone stamping or healing spot brush, and some other interesting bits and pieces that I don’t think I’ve shown before.
The tutorial will probably be best if you have a reasonable knowledge of Photoshop (or your editing program). I don’t explain how to mask something in or out in detail, for example.
A lot of people ask for tutorials in various situations, and while I have tried to create (and will continue creating) a variety of different tutorials, at the end of the day, most of my tutorials follow the same, basic process and workflow.
Below, I’ve listed most of the steps that I follow… however, I don’t follow EVERY step in EVERY photo. You will need to know your way around Lightroom & Lightroom masking features, and know how to mask in Photoshop in order to follow this tutorial.
Generally, the workflow is:
Once you’ve finished, why not share your work!?
Download the image below to use in your Instagram stories. Just right click > Save as/Save Image.
Simply go to the stories area as normal, select to upload this image, go back to your camera roll, copy your edit, add some text to the story, and paste the photo in.
Or, you can add your image to the template in Photoshop!
Or, use the editable Canva template!
Don’t forget to tag @inspawrationphotography somewhere so I can celebrate your learning!
Don’t worry if the image looks blurry, it’ll be fine when you download it full size.
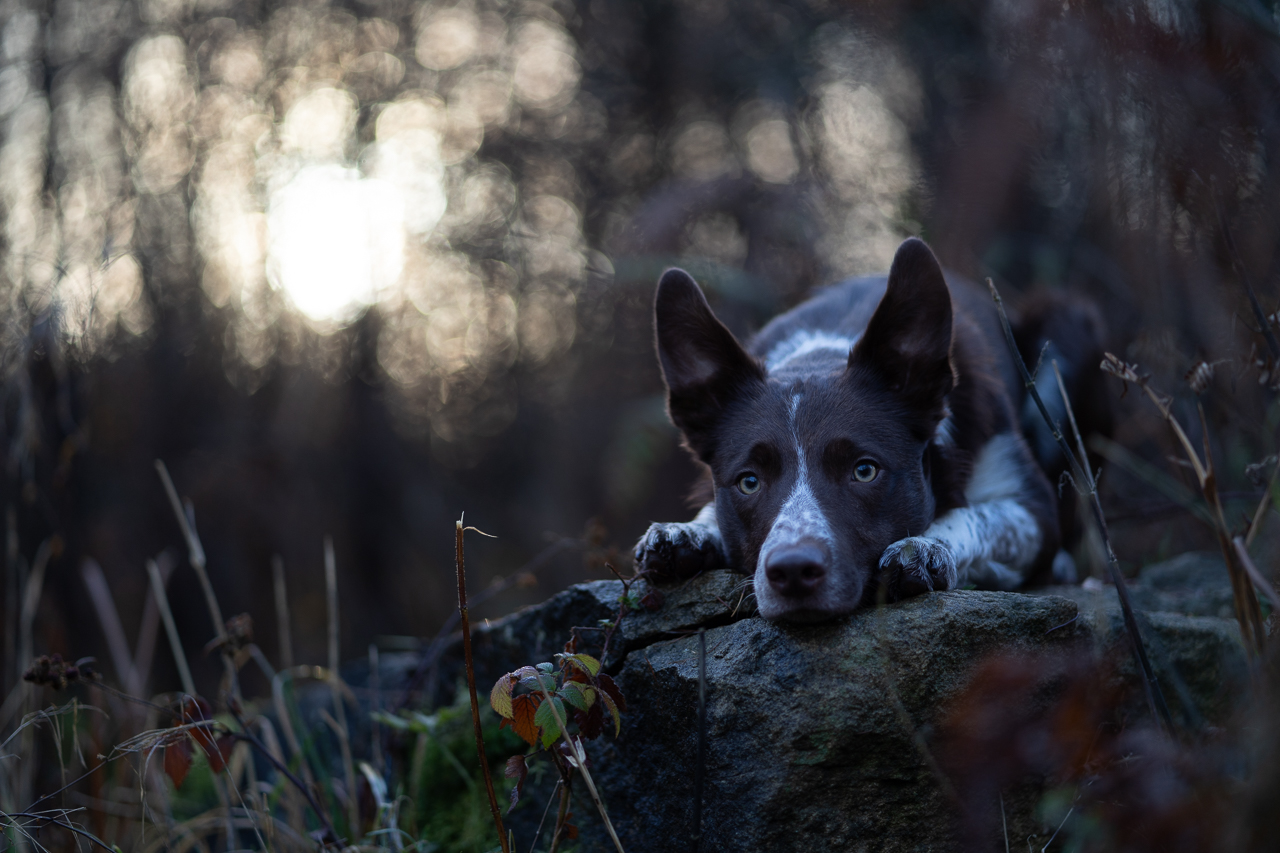
This tutorial will take you from start to finish editing a slightly under-exposed, backlit photo of Journey.
In order to do this tutorial, you’ll want:
This techniques in this tutorial will work best with:
Since this is one of my favourite photos, it’s one I would prefer that edits do not get posted on social media.
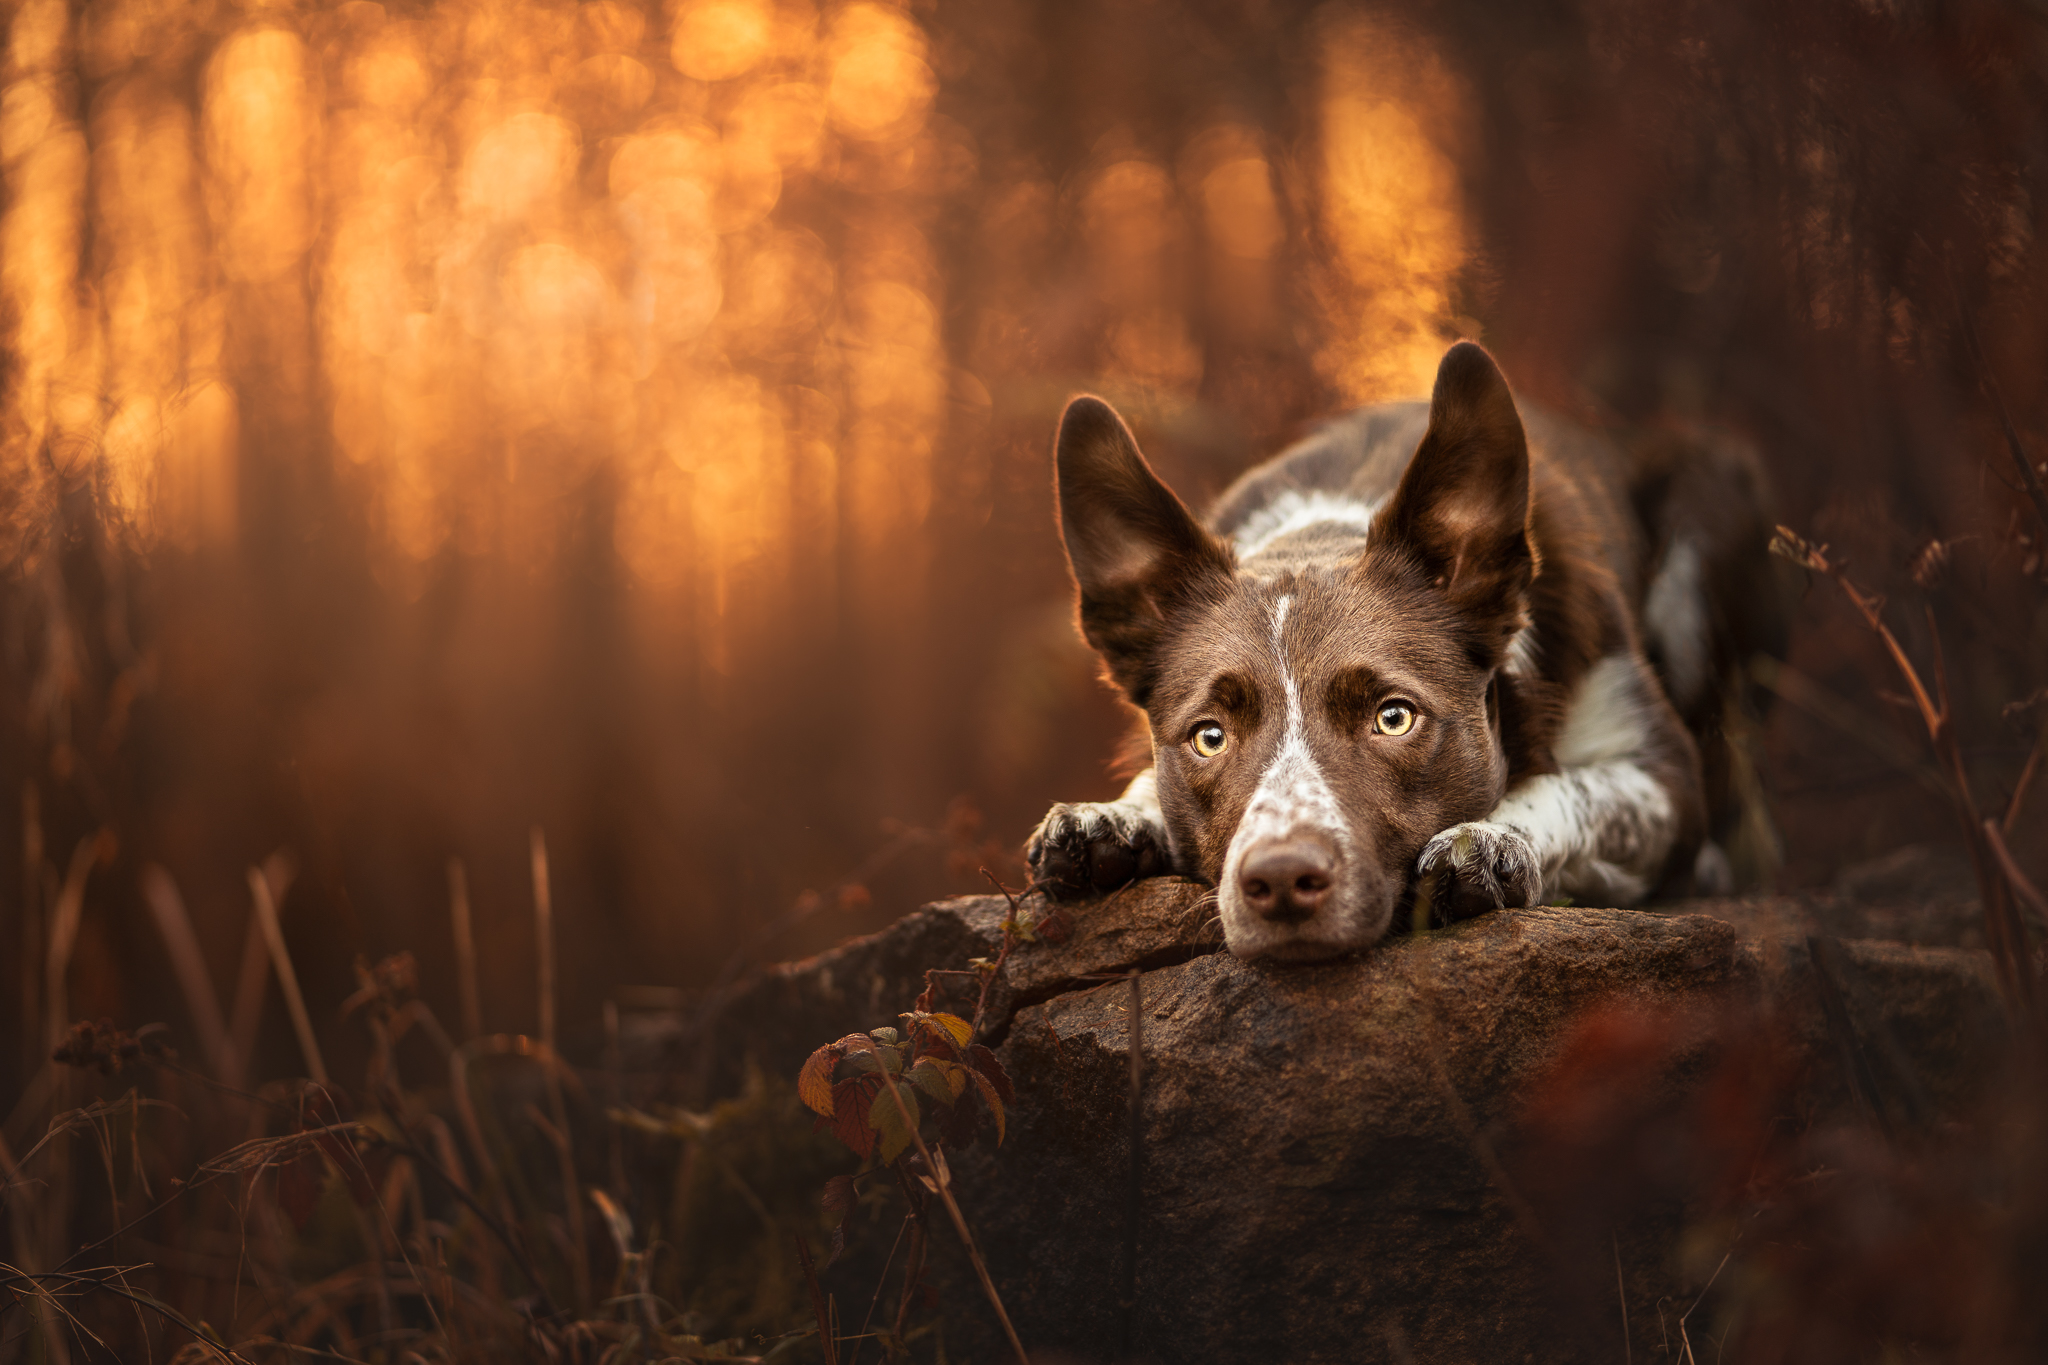
In this tutorial using Lightroom & Photoshop and following most of my normal process, we are going to work on a well-exposed photo of Luke, a red merle Australian Shepherd.
You will need decent knowledge of Lightroom & using radial filters, as well of how to use masks and adjustment layers in Photoshop.
In this tutorial we will:
Note: I probably wouldn’t (and didn’t!) give my client the flipped version of the photo. Why?
Because Luke has two VERY distinctive sides to his face, with his mismatched eyes and mismatched ears, and I want the photo to properly represent him, rather than flowing more comfortable. For social media though, I’ll post the flipped version.


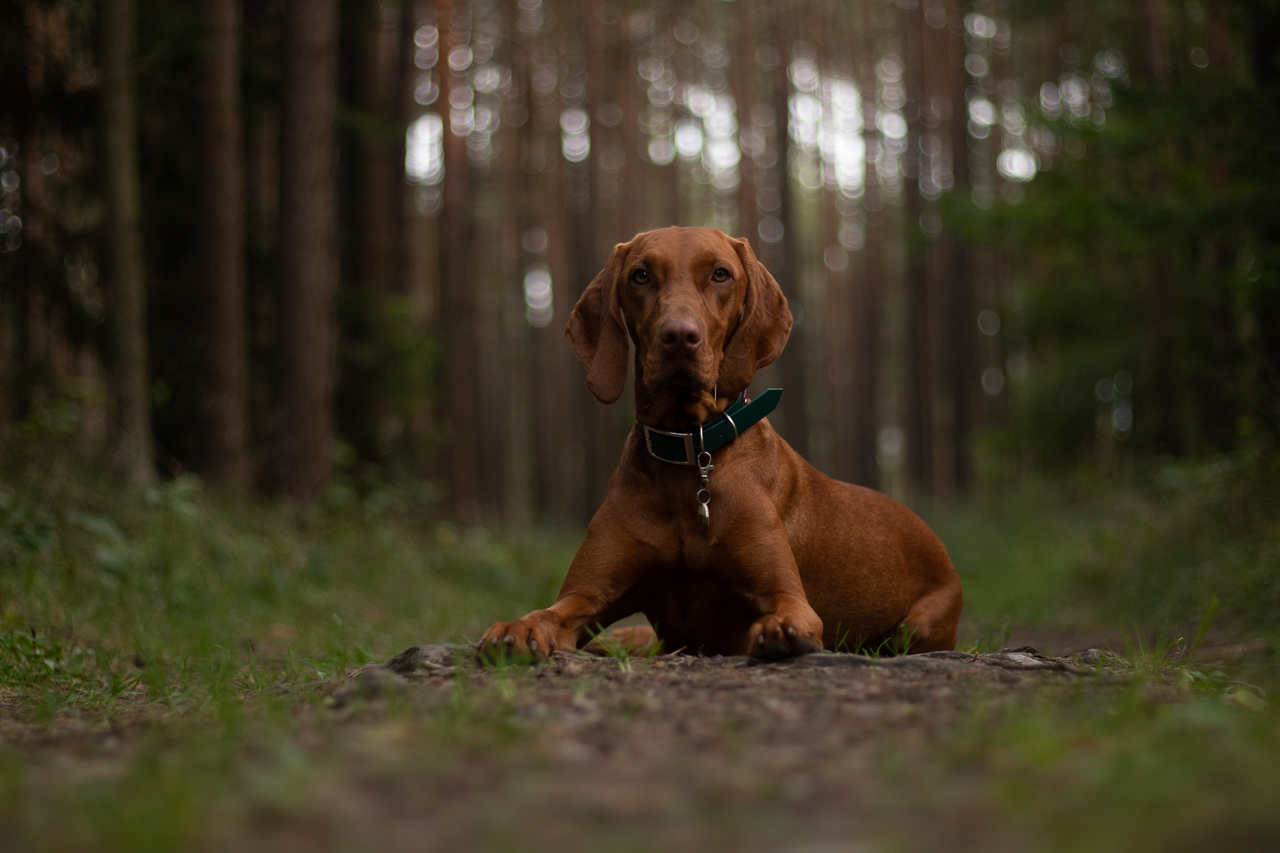
In this edit together we have two photos to choose from (by the same photographer!). If we have enough time, we’ll tackle both of them.
As always, you can download the files below. Lucy @vizsla_jess , has said you are welcome to post your edits to social media. Please be sure to tag her if you do!
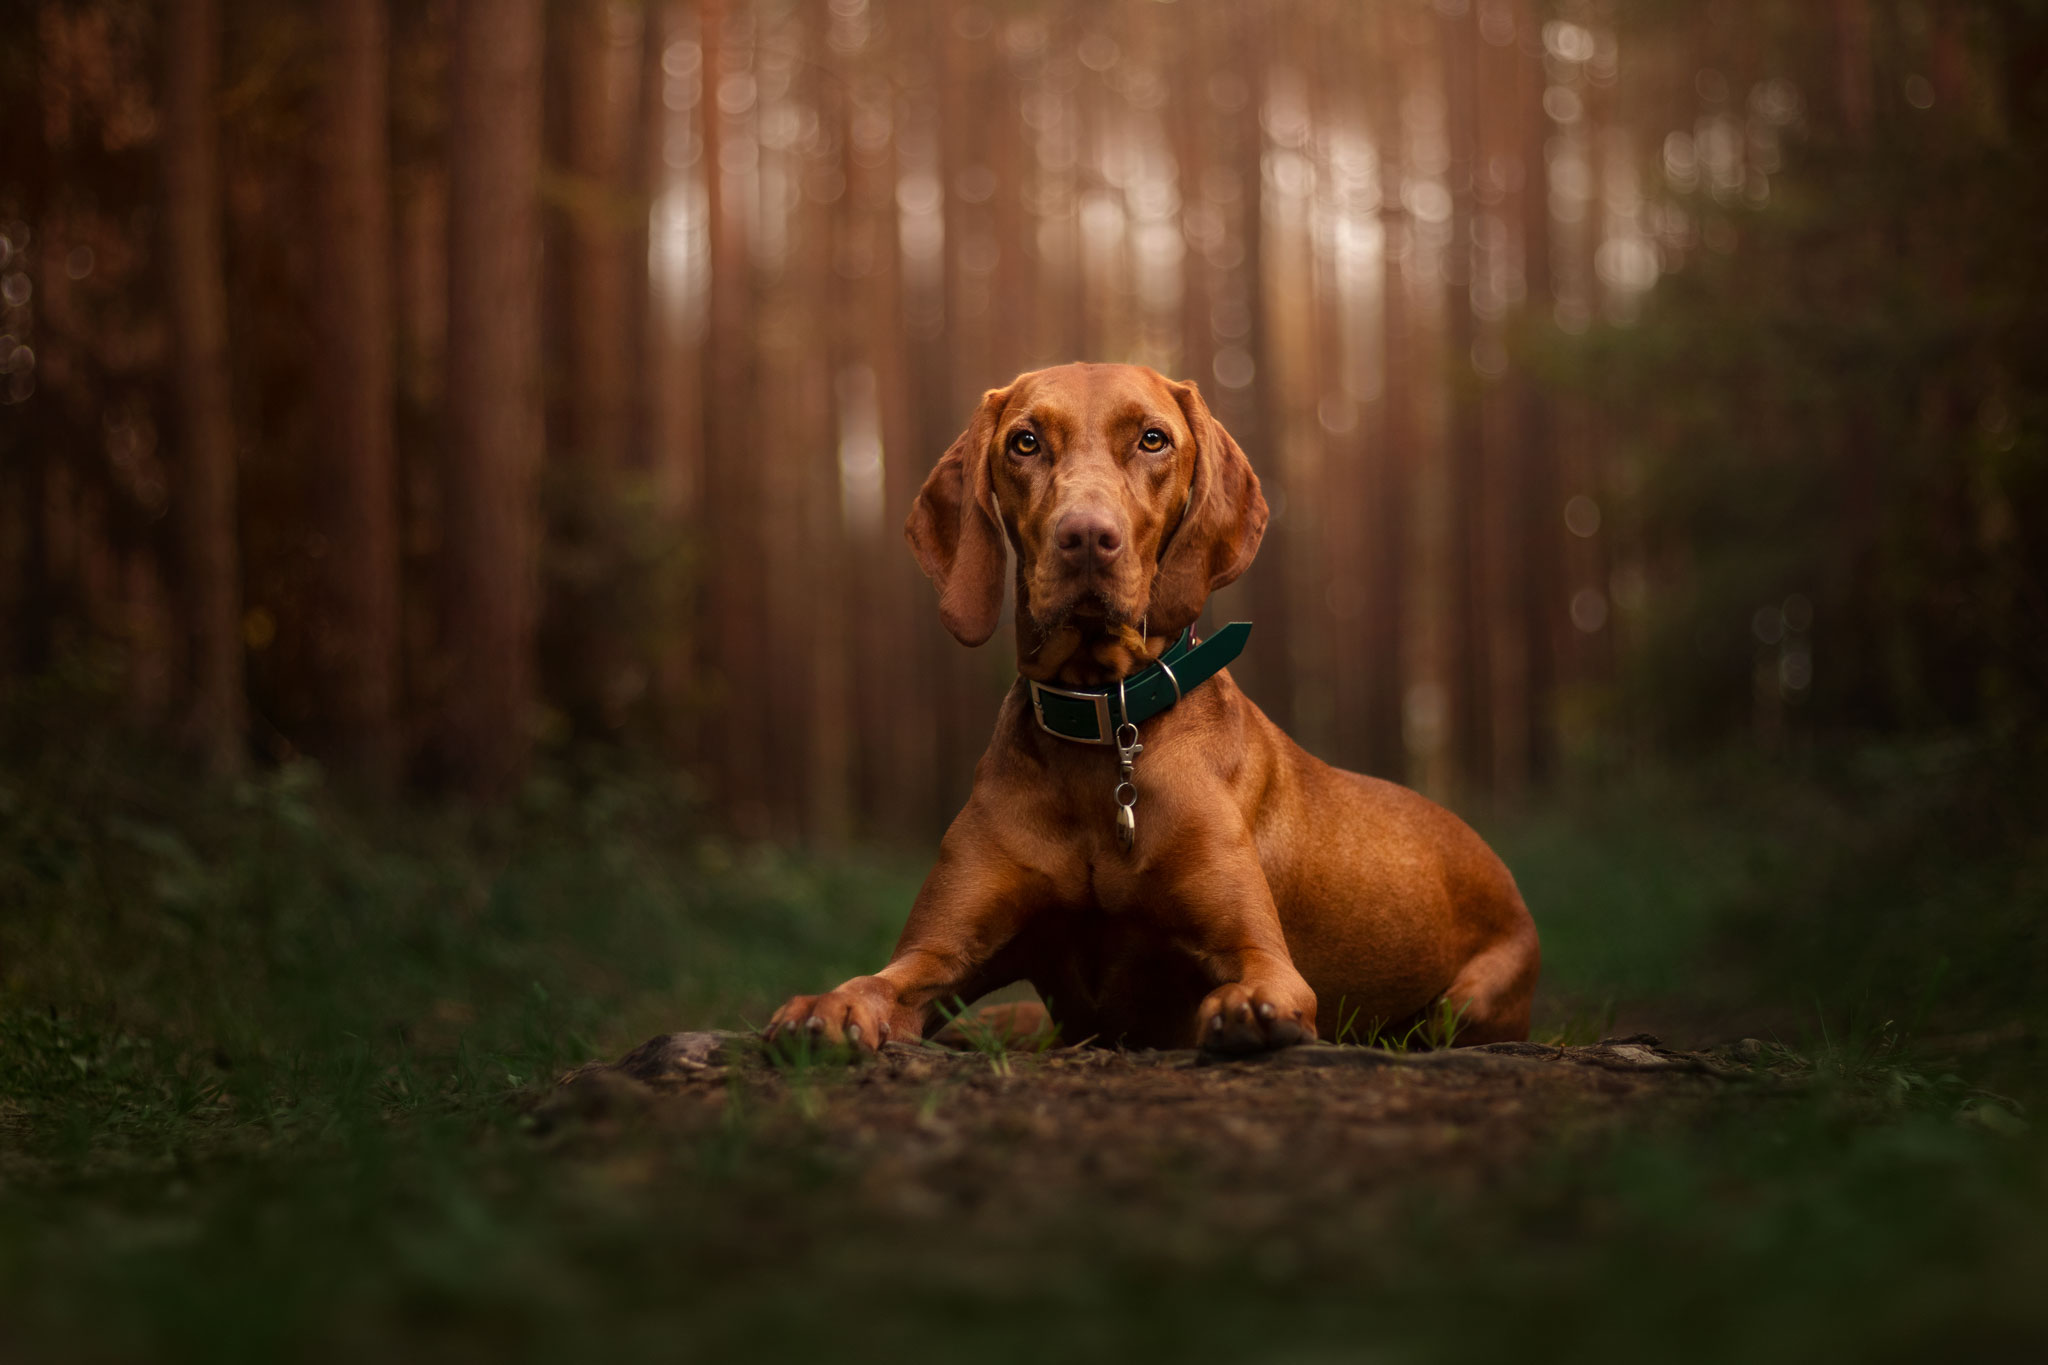
This tutorial will take you from start to finish editing a slightly under-exposed, backlit photo of Journey.
In order to do this tutorial, you’ll want:
This techniques in this tutorial will work best with:
Since this is one of my favourite photos, it’s one I would prefer that edits do not get posted on social media.
Below, you


| Cookie | Duration | Description |
|---|---|---|
| cookielawinfo-checkbox-analytics | 11 months | This cookie is set by GDPR Cookie Consent plugin. The cookie is used to store the user consent for the cookies in the category "Analytics". |
| cookielawinfo-checkbox-functional | 11 months | The cookie is set by GDPR cookie consent to record the user consent for the cookies in the category "Functional". |
| cookielawinfo-checkbox-necessary | 11 months | This cookie is set by GDPR Cookie Consent plugin. The cookies is used to store the user consent for the cookies in the category "Necessary". |
| cookielawinfo-checkbox-others | 11 months | This cookie is set by GDPR Cookie Consent plugin. The cookie is used to store the user consent for the cookies in the category "Other. |
| cookielawinfo-checkbox-performance | 11 months | This cookie is set by GDPR Cookie Consent plugin. The cookie is used to store the user consent for the cookies in the category "Performance". |
| viewed_cookie_policy | 11 months | The cookie is set by the GDPR Cookie Consent plugin and is used to store whether or not user has consented to the use of cookies. It does not store any personal data. |

