ArchivesTutorials

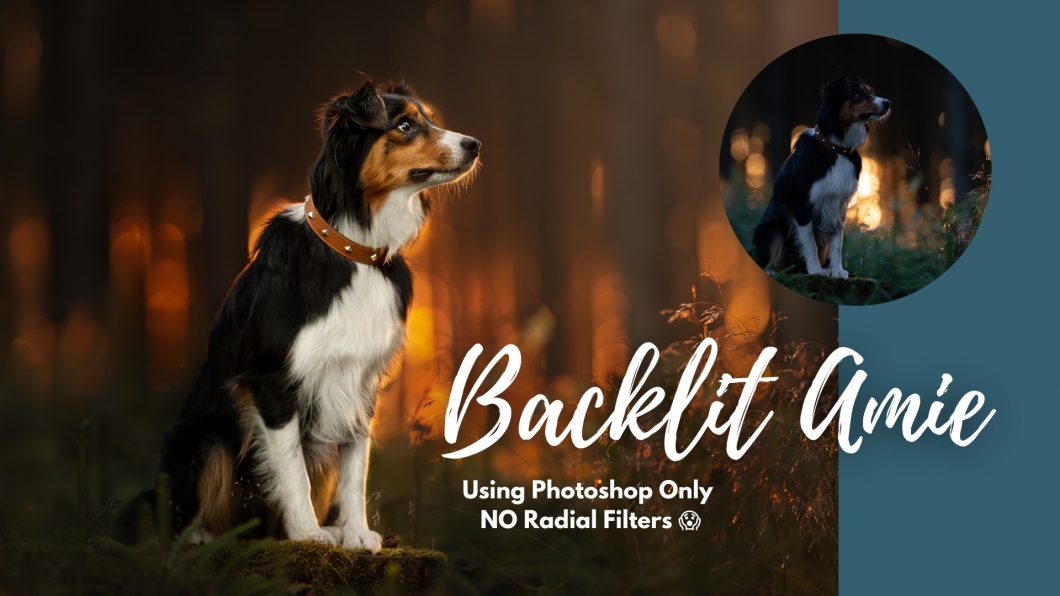
Backlit Amie

DSC07186 DSC07186-Edit

In this tutorial, I work on a reasonably underexposed image of Amie, that I took for a collar company (hence the weird composition of the photo!) .

I had recently jumped on a couple of zoom calls with some LC students who were using programs other than Photoshop, and neither of them had access to radial filters, so had made their own work-arounds, which is amazing, but, the problem with these work arounds were that they  couldn’t be re-edited later.

A big part of my process and the way I work, is ensuring that any of my edits are able to be changed later down the track – whether at the very base level of being able to easily adjust the white balance of my RAW file by working with my photos as smart objects, or by using adjustment layers and keeping any changes to the “base image” at the bottom of my layers panel. As much as possible, my process allows me to be flexible, to come back at any point and make changes to the edited image. 

This isn’t always possible (for example when doing a content aware fill or content aware crop that covers the original image file. But for the most part, my edits can always be undone, turned off, changed slightly, added to, etc. 

What I realised from these zoom calls was that a) not everybody had access to radial filters, and b) possibly some people find them fiddly and time consuming, or just don’t like them. So in this editing tutorial, I ditched them completely. No radial filters at all.

I use Camera Raw Filter to begin with – this is basically Lightroom and includes all the most basic functions of any editing software, making global adjustments to the image/RAW file.

The rest I do in Photoshop. 

There are some slightly different techniques in here to what I’ve shown before, a bit of an explanation about how I would organise my layers when needing to do some clone stamping or healing spot brush, and some other interesting bits and pieces that I don’t think I’ve shown before. 

The tutorial will probably be best if you have a reasonable knowledge of Photoshop (or your editing program). I don’t explain how to mask something in or out in detail, for example.

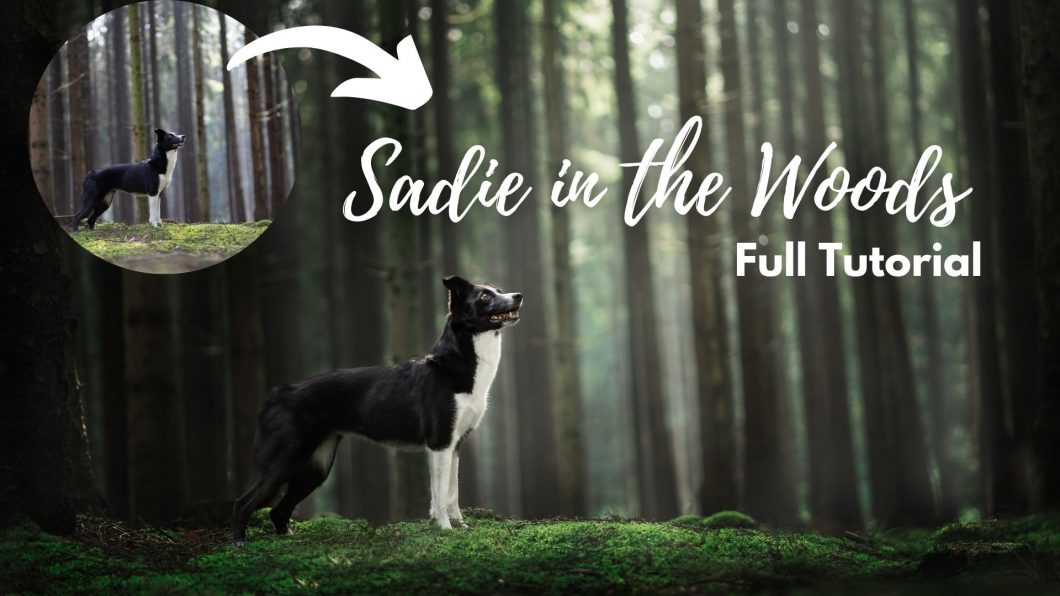
Sadie in the Woods

In this tutorial we’re going to working though my process to create one of my favourite pictures of my friend Annika’s dog Sadie, in the woods.

The first part of the tutorial was recorded from my van, while livestreaming on Facebook…. then my computer had an absolute meltdown, so I finished recording the tutorial later, without being live. Therefore the first part looks like pretty lousy quality, but the information is still good!

Since this is a photo for Annika, I won’t be offering the RAW file for download this time. You can of course edit along on one of your own photos, just keep in mind there’s a few elements in this photo that make the tutorial work, which won’t work with every photo:

  • Dog looking up and to the side
  • The light in the background
  • Soft ambient light on the dog from no particular direction

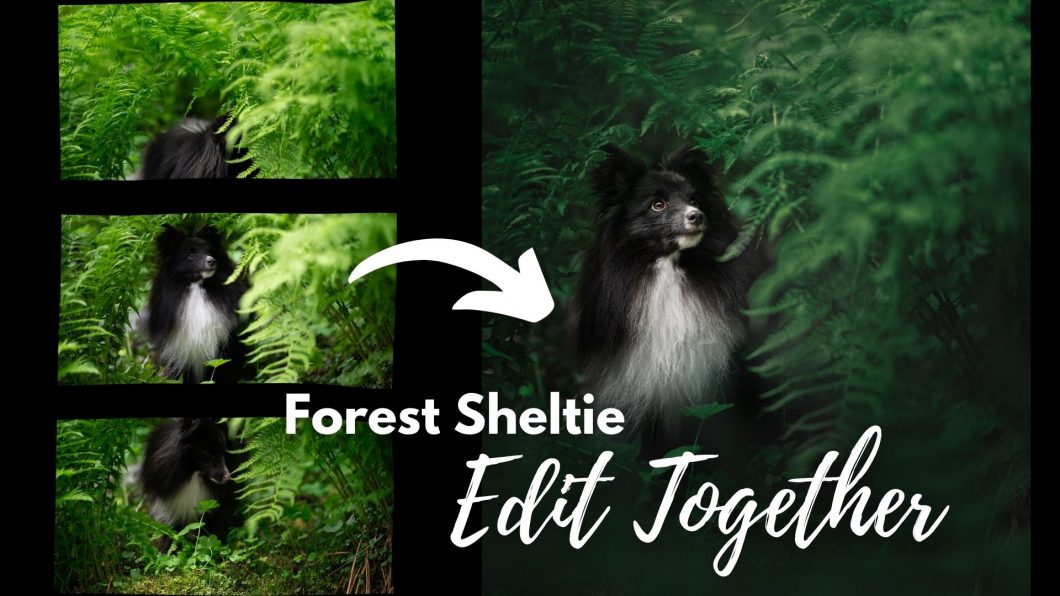
Forest Sheltie

In this tutorial, we combine 3 RAW file images to create one panorama, giving Petrie enough room below his feet and space above his head for him to look into. We also use a fern overlay for some foreground blur/to add a bit more depth. You can find the files in the download folder.

This is one of those images that I came back to later in Lightroom and made some reasonable changes to, from the point where we finish the tutorial.

Namely:

  • darkening the bright green branches that had been bothering me the whole time (lower highlights and exposure)
  • lower exposure a LOT around the outside of him, not including his looking direction (so a 3/4 vignette, I guess). I lowered exposure by -1.5 😱 and raised blacks +6. 
  • added +20 contrast to his face
  • removed some green colour cast from the top of his head and the camera-right side of his snout
  • lowered highlights on his white chest a little bit more
  • in the HSL panel, Hue: green +17, Sat: greens -30, luminosity: greens -25

Yess I could have achieved the same effects in PS but I couldn’t be bothered opening it there again when I knew LR could do the job I wanted anyway. 

Below: Before / After the Tutorial / After my LR edits

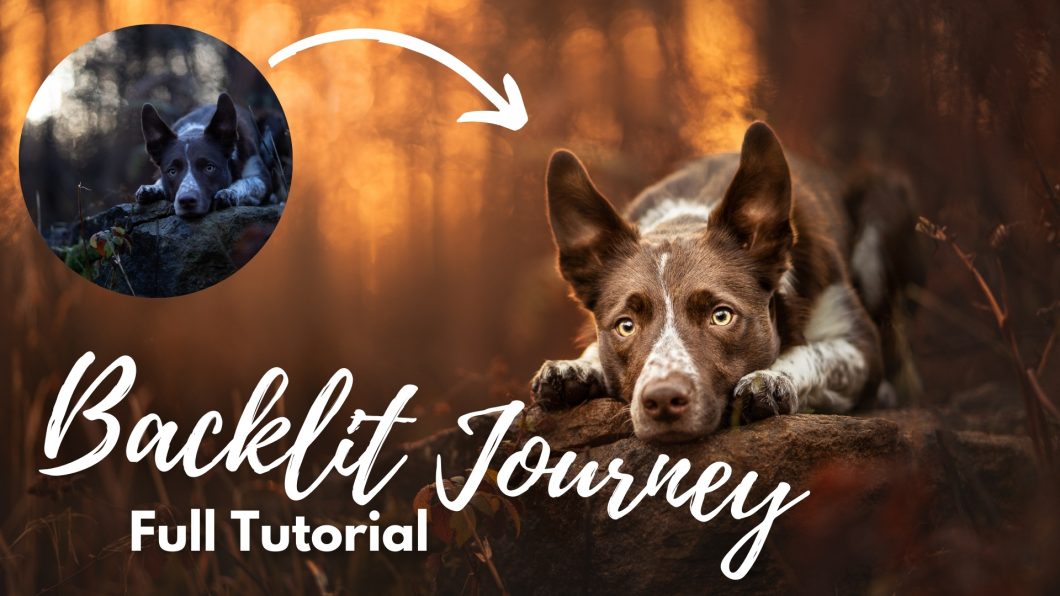
Backlit Journey: Full Tutorial

This tutorial will take you from start to finish editing a slightly under-exposed, backlit photo of Journey. 

In order to do this tutorial, you’ll want:

  • a decent knowledge of Photoshop basics, eg., masking, adjustment layers and so on
  • A decent knowledge of Lightroom, eg., radial filters

This techniques in this tutorial will work best with:

  • backlit photos, with even lighting on the dog’s face
  • slightly under-exposed photos, but it’s ok if you have some blown-out highlights
  • photos with some kind of natural “shape” to the foreground and background (eg., not on an open field).
Remember: Not all editing tutorials will work on all photos. The key is to take the rationale and reasoning behind when and why to make certain edits, and consider if that applies to the photo you are working on. While my process and my steps are very similar from photo to photo, an underexposed backlit photo will require different ways of working to a brighter forest-green photo.
 

Since this is one of my favourite photos, it’s one I would prefer that edits do not get posted on social media. 

DSC09683 DSC09682-Edit-2-4

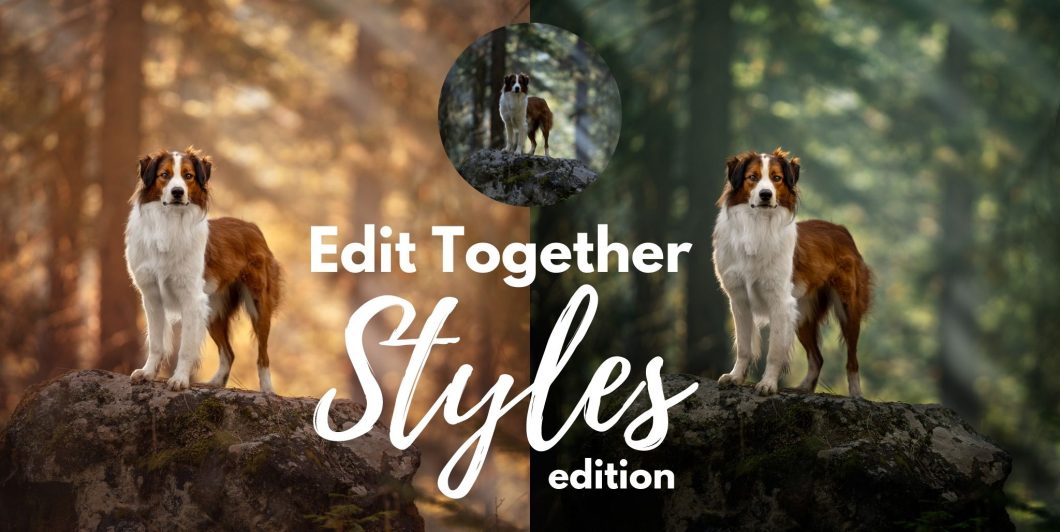
Edit Together: Styles Edition

In this version  of Edit Together, we’re going to work on this beautiful photo of Oakley, taken by Jamie (@tails_that_follow) .

I’ve chosen it because I can see it has a lot of possibilities to edit in different ways. On one hand we can make it quite bright and warm, a magical and hopeful scene with a proud dog surveying his kingdom…

On the other hand, we could make it cooler, darker, and more dramatic. Enhance this foggy smoke, and now we are being watched by a more wild creature, in whose domain we have found ourselves. 

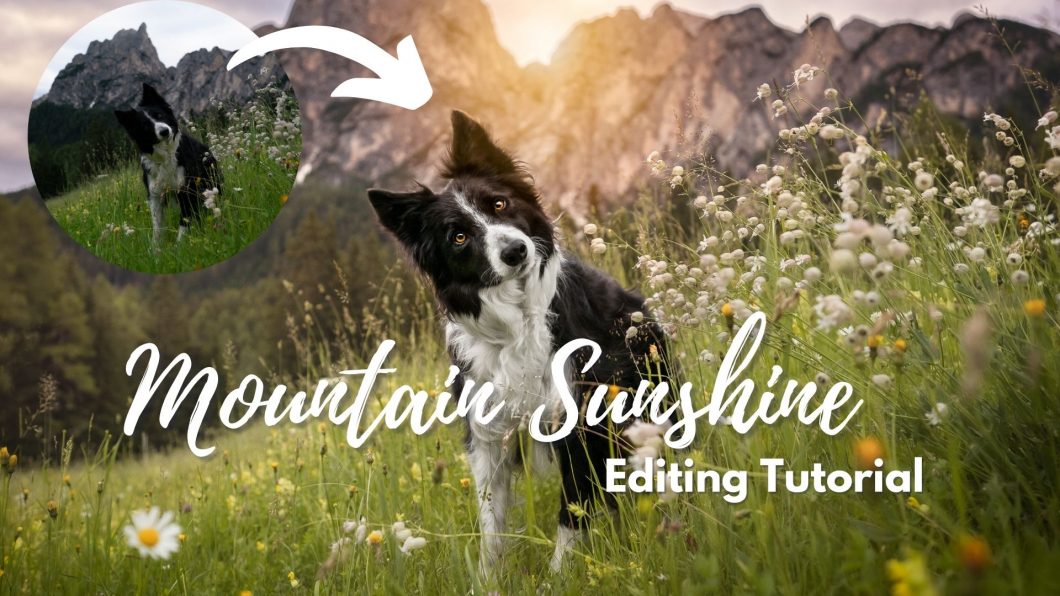
Mountain Sunshine

In this tutorial I wanted to create an image that would match a similar one I had of Journey, so I could print them both out for my wall. Therefore, I had quite a specific look in mind, which was: late sun flare through the mountain gap, dawn/dusk time.

In this tutorial we will be:

  • Working on brightening Loki up
  • Bringing texture and detail back into the clouds
  • Adding the fake sun flare overlay
  • Discussing how to keep light natural both with the fake sun and with this open landscape scene
  • Adding some fake rim-light around Loki’s ears to keep the light natural
  • Changing the colour balance to tint everything gold and slightly magenta
  • Removing bits of grass
  • And the normal process of dodge & burn, removing colour-casts from his chest and so on.
DSC04822-2 Taken at f/2.8 with a 24mm lens.

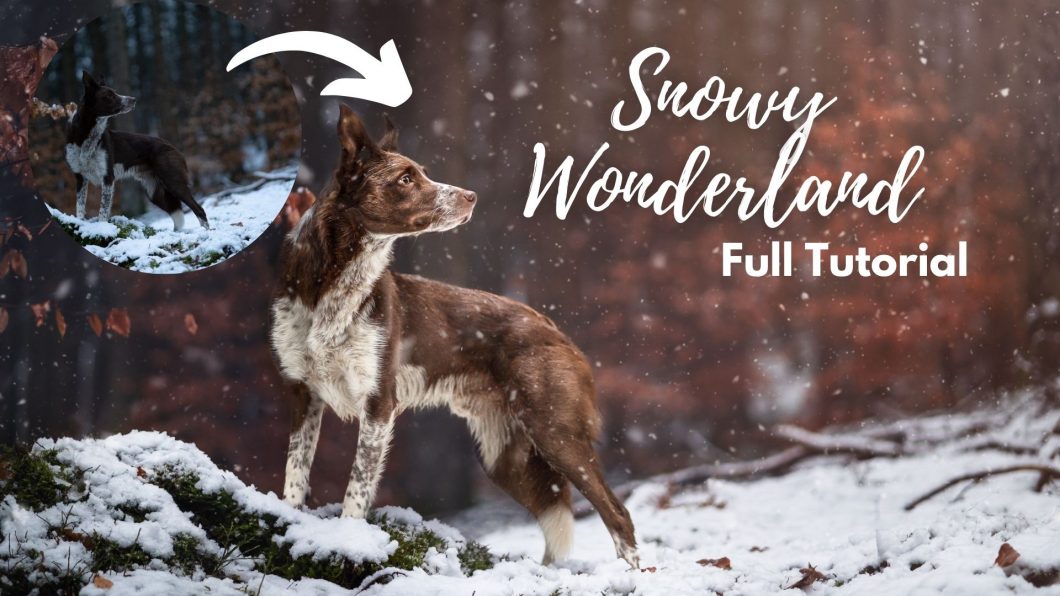
Snowy Wonderland

This tutorial works on Journey in the woods, standing in the snow. 

It is relatively underexposed, with a relatively high ISO. 

We will cover a number of techniques including:

  • Selective edits in Lightroom/Camera Raw
  • Content aware crop.
  • Keeping our workflow as flexible and re-editable as possible
  • Curves layers
  • Masking (lots of it)
  • Gradient Fill
  • Radial Gradient
  • High Pass action
  • Dodge & Burn
  • Adding snow with a brush
  • Healing spot brush
You will need to be quite proficient in LR & Photoshop as I move very quickly in this tutorial and don’t explain the tools in depth. 
DSC00796

Sadie in the Woods: Full Tutorial

In this tutorial we’re going to working though my process to create one of my favourite pictures so far, of my friend Annika’s dog Sadie, in the woods.

The first part of the tutorial was recorded from my van, while livestreaming on Facebook…. then my computer had an absolute meltdown, so I finished recording the tutorial later, without being live.

Since this is a photo for Annika, I won’t be offering the RAW file for download this time. You can of course edit along on one of your own photos, just keep in mind there’s a few elements in this photo that make the tutorial work, which won’t work with every photo:

  • Dog looking up and to the side
  • The light in the background
  • Soft ambient light on the dog from no particular direction

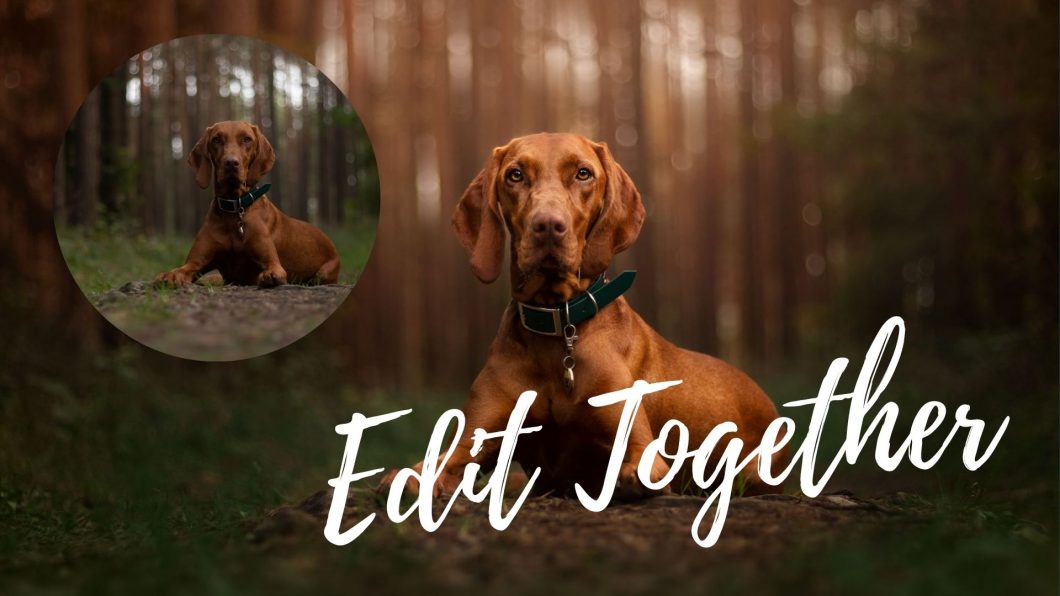
Edit Together: Forest Vizsla

In this edit together we have two photos to choose from (by the same photographer!). If we have enough time, we’ll tackle both of them. 

As always, you can download the files below. Lucy @vizsla_jess ,  has said you are welcome to post your edits to social media. Please be sure to tag her if you do! 

IMG_2396 IMG_2396-1

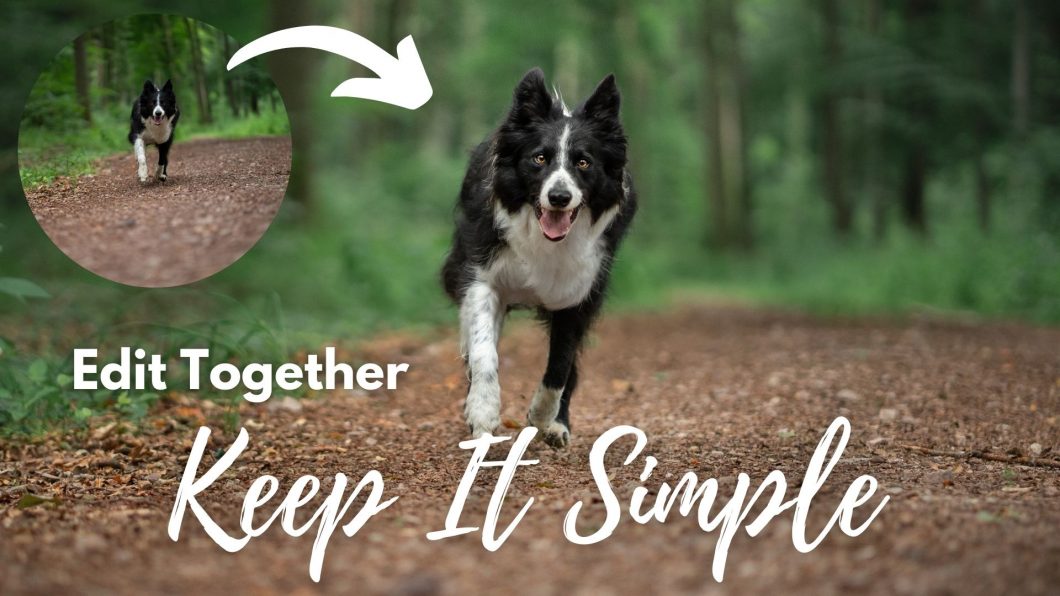
Edit Together: Keeping it Simple

In this edit together we’re going to work on one or two pretty simple photos, to show that you don’t have to spend hours editing, and you don’t need ten thousand layers, to create a good photo. Some photos, because of the location, mood, or whatever, don’t need much.
Often we feel like these photos are “boring” or that we need to do more to them… but then we can end up overdoing it. 

So, let’s Keep It Simple.

Apologies for the awful recording quality. Zoom records in really low quality, and my computer can’t handle editing + screen share + separate screen recording right now. I’m going to look into a solution but at the moment it is what it is.