ArchivesPhotoshop

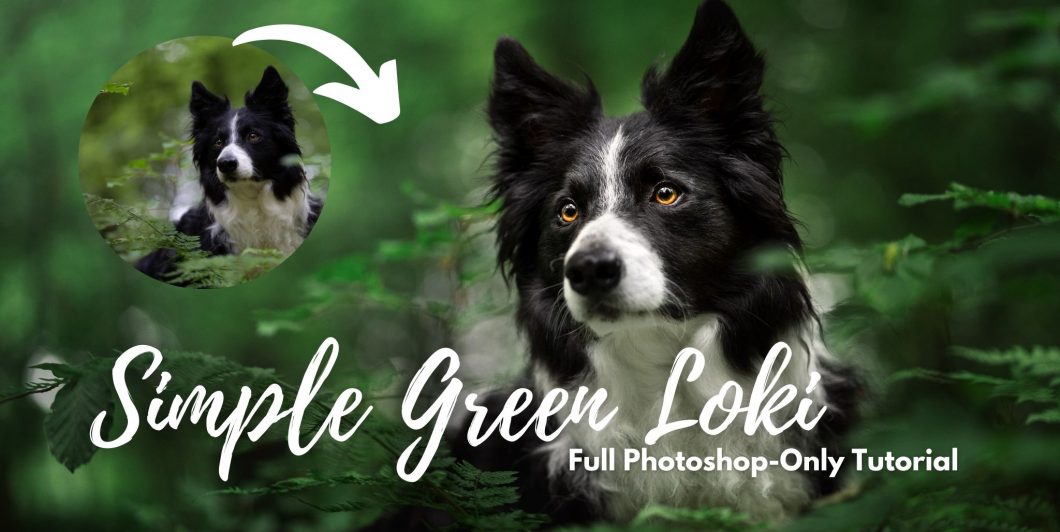
Simple Green Loki: Full Photoshop-Only Tutorial

This is a full start to finish tutorial, editing a RAW file of Loki, reasonably well exposed, in the summer greens. 

It’s a good tutorial for people who are newer to Photoshop, as we aren’t doing anything extremely complicated, but go through most of my normal tools and processes.

You can download and edit the RAW file below, and of course you’re most welcome to share on social media! Just make sure to credit & tag @inspawrationphotography when you do! 

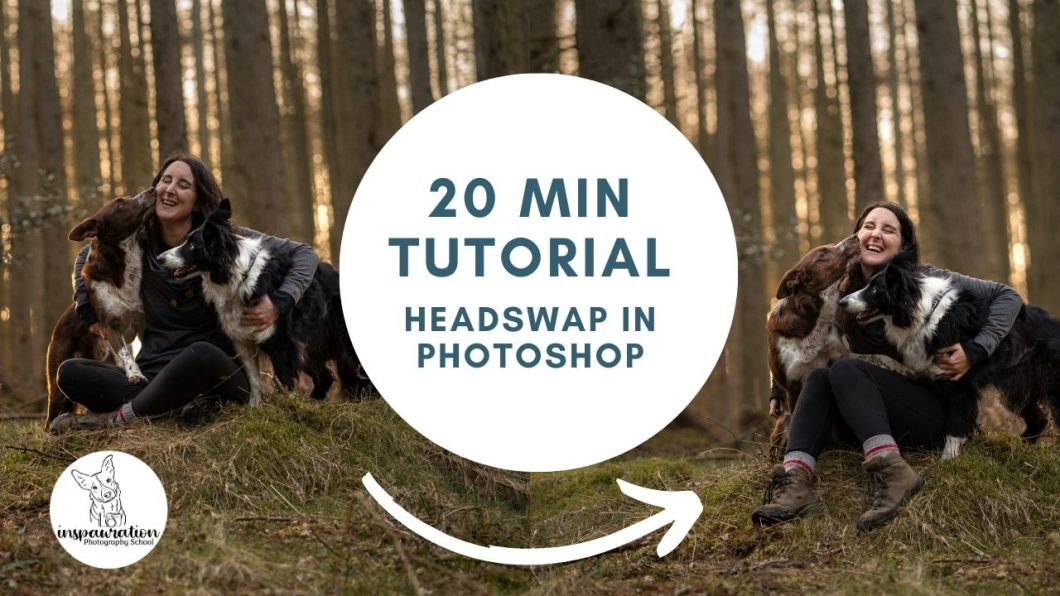
20 Minute Tutorial: Merge Two Photos (Headswap!)

This is a very quick tutorial which shows you an easy way to combine two layers into one using masking.

I don’t go over the exact specifications for masking – we will be covering this in the April Workshop. But I do explain each step, and the keyboard shortcuts are shown on-screen, so even people quite new to photoshop should be able to follow along.

Being able to merge two photos like this is incredibly powerful:

  • We can take group photos with a narrow depth of field and merge them together so each dog is in focus, rather than having to use a narrower aperture to try and get them all in focus.
  • We can fix issues when one dog’s expression isn’t ideal (as in this situation)
  • We can take parts of the background, copy and paste it, and mask it in using the same technique
  • We can bring in the lower or upper part of a frame from another photo and mask it in using the same technique. 

Being able to mask in two different photos in this way will mean you are easily able to fix and change a ton of accidental mistakes in your images, improve composition, potentially improve expression and more. Just remember: white = show that layer. Black = hide that layer. Some people say: “White reveals black conceals” but this was too much of a rhyme and I couldn’t ever remember which way was which. Make up your own memory trick like: “You can see the light (white) but you can’t see through the dark (black)”? Or I don’t know. Whatever makes sense to you.

The main thing behind the scenes is that both photos need to be more or less the same – you’ll see in this one that Loki had moved slightly and I had completely changed my leg position, but since all we needed was Loki’s head and that was in exactly the same position, it wasn’t a problem. 

For things like adding parts to the bottom or top of the image, or merging in backgrounds, the plane of focus needs to be the same (eg., the main photo can’t have focus on the person/dog, and the one you’re masking in have focus on the background). The more similar the two photos are, the easier your life will be!

Also my brain was a bit all over the place so apologies in advance for a couple of “squirrel” moments. 

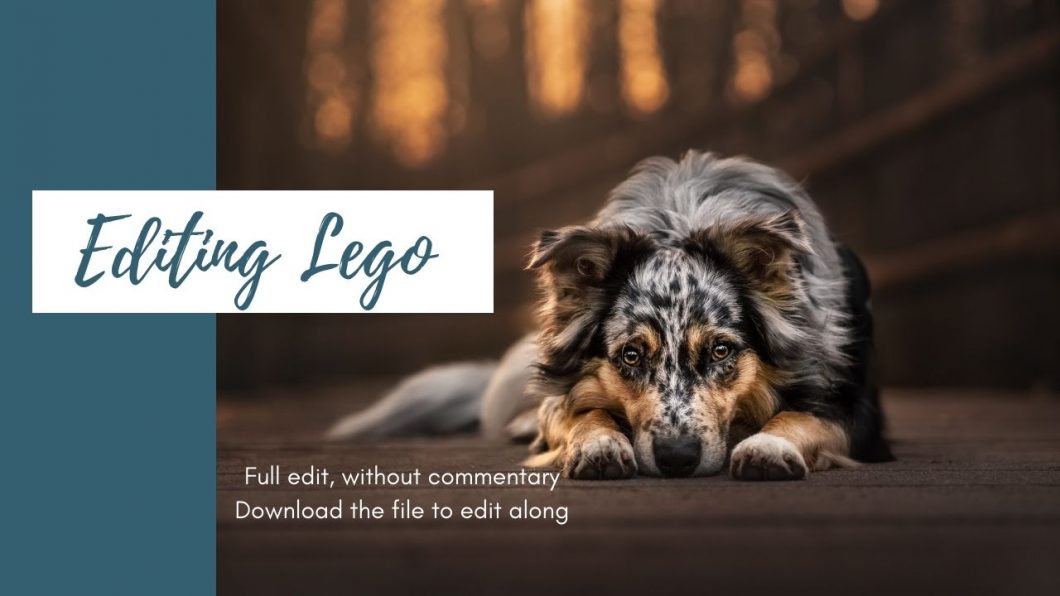
Editing Lego – Full Edit, Without Commentary

Navigation

This video is normal speed, of me editing the image above of Lego, for an #inspawrationedits feature. I didn’t make a full “lesson” out of it, because I just wanted to work, but you might still find the process interesting. It follows my normal workflow without anything too different from normal.

Marie Rozwalak – the photographer, has been kind enough to allow you to edit the original file! Make sure that if you do, that you make it clear that she is the photographer (@about.lego on instagram). Might even be worth checking with her first that it’s ok. A bit of courtesy never hurts anyone.

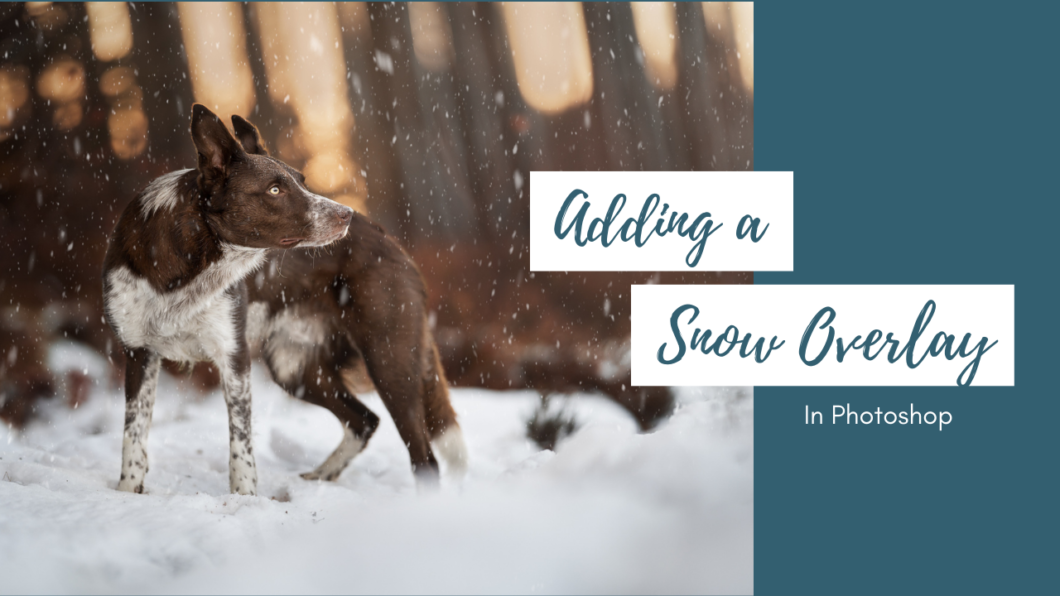
How to: Add a Snow Overlay in Photoshop

Sometimes out winter photos can appear a bit dreary and flat. There’s not a lot of colour on the trees, everything is white. Adding a bit of a snowfall can help provide some visual interest to our images and we can do this with Photoshop and a free brush or overlay.

Program: Photoshop

Difficulty: Easy/Medium

Recommended prior knowledge: installing brushes, creating new layers, masking.

When you are using a snow overlay or brush, just consider where the snow would naturally be falling. Some people will recommend that you mask the snow off of the entire dog, but personally I know that snow doesn’t avoid falling between you and the dog, so there would naturally be snow in front of your subject. You can mask out specific areas of snow (eg., over the eyes) and soften other areas, but try and keep it as natural as possible. 


Be careful that using a snow overlay doesn’t become overly distracting  and that it isn’t used as a way to “hide” a not-so-great photo.

Often when a photo is “missing something” because the dog is looking intensely or severely in a direction without there being anything to look at (as in the photo we use for this lesson), or the scene is kind of “empty”, we instinctively want to fill it with STUFF to make it make more sense or feel “fuller”.

First, you’re going to want to find and download some snow brushes. I used these ones  but a quick google search will turn up others. Once downloaded, find them on your computer and drag the file into photoshop. This should automatically install the brushes, and you’ll find them in the brush selection panel. 

Be aware that some sites may prohibit using their brushes for commercial purposes (eg., client shoots). 

Be aware that free brushes like the one linked above will be a small file size and get blurry and pixelated FAST. Etsy has a lot of great brushes you can buy pretty cheap, and then you’ll have a good variety for future. 

With your photo open in PS (I do this on my fully edited photos as the last step), create a new blank layer.

Go to the brushes section and have a look through the different brushes. Some will have more fat chunks of snow, some will look more like it’s falling down hard, some will be small and busy. You can play with some by making them large enough to cover most/all of your image and stamping it on the new layer.

Make sure your brush is white. Opacity 100%, Flow 100%.

If you don’t like the effect, just press cmd+z or ctrl+z on the keyboard to undo it, and try another one. Don’t worry if the snow covers some of the dog’s face or eyes right now, we’ll fix that in a minute.

If your snow didn’t cover the entire image, we can fix that now with the move tool. Using the handles at the edge of the snow layer, drag outward until it covers the whole picture. If your photo was smaller, you might not need this step so you can skip ahead.

When the overlay is big enough, press enter to confirm the size.

Now we need to mask some of the snow off his face, or other areas where we don’t want it. 

Press the mask button, change your brush back to a soft round brush with 10-15% flow, and make it black (because we need to hide parts of the layer beneath the black). Now brush it off the eyes. Don’t brush it off the whole dog as this looks weird and unnatural. Also brush it off of the foreground snow layer. 

You can turn down the opacity a bit to make the effect less strong as well. 

If you change your mind at any stage and want to bring some of the snow back, just change your brush colour to white, and paint it in to reveal it! This is the magic of using masks – our layers and data is never erased, so everything can be undone or changed at any stage!


And that’s it! You can experiment with which brush you’re using, how much snow you mask out, and how opaque you make it. As always, I would love to see your finished photos, so make sure you pop them into the Facebook group and/or share them on Instagram! 

Let me know if you have any questions at all in the comments below.