Current Status
Price
Get Started

Inspawration Editing Process & Rationale: Start here!
In this FULL, step by step tutorial, we delve Em's editing process. A lot of people ask: "How would you edit xyz" or "Can we have an editing tutorial on abc"... but the fact of the matter is, 90% of her edits follow this same basic process or set of steps, adjusted to each individual photo. Starting here, you can get a feel for not only her "base process" but also the rationale for why she uses this workflow. Duration: 1hr 10mins
Open in Photoshop, Save to Lightroom, Open in Photoshop again

Layers Flowchart
Not sure how to structure your layers in PS? Don't know when to hide layers, where to put your clone-stamp layers, when to smoosh layers, or why any of it matters? This is a Whiteboard from Canva (and/or PDF) to help you structure your workflow depending on what you want to do & what you've already done.
Gradient Masks
Sometimes, we want a mask that gradually transitions, from visible to hidden, either in a linear fashion, or radial. This is easy in Lightroom, and my "elliptical selection" method has worked fine for me, but this is another way to make graduating masks, that go from visible to hidden, using the gradient tool.

How to Watermark your images in Photoshop and Lightroom
Learn how to apply a watermark to your images using Lightroom or Photoshop. (Length: 12 minutes).
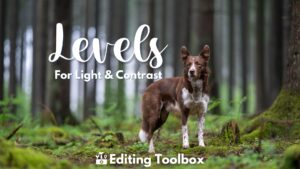
Levels for Light & Contrast
Here we explore Levels Layers in Photoshop, and how they have a number of uses, though I primarily use them to add contrast, and make the light more vibrant in my image.
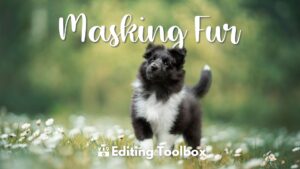
Masking Fur
What's the secret trick to masking fur in Photoshop? Welllll there isn't one. Here's how I mask the fur in basically all my edits, how to use the "select and mask" screen, and more.
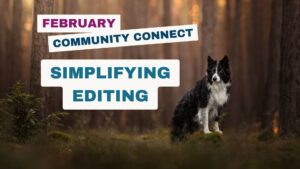
Community Connect: Simplifying Editing
In this LIVE event, we broke my editing process down into 5 steps: Baseline, Setup, Light, Colour, Fancy Stuff. We talked about WHY to do each step, when to ease up and when to use a sledgehammer. We talked about what's optional, and what we're trying to achieve at each step. If you're feeling overwhelmed by editing, this is the recording for you.
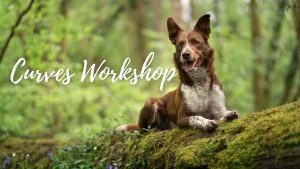
Workshop: Curves in Photoshop
? (all - with some PS knowledge) Curves adjustment layers! My favourite editing tool when it comes to light and dark tones in the image! Learn all about curves, how and why to use them.
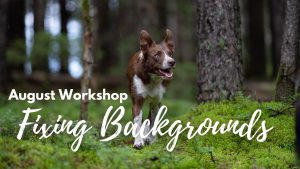
Workshop: Fixing Backgrounds
(int/adv) Learn how to copy & move parts of the background, use the clone stamp, healing spot, content aware fill, content aware crop, and content aware scale tools.
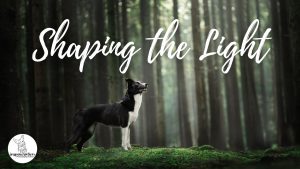
Workshop: Shaping the Light
In this workshop, we're going to learn not only HOW to Shape Light, but also WHEN, and WHY. Best suited for INT/ADV students.
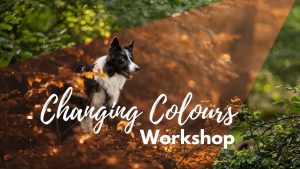
Changing Colours Workshop
Learn not only multiple tools to change the colours of your photos, but also looking into colour theory, and WHY you might want to make certain colour changes (and when not!)
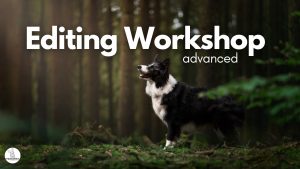
Advanced Editing Workshop
In this MASSIVE Advanced workshop (total duration: 4 hours), we go through everything in my entire process, from white balance to smart object, selective editing in Lightroom, shaping the light, changing colours, removing a handler, adding special effects and more. Due to this being available for sale on the website (worth €200), access is restricted until you've been a member for 3 months, or have a yearly subscription
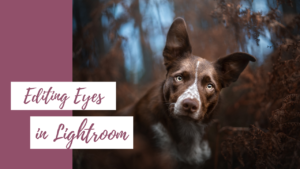
How to: Edit & Brighten Eyes in Lightroom
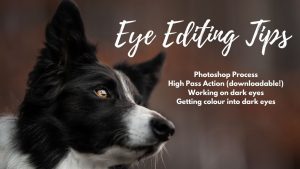
Editing Eyes
Tips and tricks for working on eyes, particularly in Photoshop (there's a separate lesson for eyes in LR). Includes a downloadable High-pass action, and goes through the process for editing very dark brown eyes to get them lighter and with more colour, while staying natural
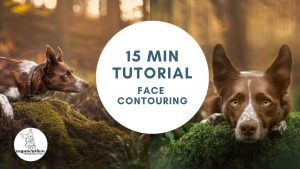
15 Minute Tutorial: Face Contouring
?? (int/adv): Learn how to see & find the shapes of a dog's face to effectively dodge & burn for a 3D effect
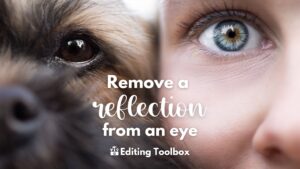
Remove a Reflection from an Eye
In this quick 6 minute tutorial, we're going to use Photoshop's Remove Tool to remove a reflection of me from Loona's eye
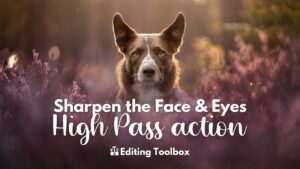
High Pass Action to Sharpen the Face & Eyes
Download the High Pass Action here! In this 8 minute video, I'll show you how to install and use the high pass action, to add sharpness and texture to your dog's face in Photoshop.

How to Close Eyes (using liquify & other things)
If you have a photo where the dog's eyes are partly closed, mid-blink, and you want to close them fully for a dreamy, whimsical effect, check out this lesson with some tips & tricks for how you can achieve closed eyes!
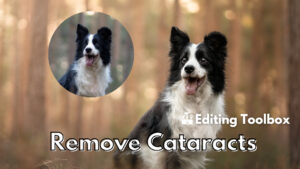
Fix/Remove/Hide Cataracts
If your senior dog has cataracts and you'd like to make them less visible or noticeable, this lesson shows you some techniques on how to make the eyes look clearer and less cloudy.
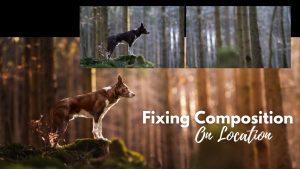
Make a panorama! How to fix your composition on location (and in LR & PS)
[all] If you chop your dog's feet off, don't give them enough space to look into, or if they suddenly look in an unexpected direction, don't despair! This lesson is for you to fix those composition issues ON LOCATION, as well as how to use this technique once home.
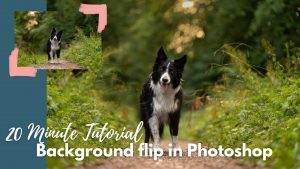
Editing Toolbox: Background Flip
Sometimes you need to fix, change, close in, or extend the background of your image, but you don't have any extra photos to work with. Copying and flipping the background CAN be a great solution, especially to add some symmetry to your location (eg., a track which is closed in on one side, but open on the other) but you need to be careful of mirror-images and duplicated leaves, plants, etc. Duration: 20 minutes
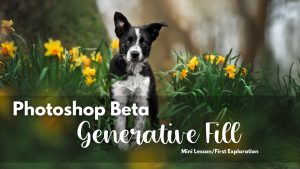
Photoshop Beta: Generative Fill
Photoshop has just released PS Beta (May 2023) which includes a new AI Generative Fill feature. Let's check it out, see how to use it particularly to expand a canvas, and an example of filling in a blown out sky.

How to Make Panoramas in Lightroom and Photoshop
I'm a BIG fan of making panoramas, for a number of reasons. Here's how you can use either Lightroom or Photoshop to make a panorama out of multiple images! Choose the technique that works best for your individual situation.
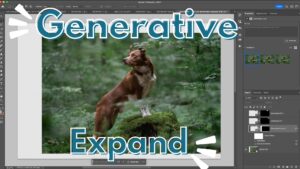
Expand your photo: 2 methods!
Learn how to expand your photo using Photoshop. Sometimes we just don't give our subject enough space, and we forget to make a panorama (whoops). Learn two methods to expand your image, in this 15 minute toolbox.
Add Sides, Add Background: Creative Image Manipulation
In this 20 minute lesson, we use your image to create a 2nd bush to one side - creating a "path" rather than a one sided garden bed, AND we use another image from the same location to turn the garage door into a lush green jungle.
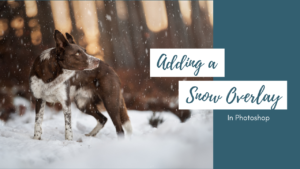
How to: Add a Snow Overlay in Photoshop
If you've taken a snowy winter's photo but want it to feel even more wintery, or you feel like it's a bit "empty", adding a snow overlay or using some snow brushes could be a way to "fill in" the image a bit. This lesson will show you how to use a snow brush to add some falling snow to your photos.
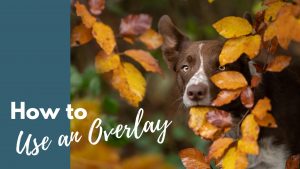
How To: Use Overlays
Learn how to apply an overlay to a photo in Photoshop
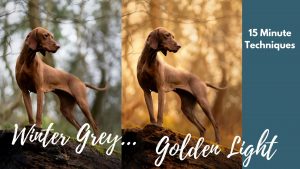
15 Minute Techniques: From Grey Winter to Golden Backlight
[int/adv] Winter means a lot of dull, grey, boring skies. In this quick lesson I show you a few tools to "spice up" your sky or bokeh to give it a golden backlit effect.
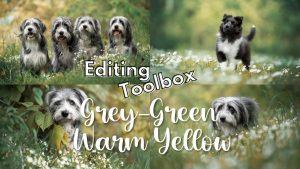
Editing Toolbox: Grey-Green Warm Yellow Tones
Let's split our greens into two colours: a soft cyan grey, and a warmer soft yellow-orange. This can take harsh summer greens to a much more pleasing tone, with an interesting split-colour effect.
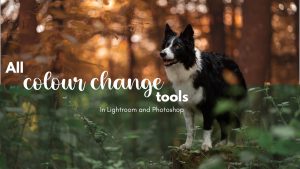
All Colour Change Tools in LR and PS
In this lesson, I show you (pretty much) every single possible tool and technique in Lightroom and Photoshop that you can use to change colours, and discuss when you might want to use them (or not).
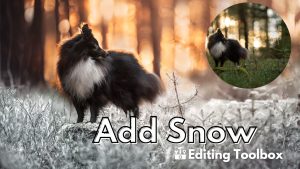
Editing Toolbox: Add Snow
Use Photoshop to add a layer of snow to any image. We're going to be using a selection tool, colour fill layer, and adjusting the luminosity of the blend! Quite a few new things here and perfect if you live somewhere that it doesn't snow but you want those winter vibes
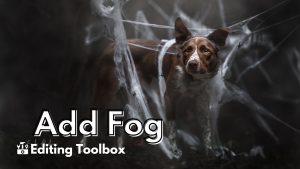
Editing Toolbox: Add Fog
A quick 10 minute lesson on how to make fake foreground/scenery fog in Photoshop, using two methods: brush stamp, and render clouds!
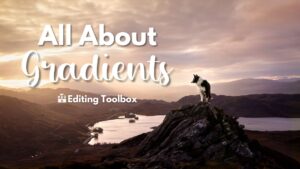
Editing Toolbox: All About Gradients
In this Editing Toolbox, we dive deep into the "Gradient" adjustment layer (not to be confused with gradient map!). We go over: how to add some colour and contrast, and even slightly change colours, add some light and separation behind the dog, add some foreground blur, and show you examples of when I've used different gradients in my edited photos. [Duration: 30 minutes]

Sky Replacements: Community Connect
In this live session, I demonstrate how to replace the sky on two different photos, along with some tips and tricks to keep it believable.

Flying Rainbows: Editing Tutorial
Learn how to create this black background, rainbow motion effect in editing! [Duration: 45 mins]
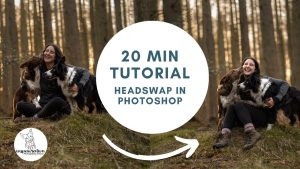
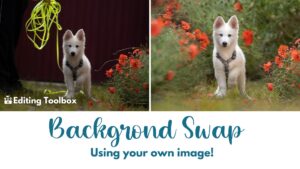
20 Minute Tutorial: Merge Two Photos (Headswap!)
? A 20 minute tutorial: combine two photos in Photoshop for head-swaps/background swaps etc.
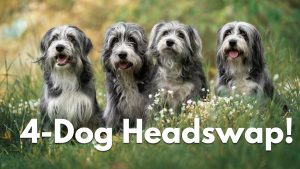
Editing Toolbox: 4 Dog Group Photo: Headswaps!
In this lesson, learn how to use Photoshop to combine four different photos - one of each dog - to ensure everybody is in focus!
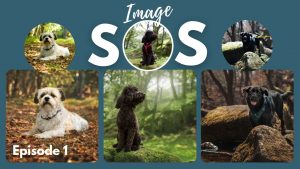
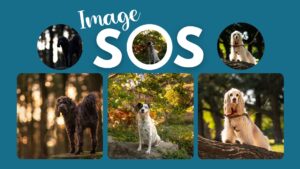
Image SOS: Episode 1
Image SOS on 3 images: Patchy highlights in background & on the dog, extreme shade on face, fixing composition, fixing blown out highlights
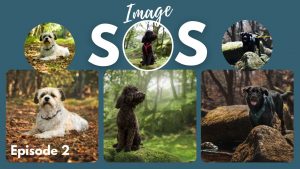
Image SOS: Composition
In this Image SOS we fix several images, especially the composition, by copying & flipping the background, cloning, and adding leafy overlays to hide not-so-great perspective, give some more depth to the image, and so on. Duration: 30 minutes
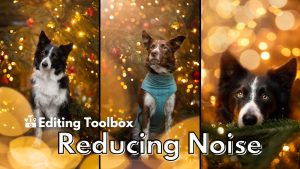
Editing Toolbox: Removing Noise
In this Editing Toolbox, we take a photo from the Christmas markets, taken at ISO 5000 and a bit under-exposed. I discuss noise, when it matters, lighten up the image to bring out some more noise, and then apply my favourite denoise tool in Lightroom, and test out Topaz Denoise. Duration: 25 minutes
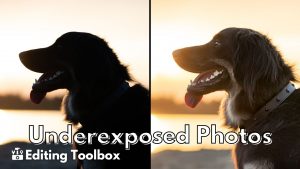
Editing Toolbox: Brightening Underexposed Images
An editing toolbox focusing on underexposed photos, giving you a selection of tools and techniques to brighten your subject when they've been underexposed.
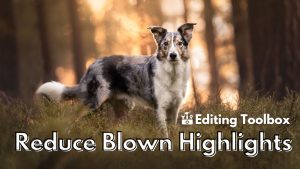
Editing Toolbox: Reduce Highlights
It's totally normal and sometimes necessary to blow the highlights in your photo! Luckily, there's a few things you can do in editing to hide the blown areas, cover them up, or remove them completely. Just remember, sometimes the more you try and cover or hide the issue, the more obvious it becomes, so make choices based on the photo in front of you.
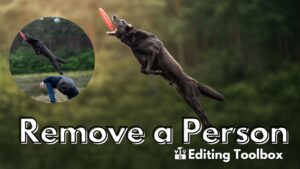
Editing Toolbox: Content Aware Fill to Remove Things
This lesson shows you how to use Content Aware Fill to remove large-ish objects from your photos. This does NOT need to just be handlers. It can be things in the background like shoes, a park bench, a trash can, another dog, etc. Anything that Photoshop can sample the surroundings for and fill in. We also dive into keeping our Smart Objects editable even with a layer on top.