Archivesother

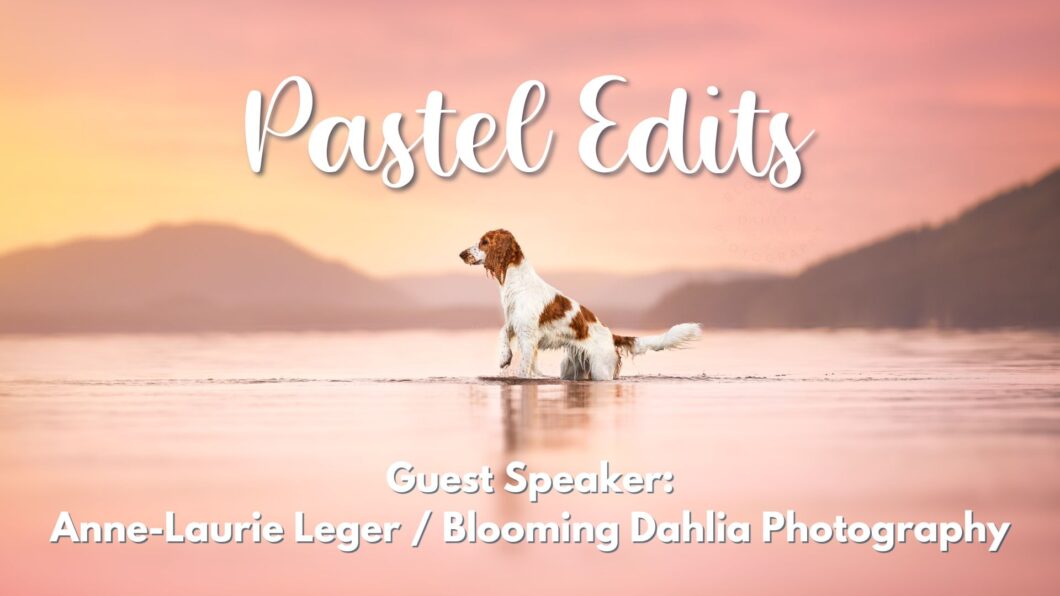
Pastel Edits: Guest Edit with Blooming Dahlia Photography

We are super lucky to welcome Inspawration Alumni Blooming Dahlia Photography to come be a guest artist and share her Pastel Editing process with us!

Anne-Laurie takes us through pretty much her entire workflow (aside from flipping the dog, which I will make an editing toolbox for), showing us how she:

  • Makes one layer for the background, and above that, a layer where just the dog is visible, allowing her to work separately and quickly on each separate part of the image
  • Using linear gradients in camera raw, knowing the subject won’t be affected (due to the above point)
  • Shapes the light onto the dog when it was coming from the opposite direction
  • Adds texture to the sky using a sky replacement + tips on getting skies you can use even in competitions
  • Adding warmth and pink/magenta tones
  • Adding vignettes but keeping the pastel look by pulling up blacks or using levels layers with the blacks pulled up
  • Creating masks with soft edges using a selection tool, then doing Filter > Blur > Gaussian blur on the mask itself, to blur the edges of the mask
  • Fixing up colour casts
  • Using several gradient maps to add colour AND vignette
  • Using a solid colour layer to add a soft pink vignette
  • Using several blend-modes to achieve different effects

Editing Dogs in Landscapes

Watch the video tutorial below to edit this image step by step. My process for editing landscapes is a fair bit different to my normal process in that:

  • I don’t shape the light nearly as much
  • I’m a bit more flexible with colour-grading and don’t mind if the dogs get a little coloured
  • I am not obsessing quite as much about drawing attention to the subject (especially through use of light and dark) but instead about creating a balance between the subject and the landscape
  • I may use self-created presets for series of images taken in the same landscape with similar lighting, to speed up the process
  • I make more use of the HSL panel, and the colour grading panel in LR/ACR than I normally do.
DSC04402 DSC04402-Edit

Beware the glow!

Often, when editing our landscape photos, we need to quite dramatically darken the sky, while brightening our subject. Depending on how you do this, it can quite quickly create a glowing white halo around your subjects. If you’re using the adjustment brush to adjust exposures, this glow will be larger and soft. If you’re using “select subject”, it’s likely to be smaller and sharper.

It’s difficult to get rid of this glow without spending a lot of time very precisely adjusting your masks. Therefore I recommend gradually fading your exposure adjustments, using radial filters in a not-too-specific way, and avoiding as much as possible big exposure adjustments between subject and background. Not always possible! 

One way to see the glow is to zoom right out on your photo and look at it thumbnail size. And make sure you come back to it with fresh eyes later on!

Check your masks

Similar to “beware the glow”, do a good, thorough check of your masks if you’re darkening the sky and brightening your subjects, especially if you’re using a “Select Subject” tool. Often, it can miss small bits and pieces (see below example!) and these can look very strange and out of place!

Watch out as well that the new masking features don’t just blur furry parts of your subject, or parts where some fur meets the background and it has a hard time finding the edges. You will want to fix these masks up.

Below: before & after. If you see these blurry edges, just use the brush tool to either add or remove the effect from where it’s blurry.

Mask blurred edges Mask blurred edges 2

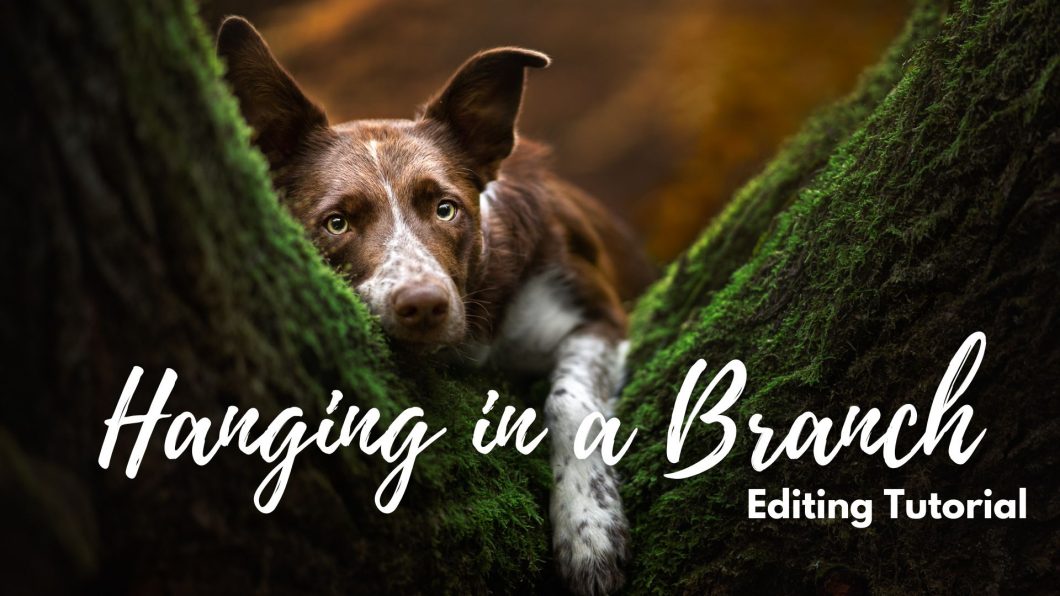
Hanging in a Branch

This is a bit of an older tutorial now, before Adobe updated the masking functions, so it’s still using just single radials. 

That being said, the process is still pretty much what I would use today:

  • curves layers to darken below and lighten above, creating a spotlight, shaping light
  • selective colour layers to shift the greens, and the browns (in a later edit of this image I actually made the background green – you can see it below. I felt like Journey with his red coat stands out better against green)
  • using gradients with soft light blend mode
  • fixing colour-casts
  • normal dodge and burn
  • removing distractions & bits and pieces
  • adding catchlights to quite dark eyes, where the catchlight was very small
Below: original edit with red/brown background, and updated edit with green.
DSC00905 DSC00905-Edit-2 copy
DSC00905-Edit-2 copy DSC00905-Edit-2-2 copy

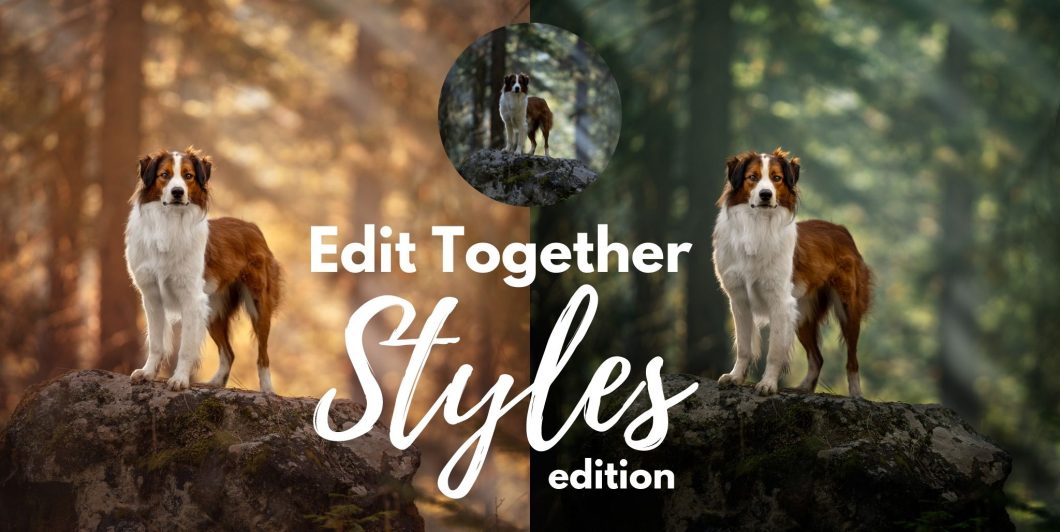
Edit Together: Styles Edition

In this version  of Edit Together, we’re going to work on this beautiful photo of Oakley, taken by Jamie (@tails_that_follow) .

I’ve chosen it because I can see it has a lot of possibilities to edit in different ways. On one hand we can make it quite bright and warm, a magical and hopeful scene with a proud dog surveying his kingdom…

On the other hand, we could make it cooler, darker, and more dramatic. Enhance this foggy smoke, and now we are being watched by a more wild creature, in whose domain we have found ourselves. 

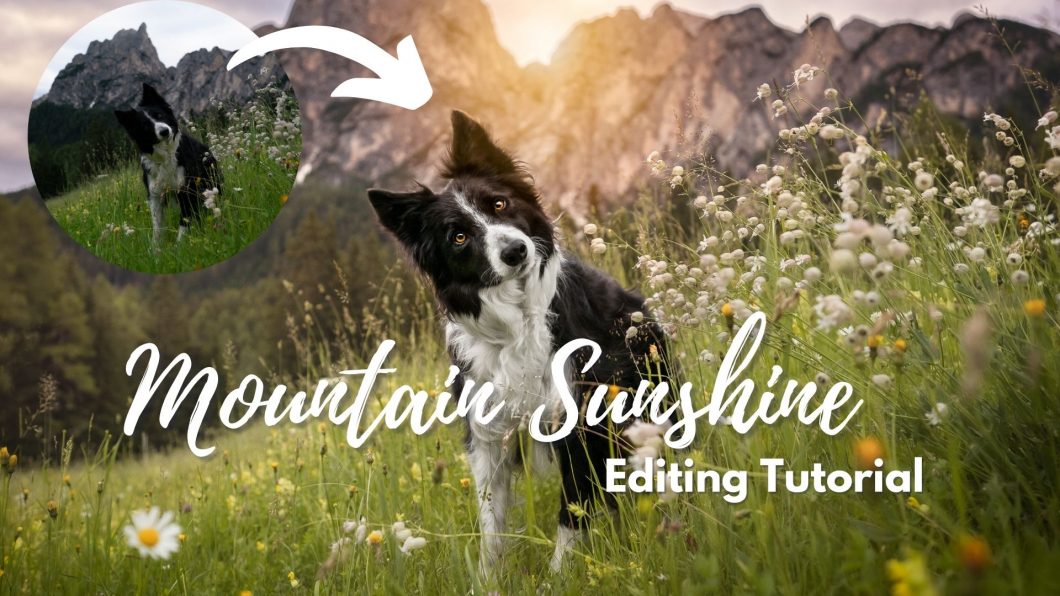
Mountain Sunshine

In this tutorial I wanted to create an image that would match a similar one I had of Journey, so I could print them both out for my wall. Therefore, I had quite a specific look in mind, which was: late sun flare through the mountain gap, dawn/dusk time.

In this tutorial we will be:

  • Working on brightening Loki up
  • Bringing texture and detail back into the clouds
  • Adding the fake sun flare overlay
  • Discussing how to keep light natural both with the fake sun and with this open landscape scene
  • Adding some fake rim-light around Loki’s ears to keep the light natural
  • Changing the colour balance to tint everything gold and slightly magenta
  • Removing bits of grass
  • And the normal process of dodge & burn, removing colour-casts from his chest and so on.
DSC04822-2 Taken at f/2.8 with a 24mm lens.

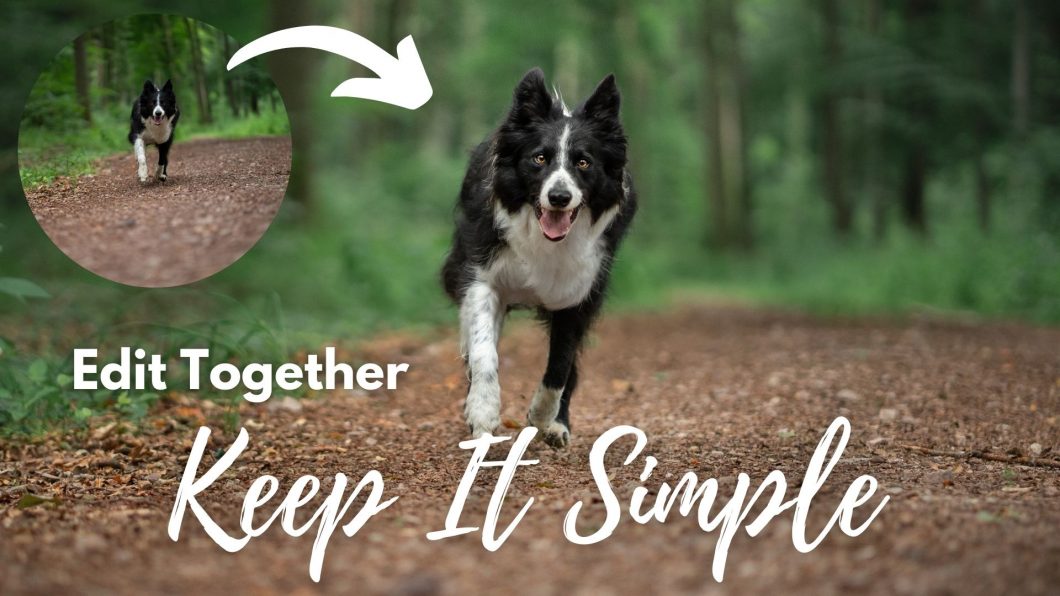
Edit Together: Keeping it Simple

In this edit together we’re going to work on one or two pretty simple photos, to show that you don’t have to spend hours editing, and you don’t need ten thousand layers, to create a good photo. Some photos, because of the location, mood, or whatever, don’t need much.
Often we feel like these photos are “boring” or that we need to do more to them… but then we can end up overdoing it. 

So, let’s Keep It Simple.

Apologies for the awful recording quality. Zoom records in really low quality, and my computer can’t handle editing + screen share + separate screen recording right now. I’m going to look into a solution but at the moment it is what it is.

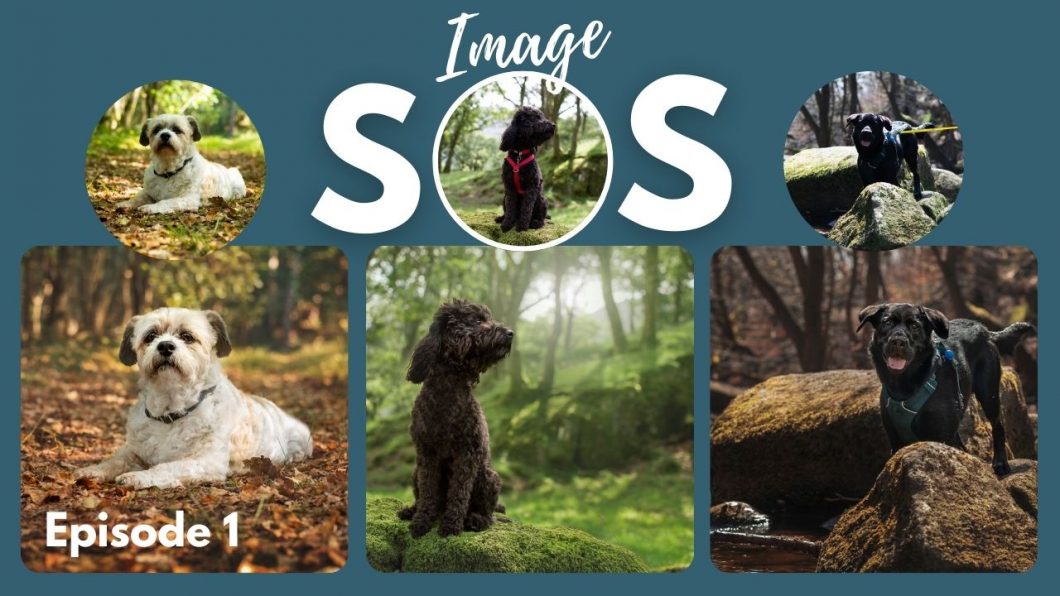
Image SOS: Episode 1

Welcome to the first episode of Image SOS!

The idea with this series, is to give you a range of tools and strategies to fix potentially problematic images. There’s a couple of important things to note, however:

  • having these videos is absolutely not a reason to ignore the lighting, composition, and so on in your photos. Editing these kinds of problems often is extremely time-consuming and requires a lot of skill.
  • To that end, you might find that if you are an Explorer/beginner, you are making some of these mistakes and really want to fix them, but this video might be beyond your skill level. Unfortunately while these are the kinds of mistakes beginners make, they can really only be fixed once you have some decent Photoshop skills. 
  • these photos were NOT edited to “final product” standard. I wanted to set a decent base for each of them from where I could do more final/fancy edits, or show you skills that were useful in each image, for example, in one I edited out a harness, but I didn’t edit out the collar in the other photo. The process is the same, I didn’t need to show you twice. 
  • These photos will likely not be “perfect” at all, simply because of the issues with light, composition and so on. I could spend another couple of hours working on them, but I really don’t think it’s necessary.
Please let me know if you enjoy this video, and if I should do more of them in the future.
Here are the images from this episode:

Before

After