ArchivesFull Tutorial

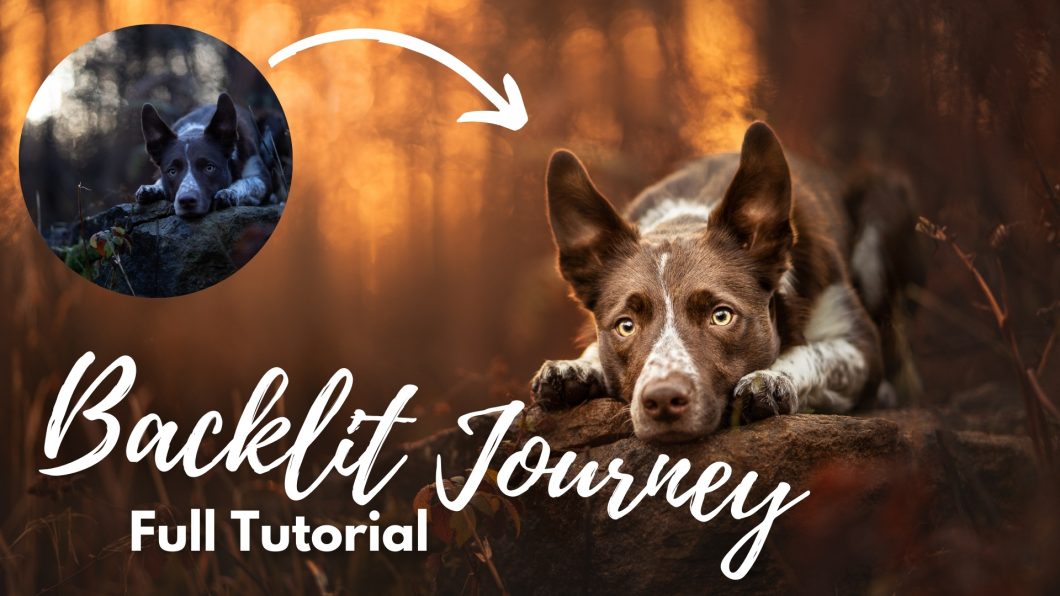
Journey On a Rock

This tutorial will take you from start to finish editing a slightly under-exposed, backlit photo of Journey. 

In order to do this tutorial, you’ll want:

  • a decent knowledge of Photoshop basics, eg., masking, adjustment layers and so on
  • A decent knowledge of Lightroom, eg., radial filters

This techniques in this tutorial will work best with:

  • backlit photos, with even lighting on the dog’s face
  • slightly under-exposed photos, but it’s ok if you have some blown-out highlights
  • photos with some kind of natural “shape” to the foreground and background (eg., not on an open field).
Remember: Not all editing tutorials will work on all photos. The key is to take the rationale and reasoning behind when and why to make certain edits, and consider if that applies to the photo you are working on. While my process and my steps are very similar from photo to photo, an underexposed backlit photo will require different ways of working to a brighter forest-green photo.
 

Since this is one of my favourite photos, it’s one I would prefer that edits do not get posted on social media. 

DSC09683 DSC09682-Edit-2-4

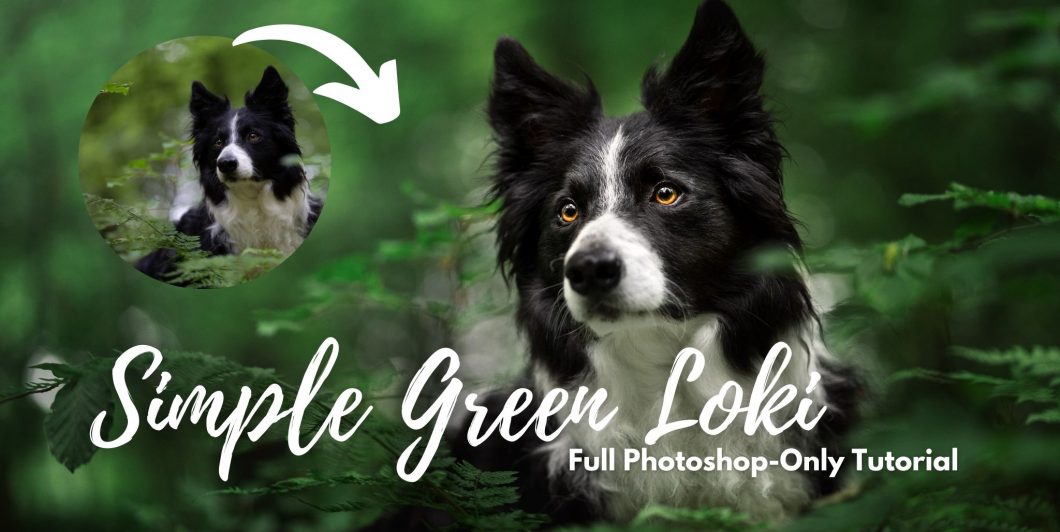
Simple Green Loki: Full Photoshop-Only Tutorial

This is a full start to finish tutorial, editing a RAW file of Loki, reasonably well exposed, in the summer greens. 

It’s a good tutorial for people who are newer to Photoshop, as we aren’t doing anything extremely complicated, but go through most of my normal tools and processes.

You can download and edit the RAW file below, and of course you’re most welcome to share on social media! Just make sure to credit & tag @inspawrationphotography when you do! 

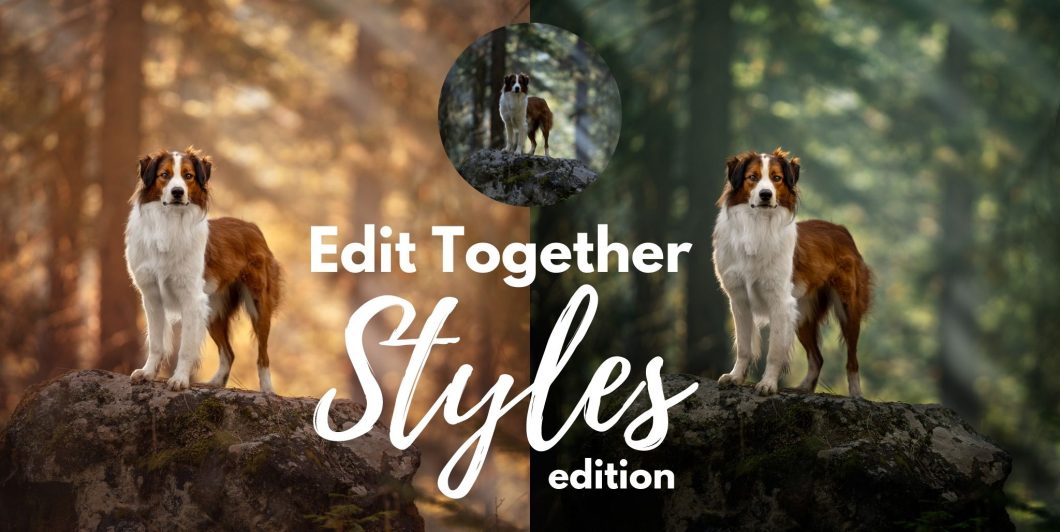
Edit Together: Styles Edition

In this version  of Edit Together, we’re going to work on this beautiful photo of Oakley, taken by Jamie (@tails_that_follow) .

I’ve chosen it because I can see it has a lot of possibilities to edit in different ways. On one hand we can make it quite bright and warm, a magical and hopeful scene with a proud dog surveying his kingdom…

On the other hand, we could make it cooler, darker, and more dramatic. Enhance this foggy smoke, and now we are being watched by a more wild creature, in whose domain we have found ourselves. 

Sadie in the Woods: Full Tutorial

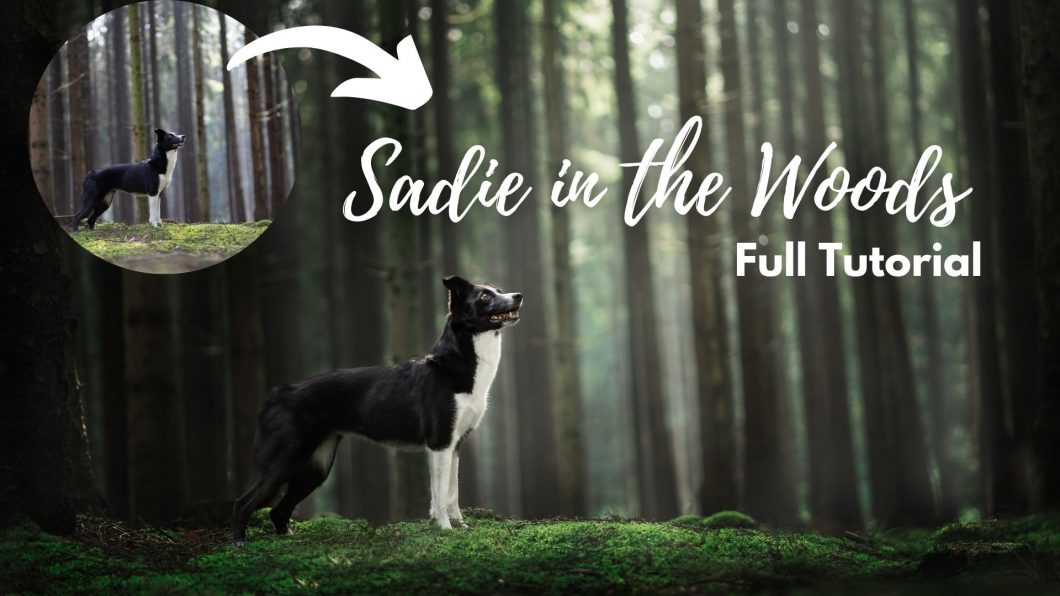
In this tutorial we’re going to working though my process to create one of my favourite pictures so far, of my friend Annika’s dog Sadie, in the woods.

The first part of the tutorial was recorded from my van, while livestreaming on Facebook…. then my computer had an absolute meltdown, so I finished recording the tutorial later, without being live.

Since this is a photo for Annika, I won’t be offering the RAW file for download this time. You can of course edit along on one of your own photos, just keep in mind there’s a few elements in this photo that make the tutorial work, which won’t work with every photo:

  • Dog looking up and to the side
  • The light in the background
  • Soft ambient light on the dog from no particular direction

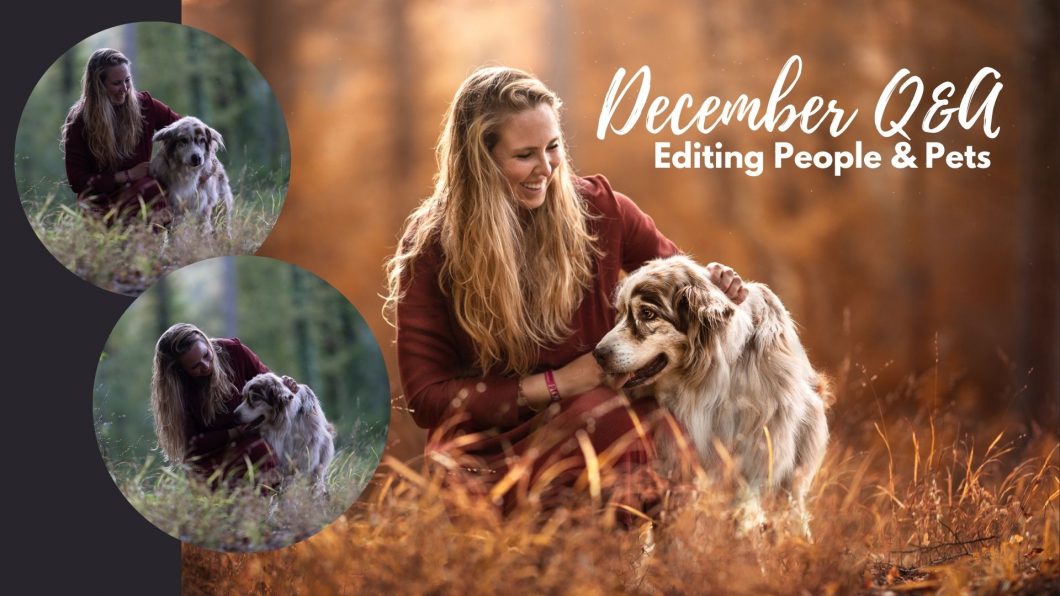
December Q&A: Editing People & Pets

For this Q&A, since I’d had no questions submitted and someone mentioned on Inspawration Connect wanting to see how to edit people, I did a tutorial, working through my process of editing one of my recent clients and her old boy Dusty.

In this edit I also do a head-swap to change Dusty’s head.

Everyone was pretty quiet on the chat so there weren’t a lot of questions. Feel free to ask more in the comments below. 

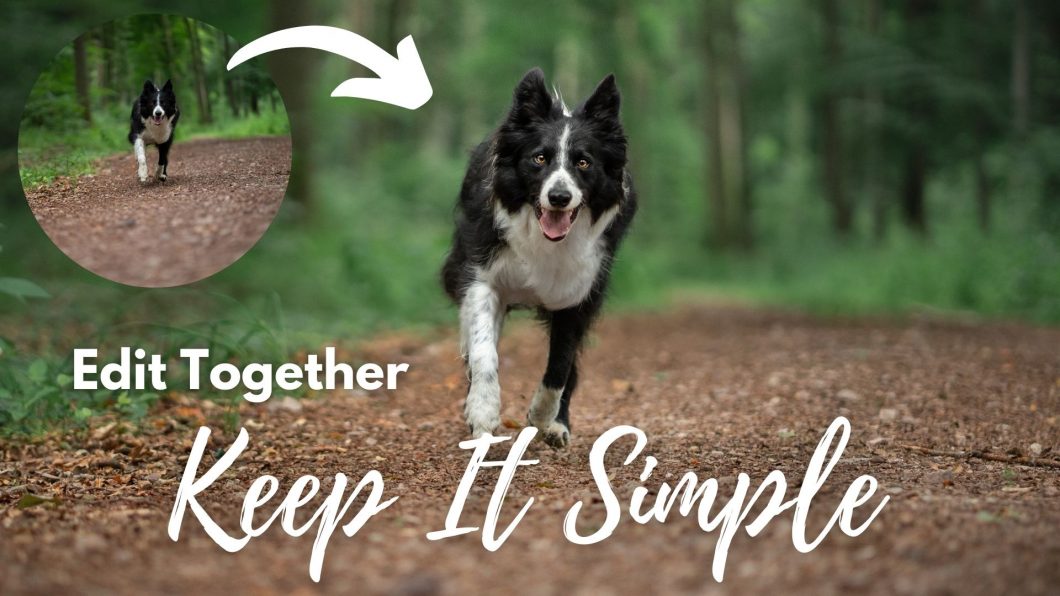
Edit Together: Keeping it Simple

In this edit together we’re going to work on one or two pretty simple photos, to show that you don’t have to spend hours editing, and you don’t need ten thousand layers, to create a good photo. Some photos, because of the location, mood, or whatever, don’t need much.
Often we feel like these photos are “boring” or that we need to do more to them… but then we can end up overdoing it. 

So, let’s Keep It Simple.

Apologies for the awful recording quality. Zoom records in really low quality, and my computer can’t handle editing + screen share + separate screen recording right now. I’m going to look into a solution but at the moment it is what it is.

Journey On a Rock

This tutorial will take you from start to finish editing a slightly under-exposed, backlit photo of Journey. 

In order to do this tutorial, you’ll want:

  • a decent knowledge of Photoshop basics, eg., masking, adjustment layers and so on
  • A decent knowledge of Lightroom, eg., radial filters

This techniques in this tutorial will work best with:

  • backlit photos, with even lighting on the dog’s face
  • slightly under-exposed photos, but it’s ok if you have some blown-out highlights
  • photos with some kind of natural “shape” to the foreground and background (eg., not on an open field).
Remember: Not all editing tutorials will work on all photos. The key is to take the rationale and reasoning behind when and why to make certain edits, and consider if that applies to the photo you are working on. While my process and my steps are very similar from photo to photo, an underexposed backlit photo will require different ways of working to a brighter forest-green photo.
 

Since this is one of my favourite photos, it’s one I would prefer that edits do not get posted on social media. 

Below, you

DSC09683 DSC09682-Edit-2-4

Loki in the Deep Dark Woods

One important thing to keep in mind when it comes to creating the “Deep dark forest” look is that it really does begin in-Camera. Which is to say that if you haven’t set up this mood in the first place, just making the photo darker and darker is not going to create the mood you want.

There are so many elements that go into creating this photo that the editing is almost the least important part of it. You need to have already considered:

  • the location
  • the light (or lack thereof)
  • the expression
  • the pose
  • the colours already present in the scene

Without these things contributing to the feeling of the “deep dark forest”, your editing is likely to not make sense.

The Next Level course goes into detail about these elements. Or, if you’re in the Learning Community, make sure you check out the Deep Dark Forest lesson that covers these elements specifically to achieve this look. 

Editing Tutorial

Here is an editing tutorial, working on the photo below. Remember, you mightn’t need to follow my exact steps – you may want 2 curves layers instead of 1. You might need to do more or less work on the greens, etc. It all depends on the photo you’re working with. Similarly, you can use many of these techniques to create other “deep dark” effects. It’s all about curves layers, darkening, and remembering where the light would naturally be hitting – even if there isn’t very much of it. 

In the tutorial below, I actually couldn’t “shape” the light as much as I sometimes might, because there was no real shaded side of Loki. Just remember that if the light wouldn’t be hitting a part of your dog, because it’s amongst the ferns, or emerging from some trees, or it’s just his face surrounded by ferns, it doesn’t make sense for those areas that should be in shadow to be bright. The more you learn about how light works, how it falls off from bright to shadow and so on, the more realistic your edits will be.

Before
After

You can have a go at editing this photo too! The .TIF file acts (more or less) like a raw file, but if for some reason you can’t edit .TIF files, there is also the high-res .jpeg file.

Golden Light Avi

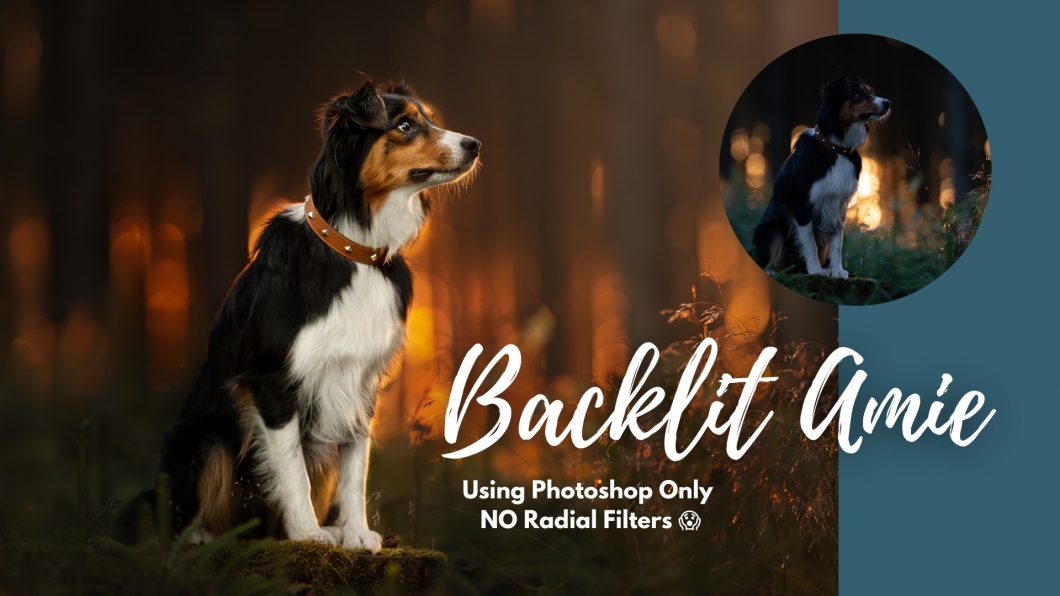
In this tutorial we take a slightly underexposed image of poodle Avi, and using both LR and PS do a full tutorial, turning it into a warm, backlight-type image.

There’s plenty of black dog specific information in here, as well as looking at:

  • coat colour and contrast
  • working a bit on brightening dark eyes
  • creating warmth in the background
  • radial gradients for background haze
  • contouring the face for more contrast
  • selective colour for more warmth and yellow/orange tones
  • creating some fake rim-light 
  • adding some radial blur for an interesting “movement” effect
Liv Moore has kindly allowed LC members to download the RAW file. If you want to post your edits on social media, you are welcome to do so, but please make it clear that the photo was taken by @livemoorewithavi
After I stopped filming, I: placed a radial filter over Avi & surrounds increasing exposure by +.30 – removing it from the bokeh to his right and raised all-over exposure by +.15. It’s pretty normal for me to lighten everything again once its saved to Lightroom. Don’t feel like once you save to LR that you aren’t allowed to do a couple more edits there!

Edit Together: Forest Sheltie

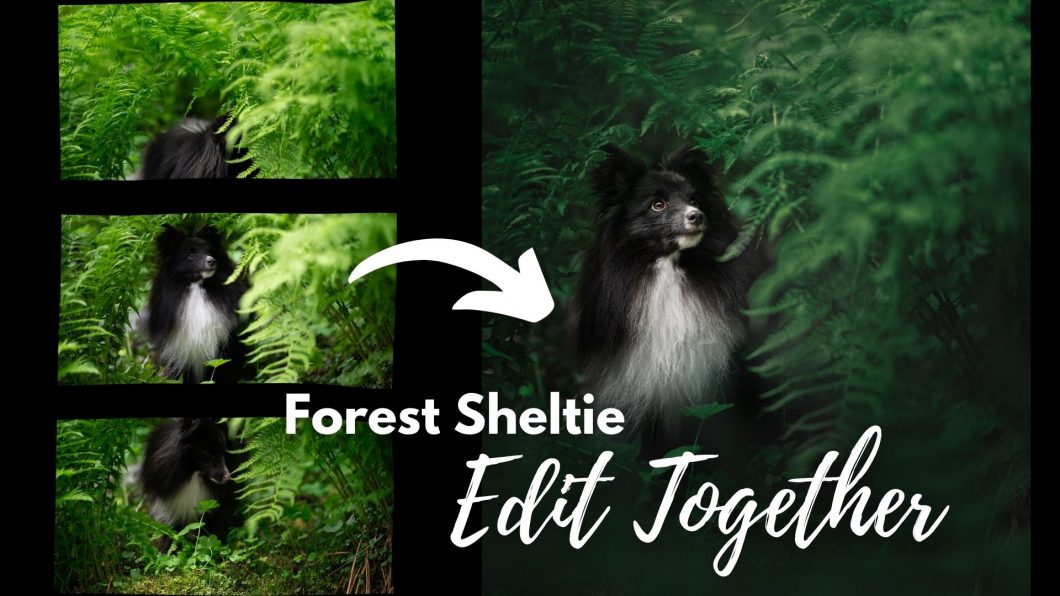
In this tutorial, we combine 3 RAW file images to create one panorama, giving Petrie enough room below his feet and space above his head for him to look into. We also use a fern overlay for some foreground blur/to add a bit more depth. You can find the files in the download folder.

This is one of those images that I came back to later in Lightroom and made some reasonable changes to, from the point where we finish the tutorial.

Namely:

  • darkening the bright green branches that had been bothering me the whole time (lower highlights and exposure)
  • lower exposure a LOT around the outside of him, not including his looking direction (so a 3/4 vignette, I guess). I lowered exposure by -1.5 😱 and raised blacks +6. 
  • added +20 contrast to his face
  • removed some green colour cast from the top of his head and the camera-right side of his snout
  • lowered highlights on his white chest a little bit more
  • in the HSL panel, Hue: green +17, Sat: greens -30, luminosity: greens -25

Yess I could have achieved the same effects in PS but I couldn’t be bothered opening it there again when I knew LR could do the job I wanted anyway. 

Below: Before / After the Tutorial / After my LR edits