Archivesediting

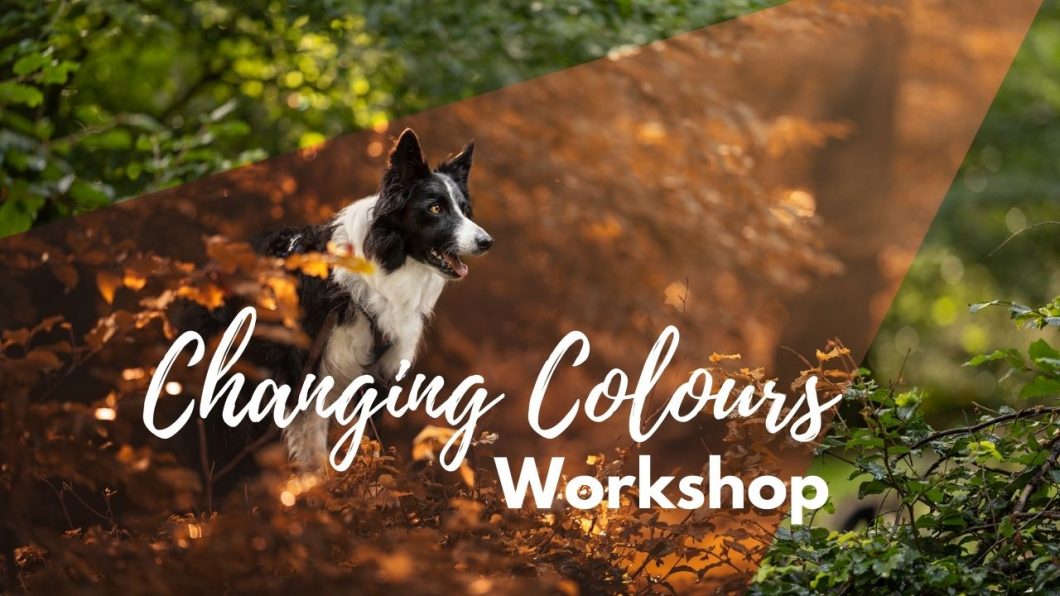
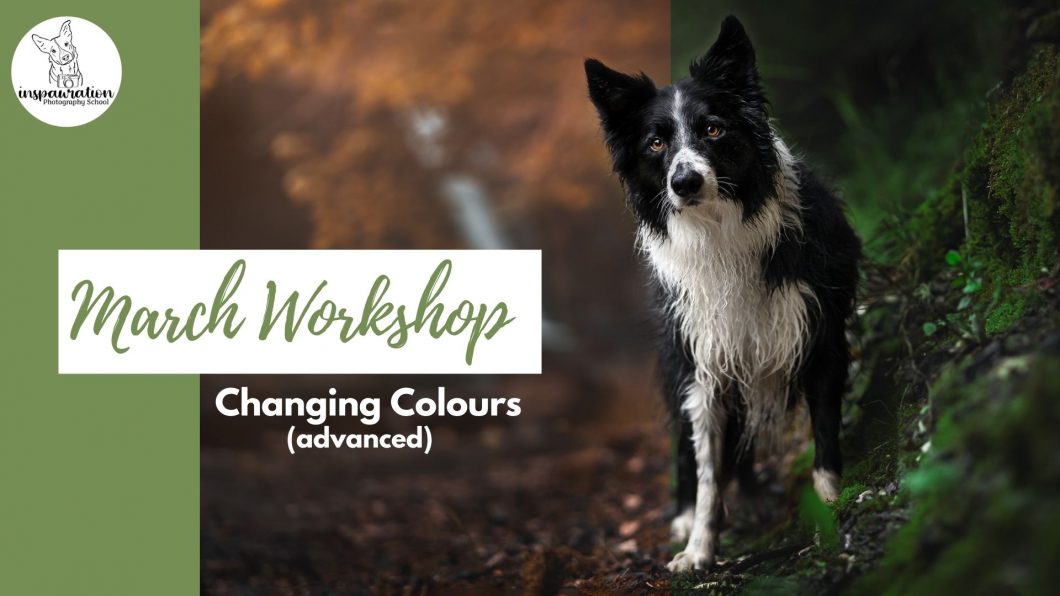
Changing Colours Workshop

In this workshop, we will be learning several methods to change the colours of your photo.

The recording of the workshop is available below.

There are many times and situations where we might want to change some or all of the colours in our photo. In this workshop, we’re going to look at both the how and why of changing colours, as well as covering multiple tools in both Adobe Lightroom and Photoshop in order to create the effects we want.

We will be looking at:

  • Options in Lightroom:
    • HSL Panel
    • New masking features
  • Options in Photoshop:
    • Selective Colour
    • Hue/Saturation
    • Using your smart object
    • Colour Balance
    • Gradient map
    • Gradient fill

We have two RAW files for this workshop. One, we will work on together, and the other you will have a chance to edit at the end of the workshop in your own time. 

There are actually 5 RAW files there. We will work on “Colour Change-1” together in the workshop to turn green to autumn. You can then download any of the Journey files you like, and work on making it a more deep, rich mossy green.

Please remember: you are welcome to edit and share your edits to Social Media, but they must link back to me, and not be used for commercial purposes.

There is also a downloadable .pdf workbook in the folder 

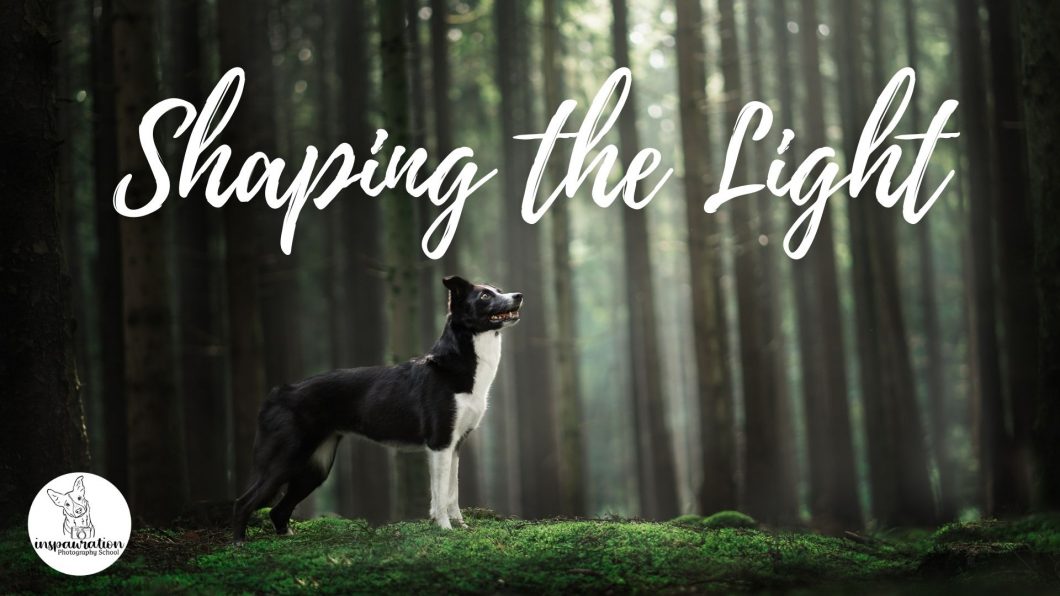
Workshop: Shaping the Light

In this workshop, we will be discussing Shaping the Light. 

This is a technique used by many pet photographers to draw attention to their subjects through careful use of a range of editing techniques. By “shaping the light” we can create natural spotlight effects on the dog, add shadows and darkness where needed, and really tell a story or create a mood.

In this workshop, not only will we be looking at the tools to shape the light, but we will be discussing how, when, and why we should use these techniques.

We have two RAW files for this workshop. One, we will work on together, and the other you will have a chance to edit at the end of the workshop in your own time. 

There is also a downloadable .pdf workbook in the folder.

Pre-workshop assignment

Before the workshop begins, I recommend downloading both the raw files, and getting them “set up”. That is to say, correct the white balance, bring a bit of clarity to the dog’s face, work on eyes, reduce distractions or anything else you might normally do to get the photo to a “neutral base”…

You don’t have to go overboard, but as the workshop won’t be a full editing workflow, we won’t be spending much time on these basic initial steps.

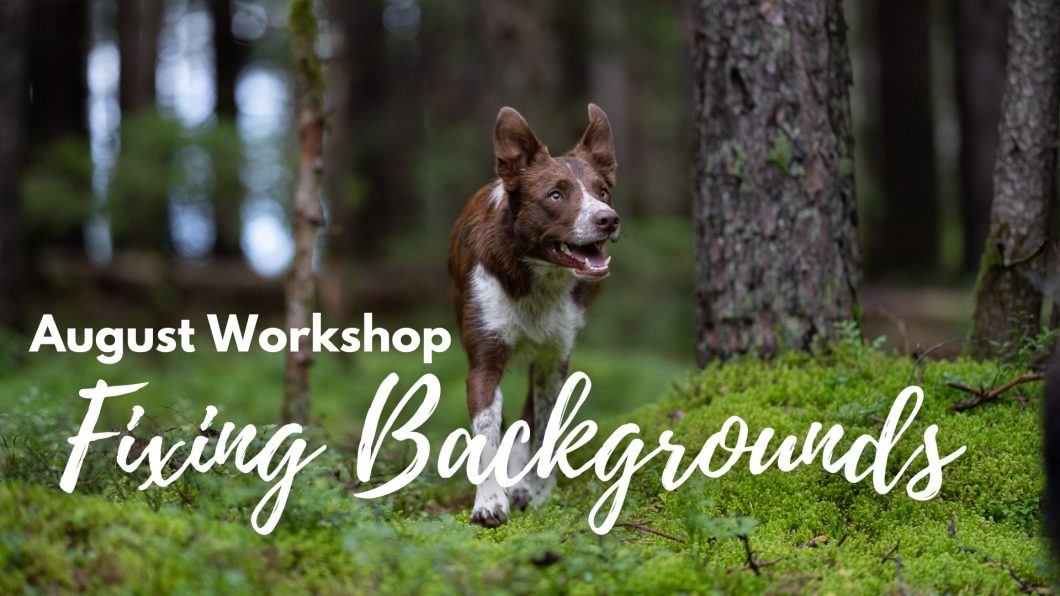
Workshop: Fixing Backgrounds

In this workshop we’re going to look at a variety of methods to make changes to the background of our image including:

  • taking part of the background, flipping it and masking it in
  • using the clone stamp tool
  • using content aware fill
  • using content aware crop to extend the background
  • using content aware scale to extend the background
  • things we might want to consider (when we might/might not want to mess with the background)


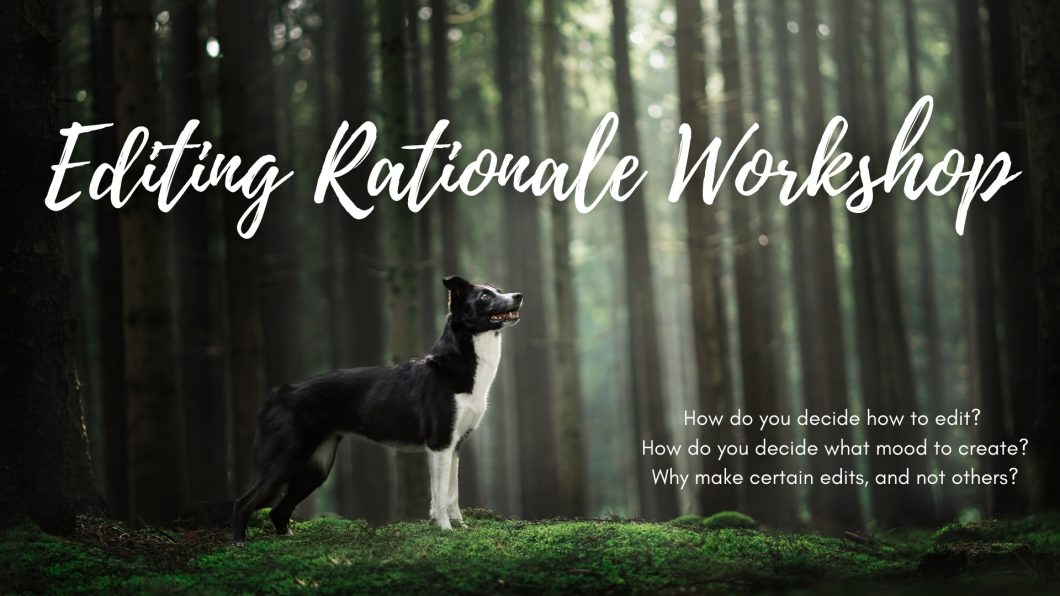
Workshop: Editing Rationale

This workshop aims to be very interactive and “hands-on”. We will likely use a combination of my photos and photos uploaded to the Google Drive. 

The aim is to discuss and answer the question:

How do I decide how to edit a photo?

Many people take beautiful photos then get stuck with what to do with them. After all, our editing programs are FULL of tools. We could darken, lighten, raise blacks, increase contrast. We could make the photo more cyan, desaturate it, make it orange. We could add light flare, haze, or completely blur the background. Sometimes the possibilities are overwhelming.

So, while keeping in mind that there is no right way to edit a photo, we will look at some guiding principles and things to think about when you open your photo up. Things like:

  • What needs to be done to draw the audience’s eye to the subject?
  • What mood can we already see/feel?
  • What shapes are naturally in the photo (curves in the foreground etc)
  • What colours are naturally occurring?
  • What style are we working with? 

As a group, we will look at a variety of photos, with different moods, in different locations, with different lighting, and you will help guide me through what edits you think we should use – and discuss as a group why this might work (or not), what we need to consider when making those edits, and what we’re trying to achieve. Once we have a rationale behind why we edit the way we do, we will be able to choose more intentionally from the editing tools, styles, and options available to us. 

If you have a photo that’s driving you crazy because you don’t know how to edit it or where to begin, keep it handy!! It would be great to be able to have a look at some of those images and discuss as a group what you might do with it and why.

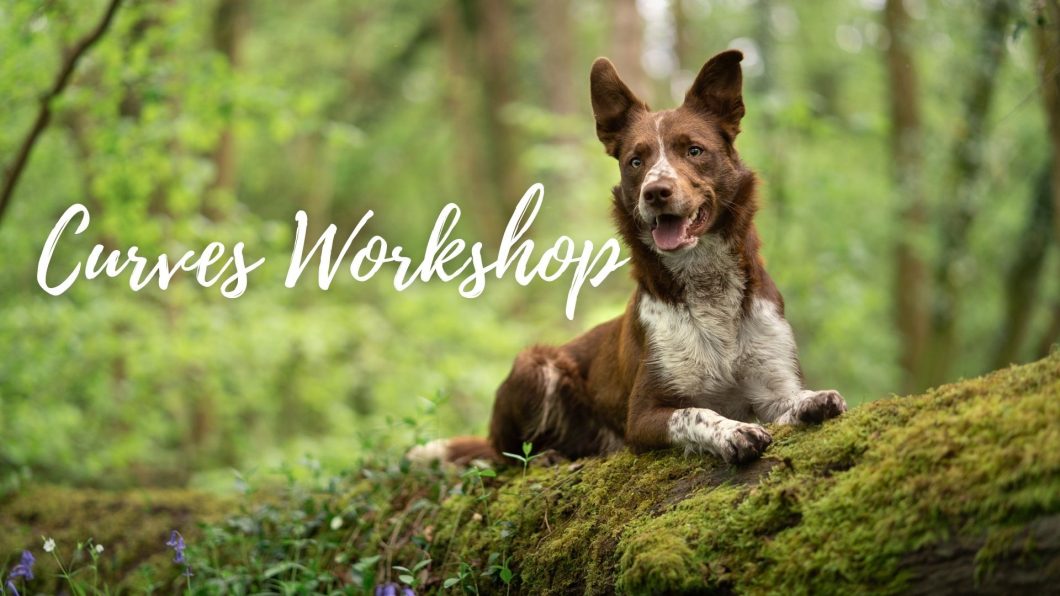
Workshop: Curves in Photoshop

My favourite tool in Photoshop because it’s so versatile! You can control any tones of light or dark, broadly or specifically. You can focus on just altering the highlights or altering the whole spectrum of light.

My favourite ways to use curves layers are:

  • to create natural vignettes, drawing our viewer’s attention to the dog and guiding them through the image
  • adding richness and depth to the colours
  • to raise the blacks (make the blacks less black) in order to remove some contrast from the background of the image, helping the dog stand out
  • to darken light parts of the image which may be distracting
  • to lighten parts that need to be lightened (the dog) or to create the sense of natural light coming from somewhere (above, in front, or from a side)
  • to add or remove contrast
  • to contour the face (more on that here)

As I stress multiple times throughout the workshop, how, when, and why you use this tool is completely up to you and your style. I use quite a lot of curves layers, all of them doing specific things and gradually building up effects in a way I hope is a bit more subtle… but you can use them however suits you. You may like images with a lot more contrast, in which case, do that! 

The main goals for me are:

  • draw your viewer into the dog
  • lead your viewer through the image in a way that helps them be “trapped” and/or return to the eyes. More on that here.
  • remove distractions
  • enhance the mood/story in the image, whether that’s keeping it feeling “light” or whether it’s making it darker and moodier
  • keeping the light looking natural. Constantly asking: where would the light be hitting, what would be in shadow? And using curves layers accordingly.


As always, apologies for the quality of the recording. I think in future I’ll use the screen recording function on my computer, I’m just afraid it’s not going to cope (Photoshop is currently having a LOT of issues with me trying to edit AND screen record). I’ve spoken with Zoom about it this morning again so we’ll see how it goes next time. Next I’ll get onto Apple and see if they have a solution for it being ridiculously unusable when screen recording and editing.

Workshop: Photoshop Basics

In this workshop, we’re going to look at the most important tools and ways of working in Photoshop.

We will explore:

  • how to open our photo in PS
  • what exactly is masking??
  • adjustment layers
  • working with smart objects
  • cropping
  • clone stamp, content aware fill.

In the folder you’ll find:

  • The PDF Booklet. Download beforehand to fill in notes in the “notes” areas!
  • The Compressed/Zipped RAW & .xmp files. When both of these files are dragged into Lightroom, my Lightroom edits will be there – including radial filters etc. This allows us to skip the radial filter/WB/etc Lightroom steps 
  • The completely unedited .RAW files (not so useful for this workshop)
  •  The .TIF file of the photo with Lightroom edits, incase the above file doesn’t work. You do NOT need this file. It’s incase of emergencies.
The top two files are the most important. The other two are for if you want to edit from the very beginning in your own time, and/or if the raw/xmp file doesn’t work.

Workshop: Changing Colours (March 2021)

Chat transcript:

18:55:40 From Océanne Martel : I’m at work and I have no webcam but Hello guys! 🙂
18:55:59 From angelakamper : hello
18:57:52 From irenenyrud : Hello 🙂
18:58:05 From Emily Abrahams : https://drive.google.com/file/d/1WcL1bcEKIsaK1Si60CV-L67hboqPKaRM/view?usp=sharing
18:59:57 From Alice Nentwig : Hello 🙂 My computer doesn’t have a microphone, so I’m participating via Chat 🙂
19:00:20 From leticia : hello everybody
19:05:55 From Olivia Moore : to give a certain context/feel to an image
19:06:07 From Myrthe de Bruijn : to make the picture more a ‘whole’
19:06:12 From Rosalind Phang : To complement each other
19:06:19 From leticia : i change colors to give harmony to the image
19:06:22 From Olivia Moore : or accentuate what is already there (like more orange-y in autumn rather than brown)
19:06:42 From Agnes : Green can be weird
19:07:00 From irenenyrud : 7
19:08:06 From irenenyrud : (Sorry, had a puppy walking over my keyboard here..)
19:08:19 From irenenyrud : Haha
19:15:29 From leticia : in all the scenes must be 2 colors like maximum?
19:16:40 From leticia : ok, thanks!!
19:21:42 From Olivia Moore : all good here! 😀
19:21:55 From Océanne Martel : All good here too :))
19:21:56 From Teresa : we just listen very carefully 😉
19:21:57 From Alice Nentwig : intensely listening
19:22:03 From leticia : yesss
19:22:59 From irenenyrud : All good here as well 🙂 The piraja puppy is just a bit crazy at the moment.
19:27:03 From Alice Nentwig : demonstrate please
19:33:23 From Rosalind Phang : hahahahahaha
19:33:25 From leticia : what happend XDDD
19:33:29 From irenenyrud : Hahahha
19:33:32 From Myrthe de Bruijn : hahhah oh dear
19:33:47 From Océanne Martel : HAHAH loki
19:34:10 From Olivia Moore : the gasp hahaha
19:34:12 From Rosalind Phang : Totally
19:34:21 From Océanne Martel : yesss the gasp was funny
19:34:31 From leticia : hahaha
19:35:11 From Olivia Moore : makes sense why i’ve never found it that successful using HSL in the past
19:37:20 From Olivia Moore : light weak orange/green
19:42:09 From Olivia Moore : oooh that’s very cool, i hadn’t been brave enough to consider other layer masks than curves/levels/hue/sat
19:44:52 From Olivia Moore : super awesome, love how targeted it is so it looks more natural
19:46:07 From fay : wowww I’ve never tried the selective color before ! I love it !
19:46:09 From Myrthe de Bruijn : What would you do with pictures that sort of feel like they’re not making sense colour wise? Where do you start? Or just throw away the image all together? 😉
19:46:38 From Myrthe de Bruijn : I can screen share an example
19:46:51 From Myrthe de Bruijn : says you need to stop the sharing haha
19:51:10 From Myrthe de Bruijn : Yeah I was thinking the same with the moss! Like the dog is a bit orange, the background somewhat desaturated brown and then there’s the moss not going along with it! So this really helps with the idea!!
19:51:35 From Olivia Moore : so if in an image it’s mostly green, but there’s an element of blue-y green would it be a little better to have it more cohesively green?
19:52:59 From Olivia Moore : oooh yes
19:53:23 From leticia : With the photo I’m using, put the color that i put, I still see the color of the weird dog, should I change the color of the dog first?
19:54:10 From leticia : ok
19:58:08 From Rosalind Phang : Yes! I learnt about that 🙂
19:58:15 From Rosalind Phang : I think from you
19:58:17 From Rosalind Phang : LOL
19:58:18 From Olivia Moore : that helps so much I was struggling with that this afternoon for the first time haha
19:58:30 From Olivia Moore : yes!
19:59:45 From leticia : would that be similar to the degraded effect?
20:00:01 From leticia : the curves
20:00:16 From leticia : ah ok
20:08:34 From Myrthe de Bruijn : Very helpful so far, thank you!
20:08:51 From leticia : with the color balance Would it be normal to leave the dog’s natural color, or would it be left with the new color balance?
20:10:17 From leticia : ok, prfect!
20:10:23 From leticia : thanks
20:11:19 From Olivia Moore : this is what i’ve been using bc i didn’t know any other tools haha
20:14:50 From Olivia Moore : not curves colour specific but when masking do you generally use a brush to mask the dog out?
20:16:24 From Olivia Moore : ok thanks!
20:16:57 From Teresa : color curves are weird haha
20:17:36 From Olivia Moore : it worked well on my pastel sunset beach reflection pic but less so in busier backgrounds
20:17:55 From Alice Nentwig : Color curves are too unpredictable to me…
20:19:01 From Olivia Moore : yes that was exactly how it was
20:19:19 From leticia : Is there a situation where it is better to use one method or another? or is it according to taste? I hardly ever use color curves
20:20:53 From leticia : ok! thanks!
20:25:12 From Teresa : this slider always confused me so much, thanks for the explanation
20:30:49 From leticia : sorry, you did in a new layer?
20:31:13 From leticia : ah ok!
20:34:30 From Teresa : 👍
20:38:48 From Olivia Moore : thank you for the workshop!
20:38:51 From Rosalind Phang : All godo
20:38:53 From Alice Nentwig : Thank you! That was extremely helpful!!
20:38:56 From Olivia Moore : it’s been very helpful
20:39:19 From Teresa : thank you so much!
20:39:21 From fay : this was sooooo helpful ! thank you so so much
20:39:40 From leticia : a lot to practise!!
20:39:52 From Agnes : I must watch this video again 😂 thank you it was very helpful
20:40:15 From Myrthe de Bruijn : Thank you so much for your time Emily and for letting me share my screen!
20:40:31 From Myrthe de Bruijn : Ooh I can show the progress maybe?
20:41:03 From leticia : woow
20:41:16 From Myrthe de Bruijn : thank you!
20:41:22 From Olivia Moore : i can
20:41:36 From leticia : What happens when you change the color several times and don’t know which one to decide on? XD, I never know which one might be correct, or which one looks better
20:42:52 From leticia : aaaaahh Good idea!!!
20:45:07 From Olivia Moore : haha thank you!
20:46:38 From Myrthe de Bruijn : I do tend to sometimes go a bit wild with the orange/yellow look with my pictures. Any advice on spotting it when it’s too orange and changing it? Just desaturating or adding some green?
20:48:58 From Myrthe de Bruijn : yeah that sounds logical! Especially the magenta part I think (in my case that is). Usually when I desaturate it feels a bit boring and grey, so perhaps it’s the magenta that’s in the way then!
20:49:38 From Myrthe de Bruijn : thank you so much!!
20:49:41 From irenenyrud : I can share what I’m working at 🙂
20:50:21 From leticia : I can share but my result is a little poop
20:50:27 From irenenyrud : I doesn’t work 🙁
20:50:35 From Olivia Moore : maybe privacy settings
20:50:35 From irenenyrud : Yup
20:50:45 From irenenyrud : Okay, I will 😀
20:51:58 From leticia : ok XDD
20:52:03 From leticia : hahahahaha
20:52:04 From Teresa : I also had a little play around that I could show, if you like
20:52:08 From fay : I feel like I went a bit too far with the colors haha
20:56:01 From fay : sure
20:58:05 From Rosalind Phang : Idea: flip the left side of the pic to the right part so it looks like the light is coming from the right behind her and then you can fkake backlight.
20:58:27 From Rosalind Phang : yes
20:59:02 From Rosalind Phang : Don’t forget the reflection

Workshop: Seeking Distractions

Here is the screen recording of the free workshop for mailing list members, held in December 2020, where we discuss different kinds of distractions and then set about finding them and fixing them in a few of my images. As it’s a screen recording of my screen, rather than the meeting itself, the perspective you see might be a little different to what a participant would have seen – but I’m sure I’ll work out these technical issues for future workshops!

I know as well that a lot of participants were pretty quiet, and that’s totally ok! This was the first time we’d all gotten together, and it can be pretty intimidating to unmute yourself and speak up for the first time. My sincere hope (and goal) is that when I open the membership area of my site, that we will form a supportive Learning Community together. I’ve always called it a learning community, because it reflects how I operate. Although I want to teach you and share my knowledge with you, we will all learn better together, sharing and exploring, trying new things, asking questions, and engaging with one another. As a teacher in schools, this was how I ran my classroom. I never believed in “chalk and talk” as the most effective way to teach… So while this workshop was a little bit quiet, I foresee workshops run once the learning community is open as interactive events, where we can discuss, share, ask questions and receive guidance on our work.

But enough from me, I’m sure you want to get to the video. Below you will also find a link to download the PDF I walk through at the beginning of the workshop. Please do not share this with others, or screen-record this workshop.