Archivesadvanced

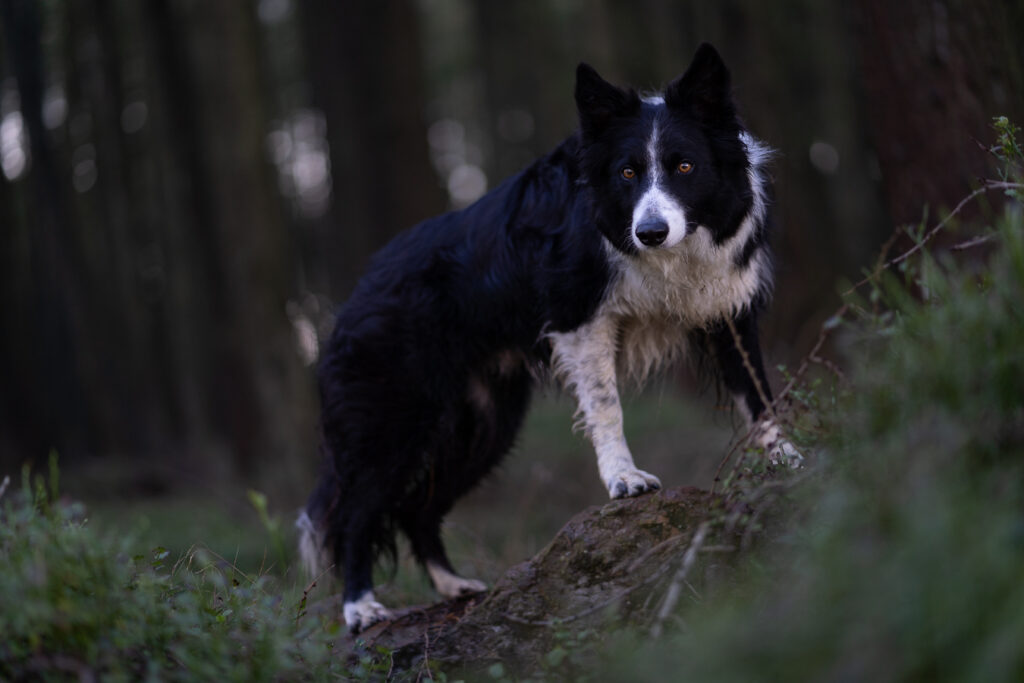
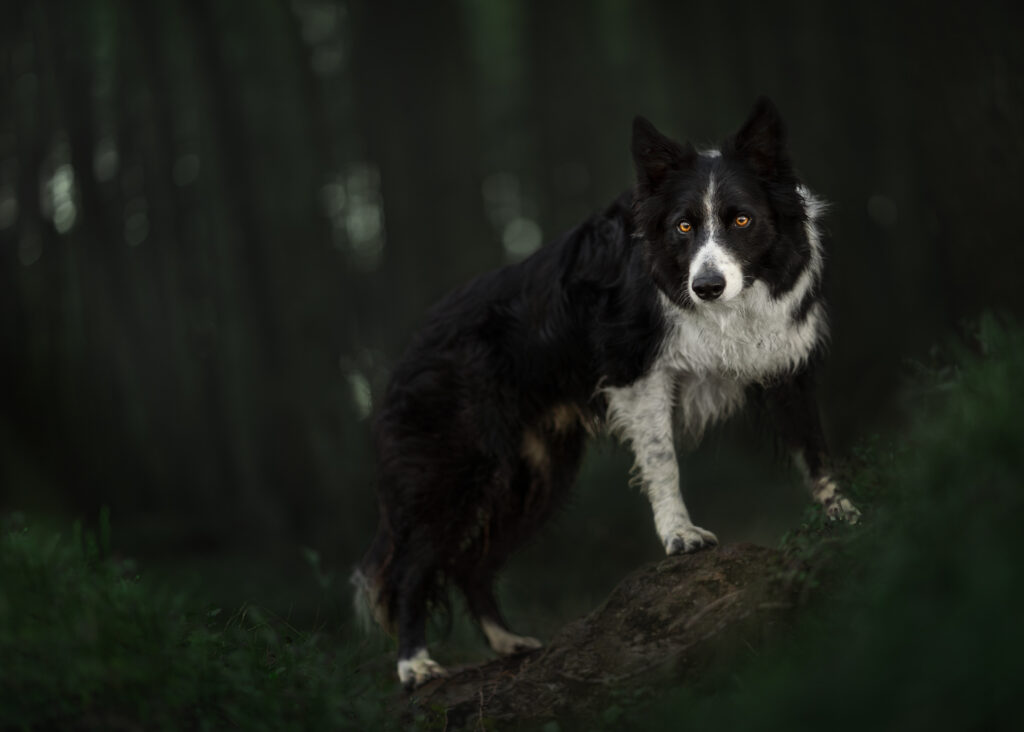
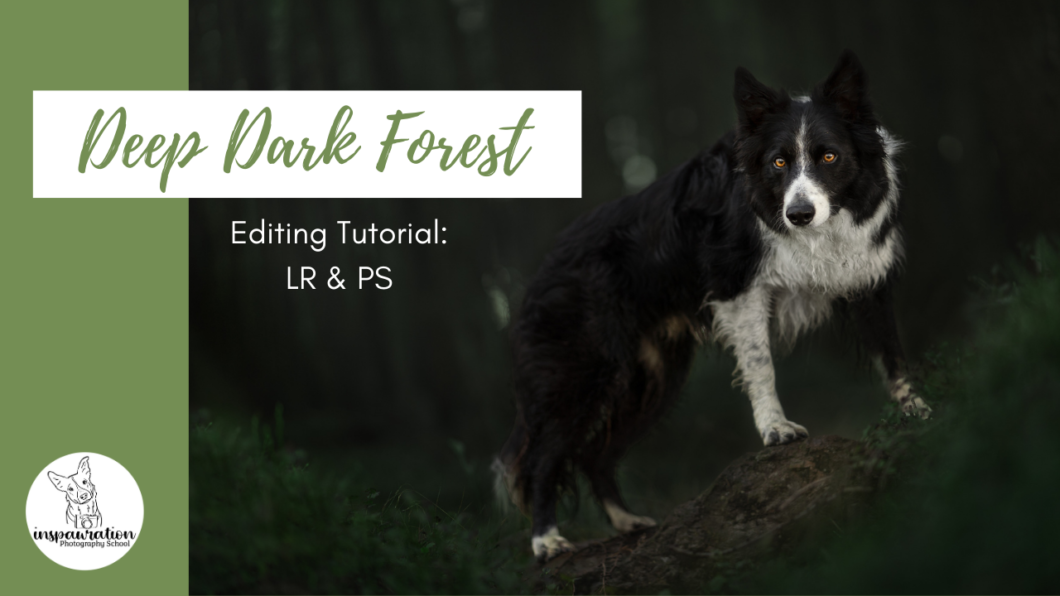
Loki in the Deep Dark Woods

One important thing to keep in mind when it comes to creating the “Deep dark forest” look is that it really does begin in-Camera. Which is to say that if you haven’t set up this mood in the first place, just making the photo darker and darker is not going to create the mood you want.

There are so many elements that go into creating this photo that the editing is almost the least important part of it. You need to have already considered:

  • the location
  • the light (or lack thereof)
  • the expression
  • the pose
  • the colours already present in the scene

Without these things contributing to the feeling of the “deep dark forest”, your editing is likely to not make sense.

The Next Level course goes into detail about these elements. Or, if you’re in the Learning Community, make sure you check out the Deep Dark Forest lesson that covers these elements specifically to achieve this look. 

Editing Tutorial

Here is an editing tutorial, working on the photo below. Remember, you mightn’t need to follow my exact steps – you may want 2 curves layers instead of 1. You might need to do more or less work on the greens, etc. It all depends on the photo you’re working with. Similarly, you can use many of these techniques to create other “deep dark” effects. It’s all about curves layers, darkening, and remembering where the light would naturally be hitting – even if there isn’t very much of it. 

In the tutorial below, I actually couldn’t “shape” the light as much as I sometimes might, because there was no real shaded side of Loki. Just remember that if the light wouldn’t be hitting a part of your dog, because it’s amongst the ferns, or emerging from some trees, or it’s just his face surrounded by ferns, it doesn’t make sense for those areas that should be in shadow to be bright. The more you learn about how light works, how it falls off from bright to shadow and so on, the more realistic your edits will be.

Before
After

You can have a go at editing this photo too! The .TIF file acts (more or less) like a raw file, but if for some reason you can’t edit .TIF files, there is also the high-res .jpeg file.

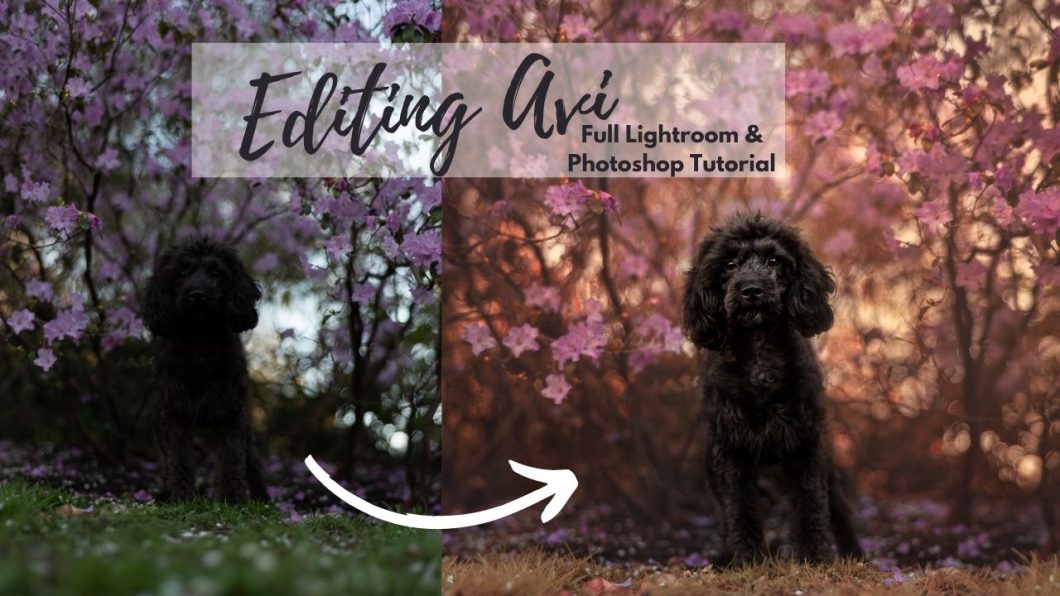
Golden Light Avi

In this tutorial we take a slightly underexposed image of poodle Avi, and using both LR and PS do a full tutorial, turning it into a warm, backlight-type image.

There’s plenty of black dog specific information in here, as well as looking at:

  • coat colour and contrast
  • working a bit on brightening dark eyes
  • creating warmth in the background
  • radial gradients for background haze
  • contouring the face for more contrast
  • selective colour for more warmth and yellow/orange tones
  • creating some fake rim-light 
  • adding some radial blur for an interesting “movement” effect
Liv Moore has kindly allowed LC members to download the RAW file. If you want to post your edits on social media, you are welcome to do so, but please make it clear that the photo was taken by @livemoorewithavi
After I stopped filming, I: placed a radial filter over Avi & surrounds increasing exposure by +.30 – removing it from the bokeh to his right and raised all-over exposure by +.15. It’s pretty normal for me to lighten everything again once its saved to Lightroom. Don’t feel like once you save to LR that you aren’t allowed to do a couple more edits there!

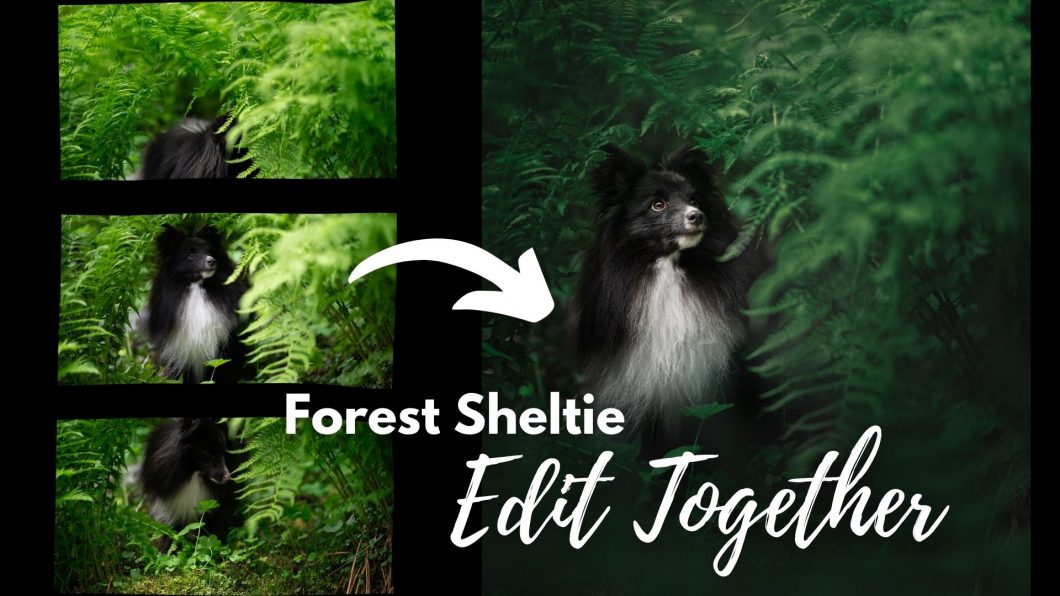
Edit Together: Forest Sheltie

In this tutorial, we combine 3 RAW file images to create one panorama, giving Petrie enough room below his feet and space above his head for him to look into. We also use a fern overlay for some foreground blur/to add a bit more depth. You can find the files in the download folder.

This is one of those images that I came back to later in Lightroom and made some reasonable changes to, from the point where we finish the tutorial.

Namely:

  • darkening the bright green branches that had been bothering me the whole time (lower highlights and exposure)
  • lower exposure a LOT around the outside of him, not including his looking direction (so a 3/4 vignette, I guess). I lowered exposure by -1.5 😱 and raised blacks +6. 
  • added +20 contrast to his face
  • removed some green colour cast from the top of his head and the camera-right side of his snout
  • lowered highlights on his white chest a little bit more
  • in the HSL panel, Hue: green +17, Sat: greens -30, luminosity: greens -25

Yess I could have achieved the same effects in PS but I couldn’t be bothered opening it there again when I knew LR could do the job I wanted anyway. 

Below: Before / After the Tutorial / After my LR edits

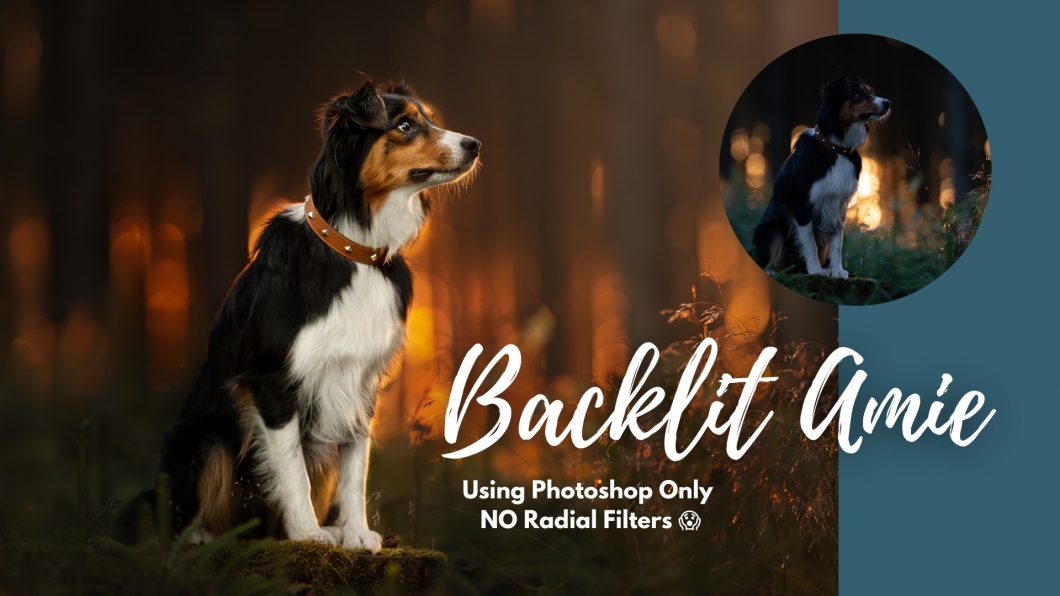
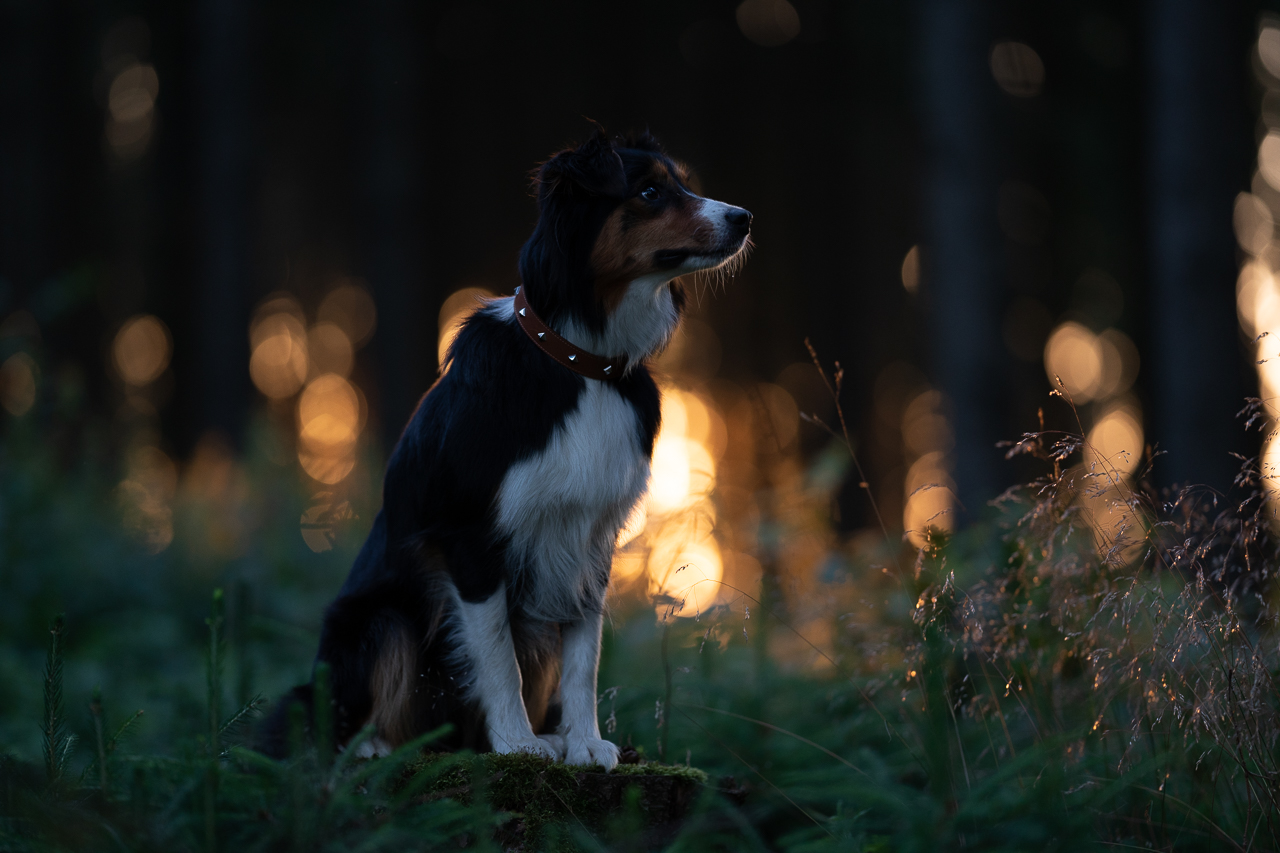
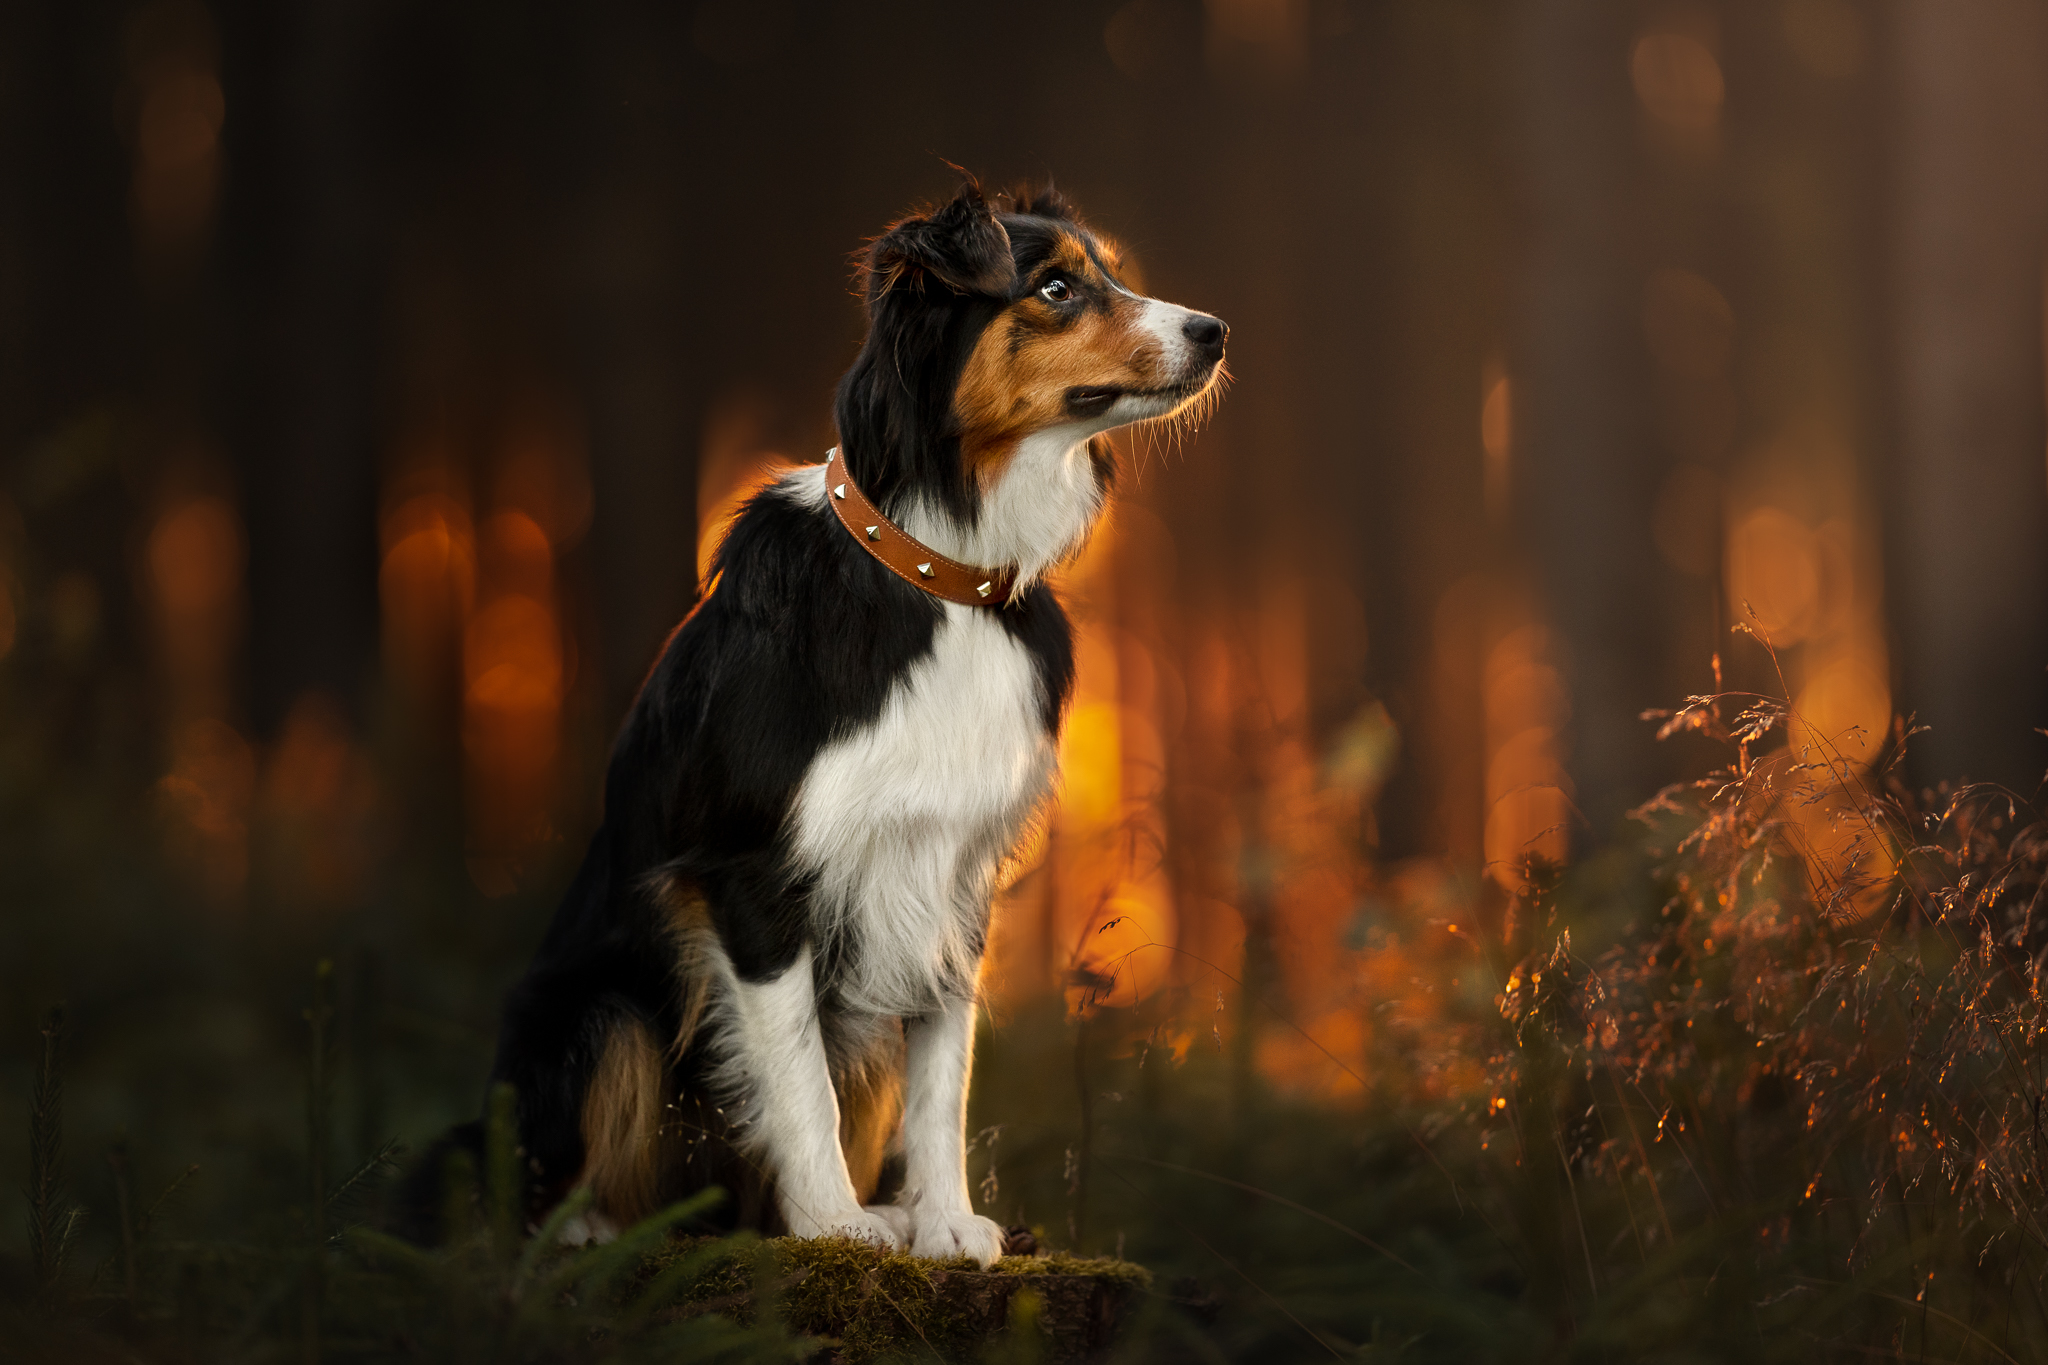
Backlit Amie: Full Tutorial, PS Only!

DSC07186 DSC07186-Edit

In this tutorial, I work on a reasonably underexposed image of Amie, that I took for a collar company (hence the weird composition of the photo!) .

I had recently jumped on a couple of zoom calls with some LC students who were using programs other than Photoshop, and neither of them had access to radial filters, so had made their own work-arounds, which is amazing, but, the problem with these work arounds were that they  couldn’t be re-edited later.

A big part of my process and the way I work, is ensuring that any of my edits are able to be changed later down the track – whether at the very base level of being able to easily adjust the white balance of my RAW file by working with my photos as smart objects, or by using adjustment layers and keeping any changes to the “base image” at the bottom of my layers panel. As much as possible, my process allows me to be flexible, to come back at any point and make changes to the edited image. 

This isn’t always possible (for example when doing a content aware fill or content aware crop that covers the original image file. But for the most part, my edits can always be undone, turned off, changed slightly, added to, etc. 

What I realised from these zoom calls was that a) not everybody had access to radial filters, and b) possibly some people find them fiddly and time consuming, or just don’t like them. So in this editing tutorial, I ditched them completely. No radial filters at all.

I use Camera Raw Filter to begin with – this is basically Lightroom and includes all the most basic functions of any editing software, making global adjustments to the image/RAW file.

The rest I do in Photoshop. 

There are some slightly different techniques in here to what I’ve shown before, a bit of an explanation about how I would organise my layers when needing to do some clone stamping or healing spot brush, and some other interesting bits and pieces that I don’t think I’ve shown before. 

The tutorial will probably be best if you have a reasonable knowledge of Photoshop (or your editing program). I don’t explain how to mask something in or out in detail, for example.

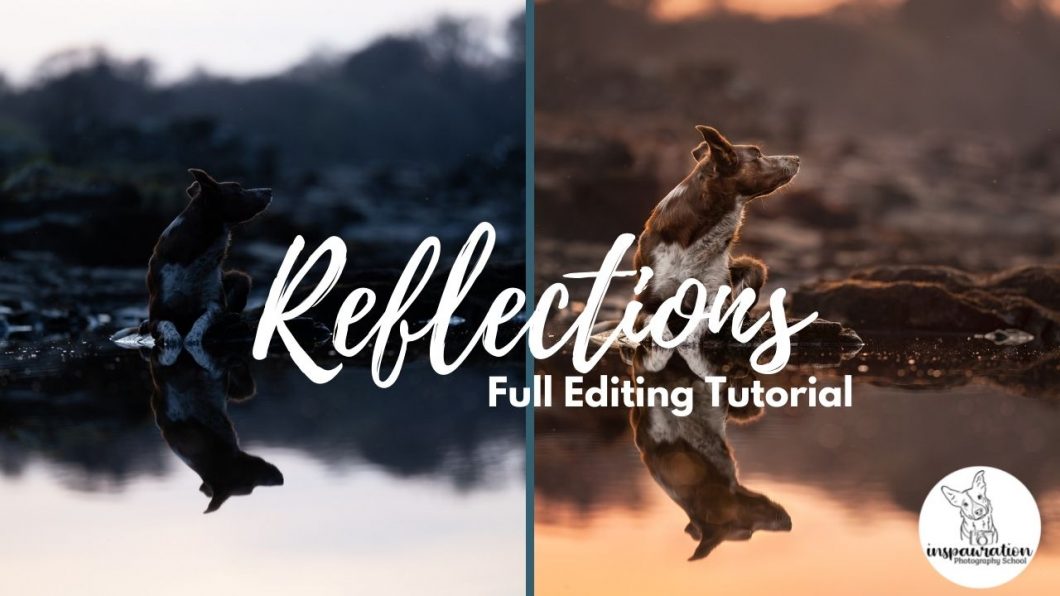
Reflections: Full Tutorial

In this tutorial, we work through the pretty under-exposed photo above and  take it to the photo on the right. 

I thought it was going to be complicated, but since we didn’t have to work much on the face and eyes (compared to a more forward-facing image) it only ended up taking about 30 minutes, so this is the perfect tutorial for when you only have a little bit of time.

You can download the RAW file to edit along with me.

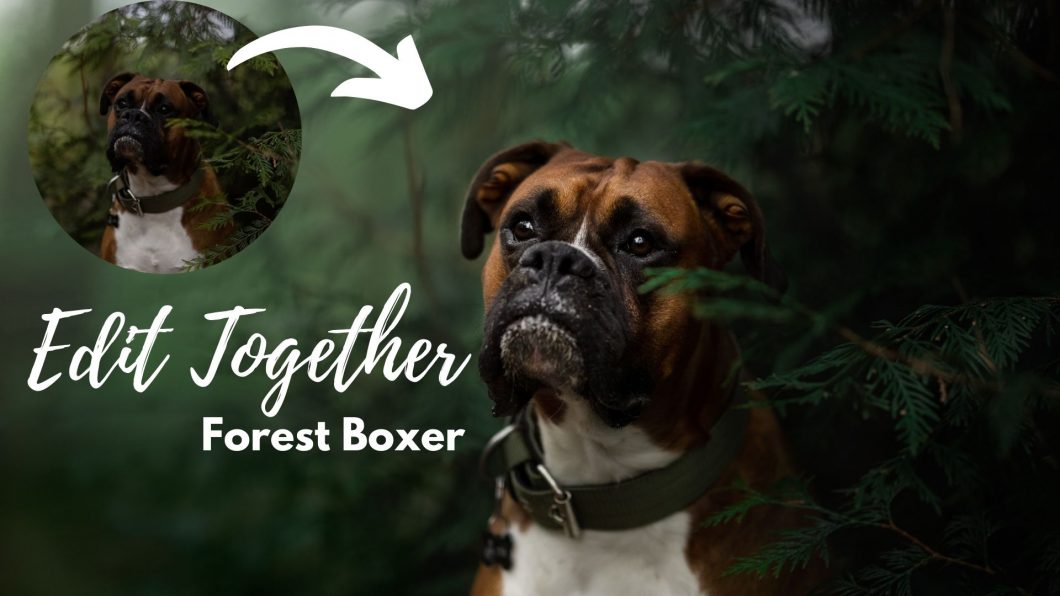
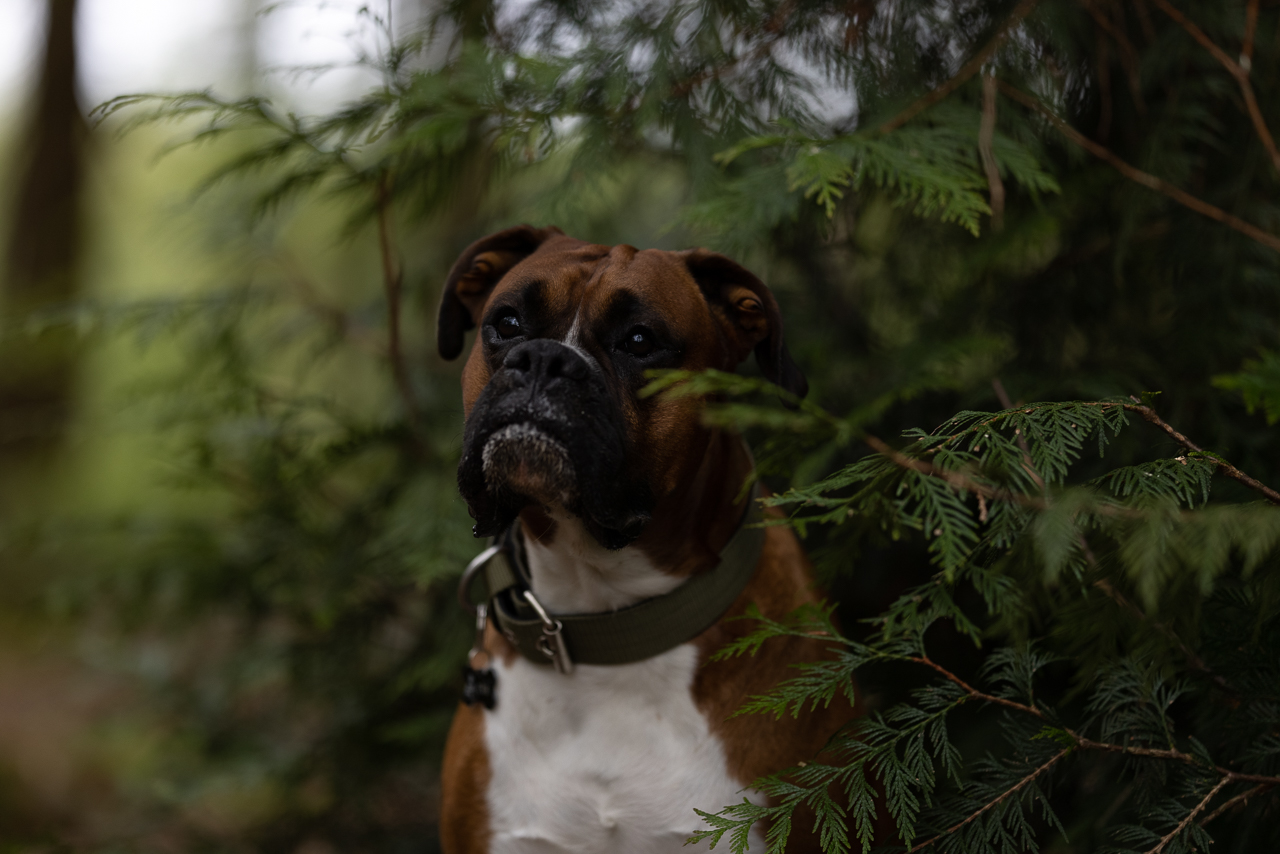
Edit Together: Forest Boxer

_E2A2089 _E2A2089-Edit

During this Edit-Together session, we are going to work on the lovely boxer in the woods taken by Clara Allansson (@echothewhippet). You can download the RAW file (or a .tif version) by clicking the buttons below.

Please note, the photographer has asked that the edited image not be shared on social media. If this is going to be a problem for you, edit a similar image of your own which you can then upload to your socials. 

If you’re desperate to upload to socials (???) but don’t have a similar image to work on, you can download this one of Loki which has a similar mood but is much brighter.

Please note that the Zoom DESTROYED the image quality last night, severely desaturating and removing contrast from everything. I’m literally on a chat with Zoom now to see if we can fix this.

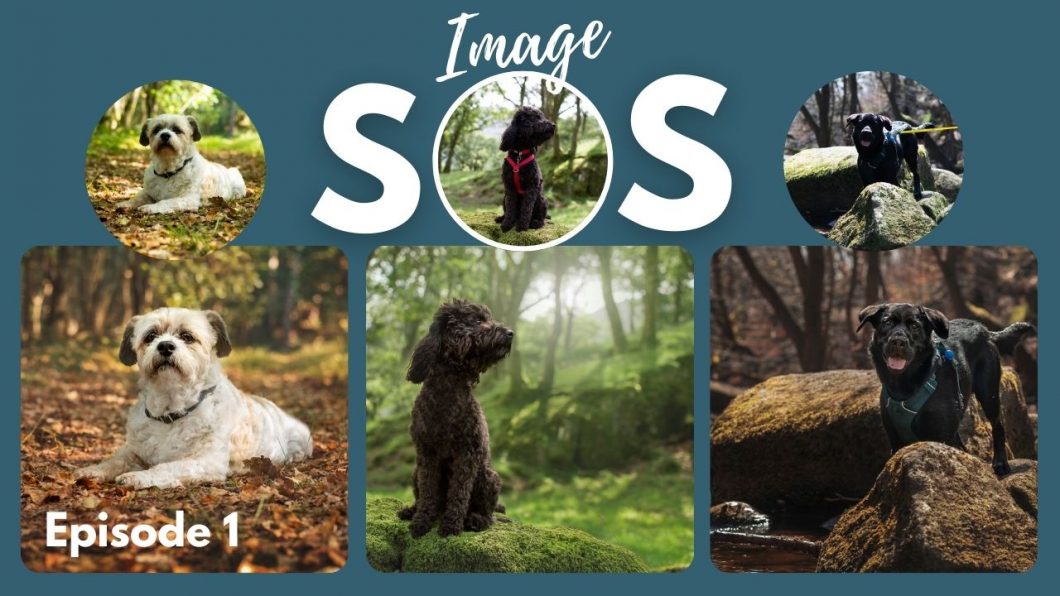
Image SOS: Episode 1

Welcome to the first episode of Image SOS!

The idea with this series, is to give you a range of tools and strategies to fix potentially problematic images. There’s a couple of important things to note, however:

  • having these videos is absolutely not a reason to ignore the lighting, composition, and so on in your photos. Editing these kinds of problems often is extremely time-consuming and requires a lot of skill.
  • To that end, you might find that if you are an Explorer/beginner, you are making some of these mistakes and really want to fix them, but this video might be beyond your skill level. Unfortunately while these are the kinds of mistakes beginners make, they can really only be fixed once you have some decent Photoshop skills. 
  • these photos were NOT edited to “final product” standard. I wanted to set a decent base for each of them from where I could do more final/fancy edits, or show you skills that were useful in each image, for example, in one I edited out a harness, but I didn’t edit out the collar in the other photo. The process is the same, I didn’t need to show you twice. 
  • These photos will likely not be “perfect” at all, simply because of the issues with light, composition and so on. I could spend another couple of hours working on them, but I really don’t think it’s necessary.
Please let me know if you enjoy this video, and if I should do more of them in the future.
Here are the images from this episode:

Before

After