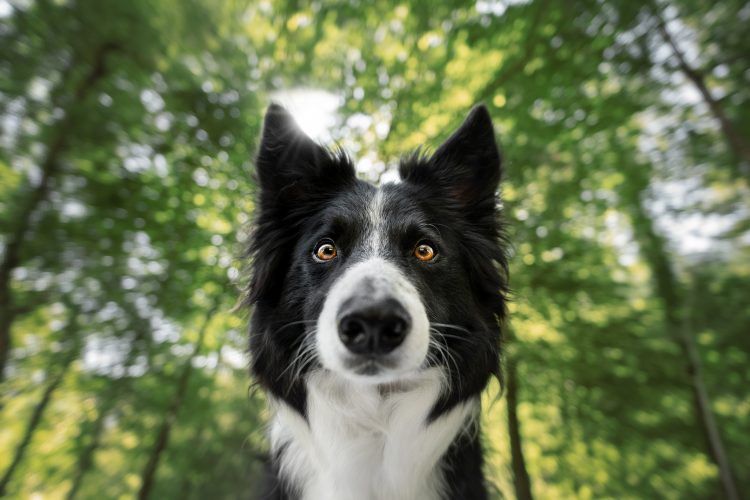
Radial blur mimics a technique you can apply when using an off-camera flash, and a slow shutter speed. In this scenario, as you trigger the shutter, you would either turn/tilt the camera to the side, creating a circular blur due to the slow shutter speed, but keeping the subject frozen due to the flash, OR, you could zoom the lens out, creating a zoom effect around the subject, who is frozen due to the flash.
I tend to only use this technique very mildly, and only when there is already something in my scene creating a “radial” shape. This effect just emphasises that shape, and really spirals the viewer into the middle of the image. I would definitely not be using it on images where the dog is in an open space, or where this shape wasn’t already present in the foreground or background.
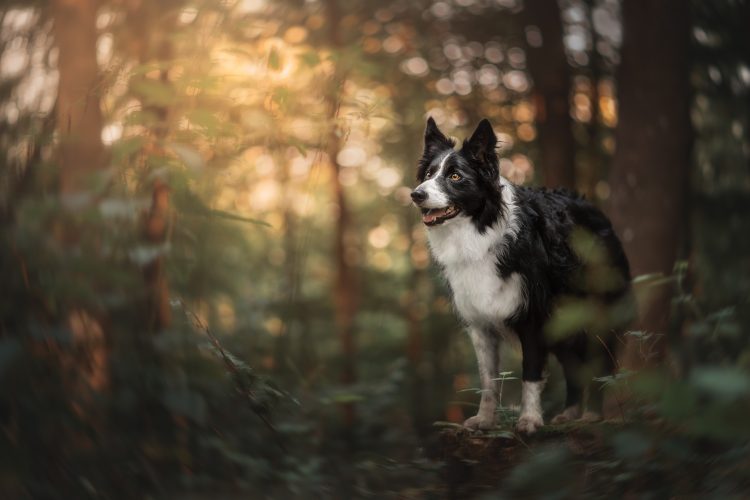
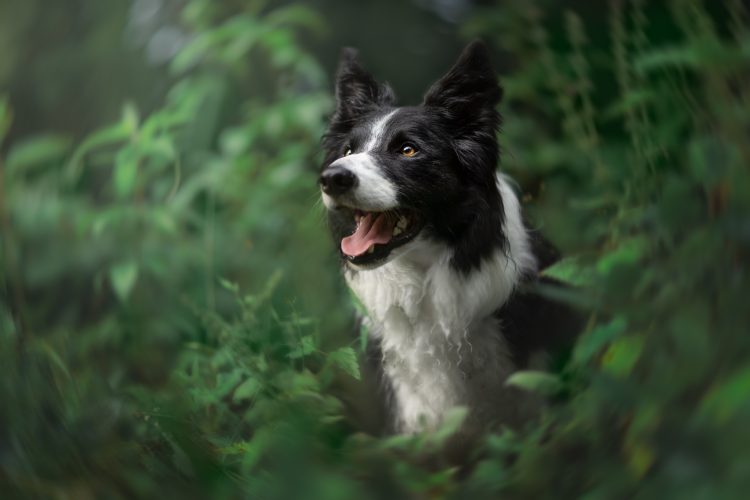
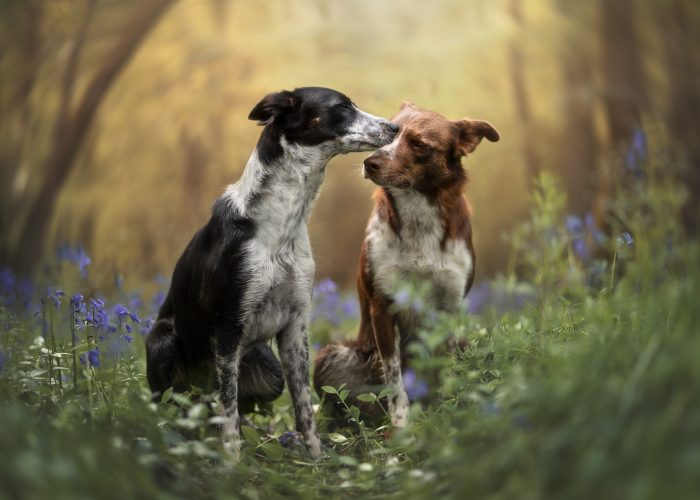
Examples of where I’ve used it:
We have two ways we can apply Radial blur to our image, depending on what we’ve done to the image beforehand.
If we’ve done some copy/flip, Content Aware or similar we can either:
- simply apply it to a non-smart object image layer, like our smooshed layer that we’ve been using in earlier lessons (note: duplicate your smooshed layer first!!). We can then mask it in.
- The problem with this is that we can’t change the amount of blur, or remove it from the image. It’s applied to the pixels. As soon as we save and close Photoshop, or go further down the editing path, we will struggle to undo that effect if we change our minds. It is inflexible editing.
- The other option is to make a duplicate of your smooshed layer, click Filter > Convert for Smart Filters. This will make it a Smart Object of sorts.
- Now, when we apply the Radial blur filter to the layer, it is applied as a Smart Filter which means we can turn it off, edit it, make it stronger or weaker, etc. It is flexible editing.
If you do not have other image layers/a smooshed layer & are still working with your original:
- make a new version of your smart object (Duplicate will work here, as if we go into Camera Raw Filter we want any changes to apply to the gaussian blur layer too)
- go to Filters> Radial Blur
- Choose if you want Radial, or Zoom. If using radial, you probably want the strength between 1-3. Zoom can be a bit stronger.
- Move the centre of the radial/zoom over where you think the subject probably is in the image.
- Hit ok. Then mask out the effect where you don’t want it.
Since you’re working on a Smart Object layer already, it will be applied as a Smart Filter, so the effect will be editable at any point.

