Archivesnew

Behind the Scenes! Getting Low Comparisons!

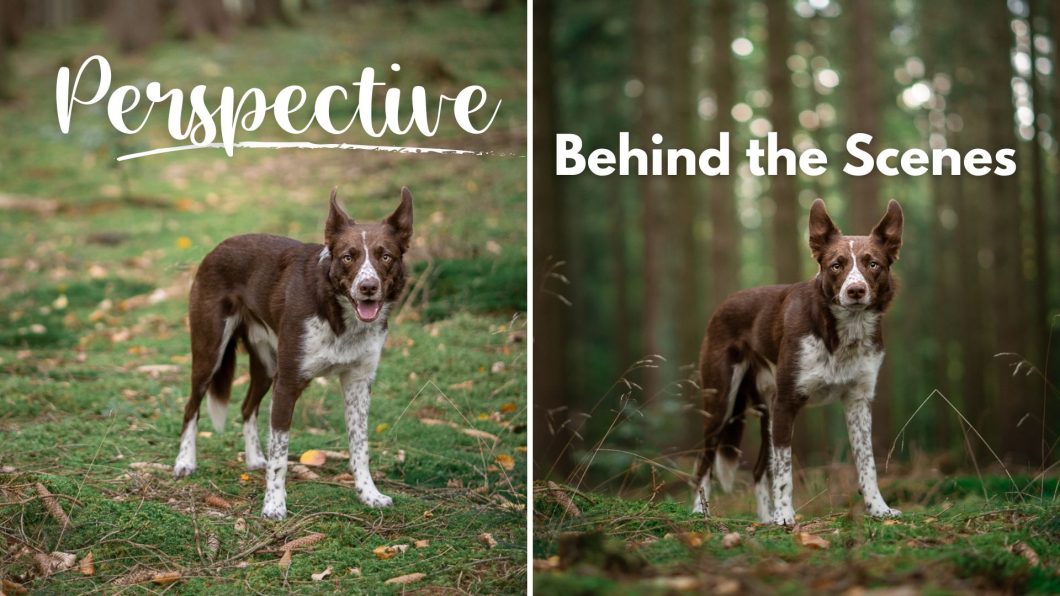
Recently while out shooting, I decided to create a lot more examples for this lesson, since it seems to me that no matter how much I say to get down low, people don’t understand how low I really mean.

What I did on this walk, therefore, was to take three photos at each location:

  • standing up
  • kneeling down taking the photo at “eye level”
  • and having my camera at its normal height off the ground, which you will see in the video.

Of course in some examples, there isn’t TOO much difference between kneeling and being right on the floor…. but for me, the floor version always has more depth and more presence.

In these examples, I was mostly using my 85mm lens, or 135mm lens,  but I would have been close to the ground with any lens!

I’ve tried to edit them more or less the same so nobody can claim there’s any trickery going on with making one look better than another through editing! All are just extremely quick edits in Lightroom. You just have to ignore Journey’s expressions in the “up high” ones. He is sensitive to pressure and if I keep asking him for attention, it doesn’t work. So better to save asking for his attention for the “good” photos.

Standing

Kneeling/”Eye Level”

Down Low

AI & Image Editing, Management & Creation

Photoshop Beta introduces exciting capabilities for AI-driven image creation and editing. With its advanced AI features, Photoshop Beta empowers users to create stunning composites, change backgrounds, and manipulate various elements of an image with ease.

The AI-powered Select Subject tool intelligently identifies subjects in an image, making it simpler to isolate and manipulate specific elements. Additionally, the Neural Filters feature offers a range of AI-driven filters and effects to enhance images, such as depth-aware upscaling, style transfer, and facial retouching.


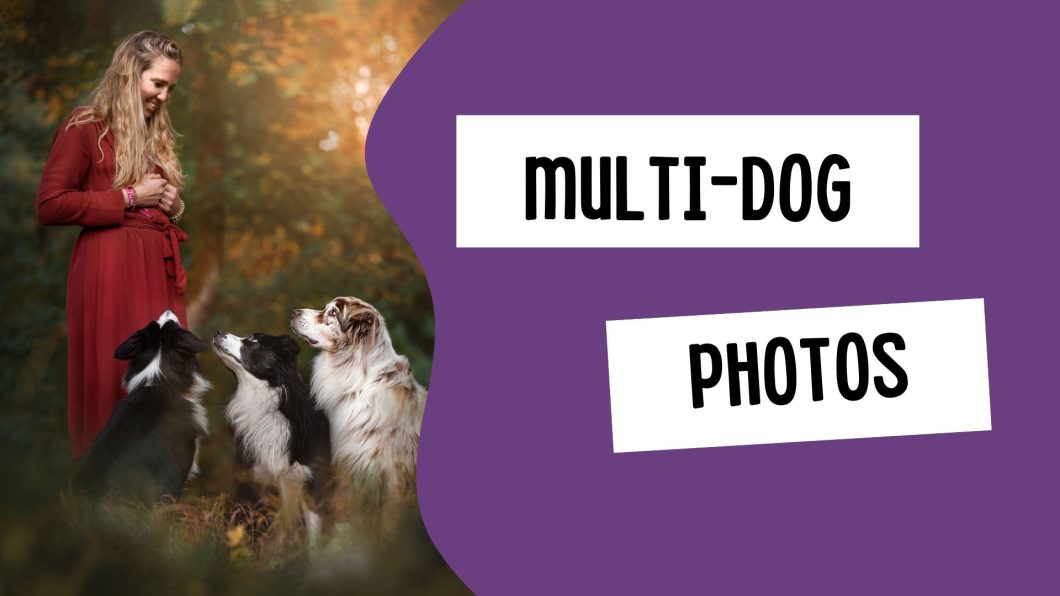
More Than One Dog / Dog & Owner Photos

Now that you’ve read through the depth of field lessons you may be thinking: Ok then, but what if we need to get more than one person/dog in focus?

Or, every time you try and photograph a dog and a person, only one of them is in focus. 

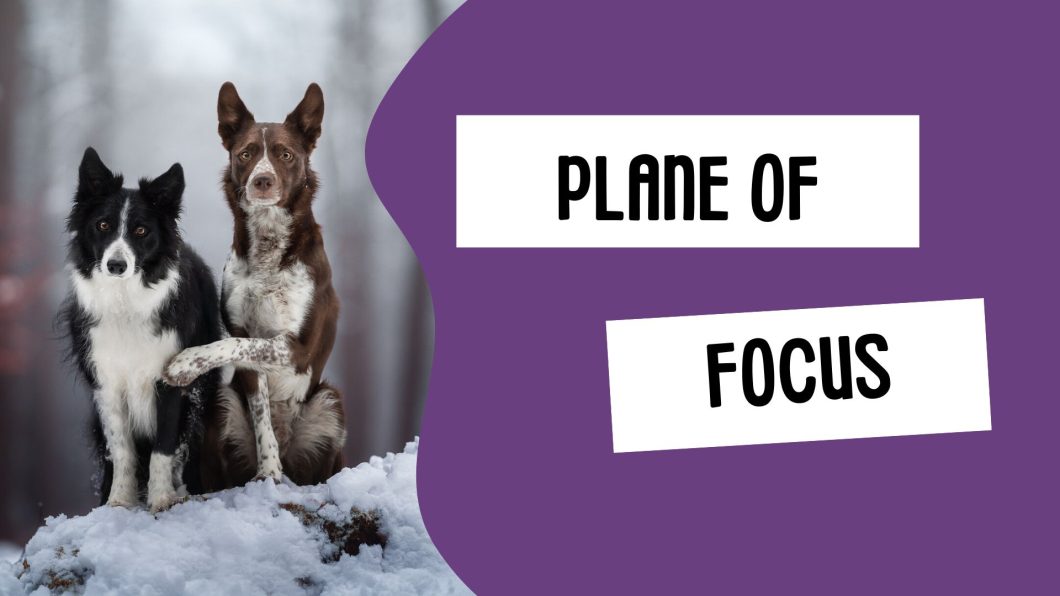
Of course, this all comes back to the plane of focus. 

In this lesson I’m going to use the term “group photo”. This could refer to a group of 2 or more dogs, or dog and owner, or multiple dogs and an owner… the concept is the same. 


Two methods for group photos

There are three ways to take in-focus photos of multiple subjects.

  1. Use a wide plane of focus so even if they aren’t in a perfect line, they’ll still all be in focus
  2. Make sure they’re in a perfect line
  3. Take multiple photos, focusing on each subject, and edit the photos together in Photoshop.

Obviously each on of these has their pros and cons, so let’s explore. 

Option 1: Change your plane of focus

In general, when we’re taking portrait photos, we want a soft, blurry background and narrow depth of field. This helps eliminate distractions, gives us background and foreground blur, and generally just suits the style more.

But of course, with a narrow depth of field you can run into trouble with multiple subjects. Let’s assume our plane of focus is only a few cm wide. If one subject is even just a little bit forward or back from where the camera centred its focus, that subject will be outside the plane of focus. So the nose may be in focus because it’s still inside that plane… but the eyes won’t be.

Below, I’ve created this scenario. The dashed yellow line is the centre of the plane of focus and will be the sharpest area of the photo. From there, it rapidly starts losing focus as it gets further or closer from that line.

You can see exactly this occurring in the photo below of Loki & Journey. Loki’s eyes and most of his nose are in focus… but only Journey’s nose is. Notice how he’s sitting slightly back from Loki. In this photo, I focused on Loki’s eye (because I use Option 3 to take group photos). 

If I had wanted both dogs to be in focus in this situation, without moving either of them, I would have a couple of options to do so:

  • Narrow my aperture. This was taken at f/1.8
  • Move further away from them
  • Possibly use a wider angle lens.

Can you see though, that each of these options comes with its own set of difficulties?

I think that in order to get both dogs in focus with my 135mm lens, even with them only being slightly apart, I would be looking at at least f/4, f/5.6, maybe f/7… maybe even narrower. The further out of line they are, the narrower I would need to make my aperture.

This of course means I would need to put my ISO up. The settings were: f/1.8, 1/400 sec, ISO 640. If I wanted to go to f/5.6, the settings would need to be: f/5.6, 1/400 sec, ISO 6400.

You can see this is a HUGE difference in settings, with potentially a large loss of image quality, more noise, less detail etc. It’s really only feasible on a bright, potentially sunny day. 

Add to that, you’re going to get a lot more detail in the background/near surroundings of your image too. 

You could mix these methods up – move further away from your dogs AND narrow the aperture… but this is also going to mean less pixels making up the image of the dog (less detail for the dog), and again, more of the background & near surroundings in focus.

If the two (or three or four) subjects are even further apart – like a dog sitting on a person’s lap, then the plane of focus is going to need to be even WIDER to get them both in focus. 

Option 2: Make sure they're in a perfect line

By lining your dogs/dog and subject up perfectly, you can use a narrow plane of focus and still have everything and everyone in focus.

Speaking from experience, this RARELY happens and is a very risky way to go about getting group photos. One of your subject could be 2cm too far back, and their eyes will be out of focus. Dogs move. People move. 

I think of all the group photos I’ve ever done, I can think of MAYBE 3 where I haven’t used option 3, but have simply lucked into having a photo with both dogs in focus straight out of camera.

Notice how Laura and Dusty are side-on to me. This is going to make it MUCH easier to get them both in focus, than if they are facing forward looking forward the camera.

I have so few examples of using this option that I honestly can’t find any more examples!

Option 3: Multiple Photos & Photoshop

The last method is definitely my preferred method.

Essentially, I take some photos of dog 1, and some photos of dog 2. I bring both photos into Photoshop, and perform a headswap. The technique is quite simple. If you’re in the Learning Journey, you can check out the lesson here. 

This technique requires some editing skill, but it means your two subjects can be out of line (within reason), and you can keep your aperture nice and wide for that soft, creamy background. 

Here are some examples where I’ve used this technique.

You can probably safely assume that in 99% of my multi-subject photos, I will have done a head (and/or body) swap. 

In the cast of the backlit photo of Loki and Journey on the stump, I think the final photo of Journey was a combination of 3-4 different images to get him looking how I wanted him to look. 

Conclusion

There’s no way to “Cheat” depth of field. It’s physics. You can actually find calculators online that will tell you how wide your depth of field will be depending on how far you are from your subject, and what aperture you’re shooting at. 

This one is excellent, as you can slide things around, adjust the settings, and see how it changes. Bring the model right up close and watch her nose go out of focus, then come back into focus as you move her backwards. Down the bottom you will see the “Depth of field” and how it goes from mere centimeters wide, to meters wide – of course being able to be affected further if you change your aperture. 


What is in focus really? Plane of Focus / How Focus Works

Recently in our Learning Community, there were some questions posted about how to get both dogs in focus, since the camera only ever seems to focus on one dog, or about how the paw of the dog AND the nose can be sharp, but not the eyes – when these two body parts are seemingly quite far apart from one another.

This is where a solid understanding of what depth of field and the plane of focus is.

Throughout the following lessons, we’re going to be focusing on and talking a lot about getting a NARROW depth of field – that is, a very small plane of the photo in focus – in order to get soft, blurry backgrounds for our portrait photos. But there are times you may want to manipulate that plane of focus to make it wider, or to know when you’ll need to take multiple photos and mask them together in photoshop, because the physics of the situation won’t let you have a wide enough plane of focus.

What is focus?

I think this is where most people get mixed up.

There is a belief that the camera focuses on a thing. A paw, a nose, an eye, and that focus is isolated to that one place, to the exclusion of everything else. 

But that isn’t the case, and I’ll prove it. 

Grab a photo where you can see some of the ground (eg., the ground isn’t obscured by blurry foreground). Where is the focus on the dog? Maybe the eye, maybe the nose, it doesn’t really matter. 

Now look at the ground. 

I’m willing to bet there’s a line of grass/gravel/leaves that is also as in focus as the eyes/nose/whatever of the dog. 


Above, Loki’s eyes are definitely in focus, his nose is not, and yet there is a distinct line on the ground that is in focus, as well as a line of bushes on either side of the road. 

Because, in fact, the camera focuses on a distance from itself, and the area that is in focus is a width which can be wider or narrower depending on the factors you’re about to learn about in this topic. 

This area that is in focus (the plane of focus) goes front to back (or back to front) and anything that is in this plane, will be in focus, fading out to less and less in focus as you get closer to the camera, or further away. 

Let’s look at a photo from above.

Imagine that we’re a bird looking down on the scene of Loki.

This is how our scene would look with no depth of field, no camera, just looking with our eyes.

If we follow the ideas laid out in the lessons you’re about to dive into, we will hopefully end up with a narrow depth of field/narrow plane of focus, which means a small width of the photo will be sharpest, with focus falling off as the scene gets closer or further away from that plane.

This is about the plane of focus shown in the photo above. Everything inside the two black lines as indicated by the arrows, will be in focus. So from above, it would look something like this:


Which is essentially what you see in the photo of Loki. Let’s do a side-by side. Can you see the line of focus on the ground and in the bushes?

If we were to change some things about our photo, namely: 

  • the aperture chosen
  • how far away we are from the subject
  • the lens we use

we would be able to change how wide this plane of focus is. You’ll be learning a lot more about these conditions in the lessons to come. Let’s have a look at a quick example of how the depth of field widens simply by changing the aperture of the lens. We’ll use some graphics as well with our birds-eye-view to help us see it. You’ll encounter these photos with full explanations in the aperture lesson, but for now I want you to pay close attention to the moss on the tree trunk, and the fur of Journey’s knee (back leg).

For the example graphics I’m using the same photo of Loki because Journey’s sleeping right now and I don’t want to disturb him. Just imagine it’s Journey, lying down. 

This photo has a narrow depth of field, or a narrow plane of focus. You can see that the plane is probably only a few centimeters wide, from his snout to just behind his eyes. His knee and the moss in front are blurry. This was taken at f/1.8

This photo was taken at f/8, which has resulted in a much WIDER plane of focus. The plane is now probably 70cm wide, going from the moss almost at the very edge of the log, right to Journey’s knee and possible further back, we just can’t see it.

This is also a great example of how the focus doesn’t just stop and start (it kind of appears that way when the depth of field is narrow, because it happens very fast going from in focus to out of focus.) but that it goes gradually. Look at the background in both photos. In the top one, the plane of focus is already so far away by the distance of the background that it is super soft and blurry.

In the 2nd photo, the plane of focus and therefore the graduation of it going out of focus GRADUALLY, is wider, meaning the trees we see are more in focus, but the ones behind THEM are just as blurry as in the first photo.

Here’s the two images side by side. Again take note of the moss and the knee.

And yes, I realise that in the 2nd photo I was a bit closer to Journey.. but if anything that would make the plane of focus NARROWER than if I’d been further back, shooting at f/8

What this means for group photos

As mentioned at the start, there have been some questions lately in the Community about group photos. 

Have a think about everything you’ve just learnt about the plane of focus. If you have two dogs sitting side by side, one 20cm forward than the one the camera focused on, what will this mean for your photo? Does it mean the camera has only focused on one dog, or that the 2nd dog is outside the plane of focus?

There will be another lesson on group photos in this Depth of Field topic, so don’t worry if you aren’t yet sure how to take photos of more than one dog, or of a dog and owner.