Archiveslearning community
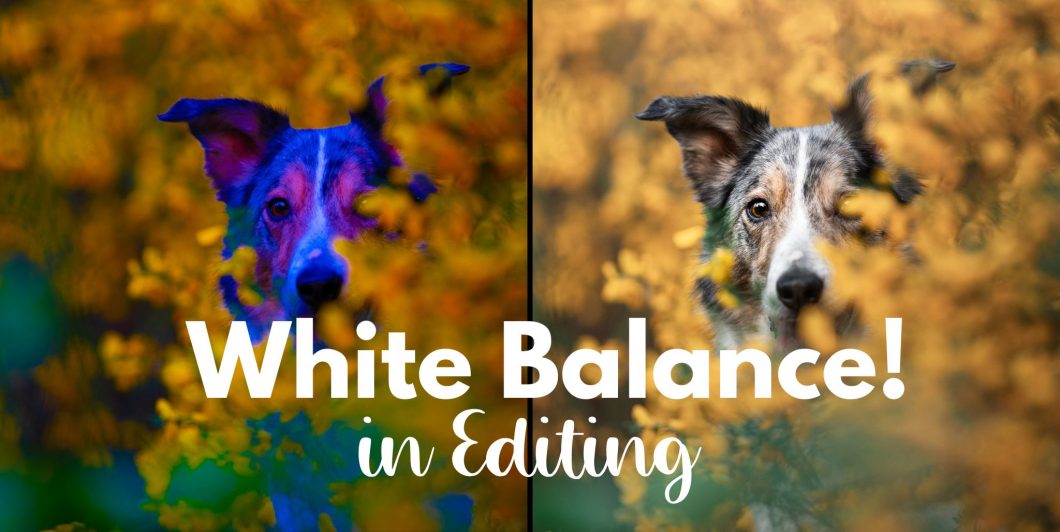
White Balance in Editing
One thing to keep in mind is that colour casts can often “throw us off”, making us feel like the whole WB is wrong, when in fact it’s patches of colour bouncing around and confusing us.
Be expecting colour casts!
You will get colour casts any time light is bouncing off something coloured. Eg., green bouncing off the ground, yellows bouncing off flowers, blue bouncing off where there’s places exposed to the sky (eg., the tips of noses, between the ears and along the back).
Rather than try and edit for colour casts, find a “reference point” and try and get that correct. On a black/white/grey dog that is usually somewhere around the eyes for me. Sometimes I will use the skin of the eyes or nose if they are black, even if the dog is coloured.
Then, when you have the WB more or less correct, selectively edit the colour casts.
Eye-dropper tool
You’ll find some kind of automatic WB option in most editing programs.
There are even some “presets” built in, though they don’t usually account for green forests or interesting light.
The “eye dropper tool” can be found at the top of the global adjustments panel in LR.
To use it, you select the tool, then click somewhere in your image that should be pure black, white, or grey. Basically the tool adjusts the WB of the image to make that small area you clicked correct.
Therefore, it won’t work on pink/white, blue/grey, or rust/black, for example, and it won’t work anywhere with strong colour-casts.
I usually use it between the eyes of a dog with a white stripe (like Loki), and never on Journey as his stripe is mottled with red.
You would also use this tool if you had a photo of a grey card.
Increase Saturation/Vibrance
This is a favourite trick of mine, and you can use any editing program to do it, but I will be showing it here with Lightroom.
It works best with grey/white/black dogs, but I do use it for coloured dogs, especially those with black noses and skin around their eyes.
Turn the vibrance and saturation all the way up to 100 and notice the colours in the dog’s coat.
Now adjust the white balance sliders.
For grey/white/black dogs, I aim to get the colours in their coat to a point where no colour is dominating another one. Eg., there may be some areas of blue, some areas of yellow, some areas of purple… but there is not one single colour that is obvious everywhere.
Variations in colour is normal (colour casts, remember?). But when the entire dog is tinted blue, he’s probably too blue.
Again, I usually use a “reference point” so I’m not looking at the whole dog, but instead choose a part of their face, maybe near their eyes, to hone in on.
Be aware of fringing/chromatic aberration (you can search the site for more info on that!) which will show up with different lenses in areas of contrast. It will often be a shade of cyan green, or ultraviolet purple (though some lenses have pink or even blue). Don’t count this purple as “magenta” and use it for WB.
Once you think it’s looking okay, turn the vibrance & saturation back down to normal and double check.
You may still need to tweak the values. This is ok. At least you’re off to a start.
In the case of golden hour, you may choose to deliberately make the dog’s coat slightly warmer than neutral. Due to the golden light in the scene, this would not feel unnatural or incorrect necessarily especially since we can normally SEE these golden tones with our naked eye.
I will argue, however, that blue is so subtle that it is only due to our camera’s sensitivity that it gets picked up. I’ve NEVER looked at my dogs in the shade and seen them look blue. So although it’s natural that the light in the shade is cooler than white daylight, I would not choose to deliberately make my dog cooler because of it. Unlike with golden hour.
Of course there are RARE occasions where I’ve made the dog much much cooler (faking twilight/blue hour, when the light is visibly much more cool and does tend to affect the dog’s coat), but these are not the norm.
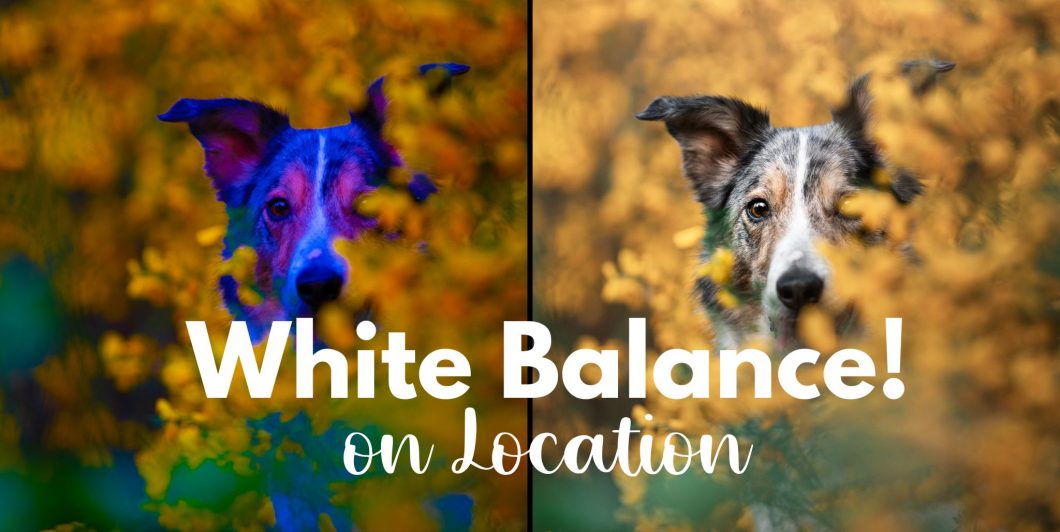
White Balance on Location
Grey Cards
Grey cards come in different shapes or sizes, but are essentially a grey target that you hold where the subject will be, and take a photo of. Do a quick google search and you’ll find plenty of examples.
You can then use the “Eye Dropper tool” in your editing program to set the WB based on this grey target.
I personally don’t use mine, either because I forget or I’m on my own, so unless I get Loki to hold it in his mouth, there’s not any way for me to use it.
Others have reported that the colours weren’t accurate after editing. I would guess this is because the grey card is bouncing colour off of it and Lightroom is overcompensating for this colour cast – much like if you used the dog’s chin or chest to automatically set the WB.
Expodisc
I don’t have one and have never used one. It screws onto your camera lens and you take a photo as if you were the dog, looking toward where the photographer will be.
You then set the WB in camera. I’m planning on getting one and will let you know how it goes once I have it.
In-Camera WB Presets
Your camera may also come with a number of “built in” WB settings, from fluorescent lights to overcast days to underwater.
All this does is it assigns a kelvin value to the image and doesn’t change it. Auto WB also assigns kelvin values but changes them depending on the location, light, colour etc that it detects.
I have not found these presets to be particularly accurate for green forests, but could work well for overcast open skies – though I find this is when the auto WB is most accurate, since the light is white and neutral.
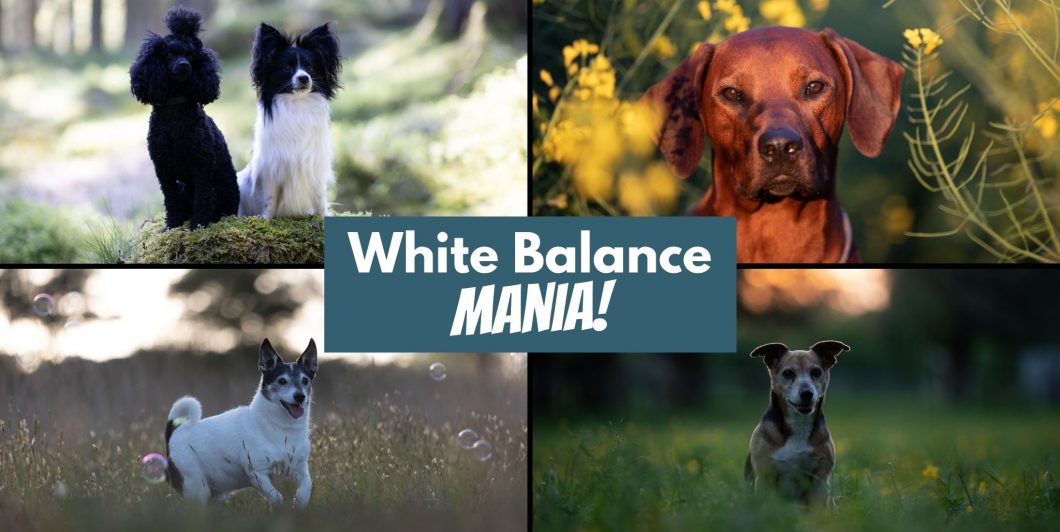
White Balance Mania! Live Event
You guys uploaded 20+ images and I went about fixing the white balance on all of them, discussing what I’m looking for and at in order to set the right WB, tricks I use to help me, things to consider, and even what to do about colour casts.
Note that although I used Lightroom for this, you could easily use Adobe Camera Raw. I would not recommend using just Photoshop or working on a jpeg file. Why? Because all the subtleties of the RAW data has been lost, so instead of making small, subtle changes, you’re smashing your WB with a sledgehammer.
Any questions? Ask below!
Landscape Behind the Scenes
Sorry that the music is a bit loud, this is an older video now. I’m not sure even where the original is now to edit and re-upload it.
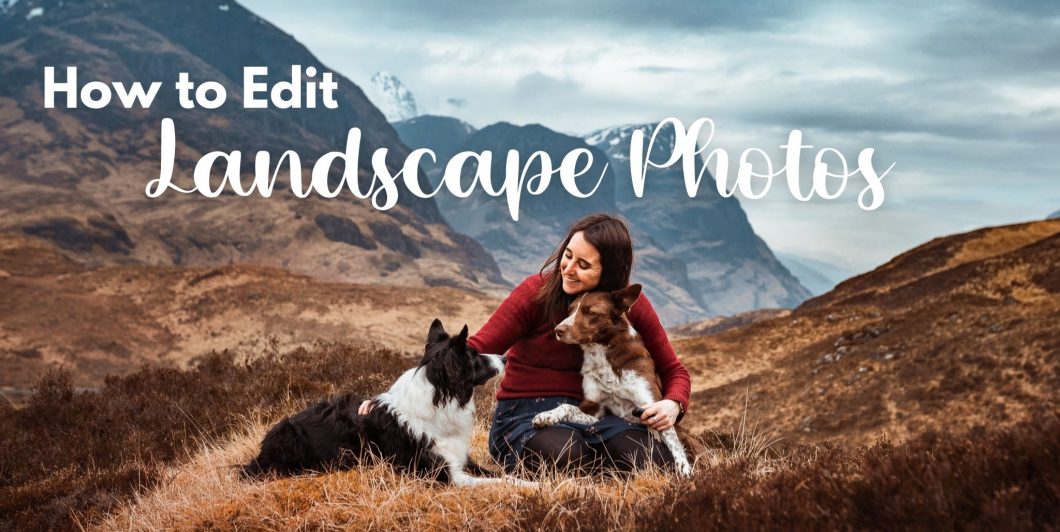
Editing Dogs in Landscapes
Watch the video tutorial below to edit this image step by step. My process for editing landscapes is a fair bit different to my normal process in that:
- I don’t shape the light nearly as much
- I’m a bit more flexible with colour-grading and don’t mind if the dogs get a little coloured
- I am not obsessing quite as much about drawing attention to the subject (especially through use of light and dark) but instead about creating a balance between the subject and the landscape
- I may use self-created presets for series of images taken in the same landscape with similar lighting, to speed up the process
- I make more use of the HSL panel, and the colour grading panel in LR/ACR than I normally do.
Beware the glow!
Often, when editing our landscape photos, we need to quite dramatically darken the sky, while brightening our subject. Depending on how you do this, it can quite quickly create a glowing white halo around your subjects. If you’re using the adjustment brush to adjust exposures, this glow will be larger and soft. If you’re using “select subject”, it’s likely to be smaller and sharper.
It’s difficult to get rid of this glow without spending a lot of time very precisely adjusting your masks. Therefore I recommend gradually fading your exposure adjustments, using radial filters in a not-too-specific way, and avoiding as much as possible big exposure adjustments between subject and background. Not always possible!
One way to see the glow is to zoom right out on your photo and look at it thumbnail size. And make sure you come back to it with fresh eyes later on!
Check your masks
Similar to “beware the glow”, do a good, thorough check of your masks if you’re darkening the sky and brightening your subjects, especially if you’re using a “Select Subject” tool. Often, it can miss small bits and pieces (see below example!) and these can look very strange and out of place!
Watch out as well that the new masking features don’t just blur furry parts of your subject, or parts where some fur meets the background and it has a hard time finding the edges. You will want to fix these masks up.
Below: before & after. If you see these blurry edges, just use the brush tool to either add or remove the effect from where it’s blurry.
Creating the Photo: Dogs in Landscapes
So, we’re in our landscape situation, now what?
We have to decide where and how to pose the dog, and consider gazing direction as well.
Often our options for where to pose the dog may be limited, if we’re in especially rocky places, beside a cliff, or in a gully or glen, or near a waterfall. So in some cases, you may need to just pose them on the nearest rock and try some different angles.
But afterwards, many of our composition ideas still apply.
Composition
When composing our photo, the best ones are going to feel balanced, and to draw attention to our subject in the surroundings.
Mountain valleys can work very nicely for this as the mountains themselves can act as leading lines to the dog. Waterfalls, paths, bridges and trails can also create leading lines directly to the dog.
Keep considering your rule of thirds! You might want to dedicate 1/3 or 2/3 of your photo to sky, or in the case of the image below, 1/3 to sky, 1/3 to dog and mountains, and 1/3 to the ground.
It’s still worth trying to include some foreground interest if you can. In the photo above you can see the blurry grasses. Rocks, ferns or branches can also work as well! As with our portraiture, they add a sense of depth and dimension to our photos.
That being said, I would often prefer to put my dog on a rock or elevate him off the ground in order to help him have a bit more majesty and get less lost in the scenery – but this may mean I miss out on some foreground as I can’t be quite as low.
Using central composition and symmetry in your photos makes it very obvious and easy for your viewer to find your subject. The symmetry will help frame the subject, and will help the image feel balanced. Not always possible with landscapes! Using frames from branches, rocks, or other elements in our landscape images are just as relevant as in portraits – when you can find them!
Don’t forget that if the dog is looking to one side, we’ll want to give him space to look into. The more “severely” he’s looking to one side, the more space he’ll likely need to feel comfortable and balanced.
You can also consider using the golden ratio and golden spiral in your composition, but I wouldn’t stick too religiously to the eye having to be in the mid-point of the spiral, or the lines having to fit the curve exactly. The golden spiral certainly can make images pleasing, but I can’t say it’s something I’ve focused a great deal of when I’m on location and taking photos. If your brain works in such a way that you can visualise the spiral while shooting, more power to you! But don’t feel discouraged if you can’t.
I don’t find the composition of this photo particularly exciting but many of my landscape photos have the dog in the middle, so they don’t tend to fall in this golden spiral category very well.
Here, we have the curve of the mountain, more or less following the curve of the spiral, and then the vanishing point at the middle of the spiral is centred over the dog. We also have some blurry foreground/bushes at the lower part of the spiral.
Don’t be afraid to crop your images if it makes sense to do so! Take multiple images of a scene to create a panorama, then crop it so it’s narrower, making the scene feel long and more impressive than at a 3:2 ratio.
Pose
How you pose the dog and where he is looking depends on the type of photo you’re wanting to create.
If you’ve done my Next Level course, you’ll know I’ve talked about aware vs. unaware (posed vs. unposed) photos, and the same applies here.
Happy snaps, memories of your holiday, or a nice photo of your dog can feel more posed with the dog looking at the camera. It’s a nice photo of a nice dog in a beautiful scene.
But playing with pose and gazing direction can change the feeling of the image completely. Suddenly the dog himself is enjoying this landscape he’s in, or he’s as majestic and powerful as the mountains, or he’s breathing in the fresh sea air, or he’s marvelling at the height of the waterfall. Even faceless portraits, where we can’t see the dogs eyes, can be incredibly powerful in landscape photography. Go have a look at some of your favourite dogs-in-landscapes photos and note how the dog is posed, and where he’s looking. Here are some examples of my favourites of more “epic” type photos.
Some of them are a bit old so there are some technical issues but the concept, pose etc I still love in a lot of ways
Weather & Light: Dogs in Landscapes
I would argue that the weather conditions or light conditions are even more important in landscape photography than in our normal portraiture.
Yes, in portraiture we don’t want patchy sun, or full sun looks harsh, but at least we can usually retreat somewhere shady, or find ways to kind of “hide” from the sun a bit. Or, if we get flat, grey plain white skies, we rejoice! A beautiful soft box! We can photograph anywhere! Hurrah!
But head into a landscape situation, where the top third of your photo is potentially going to be sky… or there’s nowhere to hide from the sun, and suddenly…
And while we can get nice soft light from flat grey skies, they do tend to be just that… flat and grey. Even clear blue skies with the sun behind the mountains is still pretty unexciting. It’s a bit like taking a portrait photo with a “meh” background on an open field. It’s fine. But it’s not going to be spectacular. As they say, “you can’t polish a turd”, and although you might have an incredible landscape in front of you, it will be very difficult to make it “next level” without something happening in terms of clouds or light. Go look at your favourite landscape or dogs in landscape photographers. Go and google “Award winning landscape photography”. Take note of the skies.
I really don’t have many examples of landscapes with plain grey skies. I must instinctively just not shoot under those conditions! Below you’ll see a couple of clear blue skies, and one grey sky where I added a sky replacement to spice things up a bit.
I cannot stress the point enough.
Weather events are your friend in landscape photos.
Sunsets are all well and good. Sunsets with dramatic clouds? So much more engaging and awe-inspiring.
Fog hanging in valleys? Great.
Clouds swirling around mountaintops without blotting them out? Perfect.
The sun shining through literally any cloud in any interesting way? Chef’s kiss.
Of course, dawn and dusk and golden hours are still great, and the light is lovely etc… but they will probably be even cooler when broken up with clouds and colours. This is, in a big way, what makes landscape photography much more of a “right time, right place” kind of event. In portraiture, we can go out on basically any day it’s overcast, or at any golden hour, and make it work and get amazing results. But landscapes really require us to be there at that dawn, or on top of that mountain on that particular evening, or to wake up before sunrise for that fog-filled valley to be lit by dawn colours.
These photos were taken three years apart. I returned to the lookout in 2022 with the hope of recreating something like the photo on the left, but without the MASSIVE blown out and ruined sky.
Unfortunately, the entire week we were there we had nothing but clear blue skies, so I decided we would just go up anyway and hope something interesting would happen.
And the sunset was fine. There were very slight colours in the sky. But nothing compared to the drama of 3 years ago. Both photos are fine. I just know the one with the blown out skies could have been epic if I’d known how to expose it properly. And the new one is also fine… but to me, it’s not the most exciting photo I’ve ever taken.
These photos were also all taken at more or less the same location. The first, in 2018 so please don’t mind the editing. The last two were taken in 2021. We got up at dawn, hoping for light kissing the top of the mountain, cool clouds, or basically anything, but it just wasn’t meant to be. There were some vague clouds floating around, no sunrise sun… nothing much at all. I did a bit of editing magic to try and cope the kind of conditions I’d first seen in 2018 and to give it a true dawn feeling.
In the last photo here, you can see the clouds and sky how it was. Again, the photo is fine, but it’s certainly not spectacular.
But what if I have to take landscape photos in full sun?
Then, they will be what they are: photos in full sun.
There’s no way around this. There’s no magic solution to make the sun less sunny or less harsh unless you get up earlier or start later. Yes there are filters for your lens so the sky part of the image will be darker than the lower part (eg., a graduated ND filter) but this will not make the sky more interesting, or the light on the dog less harsh and intense.
If you are travelling, then yes, take the photos for your own memories – but don’t expect them to maybe be as dramatic or awe-inspiring as if the weather conditions had been different. There’s a reason landscape photographers primarily shoot early or late in the day and you rarely (if ever?) see stunning landscape photos in full, midday sun.
Artificial Light
One option, if you’re so inclined, is to introduce some artificial light into the scene, particularly if you’re dealing with full sun. There are a couple of photographers I can think of who employ this style, often they will use a very wide-angle lens and shoot with the sun somewhere behind the dog, at a very narrow aperture to create a sun-star, using a flash or strobe to overpower the sun and make sure the dog and the sky are both correctly exposed.
In this case it becomes as much about this particular style as it does about the landscape, and it’s telling a very different story to this powerful, dramatic, majestic landscape scenes that I am usually chasing.
Since flash is definitely not my style, I probably can’t help you with achieving this particular look.
Lens Choice & Settings for Dogs in Landscapes
Table of Contents
Lens Choice
What lens you choose depends on if your landscape is grand (mountains, valleys, big skies, etc) or smaller/needing less to be shown.
Big landscapes work best with wide lenses, from 20-35mm.
Smaller landscapes like waterfalls, MAY work better with a 50mm lens, or even an 85mm. An 85mm lens can make a small-ish waterfall look much more impressive, due to the compression! So don’t feel like just because you’re taking a photo of a natural space that you need to whip out your wide-angle lens. Sometimes this can be too much detail.
One thing to remember as well is that compression can work to your advantage. If you’re especially far away from the mountain range, using a wide angle lens will make them look pretty small and insignificant.
Use a 135mm and suddenly they appear much closer, much bigger, and much more impressive. Playing with compression even in landscape situations can really help make parts of that landscape appear larger (eg., bigger more imposing mountains) but the landscape itself won’t appear as large.
Settings
It’s a popular belief that when taking landscape photos, a narrower aperture is better, to get more of the scene in focus. I would argue this is true when taking photos of landscapes alone, however as wth portraiture, too much detail can draw attention away from the dog. If we see every blade of grass and every rock on the mountain, we are creating more opportunities for our dog to be overwhelmed by the scene.
This is especially true if you’re already creating a much wider depth of field by: using a wider angle lens and being further away from the dog. There is already a large amount of the scene in focus. It’s important to understand how to make your depth of field wider or narrower through lens length, aperture, and distance from your subject, to get the results you want.
Personally, I find slightly soft mountains prettier than highly detailed in-focus mountains, but that might be my personal preference in this case.
If you do find yourself shooting with a wide aperture (lower f/ number) don’t be surprised if you end up with ISO 100, and therefore having to use quite a fast shutter speed! Because we are in very open areas with lots of bright sky (with the exception of waterfall/ferny glade-type landscapes), they are typically quite well lit. There is never going to be a problem with making your shutter speed faster!
Depth of field: distance from subject
The first four photos here were taken at basically the same location, but each is closer to the dog. The settings don’t change however. All were taken at f/3.2 with the 35mm lens. Notice the way the background changes throughout the series.
So once again, it’s important to consider our depth of field in landscape photos. Because of course we want to be able to see the landscape, we have to remember that the dog is likely to be a smaller part of the overall photo, and is therefore already competing with some quite large elements that he has to stand out against.
If I were to re-do the photo of Journey in the rocky mountain scene from above, I would for sure want much, much less detail in those rocks. There is SO MUCH going on there that he is totally lost in it all. And maybe that can be an artistic choice too: Look at all these cool patterns/textures etc… or maybe, it can just be too much. Don’t feel like your landscape photos must have an extremely wide depth of field with absolutely everything in focus in order for them to be good.
Exposing for Highlights
A very important factor for your landscape photo is retaining detail in the sky. After all, part of the drama or beauty of your landscape (if you’re doing a “big landscape” rather than a waterfall or similar) is going to be the sky. See more in the “Weather and Light” topic.
But this means we are going to potentially be facing some exposure challenges that we don’t normally face when in the woods.
We need to know how to choose our exposure settings so we keep all that detail in the sky (whether it’s cloud textures or sunset colours) so we don’t end up with huge white blobs in the sky, OR with it entirely washed out and white without colour.
or
we need to have tools to be able to make the situation work.
Personally, I try and generally capture the scene in one exposure (rather than taking multiple photos/bracketing) – just because I find it a bit annoying to have to match the darker sky photo to the brighter subject photo. But that’s just me, and I know my camera can handle it.
By keeping an eye on the histogram you can usually make an educated guess as to whether you’ve blown out the highlights…. however it’s not 100% accurate as you’ll see here:
Based on this histogram, the sky is a disaster. There is a HUGE spike on the far right hand side, indicating it was blown out. It’s going to be totally ruined, and I fully expected it to be, and I took another photo at a lower exposure (darker) so that I would be able to fix any areas that were blown out…
And yet….
This was the edited photo. There are one or two areas that are maybe a touch blown out but nothing compared to what I expected from the histogram.
Keep in mind that in our normal portraits, even a small spike to the right hand side when shooting backlight makes the bokeh totally white and without data. My suspicion here is that the sun was high enough and filtered enough by the clouds that although it was extremely bright, it didn’t actually loose data, unlike when you’re shooting through leaves and branches for texture, but the sun/sky on the other side is clear (and therefore has no further texture or filtering effect), and also that the balance of light is better, so we don’t need to underexpose as much to combat the light from the sky as we do when we’re in the woods.
In the gallery below, you’ll see some SOOC photos with their histogram, and the edited photo attached. Retaining detail in the sky is super important for me BUT… you are always going to have less blown out areas when there is a good amount of cloud cover, than if the sun is shining somewhere in the photo. You really cannot underexpose for the sun, and this is where you need a flash to overpower it. So making sure there’s clouds, or at sunset, making sure you keep the sun just out of the frame (you’ll see this in some of my sunset photos, the sun itself it just out of frame to the right) will make it less likely for you to blow out the highlights.
These photos are mostly only lightly edited. I wanted to show you the SOOC with the histogram, and an edit where I’d pulled out detail from the sky, to show you where some have blown-out areas, and others not.
In general, watching your histogram is highly recommended, but if you find yourself in a situation where you are already underexposing your subject quite a lot (as above. I didn’t want to go any darker on Journey) or you know your camera doesn’t handle underexposing that well, then you may need to use bracketing to help.
Bracketing
Bracketing can either be done manually, by you taking 2-3 photos at different exposures, or many cameras have this as an option for it to take 3-5 photos in rapid succession, at different exposure settings.
The idea here, is that you can take one photo for shadows, one for midtones, and one for highlights.
I usually simplify my life, and take one photo for the subject to be decently-well exposed, and one for the sky/highlights to now be blown out. I then mask these two together in Photoshop.
This can take some trial and error, especially in regard to how light/dark each of your exposures is, and where the subject is placed! If you have the dog with a bright sky directly behind it, and try and mask in the darker exposure, it’s going to be precise, tedious work and probably not look so natural. Similarly if you’re underexposing other bright elements, like water reflecting the sun, and this is around the dog, the exposure of the two “pieces” of the photo will be “off” if they’re drastically different from one another.
Here is an example of bracketing but done reasonably subtly due to the issues with a big mismatch in sky exposure vs. subject exposure. The sky photo is only slightly darker than the subject one, so Loki was still underexposed, but not as much as he would have needed to be if I’d just tried to expose everything for the sky.
In this second image, the sun had this most incredible spotlight shining down – and only for a second. So I snapped the photo with whatever settings I had at the time, then took one at a lower exposure to try and save the sky. As you can see, even in the lower exposure image, there is still a blown out spot where the sun was. The changes I’ve masked in are just to try and take away some of the distracting blown-out areas in the original, rather than to replace the whole sky.
If your camera can do auto bracketing this is also an option, however you need to make sure that it isn’t dropping the shutter speed to be too slow, in order to get more light to the sensor. This could result in motion blur and unusable images.
Long Exposures
One more fun thing to try if you have very patient and solid dogs, is long exposures.
These are great for waterfalls, rivers, creeks and so on, to get that beautiful water-trailing effect.
In this case, you will be putting your shutter speed right down to about 1/10 of a second. I highly recommend you have your camera on something: a tripod, rock, your camera bag. There is already a very high chance of motion-blur from the dog simply breathing without adding in your hand motion. I also use the self-timer function on 2 seconds, or my remote shutter release with these photos, as it means there is no movement at all to the camera when I press and release the shutter button.
Since you’re letting in SO much light from the slow shutter speed, it’s highly likely your ISO will easily be at 100. Your image may still be overexposed, so in this case you will need to narrow your aperture, since there’s no other way to bring the exposure down (without a filter on your lens!).
You could theoretically also create these photos in two parts: one for the dog at a faster shutter speed, and one for the water much slower… but in the case of the photos above, I think masking around the dog will be a pain. And there may be a difference in noise or depth of field, since raising the shutter speed for the dog means needing to either raise the ISO, or widen the aperture. Of course, adding some noise to your background waterfall part of the image isn’t that difficult.
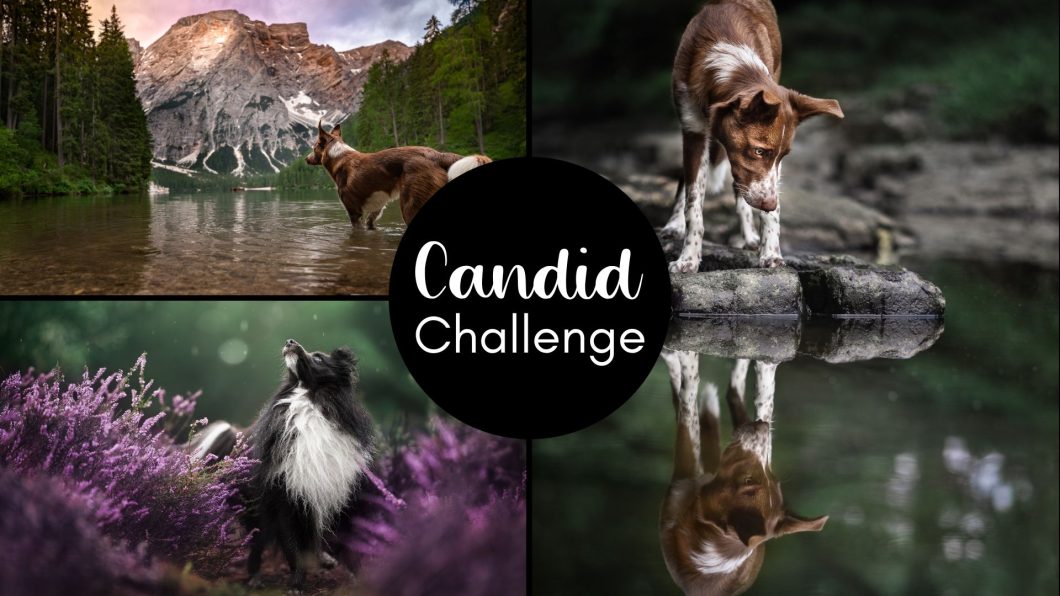
Challenge 3: Capturing Candid Moments
This challenge is about candid photos. Candid moments can show our dogs more naturally, exactly as they are. They can be hard to capture, depending on the dog! Some dogs will race around unprompted, but others will end up “sticky” and hanging out with you wondering what’s up.
It can also be difficult to work with lighting when you are letting the dog roam around and be candid – shadows or side lighting can wreak havoc on your photos!
Similarly, getting two dogs in focus can be hard if you still want a narrow depth of field. Composition can also be challenging! It’s easy to chop off parts of your dog/s or frame them less than ideally when they’re wandering around.
The best candid photos:
- still make use of light and location, with decent composition
- tell a story, or show something particular about the subject
- can be posed, but then the dog moves or does his own thing. The main thing is that there is a “trueness” about the dog in the photo
Other dogs, who won’t love posing, looking in a certain direction, or constantly being the model, will probably produce candid photos much easier, as they move around their environment, look for squirrels, listen to birds, and explore their environment.
Some examples: