Archivesdepth of field

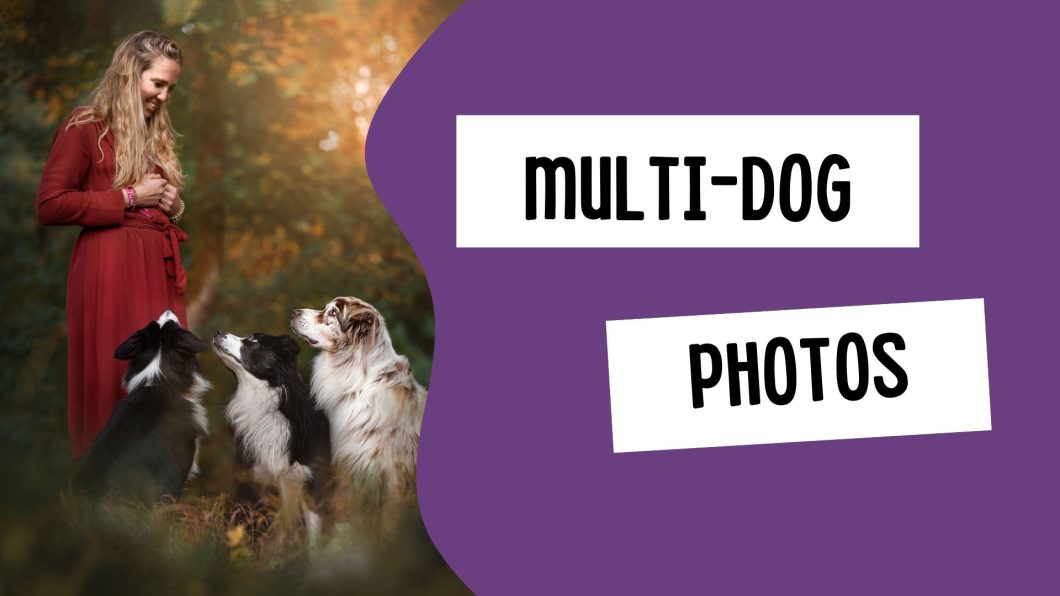
More Than One Dog / Dog & Owner Photos

Now that you’ve read through the depth of field lessons you may be thinking: Ok then, but what if we need to get more than one person/dog in focus?

Or, every time you try and photograph a dog and a person, only one of them is in focus. 

Of course, this all comes back to the plane of focus. 

In this lesson I’m going to use the term “group photo”. This could refer to a group of 2 or more dogs, or dog and owner, or multiple dogs and an owner… the concept is the same. 


Two methods for group photos

There are three ways to take in-focus photos of multiple subjects.

  1. Use a wide plane of focus so even if they aren’t in a perfect line, they’ll still all be in focus
  2. Make sure they’re in a perfect line
  3. Take multiple photos, focusing on each subject, and edit the photos together in Photoshop.

Obviously each on of these has their pros and cons, so let’s explore. 

Option 1: Change your plane of focus

In general, when we’re taking portrait photos, we want a soft, blurry background and narrow depth of field. This helps eliminate distractions, gives us background and foreground blur, and generally just suits the style more.

But of course, with a narrow depth of field you can run into trouble with multiple subjects. Let’s assume our plane of focus is only a few cm wide. If one subject is even just a little bit forward or back from where the camera centred its focus, that subject will be outside the plane of focus. So the nose may be in focus because it’s still inside that plane… but the eyes won’t be.

Below, I’ve created this scenario. The dashed yellow line is the centre of the plane of focus and will be the sharpest area of the photo. From there, it rapidly starts losing focus as it gets further or closer from that line.

You can see exactly this occurring in the photo below of Loki & Journey. Loki’s eyes and most of his nose are in focus… but only Journey’s nose is. Notice how he’s sitting slightly back from Loki. In this photo, I focused on Loki’s eye (because I use Option 3 to take group photos). 

If I had wanted both dogs to be in focus in this situation, without moving either of them, I would have a couple of options to do so:

  • Narrow my aperture. This was taken at f/1.8
  • Move further away from them
  • Possibly use a wider angle lens.

Can you see though, that each of these options comes with its own set of difficulties?

I think that in order to get both dogs in focus with my 135mm lens, even with them only being slightly apart, I would be looking at at least f/4, f/5.6, maybe f/7… maybe even narrower. The further out of line they are, the narrower I would need to make my aperture.

This of course means I would need to put my ISO up. The settings were: f/1.8, 1/400 sec, ISO 640. If I wanted to go to f/5.6, the settings would need to be: f/5.6, 1/400 sec, ISO 6400.

You can see this is a HUGE difference in settings, with potentially a large loss of image quality, more noise, less detail etc. It’s really only feasible on a bright, potentially sunny day. 

Add to that, you’re going to get a lot more detail in the background/near surroundings of your image too. 

You could mix these methods up – move further away from your dogs AND narrow the aperture… but this is also going to mean less pixels making up the image of the dog (less detail for the dog), and again, more of the background & near surroundings in focus.

If the two (or three or four) subjects are even further apart – like a dog sitting on a person’s lap, then the plane of focus is going to need to be even WIDER to get them both in focus. 

Option 2: Make sure they're in a perfect line

By lining your dogs/dog and subject up perfectly, you can use a narrow plane of focus and still have everything and everyone in focus.

Speaking from experience, this RARELY happens and is a very risky way to go about getting group photos. One of your subject could be 2cm too far back, and their eyes will be out of focus. Dogs move. People move. 

I think of all the group photos I’ve ever done, I can think of MAYBE 3 where I haven’t used option 3, but have simply lucked into having a photo with both dogs in focus straight out of camera.

Notice how Laura and Dusty are side-on to me. This is going to make it MUCH easier to get them both in focus, than if they are facing forward looking forward the camera.

I have so few examples of using this option that I honestly can’t find any more examples!

Option 3: Multiple Photos & Photoshop

The last method is definitely my preferred method.

Essentially, I take some photos of dog 1, and some photos of dog 2. I bring both photos into Photoshop, and perform a headswap. The technique is quite simple. If you’re in the Learning Journey, you can check out the lesson here. 

This technique requires some editing skill, but it means your two subjects can be out of line (within reason), and you can keep your aperture nice and wide for that soft, creamy background. 

Here are some examples where I’ve used this technique.

You can probably safely assume that in 99% of my multi-subject photos, I will have done a head (and/or body) swap. 

In the cast of the backlit photo of Loki and Journey on the stump, I think the final photo of Journey was a combination of 3-4 different images to get him looking how I wanted him to look. 

Conclusion

There’s no way to “Cheat” depth of field. It’s physics. You can actually find calculators online that will tell you how wide your depth of field will be depending on how far you are from your subject, and what aperture you’re shooting at. 

This one is excellent, as you can slide things around, adjust the settings, and see how it changes. Bring the model right up close and watch her nose go out of focus, then come back into focus as you move her backwards. Down the bottom you will see the “Depth of field” and how it goes from mere centimeters wide, to meters wide – of course being able to be affected further if you change your aperture. 


Zooming in… Zooming out

Recently, I taught a one-to-one lesson in person with one of my Learning Journey students and we came across an interesting situation.

To note, I don’t ever use my zoom lens. I have one, but I don’t use it. But this student was using a 70-200mm f/2.8 lens – super common amongst pet photographers!

She had the lens zoomed in to 135-200mm which would also be my recommendation, and had the lens on a crop-factor body. So… suddenly, at 200mm, we have a huge amount of compression, and cropping of the scene.

Now, I’m a BIG fan of compression… but in these woods we’d found a couple of beautiful backlit areas with sparkly bokeh, and while we could get really cool rimlight around Journey, we were missing out on the charm of the location because of the compression of the scene! eg., We were only able to see a really tiny amount of the background because of how much it was ‘pulled toward us’.

But of course… we didn’t want to loose that narrow depth of field by simply zooming out to get more of the scene in in order to see the bokeh. If we did, all the leaves, grasses, and stuff in the foreground and background would be more in-focus, with more detail. Not what we necessarily want!

So I suggested to this student that she play with depth of field here. 


What we did:

I suggested my student zoom her lens OUT. Maybe all the way…. and then move HERSELF toward Journey. By zooming OUT, we have less compression, and more of the scene/background in the photo… but by moving CLOSE to Journey, we narrow up the depth of field again!

Below are the two different photos we got. Journey hasn’t moved, but the student has zoomed out and physically moved herself forward in the 2nd photo.

So this is just a reminder that if you are using a zoom lens, that although zooming all the way in gives you beautiful, soft backgrounds, and lovely compression, you can play with the zoom length and how close you are to the dog to include more of the scene in, if it’s beneficial to do so. 

Don’t feel like you always HAVE to be zoomed in – or you might be missing some pretty bokeh oportunities.

QU: I only have a “kit lens”! Does that mean I can’t get blurry backgrounds?

Do some experiments using the above guidance and see. Most likely, it will be more difficult, or the background blur effect won’t be as strong. You won’t be able to get photos with the soft backgrounds like I have with my 135mm on an iphone. It’s just not going to happen. Of course you can use portrait mode, but it does have some issues especially with the furry ears of long-haired dogs, because it’s an artificial blur and relies on the phone’s technology to recognise what is the subject, and what is the background. 

It’s also possible to blur the background in editing, but in my opinion and experience, this is VERY difficult to do in a way that appears believable and realistic, because of the way depth of field operates – it’s hard to mimic without some effort. There are probably apps out there which may be able to do it, again they will rely on being able to distinguish the subject from the background and blur only the background.

In my opinion, if you have a phone, your best bet is probably going to be using portrait mode. There is SOME depth of field if you get close enough to the dog, and some phones’ portrait modes and DOF will be better than others. 

If you have a camera, I would seriously recommend investing in a lens with a wide aperture (f/2.8 or smaller f/ number), and a mid to long length. Make sure you check out the “Choosing a Lens” lesson for more information. A good quality lens, with a wide aperture, can do wonders for your photography, as it can achieve effects that other cheaper lenses just can’t due to their construction. 


Distance from the subject to the background

The further the subject is from the background, the blurrier/softer it will be (relative to all the other factors discussed in this lesson). So, if you place your subject amongst the bushes, then a good amount of those bushes will be in focus. If you place the subject far away from the bushes, they will be blurry. Let’s have a look:

Distance from you to the subject

One big factor which affects depth of field (and therefore how blurry the background is) is how close you are to your subject. The closer you get, the narrower the depth of field will be. This is especially important with wider focal-length lenses, as you may need to have them in a very tight headshot in order for the background to be blurred.

This is a big reason that action photos can be especially difficult, as the dog closes the distance to us, the depth of field becomes narrower so the focus needs to be more precise, and the dog is quite a small creature so they are already especially close to the camera compared to other moving objects that we tend to capture with the camera like people, cars, horses, even birds in flight tend to be much, much further away. 


Remember!

The closer you are to your subject, the narrower the depth of field, and… 

the further the subject is from the background, the blurrier it will be!

Try it yourself. Hold one finger up and close one eye, like you’re looking through a viewfinder. Start with your finger outstretched, far from your face.

Now move it very close to your face. The background should be much, much blurrier now than when you had the finger outstretched!

In each of the images below I have outlined the focal plane (the area which is in focus) between the two purple lines. Although the width between the lines looks the same, keep in mind the actual distance represented! In the first image, approximately 50-60cm of the image is in focus, taking in part of the grass in front of and behind Loki. In the second image, the area from just behind his snout to his ears is in focus, probably about 10cm. In the last image, only his single eye and a narrow strip of his face is in focus, probably about 2cm. 

These were all taken with the exact same lens at the same settings (f/1.8), with my 135mm lens. The only difference is how close I was to Loki. The closer I got, the narrower the depth of field became!

Consider these three images below, compared to the ones above.  These were taken with a 28-75mm, f/2.8  lens. You can see that it takes until the very close headshot to get a very blurry background. The middle photo is slightly soft, but definitely not blurry. 

Mountain examples

Below, you will see photos taken in more or less the same location. The settings for each are the same: f/3.2 with a 35mm lens. The only real thing that changes is the distance from me, to my subject. Note the difference in the background in each photo.

Again, same location, same settings. The difference? Distance from me to the dog. Note the difference in the blur of the mountains behind.

Multiple lens examples

Here, I took a series of photos for this lesson, to show you how varying my distance from the dog would affect the DOF and background of the image. You will see these again in the “Lens length” topic.

They have all only been very lightly edited. 

Each time I moved back slightly, but how far I was from the dog was relative to the lens. Eg., the closest photo with the 135mm was likely the furthest distance I got with the 35mm. 

135mm

50mm

35mm

Assignment!

Go out and take a series of photos as shown in the last examples in this lesson.

Take some photos as close as possible without chopping off the dog’s ears.

Now move back a little, take a photo. Back a little more, take a photo, etc, until you have 70% scenery, 30% dog in the scene.

Note what happens to the background each time you move back.