
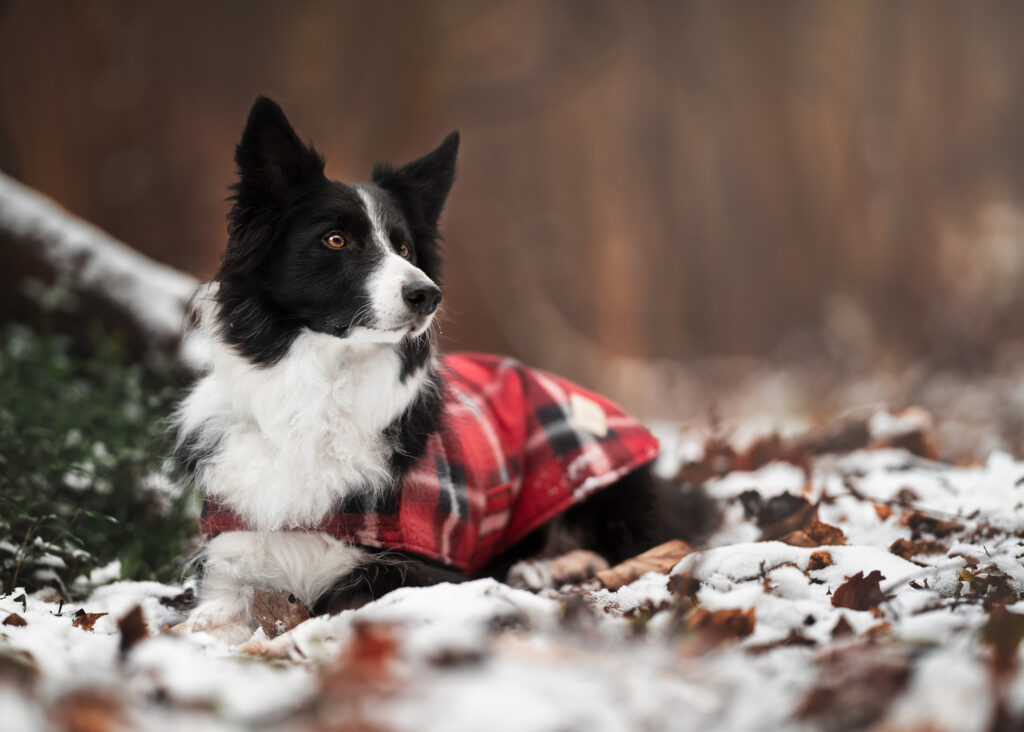
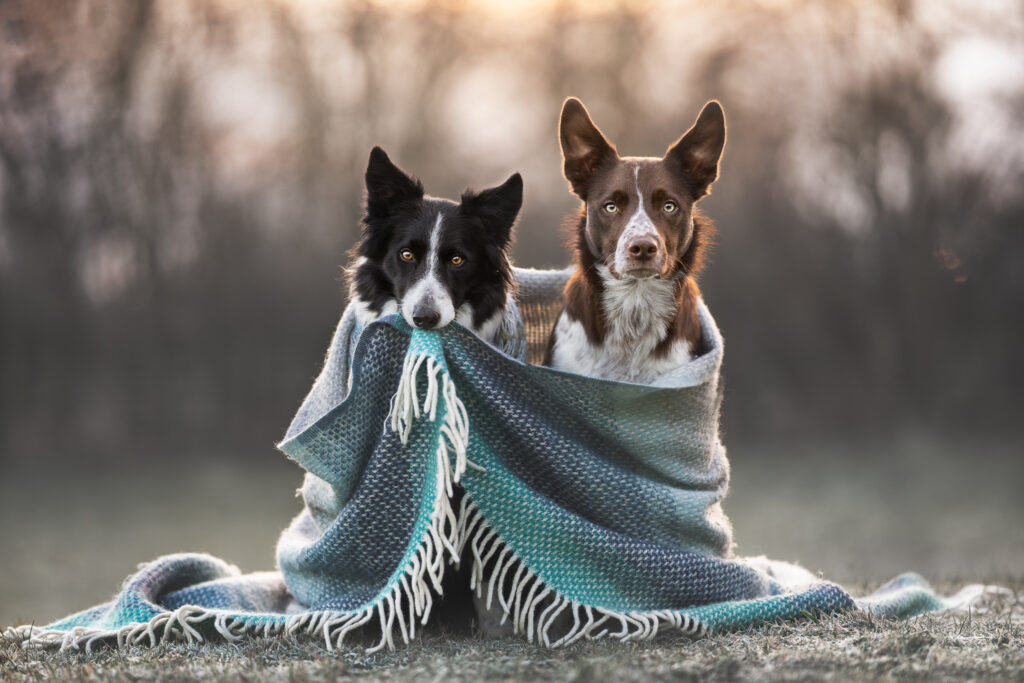
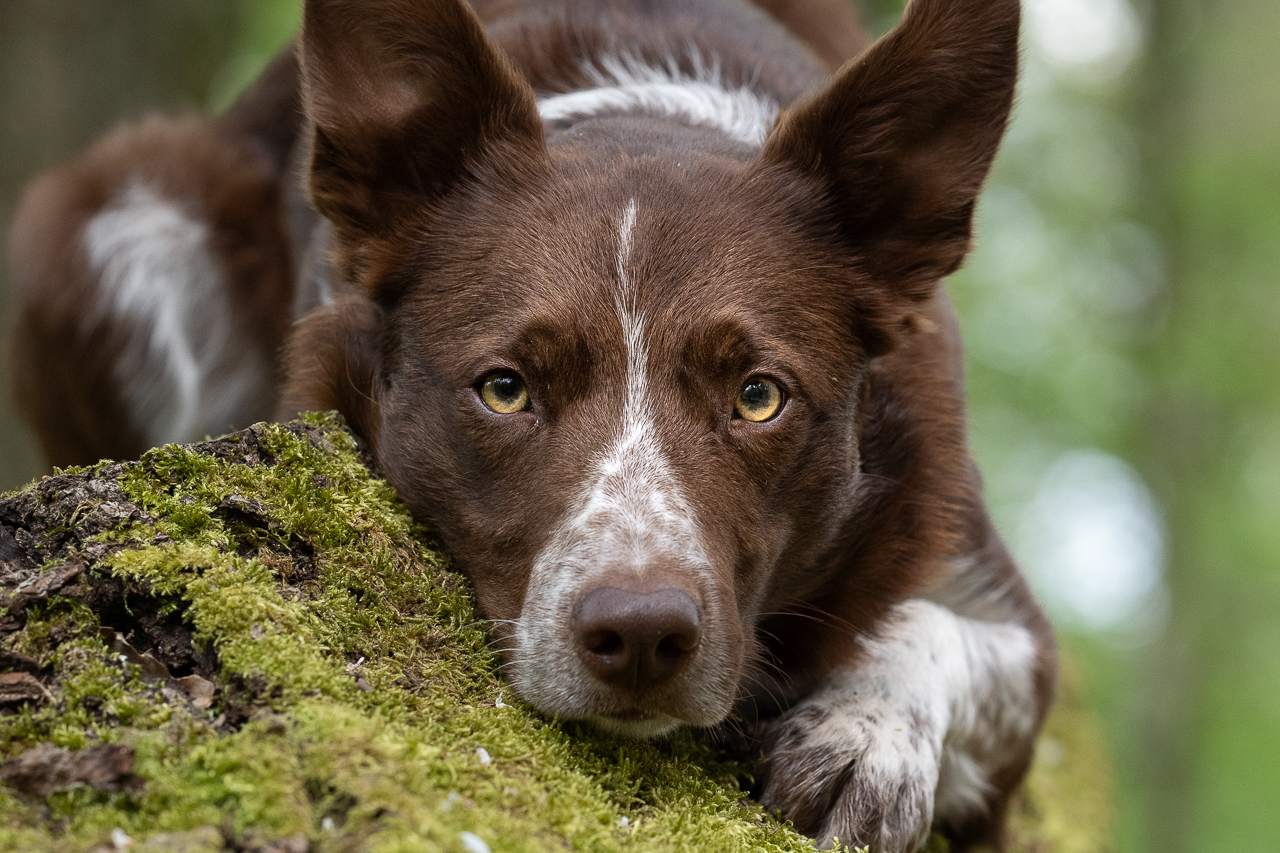
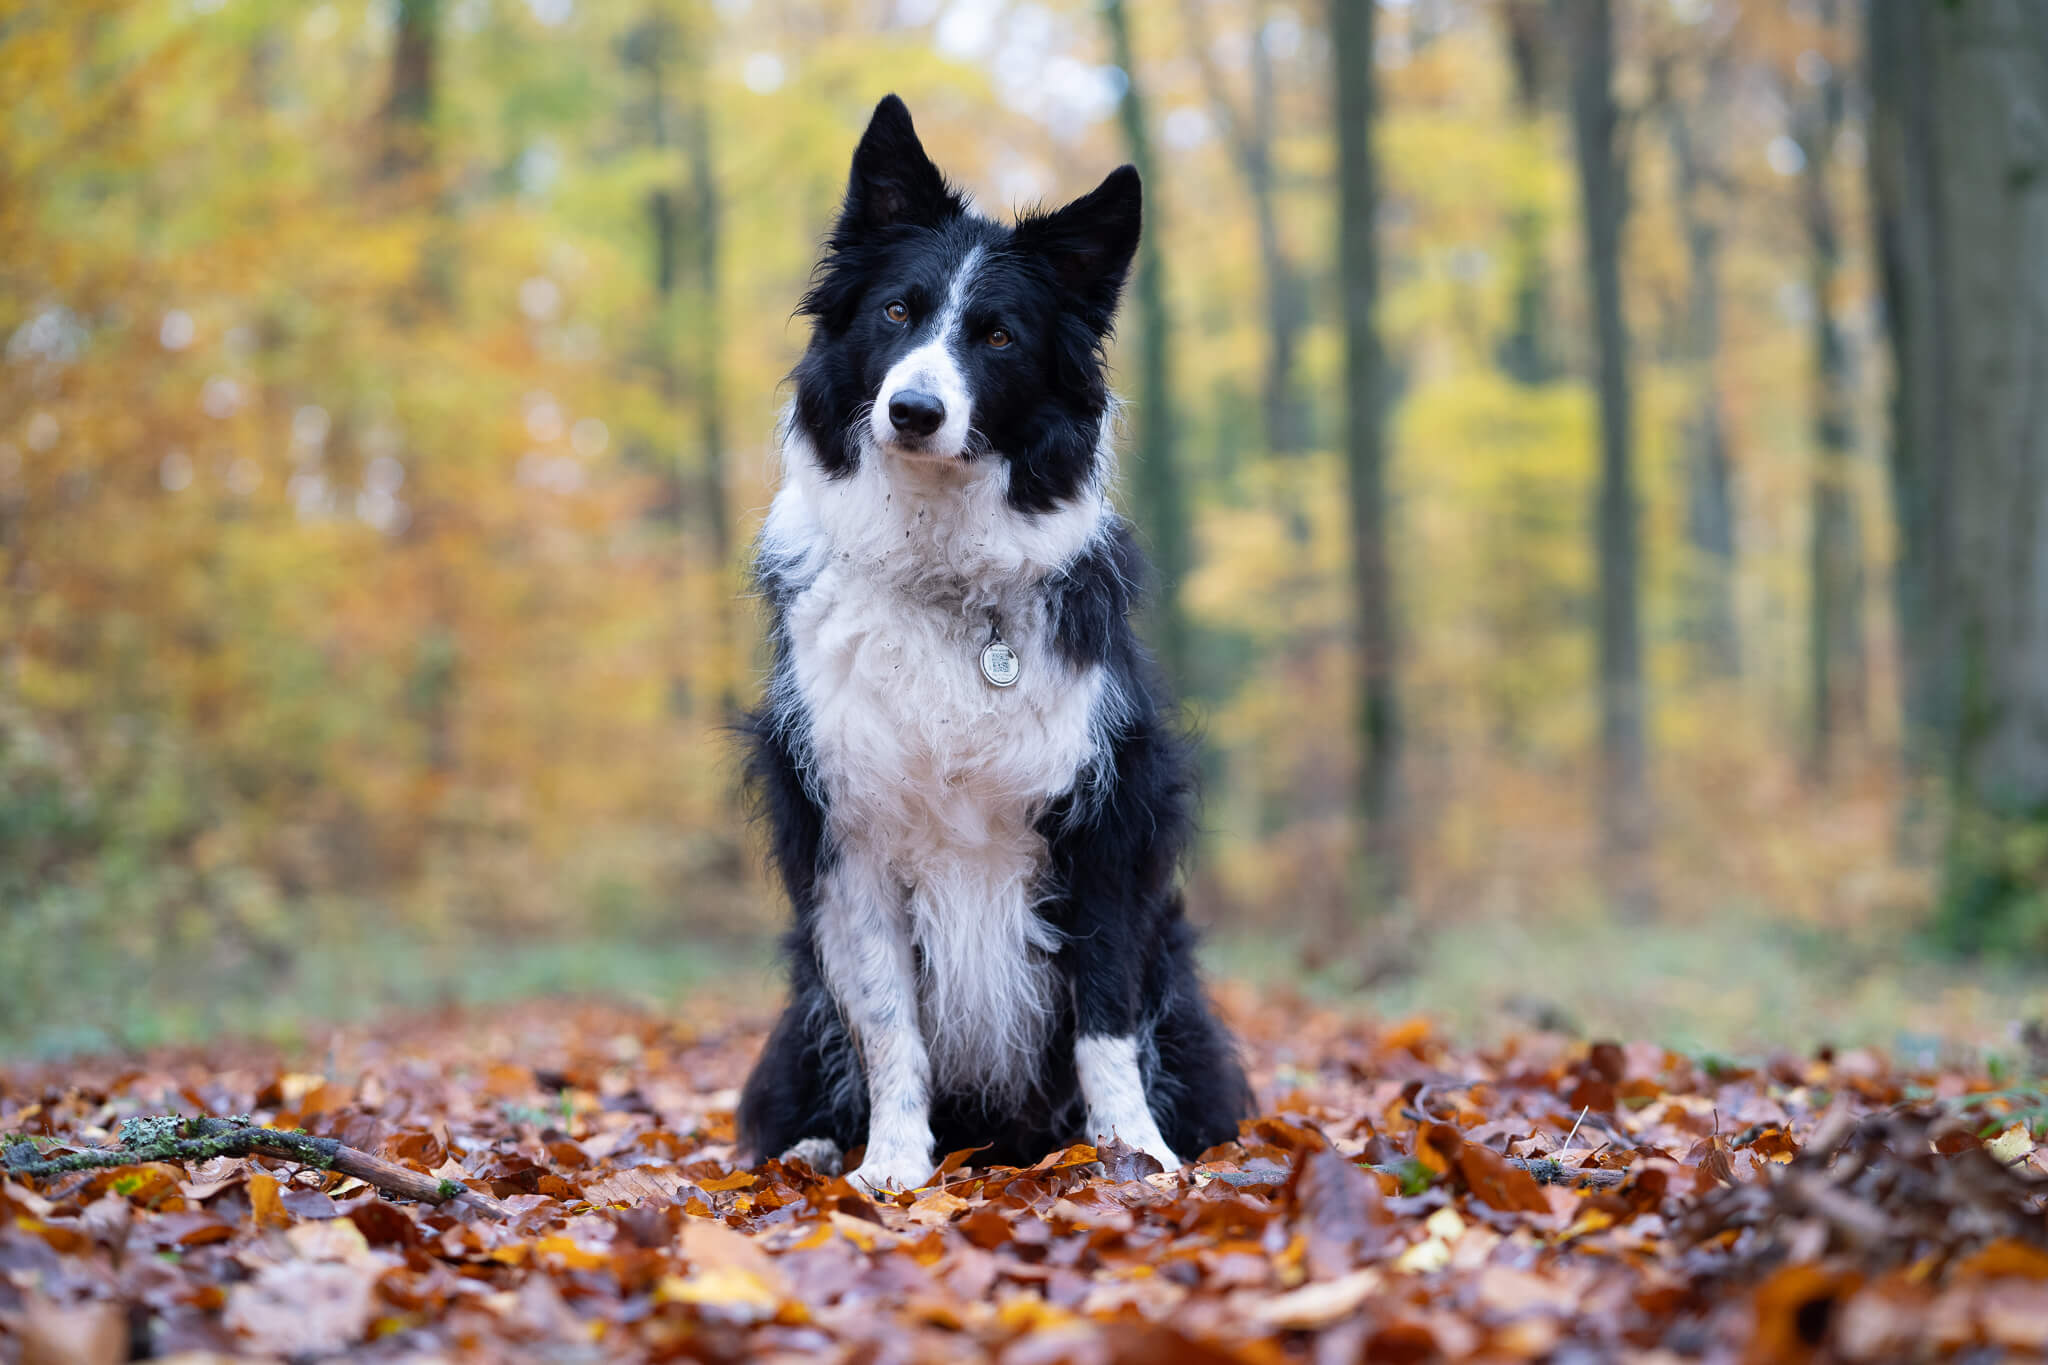
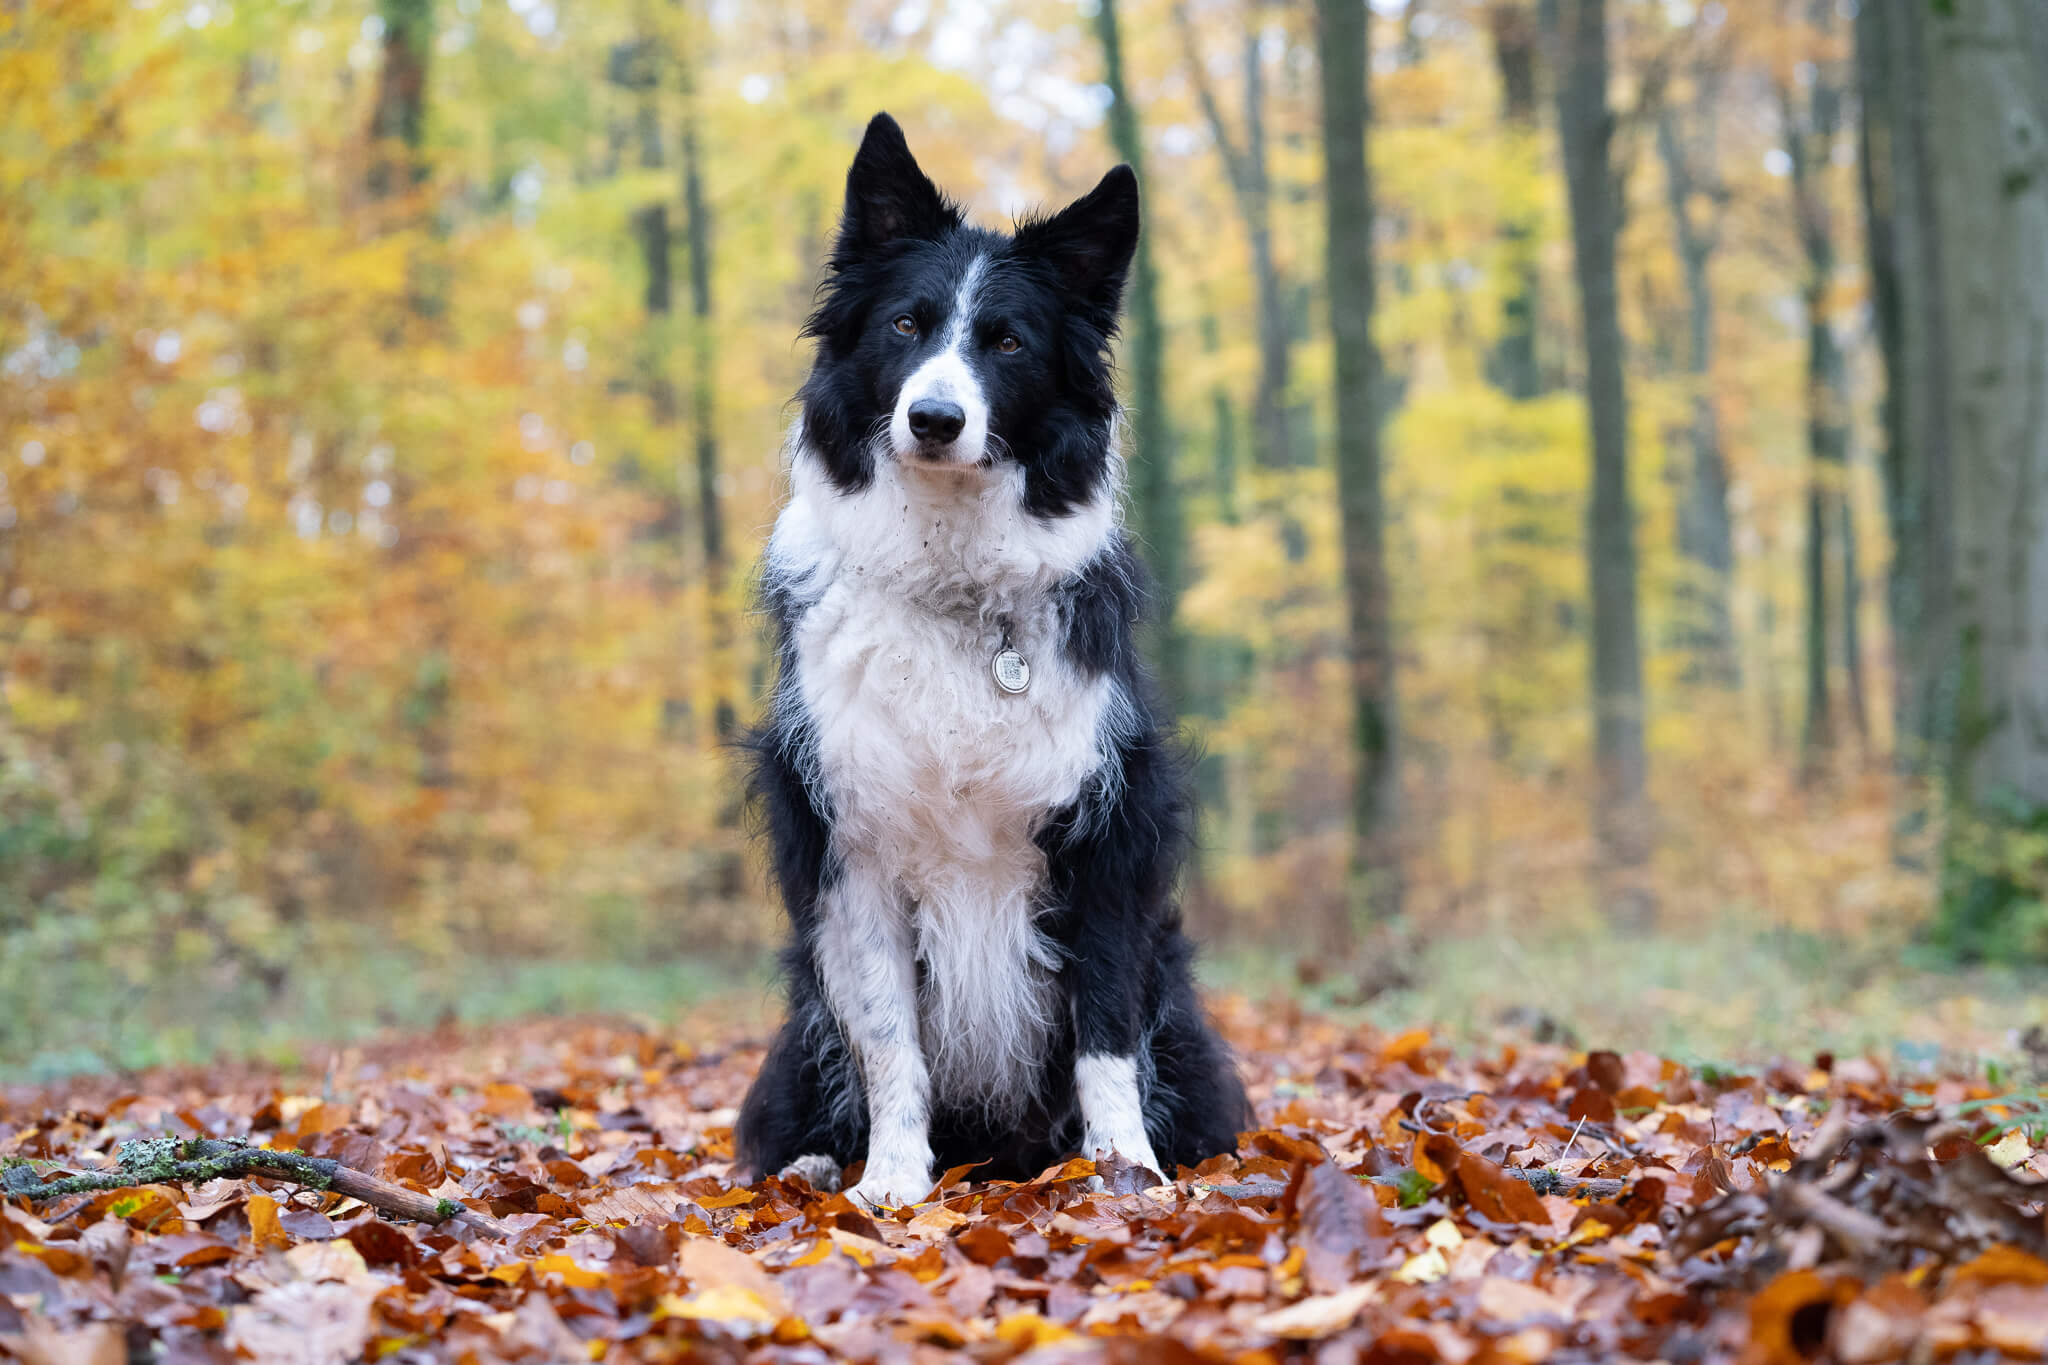
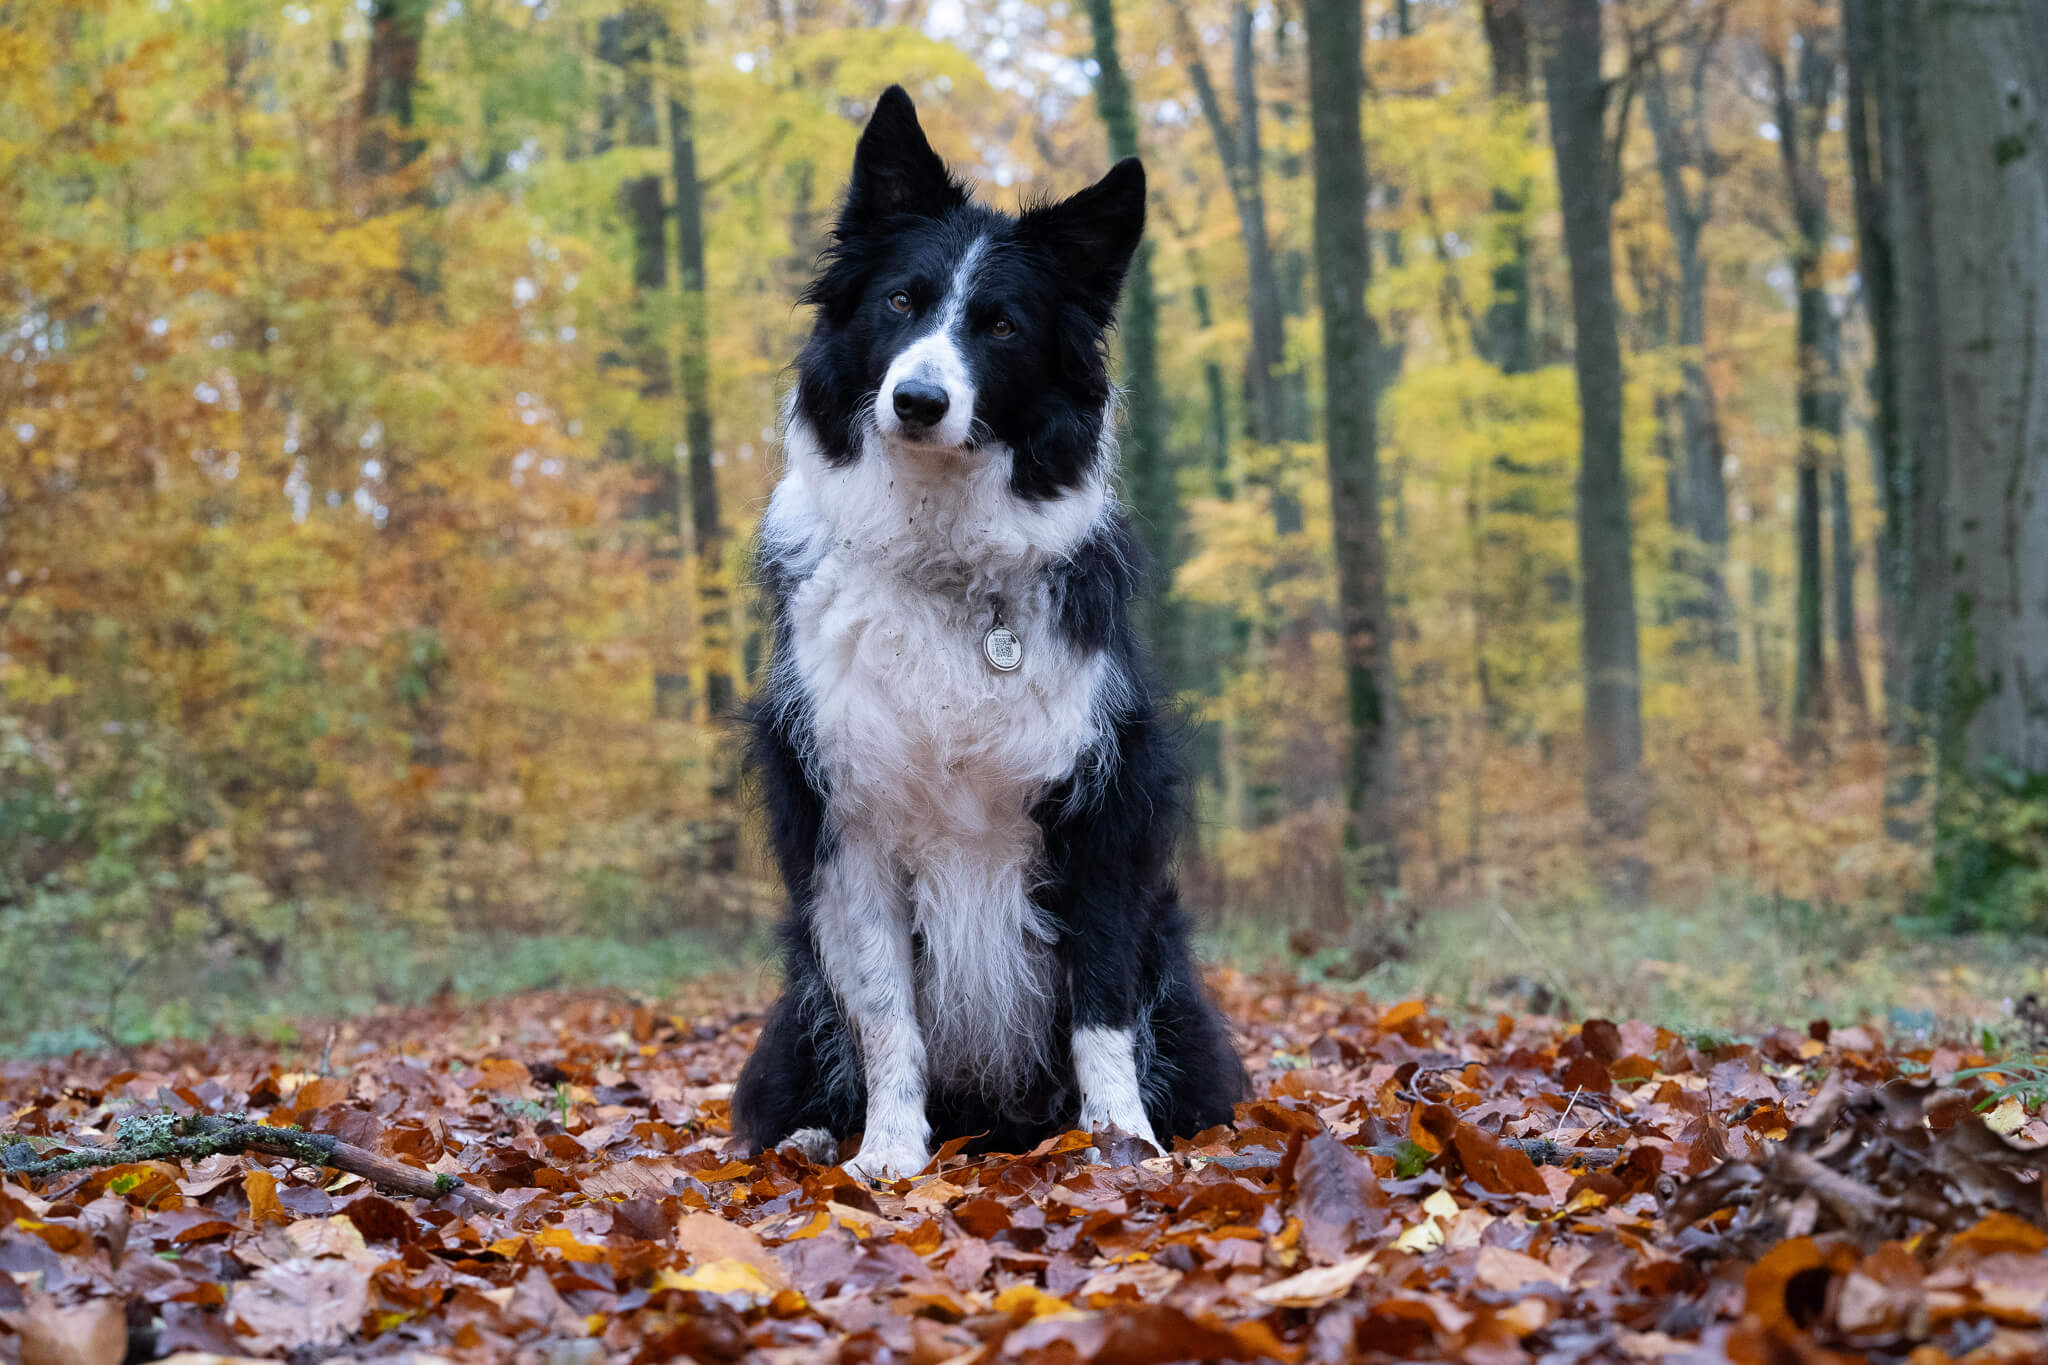
 1/400 sec, f/2.8, ISO 1600
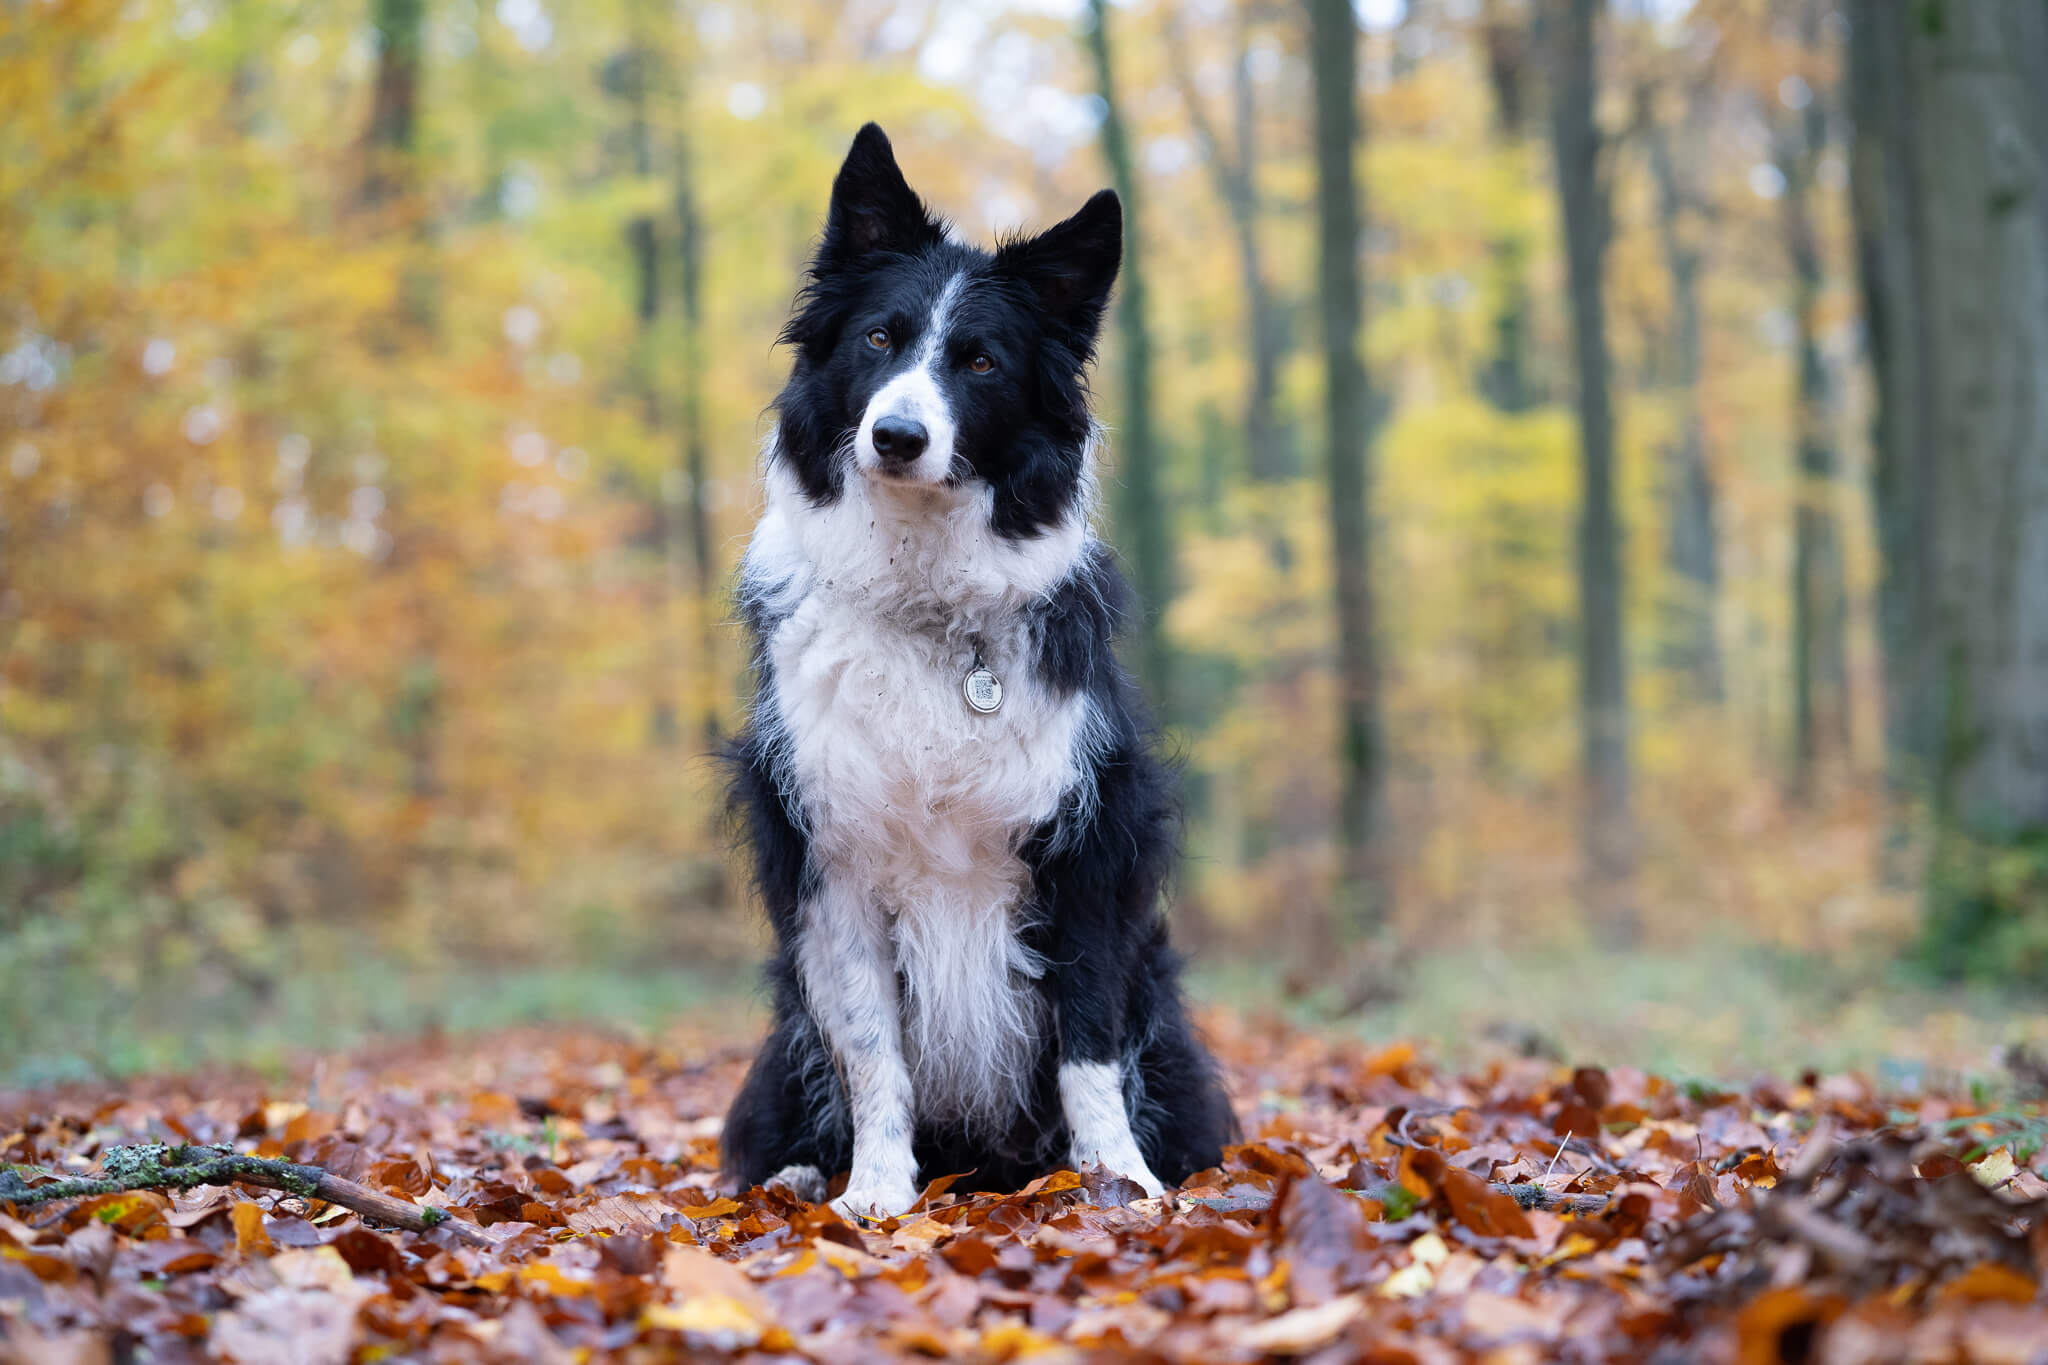
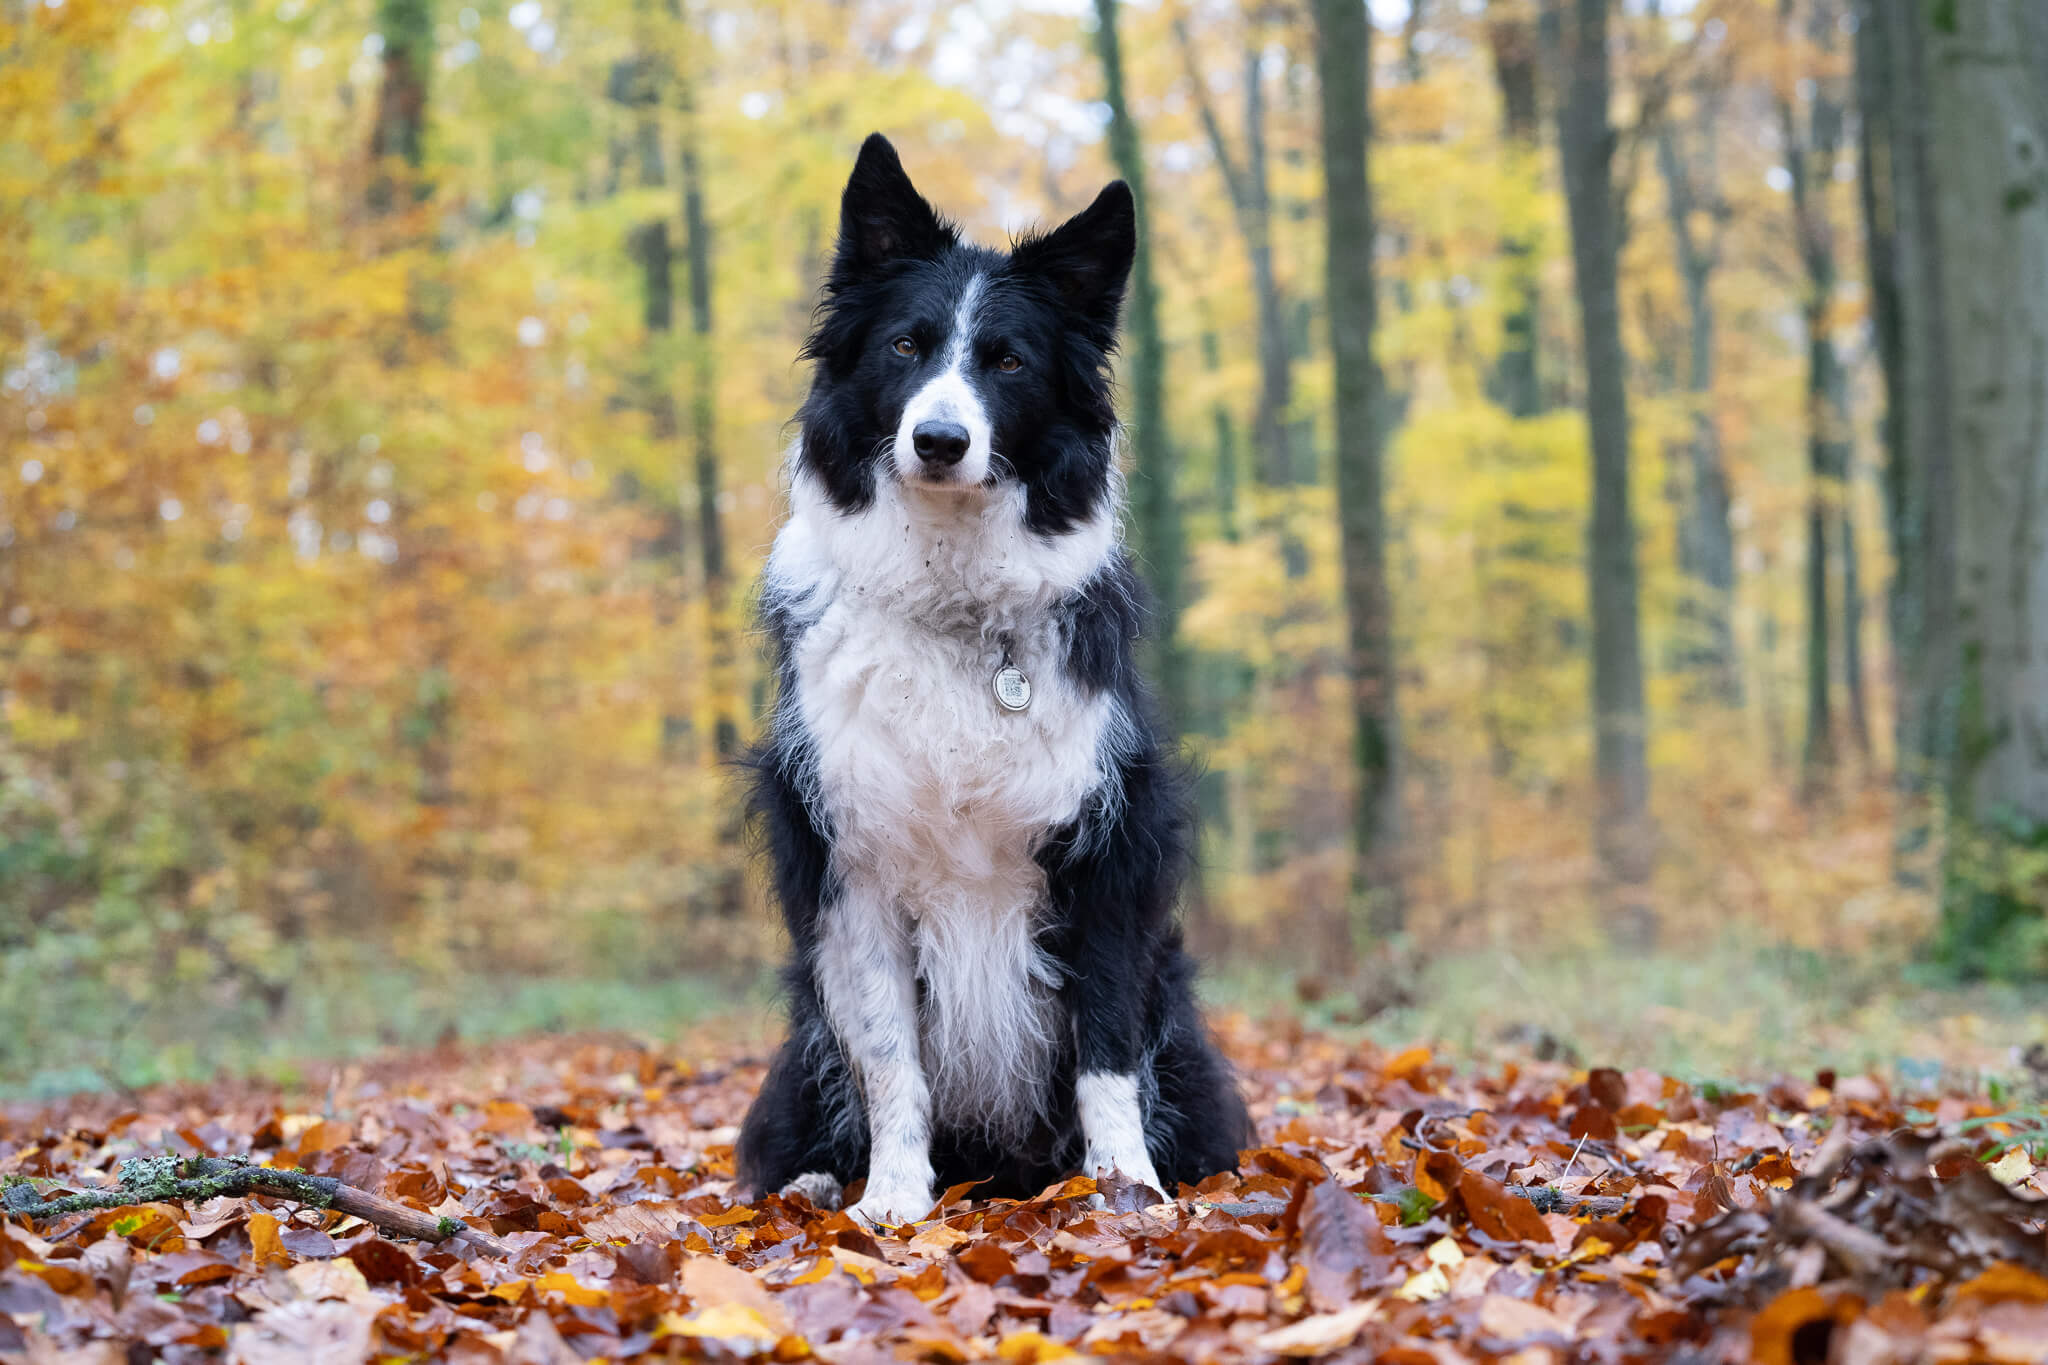
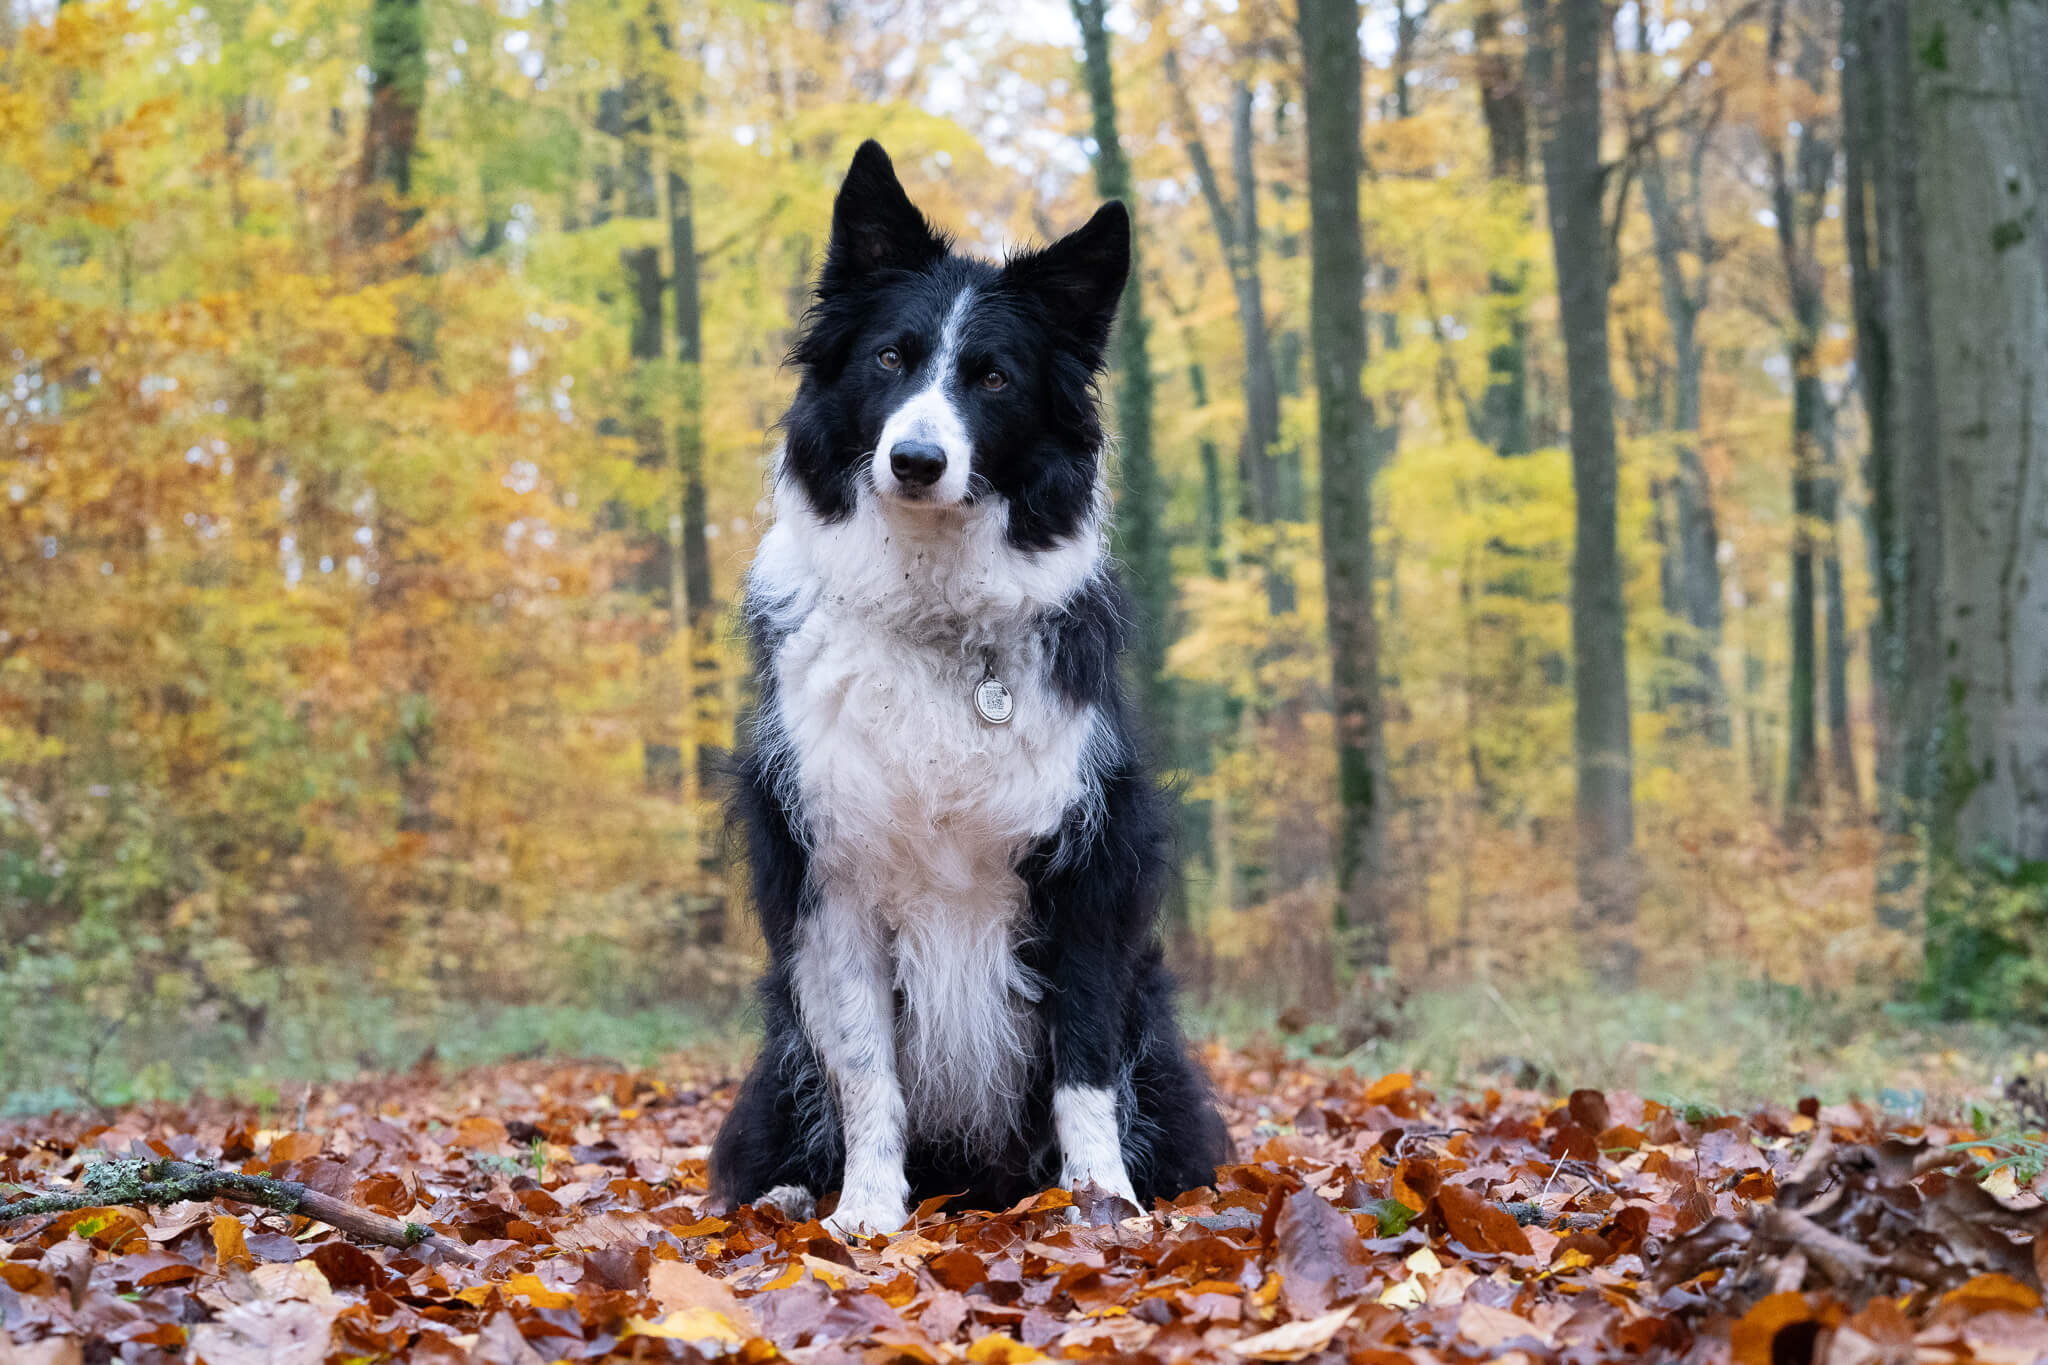
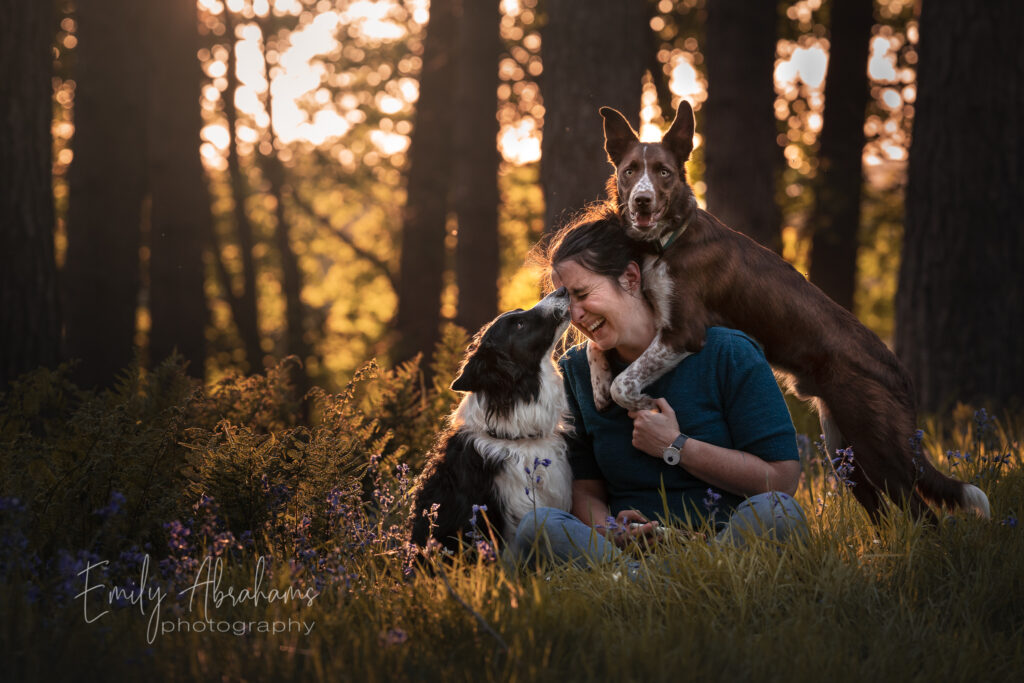
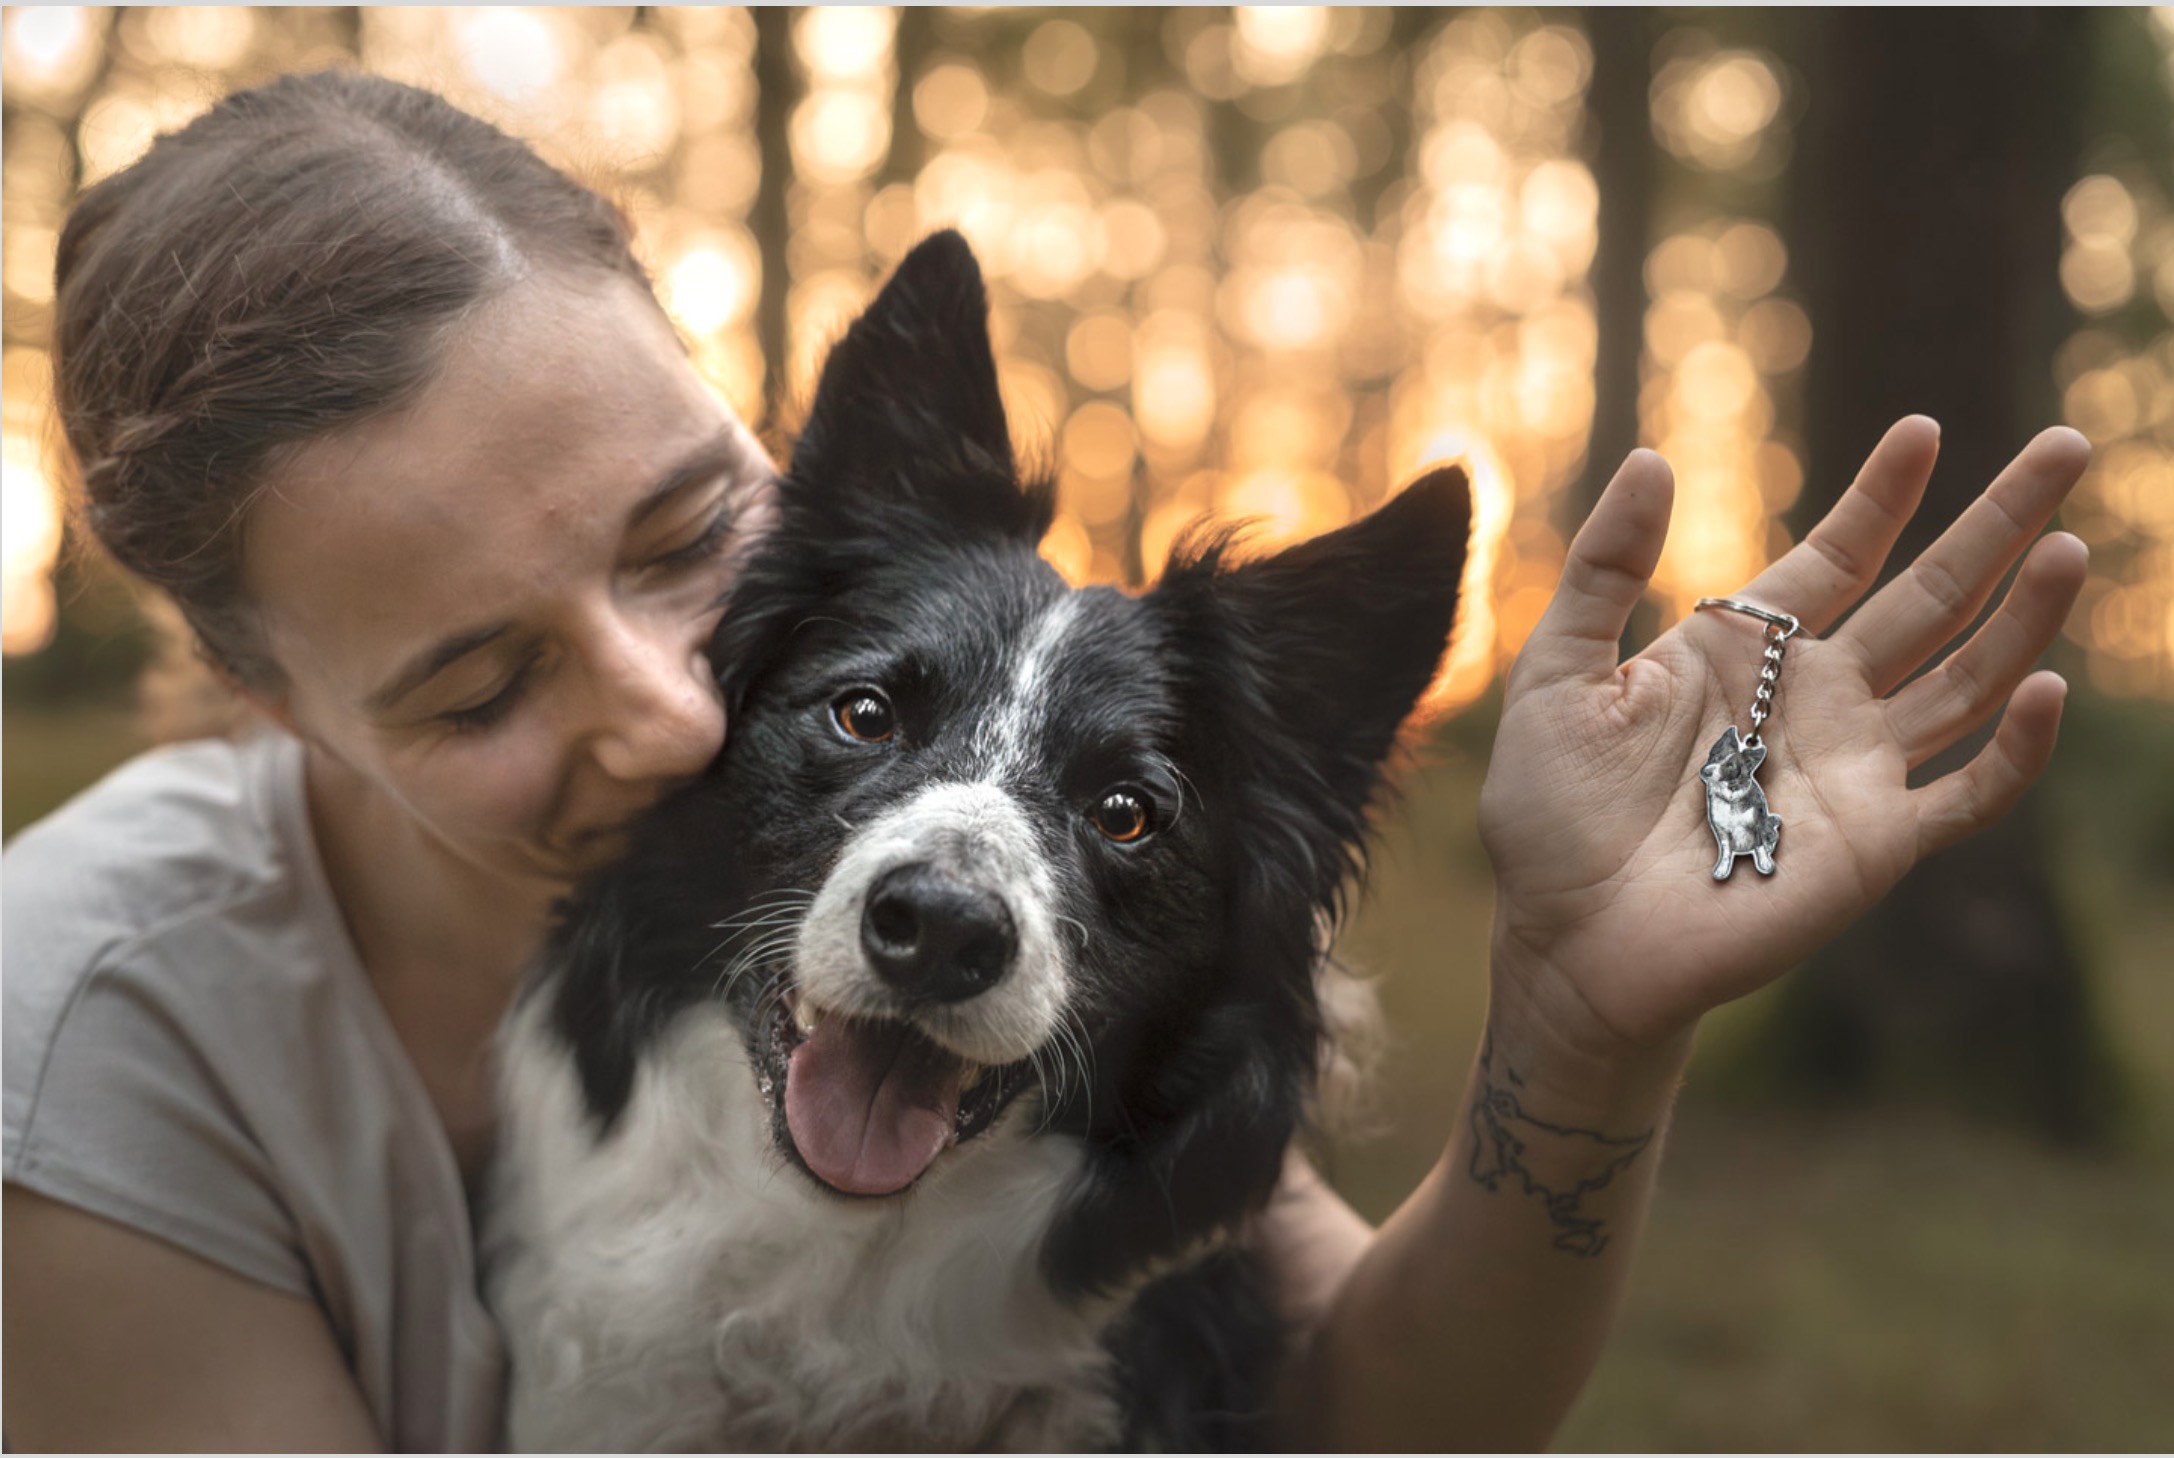
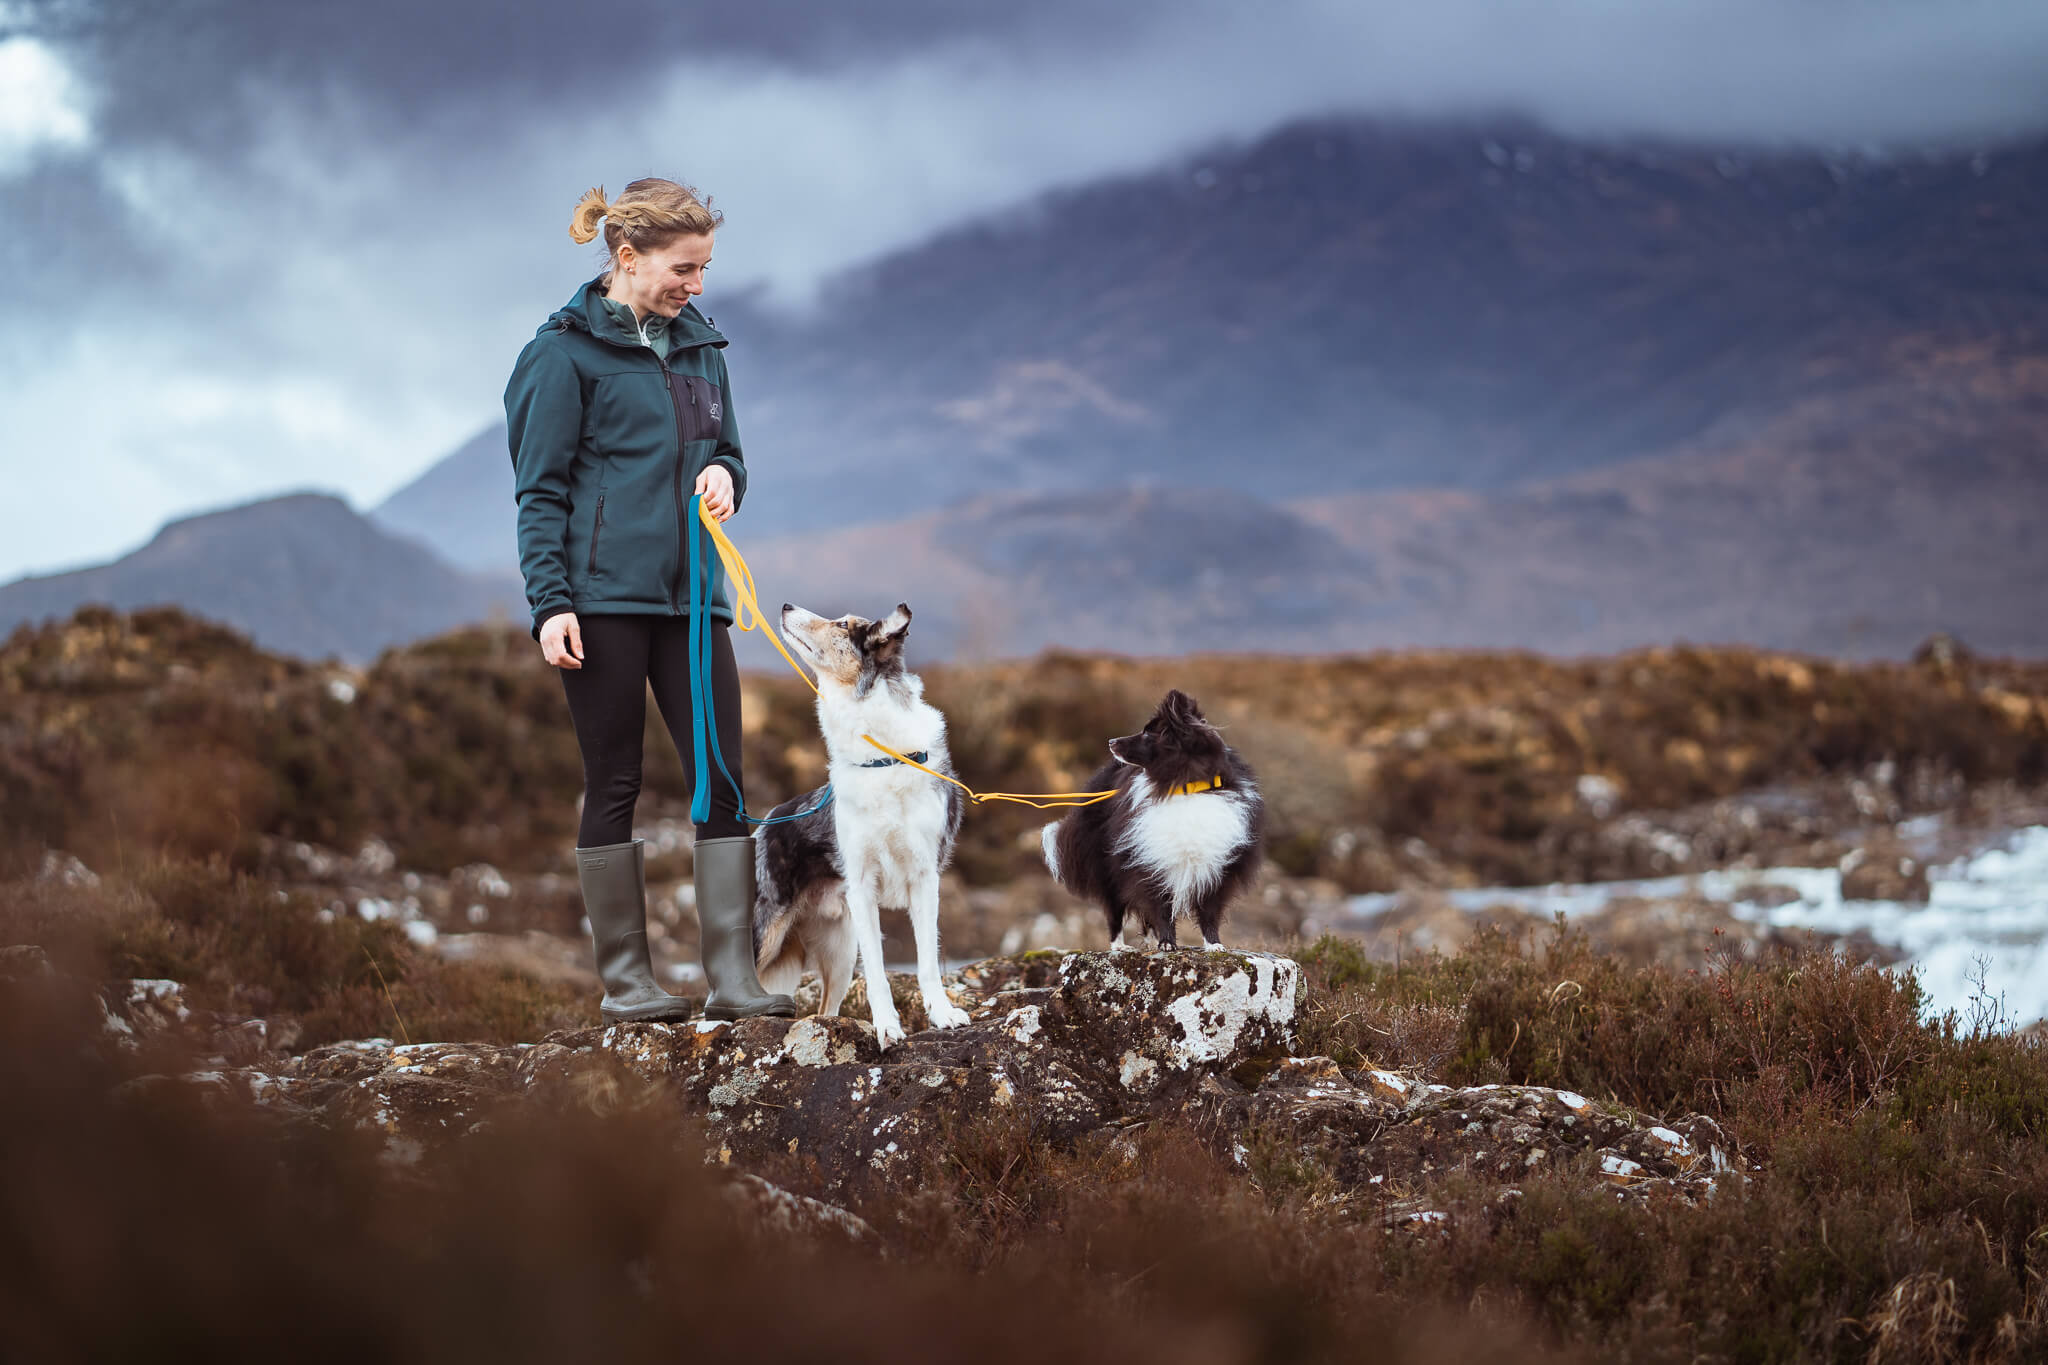
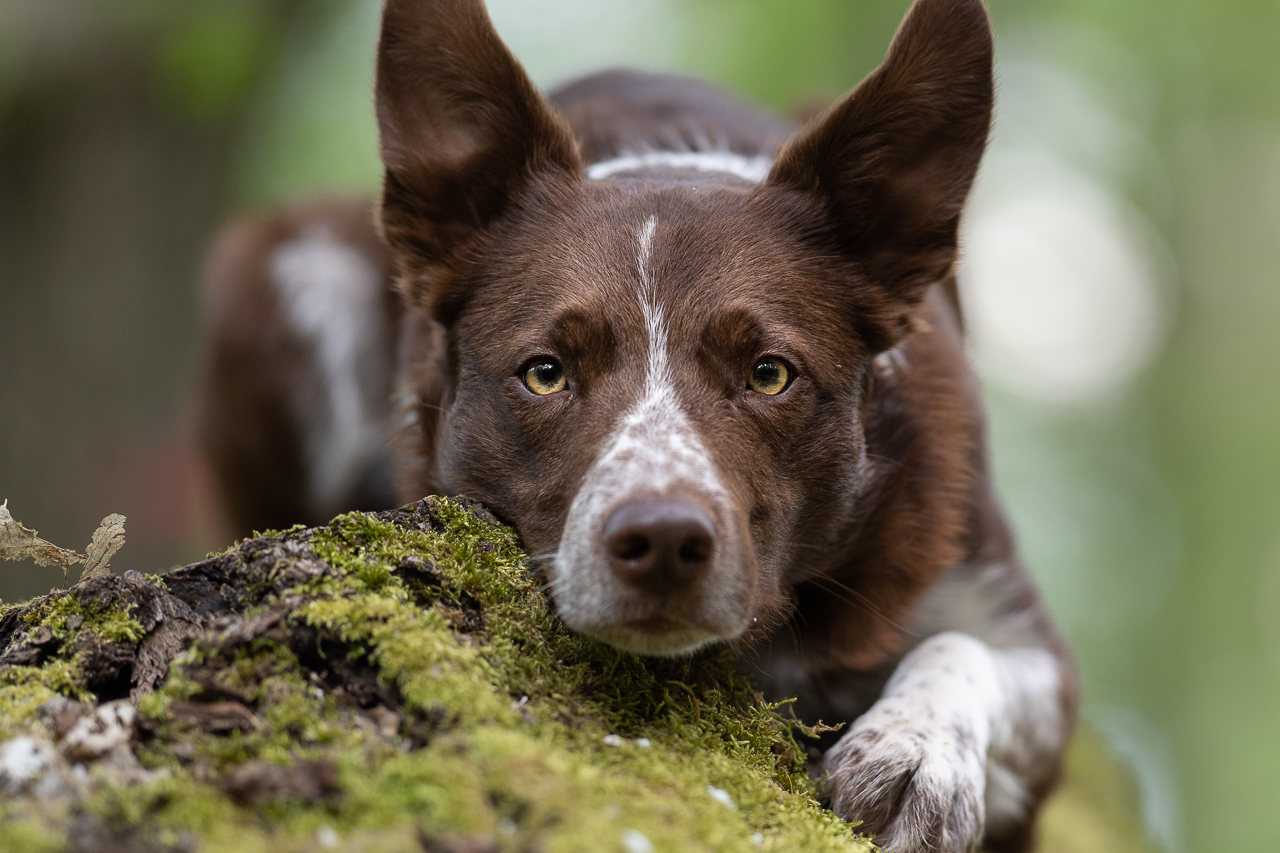
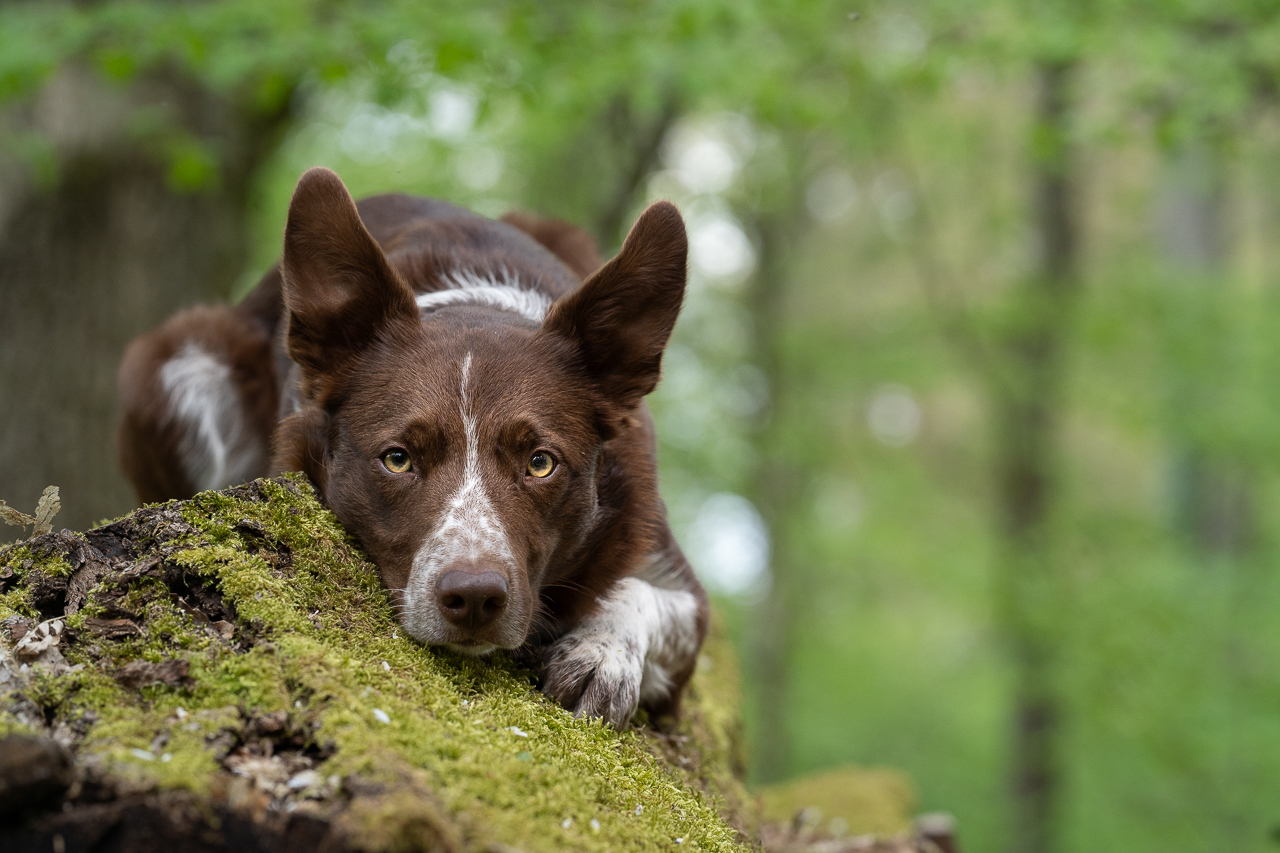
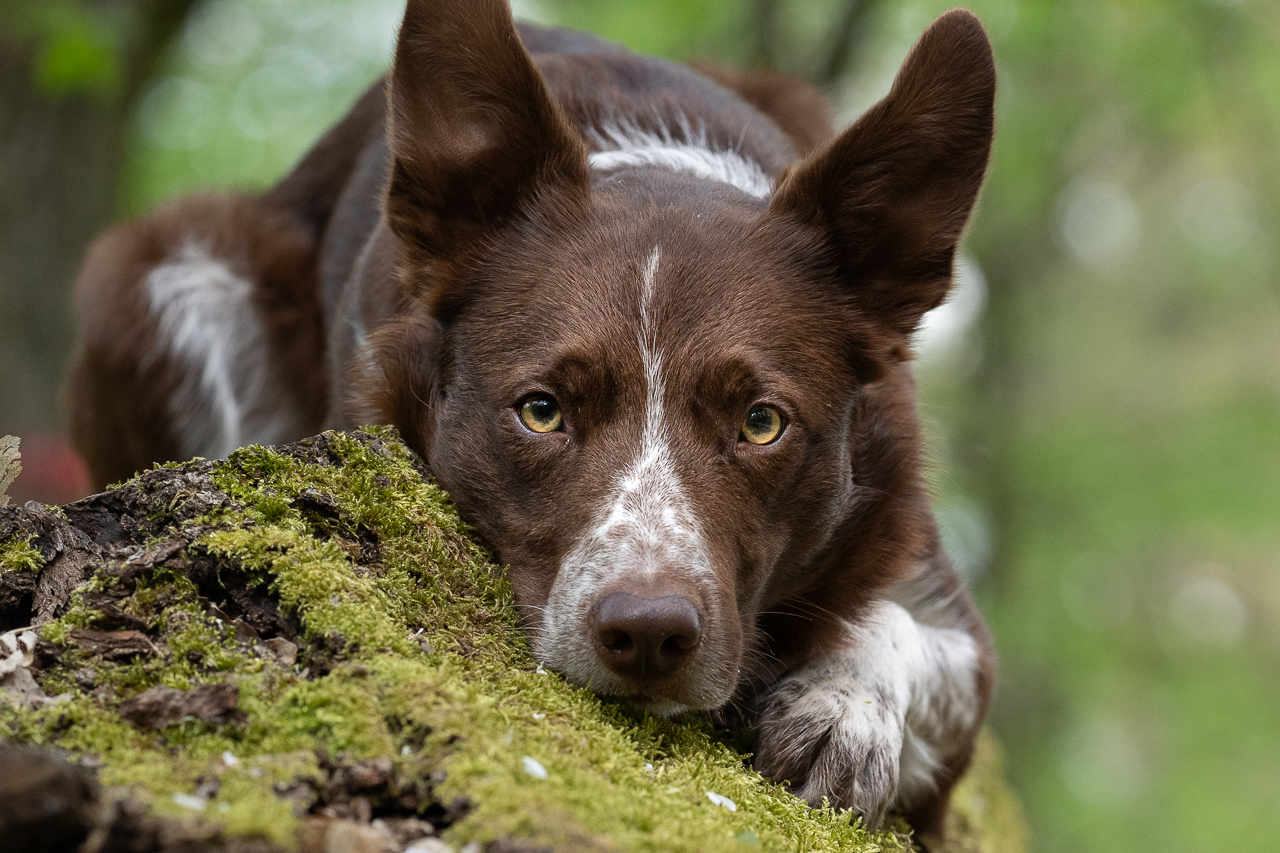
This was part of a series of photos I took for a client, of a custom engraved keyring.
The keyring itself is VERY SMALL, as you can see on Teresa’s hand.
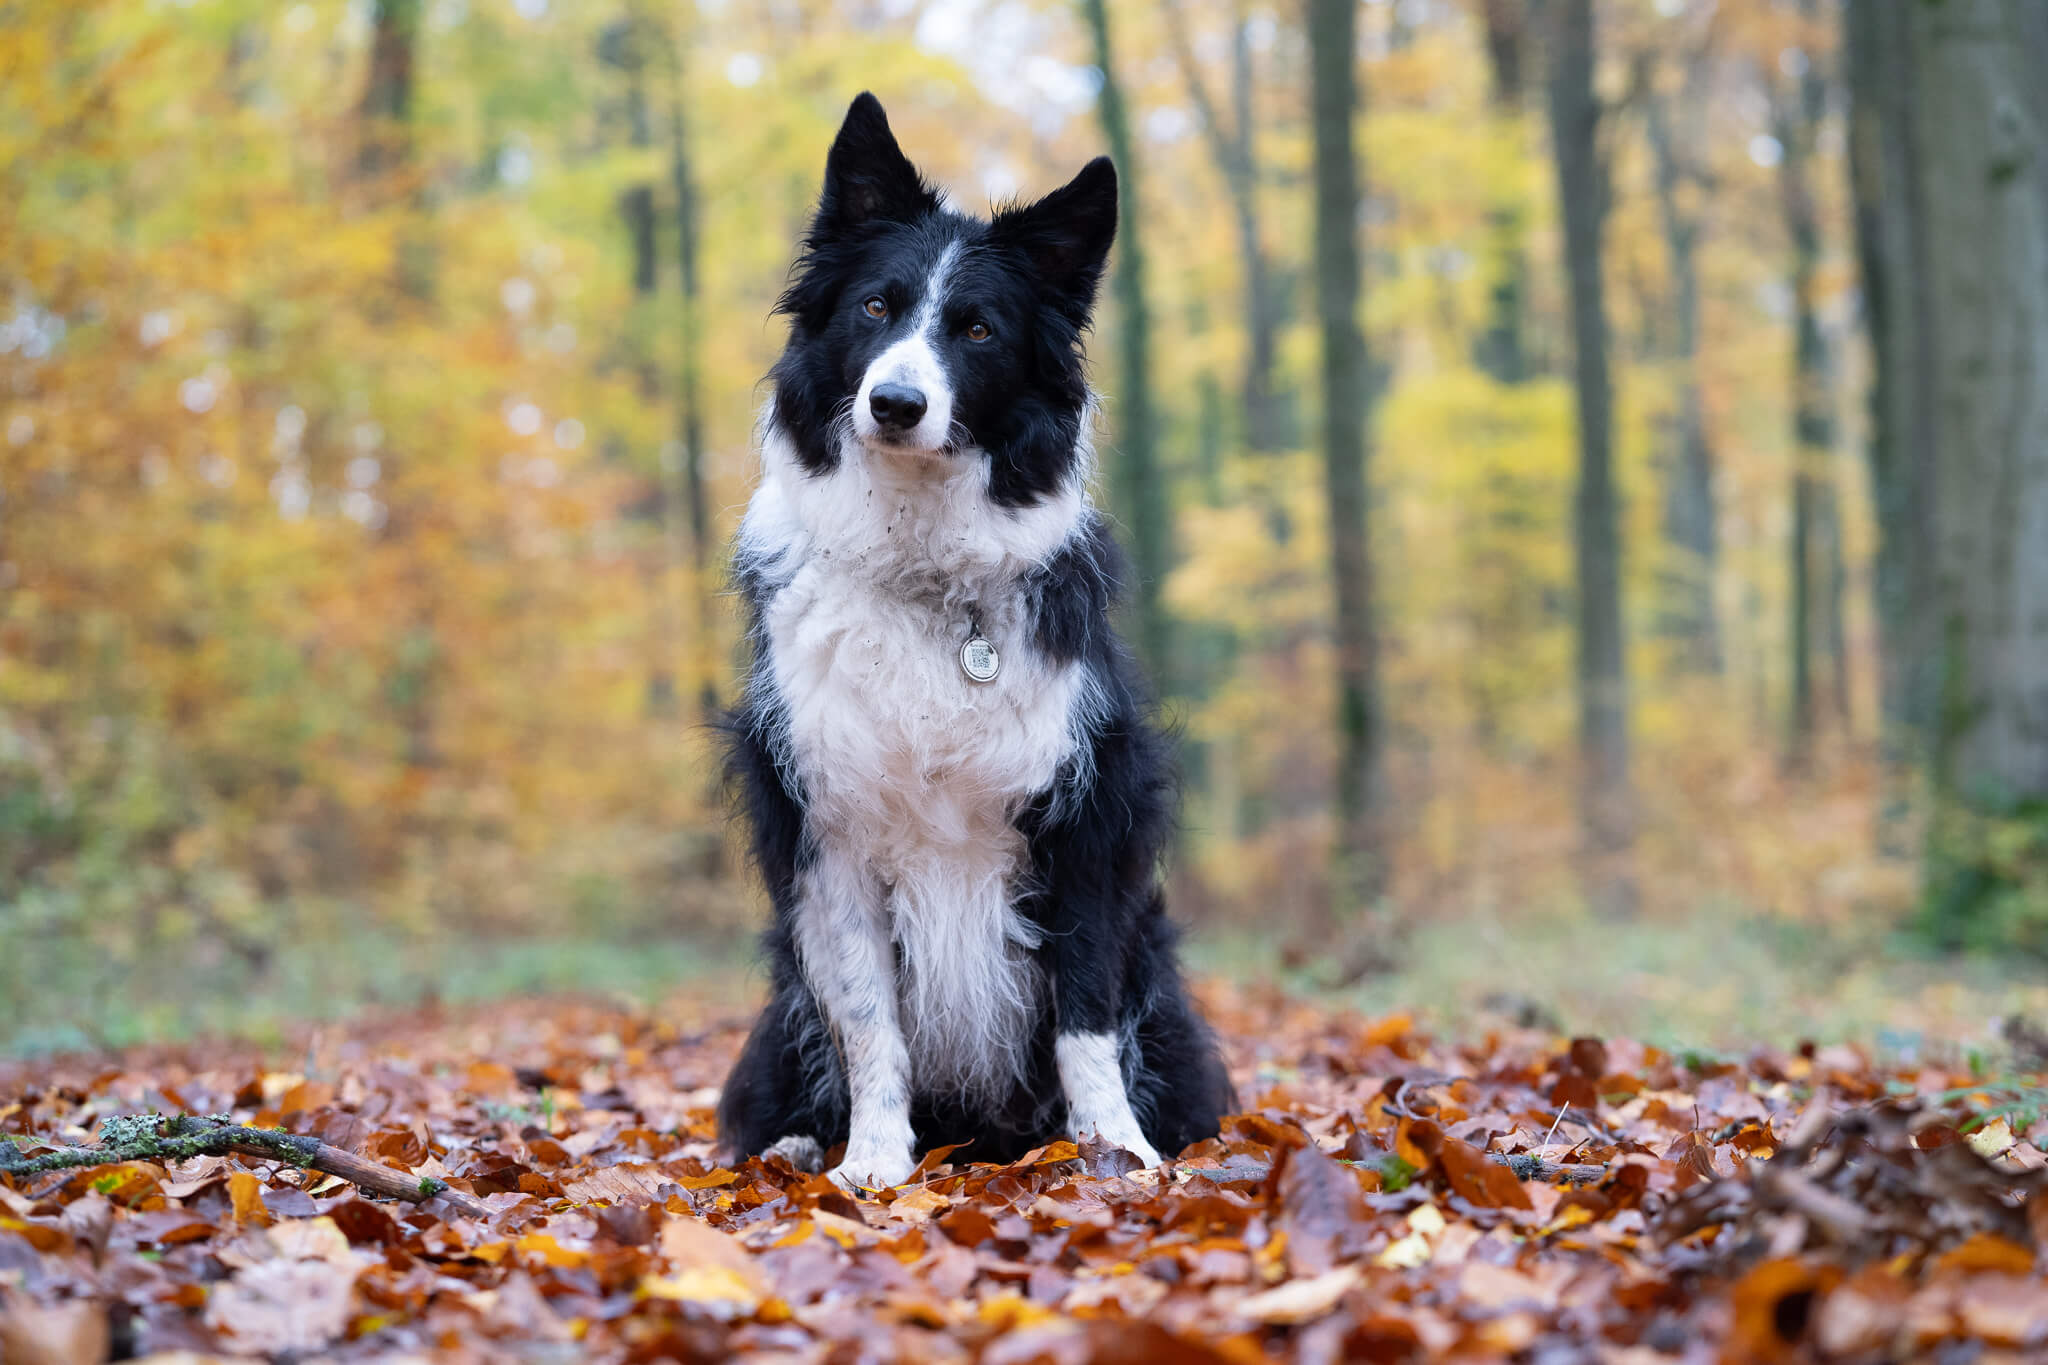
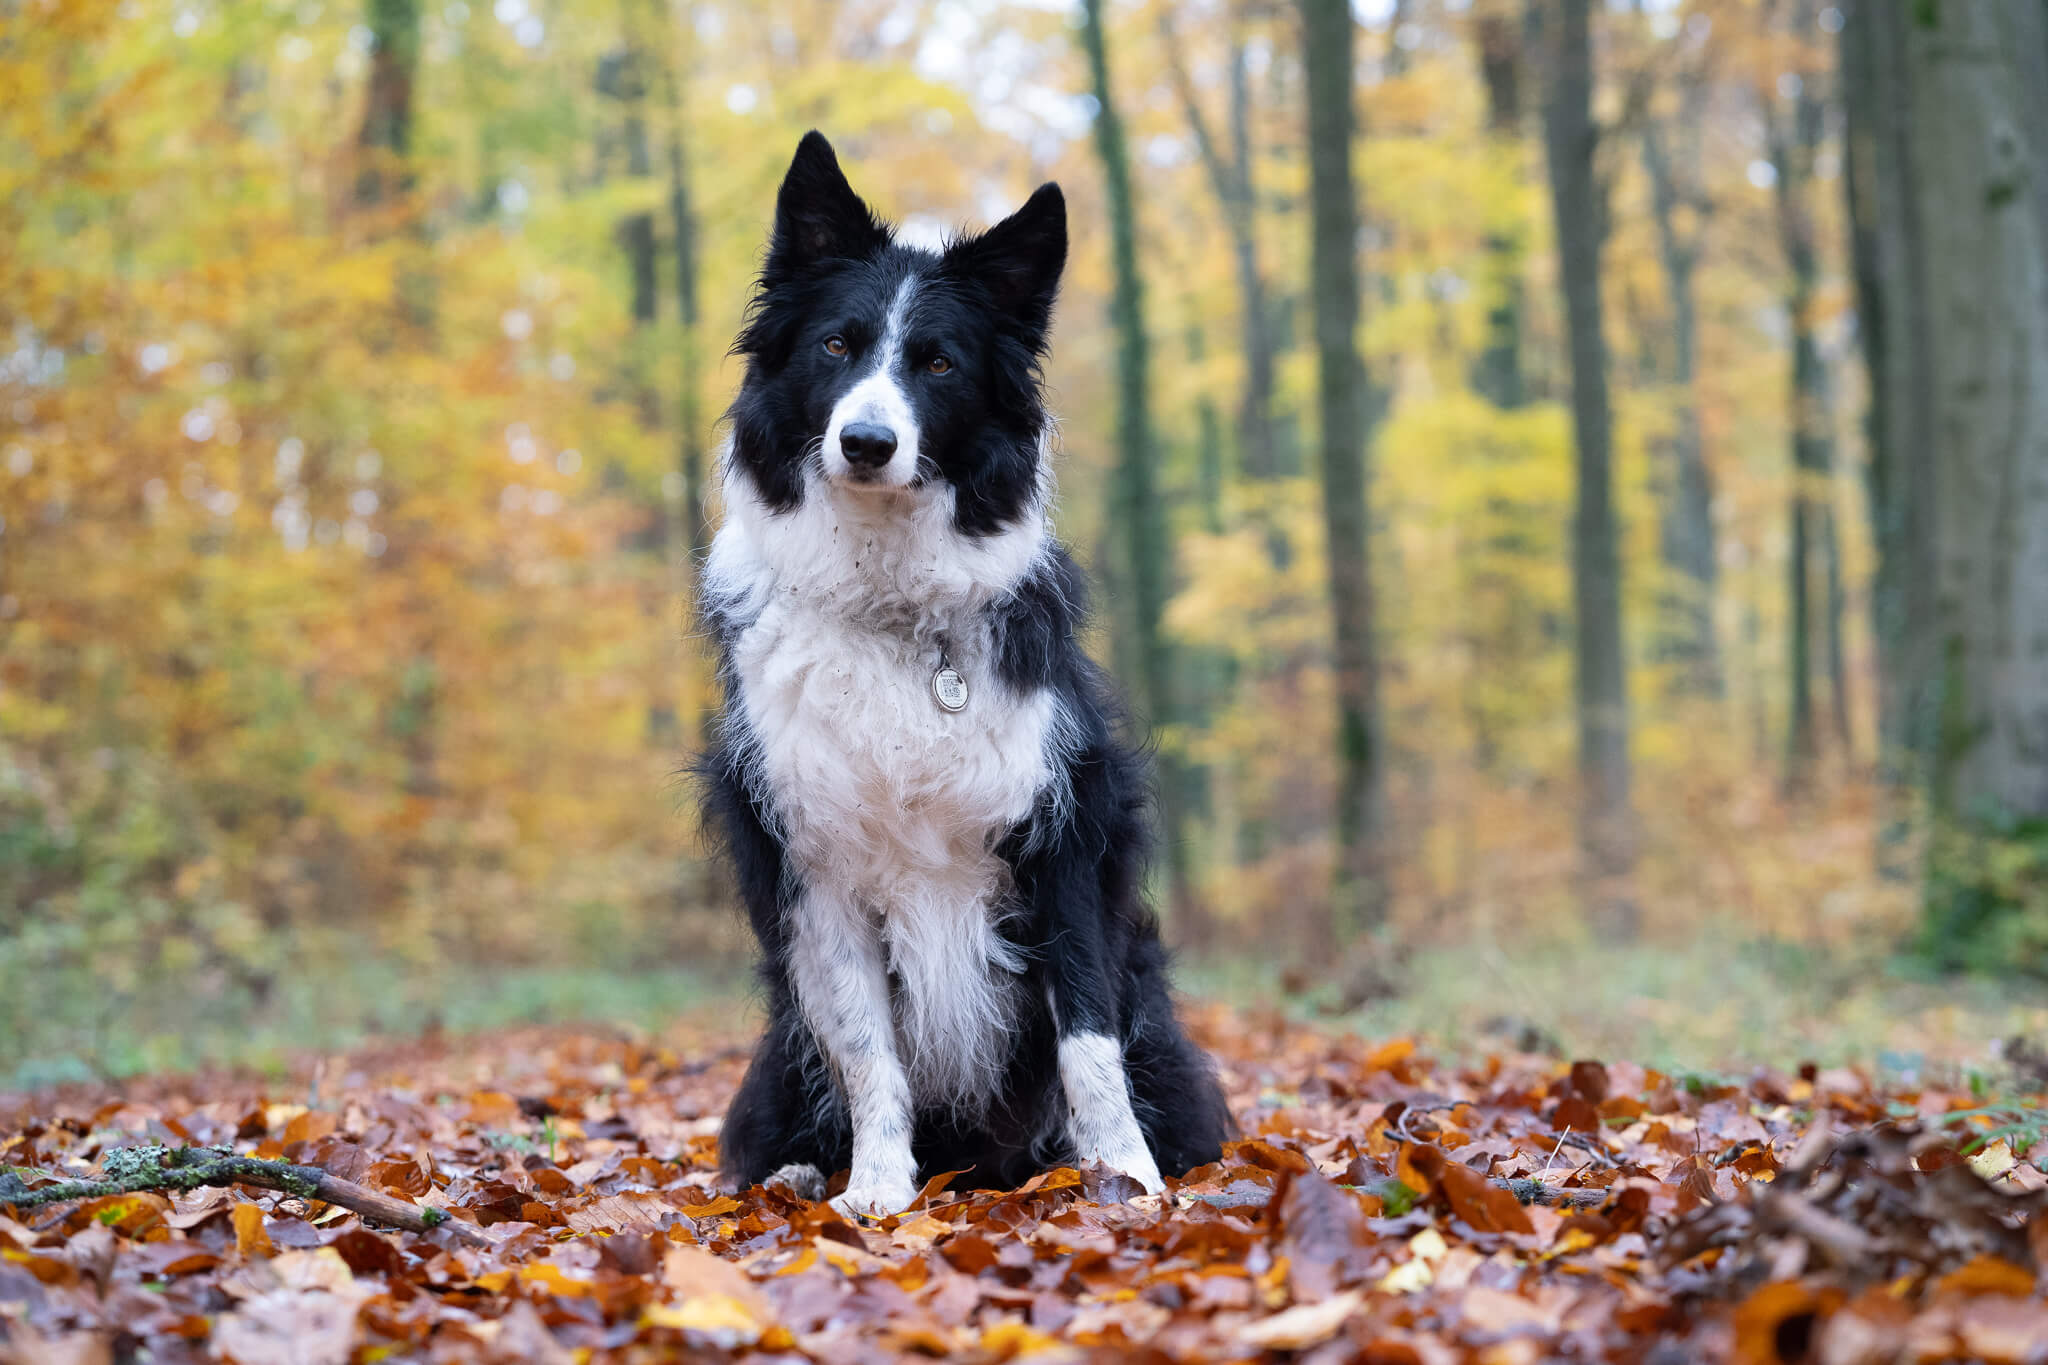
The company wanted to show the dog that featured on the keyring.
They also wanted an outdoors, “golden light” kind of photo.
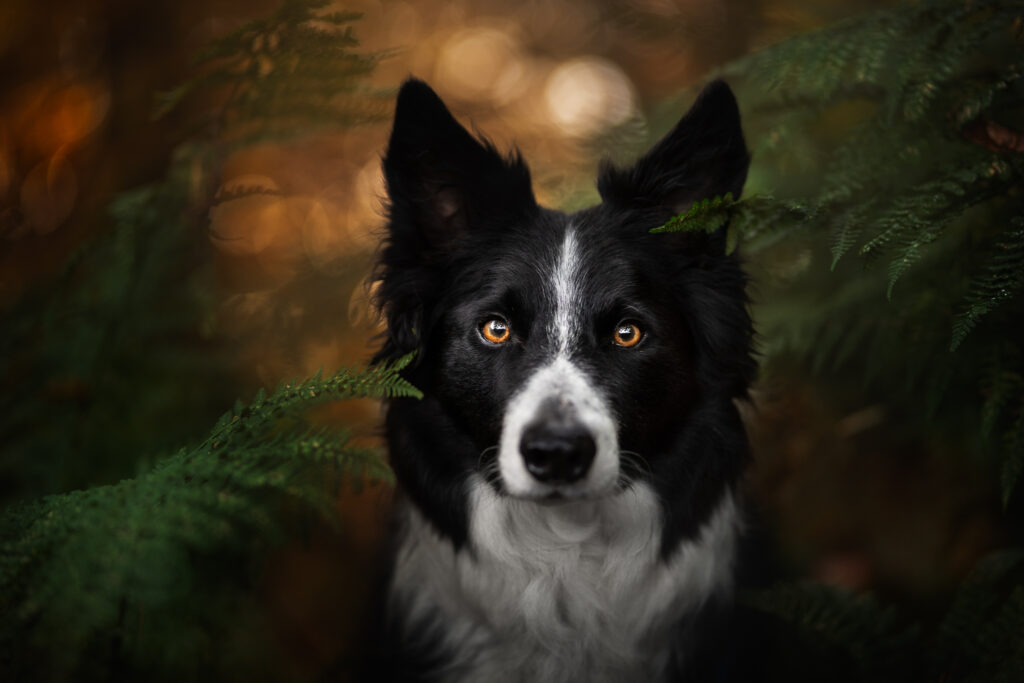
If I got too far away from them, you couldn’t see the keyring or the details of it.
If I got very close to the keyring, then Journey was quickly out of focus, because getting him lined up with the hand was very difficult.
I could go closer and do a head-swap: take a photo of the hand, and one of Journey, but then the depth of field discrepancies would be pretty obvious as the arm got blurry, then sharp, then blurry again.
I could make my aperture narrower than f/2.8 so the depth of field (amount of the photo in focus) was wider… but I was already at ISO 1600 due to the forest and backlight, I was already under-exposing, and if the photo got too noisy, there would be no detail on the product! While I normally don’t care that much about noise, there’s no point advertising the beautiful engraving of the key-ring… if it’s nothing but grainy noise!
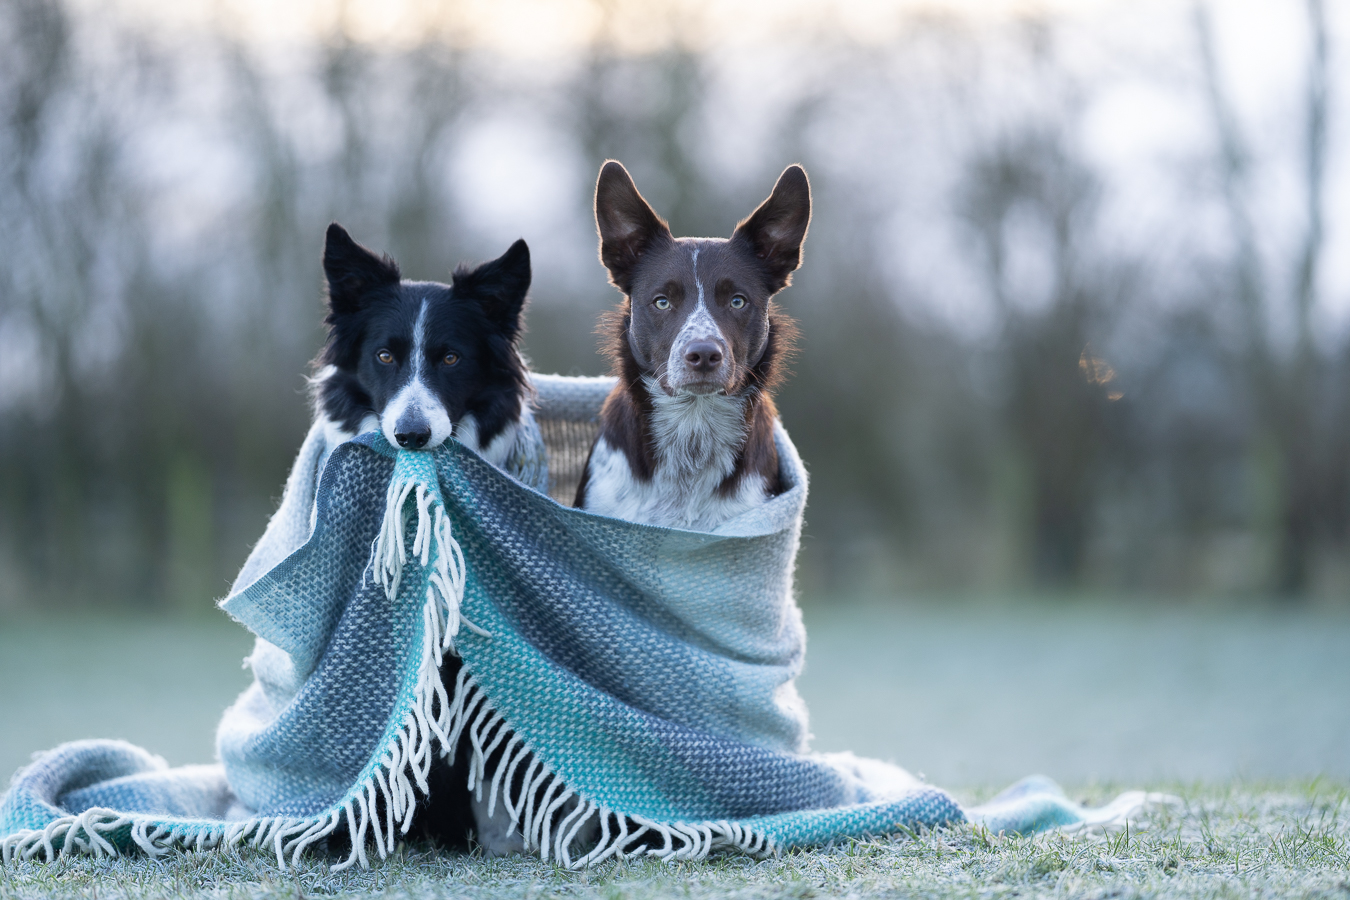
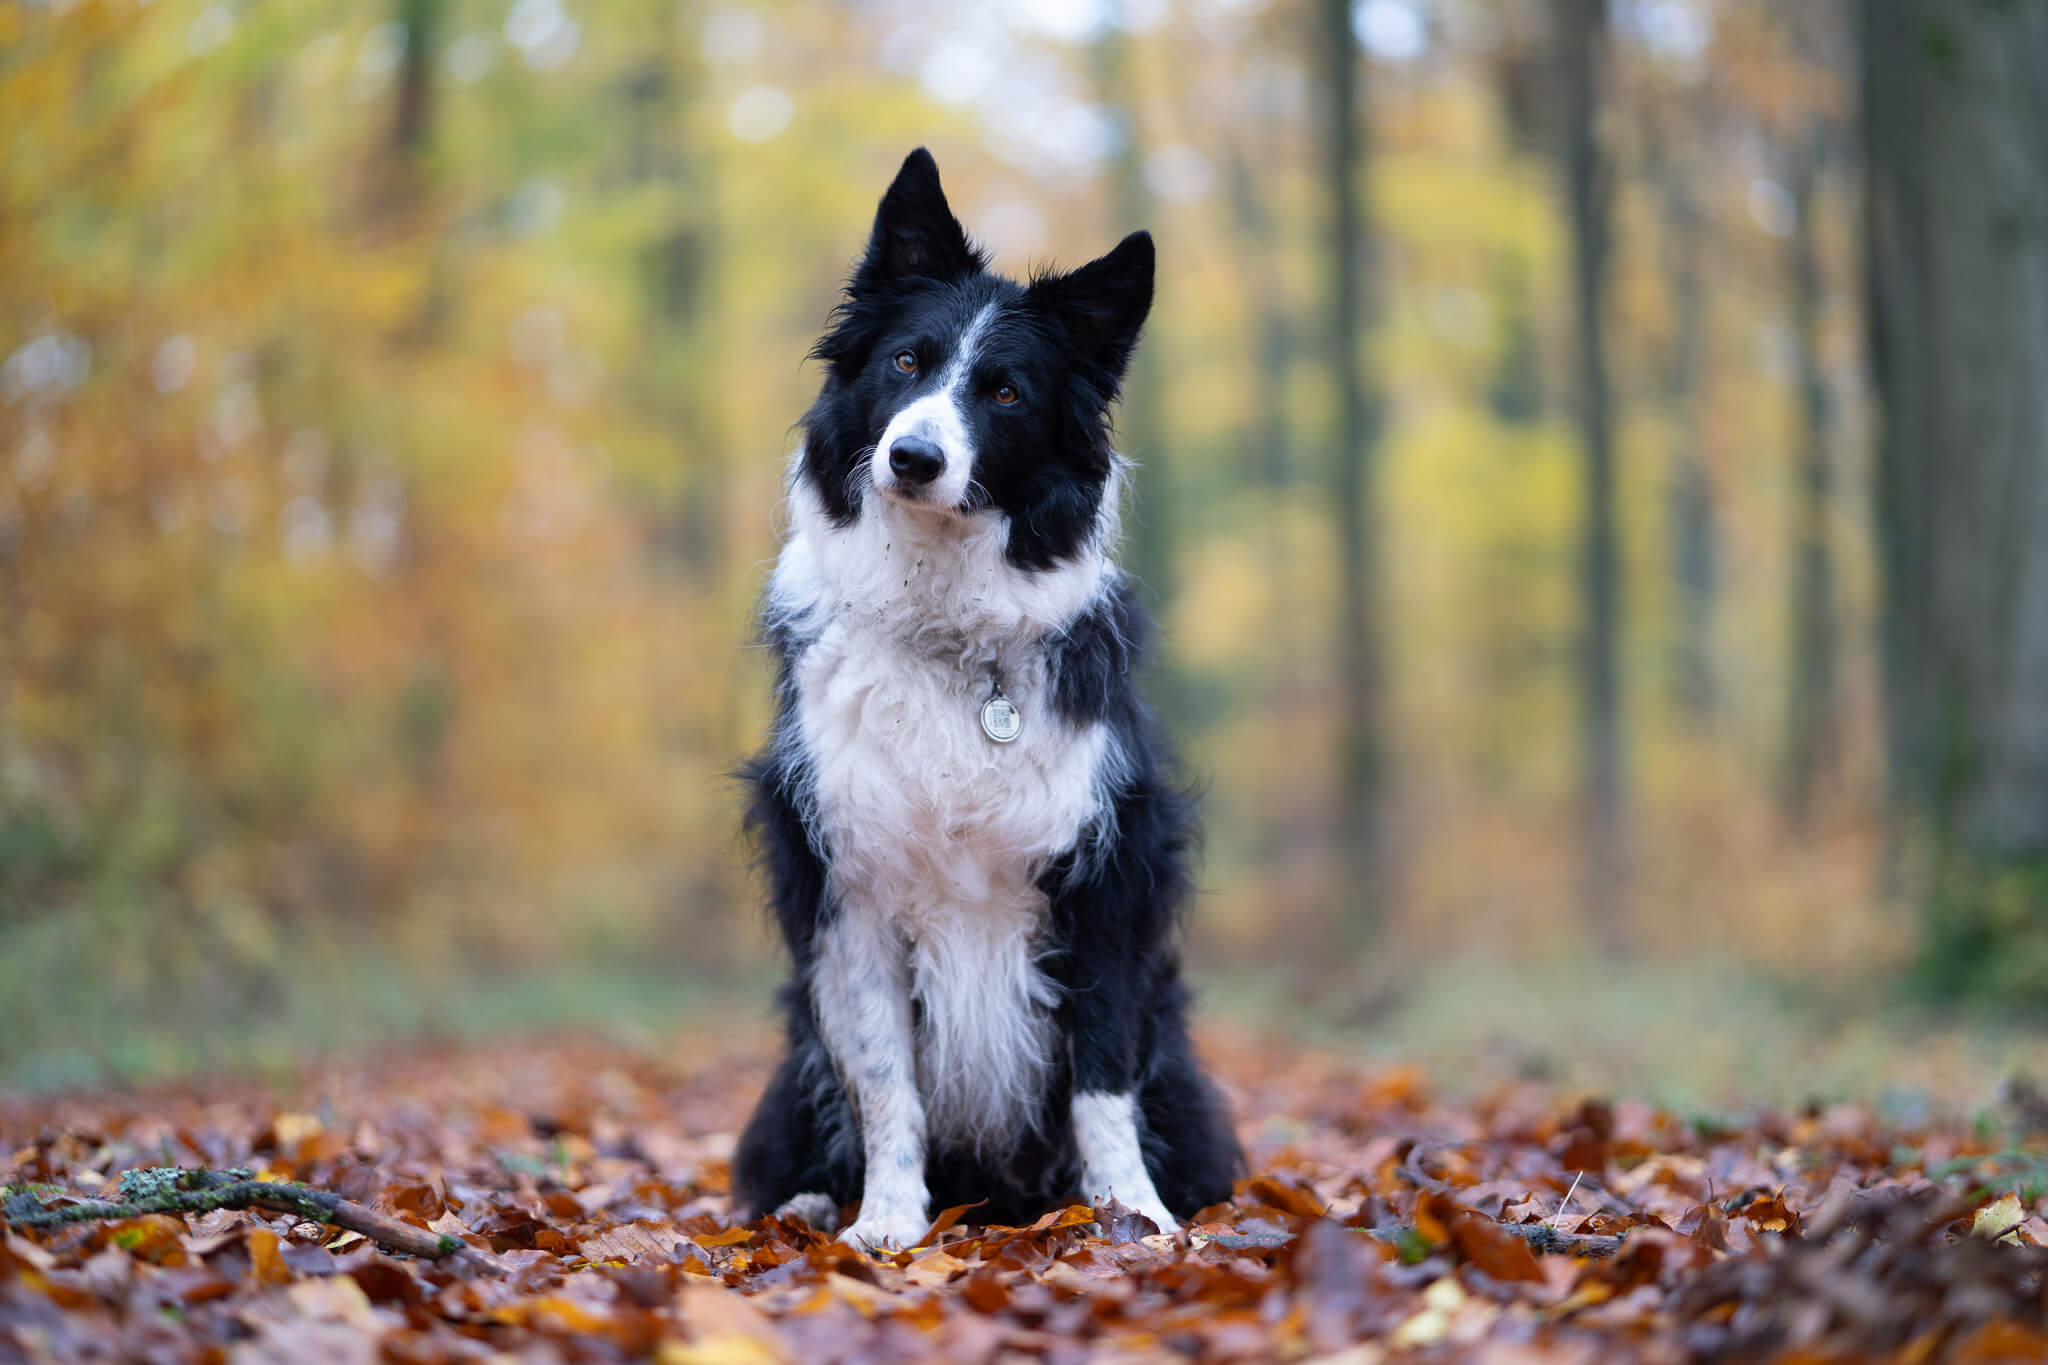
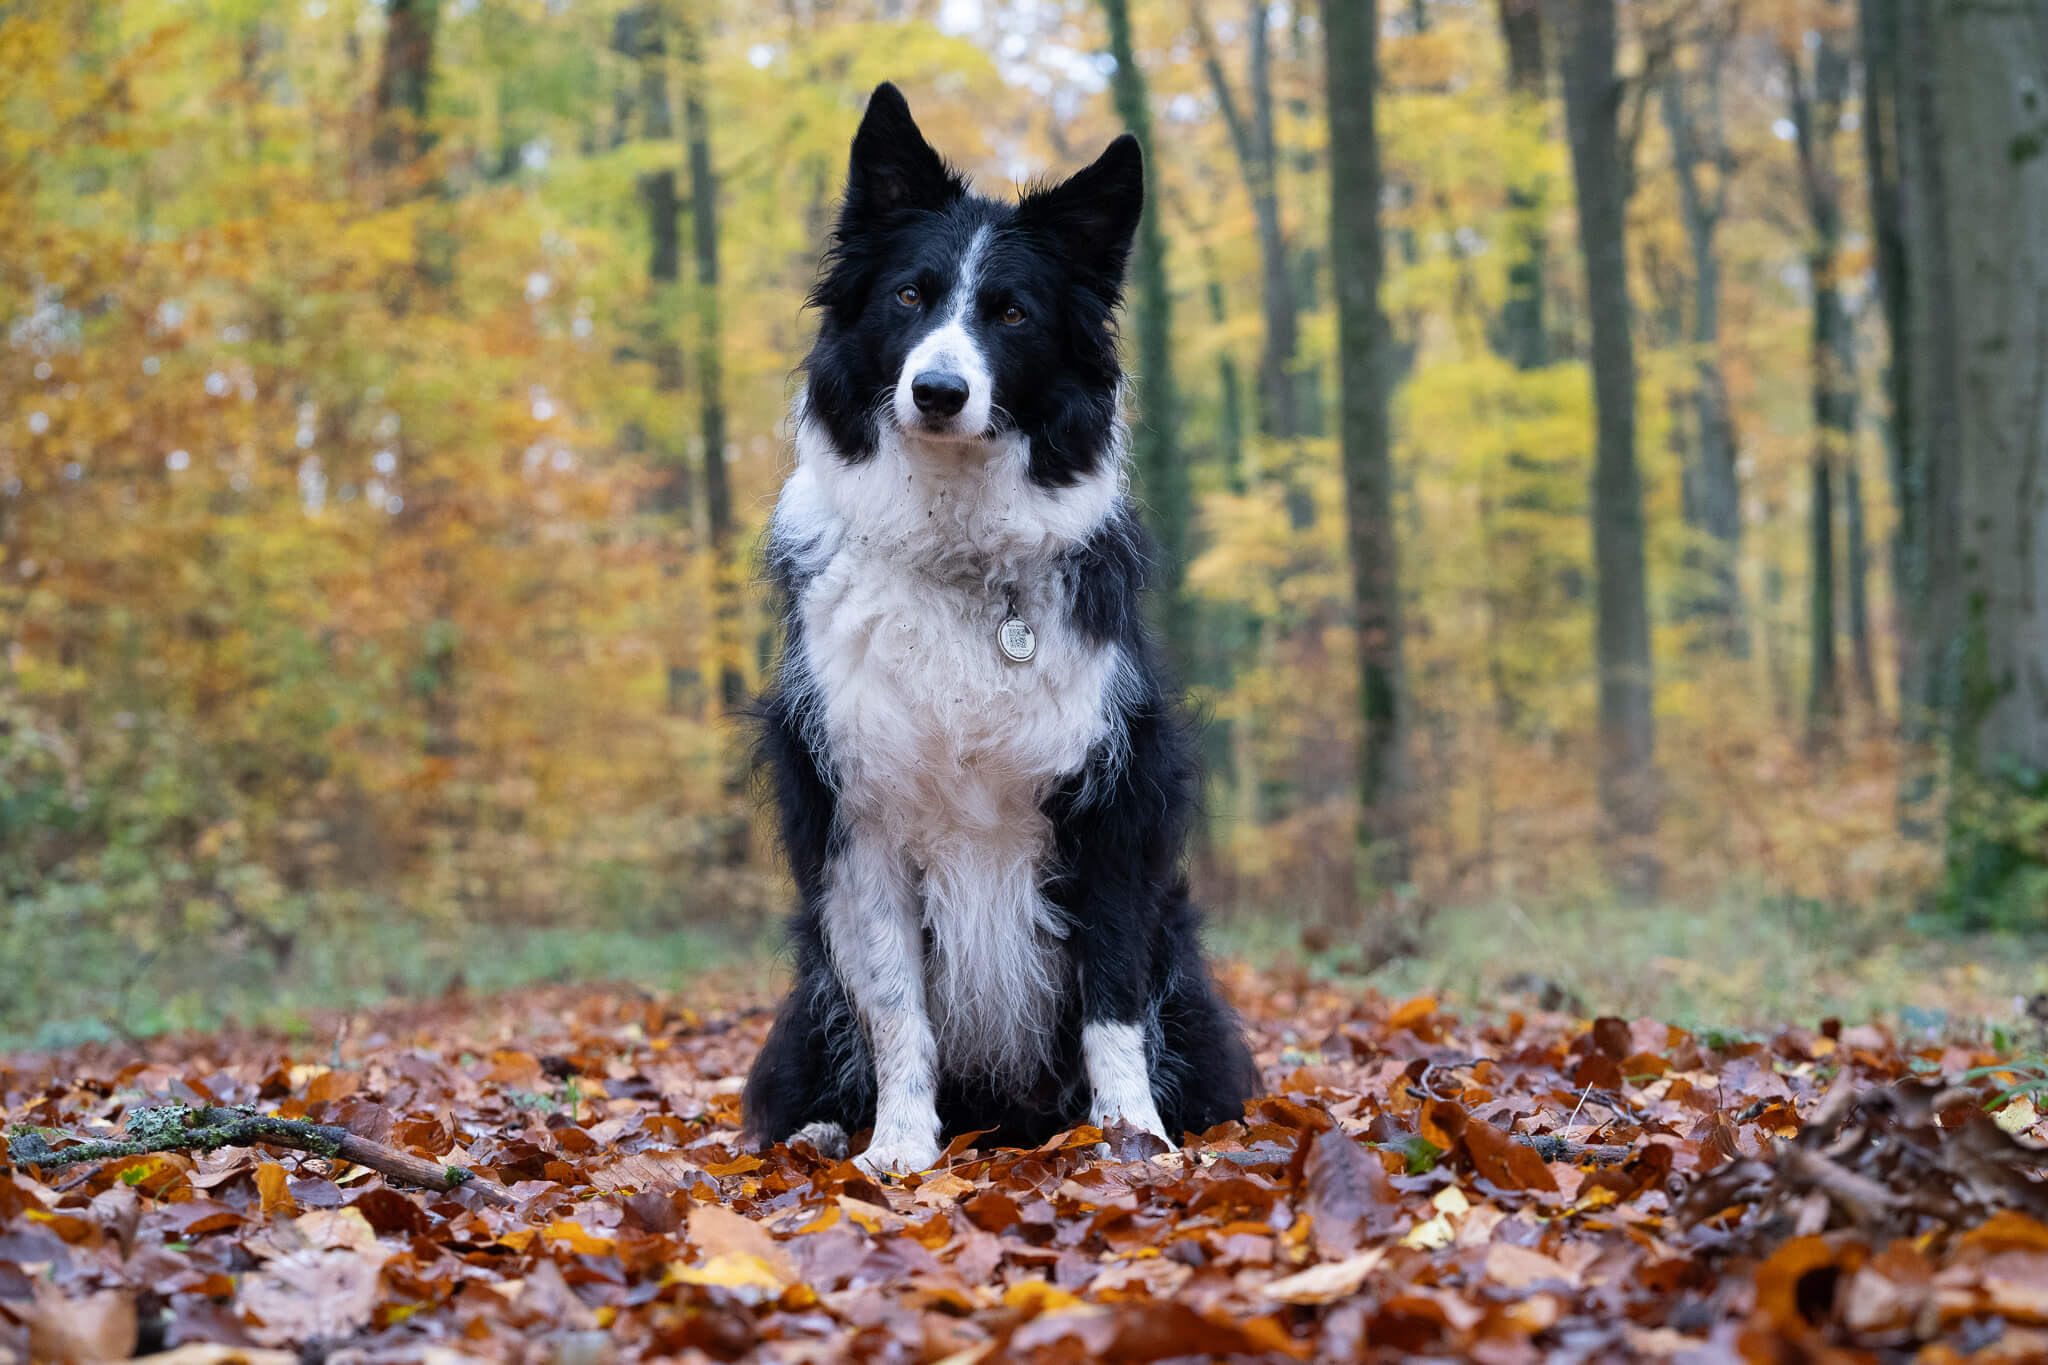
1/320 sec, f/2.8, ISO 2500
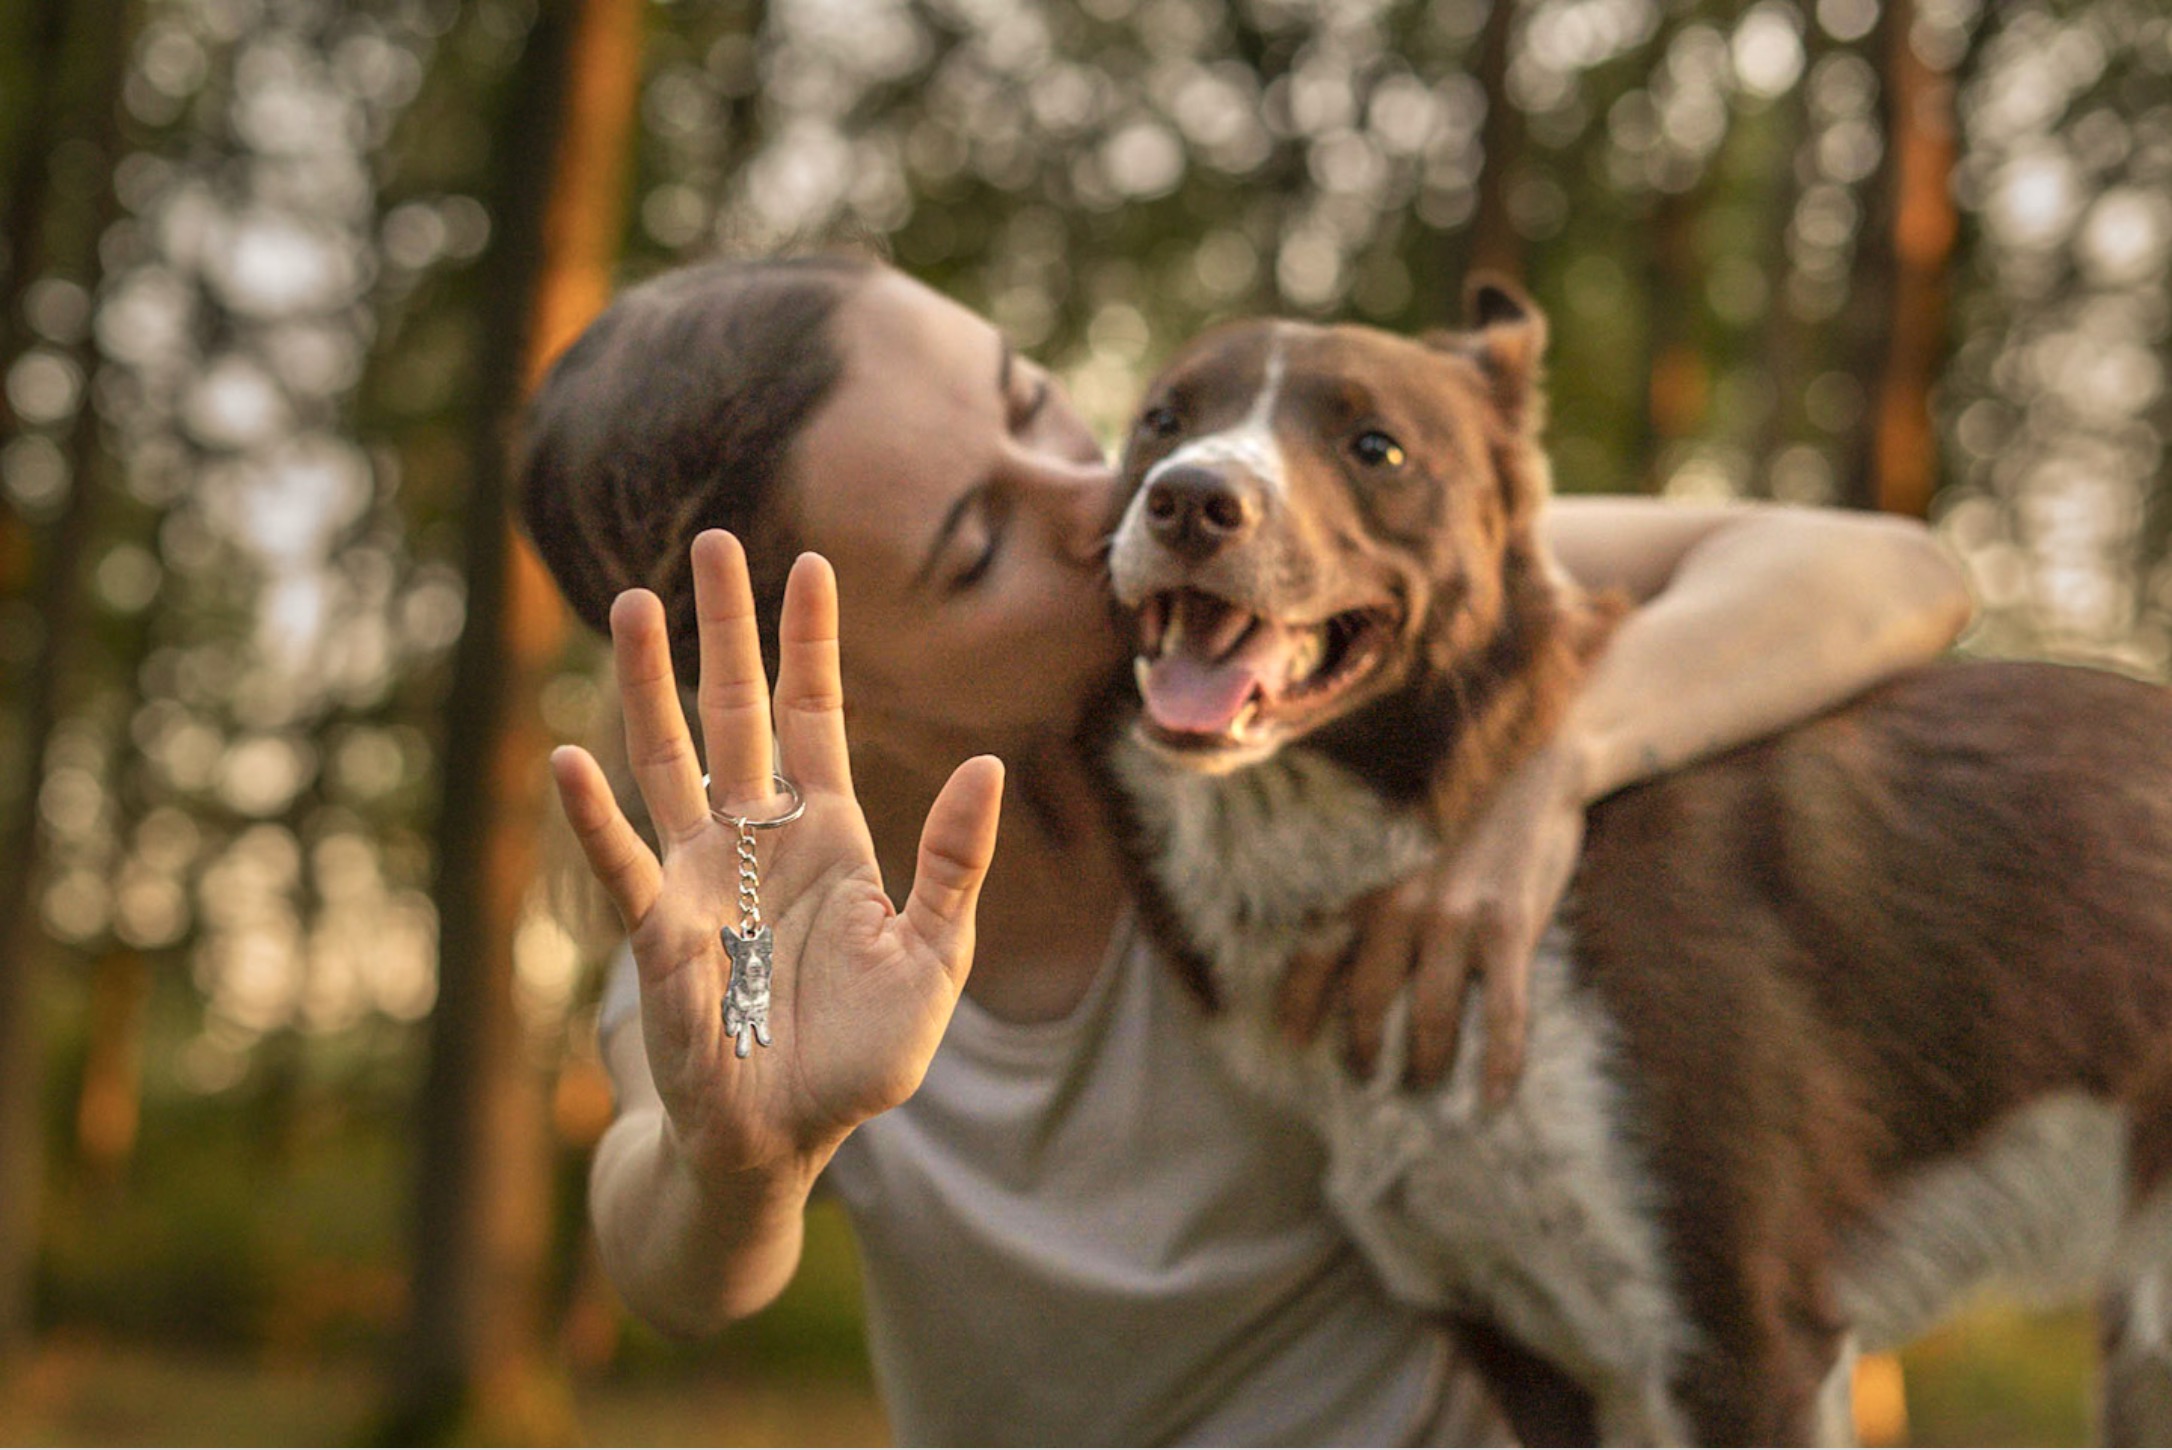
In the end, I opted for Journey being slightly less than perfectly in focus, and took some other photos with him and Teresa deliberately out of focus.
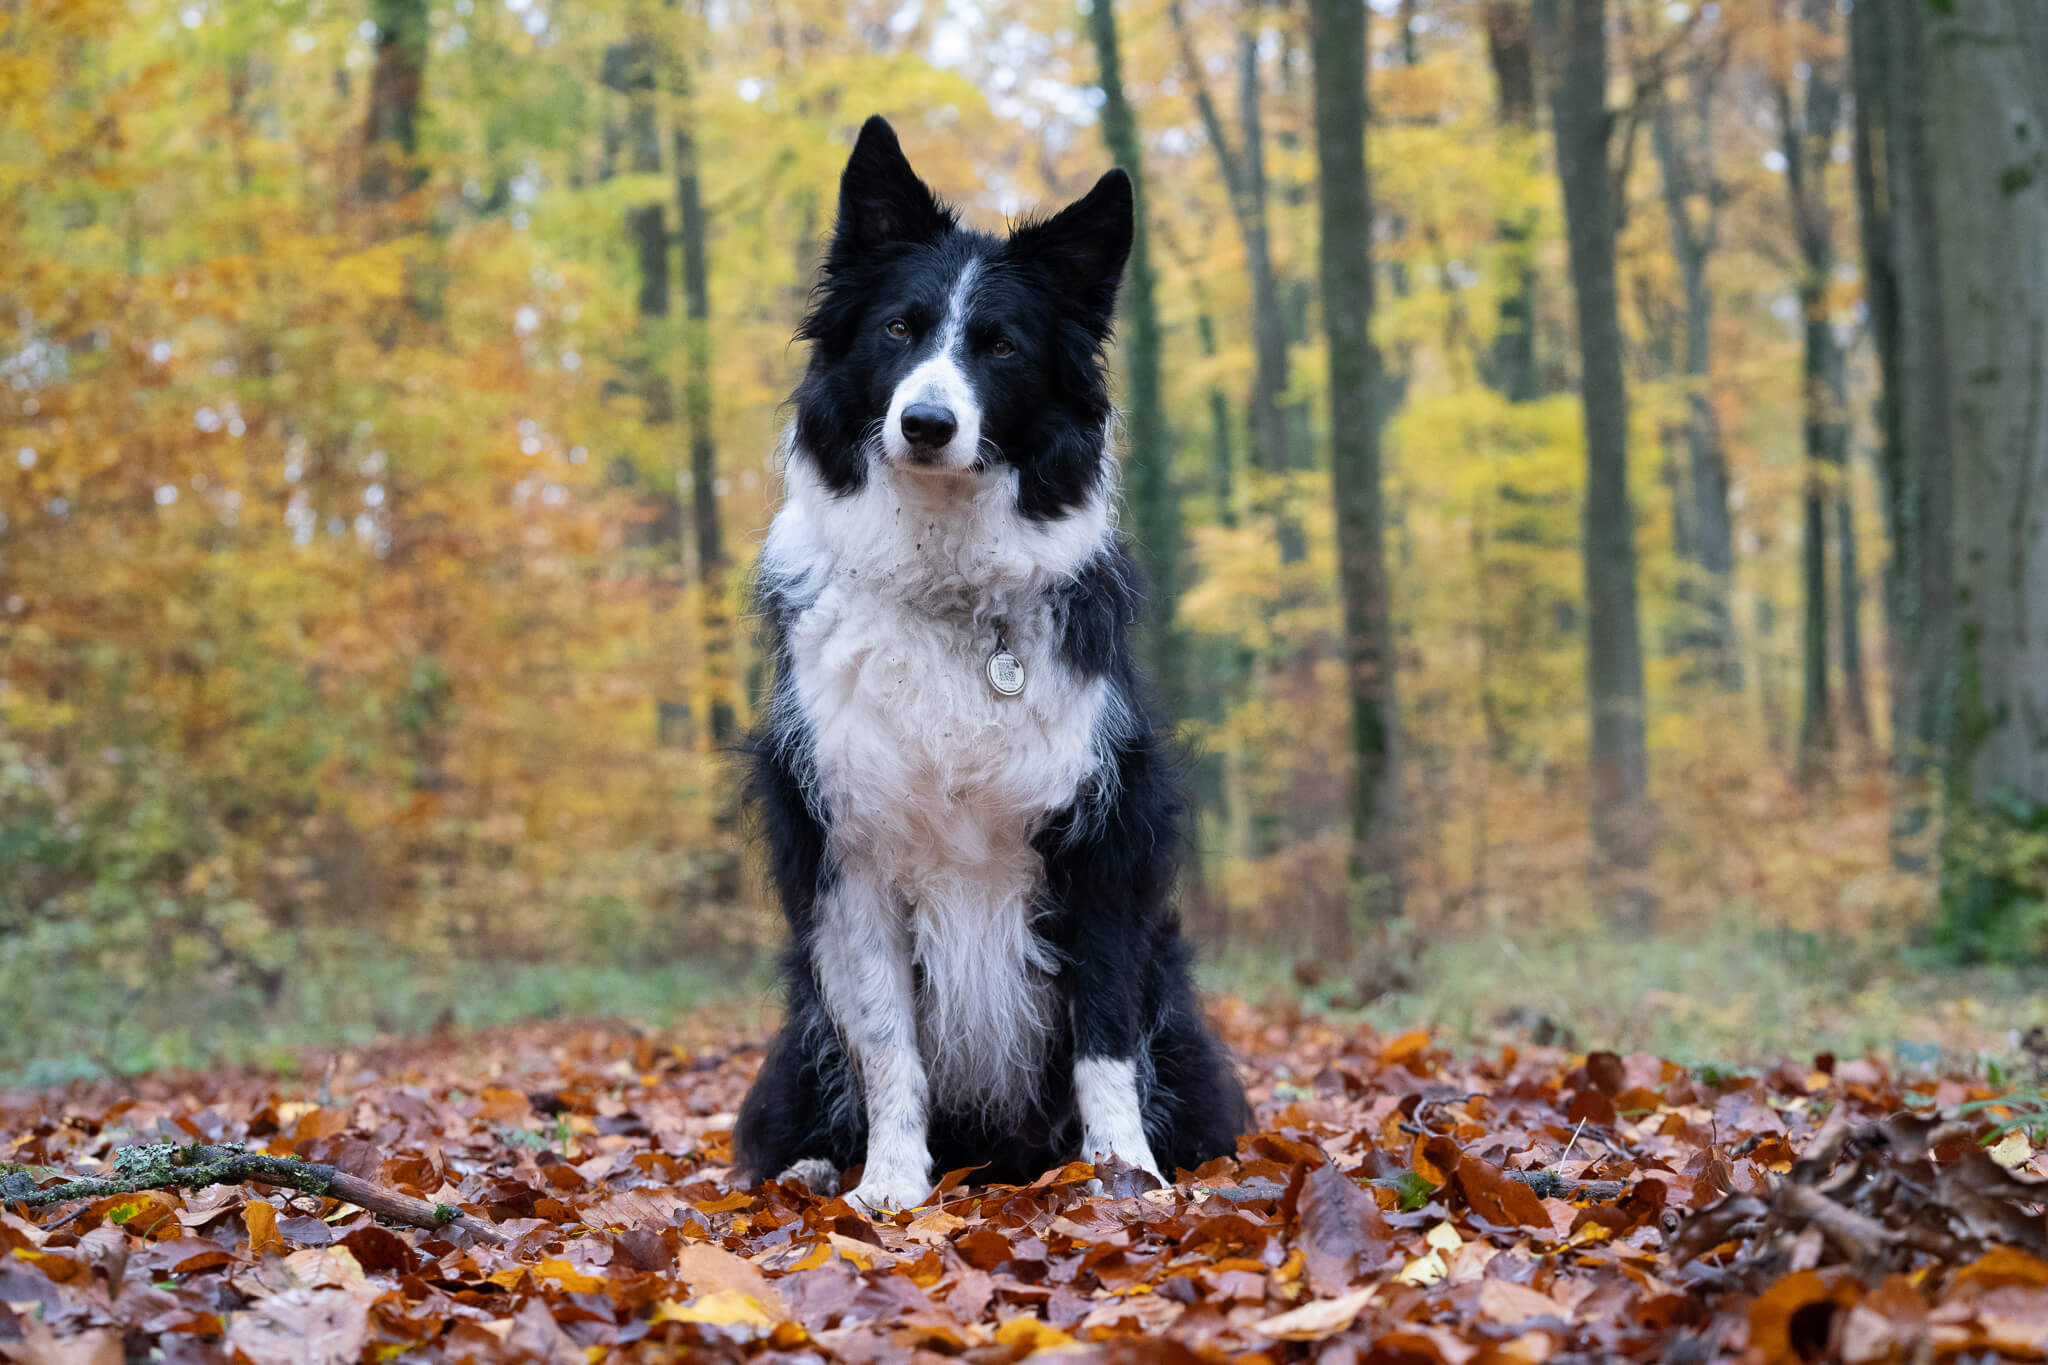
I also, in a few cases, Photoshopped just the keyring – even from another photo – over the top of the original, because I had a better version that was sharper. Potentially this made the keyring too sharp for the hand holding it, but it’s such a small thing that only people looking for it would notice.
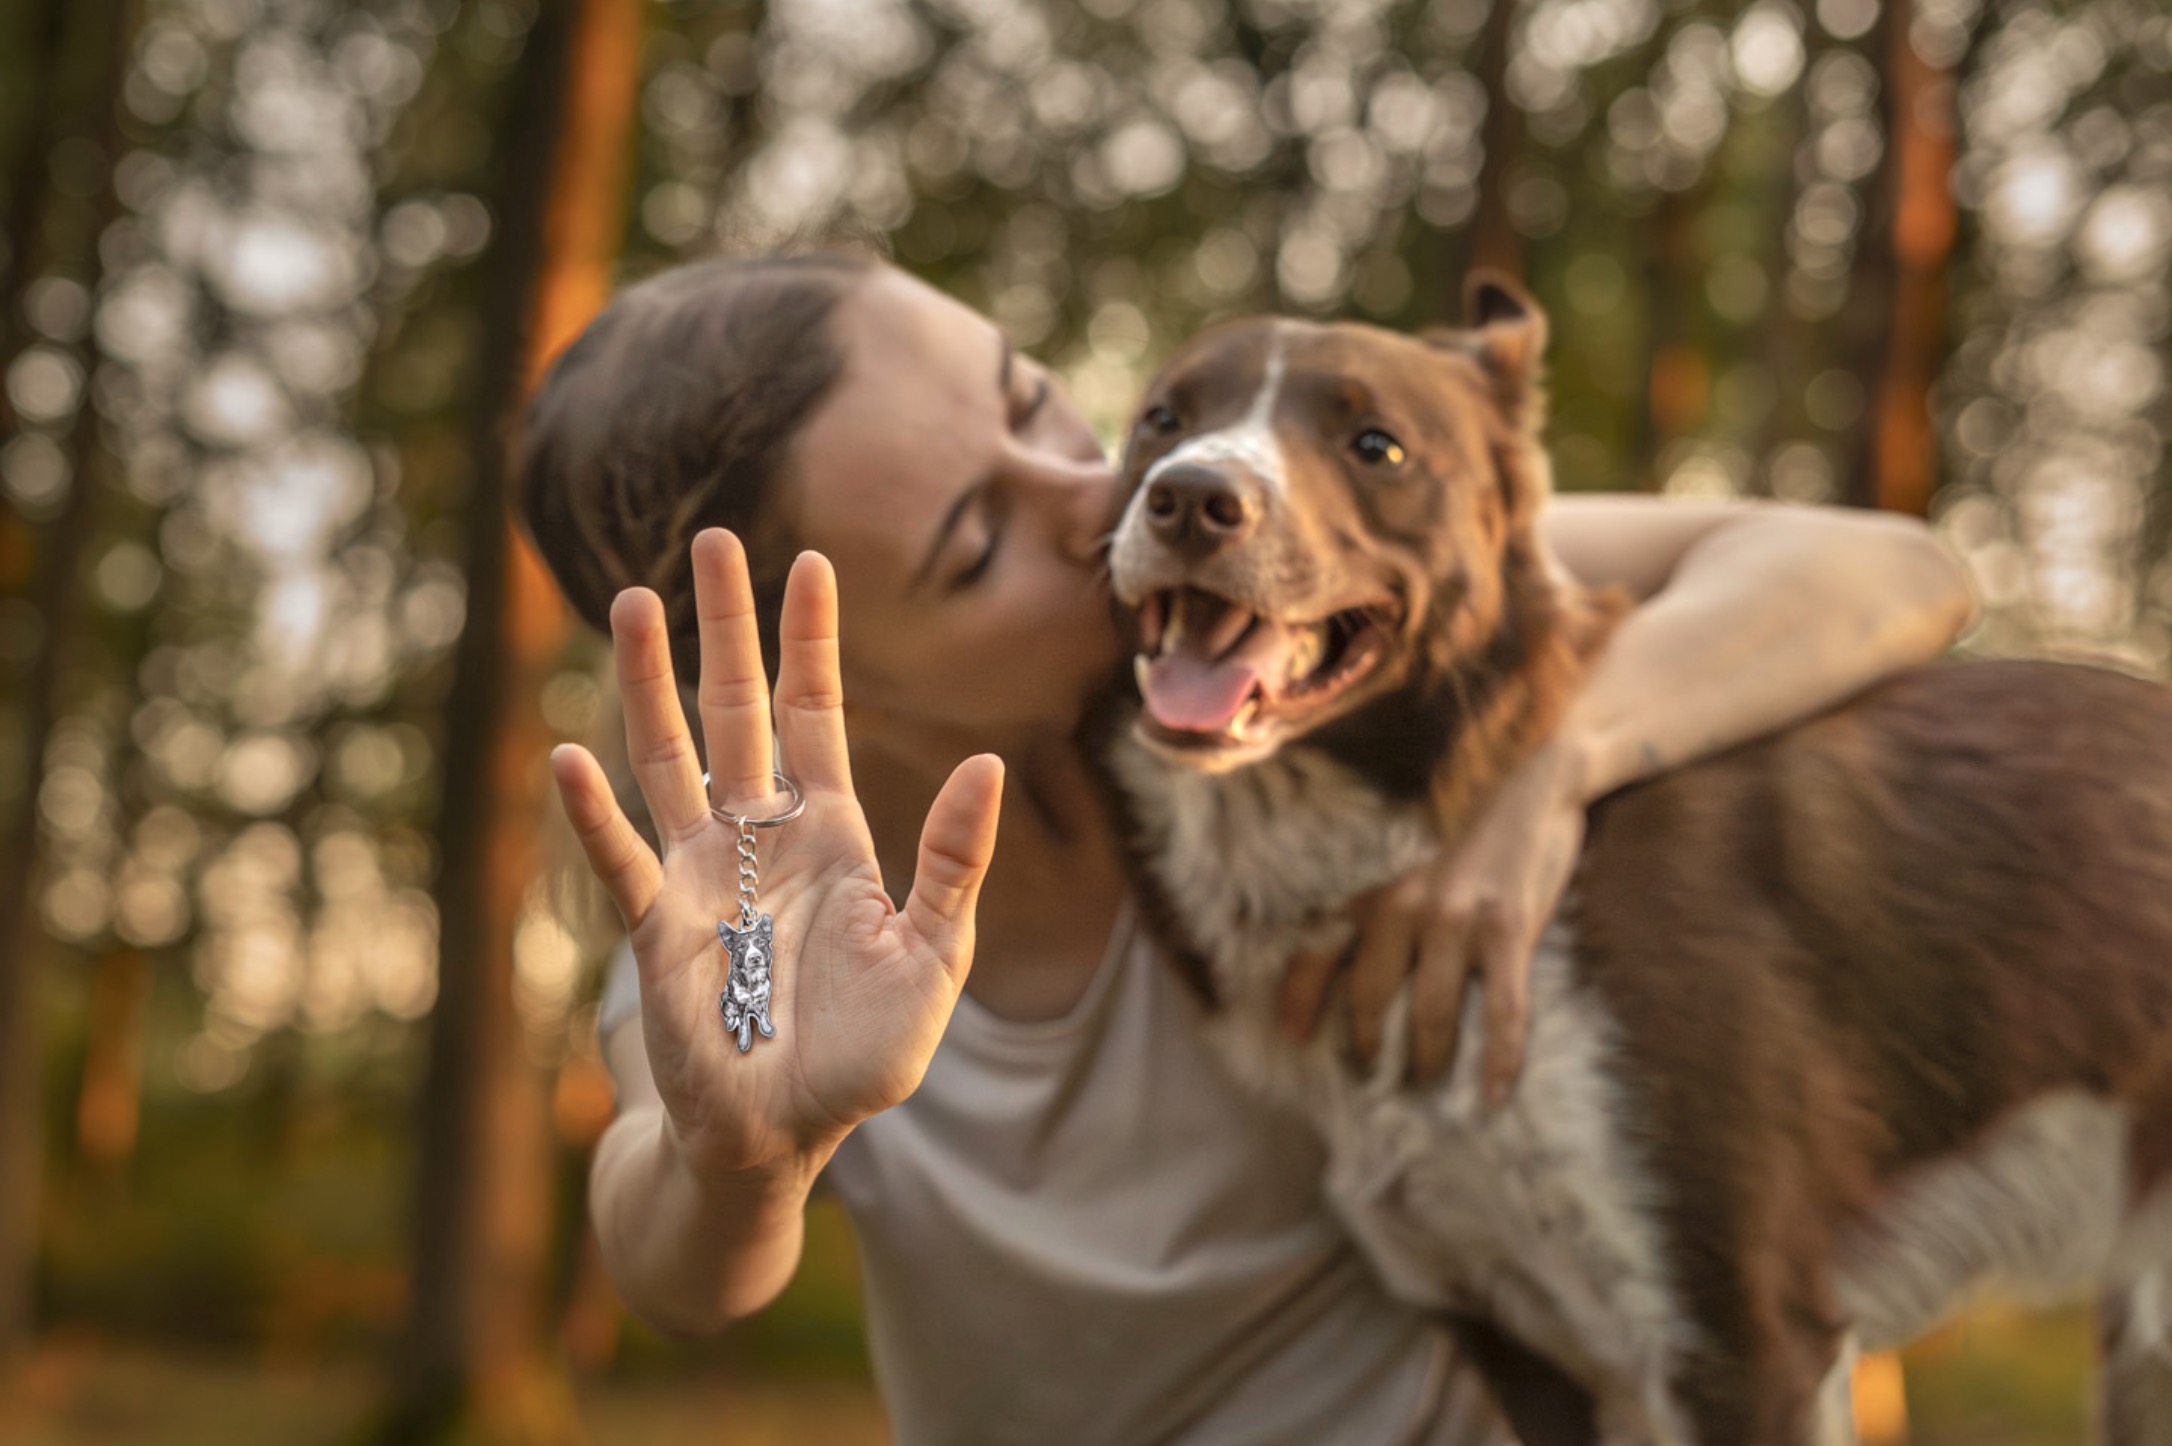
1/400 sec, f/2.8, ISO 1600. Top is original, lower is with a better/sharper keychain Photoshopped in.
What COULD I have done better?
There’s only really a couple of options here.
- Go to a different location. Find a spot with much more overhead light, come back on a day without backlight, get on the edge of the woods, etc. This would allow me to either drop my ISO, OR narrow my aperture to have more of the photo in focus.
- Use a flash. By introducing a flash, I could easily have used a much narrower aperture without needing to push my ISO up, as I could drop my shutter speed dramatically. But I’m not (at the time of writing) confident enough to use it for client shoots when we only had 30 minutes of daylight left!
