What are the most important things to know about taking photos of pets? What are the first things we should learn? We don’t know what we don’t know. That’s the old saying, isn’t it? When we embark on some new learning journey, all the knowledge spread out before us but unable yet to see it.
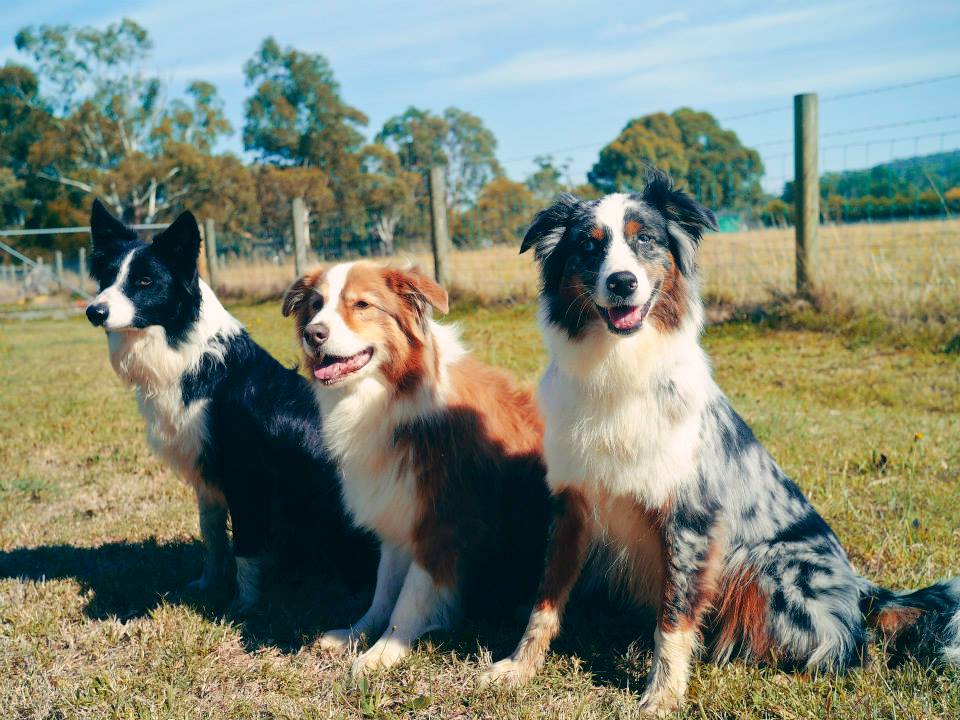
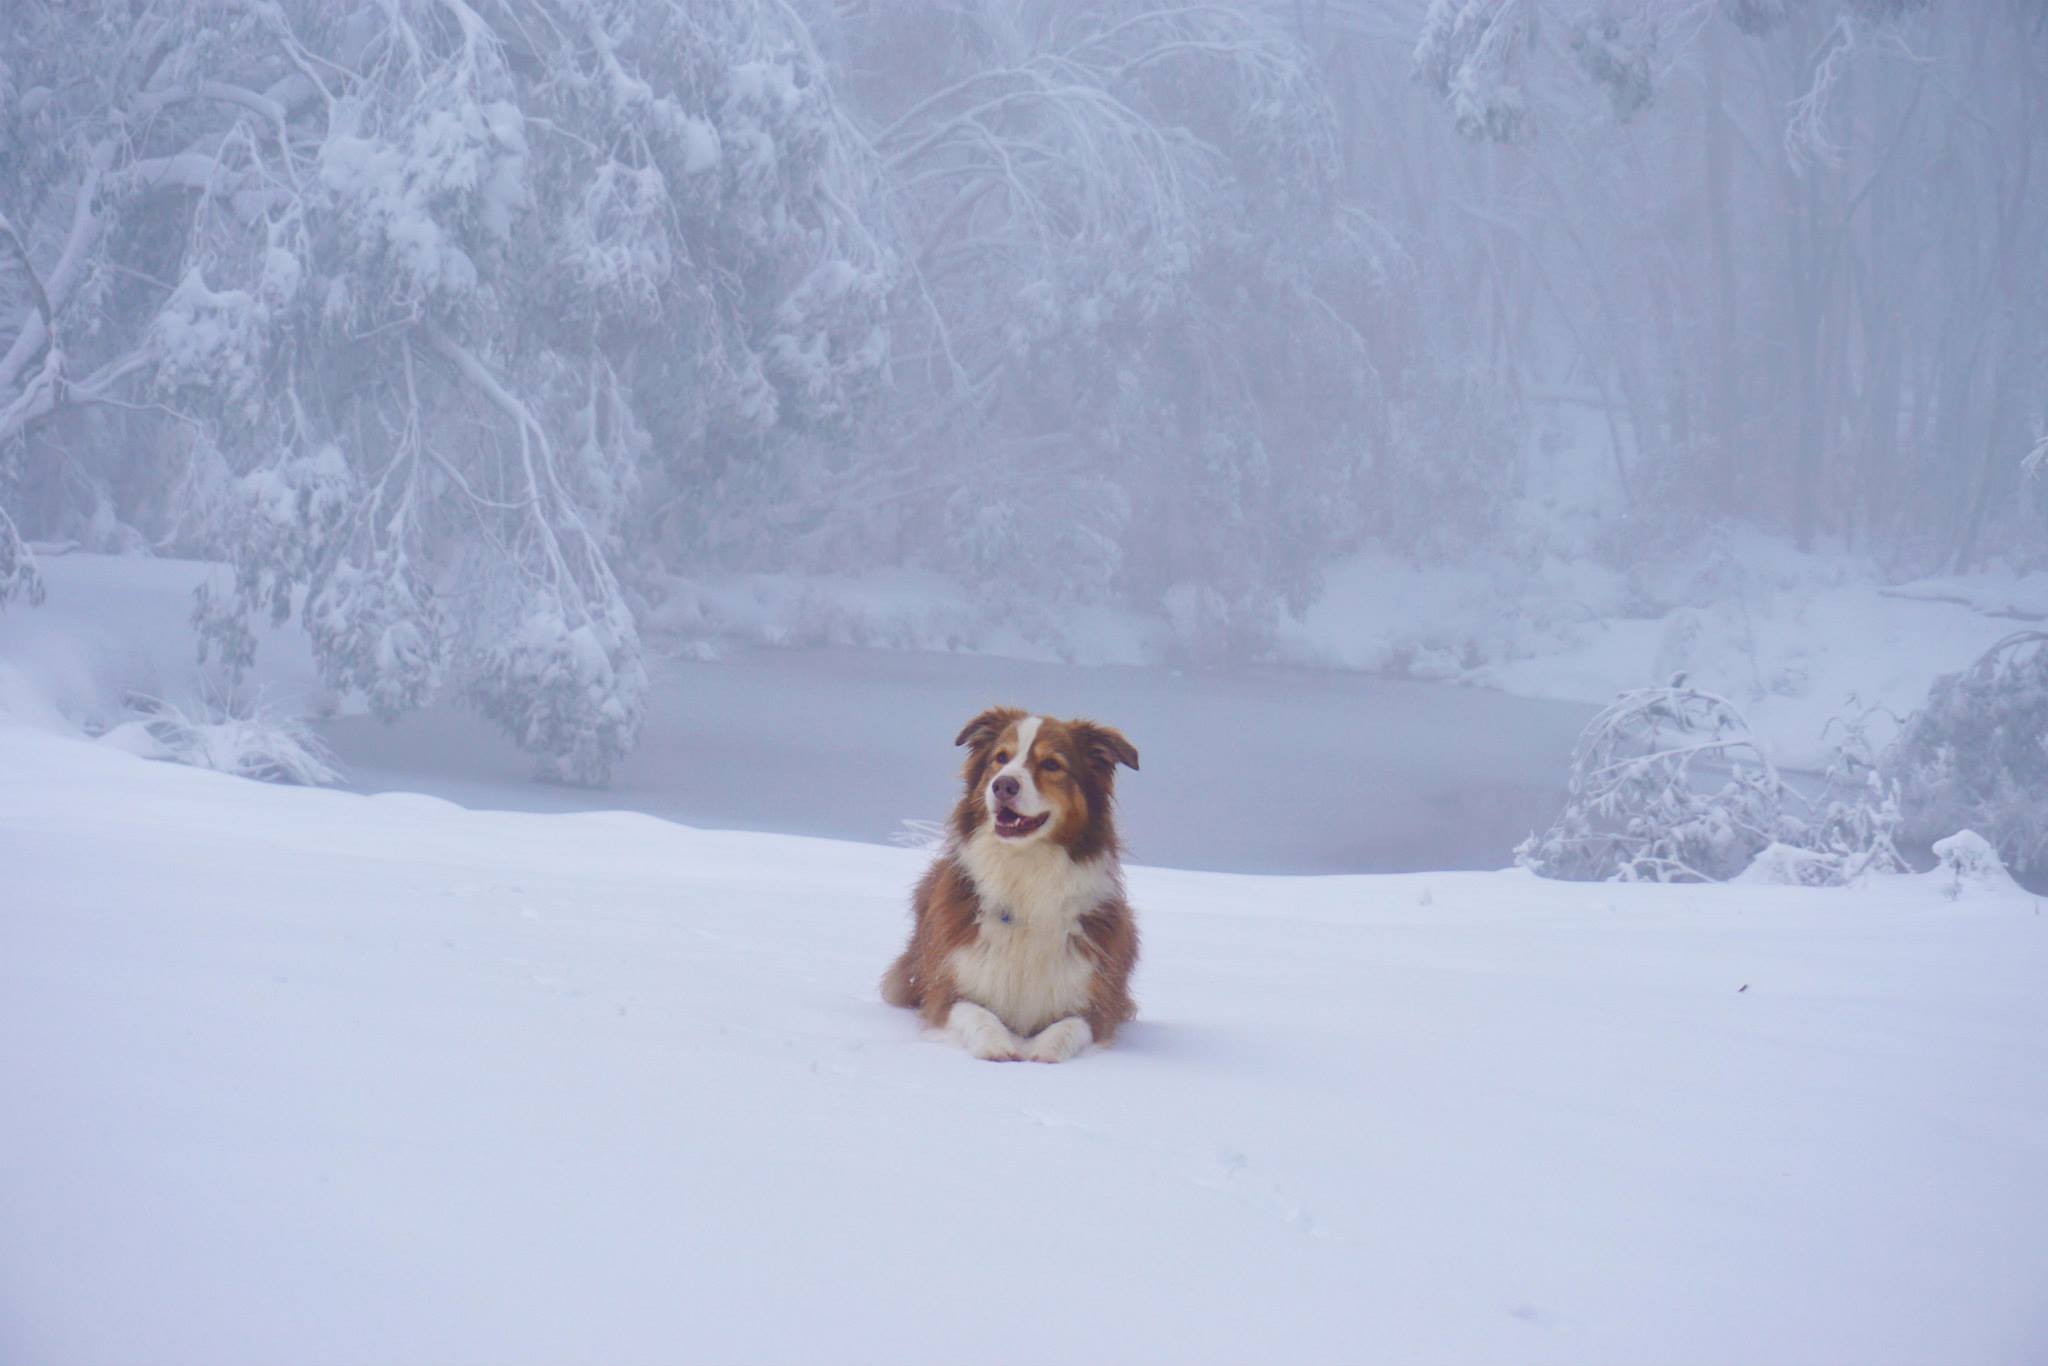
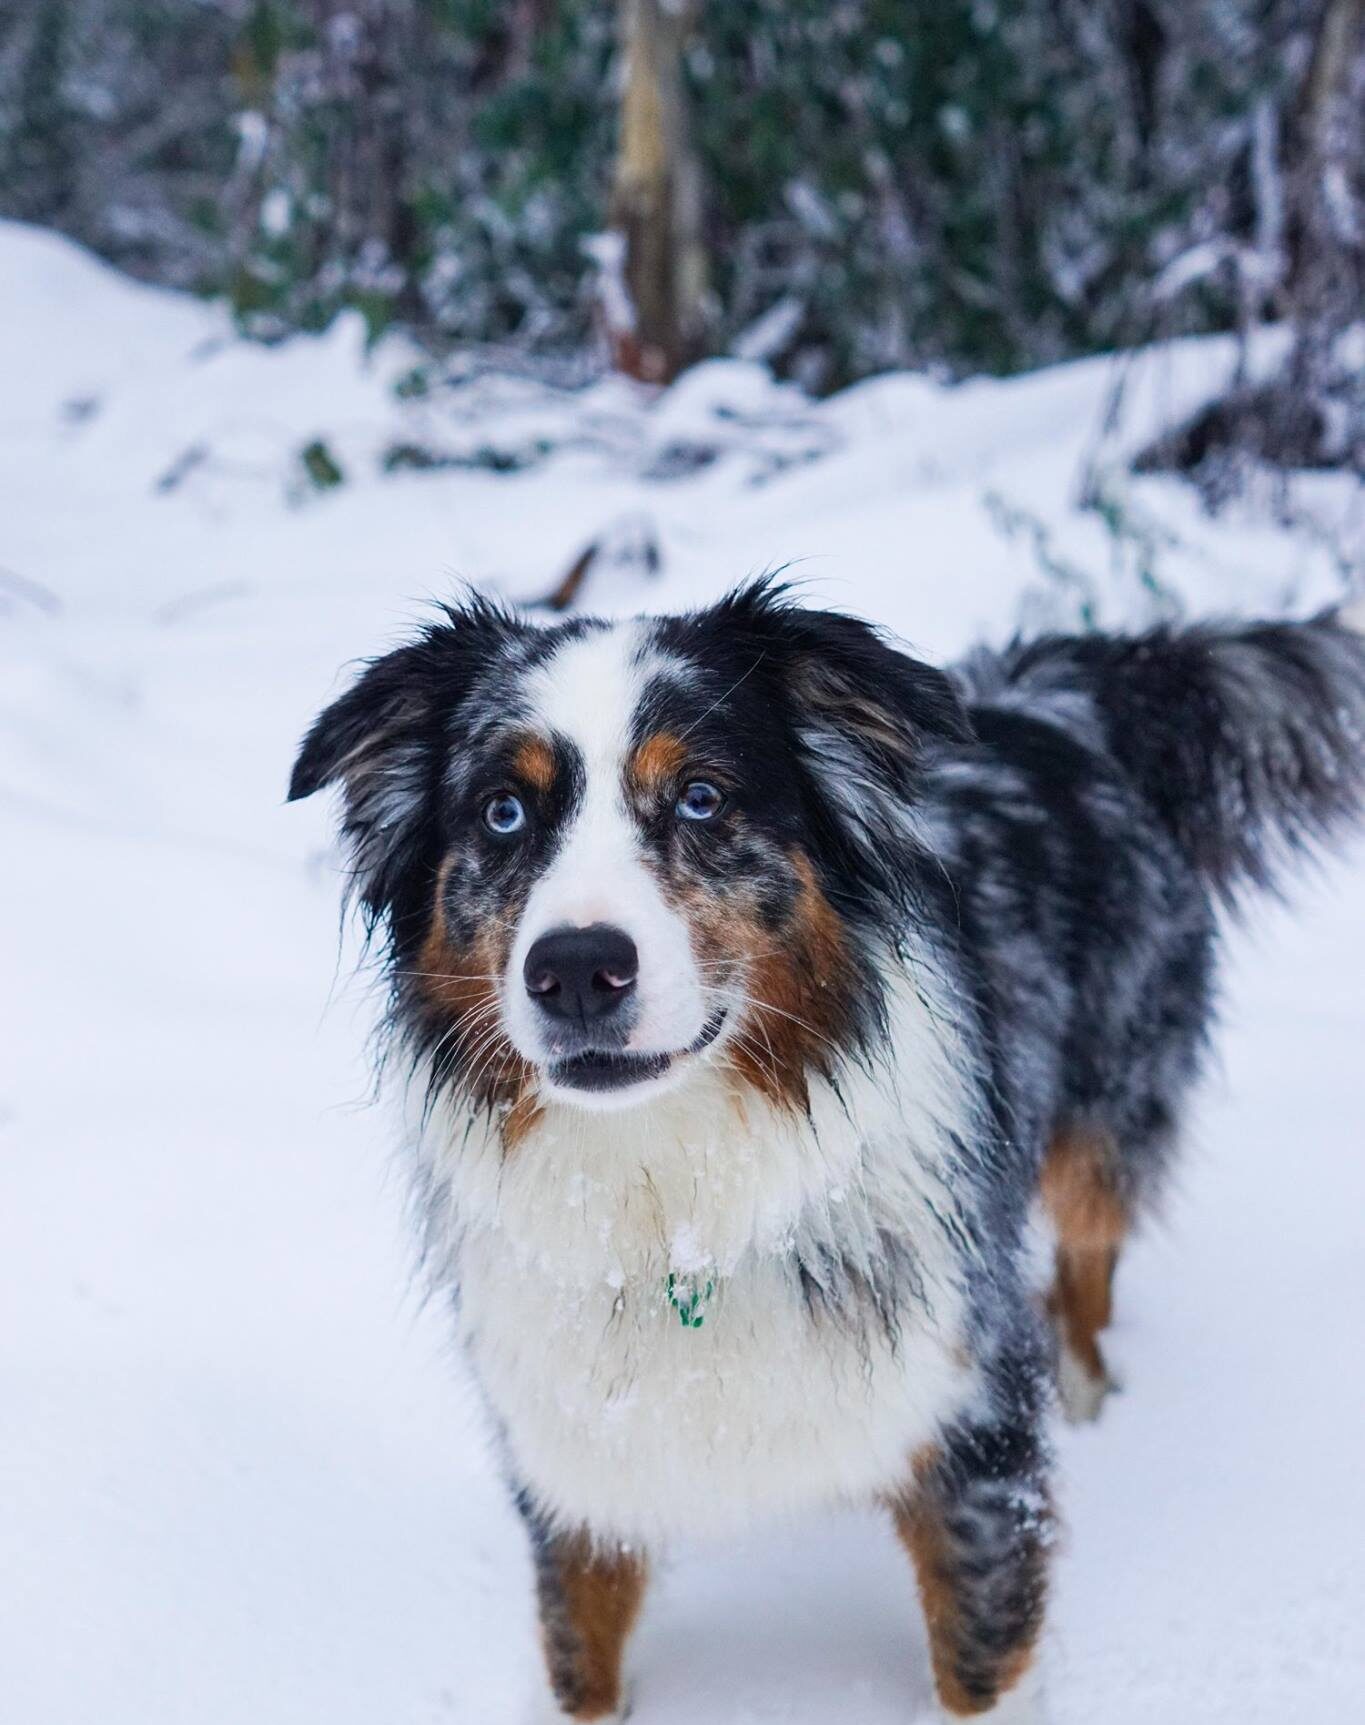
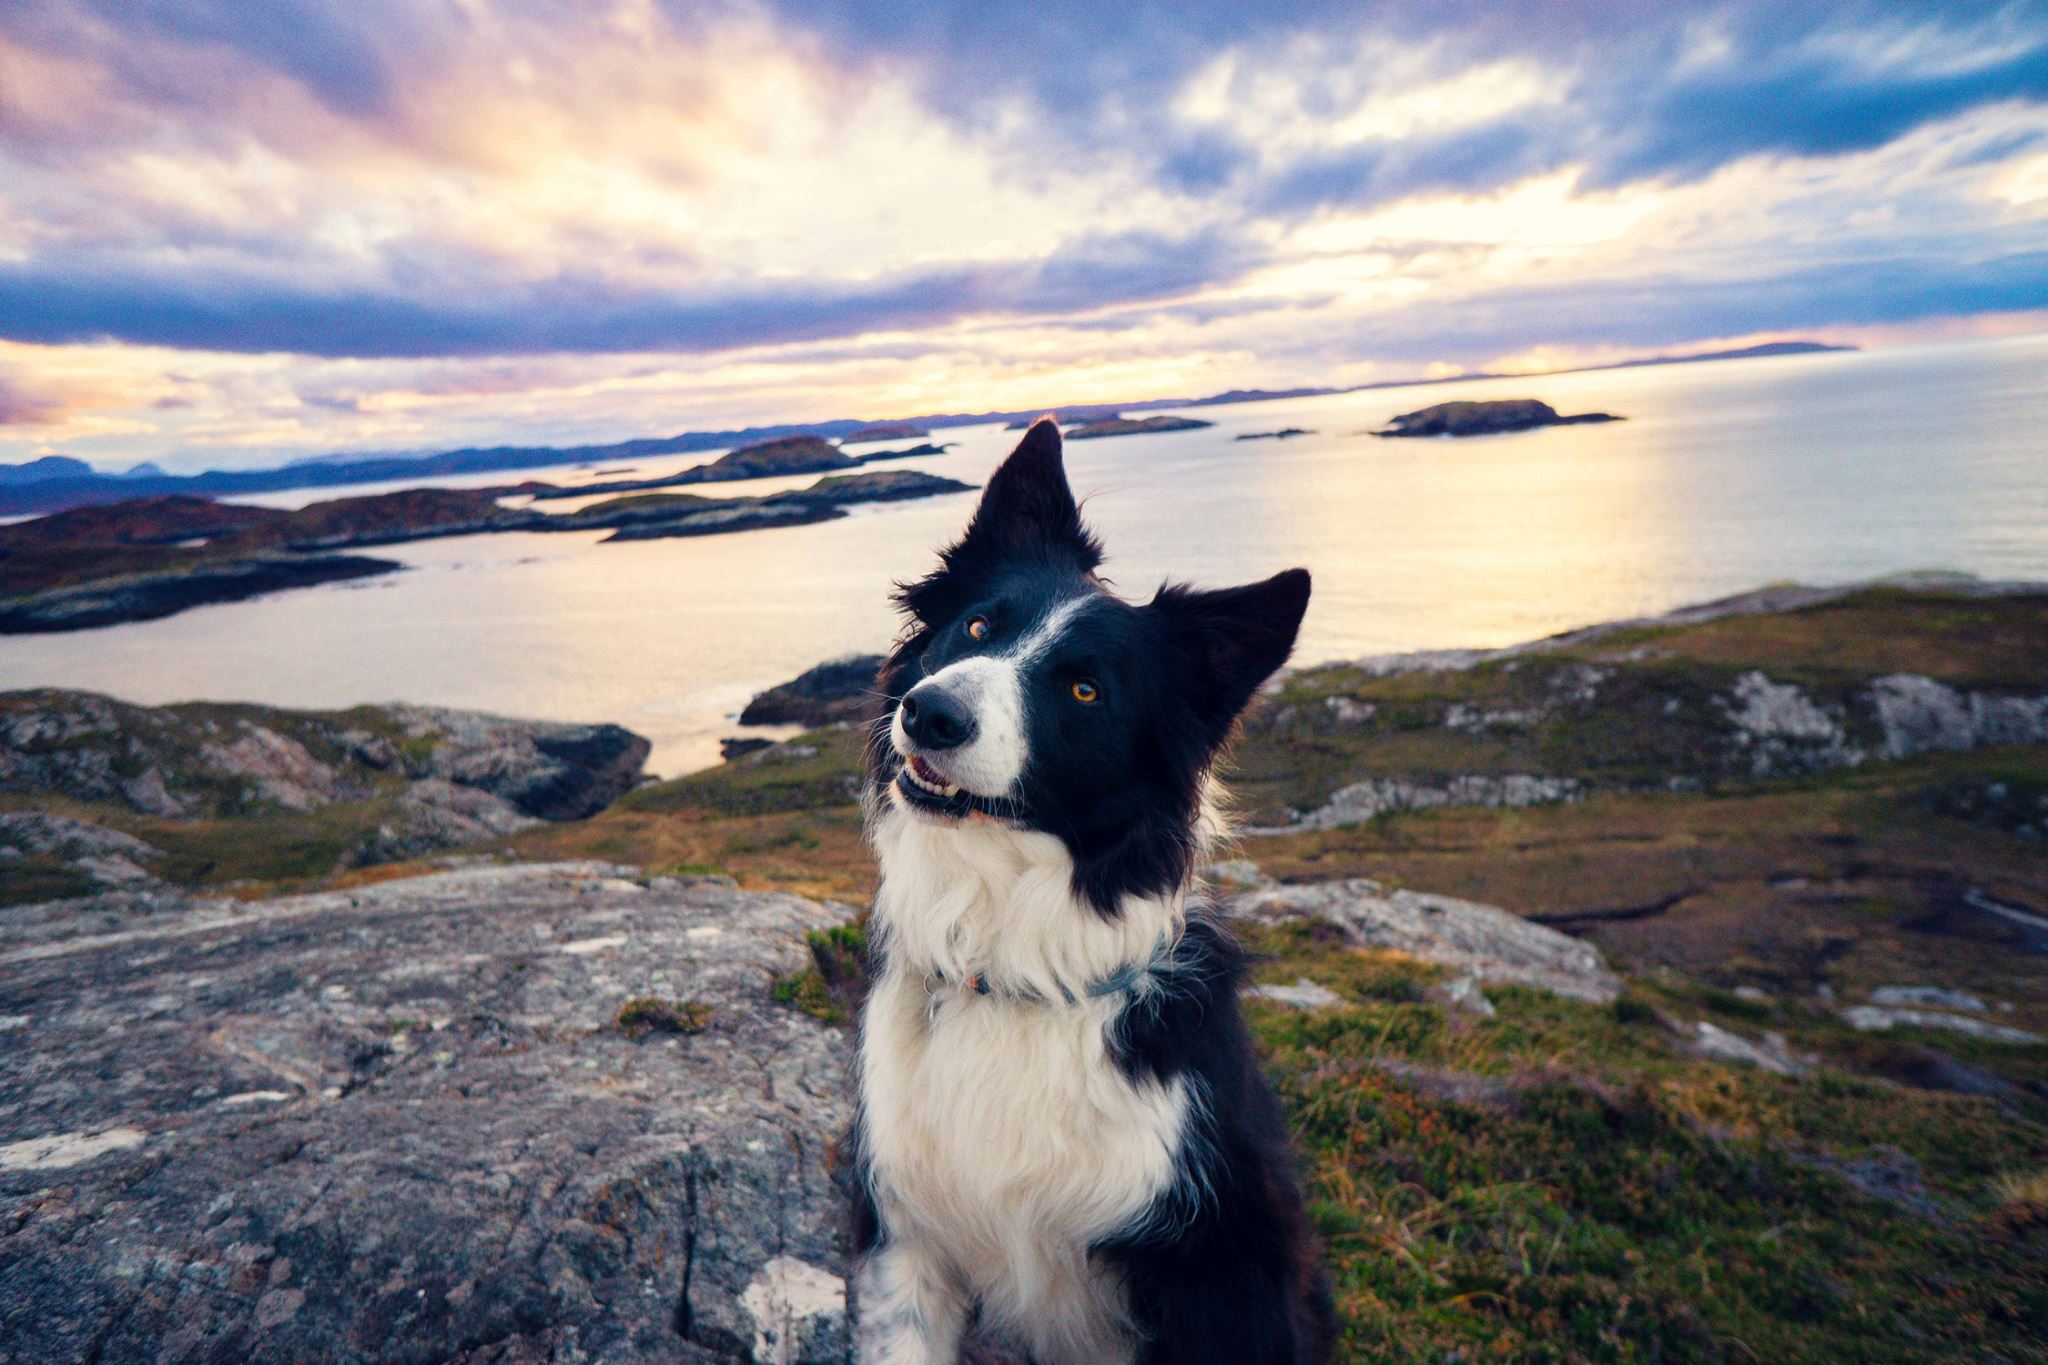
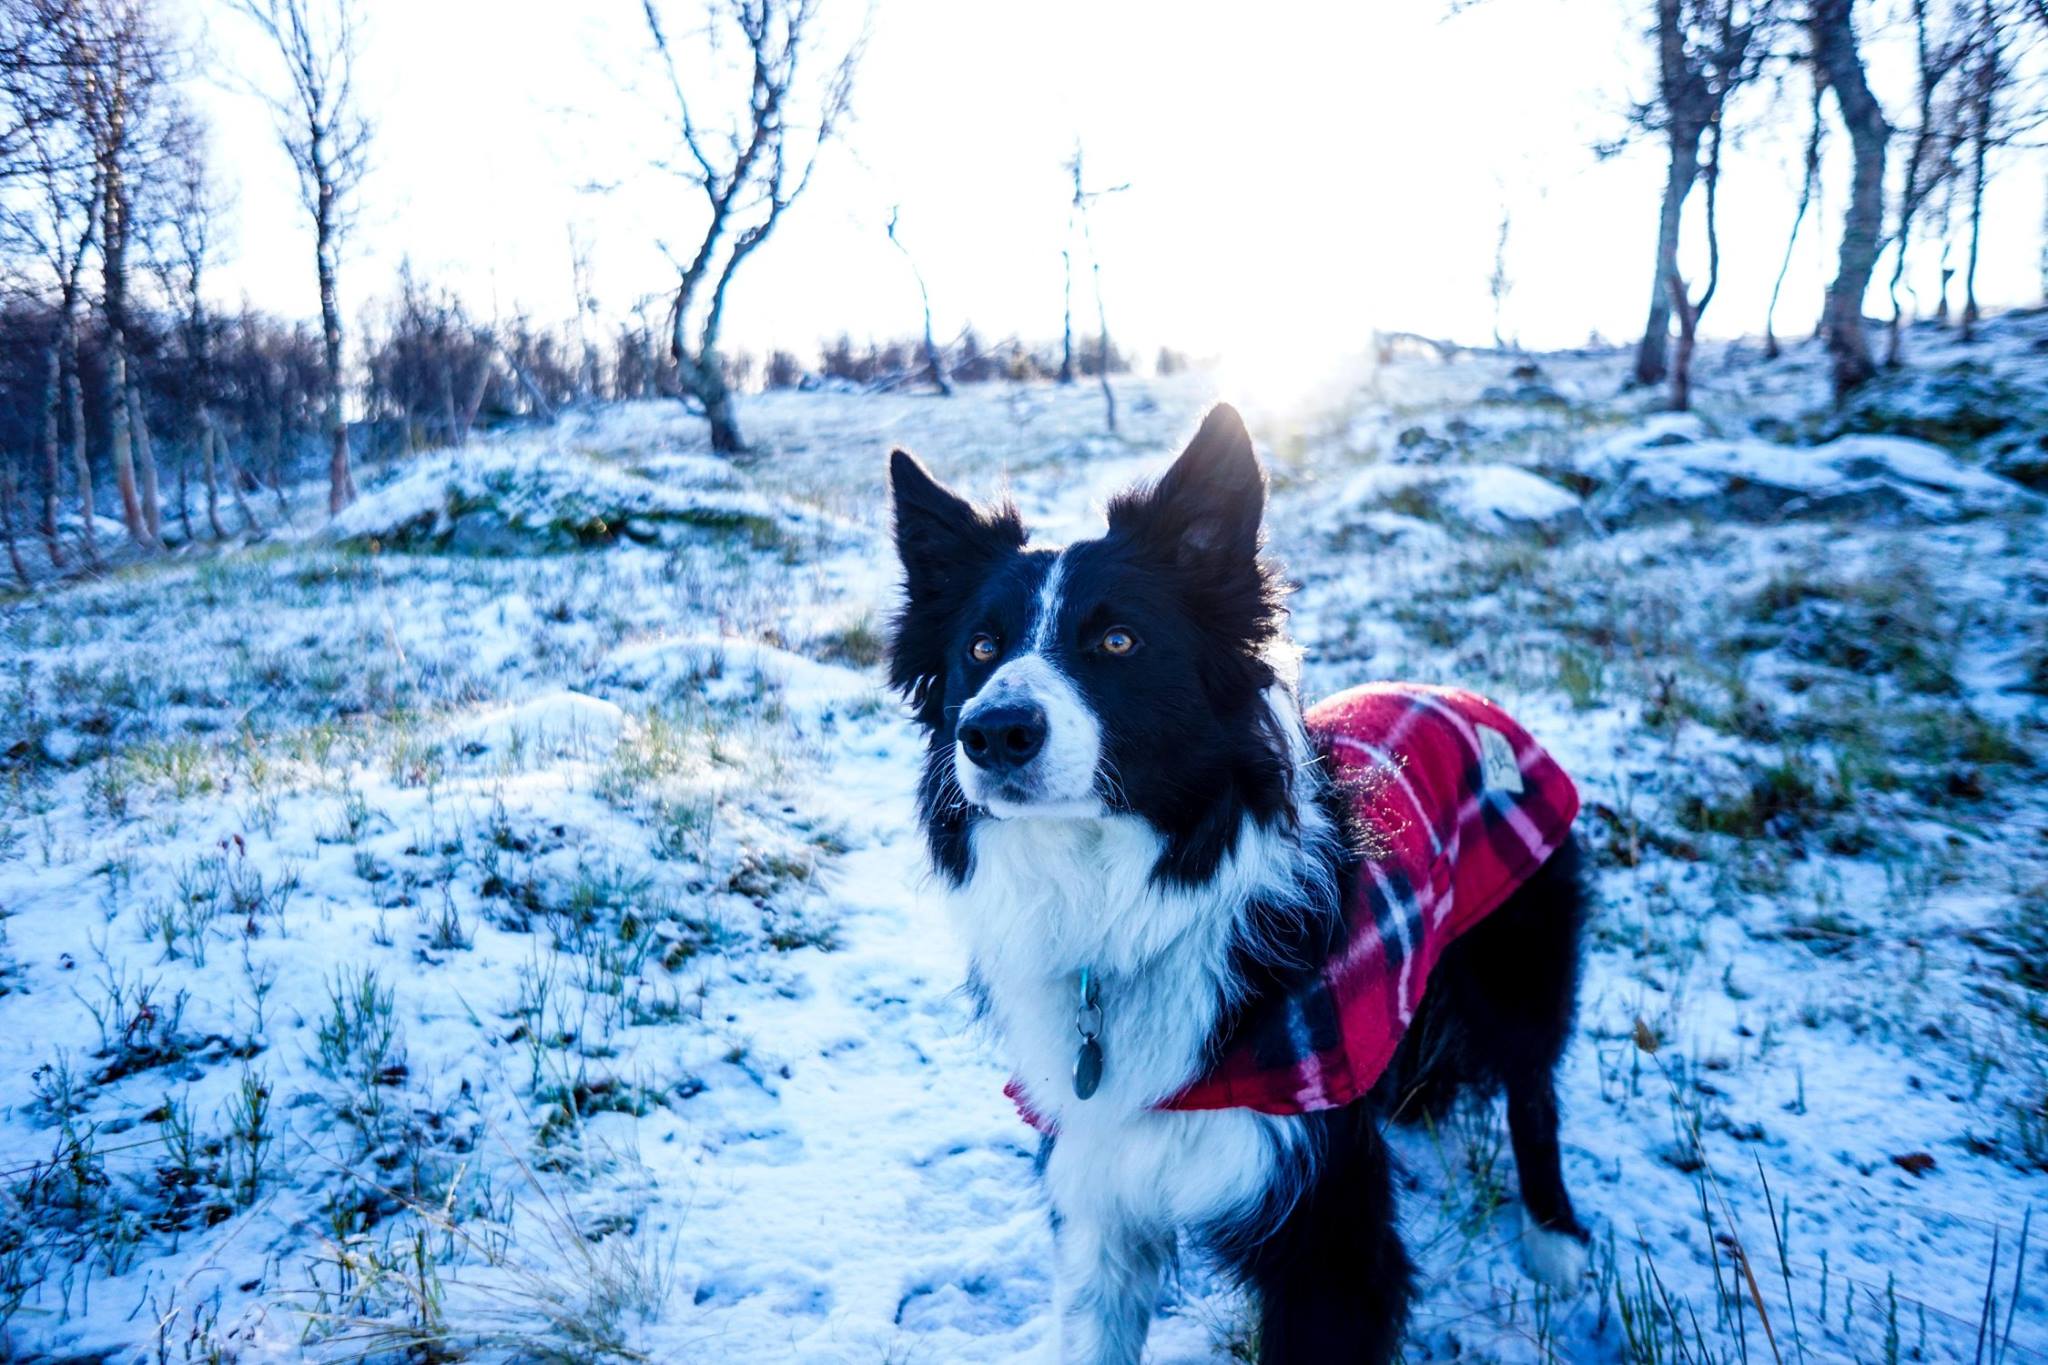
With my courses and Learning Community set to launch in a couple of weeks (18th of January, all things going to plan!) it felt like a time to look back on all I’ve learnt since I began to delve deeper into pet photography. Even I feel like there’s still so much to learn, but there’s also some fundamental pieces of information I wish I’d had when I was taking photos of my dogs in my field back in Australia. As much as I love these old images, and they are incredibly precious memories, I know they could have been better.
1. Perspective
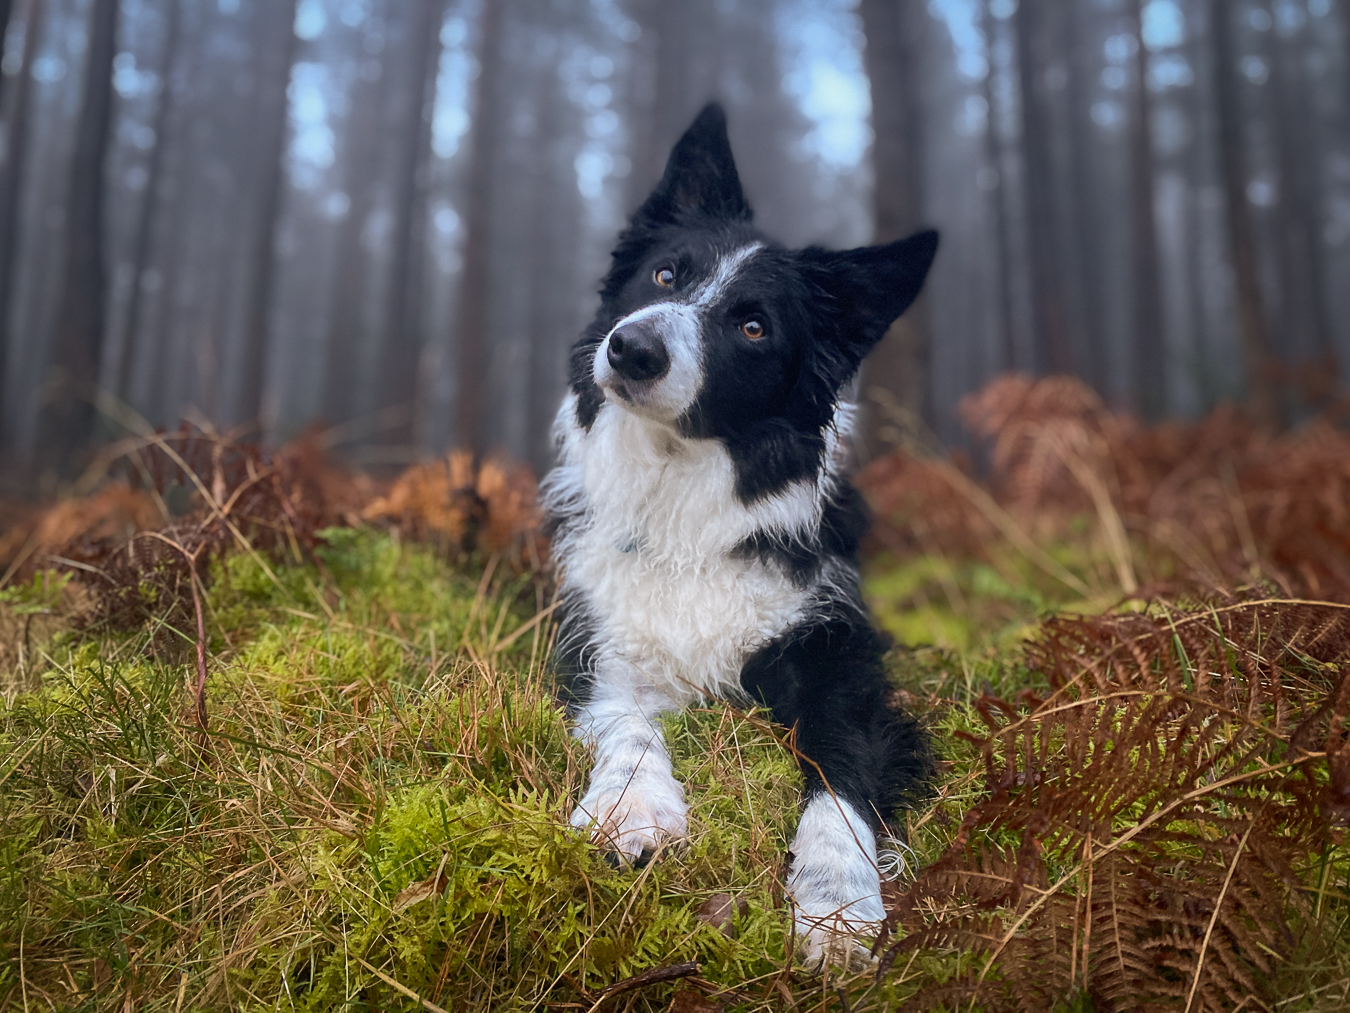
This is perhaps the most important piece of information I have to share: get down low.
When you think your camera or phone is low enough… make it lower.
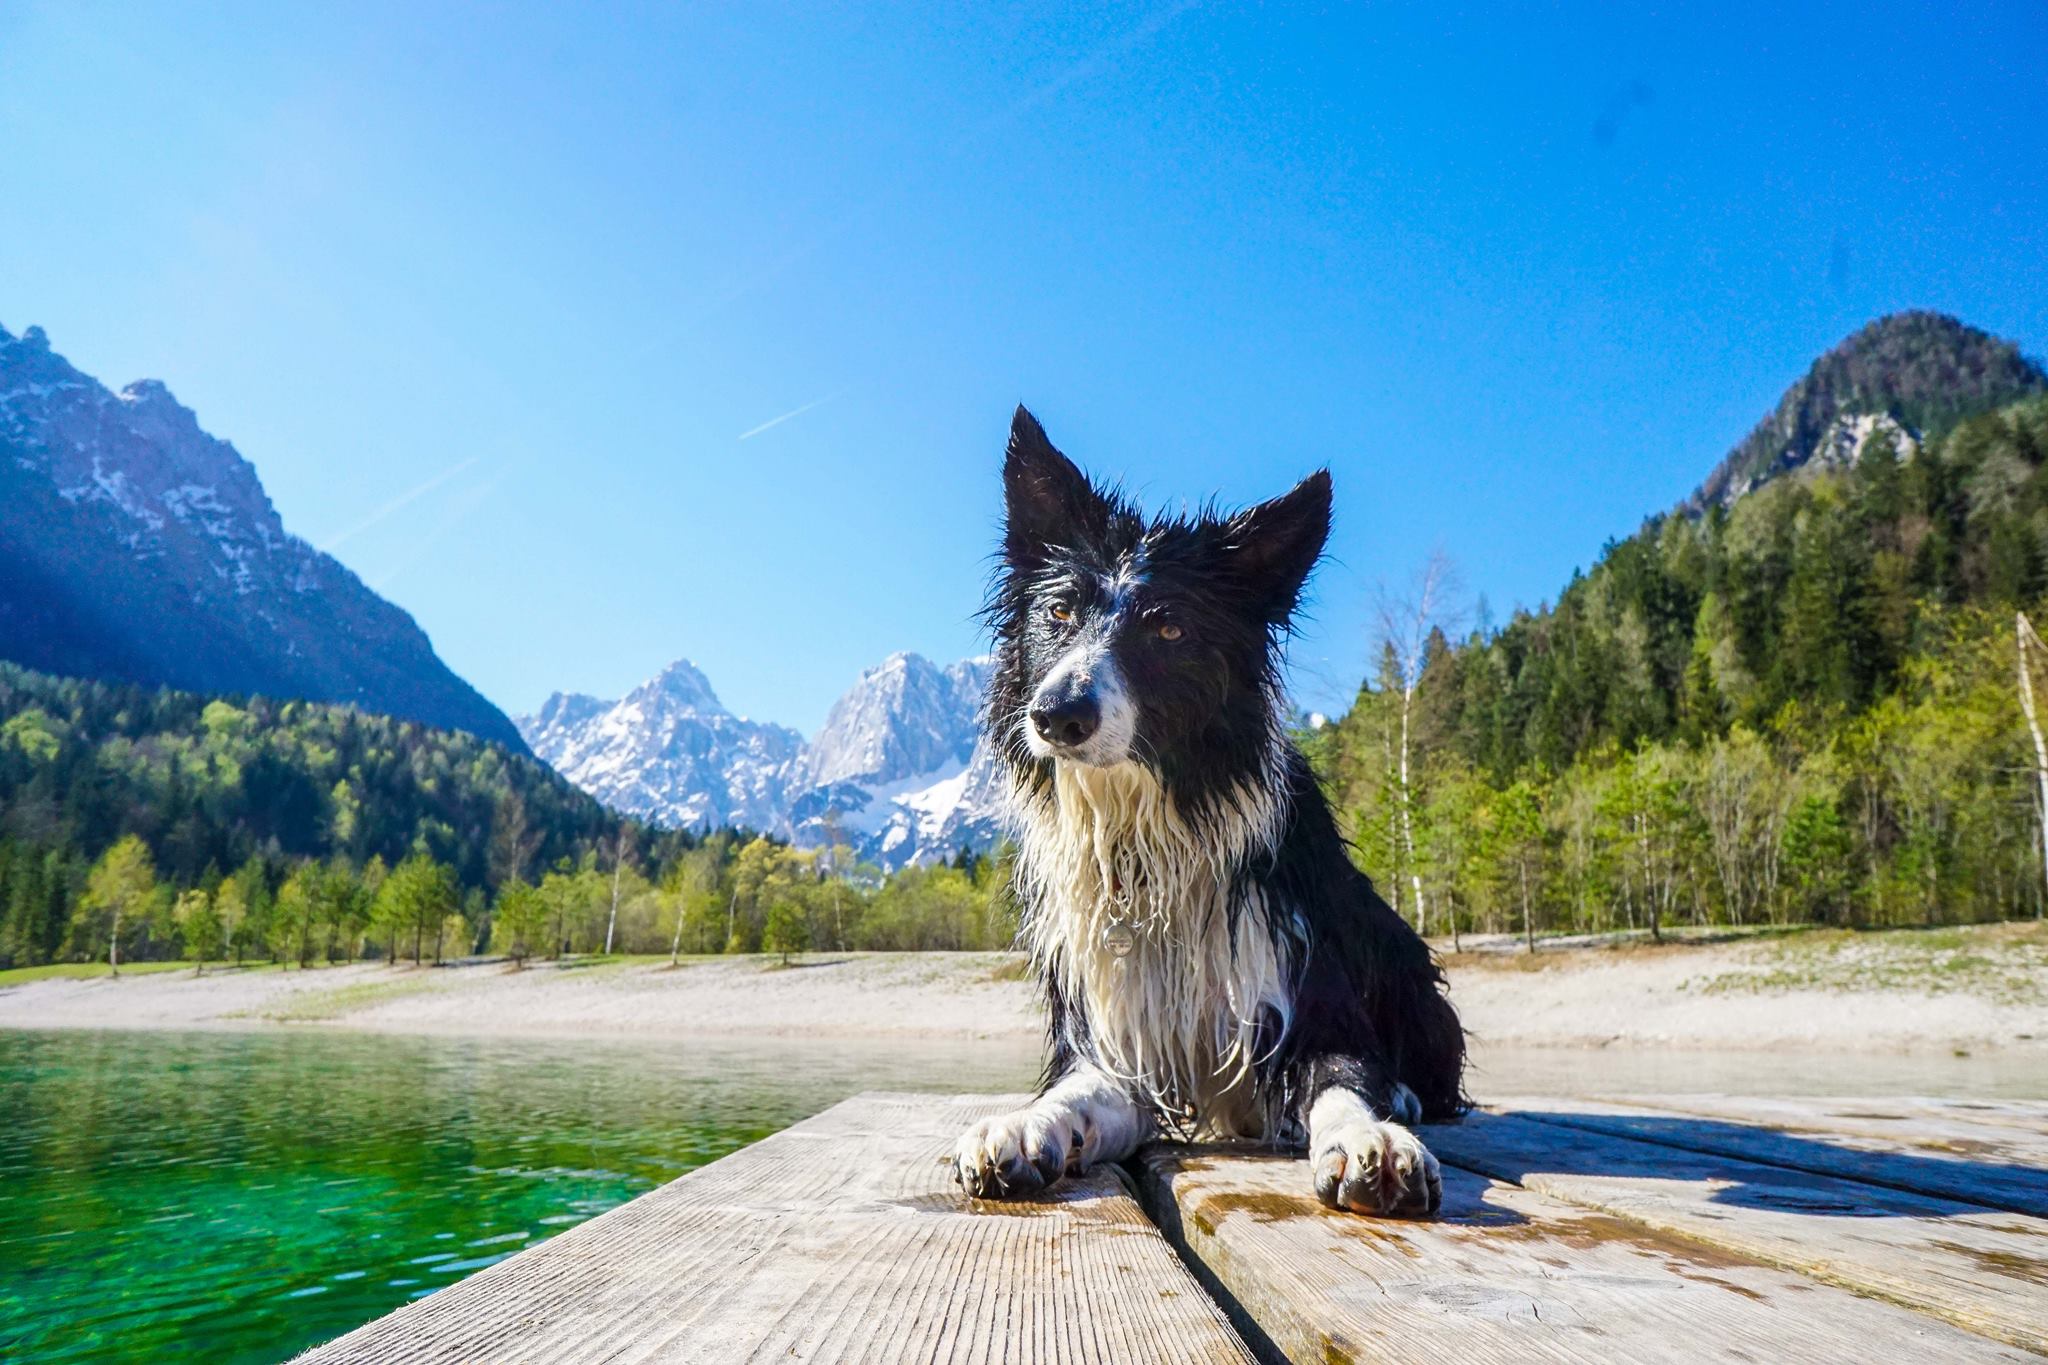
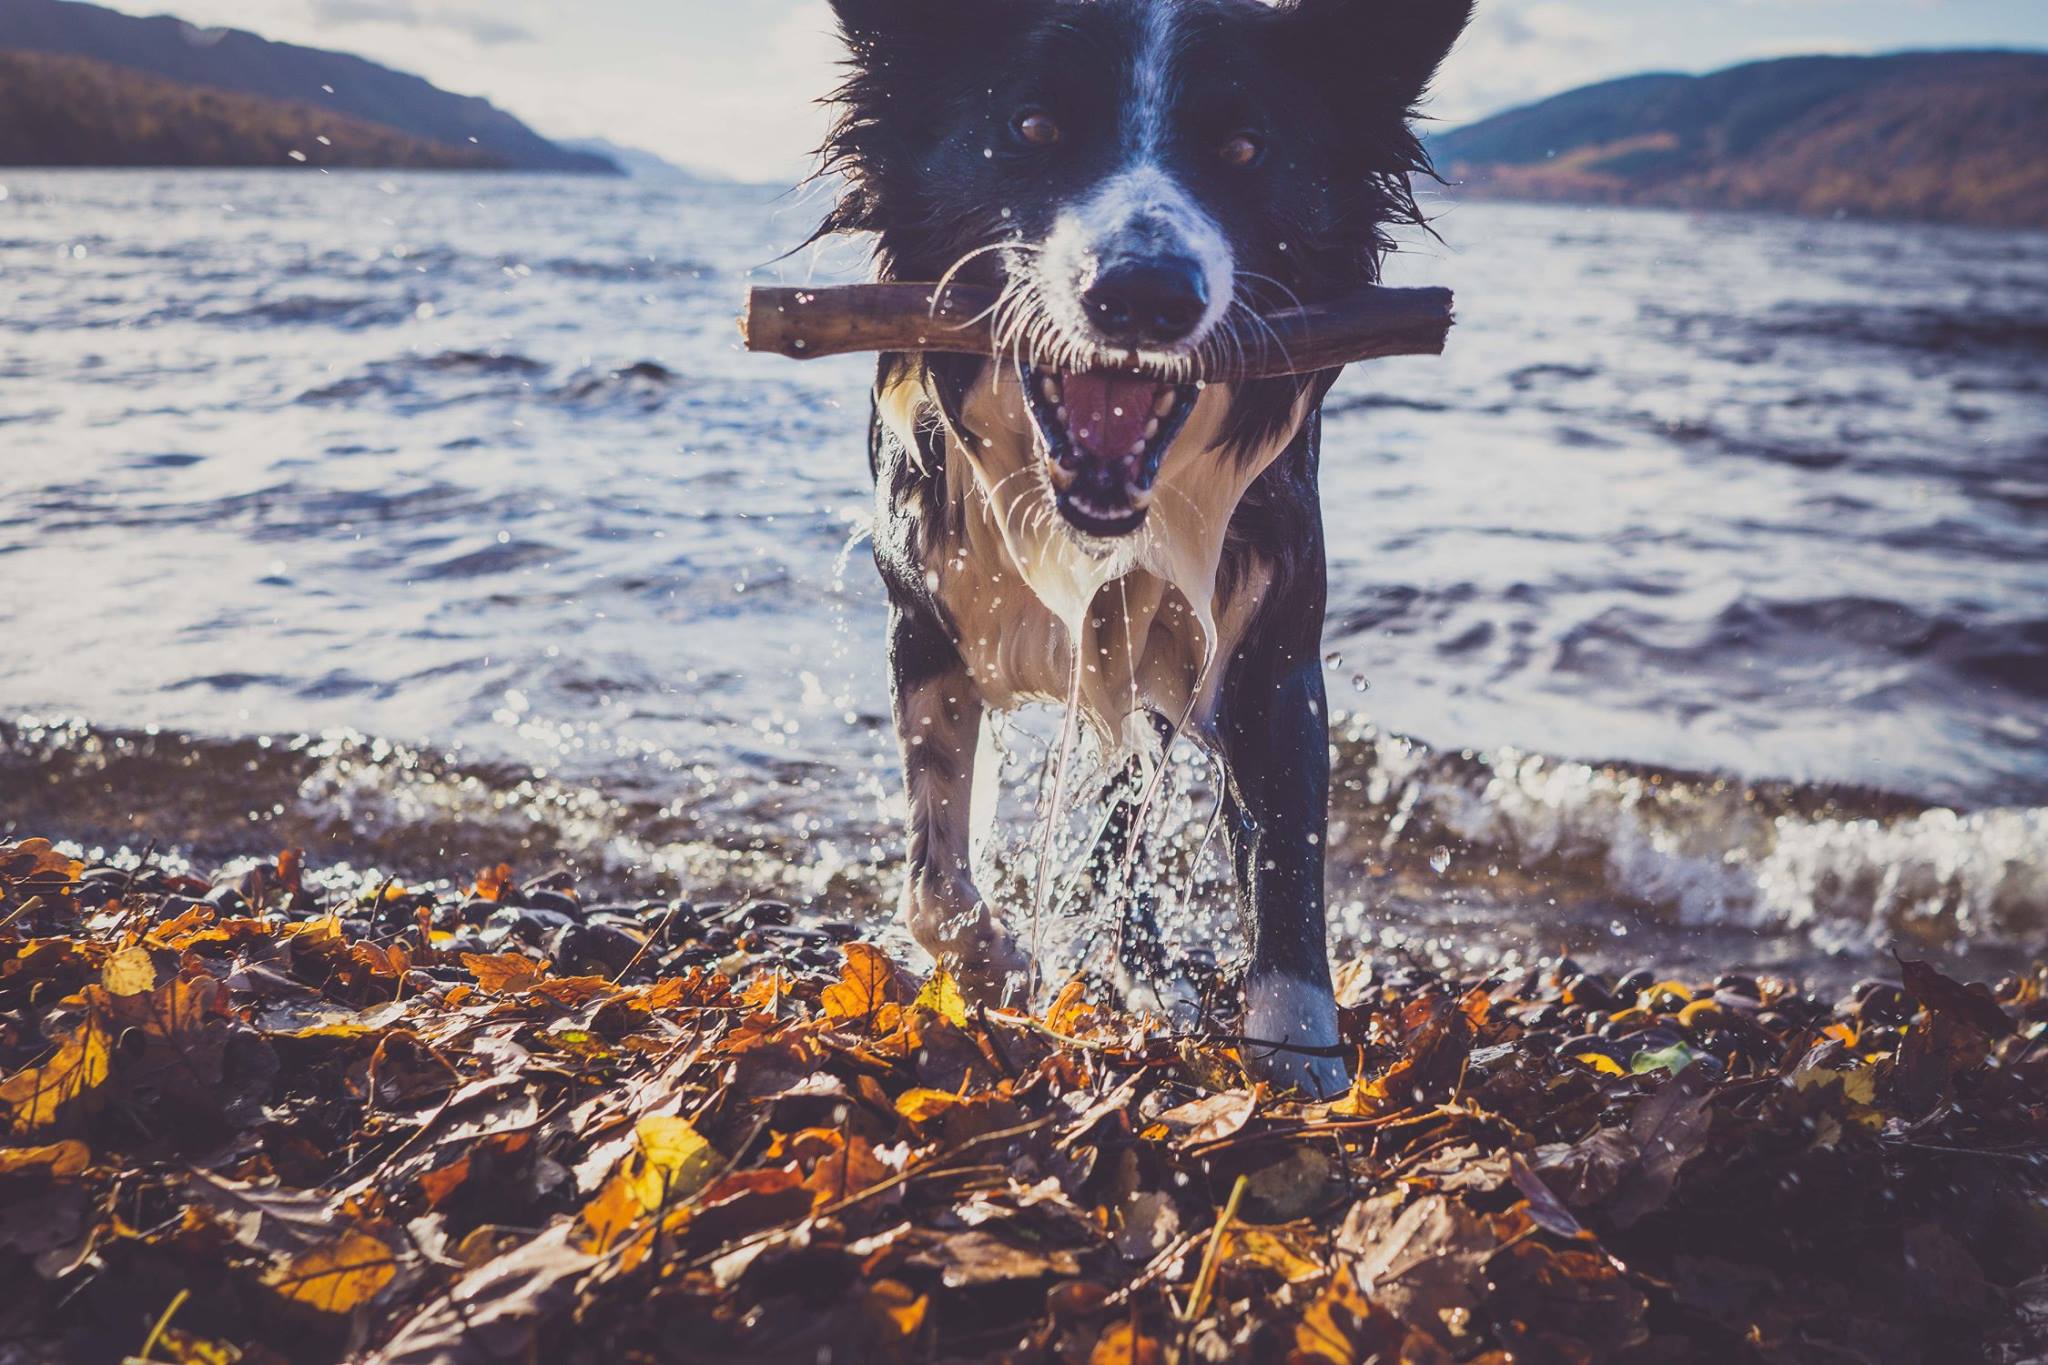
Taking photos of dogs from a low angle, gives them more power, makes them more impactful and imposing in the frame. It really makes them the star of the show.
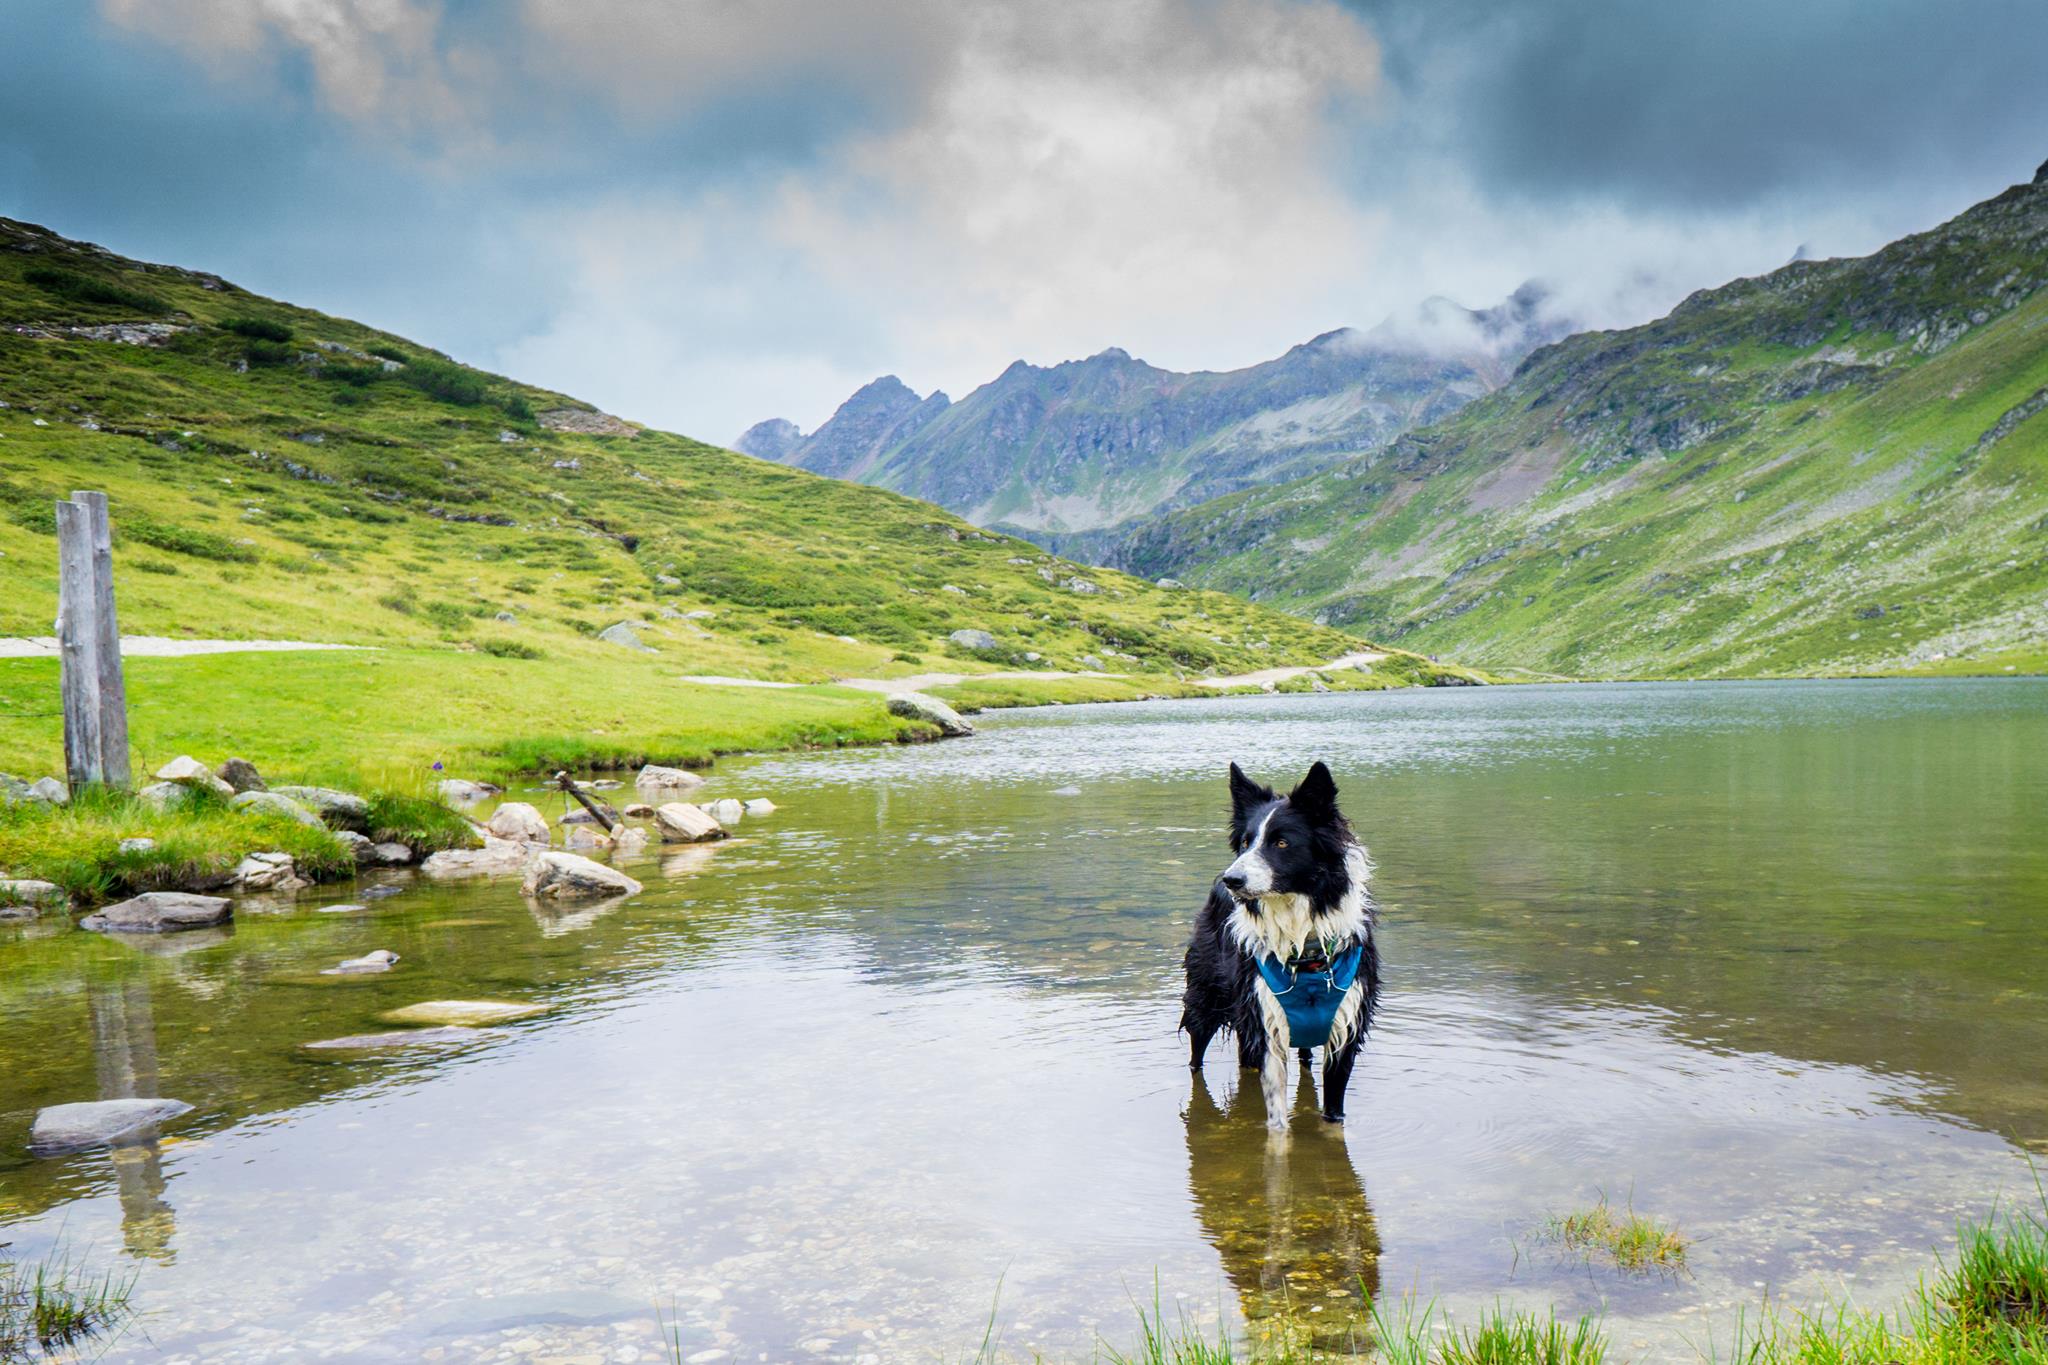
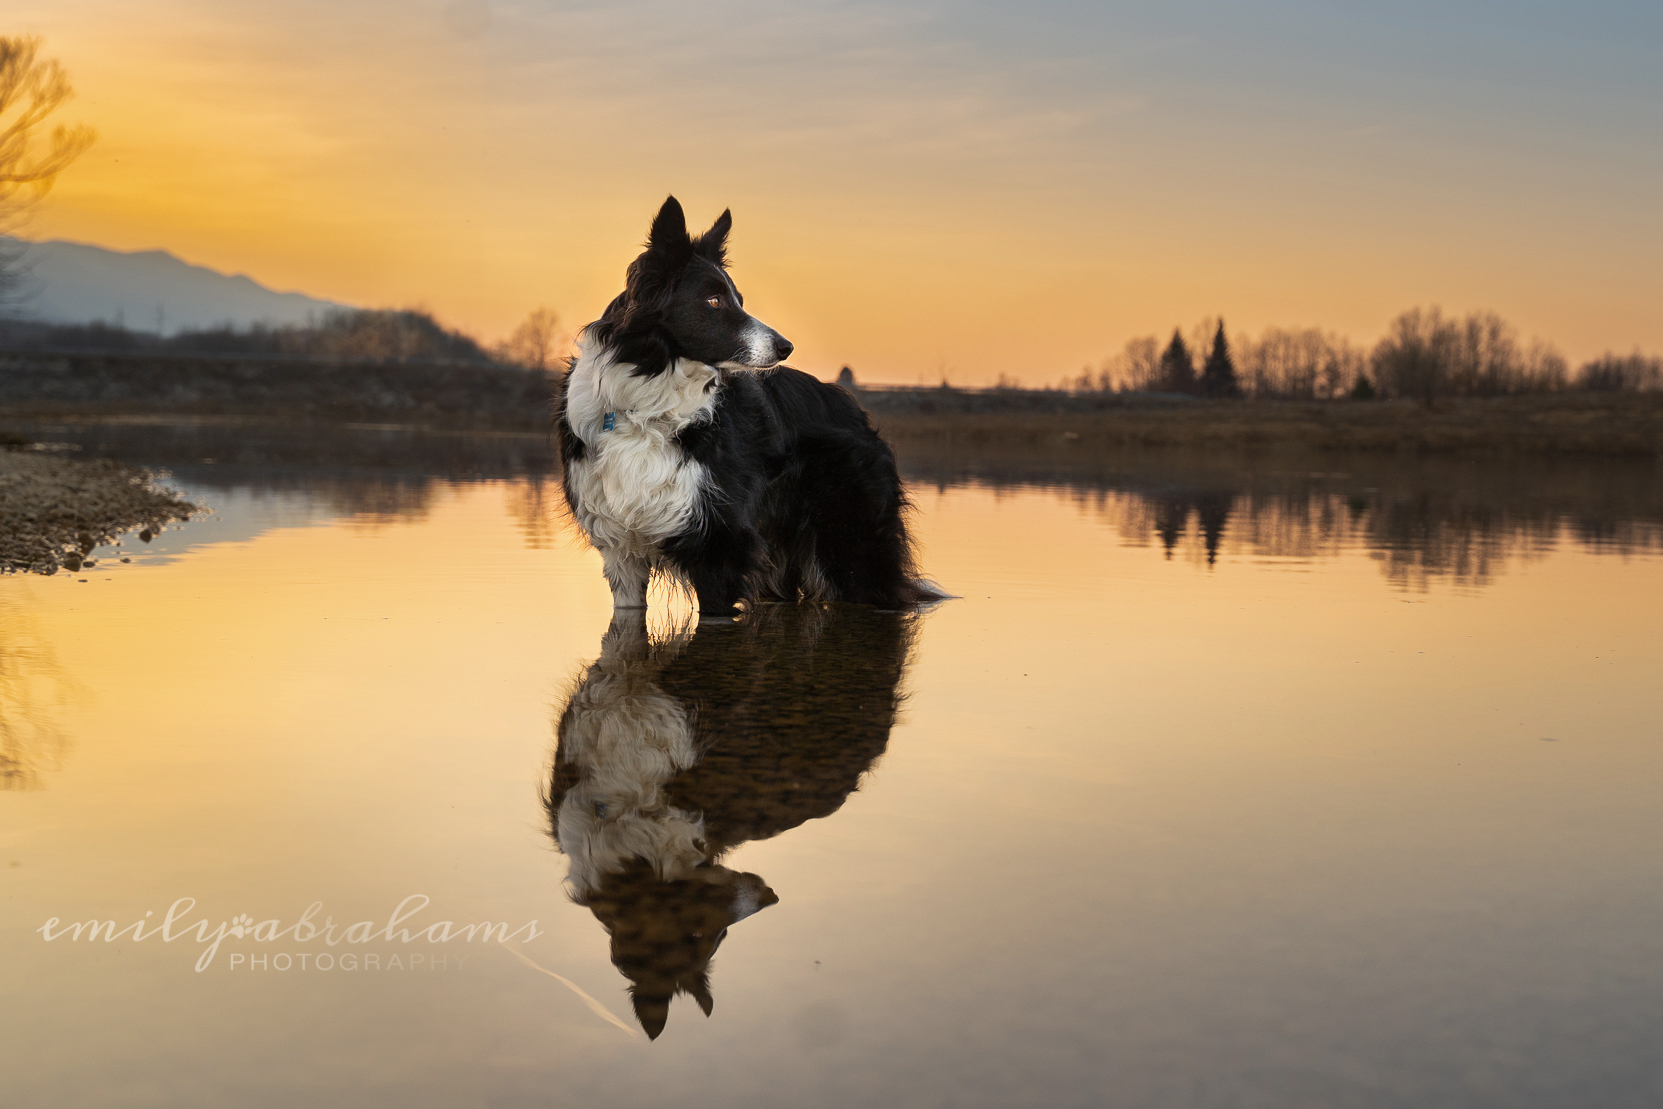
Above are two lake-based images… one taken from a pretty normal perspective, the other from much lower. Which one gives Loki more power? (And, I would say that the image in the orange lake was probably taken from higher than normal too, in order to get a good reflection).
This applies to photos taken with a phone, too!
2. Get to know how to use your camera
Obviously this one doesn’t necessarily apply if you’re using your phone, but if you have a DSLR or mirrorless camera where you can change things like aperture, shutter speed, and ISO, get to know what those things do and how and when to change them. So many of my older images aren’t what they could have been because the shutter speed was too slow, or the sky was too bright so I lost detail in the clouds (see this post on under-exposing for more info on that issue!), or because my shutter speed was up super fast and the ISO had to go much higher to compensate.
The settings you choose for your camera will depend on a number of factors, including how it handles a higher ISO, which lens you’re using, and whether you’re doing action, portrait, or candid shots so it’s worth doing some experimenting and learning.
For me, my shutter speed (how fast the shutter closes to freeze any motion) is always at at least 1/400 of a second for low-light portraits, all the way up to 1/2000 if we’re doing high-speed action.
My aperture (the hole in the lens which allows light in and affects how blurry the background is or not, represented by an “f-number”, usually written on the lens) is almost always “wide open” – meaning it allows the most amount of light in, and has a soft and blurry background, which for my lenses is either f/1.8 or f/2.8. Your lens may not go so wide, so you may not be able to get those soft blurry backgrounds with it.
My ISO (how sensitive my camera is to the available light) is the lowest it can be given the situation and lighting conditions. This was the last thing I learnt how to use. Before this, I was manually changing the shutter speed and aperture, and had it on Auto-ISO. This may be a good way to transition into full-manual mode.
3. Be aware of the lighting conditions
I used to think (like many of us) that more light = better! When it comes to photography.
When in fact, too much light can cause crazy contrasts of light, bright highlights and dark, sharp shadows. Half a face can be black, while the other is really well lit, and it just doesn’t tend to be that flattering. Now, I tend to avoid taking photos in the middle of a sunny day if I can avoid it, and if I can’t, I make sure to either take photos in an area of open shade, or to turn the dog’s face into the sun/light so that it is evenly lit without so many crazy shadows – shooting with the sun over one shoulder is a good way to avoid getting big shadows on the face..
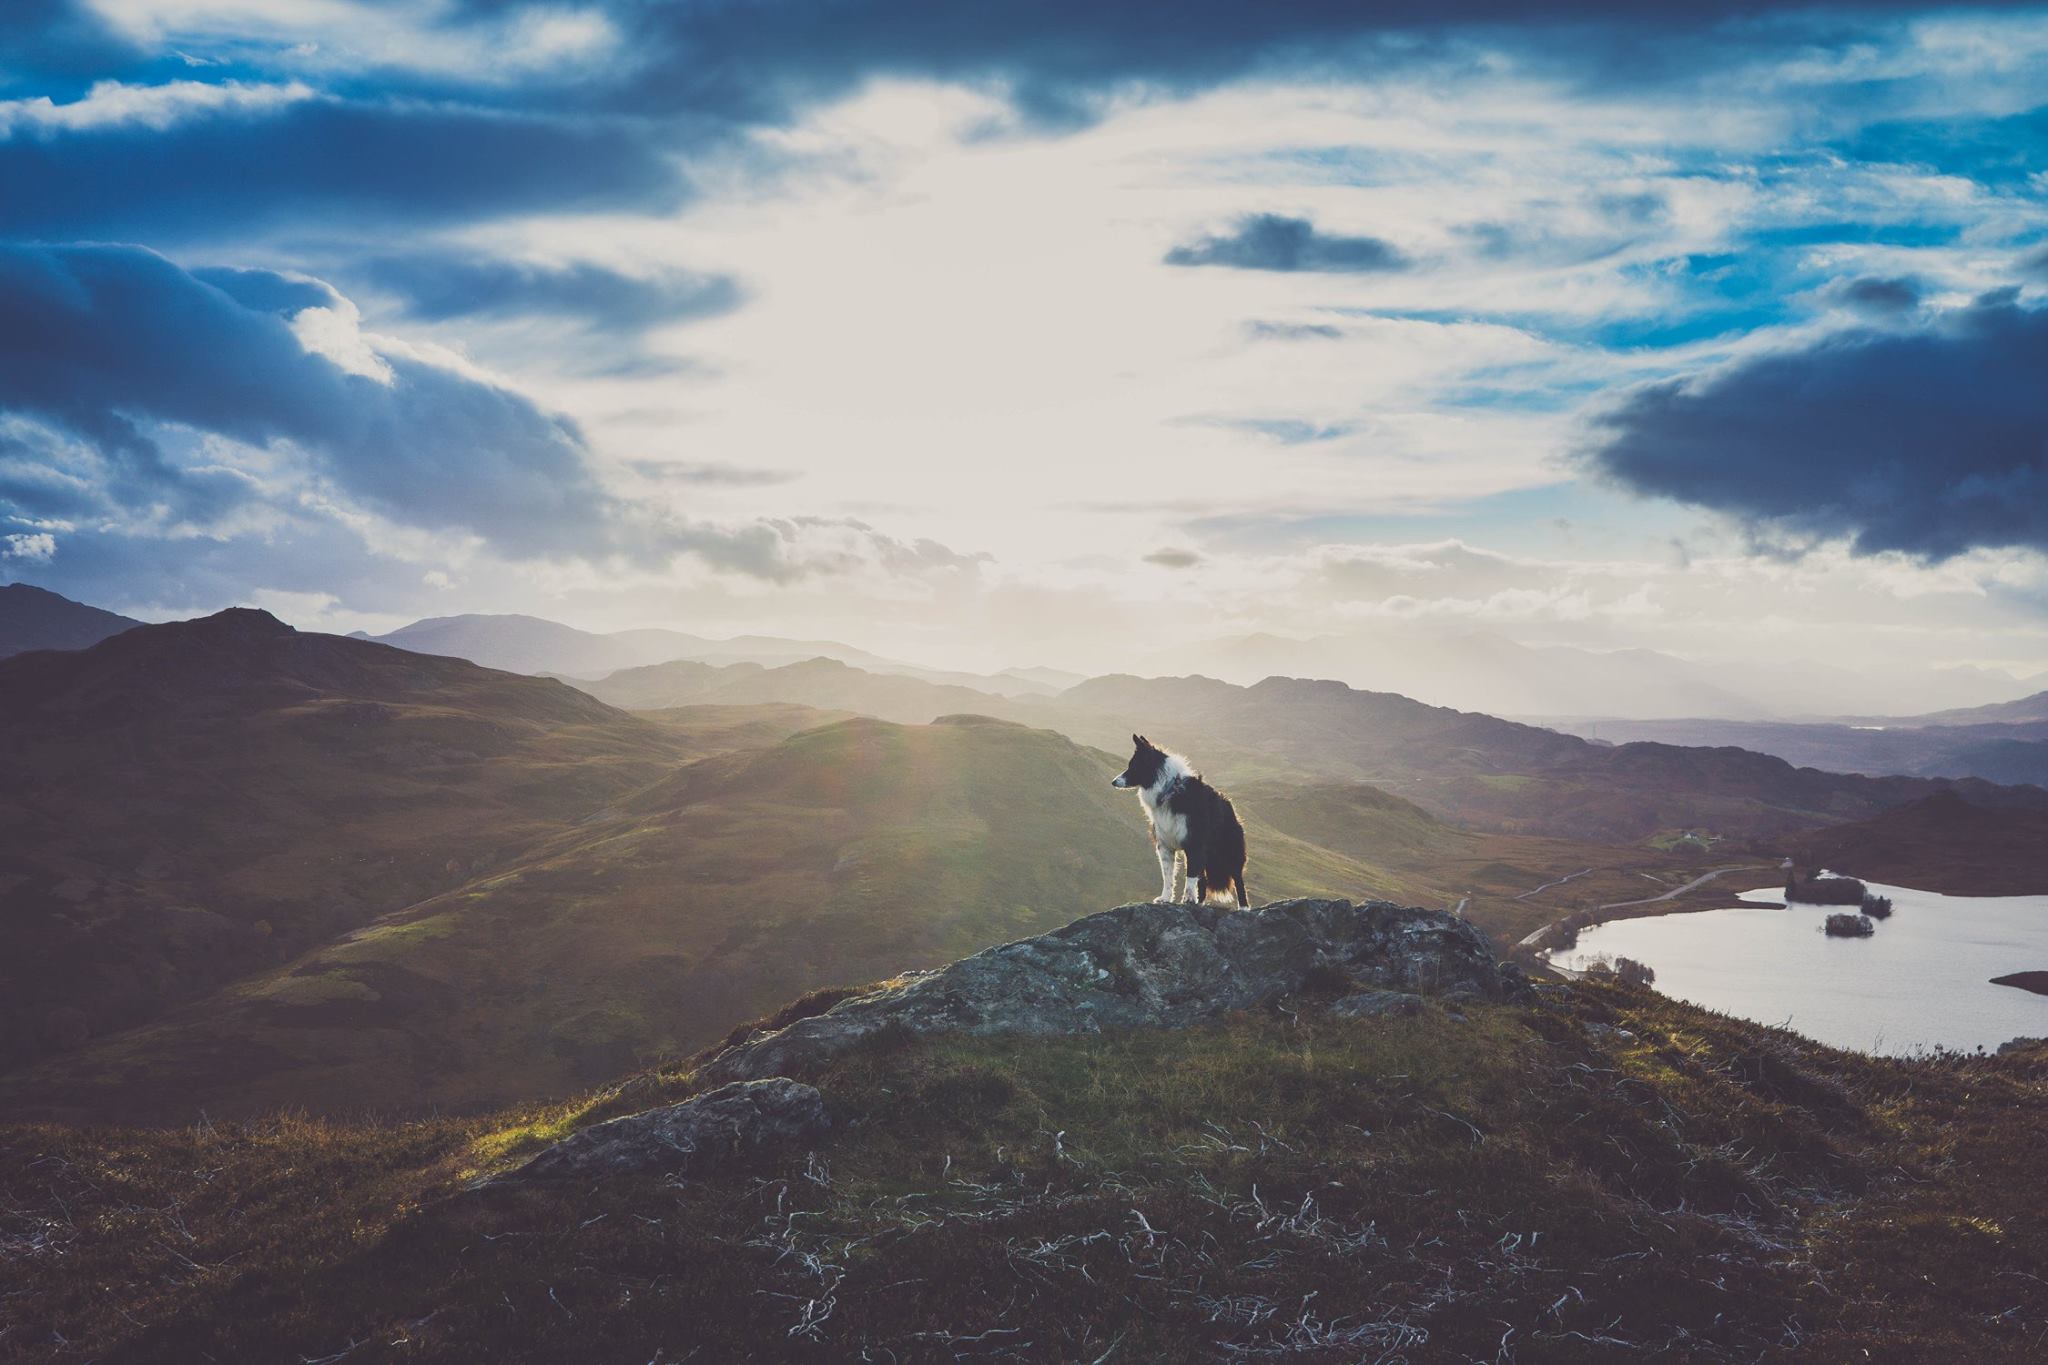
But in general, these aren’t my favourite photography conditions, so I try and avoid them, shooting either much earlier or later in the day, or on a more overcast day if possible. Obviously if you’re travelling or you’ve climbed a mountain, you don’t have much choice but to take photos in those conditions!
4. White Balance
One of the few editing tips on this list. I wish I’d known more about white balance. 90% of my images from travelling with Loki feature a very blue (and/or magenta) border collie.
All editing programs and apps (even free ones) have a way to adjust the “temperature” and “tint” of an image. The aim is to get the image (and dog) as close to “correct” as possible. For some dogs this will be easier than others – for example, with Loki, I can usually use a selector tool to tell Lightroom which area should be pure white, and it will adjust the settings for me. This isn’t so easy for Journey, where I have to really try and find his correct colour through adjusting the temp and tint until he looks right. I’ll be sharing with mailing-list members how to use the “Eyedropper” tool in photoshop to get Lightroom to automatically set the WB.
Just be aware that black dogs and white dogs reflect a LOT of blue on their coats.
And last I checked, blue dogs don’t exist.
5. Composition
I have a lot of photos of my dogs with chopped off paws and ears, and with the ocean sliding off the face of the earth. Photos just look better when parts of the dog aren’t randomly cut off, and when the world is, y’know, straight.
Even better than not cutting off paws and ears is to give them a bit of space above and below, so they don’t feel “cramped” in the picture.
6. Increasing saturation does not make your images better
I think we’ve all been there. We’ve taken a photo that we love, we open it up in our editing program or app with no real idea of what we’re doing, and suddenly it just seems a bit dull compared to the vibrant memory we have of that moment.
So we increase saturation. Because colours = good! Right? Well… not always. One of the big mistakes I see people making is to try and make a photo “pop” by making the colours very strong. But what this can do is drown the dog in a sea of colour. All we can see is colour. Nothing but fluro greens or insane blues… and somewhere in all that is a dog whose own colours have probably gotten all messed up too. So my advice here is to go easy on the saturation. Most of my images these days actually undergo some DEsaturation (because of the way I edit). In the end, I would rather you be looking at my dog, than the insanely, unnaturally blue sky.
Always Learning...
Of course, we’re all always learning, and we have different styles and different preferences. My journey to taking the kinds of photos I’m creating now has led me to a place where I want the dog to be the star of my photos, for the images to be powerful, dynamic and captivating – even if they are just images of my boys, intended for me. Everything I do now, is with the intention of creating that kind of image, one where the dog has presence, is the right colour, and all the attention is on him (or him within an environment).
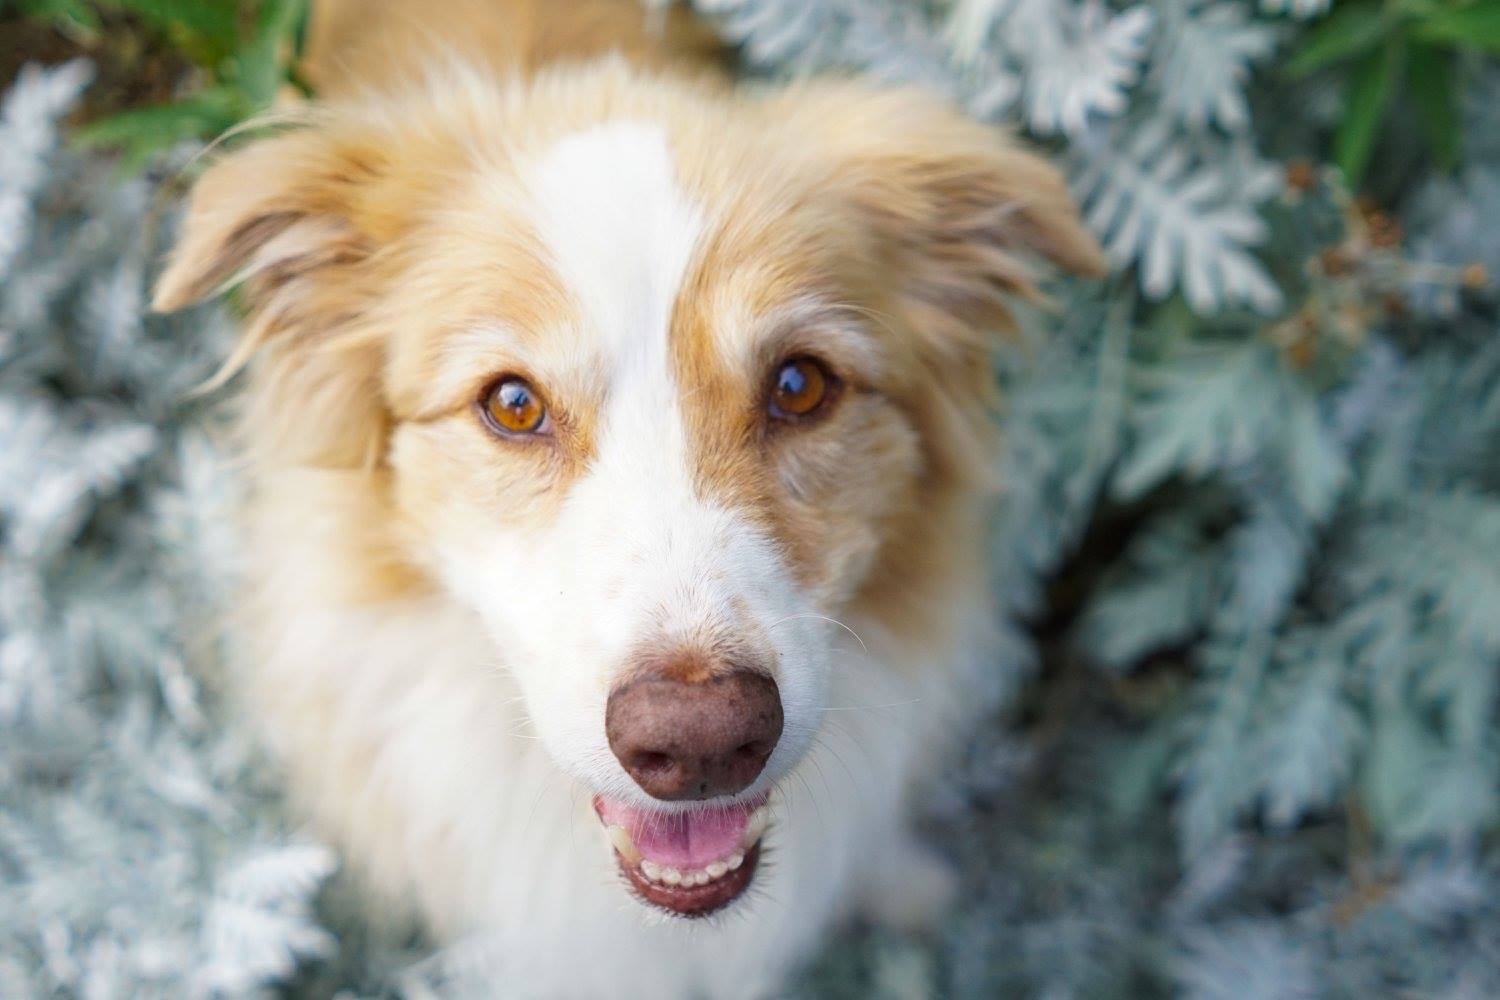
Of course there are times where you may not take the photo from down low (like puppydog eyes photos), or you may make an artistic decision to cut off the ears, or you may play with the white balance, or saturation, as part of your creative process. But in general, all the advice above is things I could have applied to the majority of images that I took before I knew what I was doing, and it would have made them better.
If this has given you some things to think about, please let me know in the comments below, share this blog post amongst your dog-loving friends and family who may also want to take better photos of their pets, and sign up to the mailing list for even more helpful tips and advice. I won’t spam you, and of course you can unsubscribe at any time.
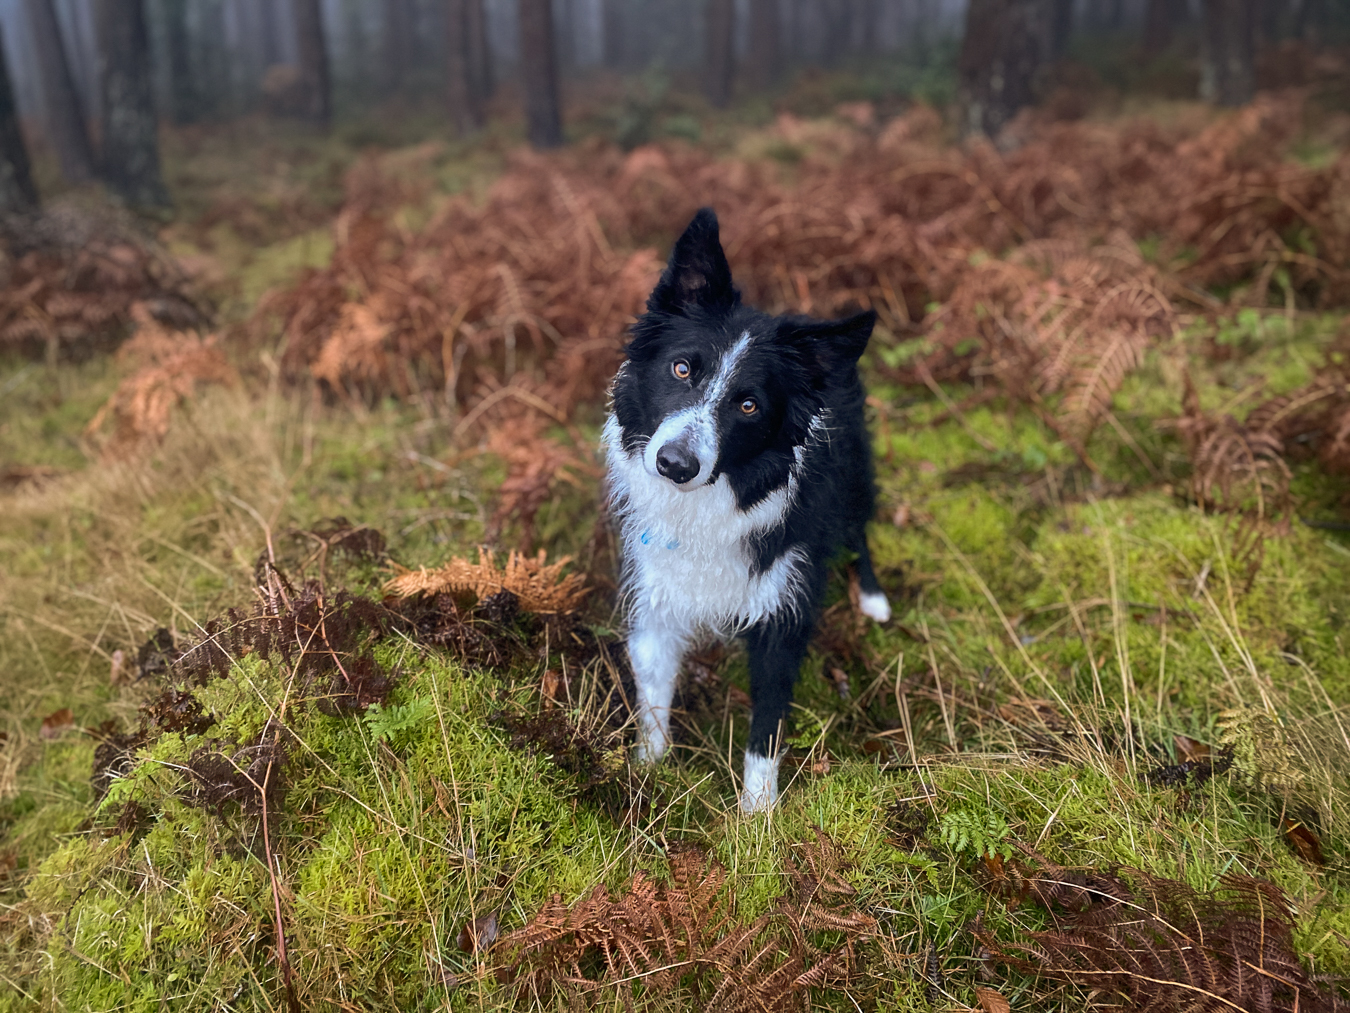
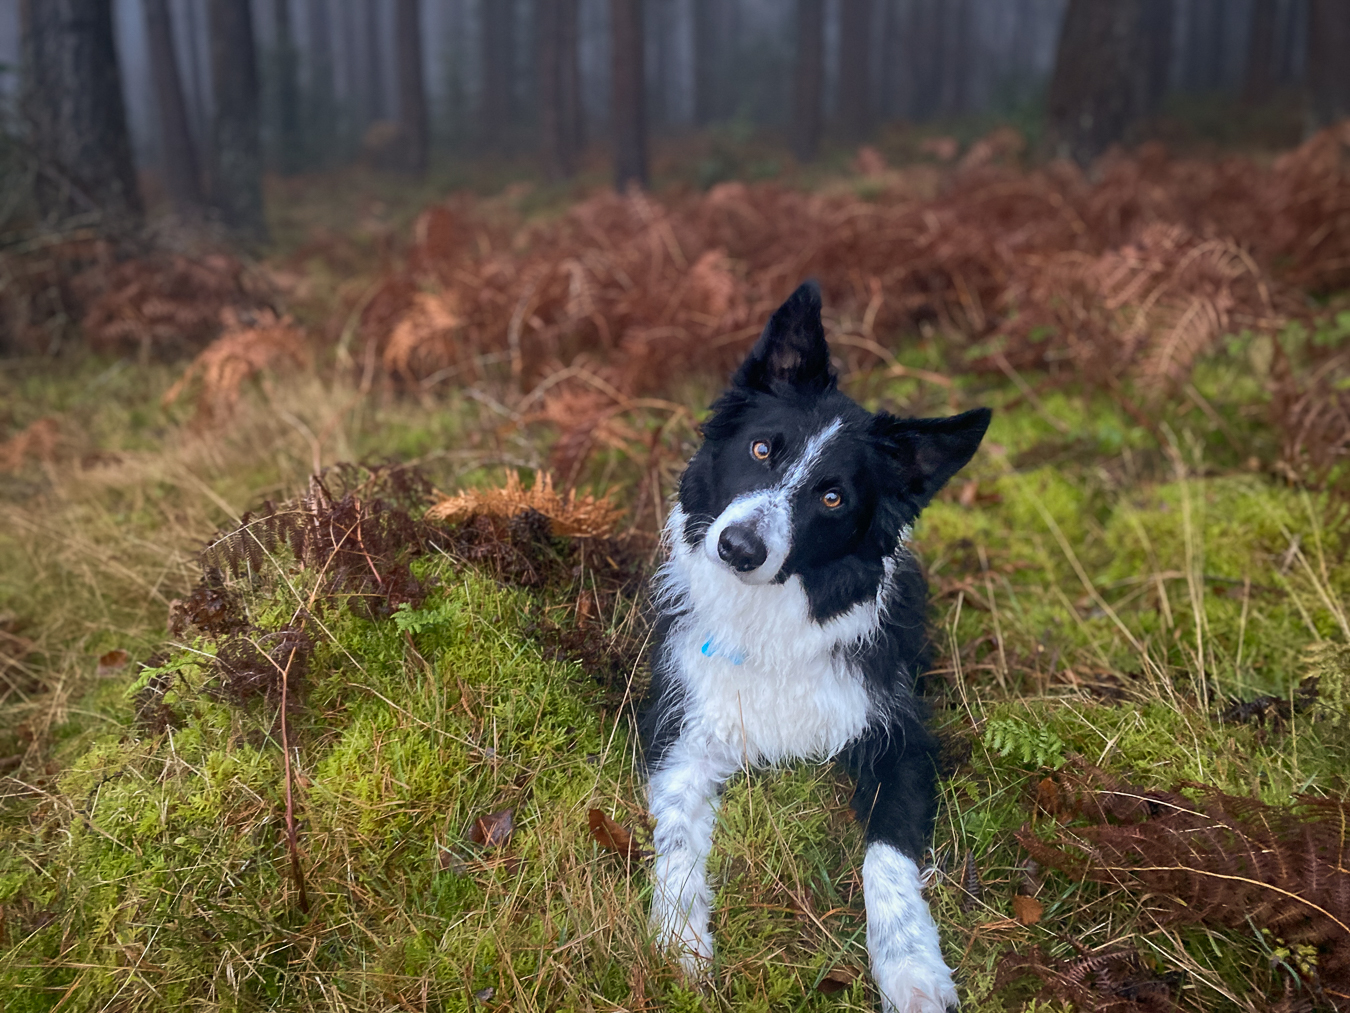
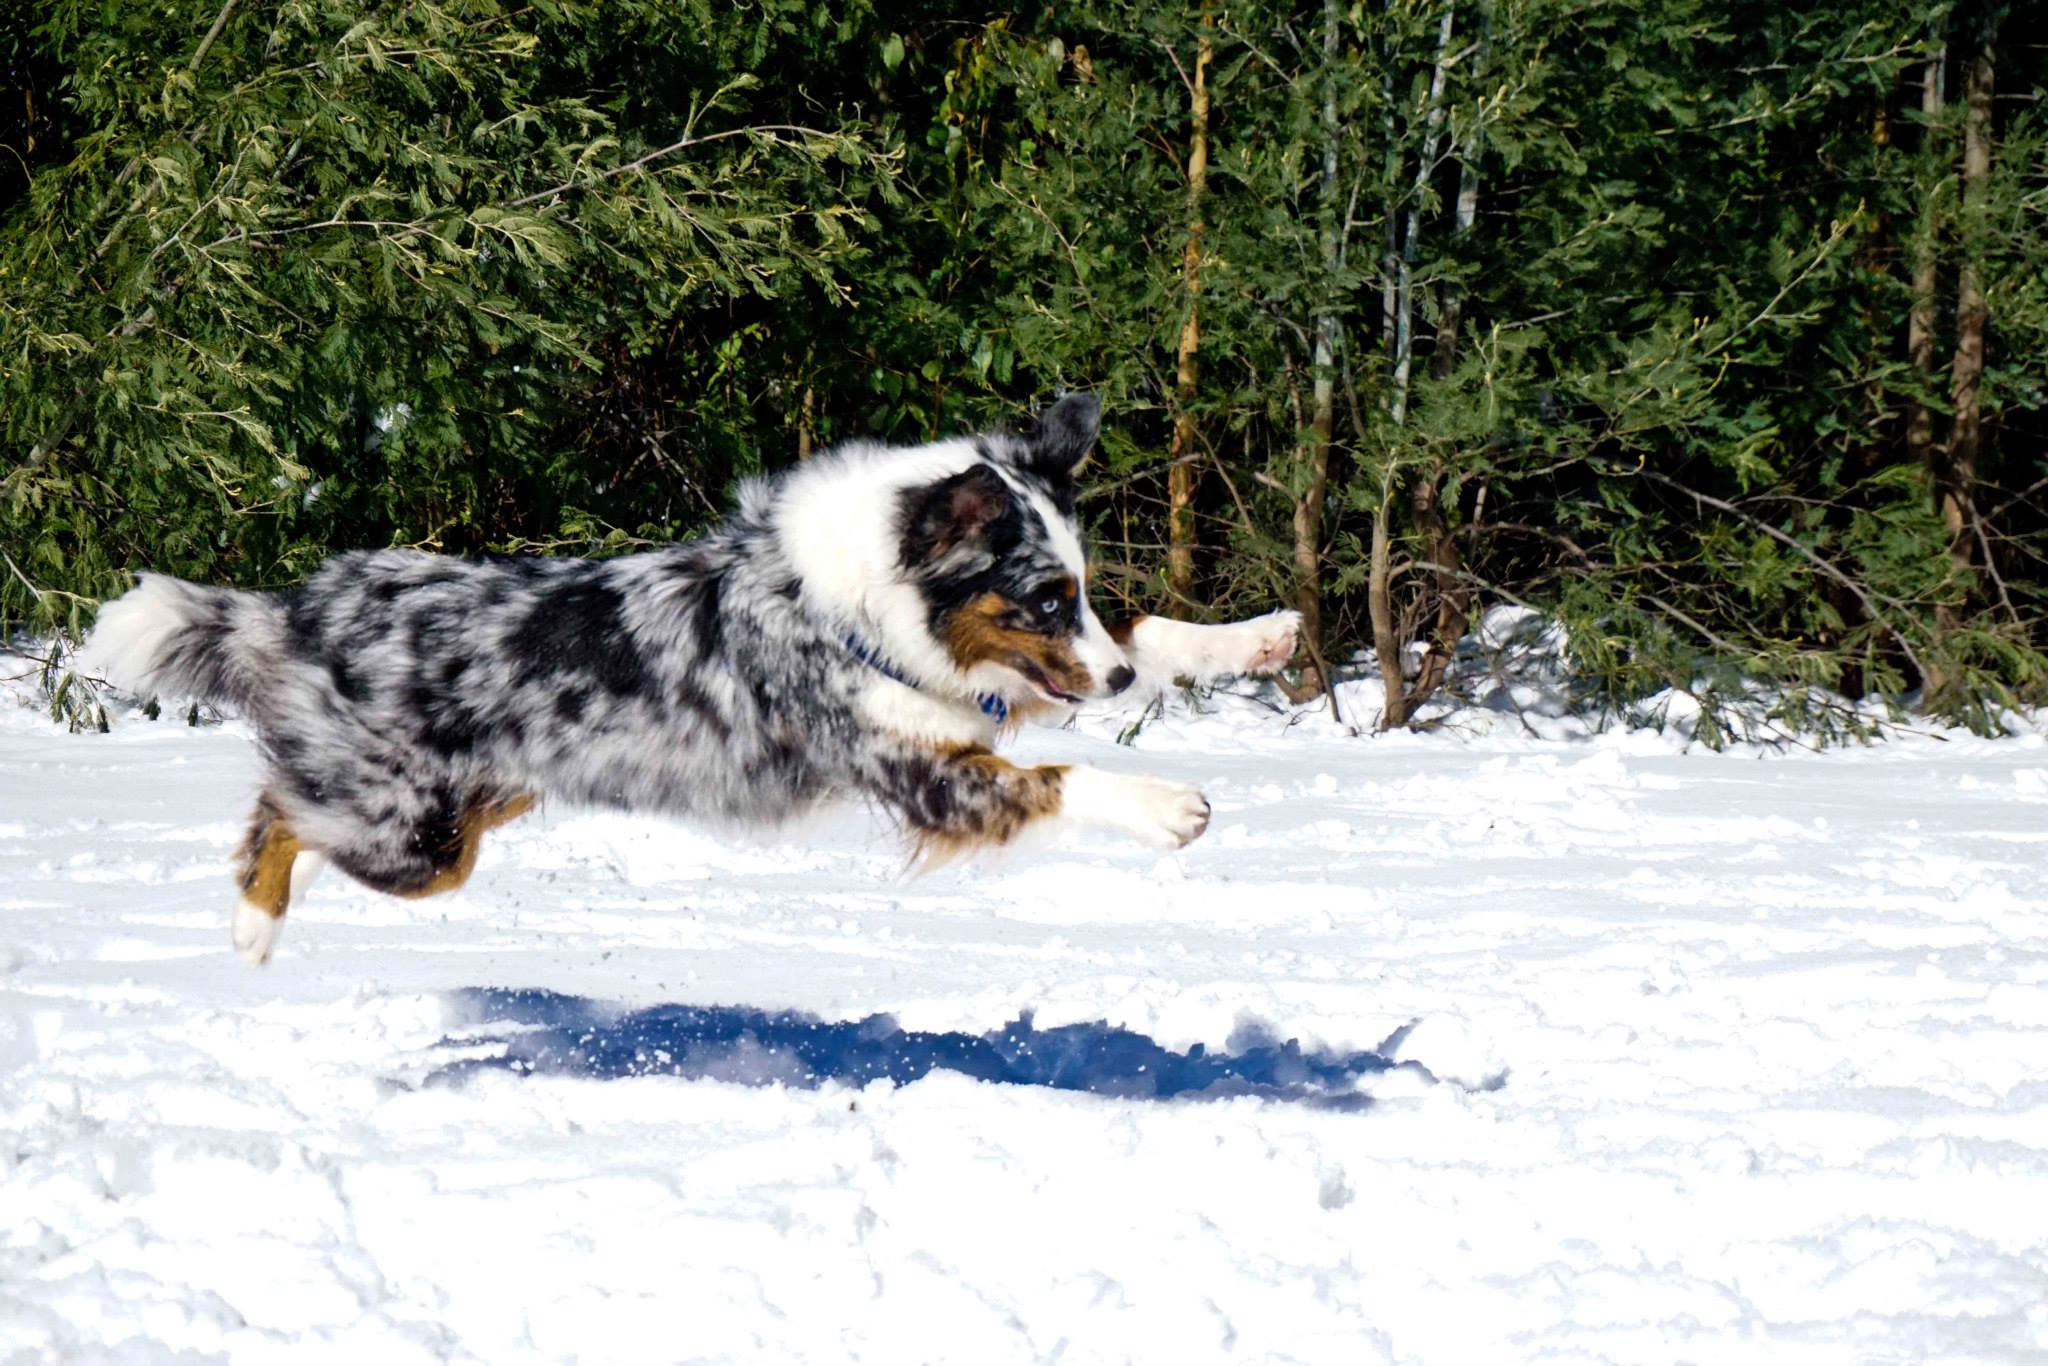
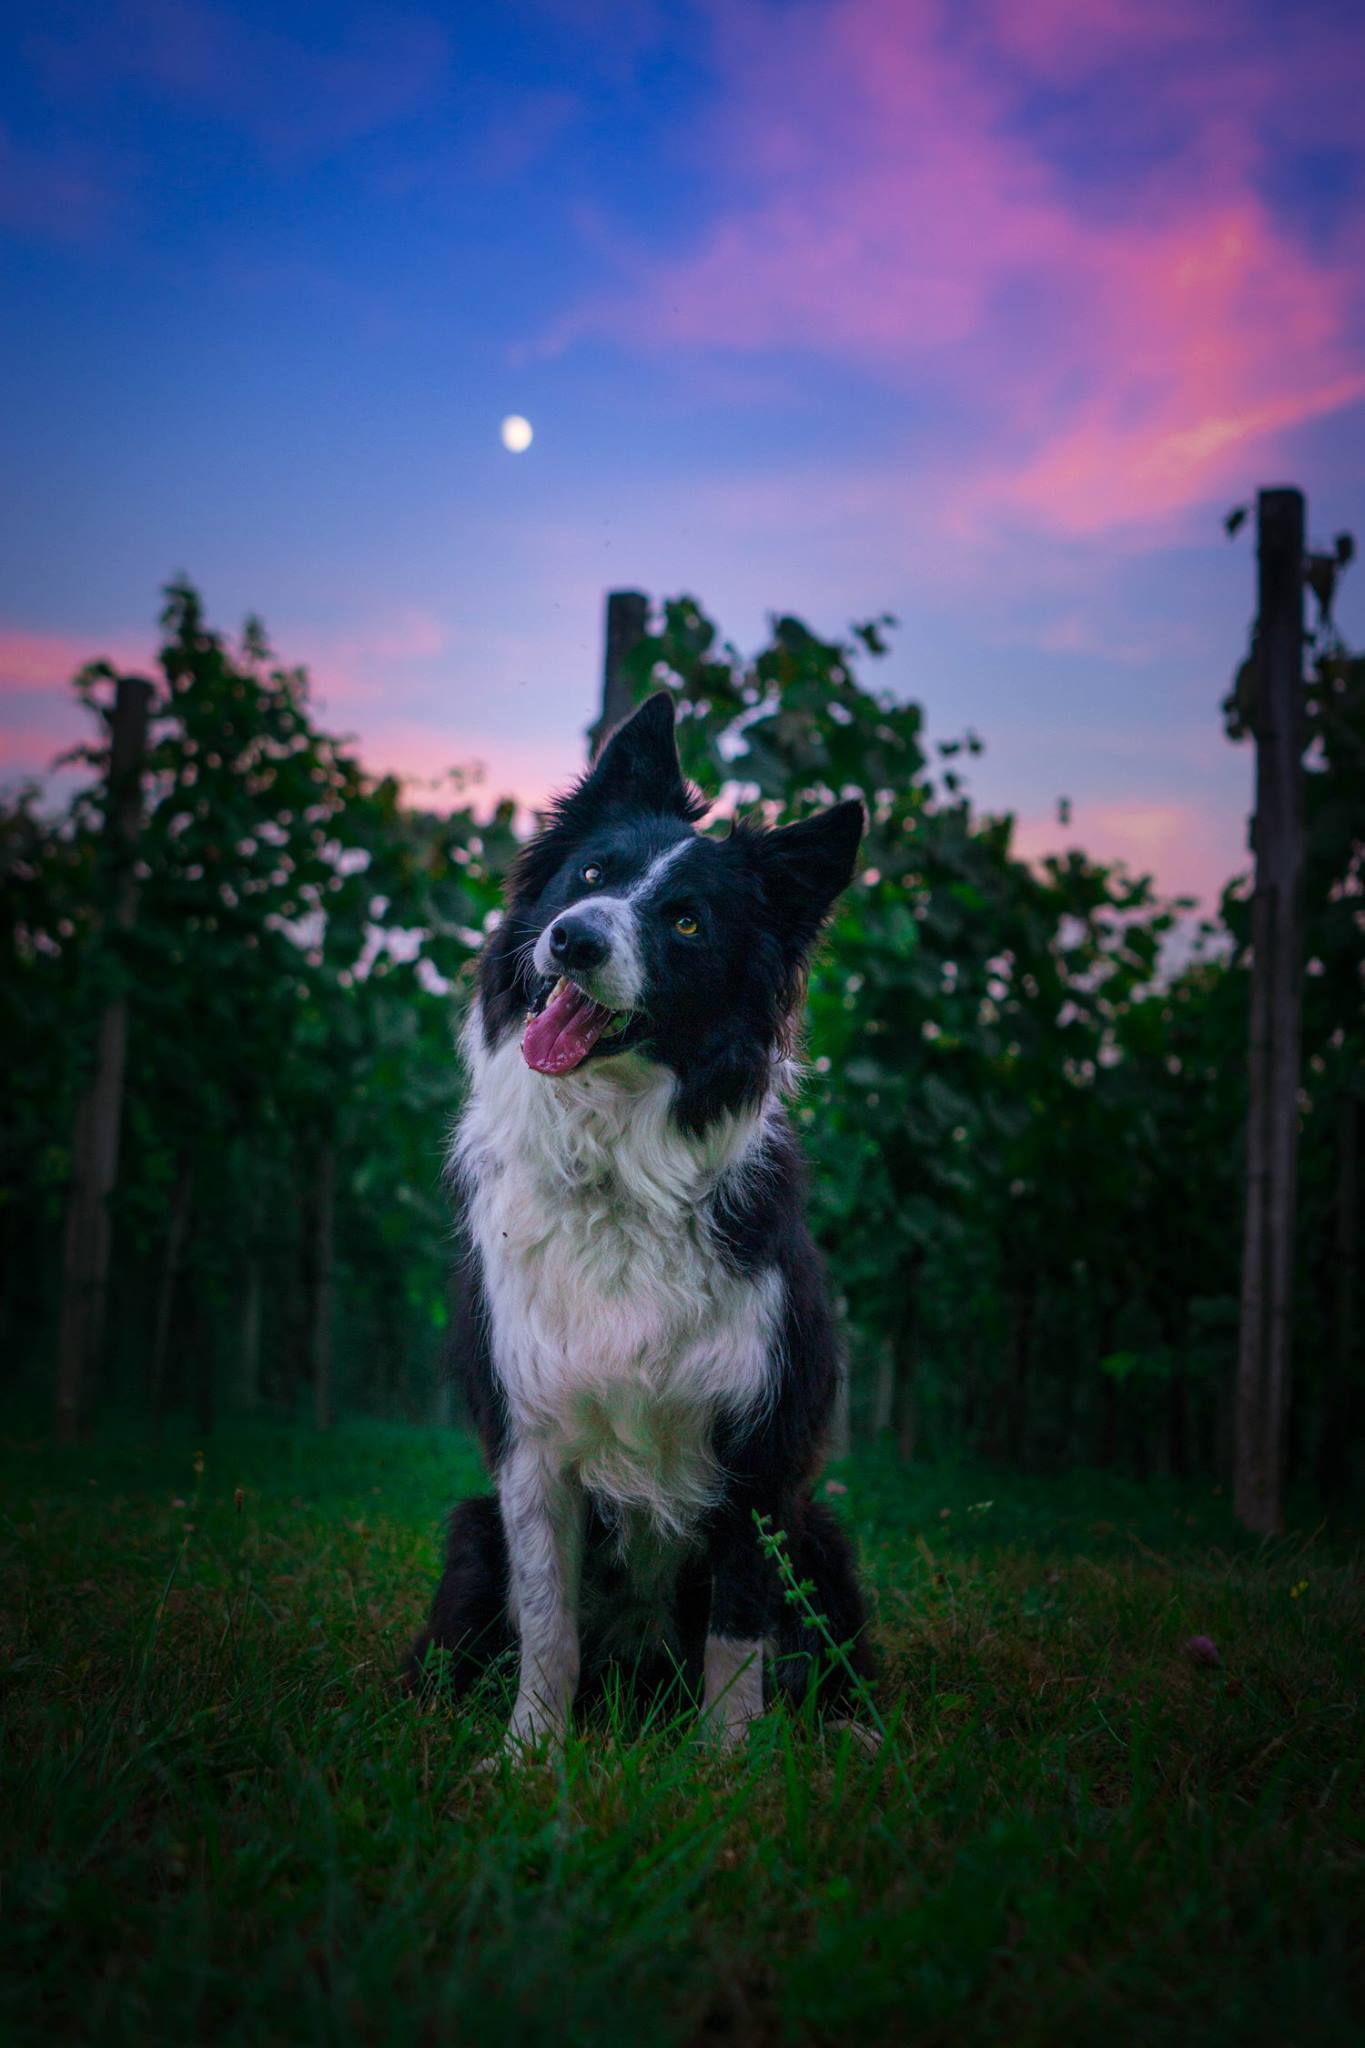
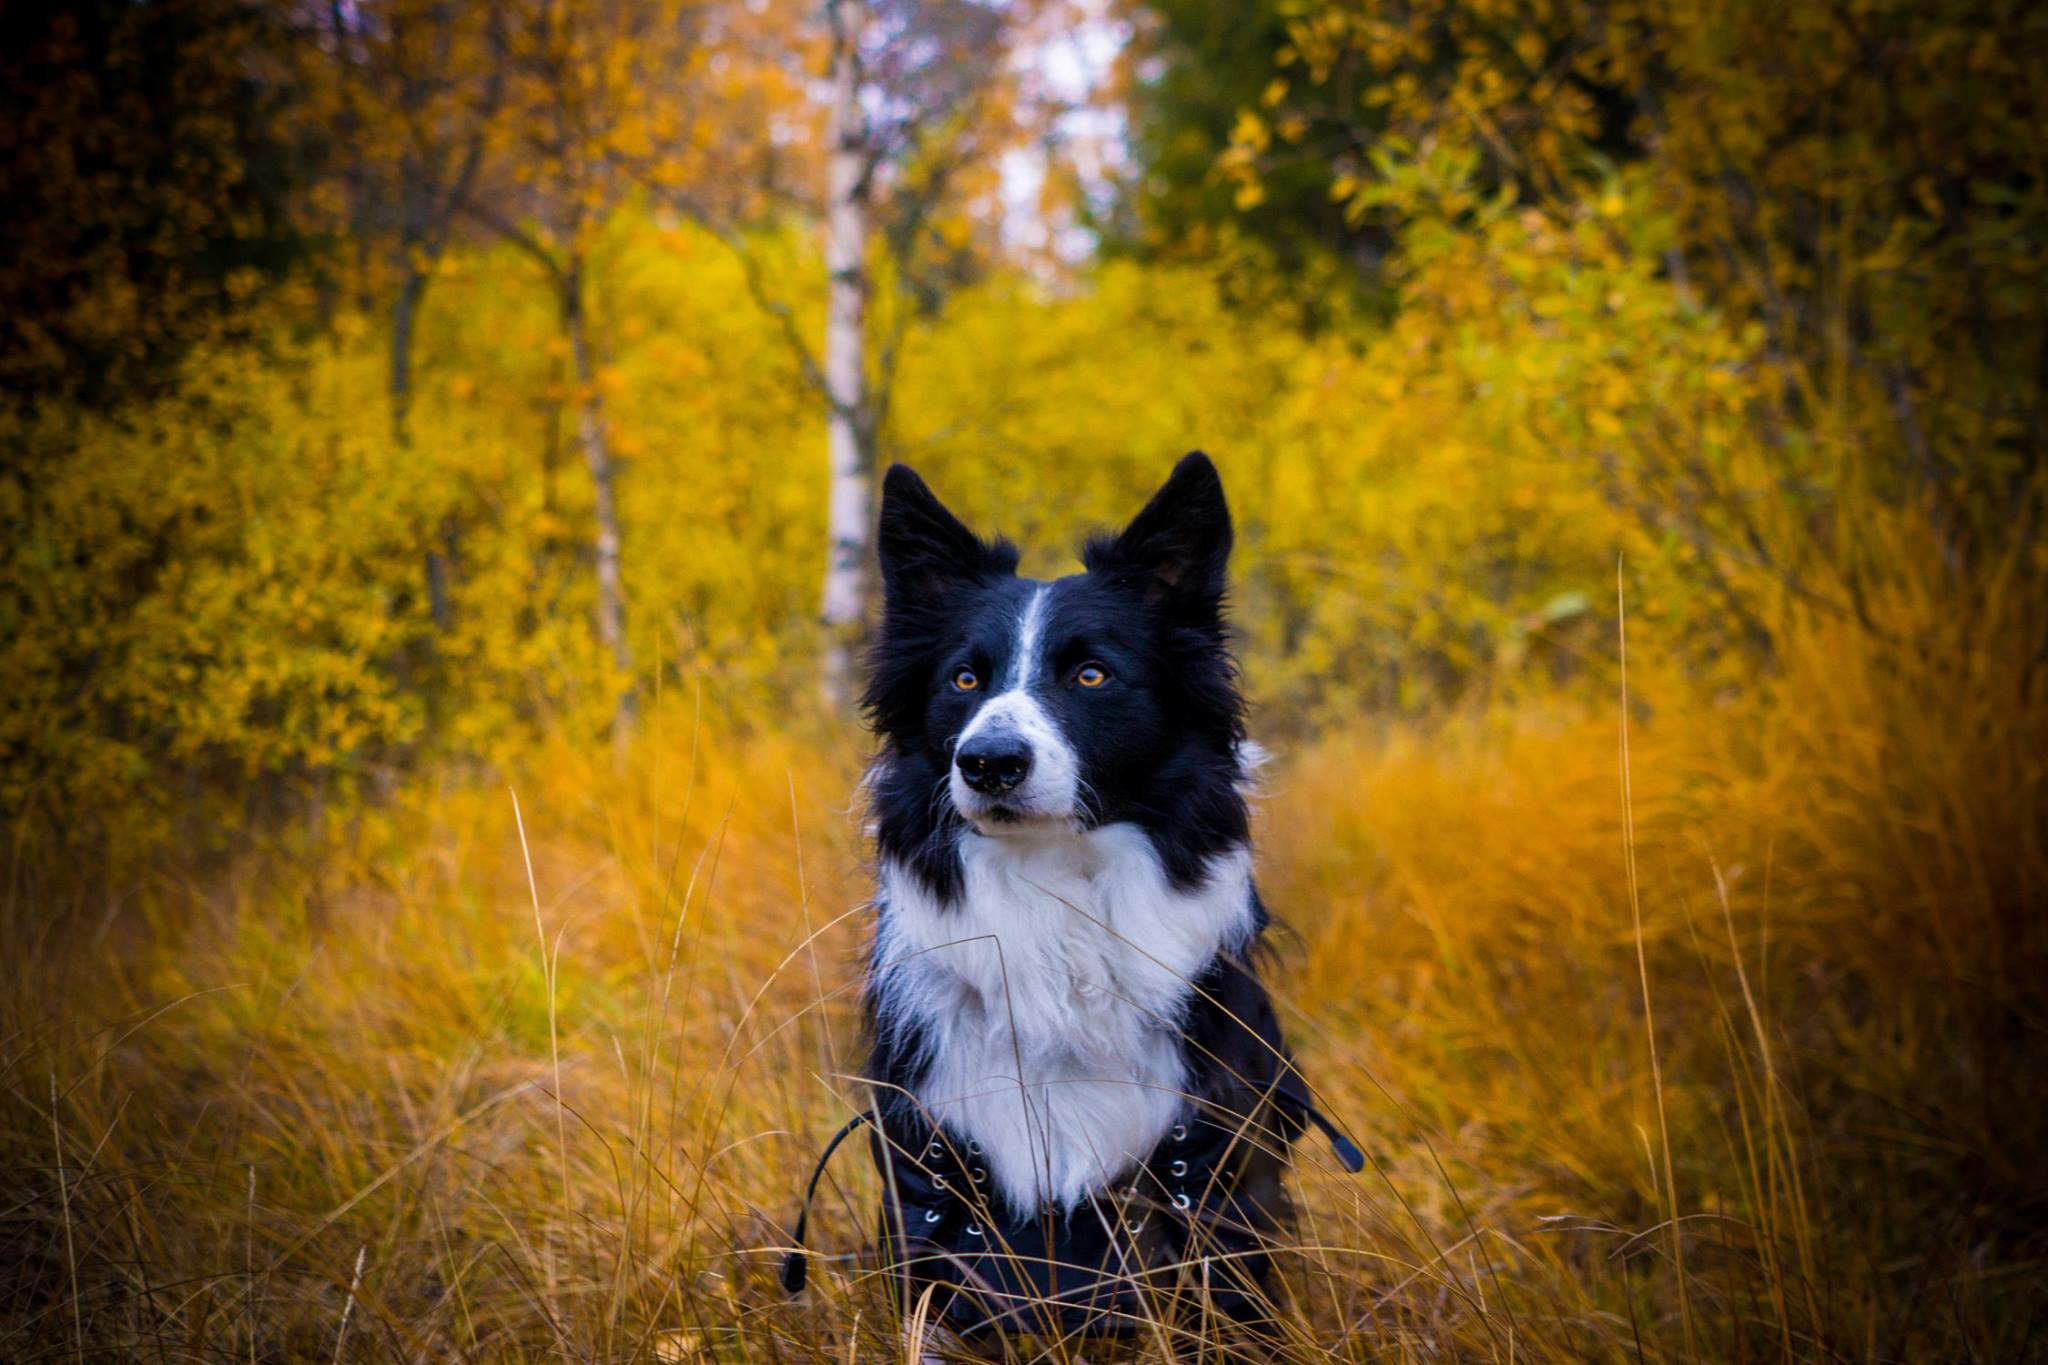
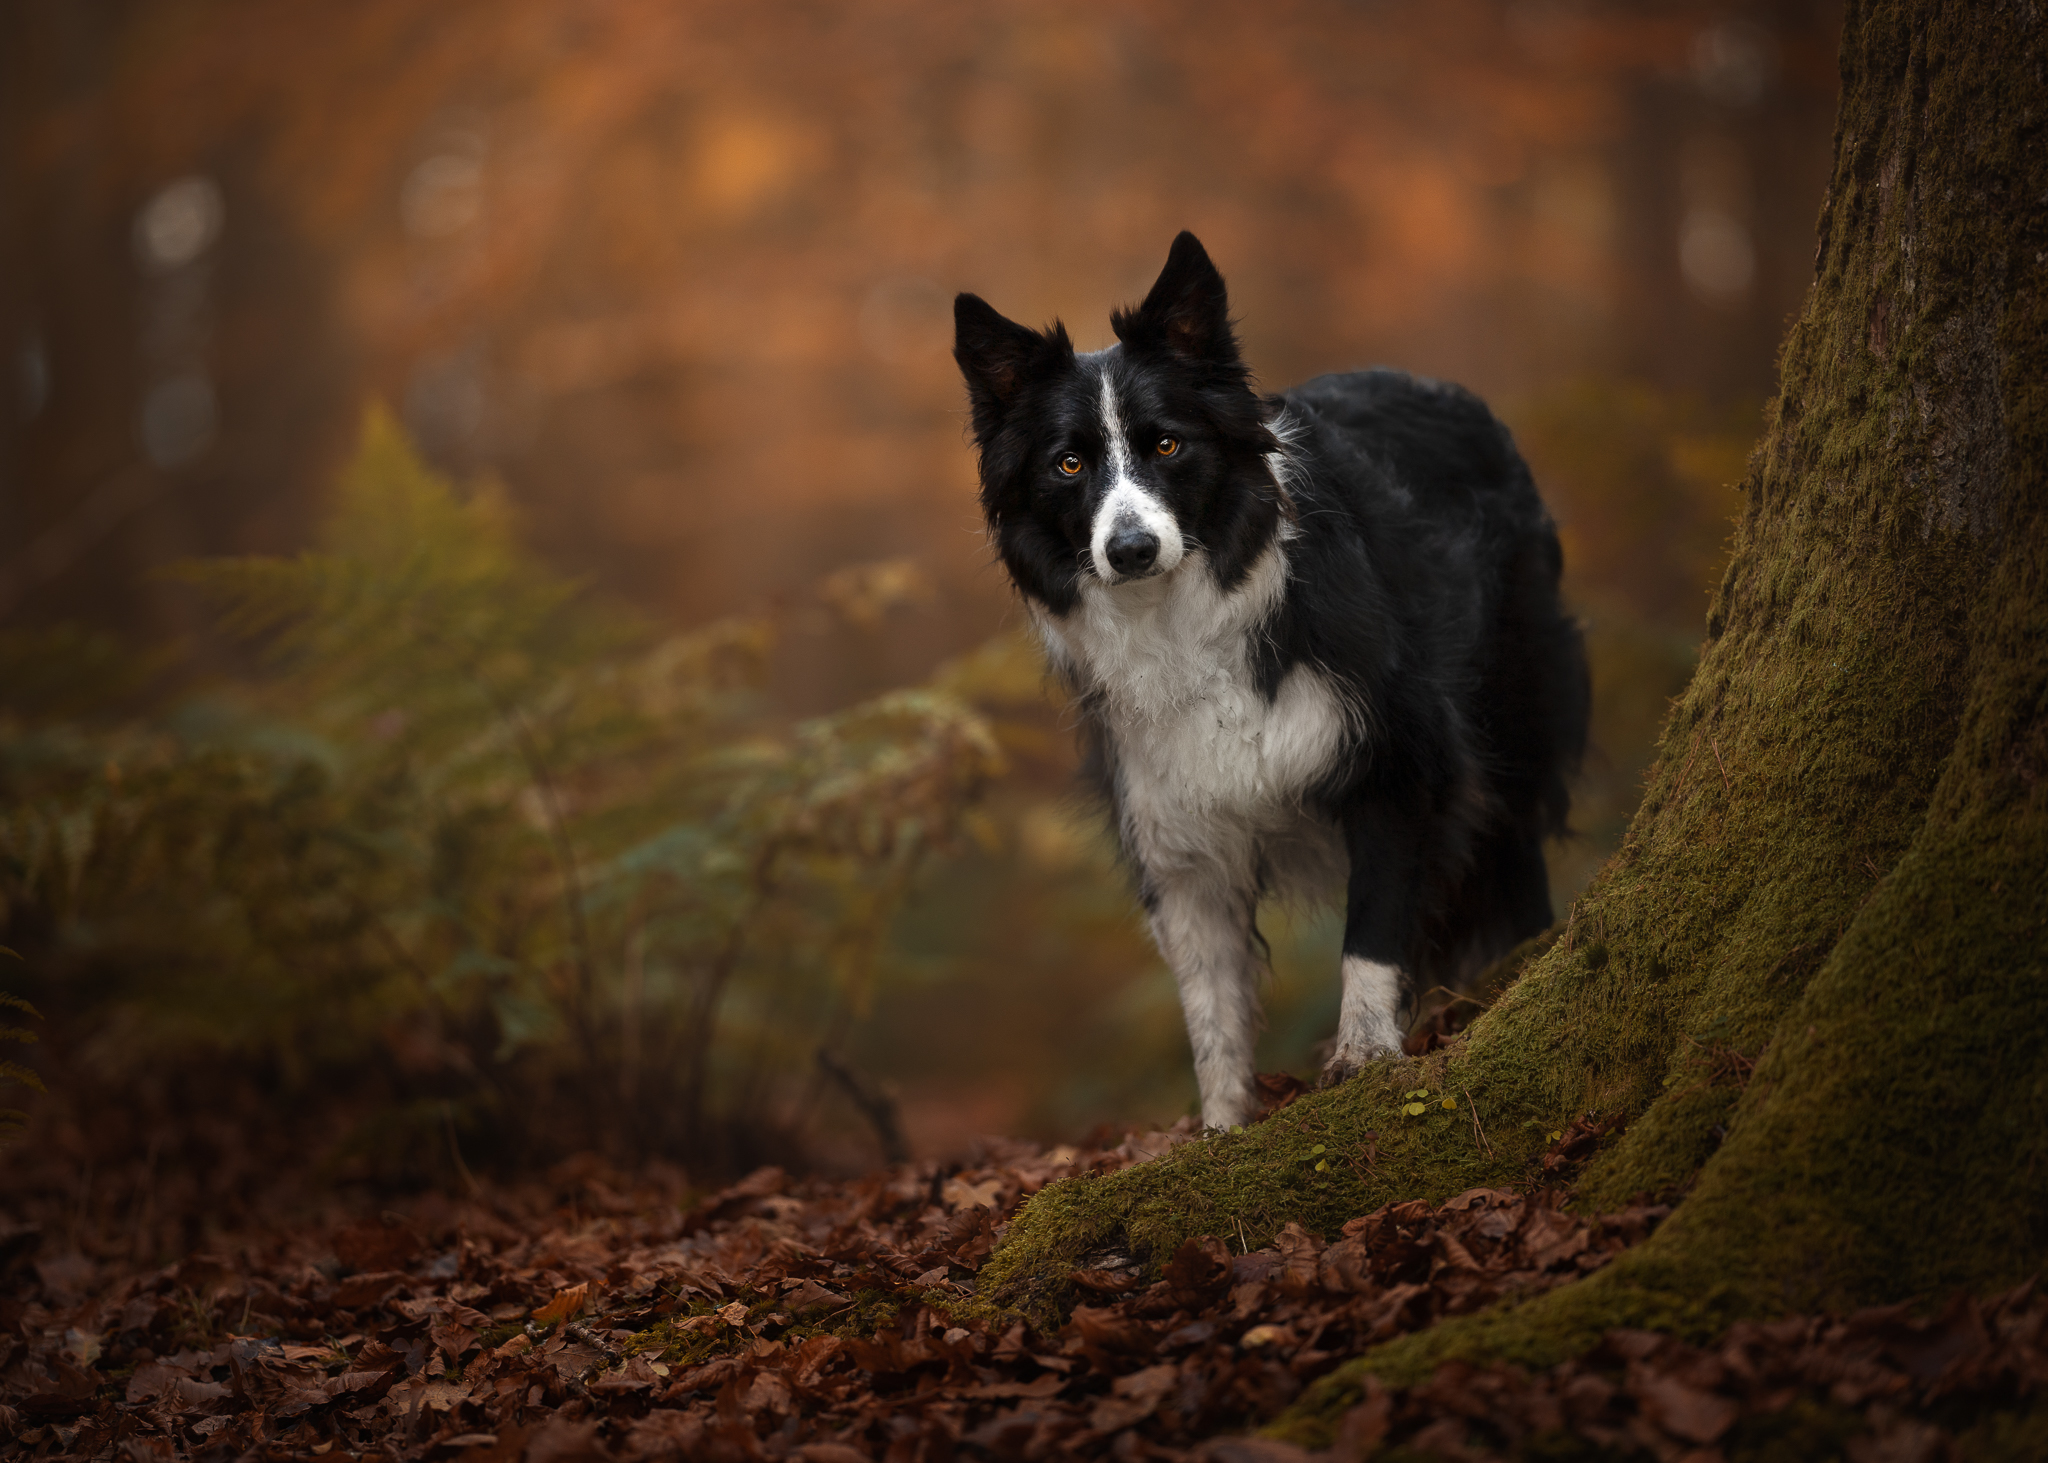
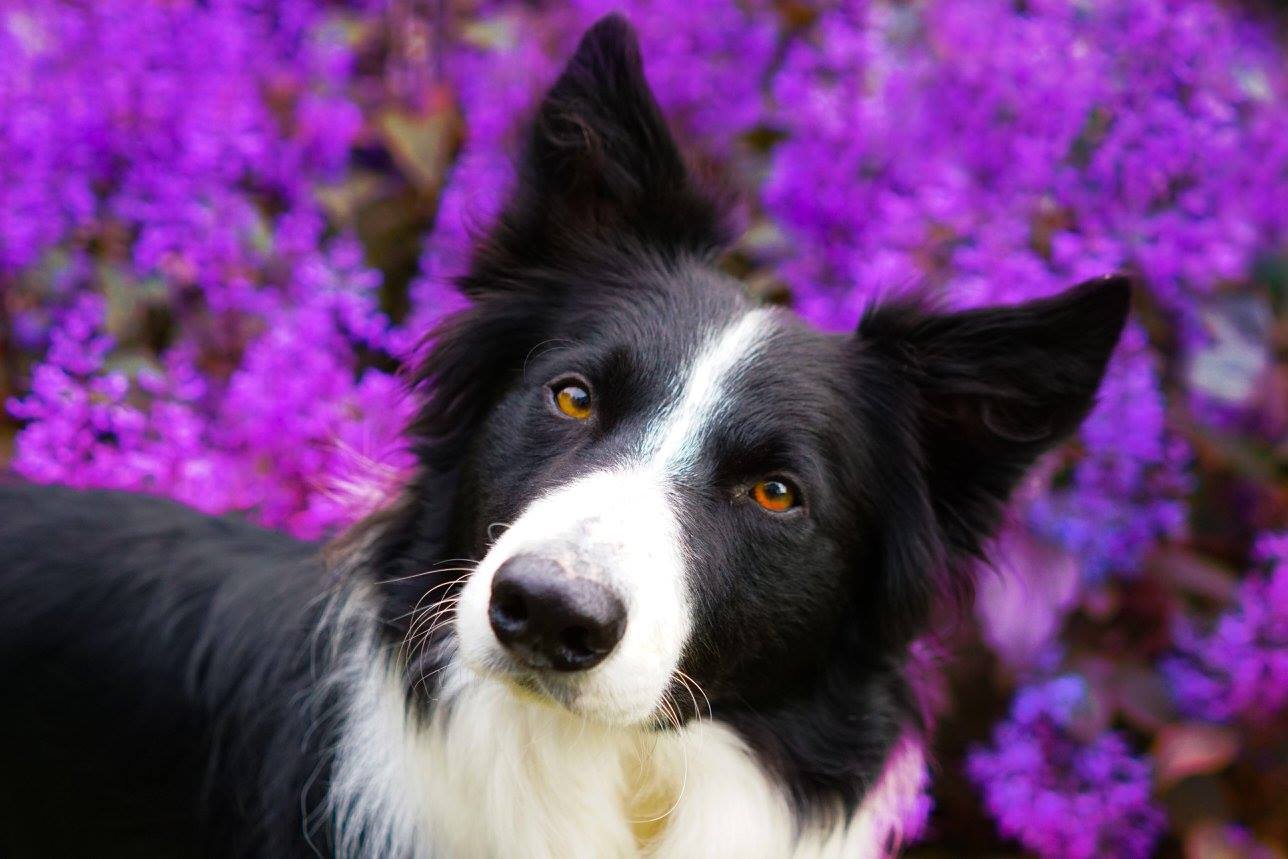
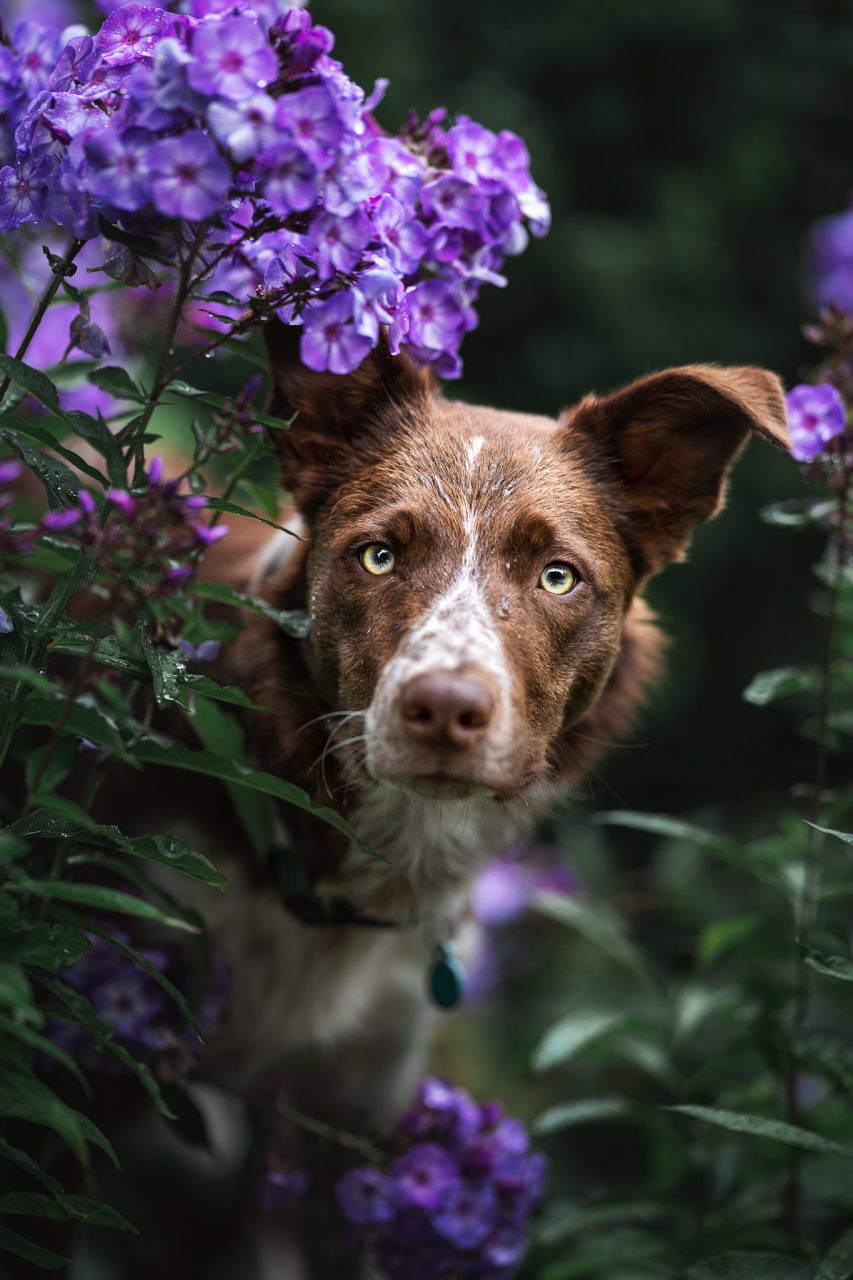
Recent images where I “broke the rules”

