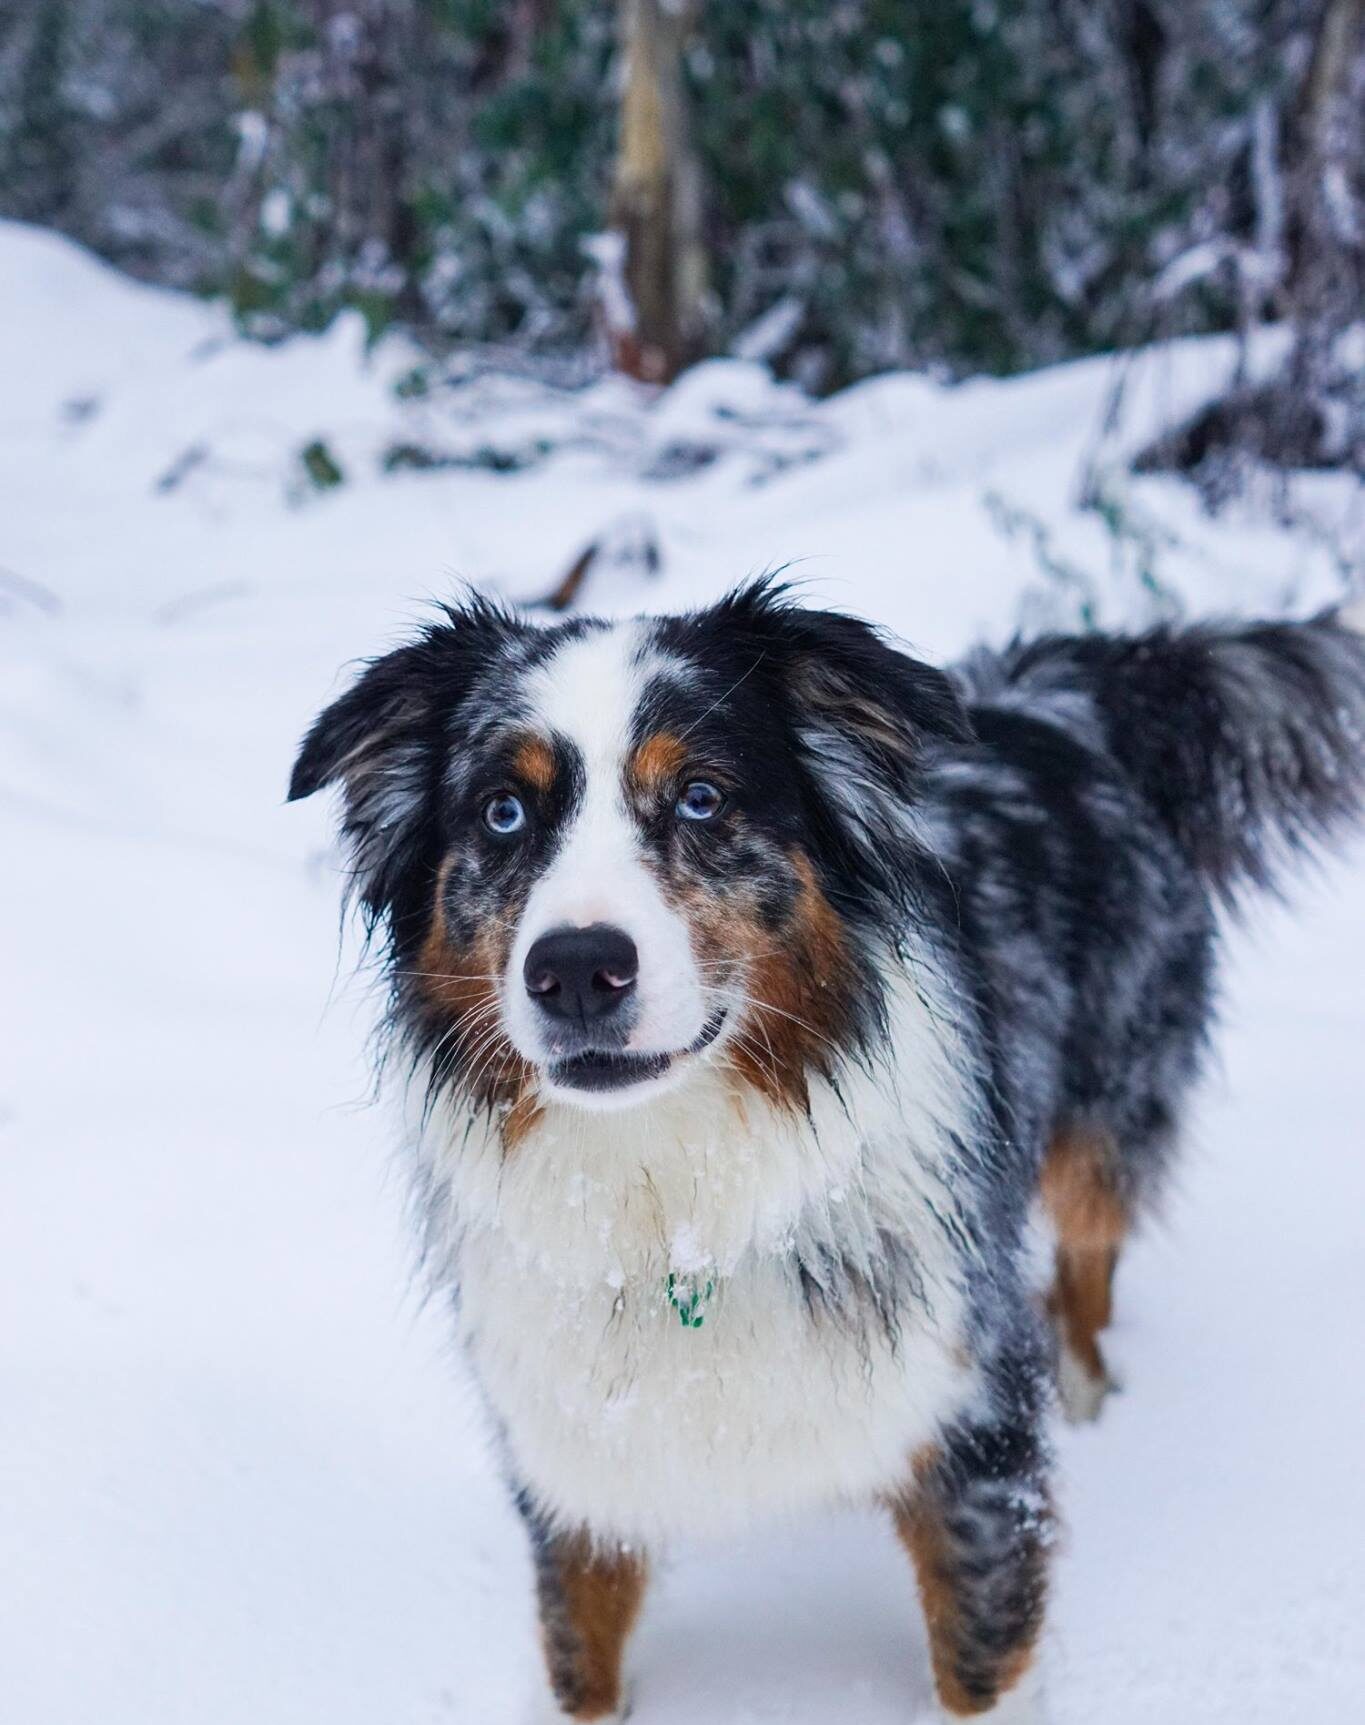
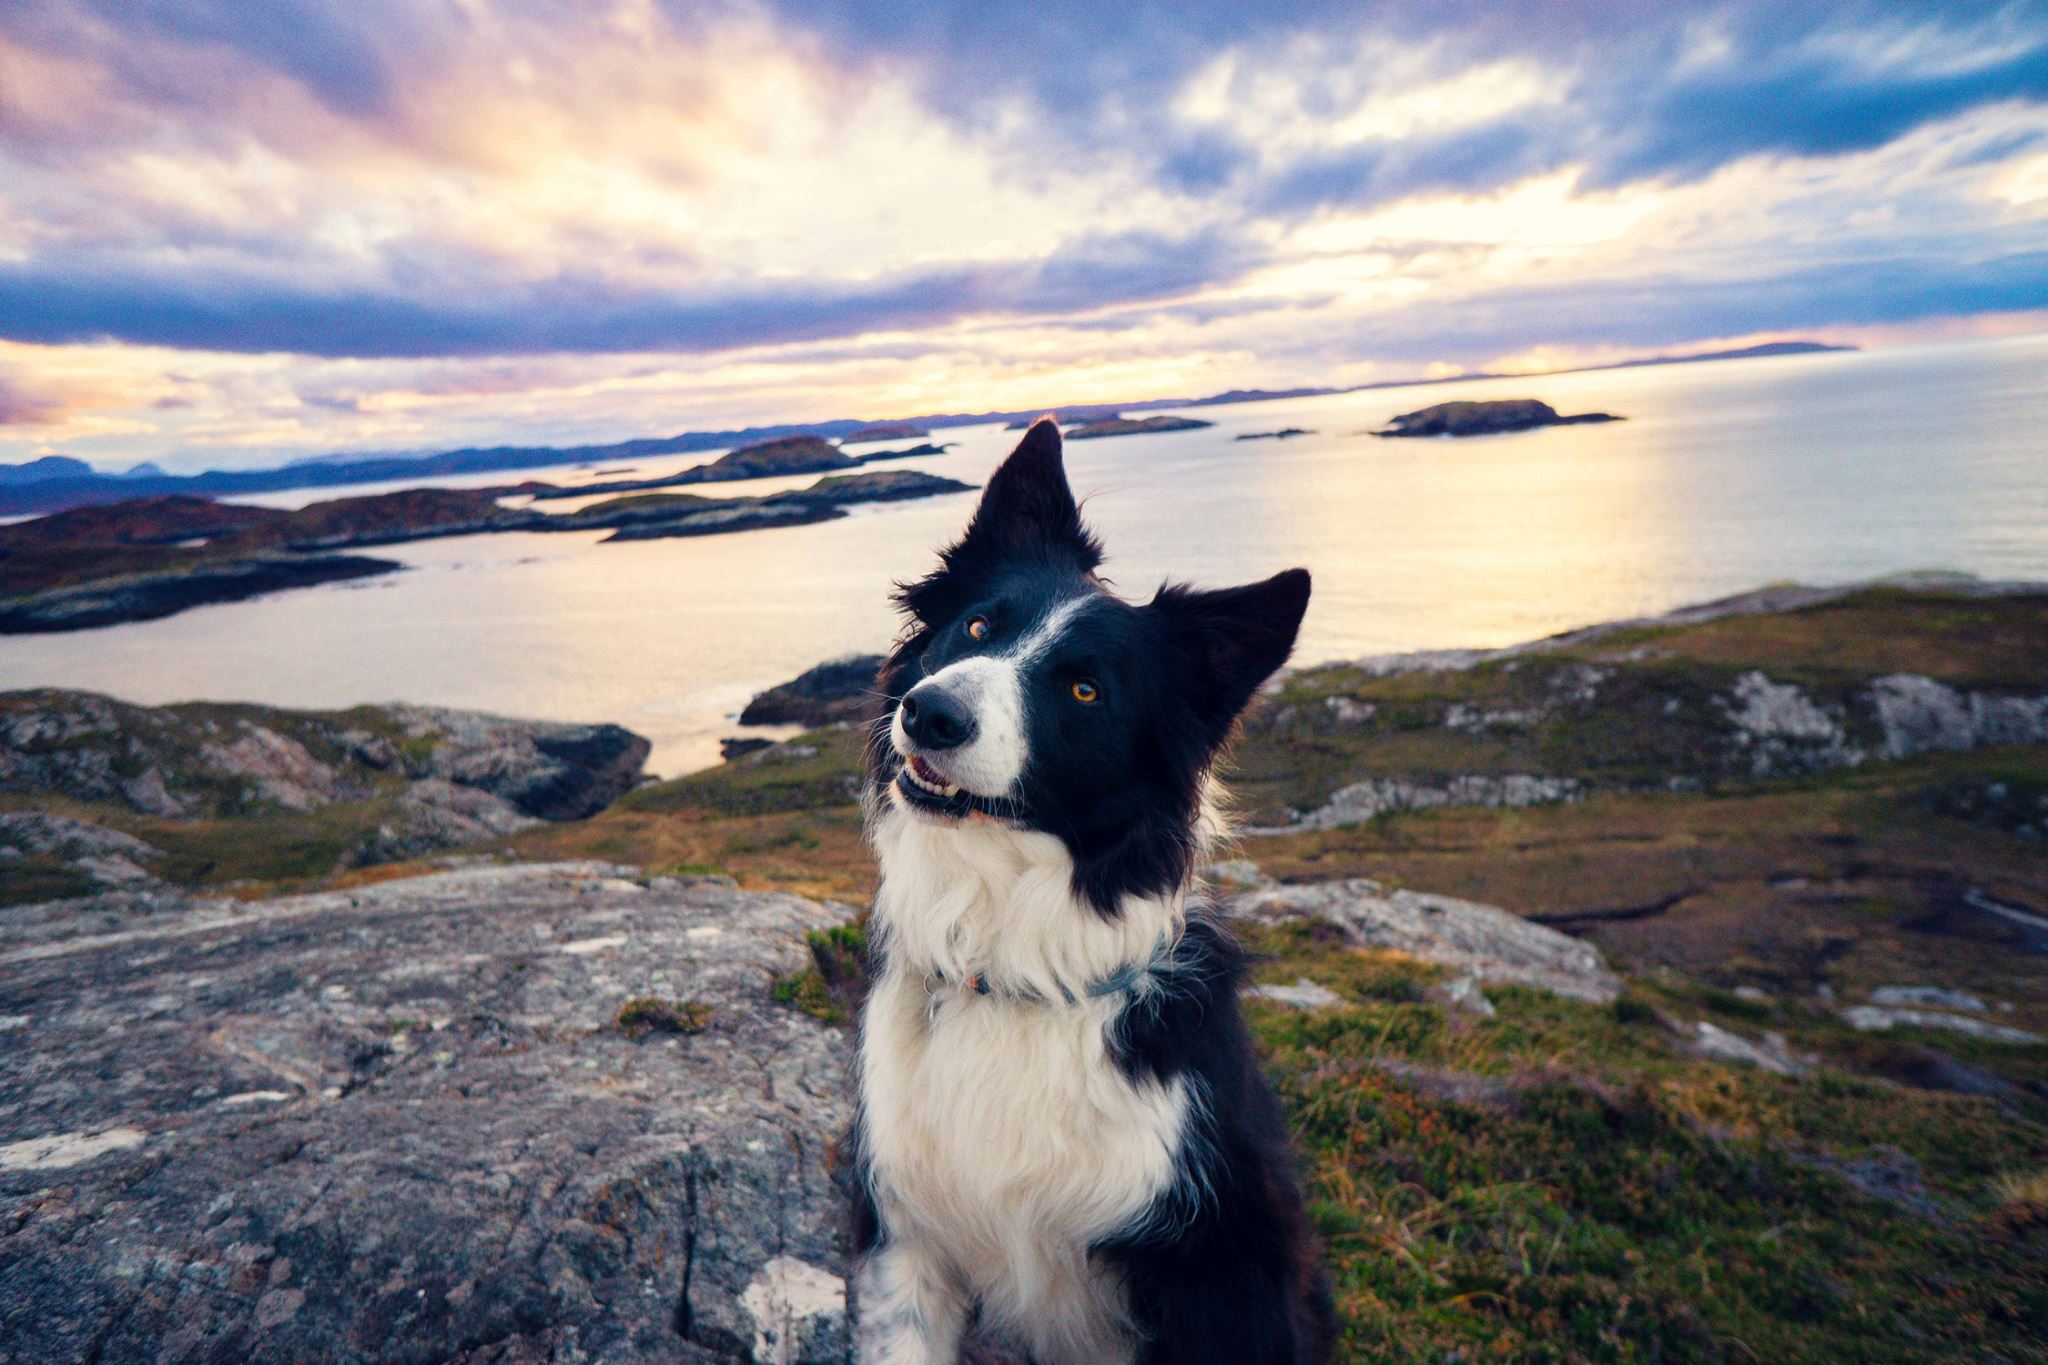
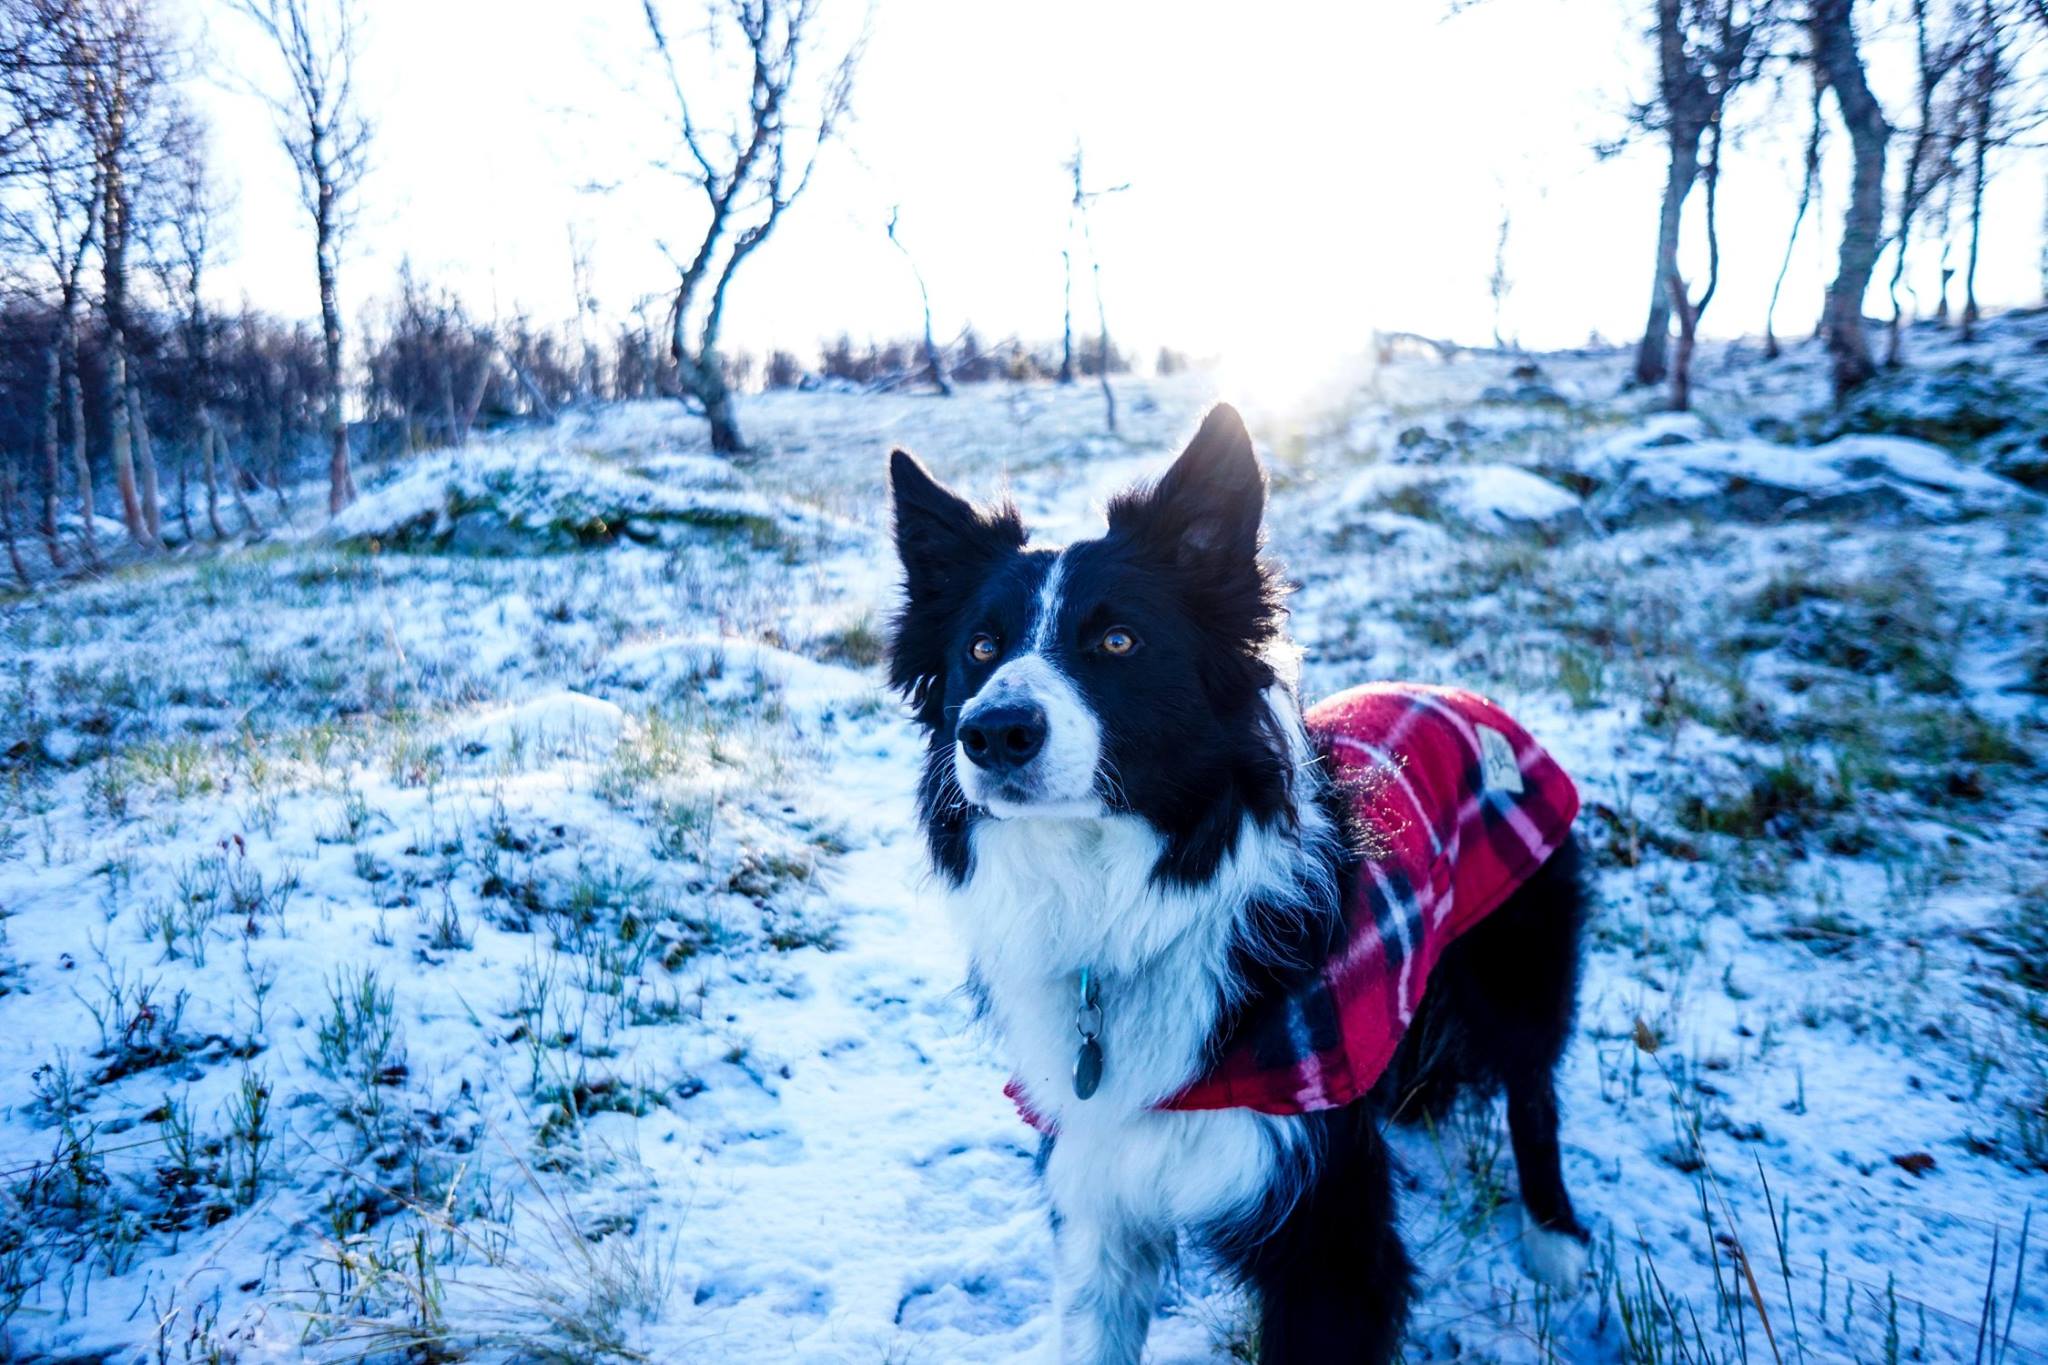
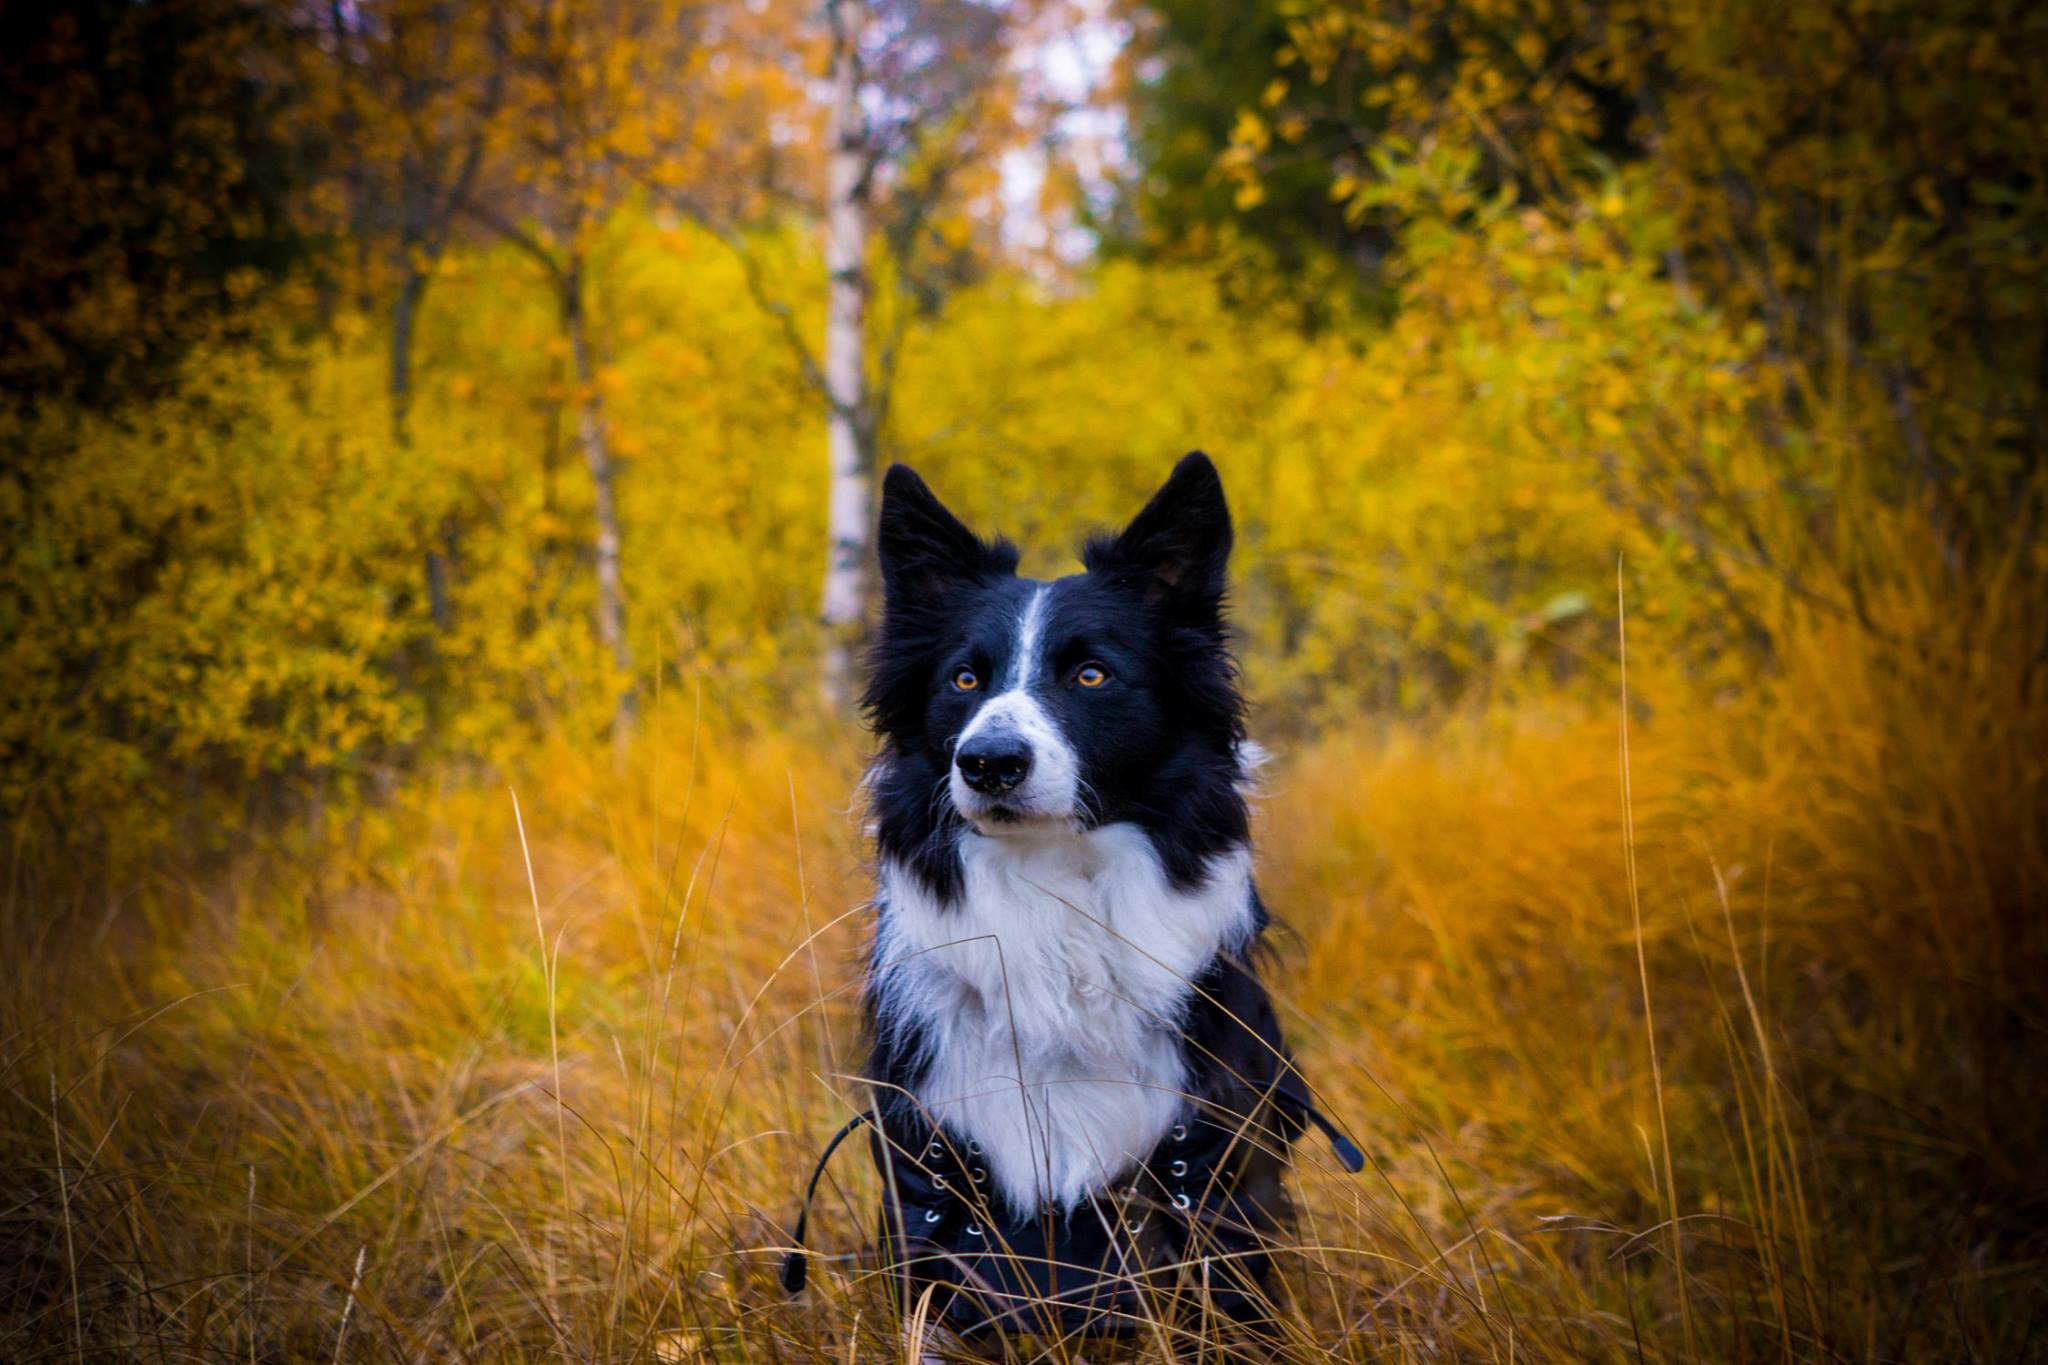
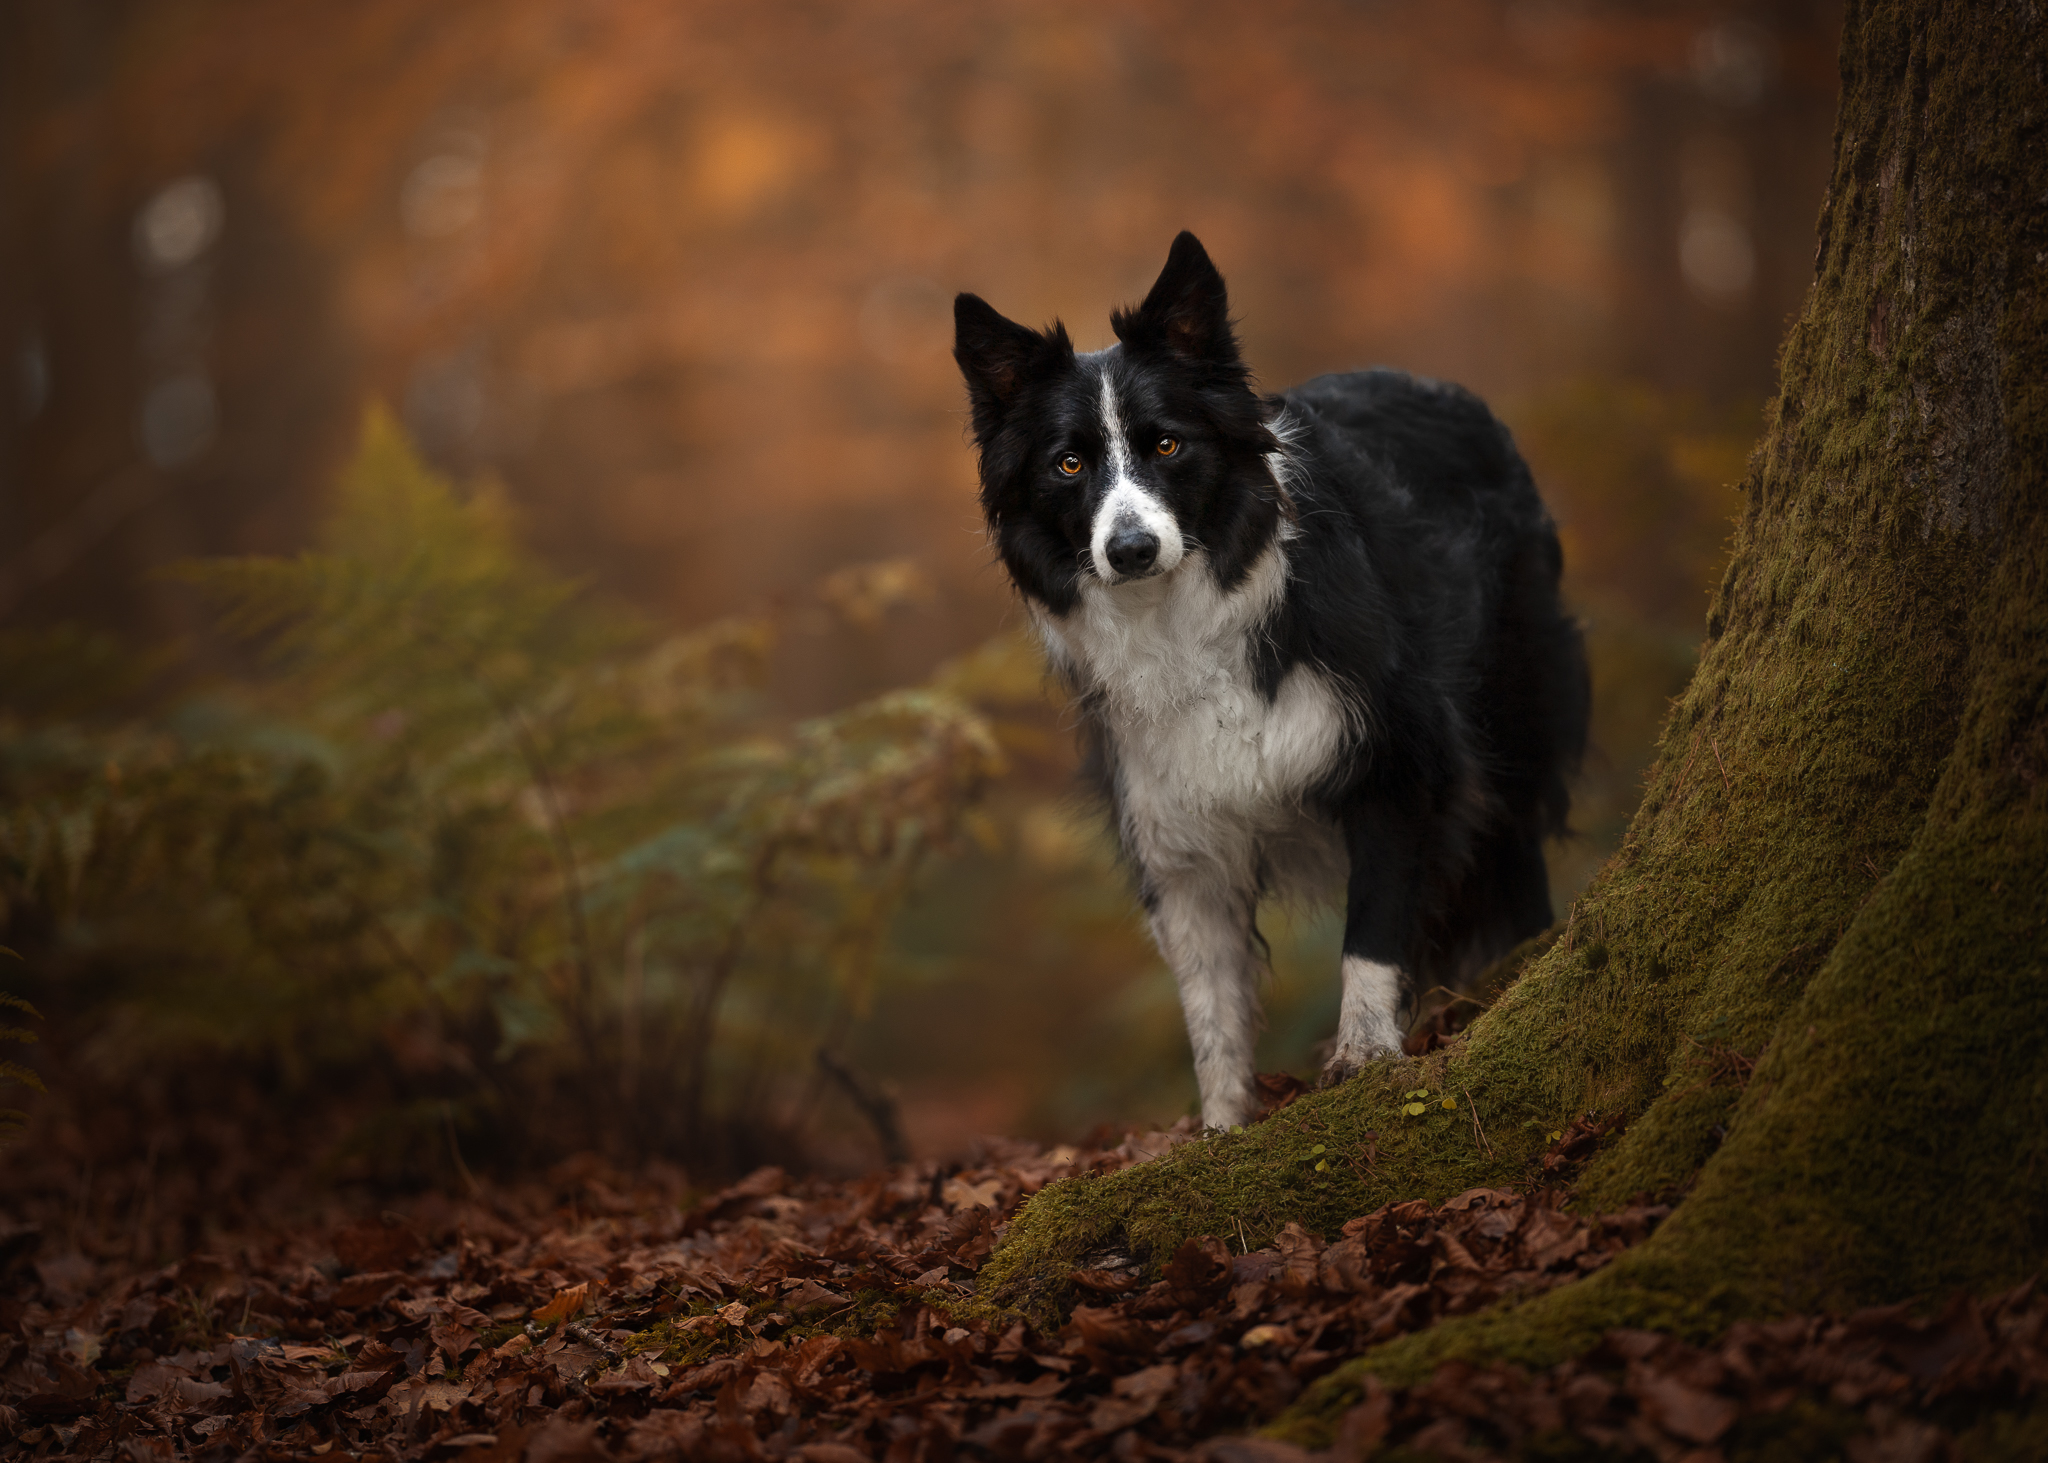
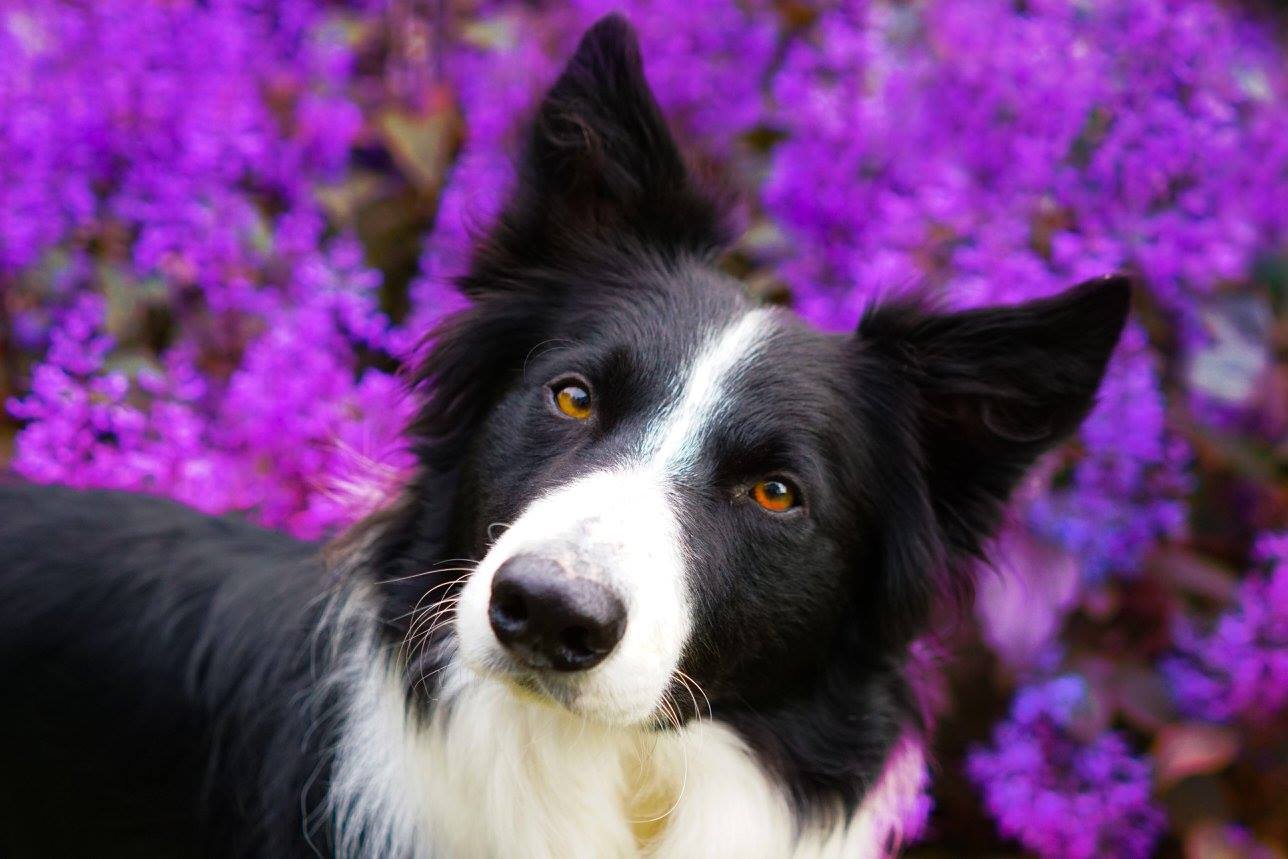
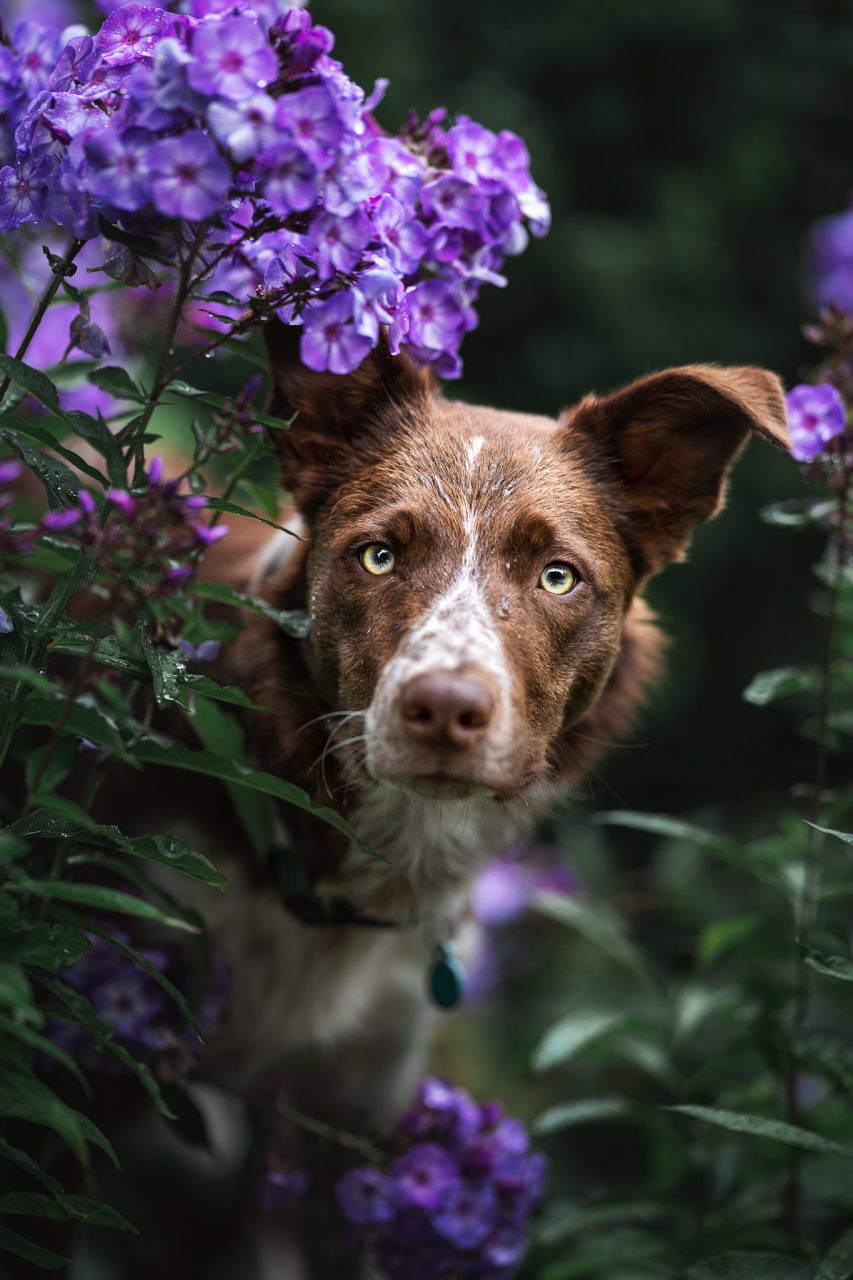
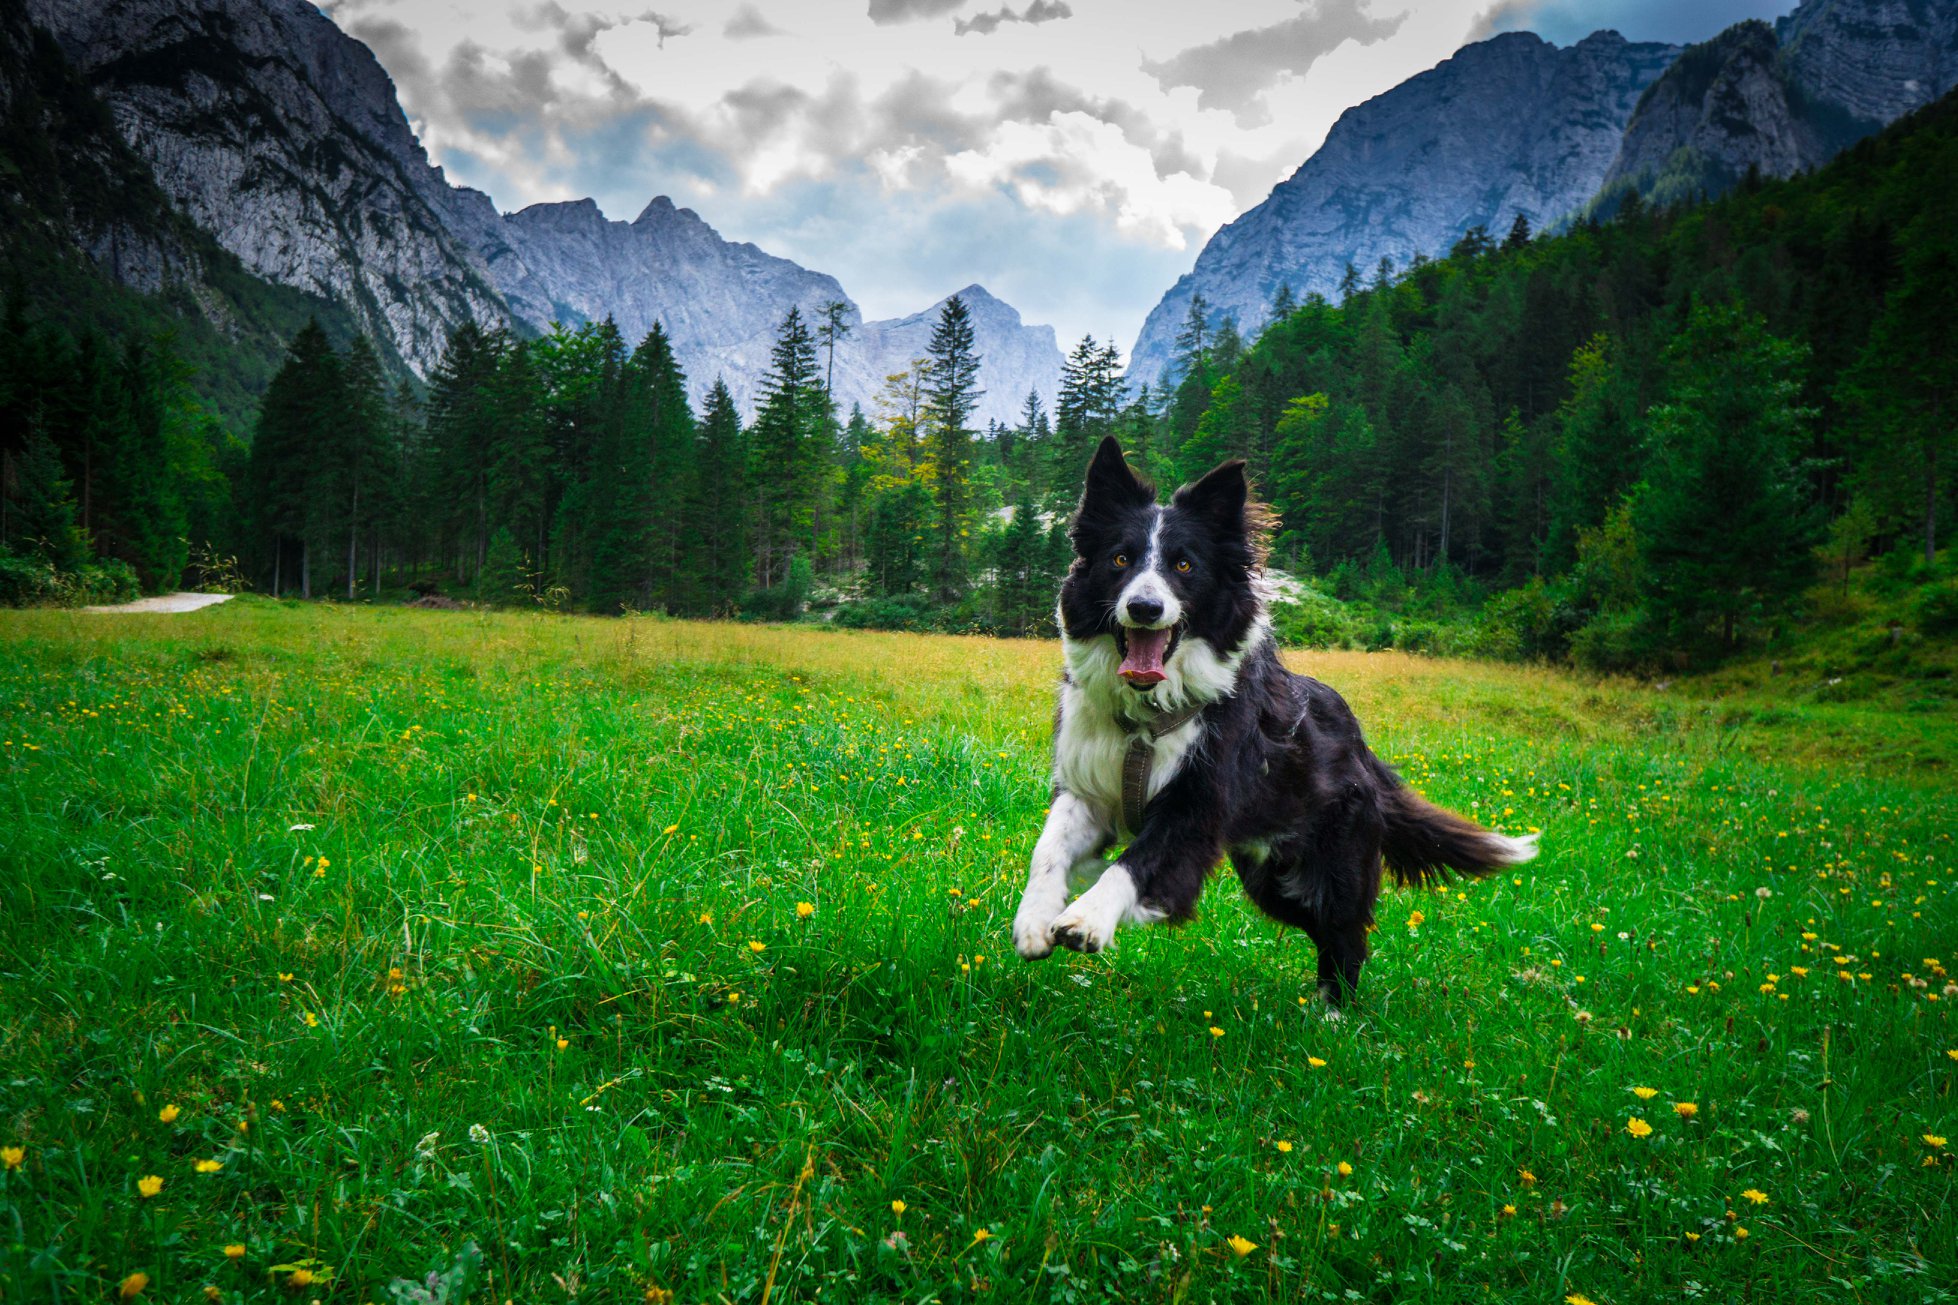
As a pet photography teacher, I see a lot of new photographers and pet owners taking photos, and I noticed that many of them make the same mistakes in their photoshoots! Here are the main mistakes I notice, and how you can avoid them!
1. Taking photos from too high
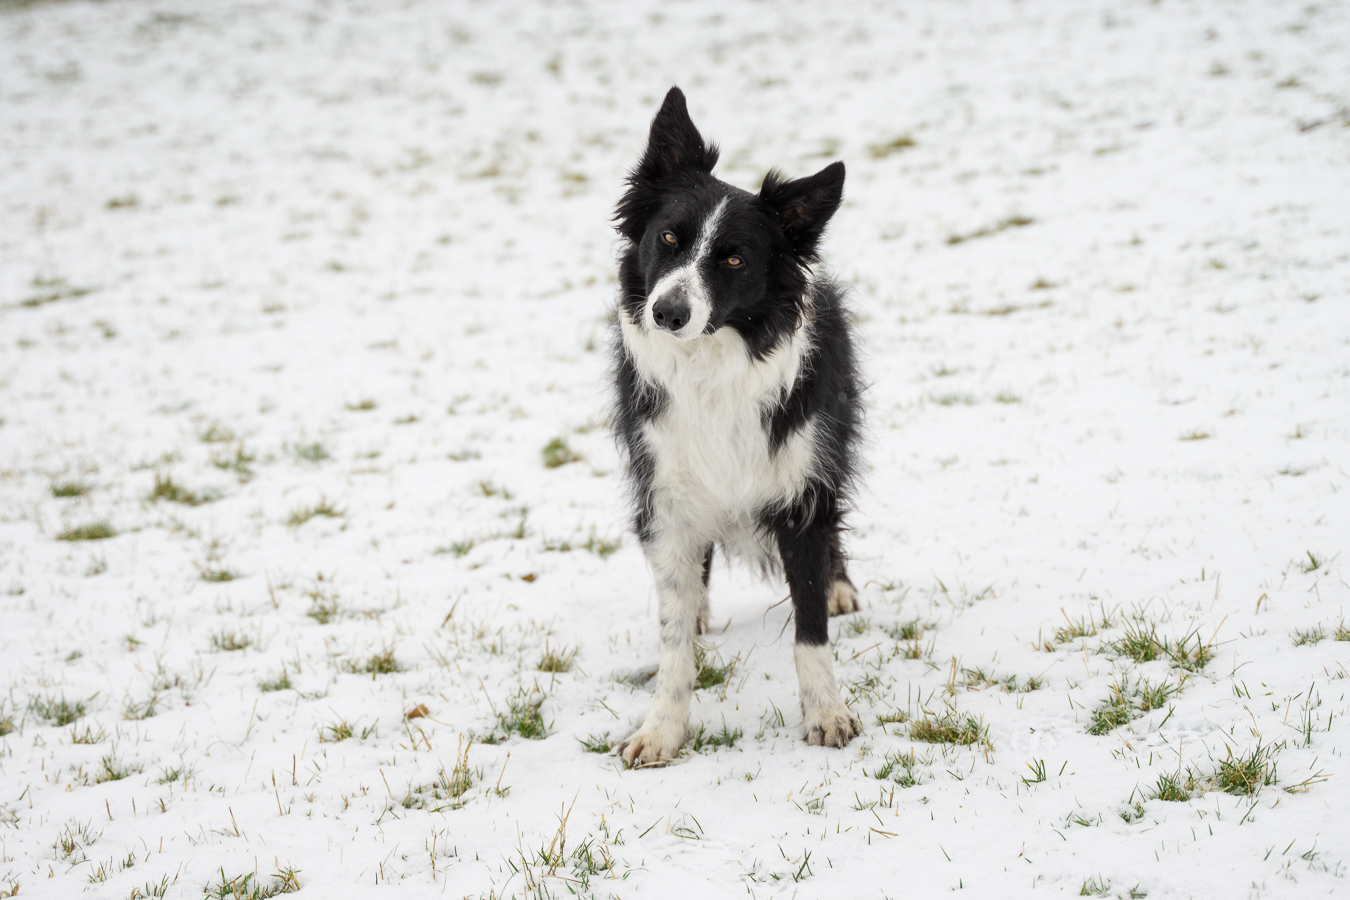
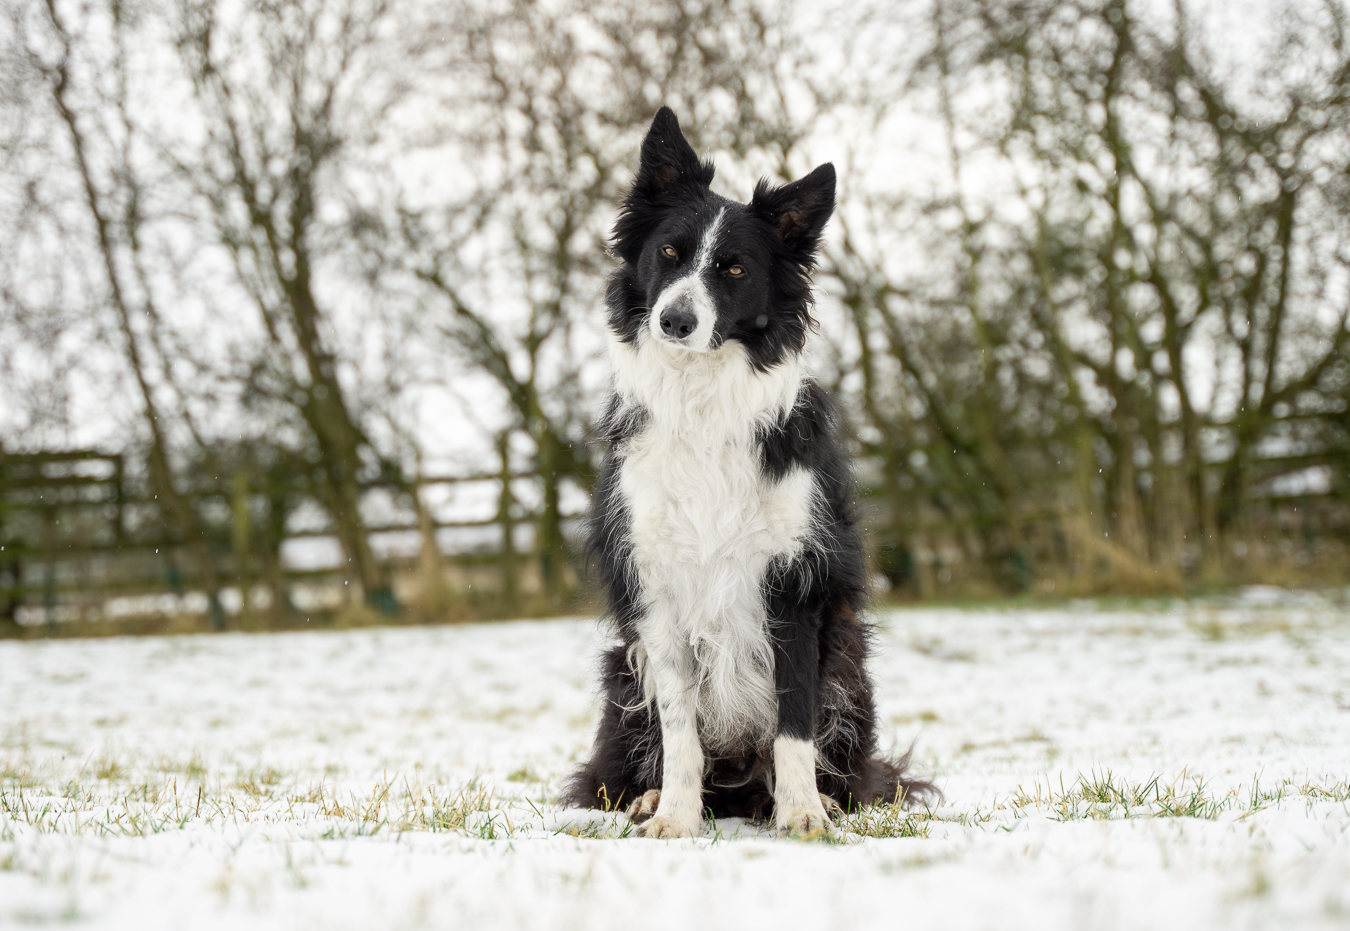
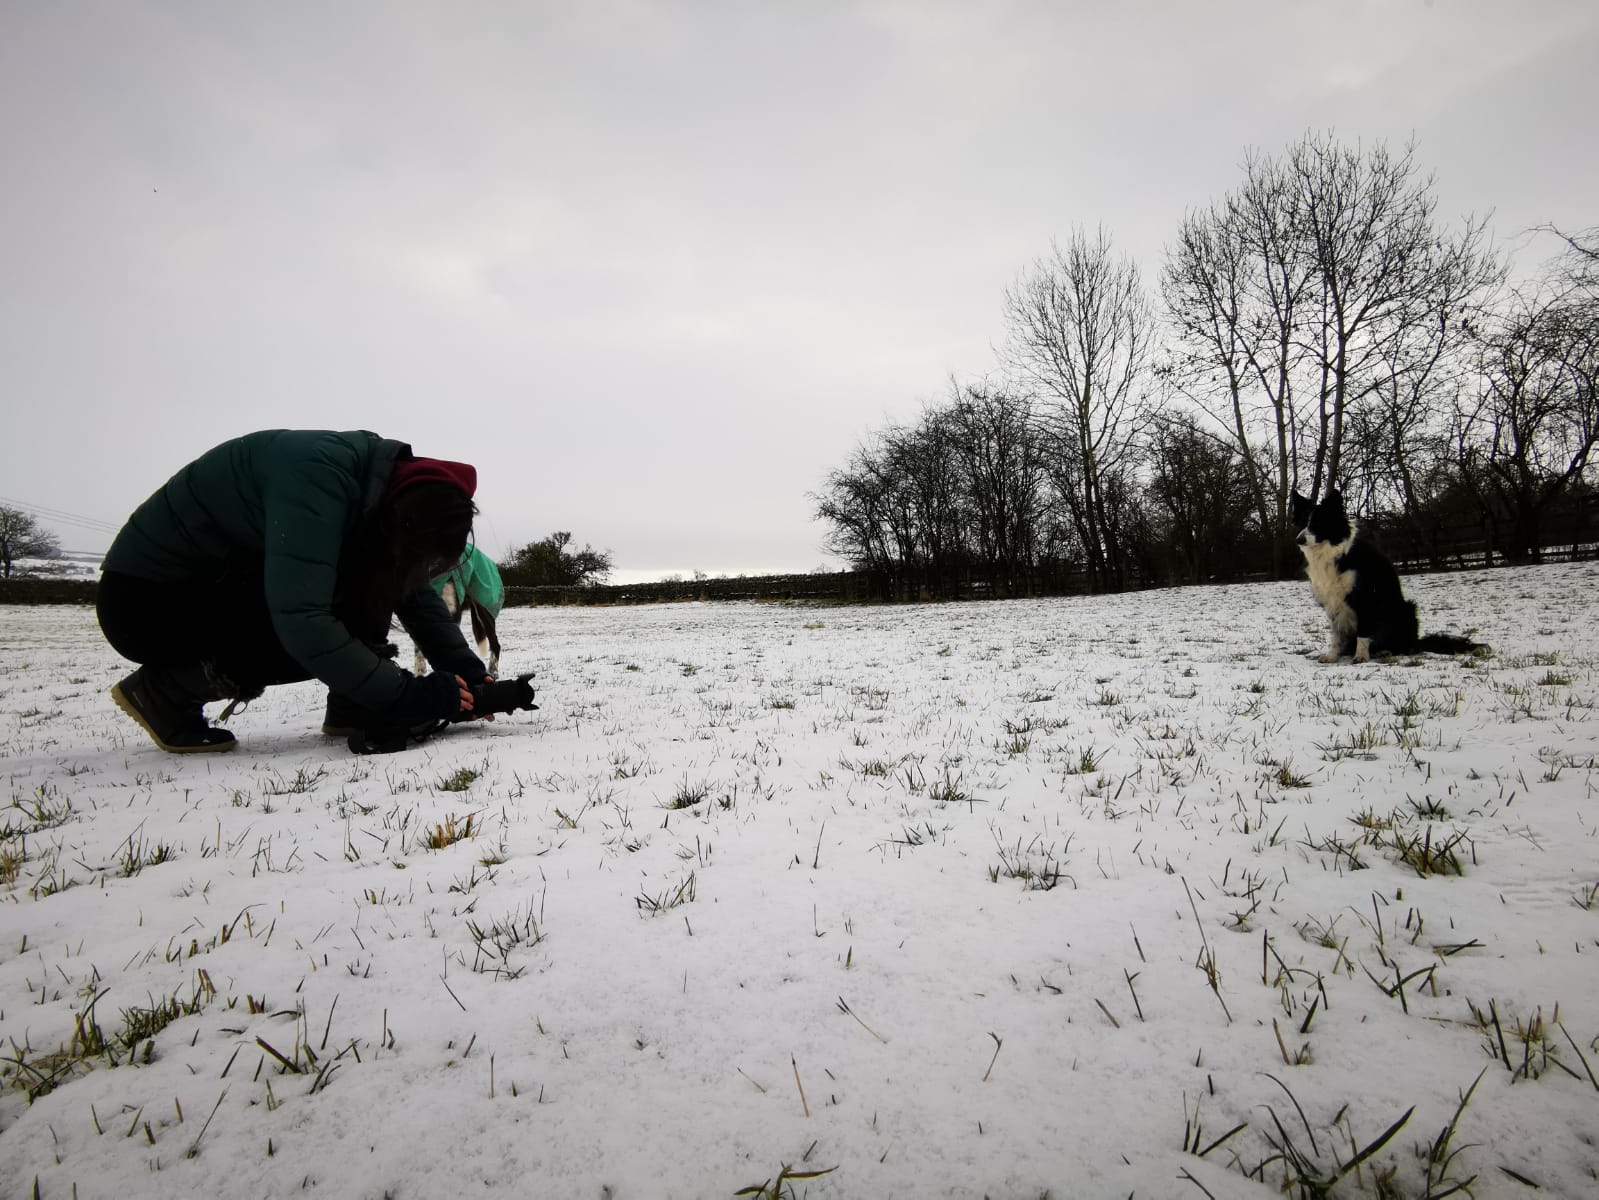
This is perhaps the most important piece of information I have to share: get down low.
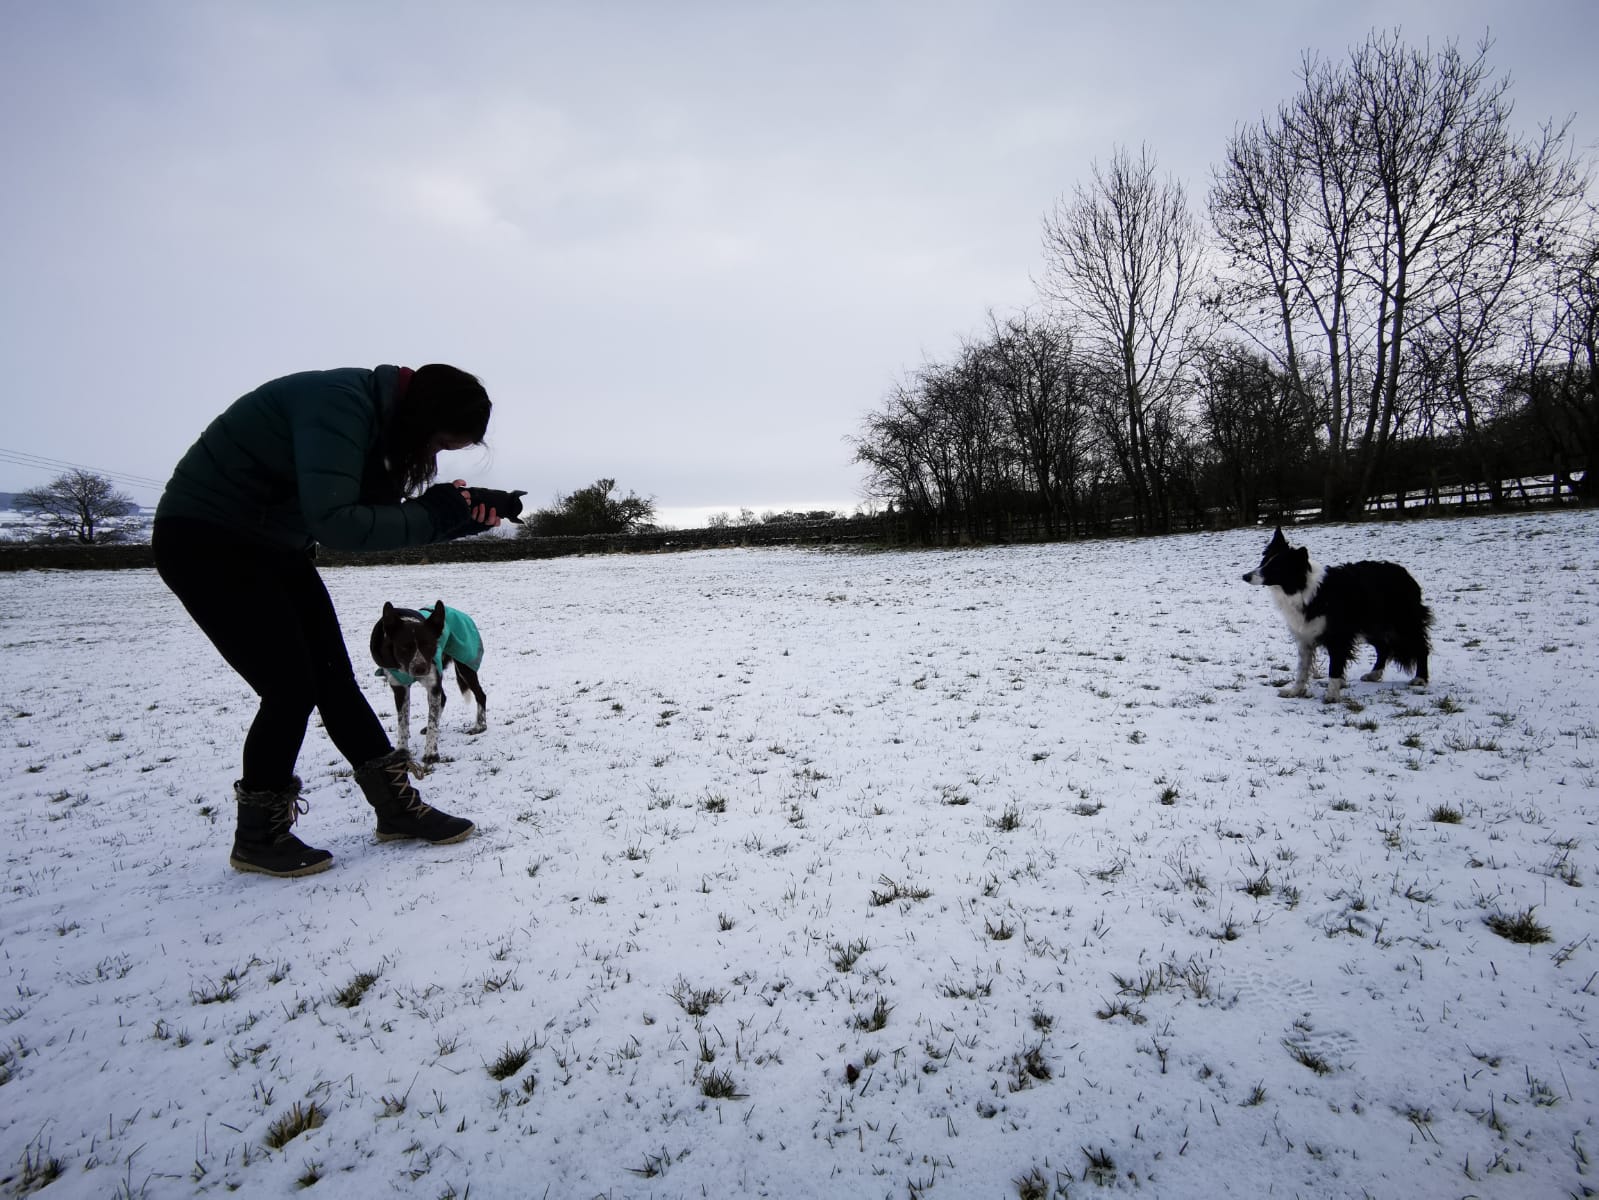
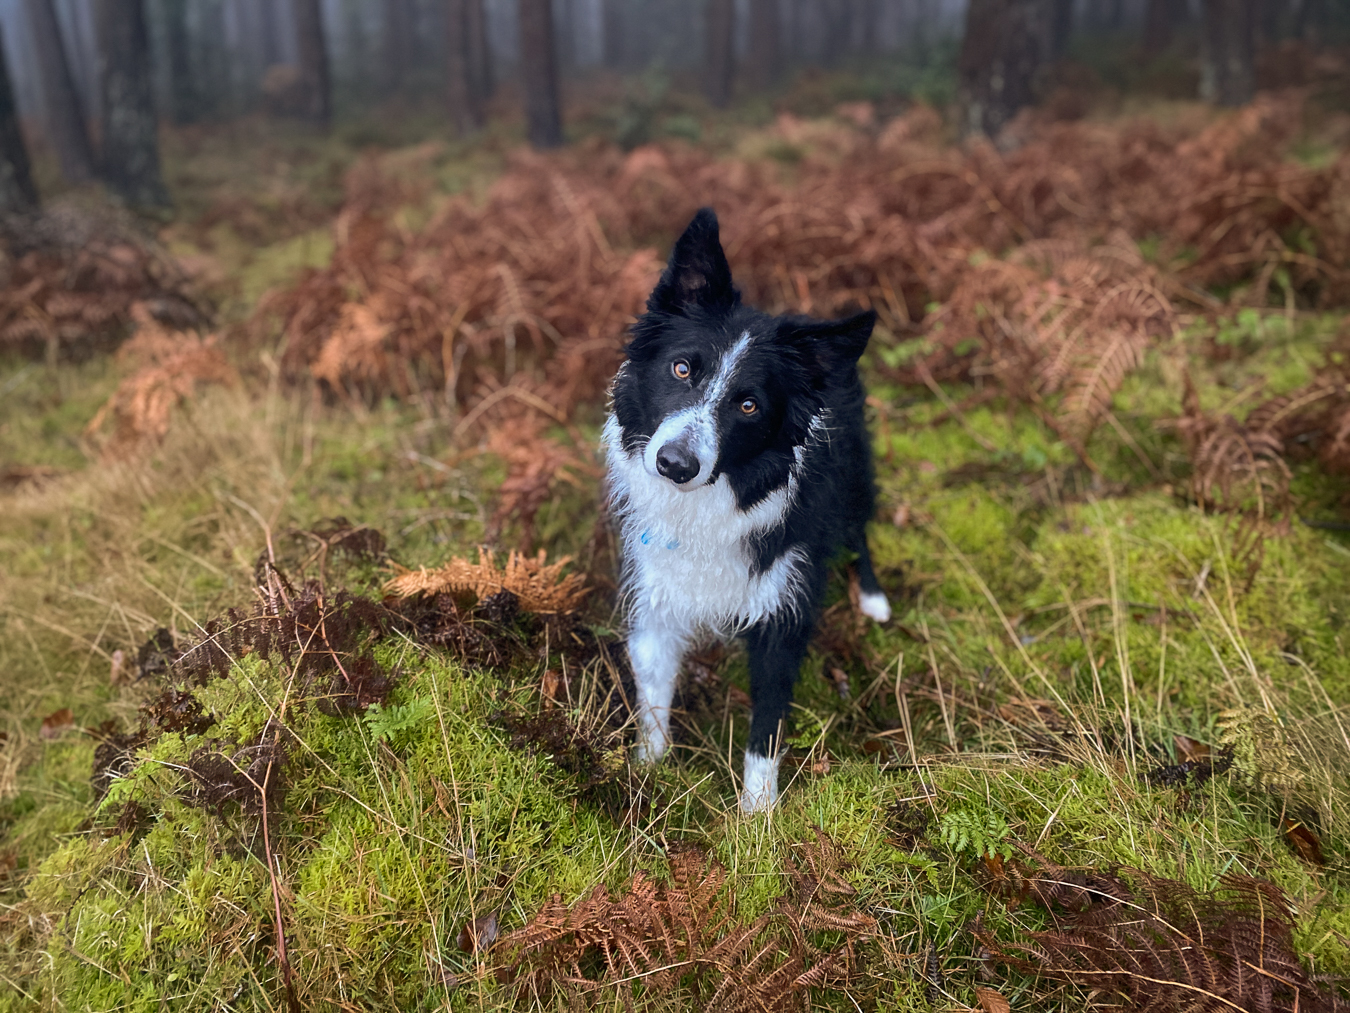
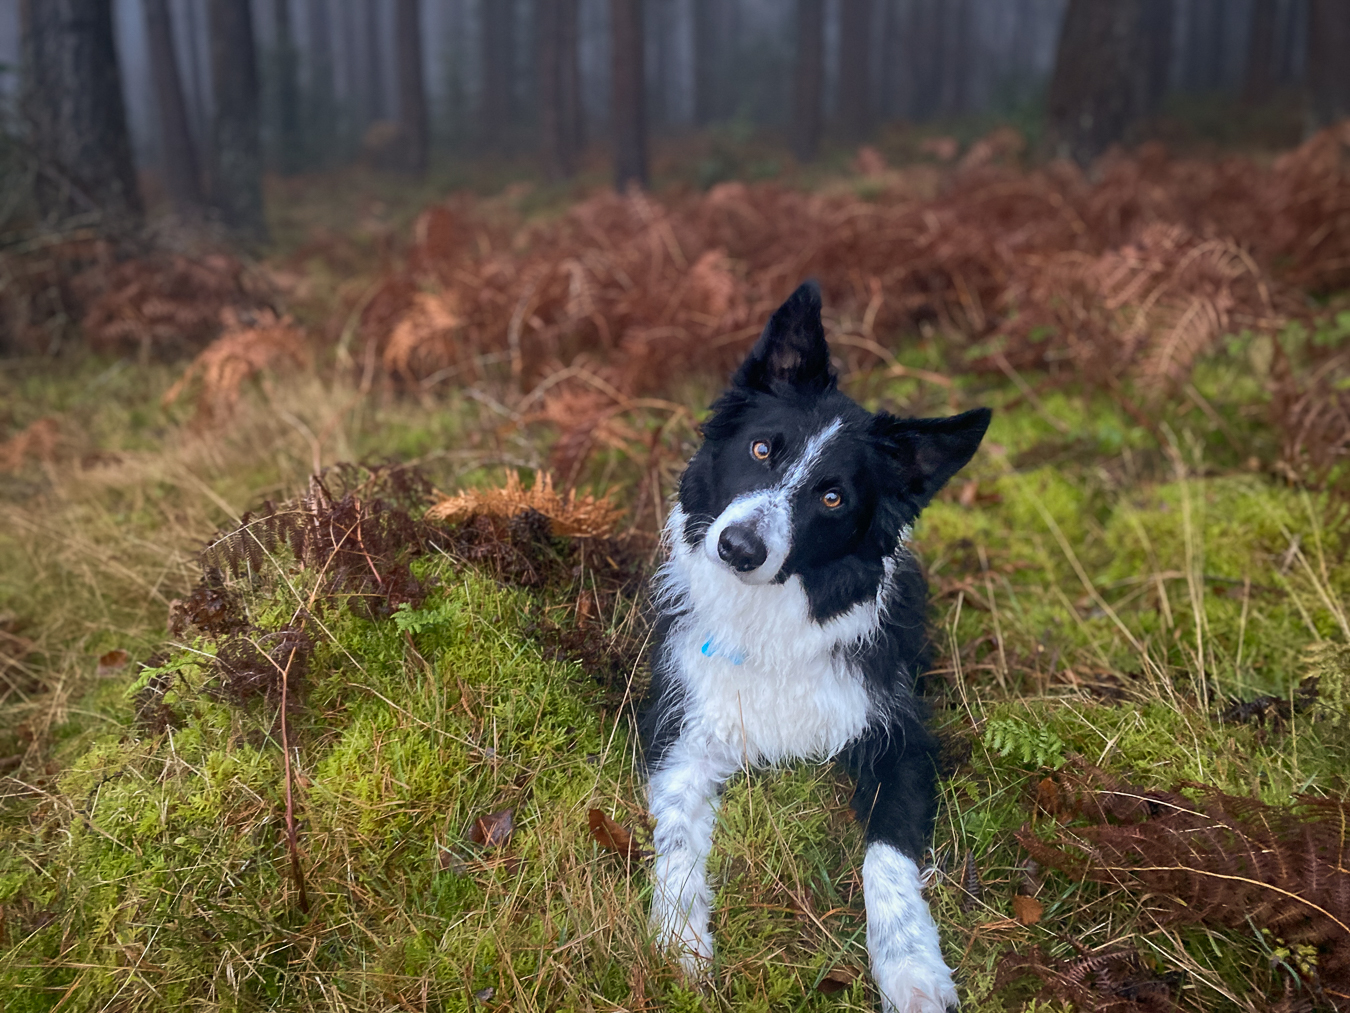
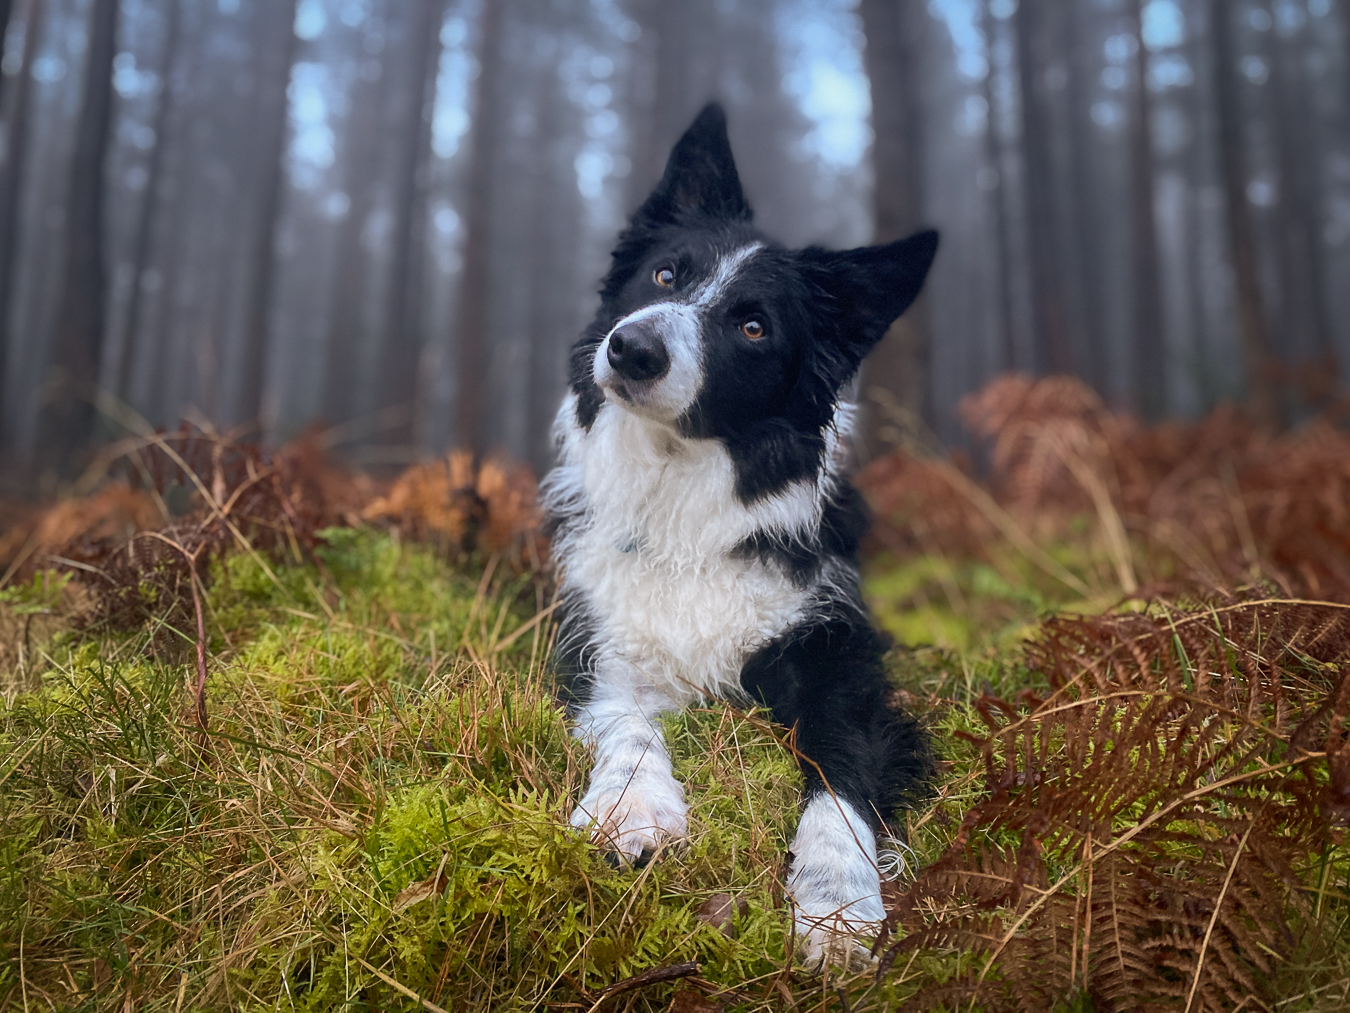
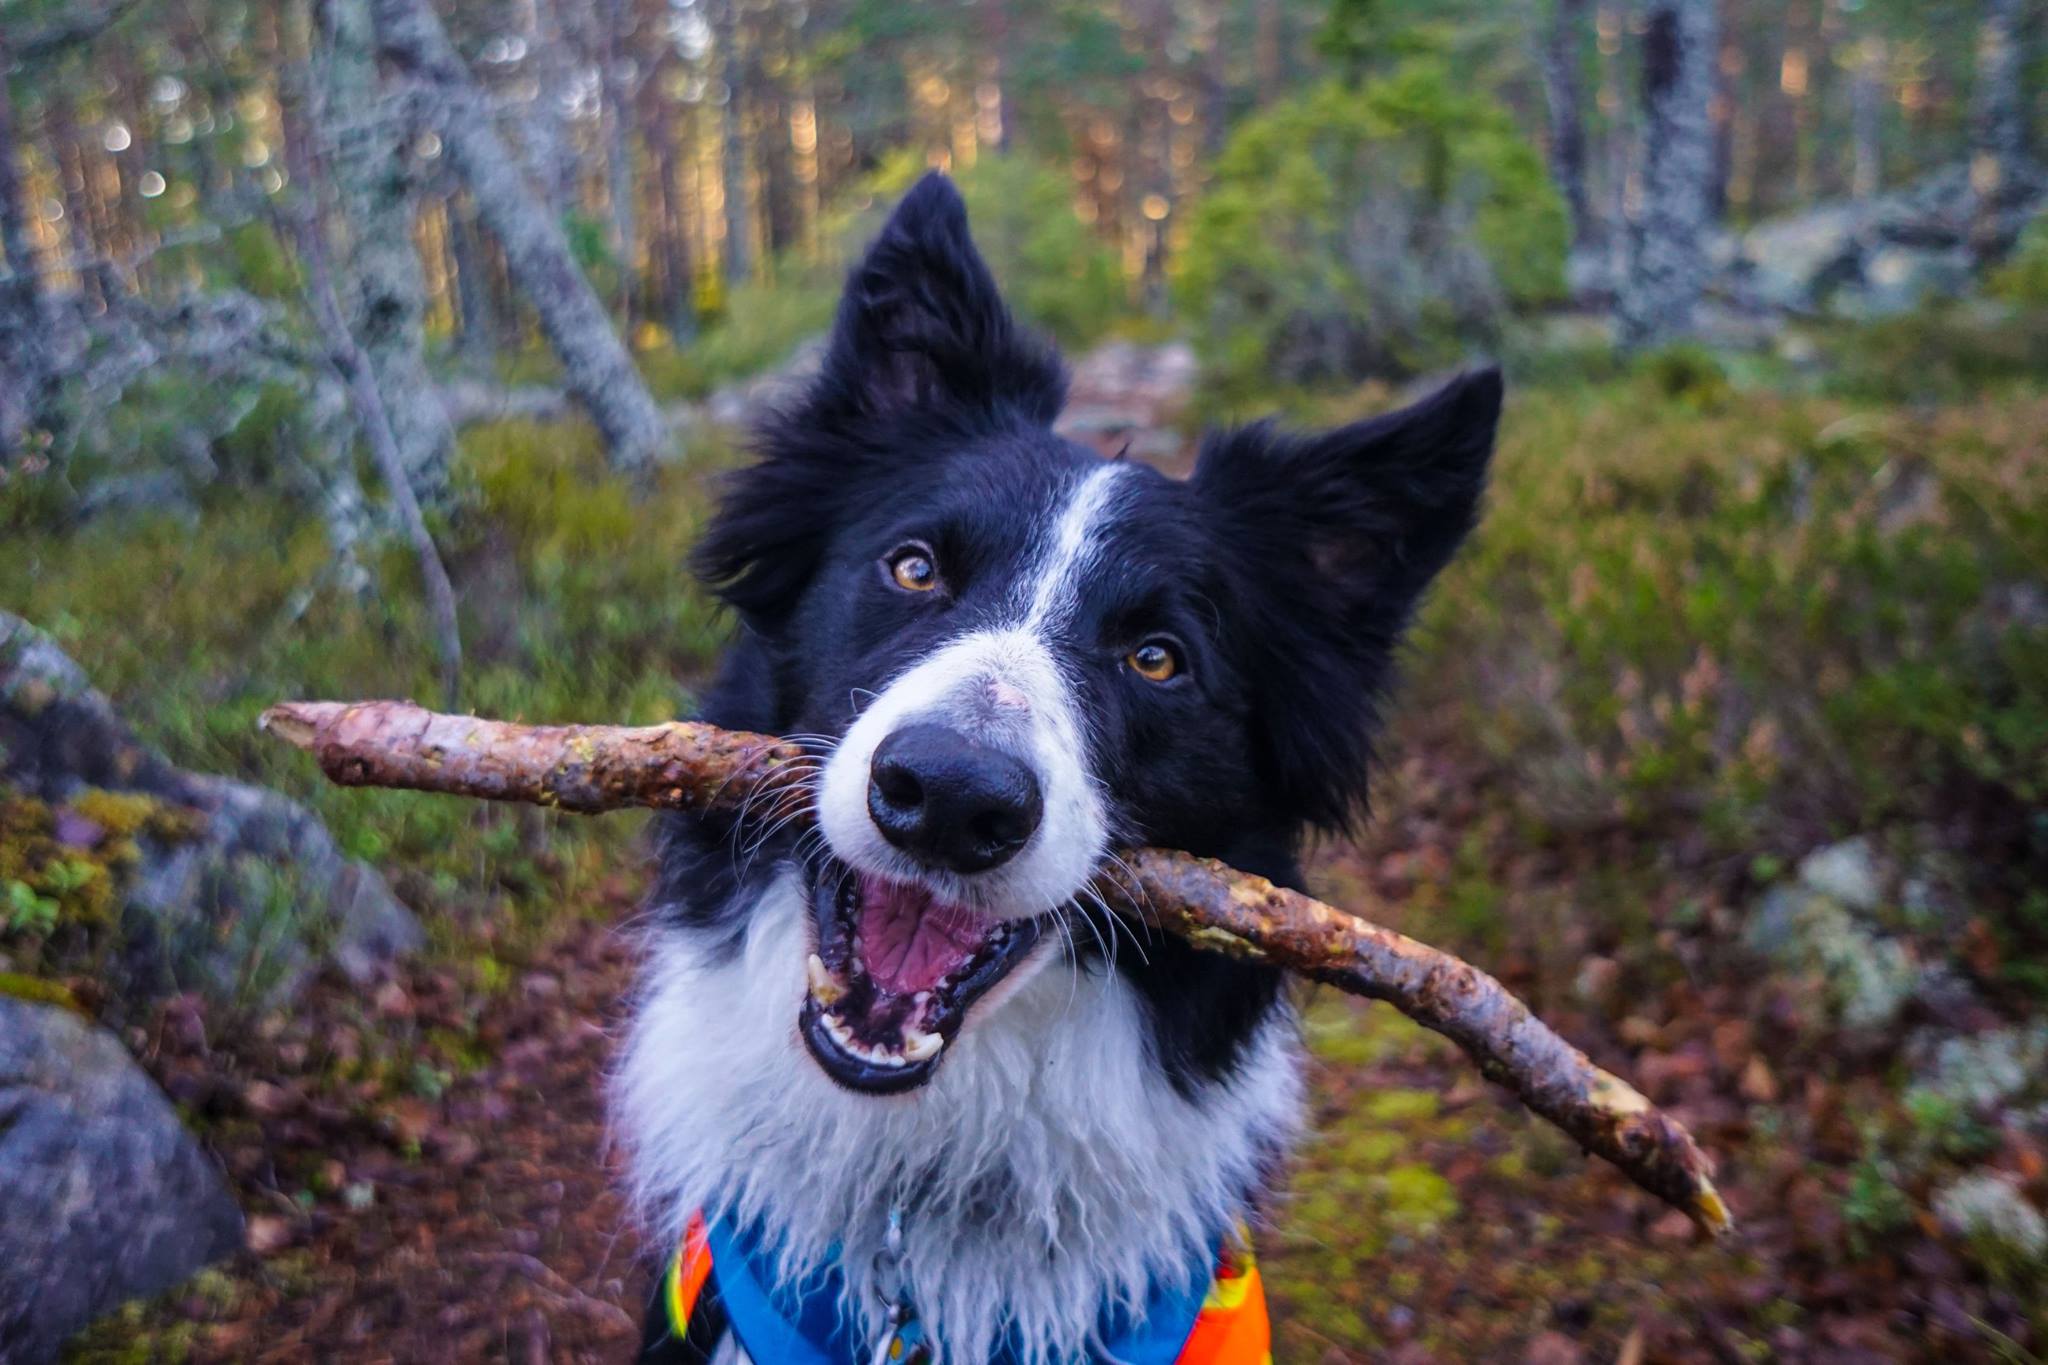
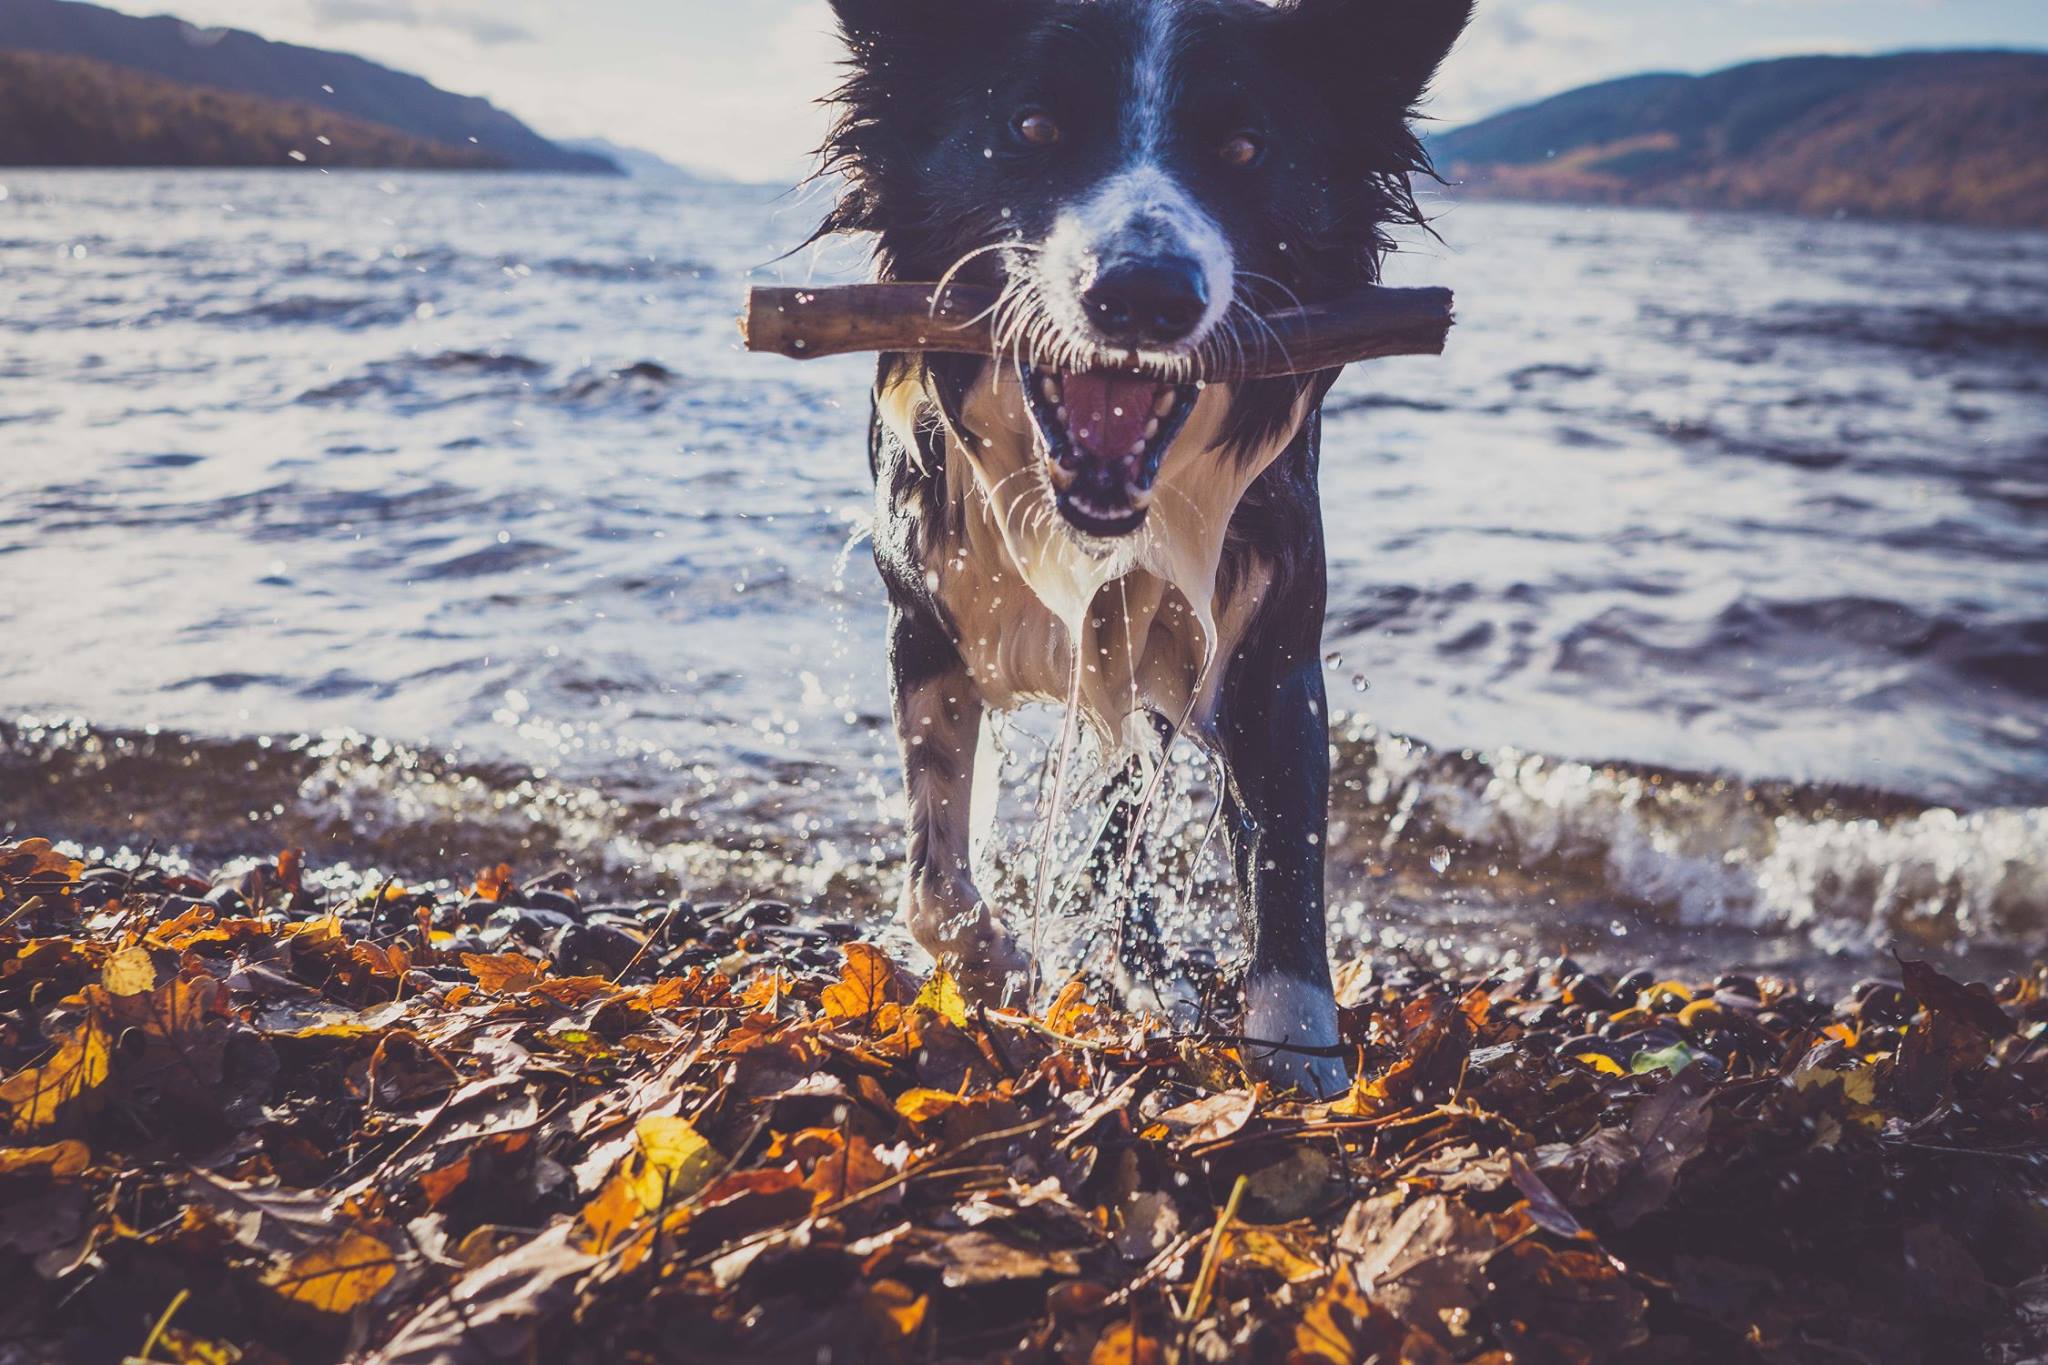
When you think your camera or phone is low enough… make it lower. Most people take photos from where they’re comfortable: standing up and holding the camera. Some may crouch down a little. In fact, you should get even lower still!
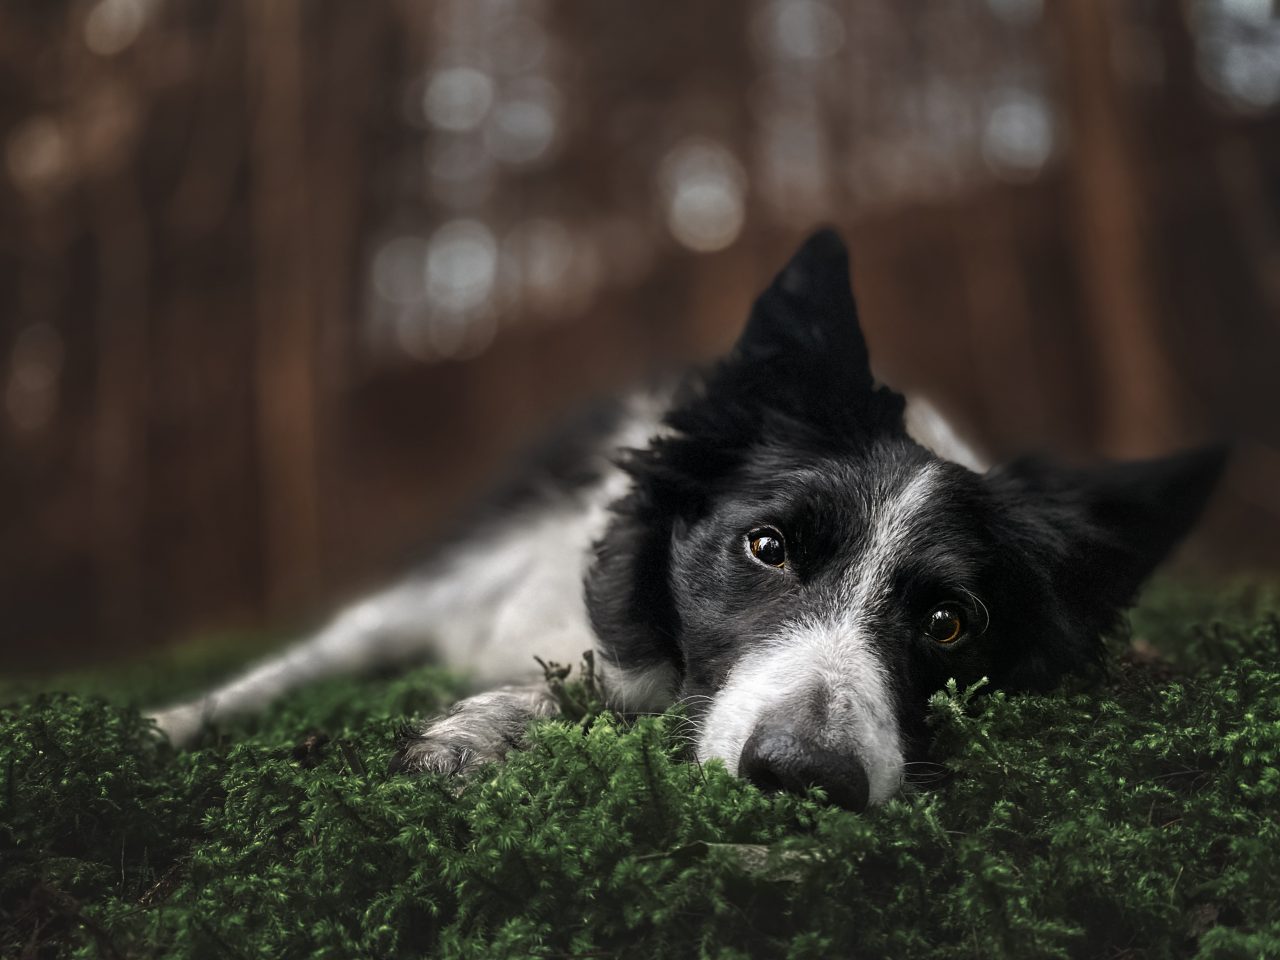
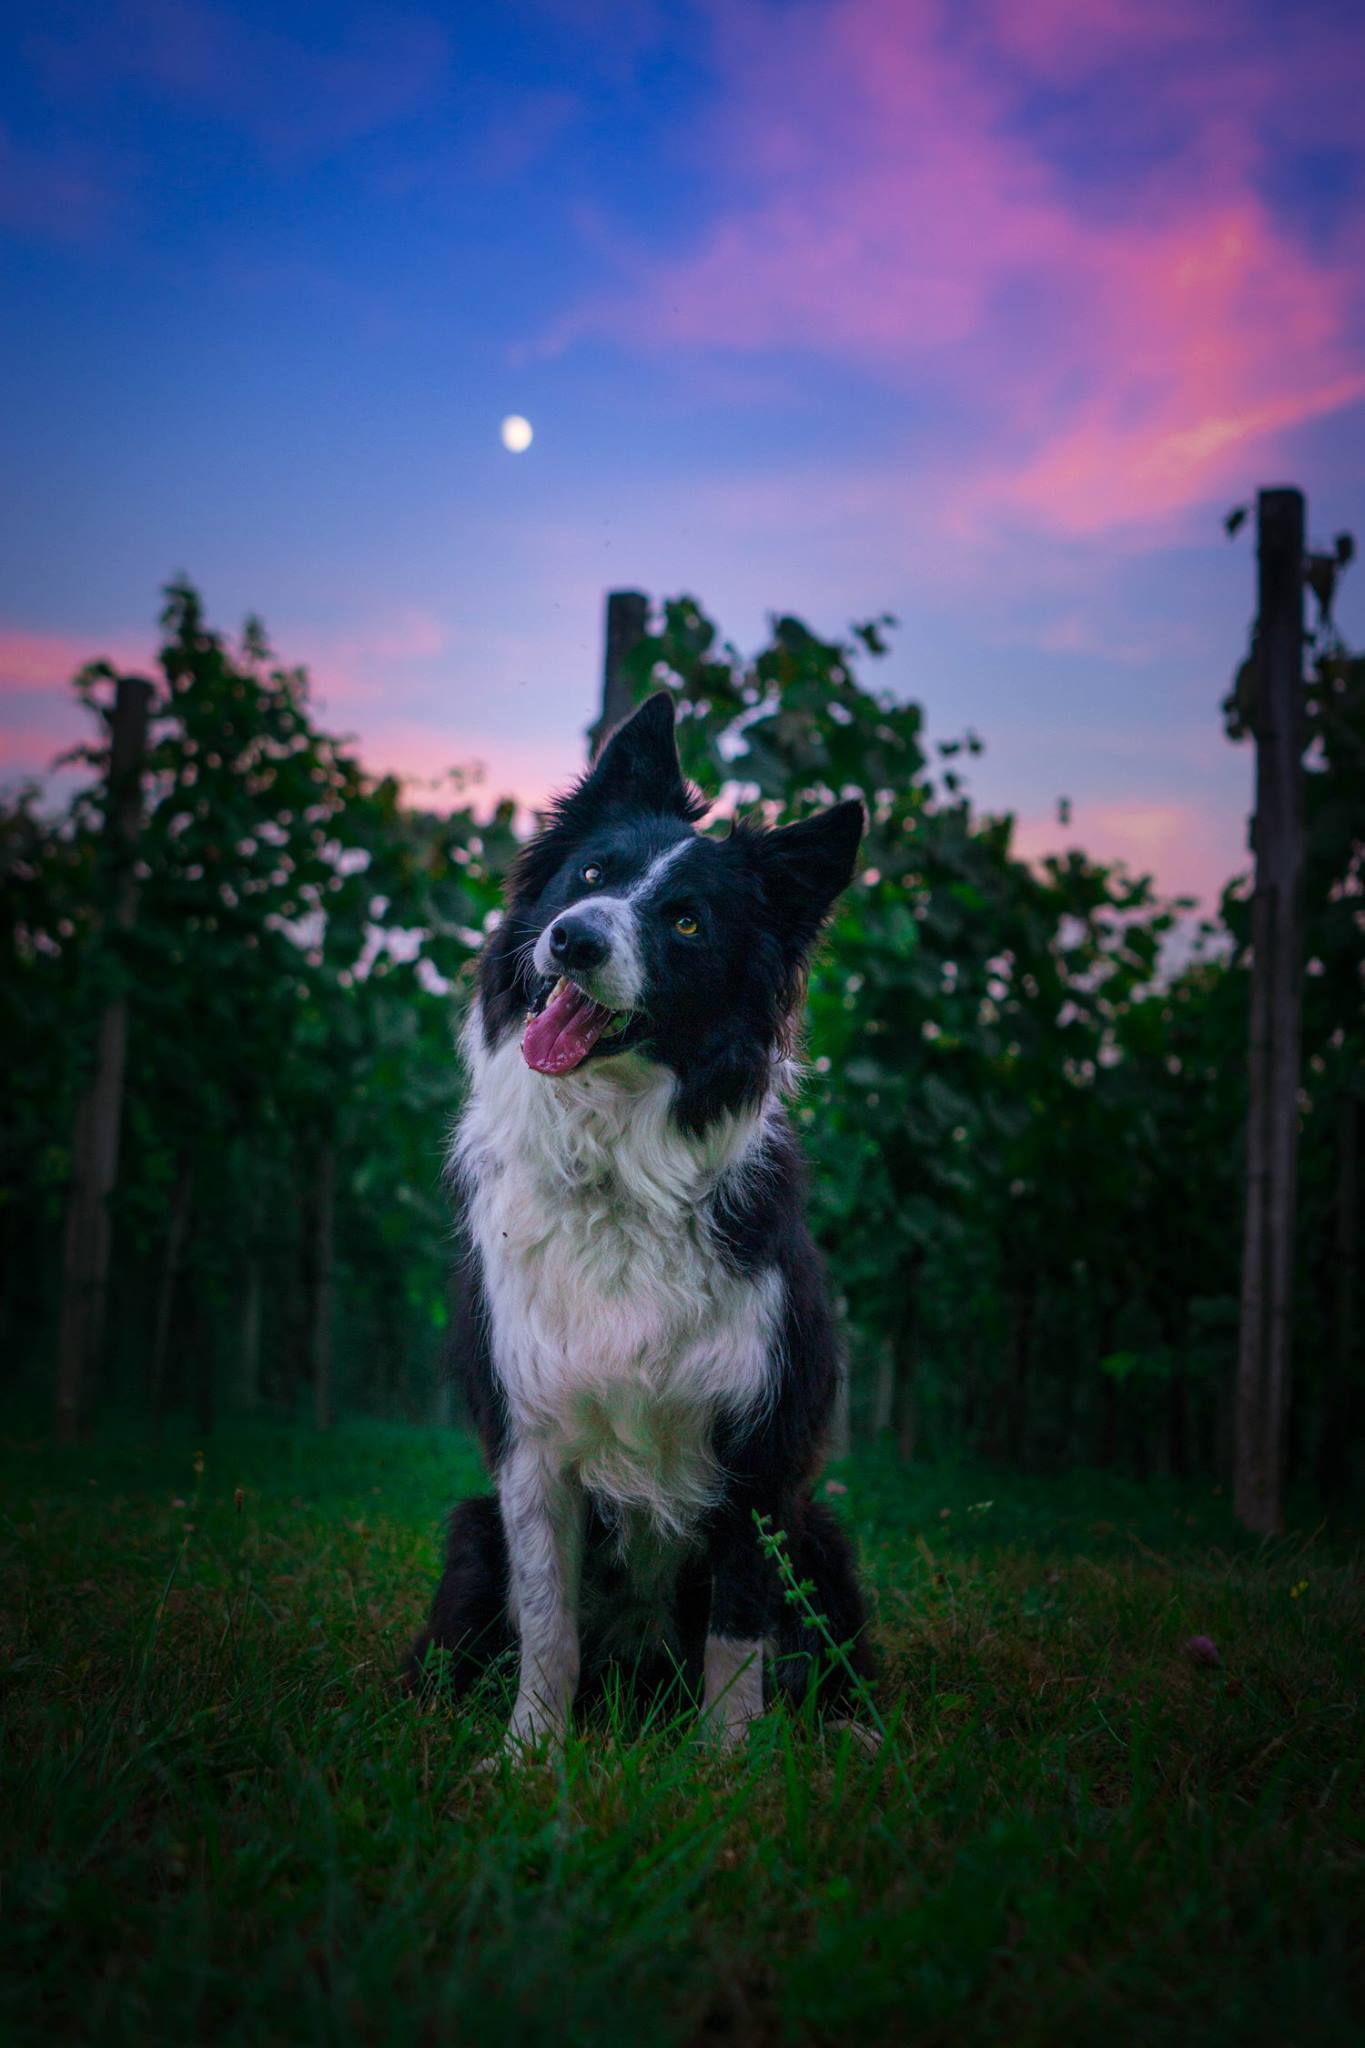
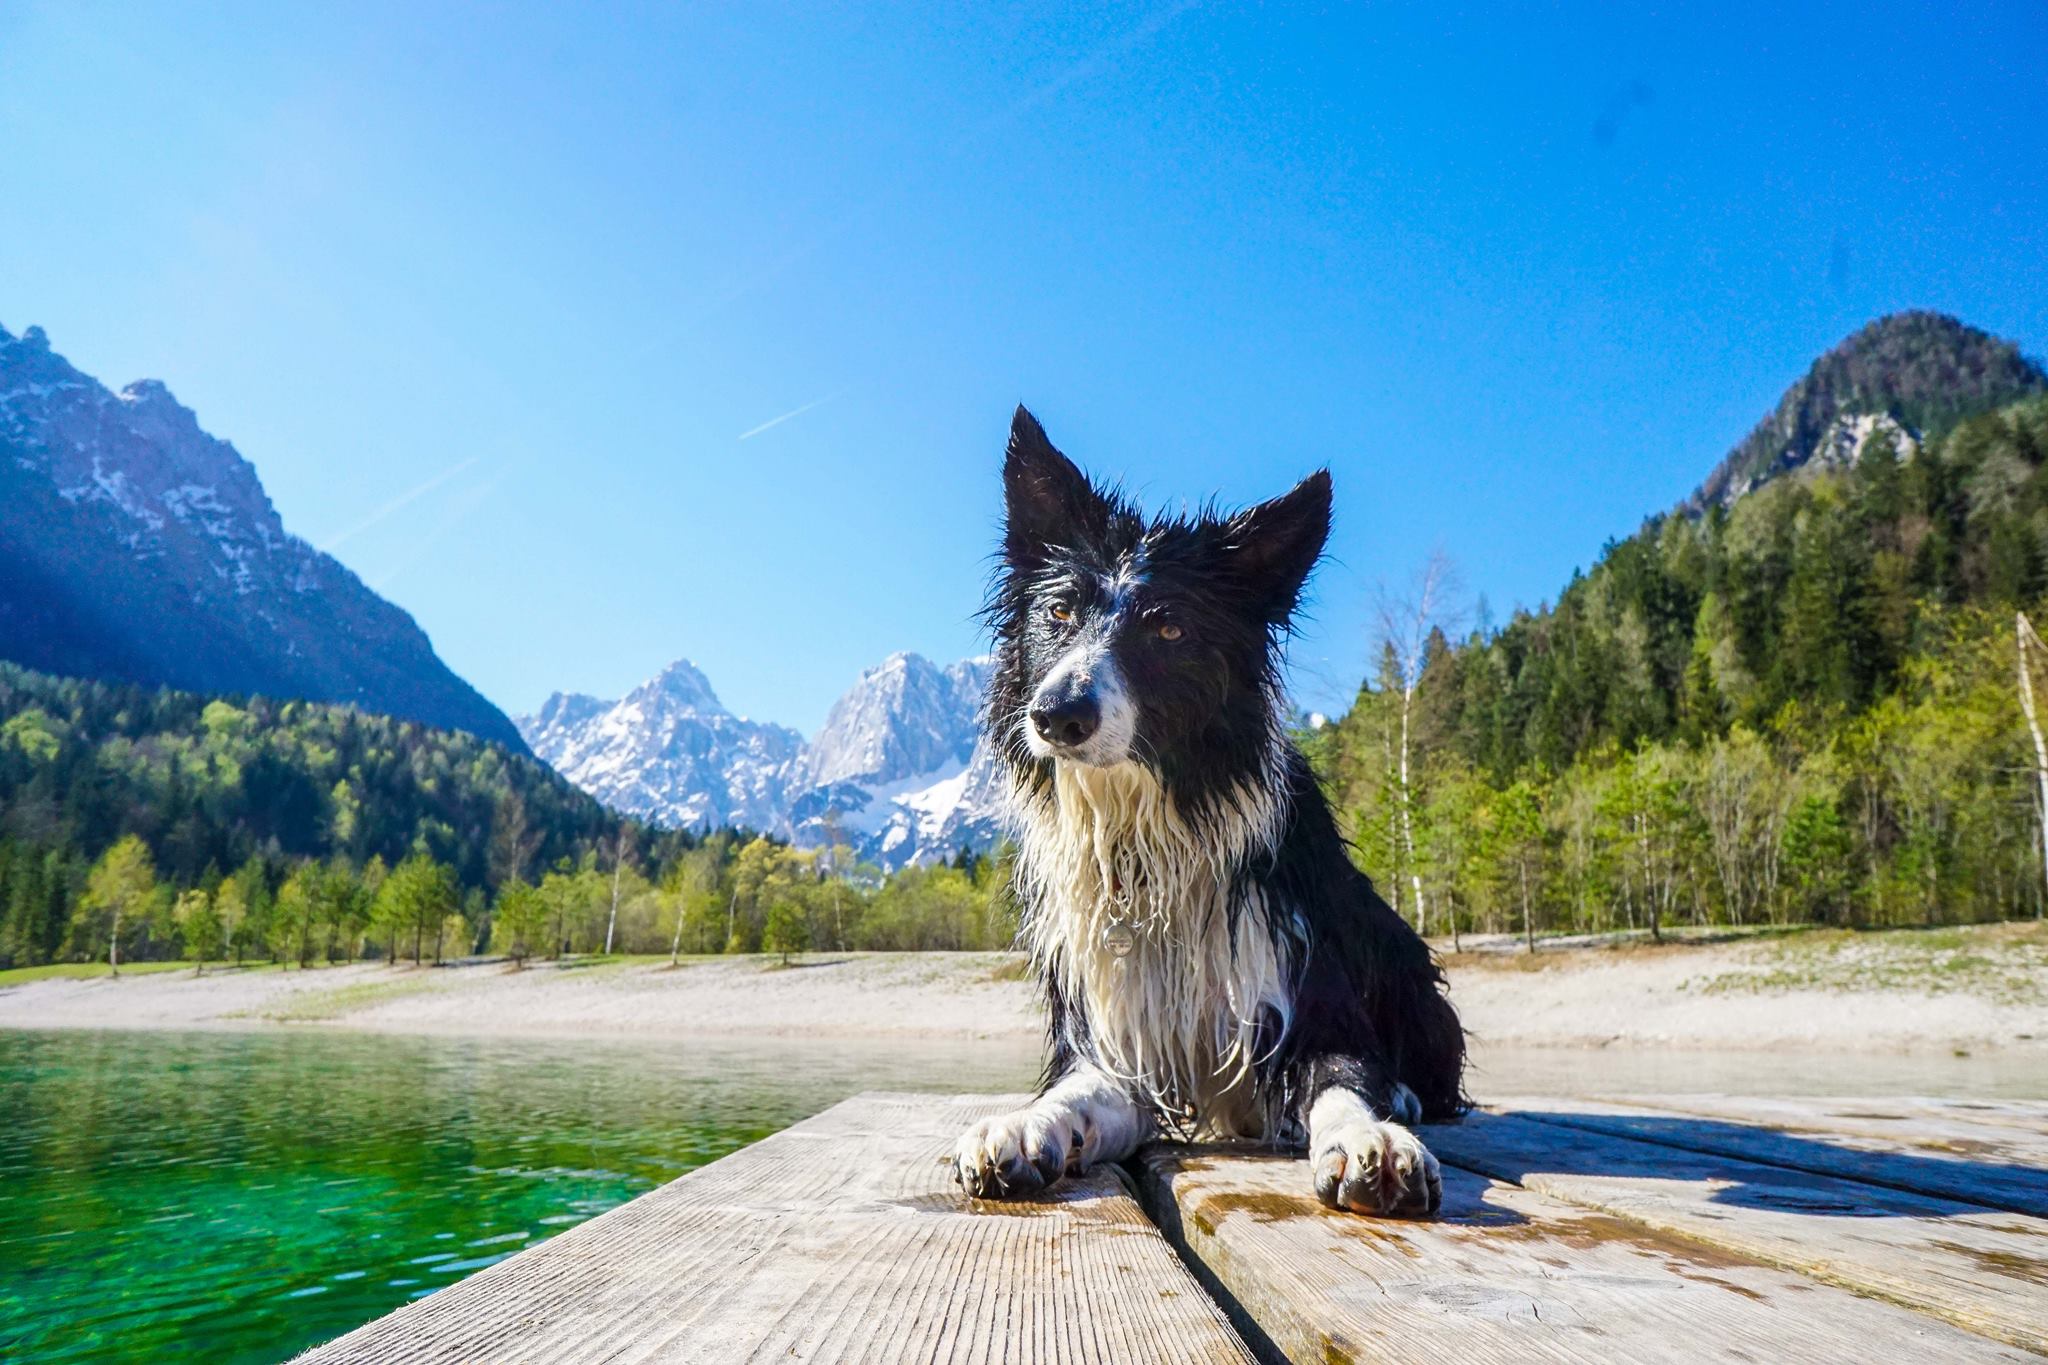
Getting your phone or camera very close to the ground gives the dog more power, and we really connect with them at their level. It makes them the star of the show.
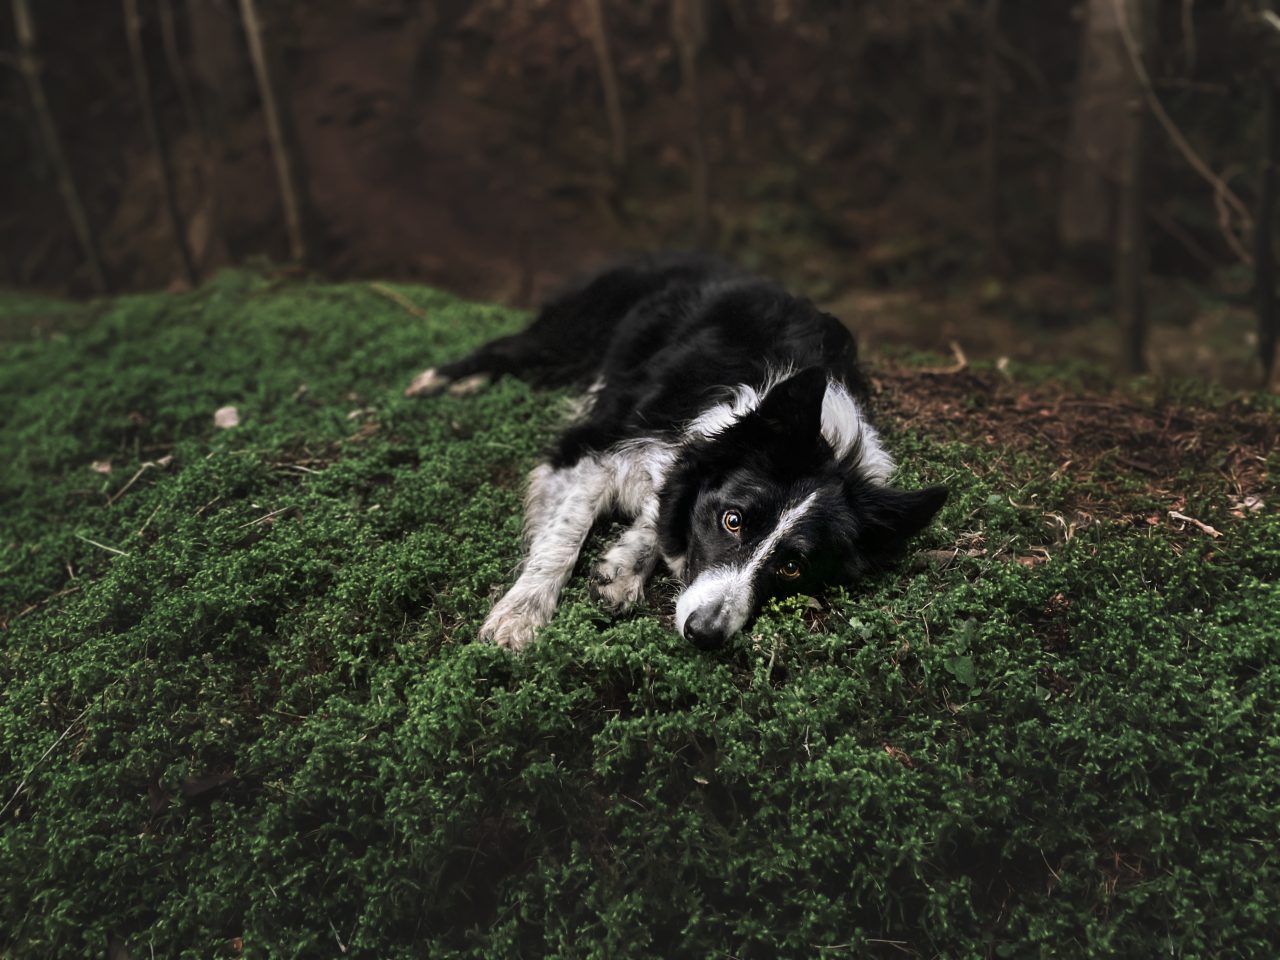
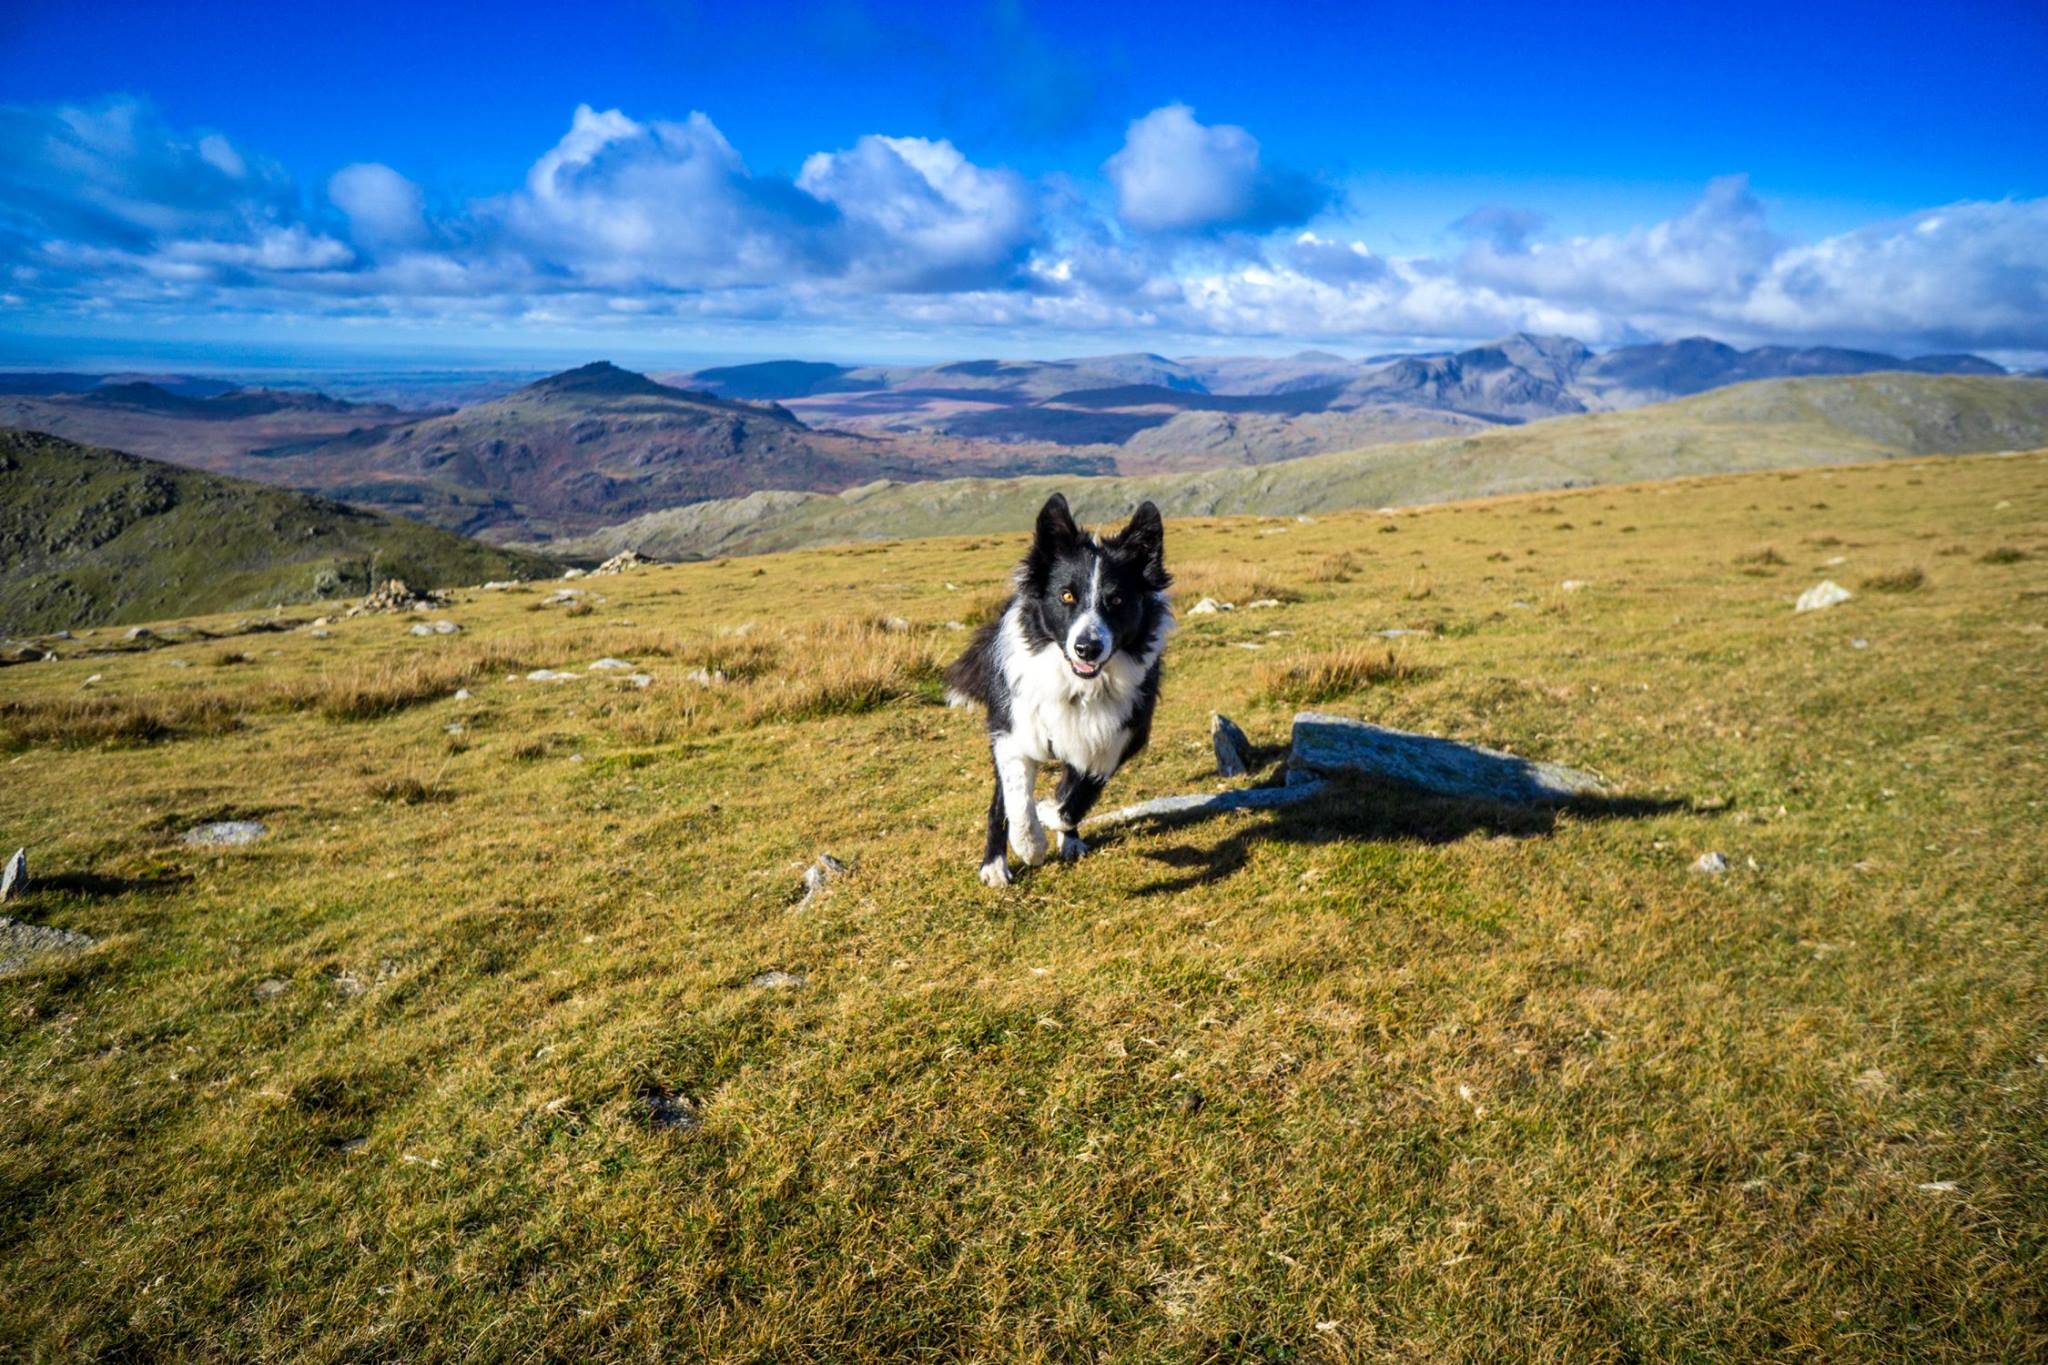
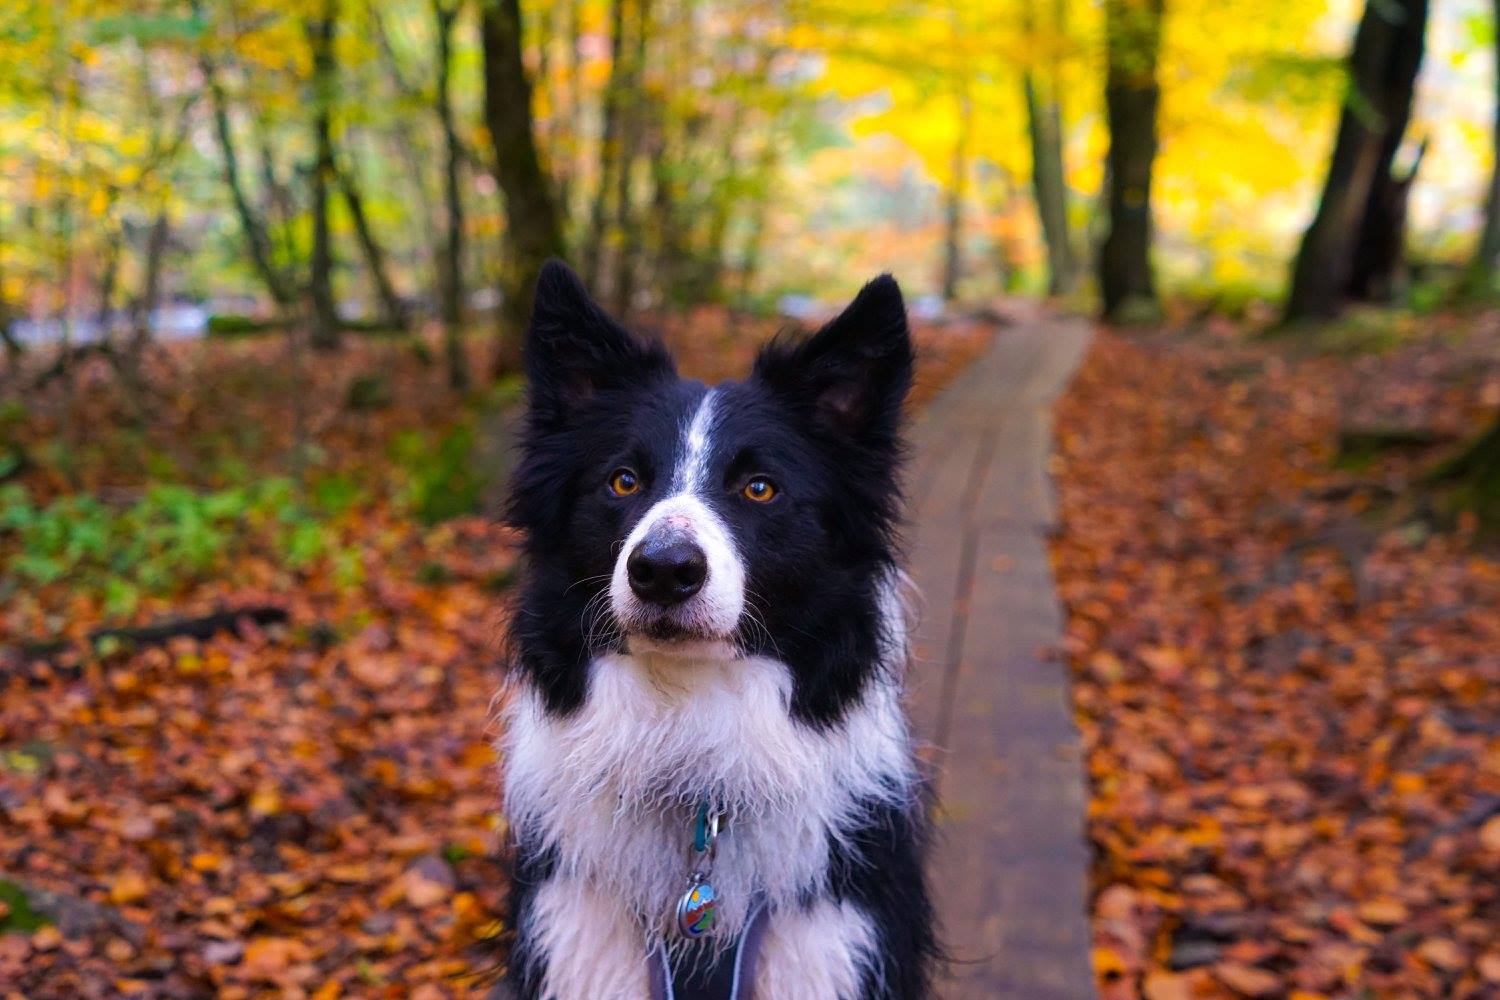
Compare the images above! Are you surprised? I know which photo I prefer. The lower one has much more context, a and a much greater connection with Loki.
This applies to photos taken with a phone, too!
You can find out more about taking photos with your phone in this post.
2. Choosing the wrong camera settings
Obviously this one doesn’t necessarily apply if you’re using your phone, but if you have a DSLR or mirrorless camera where you can change things like aperture, shutter speed, and ISO, get to know what those things do and how and when to change them.
I see a lot of new photographers set their shutter speed at 1/125 and wonder why the dog isn’t sharp (probably because it’s moving!).
So many of my older images aren’t what they could have been because the shutter speed was too slow, or the sky was too bright so I lost detail in the clouds (see this post on under-exposing for more info on that issue!), or because my shutter speed was up super fast and the ISO had to go much higher to compensate.
Learn your way around your camera so you can use it on manual exposure mode and have complete control of the shutter speed, the aperture and the ISO! If you’ve found learning about these things confusing before, you should have a look at the Improve Your Pet Photography course.
I break down what each corner of the exposure triangle does, and how they all work together, so you can gradually take yourself off auto and priority modes, know which settings to use, when, and why.
3. More light does not equal better photos!
There is a common misconception in pet photography that you need as much light as possible to take good photos.
This means most new photographers wait for the sun to be fully out, in the middle of the day, grab their camera and head out to take photos.
In fact, too much light can cause crazy contrasts of light, bright highlights and dark, sharp shadows. Half a face can be black, while the other is really well lit, and it just doesn’t tend to be that flattering.
It’s better to avoid taking photos in the middle of a sunny day. Instead, try:
- taking photos in an area of open shade
- turn the dog’s face into the sun/light so that it is evenly lit without so many crazy shadows – shooting with the sun over one shoulder
Even better than taking photos with this harsh light is to
- take photos on an overcast day (yes, there will be enough light, even for black dogs)
- find some shade (not dappled, patchy shade!)
- wait until much later in the day, when the light is softer/more flattering
- start earlier when the light is softer & more flattering
4. Blue dogs and yellow dogs (but mostly blue)
One of the few editing tips on this list.
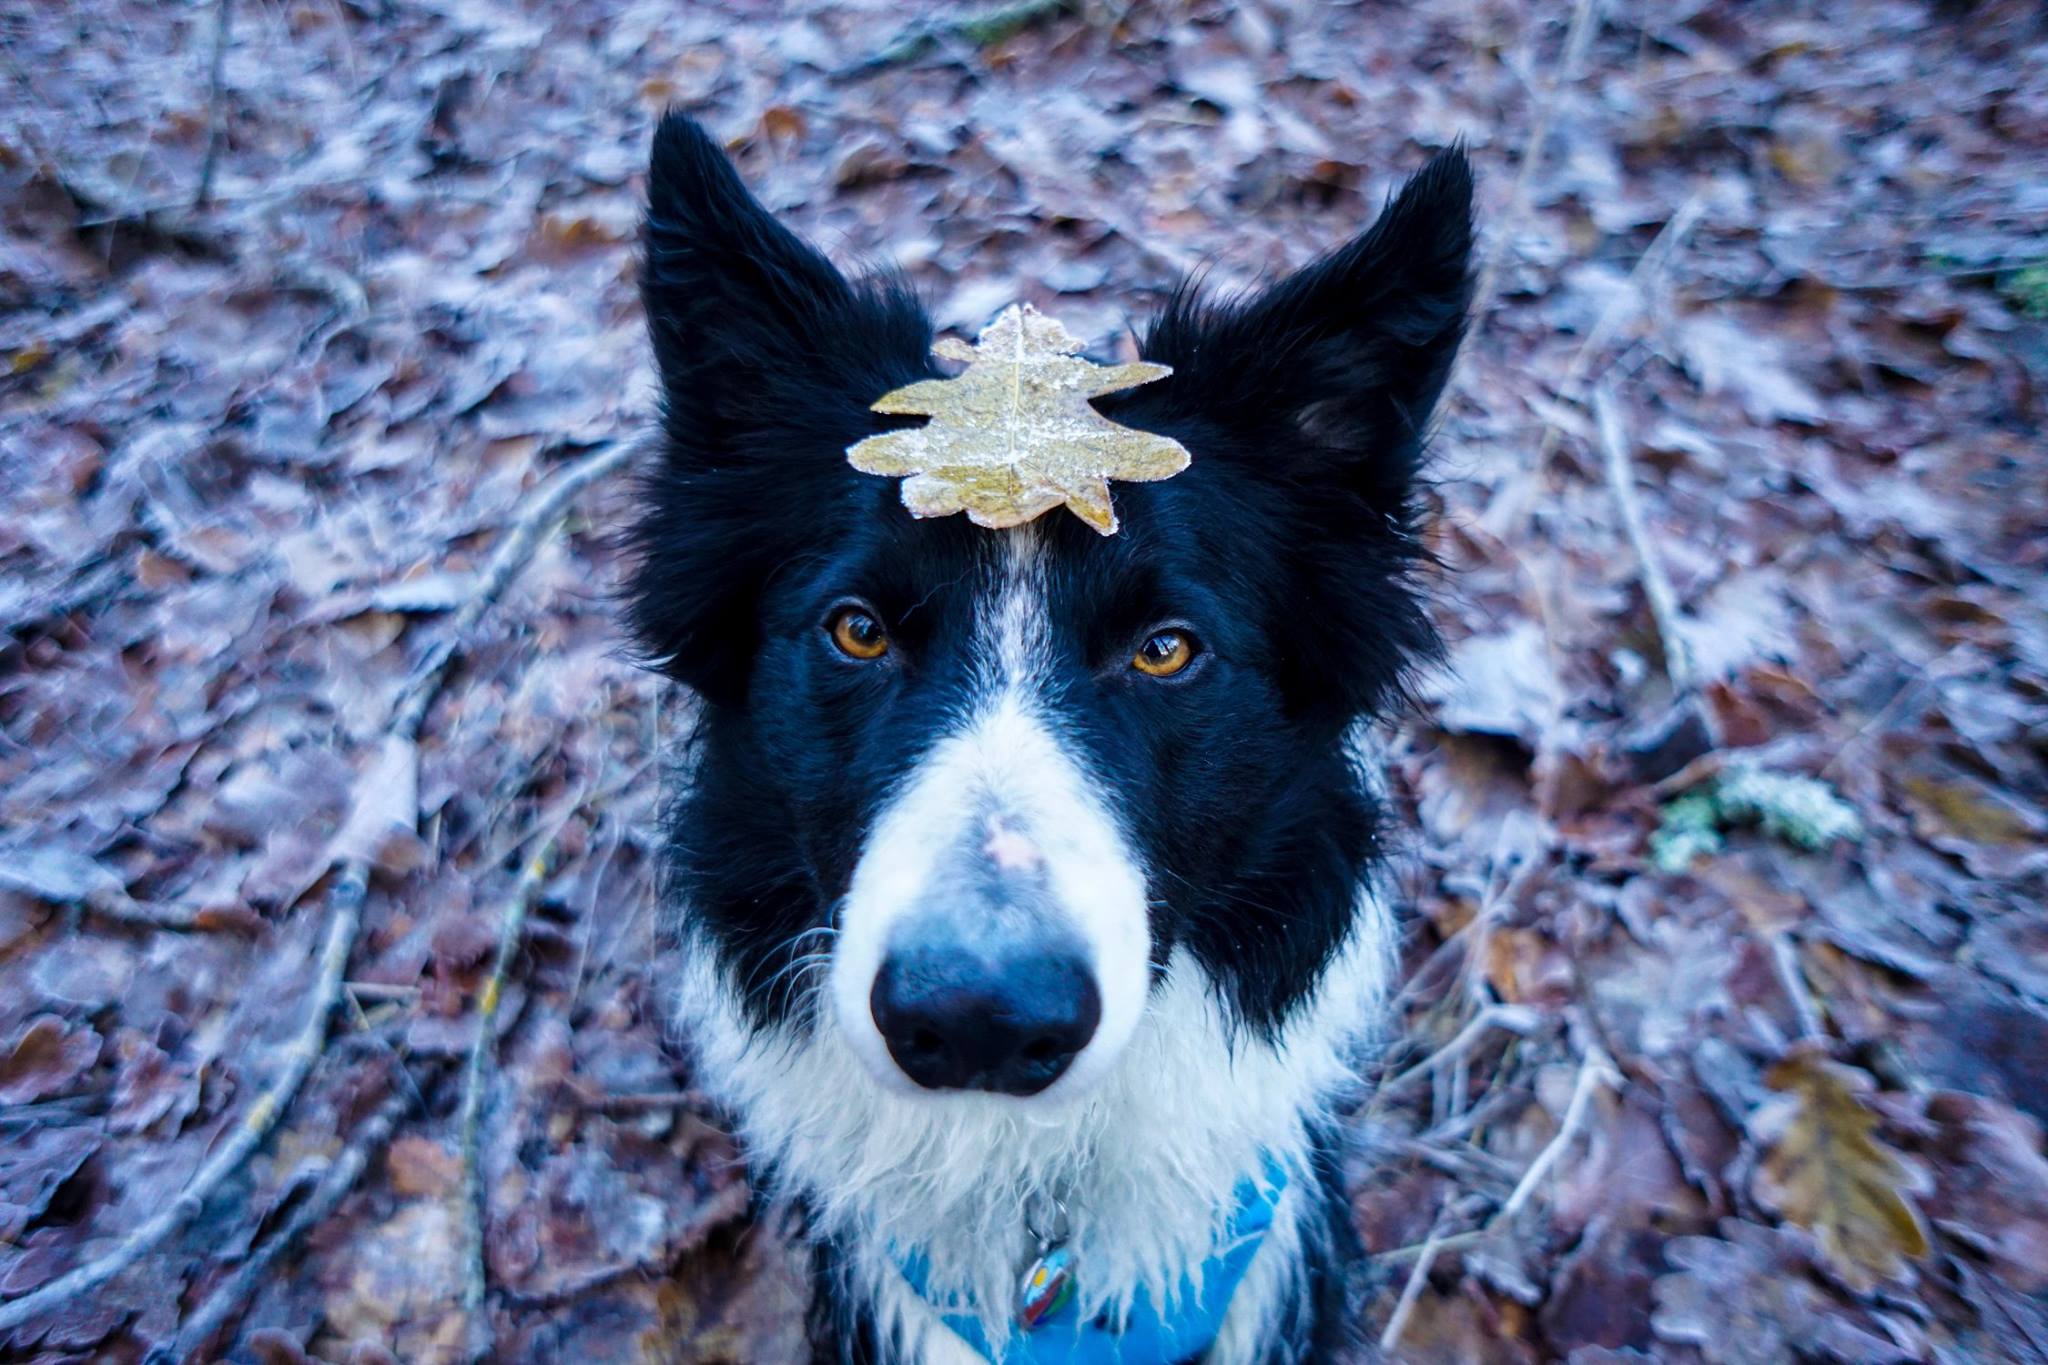
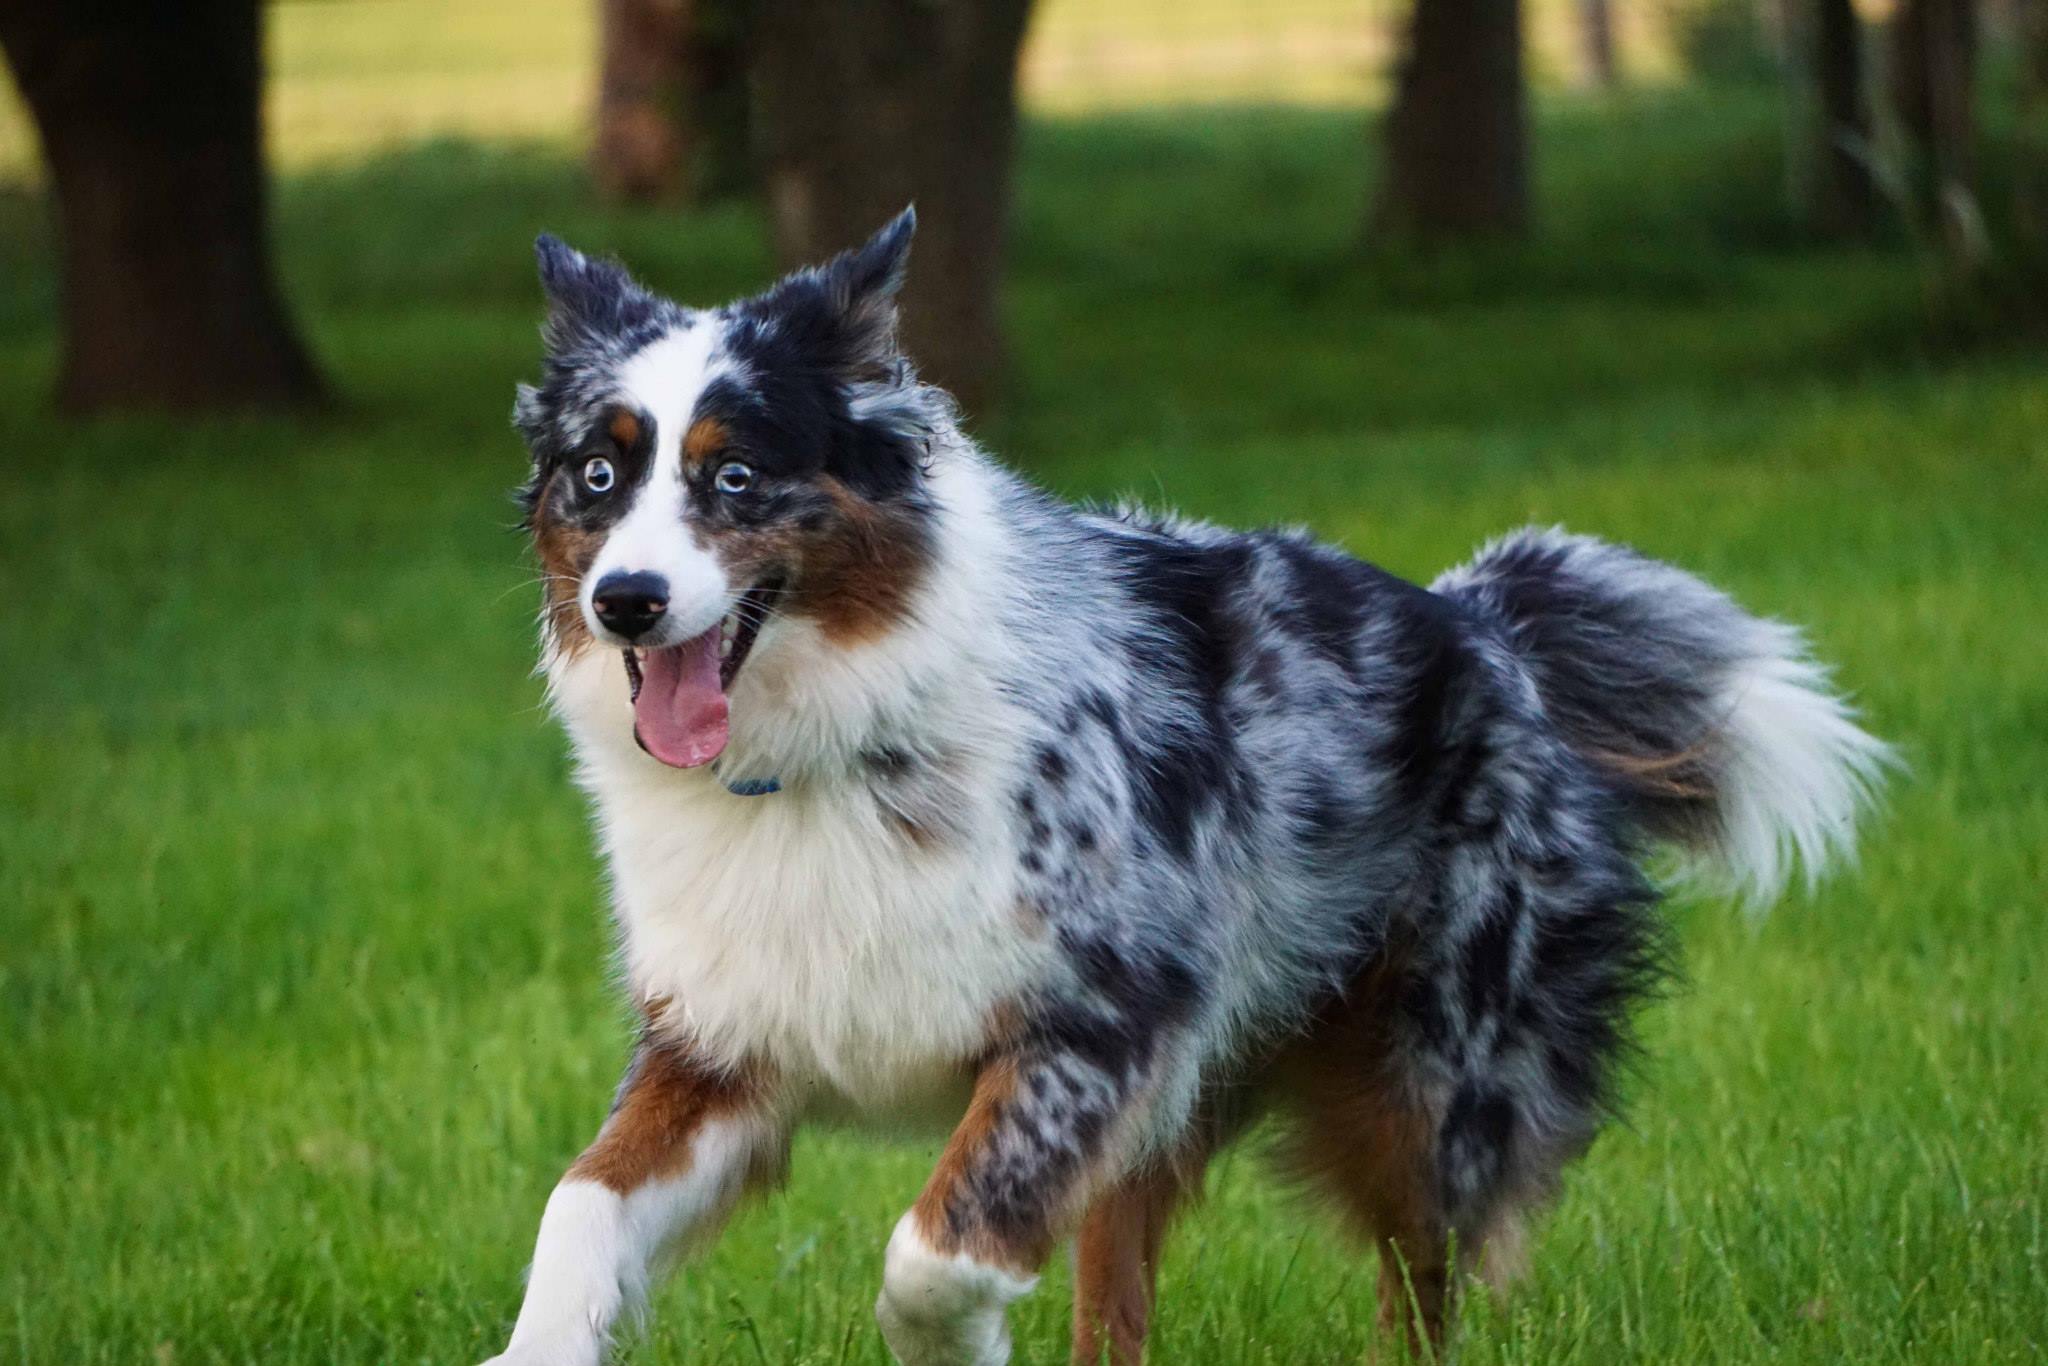
I see many, many blue dogs across social media. Why are they blue? It’s because of the way light bounces on overcast days, and in the shade (when the light source is coming from a blue sky, filtered through trees).
Black dogs especially pick up a lot of blue in their coats. Unless you actually own a smurf, it’s really important to set the white balance to the correct temperature and tint. This is a neutral point between too warm, too cool, and too green/too magenta.
All editing programs and apps (even free ones) have a way to adjust the “temperature” and “tint” of an image. It can take a lot of practise to get the WB correct. Most people tend to naturally make their images too cool, rather than too warm.
You can try turning the saturation all the way up on a black/white/grey dog, and see if the colour of their fur looks blue. If so, you may need to add more warmth!
5. Chopping off paws/legs/tails/ears
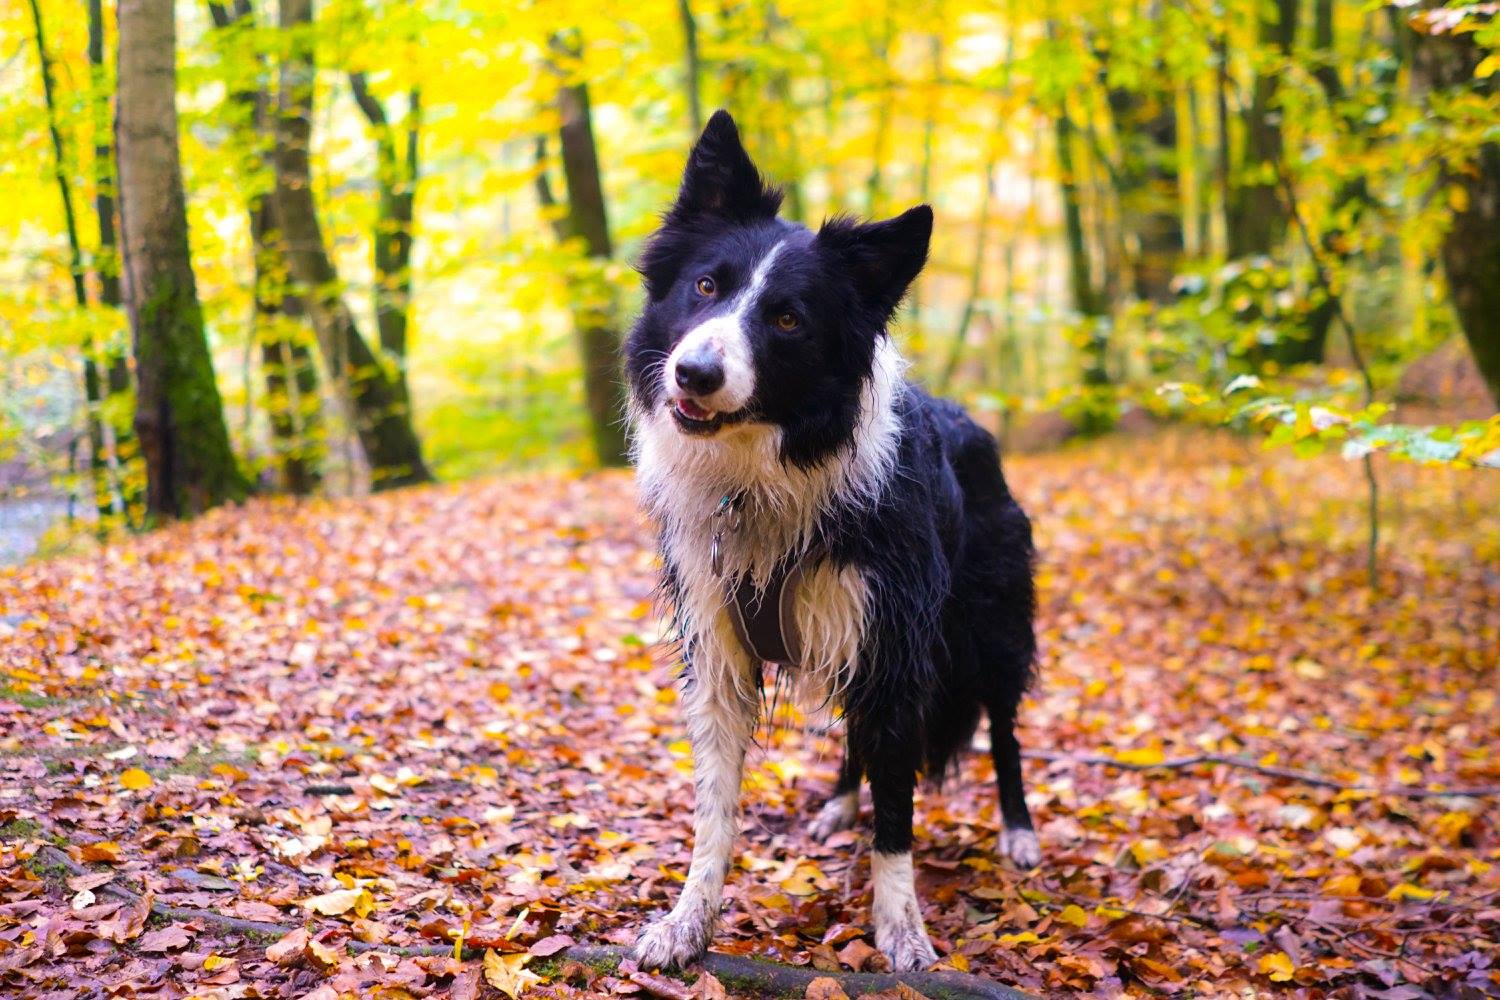
Many new pet photographers and pet parents get so excited about taking a photo of their lovely pet that they don’t stop to check if the whole pet is in the photo! They chop off parts of the dog , making it feel a bit awkward and incomplete.
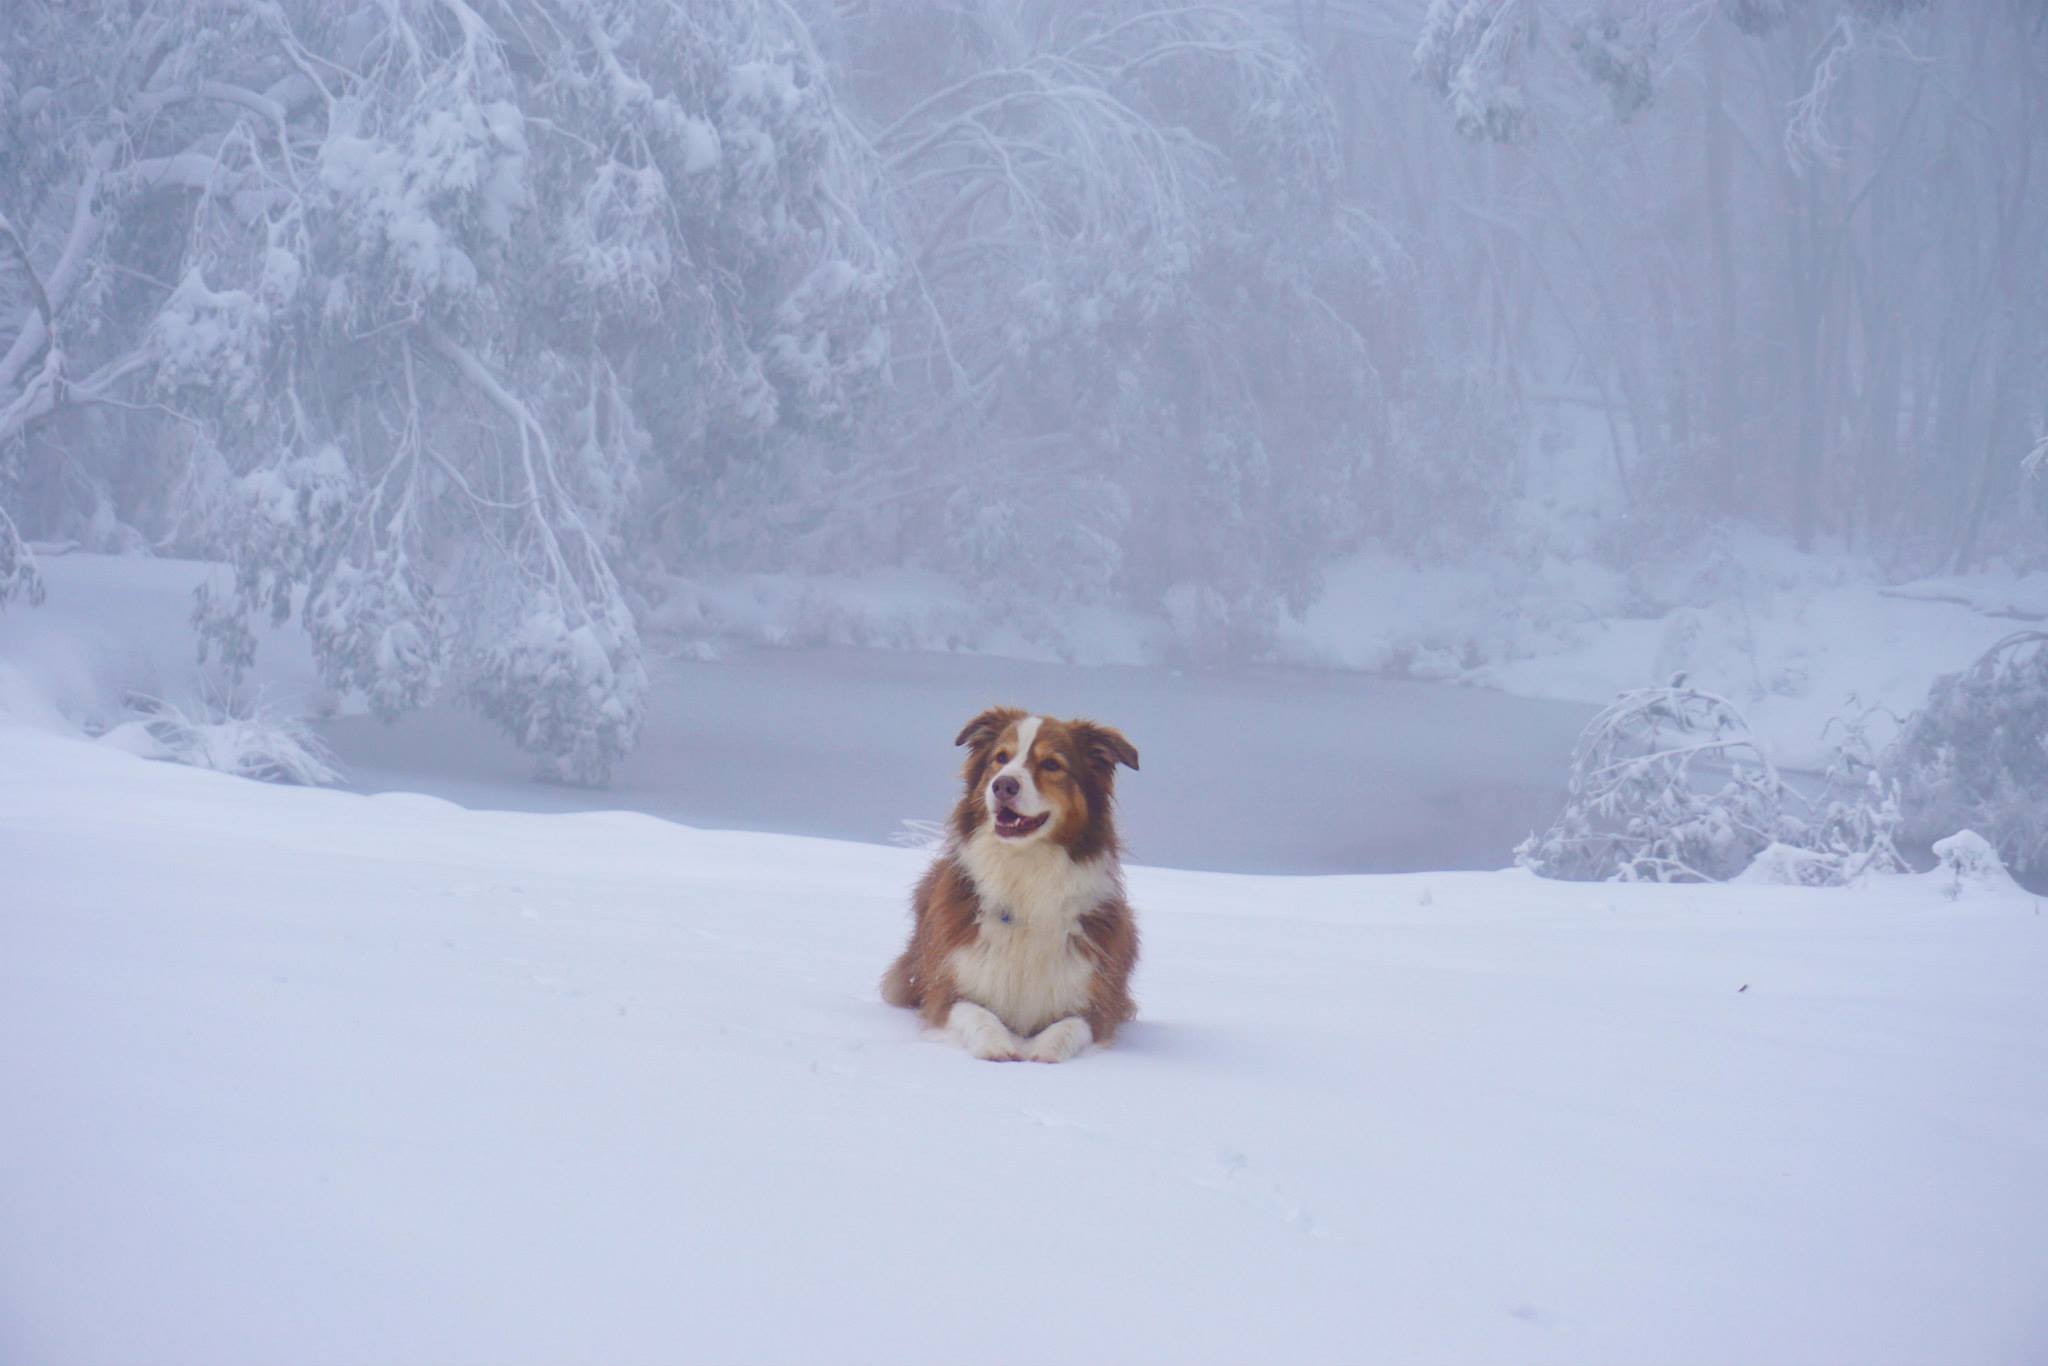
Make sure you leave the whole dog in the photo – even better than not cutting off paws and ears is to give them a bit of space above and below, so they don’t feel “cramped” in the picture.
The exception of course is if you’re taking head and shoulder photos. Then you want to end the photo at around about the widest part of the shoulders, still giving plenty of room above the ears.
6. A lot of saturation. All of it. All the saturation
I think we’ve all been there. We’ve taken a photo that we love, we open it up in our editing program or app with no real idea of what we’re doing, and suddenly it just seems a bit dull compared to the vibrant memory we have of that moment.
So we increase saturation. Because colours = good! Right? Well… not always. One of the big mistakes I see people making is to try and make a photo “pop” by making the colours very strong.
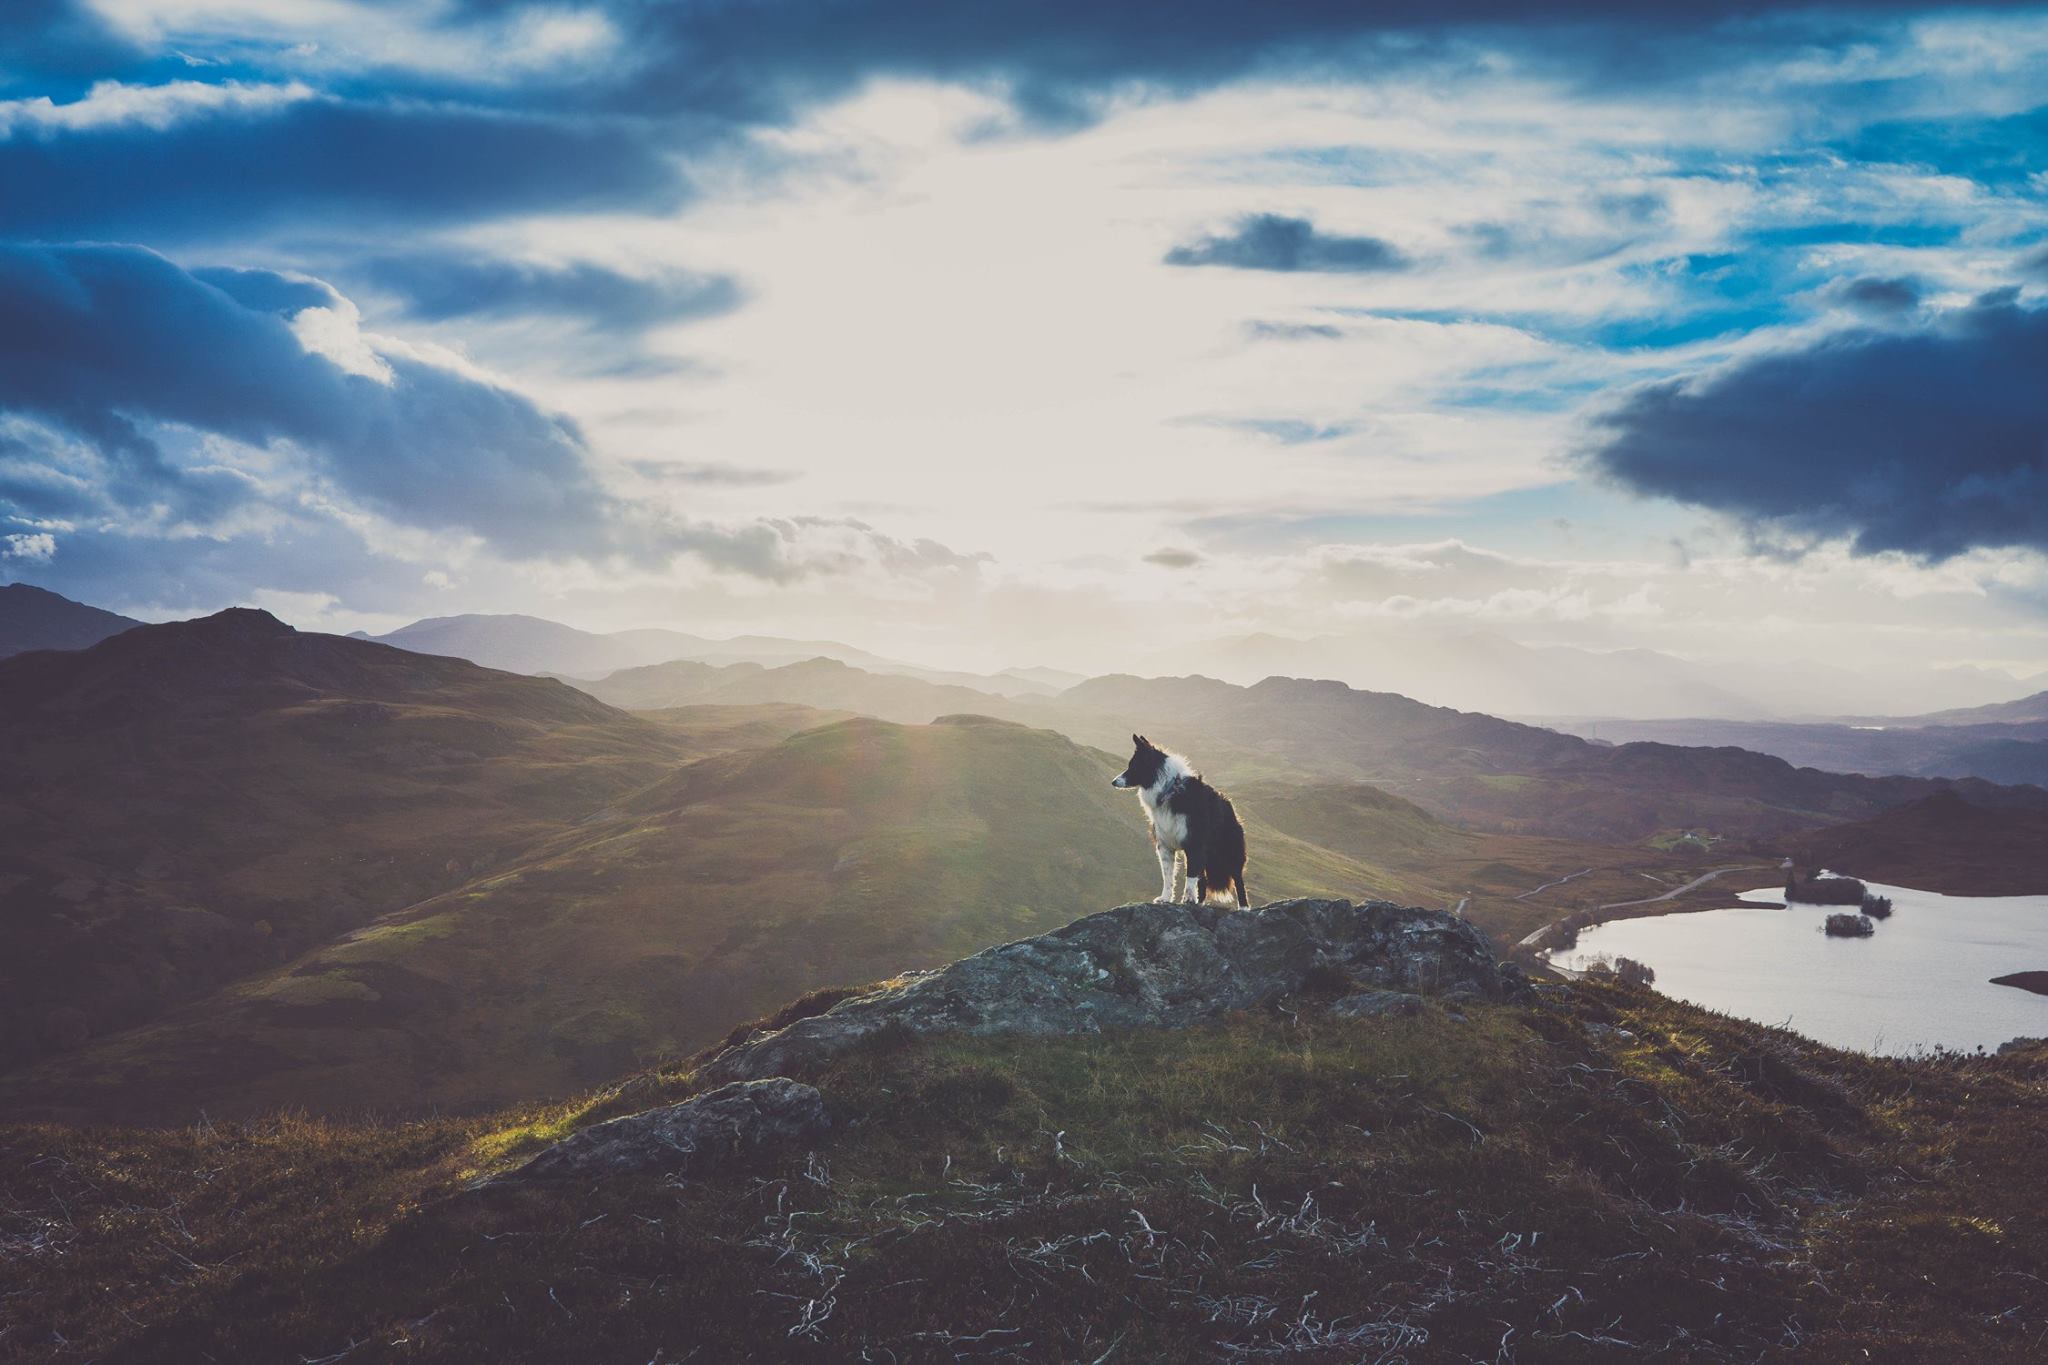
But what this can do is drown the dog in a sea of colour. All we can see is colour. Nothing but fluro greens or insane blues… and somewhere in all that is a dog whose own colours have probably gotten all messed up too. So my advice here is to go easy on the saturation. Most of my images these days actually undergo some DEsaturation (because of the way I edit). In the end, I would rather you be looking at my dog, than the insanely, unnaturally blue sky.
Always Learning...
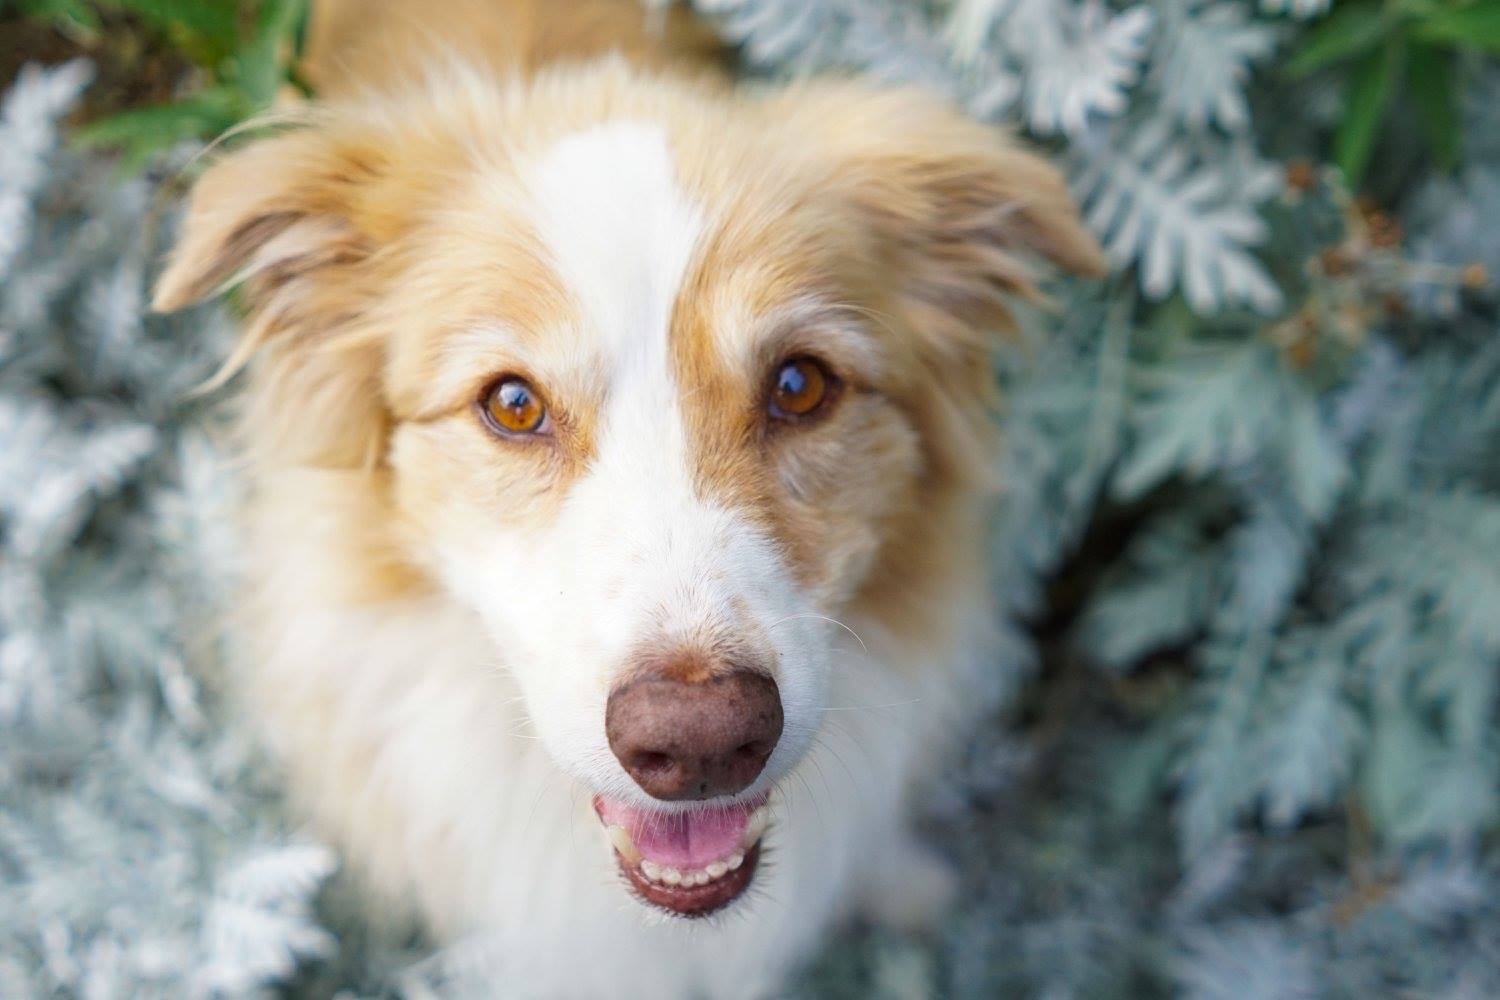
Of course, we’re all always learning, and we have different styles and different preferences, and some people might like more saturation, or photos looking down on the dog from above. This post is not supposed to be about “hard and fast rules” of pet photography, but rather some quick ways you could improve your photos immediately if you’re making some of these mistakes.
If you want to dive right into really improving your photography, make sure you check out my online courses.
Otherwise, make sure you sign up below for my free mini course, and access to a sample lesson.
Get started now with my Top Tips - FREE Mini-Course
Get access to my mini-course with my ten favourite ways that pet owners, pet lovers and anyone with a camera or phone can immediately begin improving their photography, as a free sample lesson from the “Improve Your Pet Photography” course.
Just pop your email address in below for the lessons to be delivered directly to your inbox.

