ArchivesLocation
Trier Suburban Photo Walk
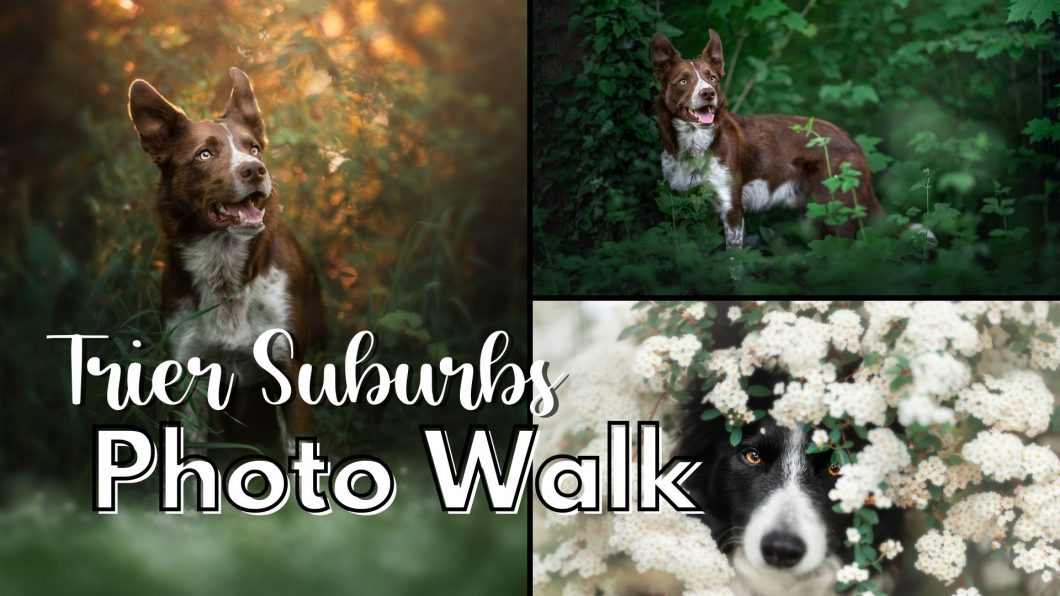
Join me as we go for a walk through some of the suburbs in my town, and I discuss how and why I would (or wouldn’t) choose certain locations along the way.
After each location, I show you all the images I captured in that spot, discuss what I would be looking for, and whether they did (or didn’t) work out.
Photo Walk in our Woods June 2020
This is quite an old video now, from June 2020, but there might still be interesting ideas & things in here!
Photo Walk in Our Woods
In this video, join Loki, Journey and I on a wander around our local woods.
I show you some of my favourite photography spots and why I chose them, or why I might avoid them, what I look for in the background and foreground, and show you some example photos taken in those locations.
I discuss quite a lot about what “type” of background might give you better results, or different moods and effects. We cover this a lot more in the “locations” lesson of the Next Level course.
Gap Between Trees
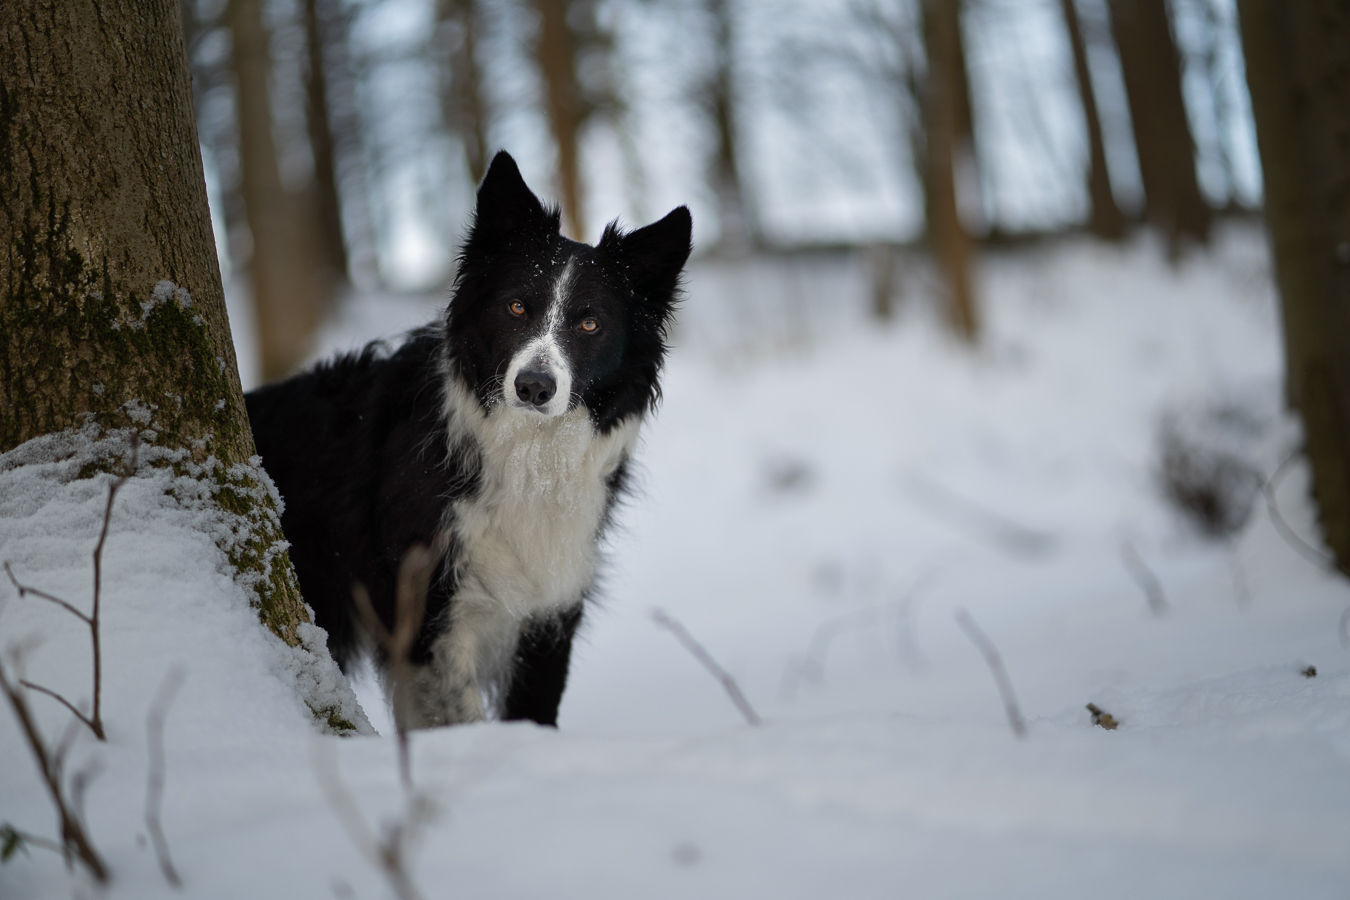
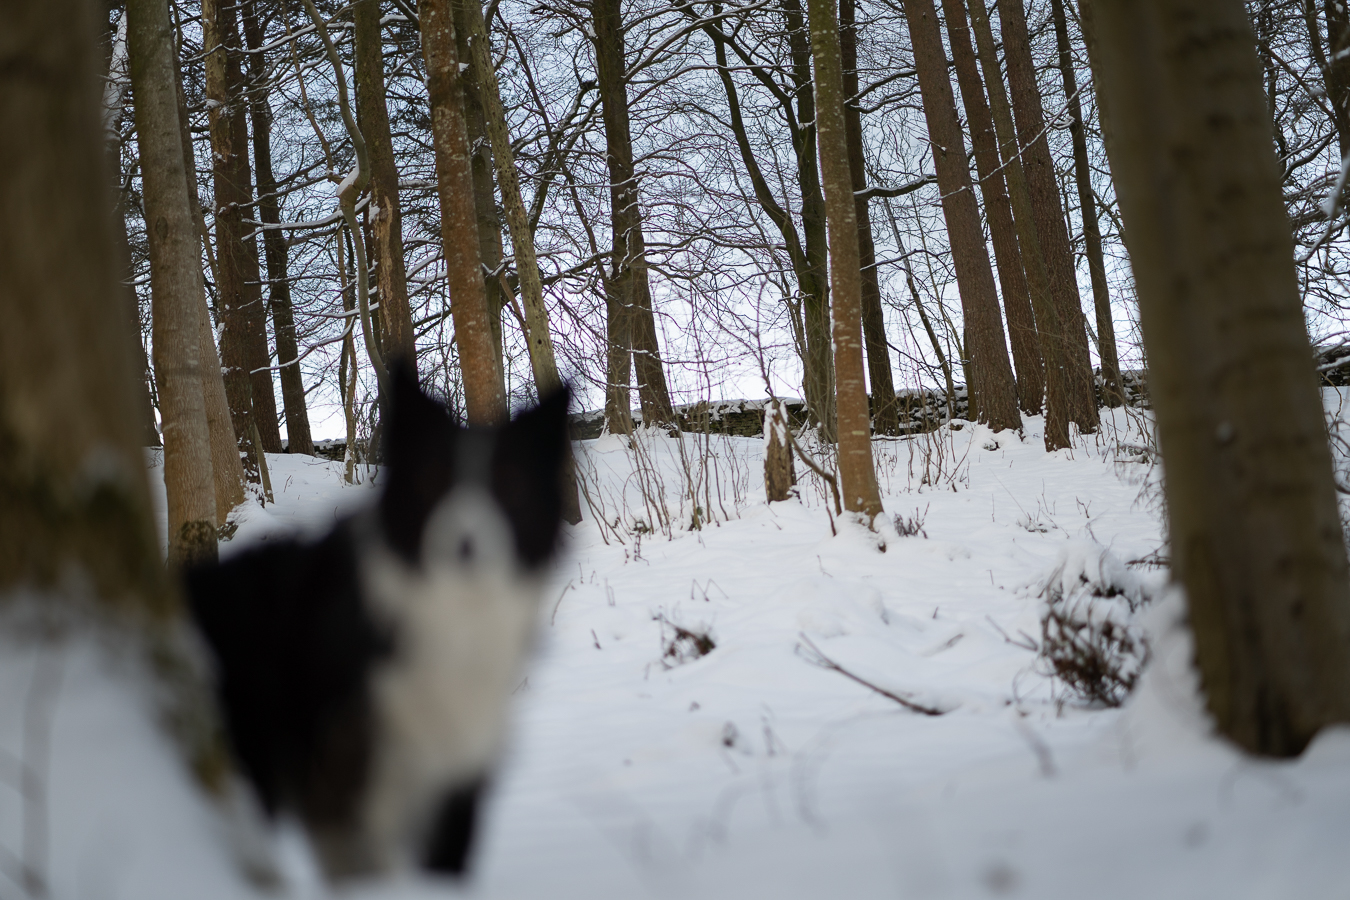
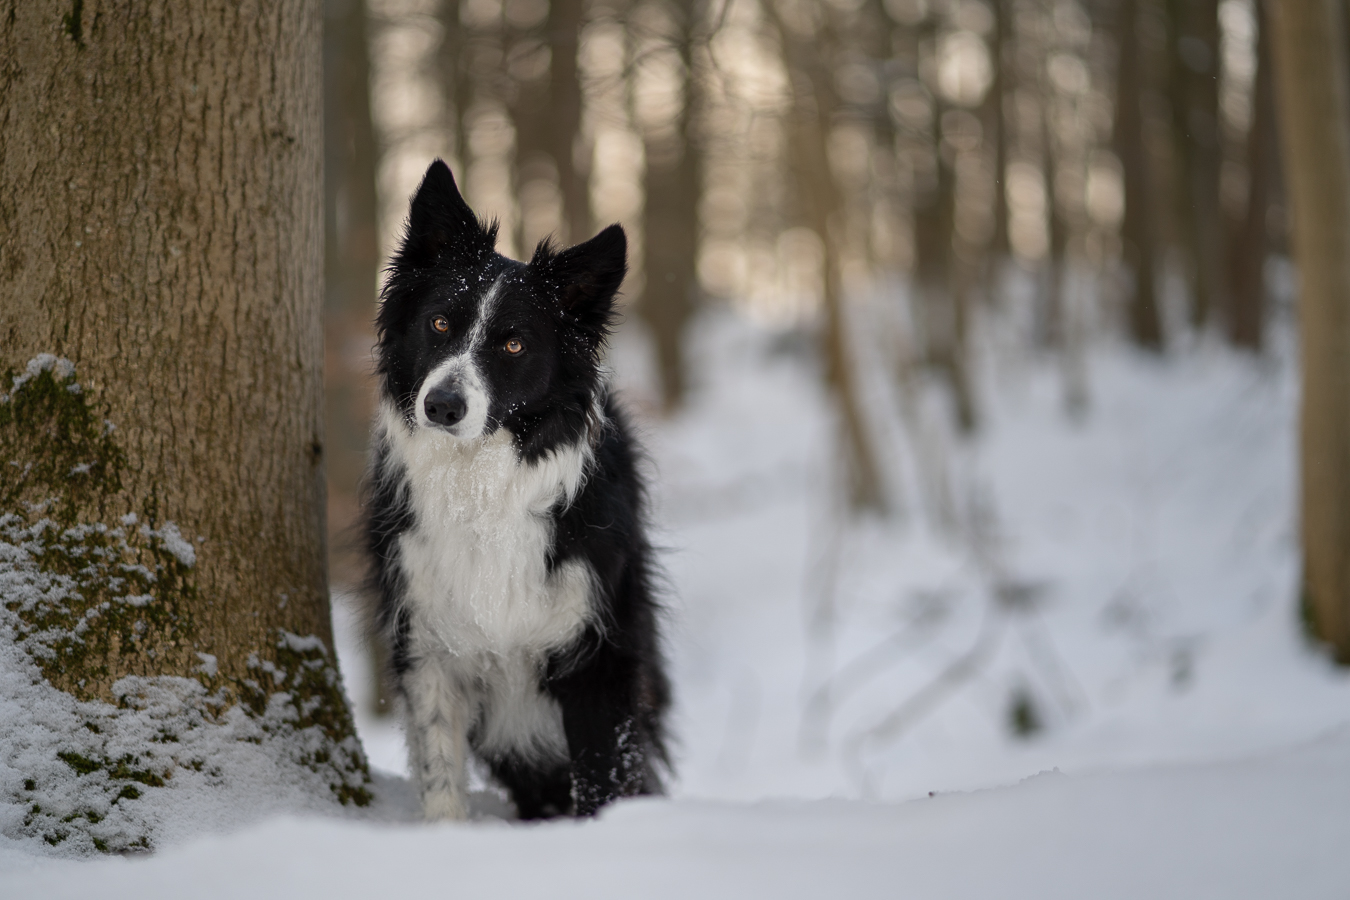
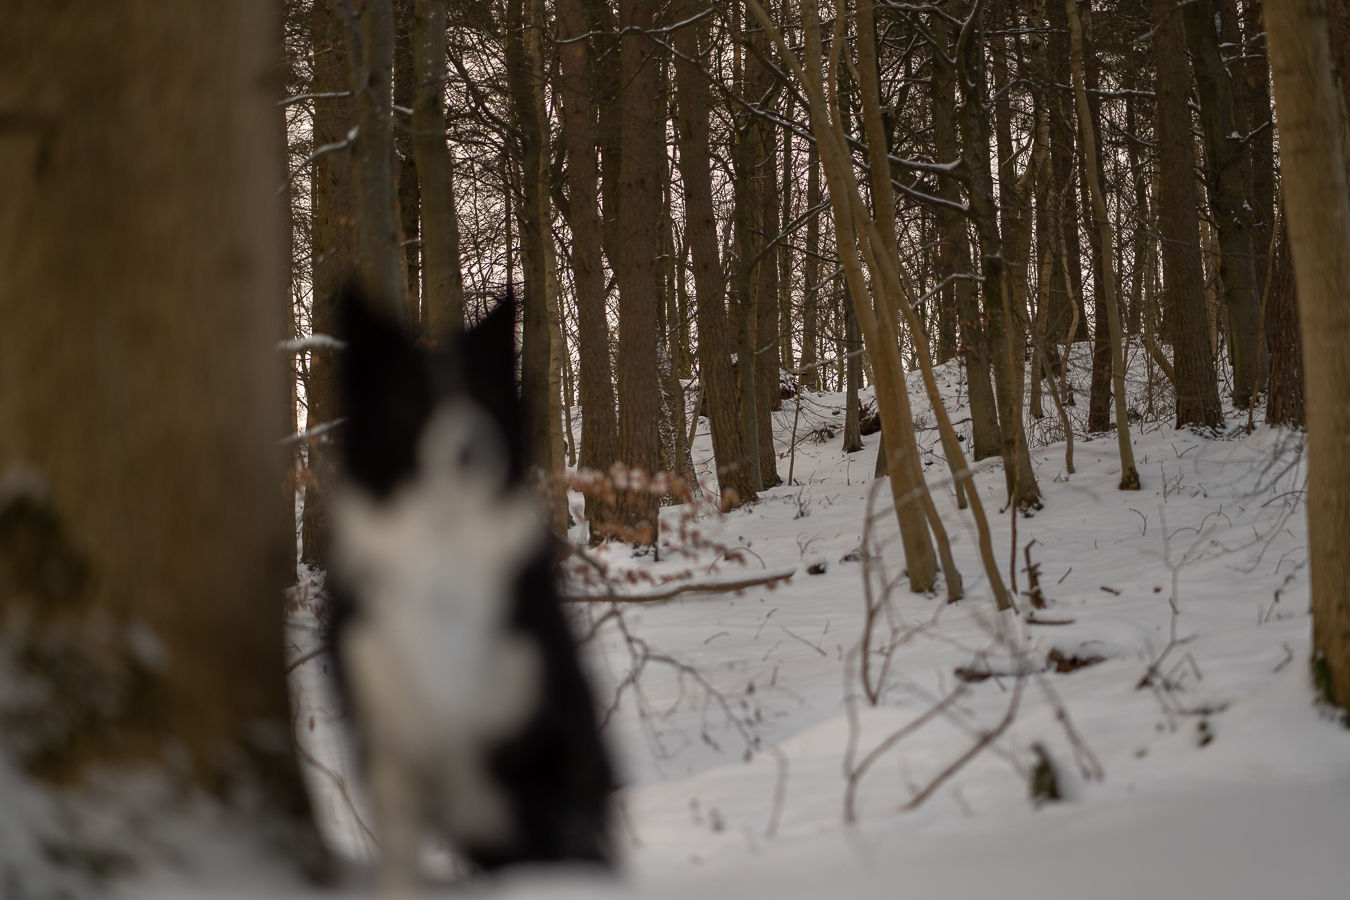
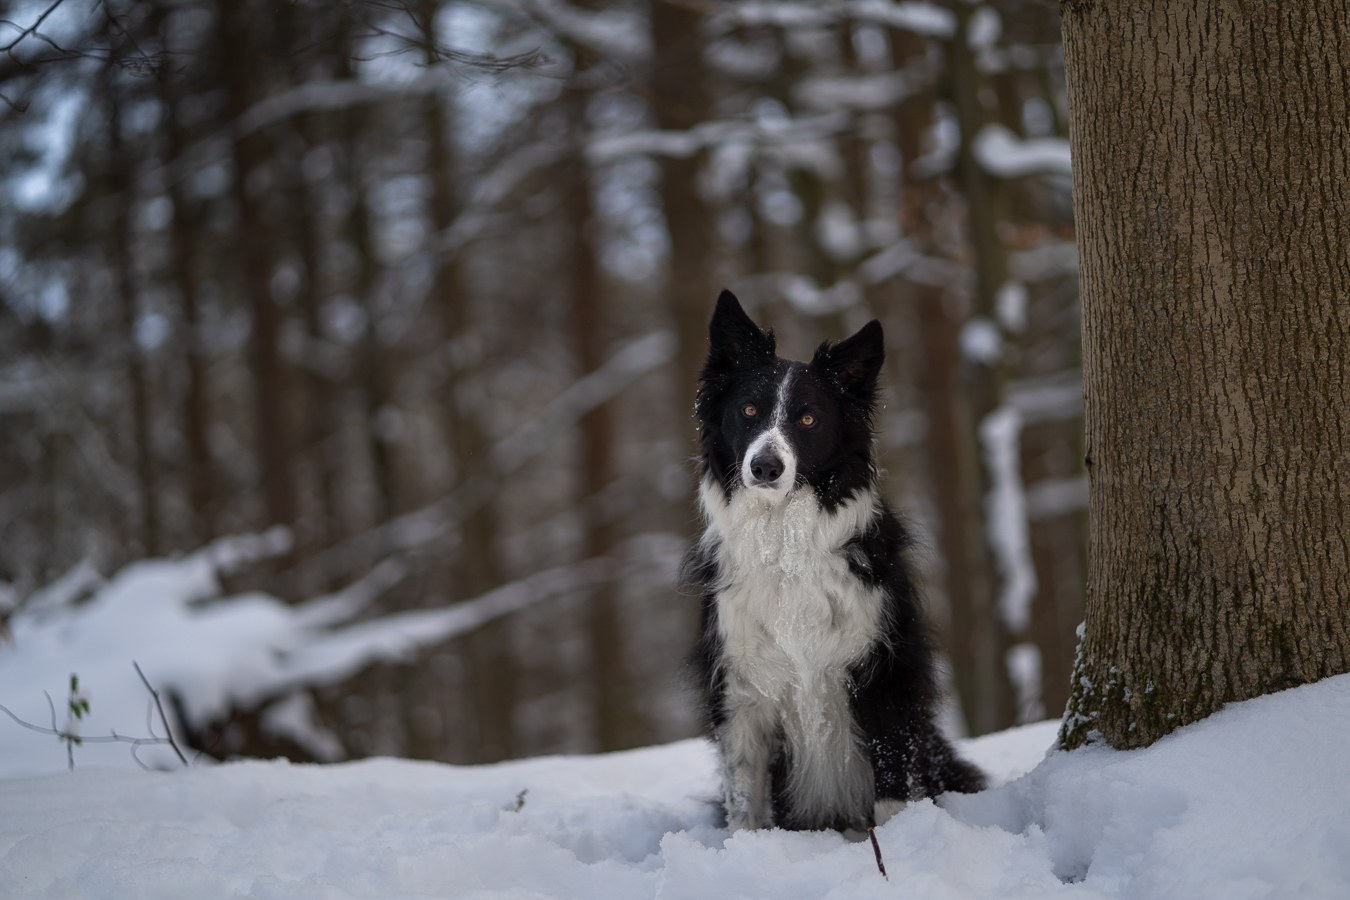
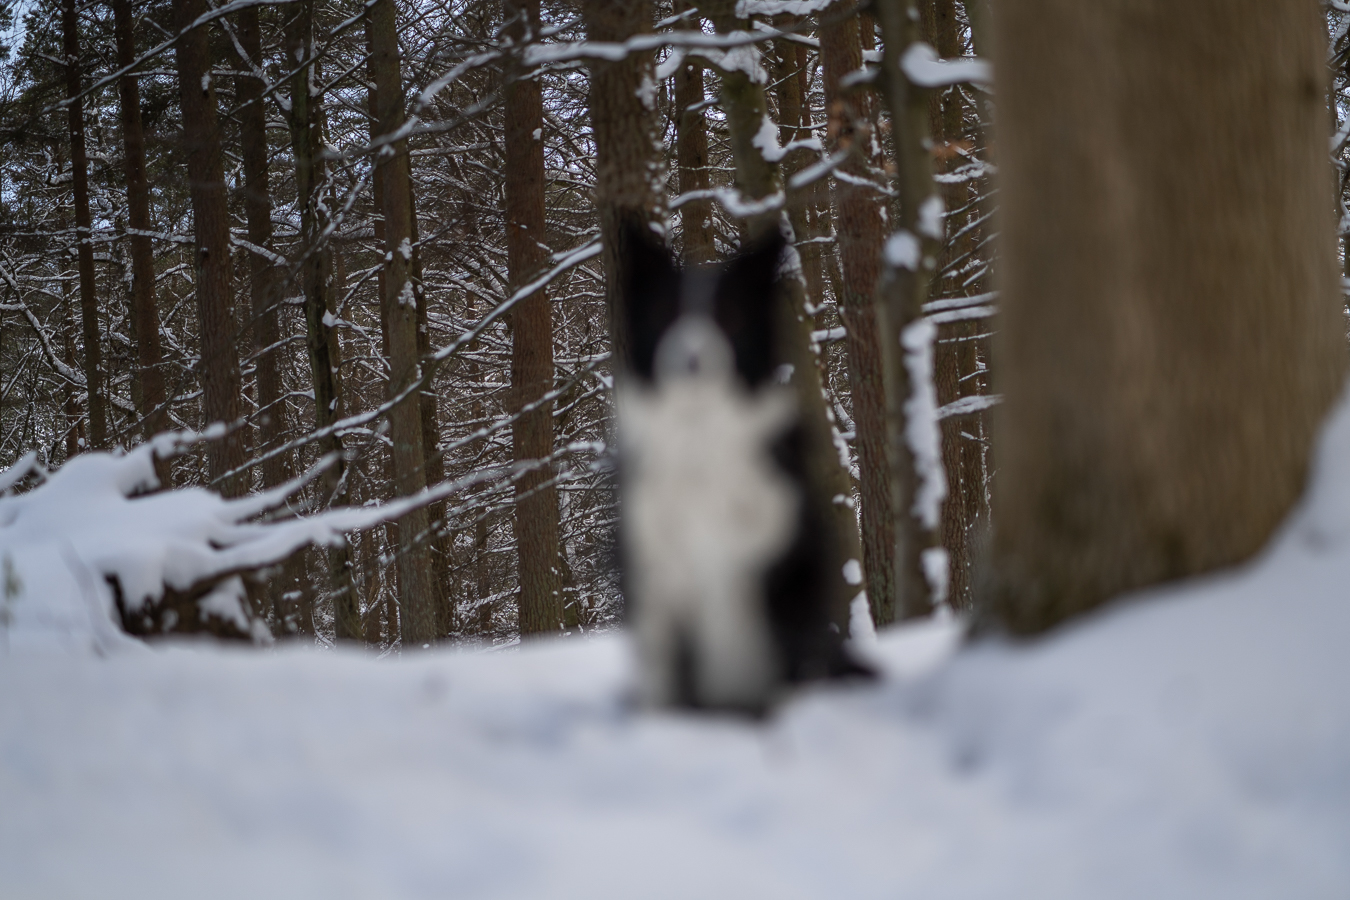
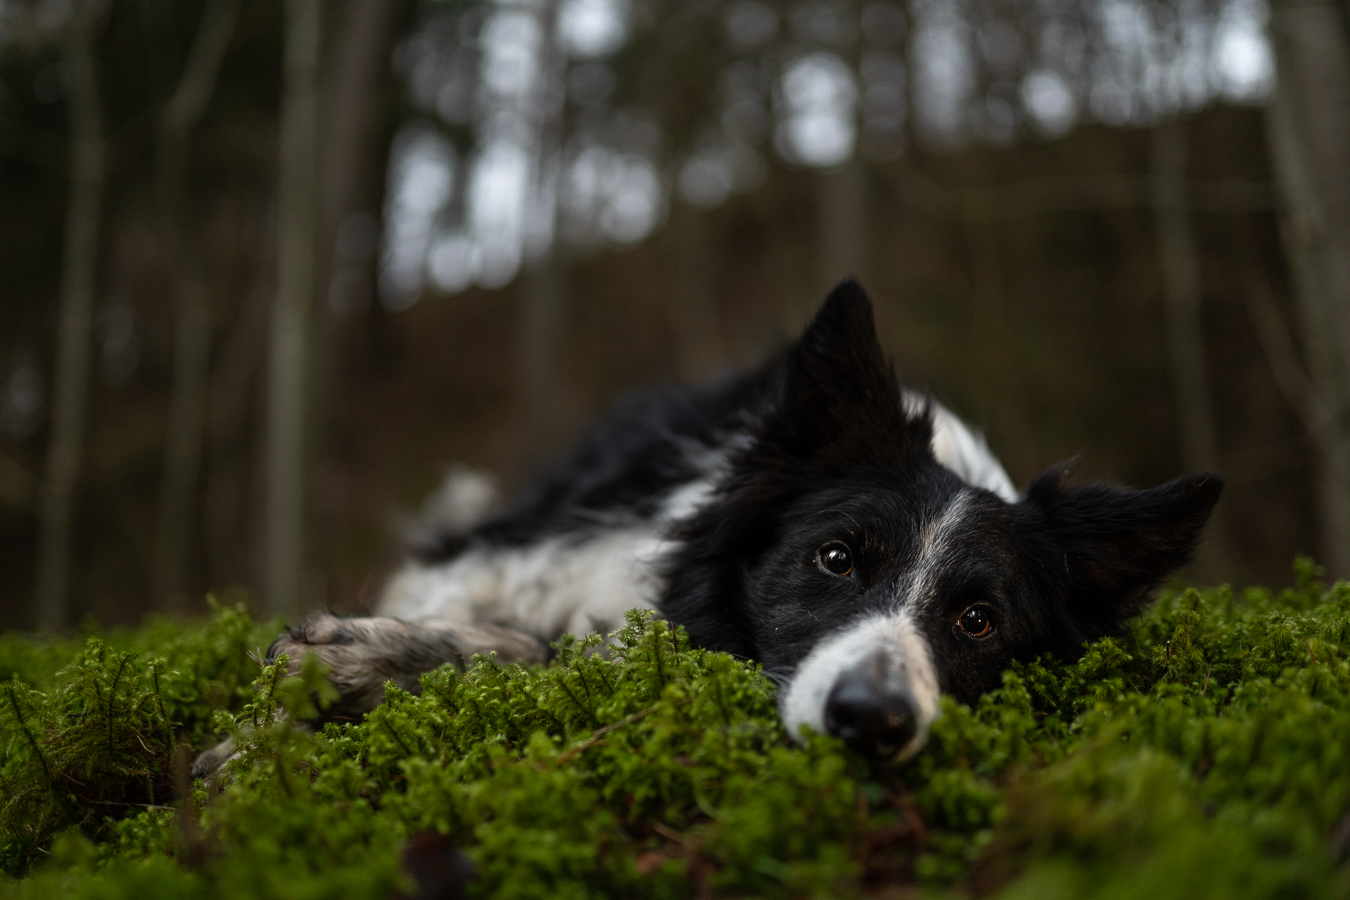
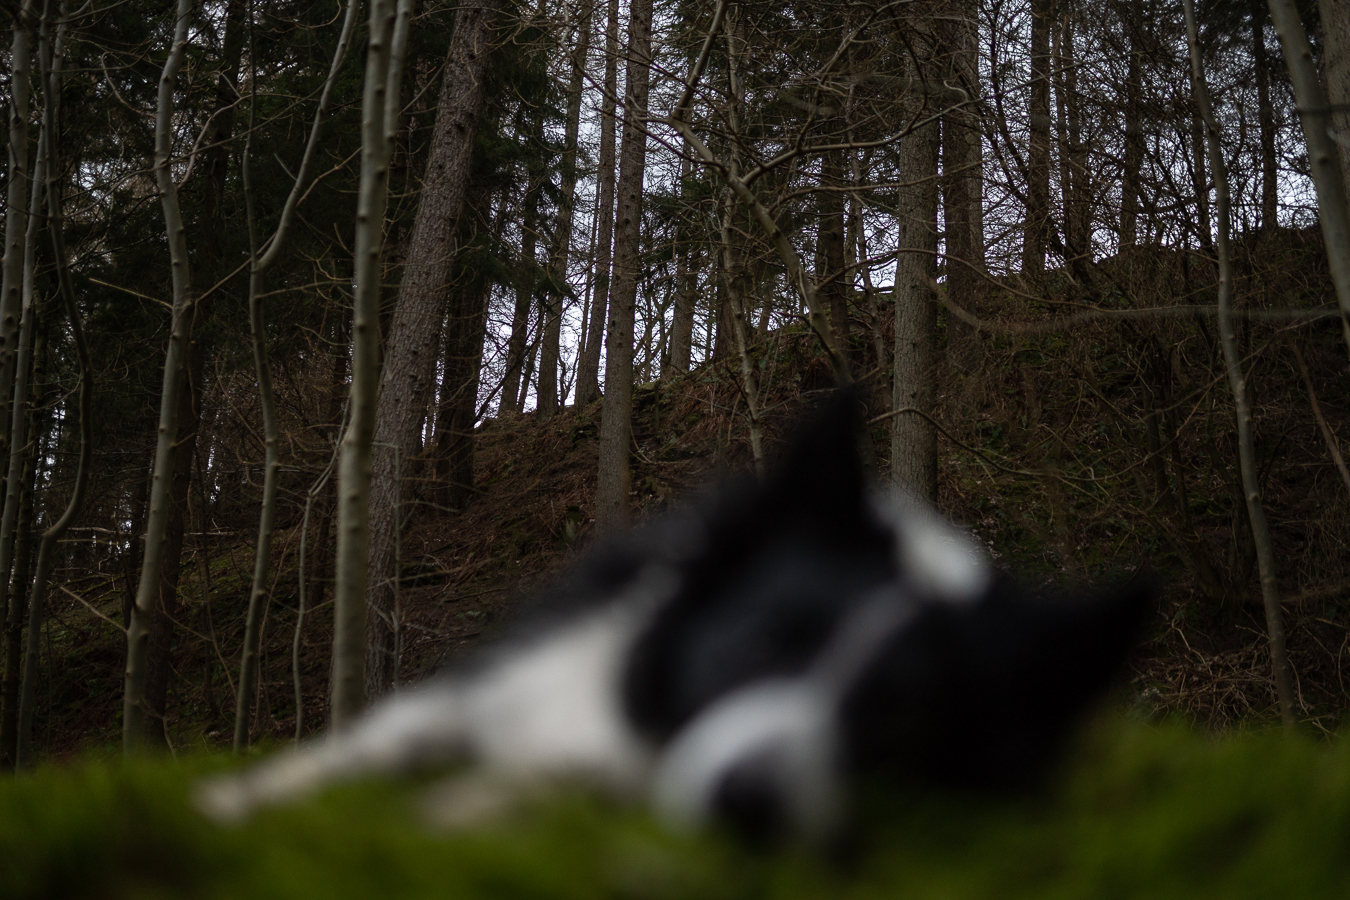
In the video, I discuss quite a lot the difference between wide, narrow, and no gaps between the trees, and areas of open sky. Below, you can see some comparison images – one where the dog is in focus, and one where the background is in focus. I don’t have an “open sky” example at the moment.
These were all taken with my 135mm lens so there is a lot of compression (super blurry background on the in-focus shots), and they aren’t exactly lined up 100% correctly but it’s in the same location so hopefully you get the idea.
The “wide gaps” example isn’t as “bad” as it often is, due to the very fine branches creating a kind of texture between the trees. Without those, they would have been plain white, empty spaces, which isn’t so pretty.
You’ll see these examples discussed more in the Next Level Course.
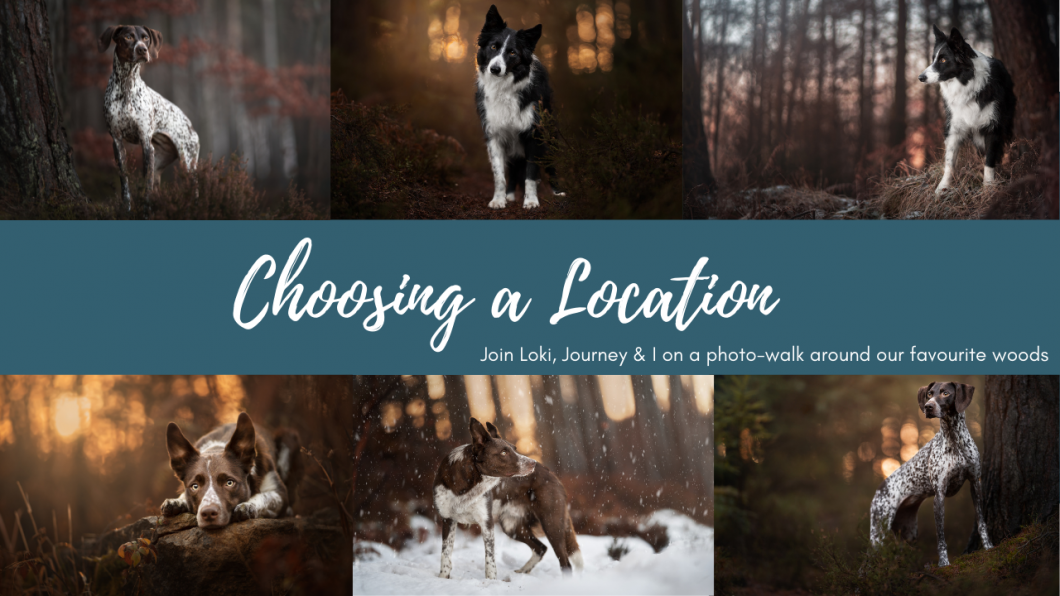
Choosing a Location
Choosing a location must mean you need beautiful settings, fairytale forests, perfect mossy rocks or mountain views, right? There’s no way to get amazing photos without some super special forest!
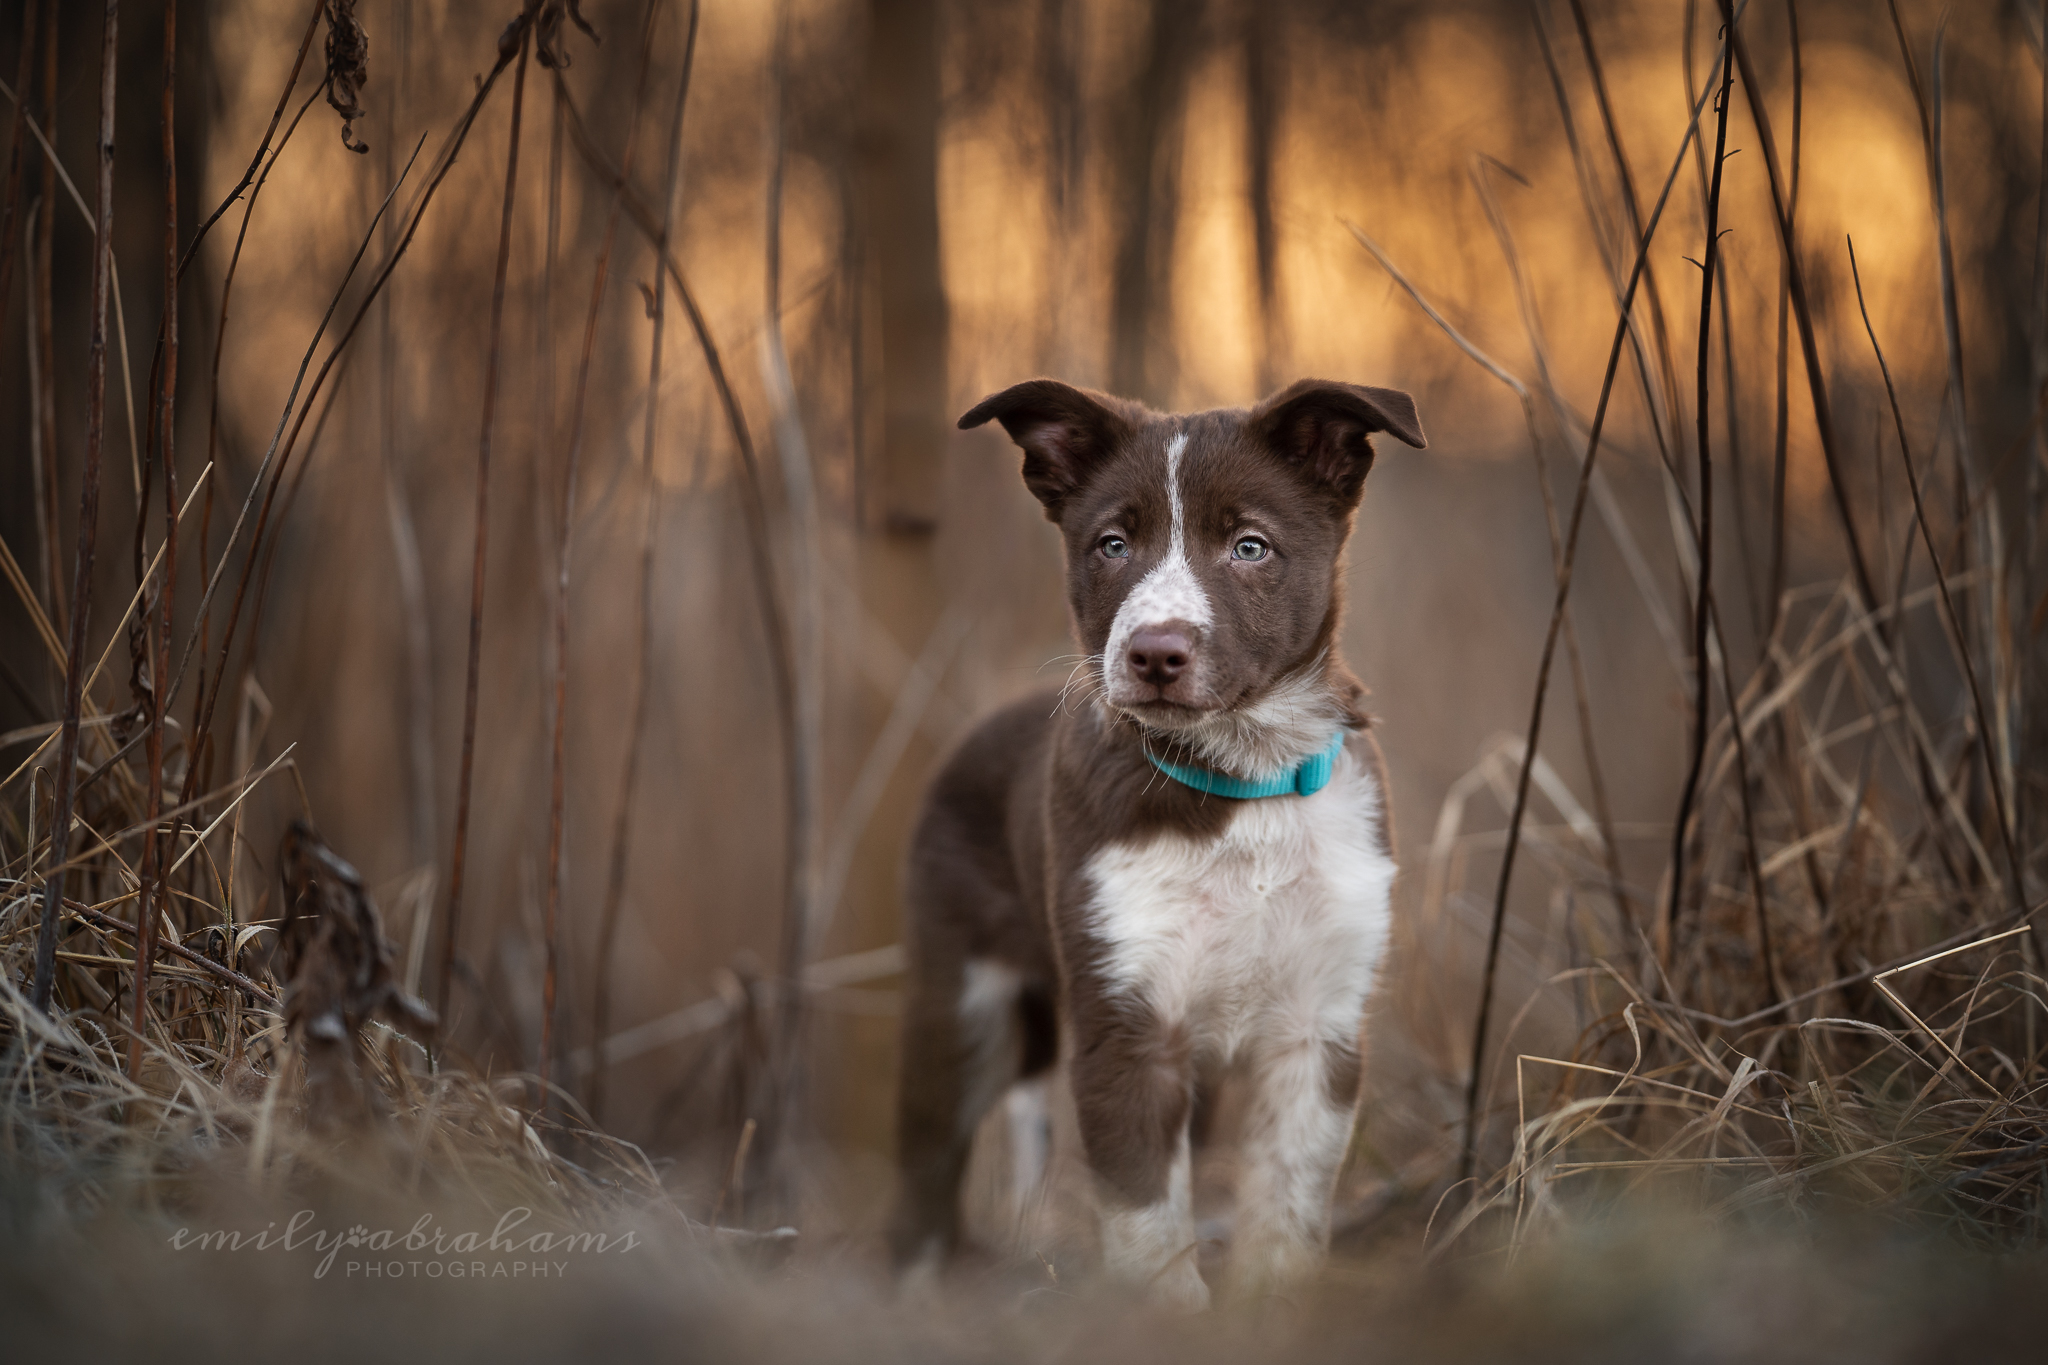
Wrong! With some creativity, you can turn even the most boring, dead grasses in an industrial estate into a beautiful photo. Don’t believe me? Have a look at this…
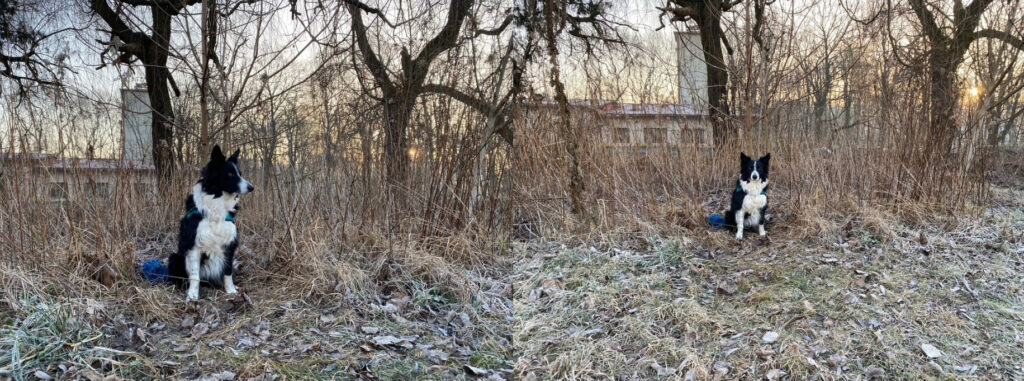
With my camera and lens, this location became…
Things to Consider When Choosing a Location
These are the things I ALWAYS keep in mind when taking photos, no matter the location.
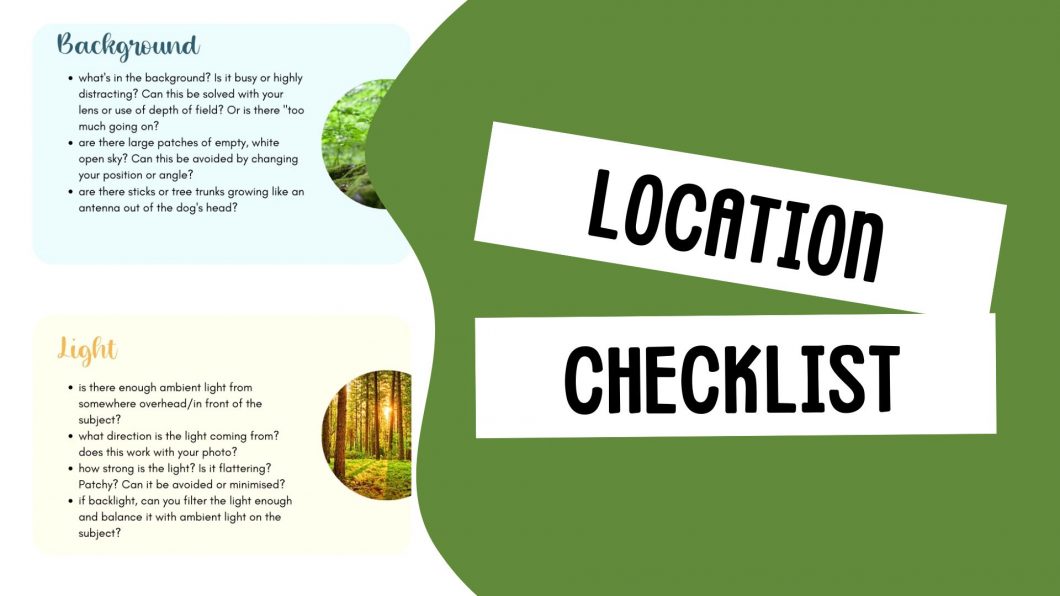
- Purpose of the photo/background. I’ve talked about this in earlier lessons, but why am I taking this photo? Of course it’s to capture a pretty image of my cute dog, but what is in the background? Rubbish bins/trash cans? Something dead/ugly/distracting/busy? A big ugly industrial building? Can those things be hidden by the lens? (For example, a long lens like my 135mm will show only a small amount of the background). Is there a way that you can move to hide the distractions? Always consider your backgrounds and whether it is helping your photo or not. If the background is ugly, busy, or super distracting and can’t be fixed by moving around a bit, I probably won’t use the location.
- Light. Which direction is the light? Is there enough light on the dog’s face? If you’re in the woods, you should try and either be on the edge of the trees, or in a clearing, so there is plenty of light from the sky above. Or, is there too much harsh sunlight?? Or are there patchy areas of dappled sun that are going to make crazy “hotspots” in your photos?
- Visual interest. Related closely to #1, but is there something interesting in the photo to “anchor” the dog in the scene? When I’m looking for visual interest I’m looking for:
- Logs or stumps
- Ferns or foliage with interesting texture
- Moss
- Rocks
- Tree trunks with interesting colour or texture
- The forest floor with interesting colour or texture (leaves, berries, flowers moss)
- Flowers
- Something unusual about the scene (eg., a tunnel of long grass, frost, unusual light through fog, interesting shapes in tree branches or a split tree trunk, a bridge, a snail, etc.) Basically any way I can think of to create something “special” in a scene.
Purpose of the Photo
Have a look at the images below, all taken from pexels.com, and think about what in the scene/background may be detracting from it being a high-quality photo. Click on the images to view them larger
This isn’t to say you can’t take photos of your dog next time they’re looking cute! But can you move to one side or another to slightly change the angle of the photo? Can you wait for the distraction to pass by? Can you move the dog a bit to put them in a better position?
See The Background The Way Your Camera Will
Being able to see the scene the way your camera does is a skill that takes a while to learn! We’re used to using our phones, which show more or less the world as we see it, unless we use portrait mode, in which case the whole background just goes soft.
But this isn’t exactly the same as using a camera and a lens, and there can be a bit of a steep learning curve as you get used to how your camera transforms the backgrounds of your scene.
One trick you can try, if you’re out walking and wondering if a background will look good with your camera, is to try it with your phone first! (And I write this because I know many DSLRs are big and bulky and we don’t want to carry them all around “just incase”, and since we mightn’t know what we’re looking for, we inevitably never bring them at all!)
Find your location. Take out your phone, on normal camera mode. Hold up your hand or finger VERY close to the lens – as close as it can go and be in focus. This will force your phone’s camera to narrow the depth of field so it can focus on your finger. The background will then blur in a MUCH more correct and realistic way, like your camera would!
Now, your phone’s lens is pretty wide, so if you have a longer lens, the background will be more compressed (like everything has been pulled forward, so you’ll see less of it). Also, if your lens only has a narrow minimum aperture (eg., f/4.5,) you might not get quite as much blur, depending how far away the background is, how close the subject is, etc.
If you’re using a phone or wider angle lens, be really conscious of areas of white open sky between the trees, or at the edge of the tree-line. Empty white blobs are often quite bright, and our eye is drawn to the brightest part of an image… so if your photo has some big white blobs in it, guess where our eye is going to go?
Yep, to those areas of open sky.
For my photos in my style, I tend to avoid areas where there are large open gaps between trees in the background as these make empty white blobs that I don’t personally like in my photos. This isn’t a “be all and end all” and shouldn’t deter you from taking a photo in that location if it’s special for other reasons, but it is worth being aware of!
Landscape photos are a completely different story, and will likely include the sky!
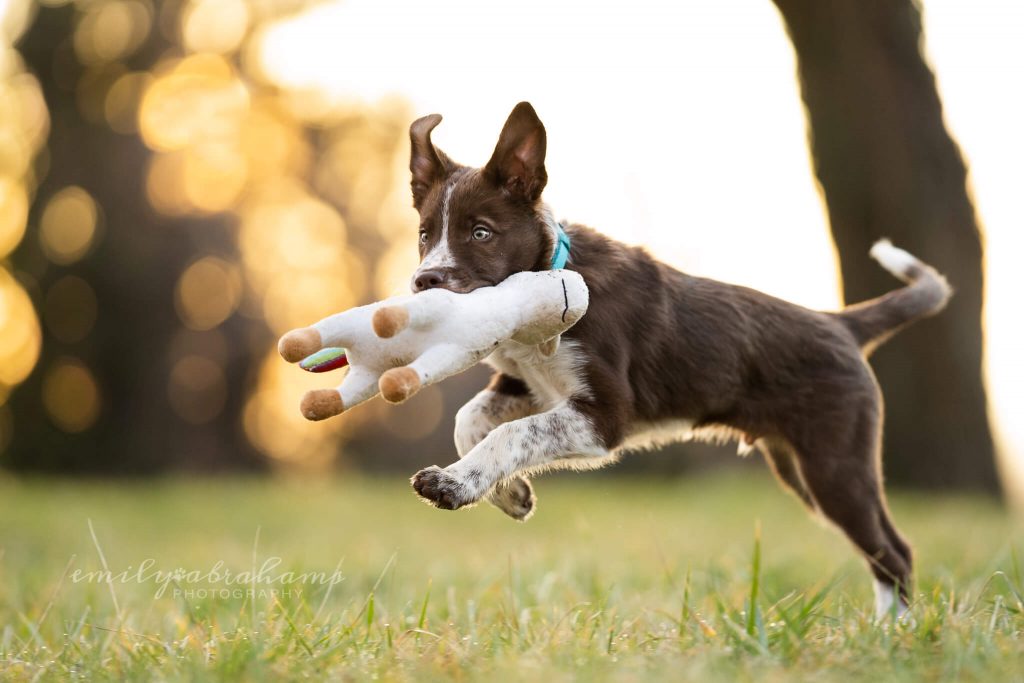
Visual interest
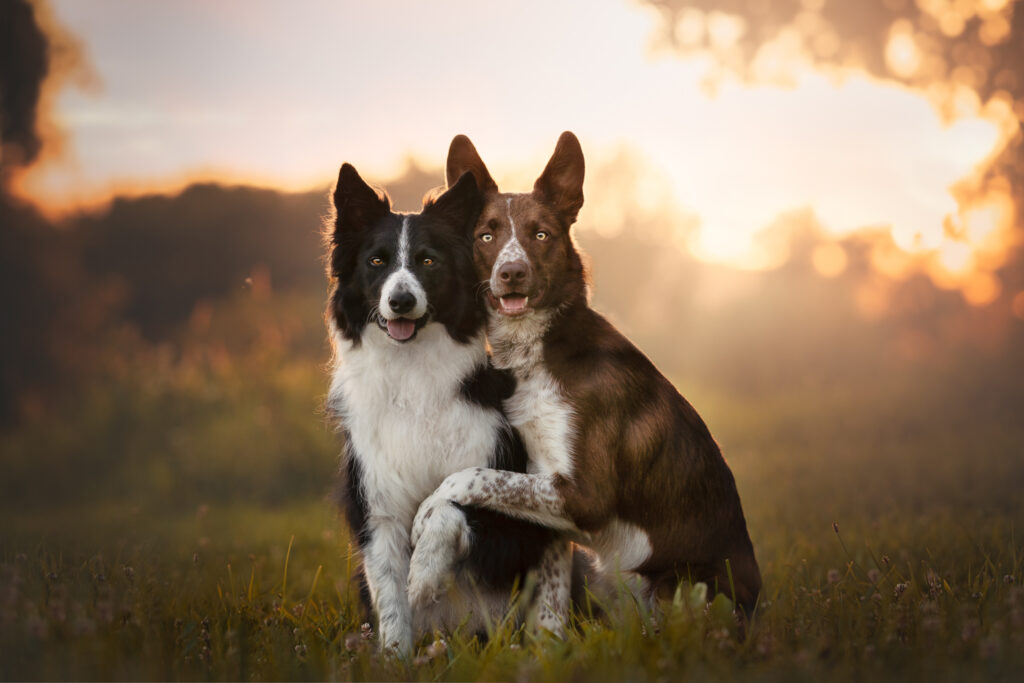
Is there something interesting in the scene? A reason for taking the photo (other than including your cute subject)?
Is that thing very busy, detailed, or distracting?
By including a foreground & background we can give our photos a sense of depth. We want to try and include a background (ideally one that isn’t too busy or distracting), and a foreground (maybe some kind of foliage or out of focus grass or similar).
Is the visual interest helping, or hindering your photo? Is it going to take attention away from the dog, or is it going to help place the dog in the scene?
You may have to try, experiment, fail, try again, many, many times before you begin to see how your camera sees. This is really normal. Learn from the process. If one time your scene was too busy from a lot of long grasses, do some gardening before you begin the next time. If one time the image was a bit “meh” because there was nothing of visual interest, try and find something the next time!
Remember: light, purpose, visual interest
Below are some examples of photos I’ve taken with my iphone of the location, and how they came out in camera. What can you notice about them? What elements of visual interest have I included?
The images below were all taken for a challenge I ran on instagram, to see how much variety could be achieved within a 10 meter diameter area. I made sure to keep my area very small, to see how far I could stretch my creativity. You do NOT need a huge forest to find good locations. You just need to stick to the above principals!
These were all shot with a 135mm lens, an 85mm lens, or for the image looking down on Loki, with a 28-75mm lens

Image #1
This was at the base of the tree Loki was standing beside, but on the opposite side, lower down, and having the light behind Journey, instead of in front of him. And of course my leafy boi is holding a leaf. Cute little ferns curl over him to embrace him within the photo, and again, the tree as a side frame.
Below you will see some more examples of images taken with my phone, to show the location, and then what I captured in camera. These were all taken on a short, 10 min walk, at a little secret patch of woods near my house.
Again, be noticing the foreground and background, try and analyse the light, and what elements of visual interest I’ve included. The last group of photos were all backlight. These were taken on an overcast day.
As a new photographer you may think taking photos on railway tracks, even dead ones, is a good way to get “leading lines” toward your dog.
This blog post from Lawtog explains why it’s a bad idea. Please don’t do it. There’s a hundred other more creative, less cliche ways of using leading lines in your photography.

