ArchivesLivestream

Forest Sheltie

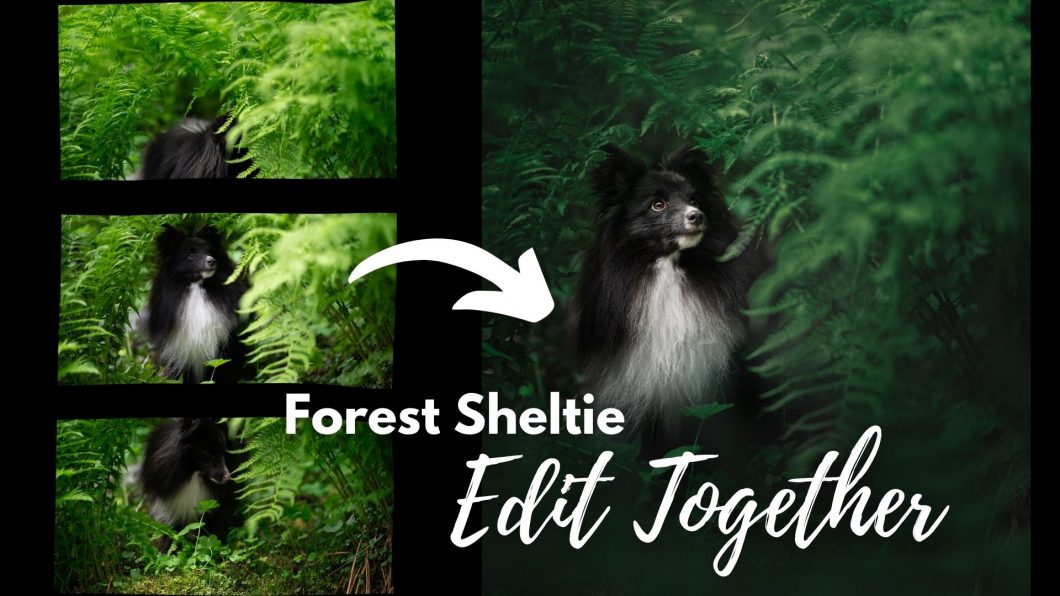
In this tutorial, we combine 3 RAW file images to create one panorama, giving Petrie enough room below his feet and space above his head for him to look into. We also use a fern overlay for some foreground blur/to add a bit more depth. You can find the files in the download folder.

This is one of those images that I came back to later in Lightroom and made some reasonable changes to, from the point where we finish the tutorial.

Namely:

  • darkening the bright green branches that had been bothering me the whole time (lower highlights and exposure)
  • lower exposure a LOT around the outside of him, not including his looking direction (so a 3/4 vignette, I guess). I lowered exposure by -1.5 😱 and raised blacks +6. 
  • added +20 contrast to his face
  • removed some green colour cast from the top of his head and the camera-right side of his snout
  • lowered highlights on his white chest a little bit more
  • in the HSL panel, Hue: green +17, Sat: greens -30, luminosity: greens -25

Yess I could have achieved the same effects in PS but I couldn’t be bothered opening it there again when I knew LR could do the job I wanted anyway. 

Below: Before / After the Tutorial / After my LR edits

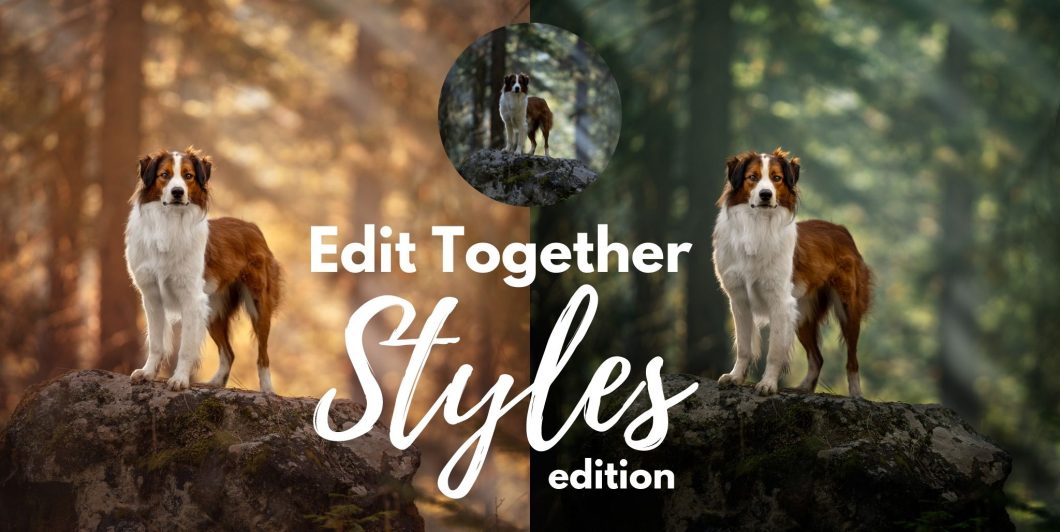
Edit Together: Styles Edition

In this version  of Edit Together, we’re going to work on this beautiful photo of Oakley, taken by Jamie (@tails_that_follow) .

I’ve chosen it because I can see it has a lot of possibilities to edit in different ways. On one hand we can make it quite bright and warm, a magical and hopeful scene with a proud dog surveying his kingdom…

On the other hand, we could make it cooler, darker, and more dramatic. Enhance this foggy smoke, and now we are being watched by a more wild creature, in whose domain we have found ourselves. 

Edit Together: Forest Sheltie

In this tutorial, we combine 3 RAW file images to create one panorama, giving Petrie enough room below his feet and space above his head for him to look into. We also use a fern overlay for some foreground blur/to add a bit more depth. You can find the files in the download folder.

This is one of those images that I came back to later in Lightroom and made some reasonable changes to, from the point where we finish the tutorial.

Namely:

  • darkening the bright green branches that had been bothering me the whole time (lower highlights and exposure)
  • lower exposure a LOT around the outside of him, not including his looking direction (so a 3/4 vignette, I guess). I lowered exposure by -1.5 😱 and raised blacks +6. 
  • added +20 contrast to his face
  • removed some green colour cast from the top of his head and the camera-right side of his snout
  • lowered highlights on his white chest a little bit more
  • in the HSL panel, Hue: green +17, Sat: greens -30, luminosity: greens -25

Yess I could have achieved the same effects in PS but I couldn’t be bothered opening it there again when I knew LR could do the job I wanted anyway. 

Below: Before / After the Tutorial / After my LR edits

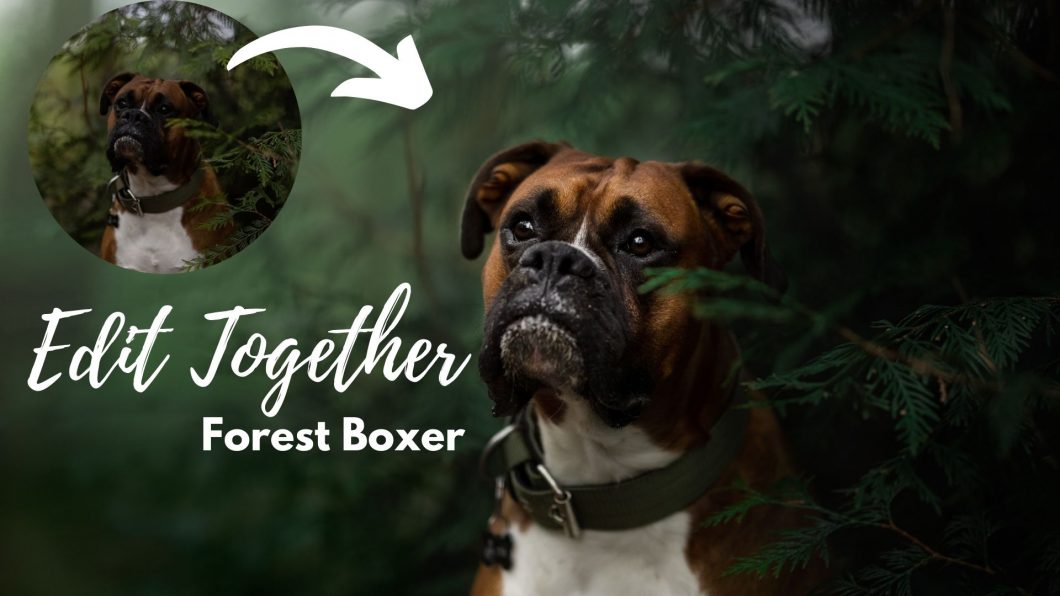
Edit Together: Forest Boxer

_E2A2089 _E2A2089-Edit

During this Edit-Together session, we are going to work on the lovely boxer in the woods taken by Clara Allansson (@echothewhippet). You can download the RAW file (or a .tif version) by clicking the buttons below.

Please note, the photographer has asked that the edited image not be shared on social media. If this is going to be a problem for you, edit a similar image of your own which you can then upload to your socials. 

If you’re desperate to upload to socials (???) but don’t have a similar image to work on, you can download this one of Loki which has a similar mood but is much brighter.

Please note that the Zoom DESTROYED the image quality last night, severely desaturating and removing contrast from everything. I’m literally on a chat with Zoom now to see if we can fix this.

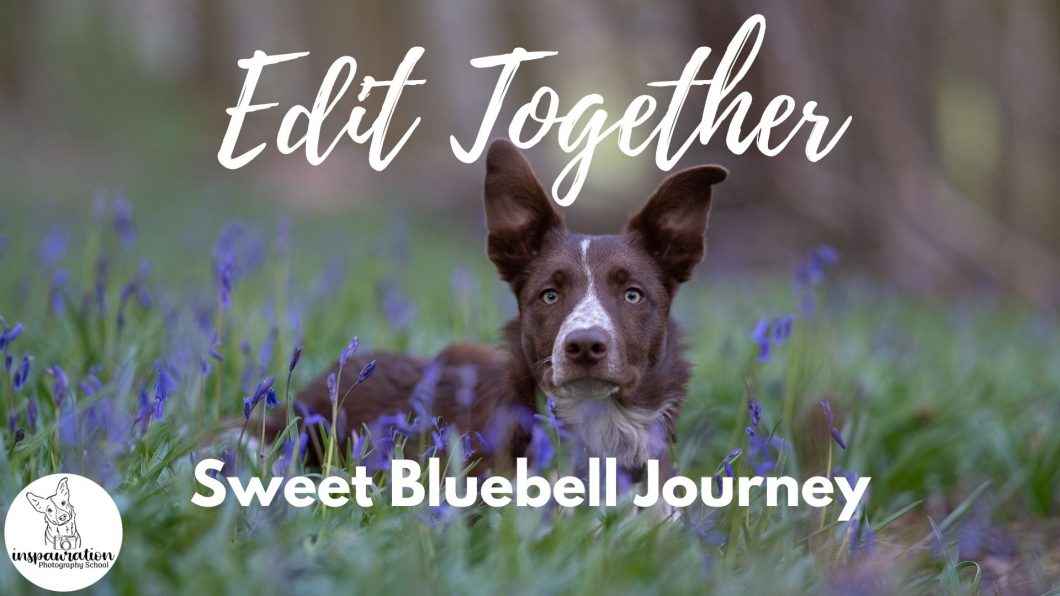
Edit Together: Spring Theme

A bit of a technical hiccup in the middle there so just skip over that bit.

As always Zoom has destroyed the colours and tones. Here is my finished image. I ended up going back the next morning (I highly recommend you ALWAYS go back and look at your work the next day before posting it! Refresh and reset your eyes!) and doing a green-green version instead of the red/brown-green colours. I also added another layer pretty severely pulling up the blacks for an even softer grey look. 

I really have a sense of wanting to make this photo very soft and almost… pastel tones? And since this is quite different to my usual style, it takes a bit more playing around after the fact – when I’m doing the live events I don’t feel like I can just experiment & try things in the same way as I do when I’m working on it later.

Please feel free to post your edits in the Discussion Forums, or on the FB group! I’d love to see what you create!

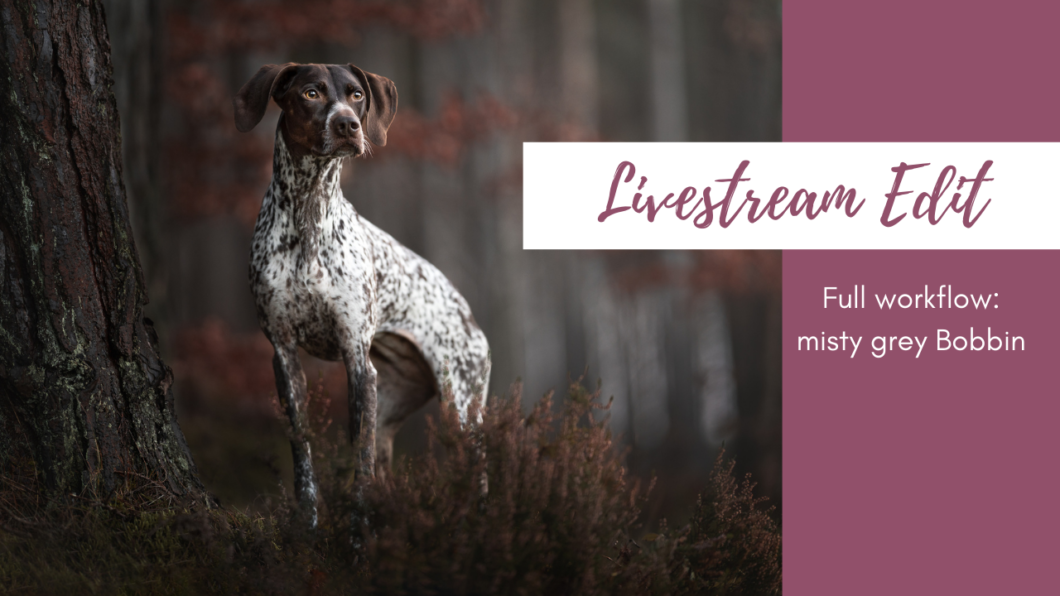
Editing Livestream: Misty Grey Bobbin (GSP)

This livestream was a special event to thank the first sign-ups to the Learning Community (and to test some of the technology – which didn’t work) and to start settling in to our work.

Unfortunately I missed recording the first part of the chat, where we tried unsuccessfully to decide which image to edit, and I also set the white balance. But other than that, I think everything is included here.

Next time I’ll actually read out the questions from the chat so I’m not just replying to the question – but the chat transcript is below, so you can see the questions people asked, and I also wrote the keyboard shortcuts people were asking about there too. 

Also, you can download the .tif file or a high-res jpeg file here (they’ll open in a new window).


I’ve made it a .tif file as older versions of Lightroom (or other programs?) might not be able to open the .RAW file since my camera is reasonably new – I know I had trouble as I was using a super old version of LR when I first got it. The .tif files should operate pretty much exactly as a RAW file.

And! You can upload your finished edit to the Facebook group album: “Edits Together” so we can see how you went! You don’t have to edit it like mine either – take it in whatever direction you like! 😊

Chat transcript:

19:27:12 From Romy Van Hemert : it also was me 😂 I hadn’t turn my audio on yet. I can here you now
19:34:13 From Emily Abrahams : \\\\\\\
19:34:42 From Sandra B : how do i see befor and after?
19:35:16 From Sandra B : when im editing 😀
19:35:18 From Romy Van Hemert : sorry! i am at work and secretly watching👀
19:36:47 From Emily Abrahams : \
19:37:16 From Océanne Martel : Same I missed it too!
19:39:00 From mattb : My dog has to be on lead so I always have to remove collar and lead when would you remove it?
19:40:21 From angelakamper : When will you crop? In the begin?
19:40:39 From mattb : Perfect thank you
19:48:55 From Rosie : Keyboard shortcut to show the overlay mask on photoshop?
19:49:05 From Emily Abrahams : \
19:49:09 From Mirella : And the shortcut for bush size?
19:49:14 From Emily Abrahams : []
19:49:48 From Emily Abrahams : [ ]
19:50:02 From Mirella : I have those behind cmd/alt + () combination
19:54:42 From angelakamper : My oval is very hard on the edge?
19:55:05 From angelakamper : thanks
19:57:05 From Mirella : I have the smallest Wacoom that’s been serving me for like, idk, +5 years at least 😀
20:05:50 From mattb : would you sharpen as the last step?
20:06:34 From mattb : What camera are you using?
20:12:44 From Felicia : What was the keyboard shortcut for making new radial filter in LR?
20:14:20 From Sandra B : YEEEEES!!!!!!
20:14:25 From Océanne Martel : Yes I would love that!
20:14:33 From Felicia : Yes
20:14:35 From Mirella : It would be hard to listen, focus and do at the same time 😀
20:14:42 From Mirella : I’m gonna stick with watching & taking notes
20:15:27 From angelakamper : Yes love that idea
20:15:31 From Rosie : Or we can rewatch the video after and edit along.
20:15:33 From Romy Van Hemert : yass I that would be lovely. like a real class
20:16:03 From Océanne Martel : yessss
20:16:11 From Romy Van Hemert : yess I would want to practis on that photo also
20:17:47 From Romy Van Hemert : awesome!
20:18:27 From Sandra B : how do i reverse white frame to a black? Dont remember the name
20:18:48 From Sandra B : windows
20:18:51 From Emily Abrahams : Cmd +I or ctrl + i
20:28:30 From Mirella : You explained everything very well on the way!
20:28:34 From Océanne Martel : No not for now! 🙂
20:28:34 From Mirella : No questions left
20:28:40 From Rosie : Nope thanks!
20:28:53 From Sandra B : Why are all my notes om Swenglish 😛 haha.
20:29:05 From mattb : Perfect thanks, awesome work…
20:29:16 From angelakamper : Wil jou share also the edit version? So we can see the colors? Because zoom has flatting
20:29:42 From angelakamper : thanks
20:29:52 From mattb : Is it ok to post and ask for critique?
20:30:52 From Romy Van Hemert : awesome work em! love your vision and ideas. thankyou!
20:31:42 From Océanne Martel : Love your ideas!
20:31:45 From mattb : I also have a Canon 1d mkII body that I would happily give to someone if it would help them out – perhaps your scholarship
20:31:49 From Felicia : That would be awesome!
20:34:13 From mattb : No problem
20:34:27 From Rosie : Thank you! Have a great evening!
20:34:31 From Romy Van Hemert : have a nice night! thankyou
20:34:32 From Mirella : Thank you em!
20:34:34 From angelakamper : Have nice evening and thanks, great edit
20:34:36 From mattb : Great session thank you
20:34:36 From Sandra B : Thank you!!
20:34:40 From Océanne Martel : 😂 Honestly I have so much to learn from you and I think it’s worth it, you’re amazing and I still have a lot to learn! 🙂 thank you good night!

You can edit this photo however suits you – either follow along, pausing the video as you go, or put your own spin on it! As you’ll see, the colours on the video are VERY desaturated so don’t worry if it looks different to yours!