ArchivesExpression and Pose

Ears!

While the saying goes that the “Eyes are the windows to the soul”, I would argue that the ears play just as large a role when it comes to pet photography.

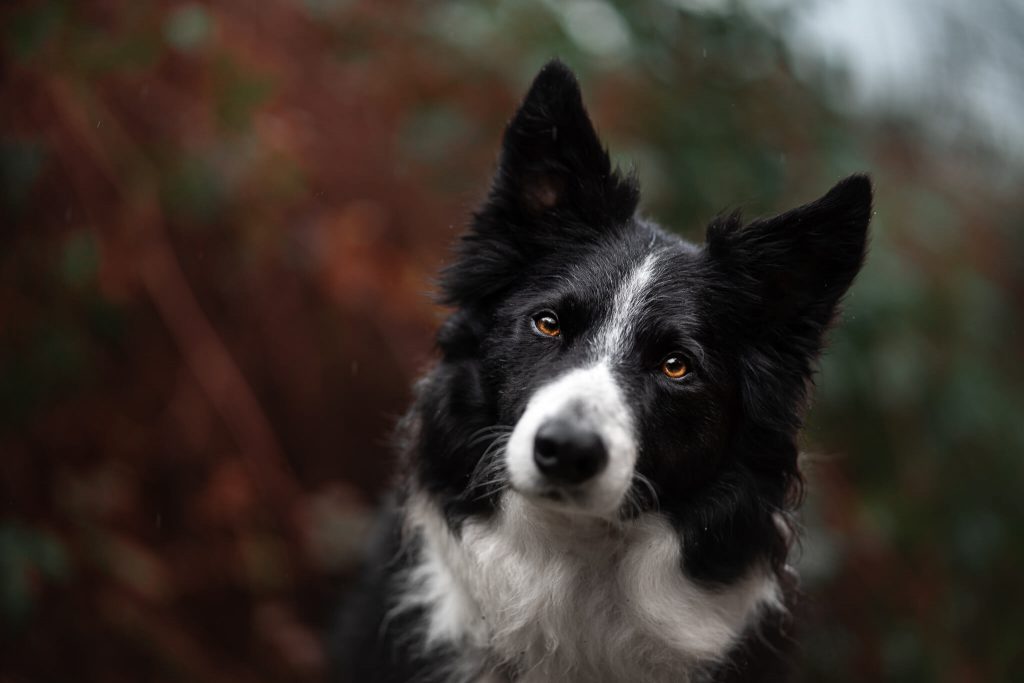
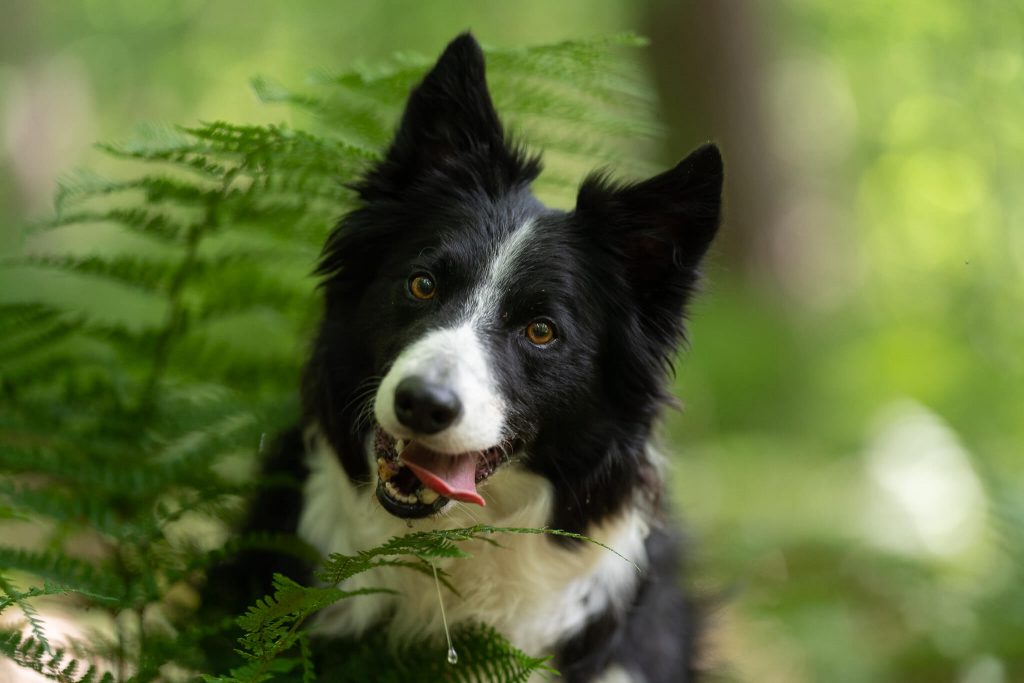
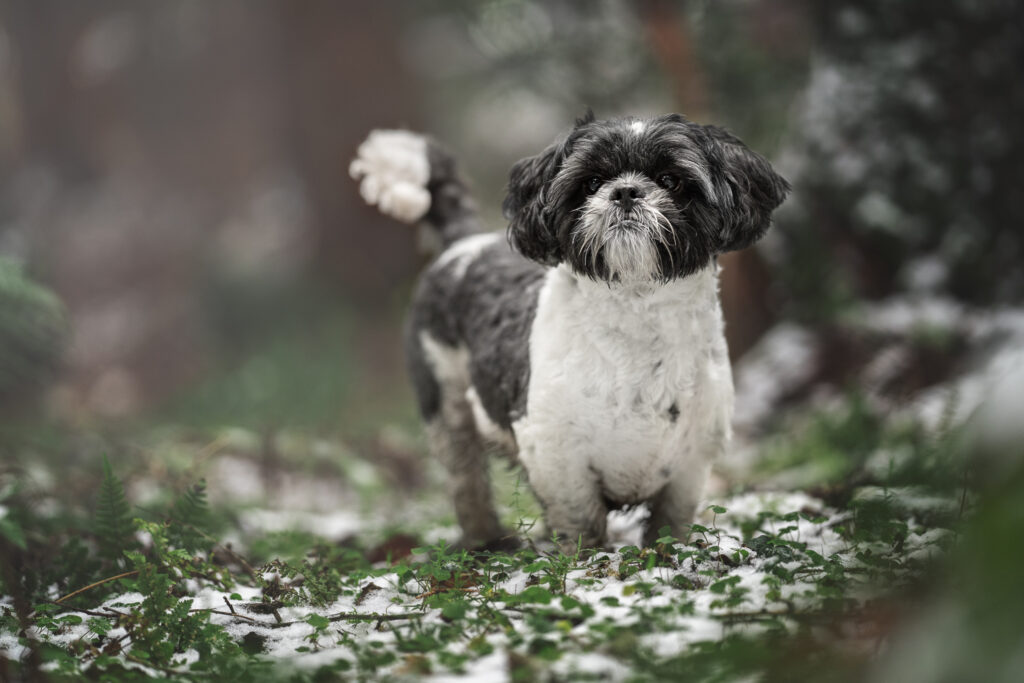
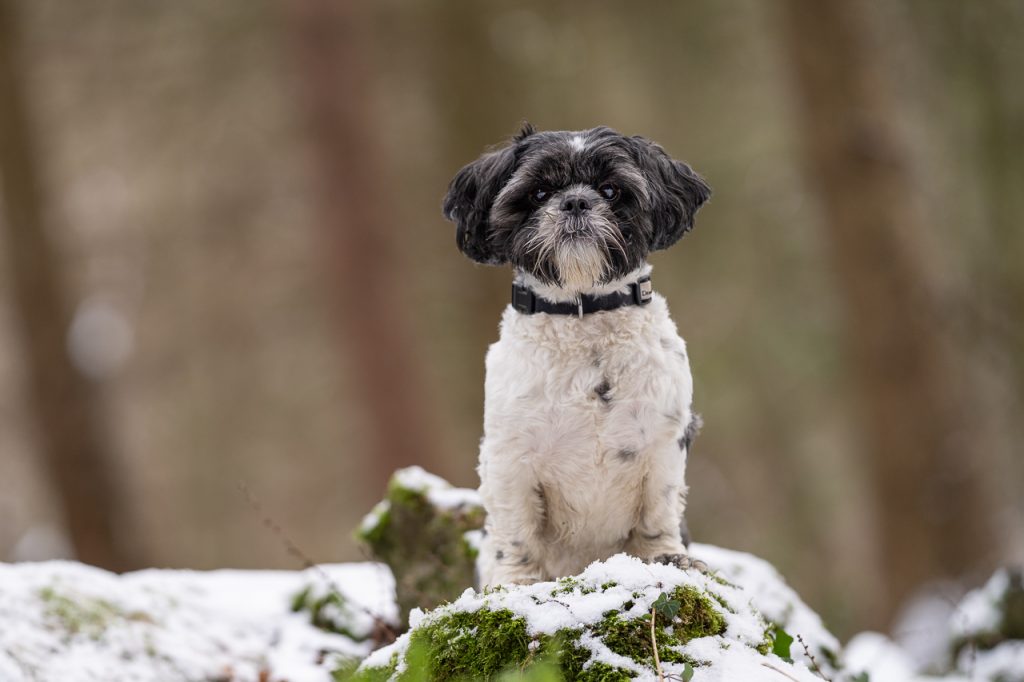
After all, take a look at the two photos below. Which one feels like it has more connection?

I’m willing to bet the one on the left feels better. But he’s looking at the camera in both!

But in the photo on the right, his one ear is just slightly turned away. It’s like he’s a teenager sitting on the couch while scrolling on his phone. You’re having a conversation with him. He’s making the appropriate noises, he might even be looking at you and nodding… but he is definitely not fully engaged in that conversation!

Now, this does NOT mean I require my dog to be looking into the camera at all times…

But in general, wherever they’re looking or whatever they’re engaged in, they should be engaged in it. I prefer the ears to be alert but relaxed. Not crazed BC who’s just seen a ball, not bored and subtly listening for something more interesting… If he’s looking to the left, he’s looking there alertly. 

What happens if the ears aren’t alert??

I mean, the whole world won’t fall apart… but your photo probably won’t FEEL as good, either. Have you ever had your photo taken when at a work or family function and you really weren’t in the mood? You smiled, sure, but you can TELL by looking at that photo that you didn’t want it to be taken.

This is probably how your dog’s going to look. 


Some dogs will be very obvious when they’ve “disconnected” and aren’t involved in the photo any more, or they aren’t paying attention to whatever is around them. They’ve switched off. They’re over it. Ears are back or down.

If the ears of your dog are always looking like this when you’re taking photos, I encourage you to re-evaluate the amount of reinforcement the dog has regarding taking photos. Are you putting too much pressure on him? Does he not understand his job? Has he been posing too long or without reward? Or does he not have enough history of reward for the camera and therefore just hates it every time you get it out?

Depending on the situation you may need to go back several steps, to low-distraction environments, and just work on building up his reward history associated with the camera.

If he is uncertain about his job, try praising him while he’s posing. Journey’s best alert expressions often come from me enthusiastically crying: “YES! SUPER!!! WOOOOWWWWW AMAZING EARS BABY WOOWWWWW!”. There is absolutely no doubt in his mind that whatever he’s doing at that moment is amazing.

Here’s another example of good ears, vs. very disconnected ears.

If looking at the camera is too much pressure...

Let him look around and create his own photos. If he’s been posing too long, make the posing time much shorter and more rewarding!

Play sounds from your phone. This isn’t you asking your dog to do anything, it’s just sounds for him to react to. Journey LOVES voice notes from his favourite people, and YouTube videos of orchestras and interesting instruments 🤷🏻‍♀️

Here is a selection of another 4 ears from Journey (who is very sensitive to pressure), ranging from completely and utterly disconnected, to halfway there, to ALMOST but not quite… and finally, the photo I ended up using. 

The reason I chose the one of him looking up?

First, I find these photos can often tell a more interesting story than another photo of my dog standing and looking at the camera – especially in a location like this which is quite open but there’s light toward the top, and second, he is totally engaged in whatever he’s looking at. He’s totally focused. I would much rather this, than a photo where he’s half-listening somewhere else.

Ear Examples

On the left column/1st photos, you’ll see good connected ears. On the right/2nd photo, you’ll see disconnect.

Catchlights

Catchlights are the shiny white parts in a dog’s eye, which are always reflections of a light source.

They might be reflecting the sun, the sky or a soft-box. What light-source they’re reflecting and how big that light-source is will determine how big those catchlights are.

It might seem like a relatively small and unimportant topic, but trust me when I say catchlights are a hot topic in pet photography, and can make the difference between your pet looking bored and dull, or alert and interested. 

Big, bright catchlights are considered ideal, and you will often see pet photographers enhancing catchlights A LOT in order to make those eyes look bright and alert.

How the catchlights look depend on:

  • the light source
    • small light sources, eg., a bare flash or very small area of sky through a thick canopy in the forest, will make small catchlights
    • large light sources, like a big clearing in the woods, or being on a field or at the beach, or big soft-boxes or umbrellas will create larger, brighter catchlights
    • far away/distant light sources like the sun, or windows on the other side of the room will create small catchlights as the light source is at a distance
    • the closer the light source, the softer the light and the bigger the catchlight!
  • The face-shape of the dog. Dogs with large, overhanging brows will naturally have their eyes shaded by those brows, preventing light from overhead to reach the tops of their eyes
  • Where the dog is looking. If the dog is on a tall log, for example, looking down at you, their face will block the light from the sky from hitting the top of their eyes, potentially limiting any catchlights.


An example of good catchlights, especially in his right eye which would be reflecting some sky. The left eye is usually smaller with Loki because he tilts his head, throwing that side of his face into shadow. 

An example of catchlights pretty deep in the woods on a bright day. If you click on this picture to enlarge it, you can see the reflections of the trees and branches overhead. 

Lovely catchlights from the dog looking into a large area of open sky.

An example of a dog with a “Difficult face shape.” Due to that large brow, his eyes are set back deep into his face. You can click to enlarge and see that the catchlights are limited to two or three small dots. We were in the woods here as well, so light was a bit limited.

A note about snow:

Snow is rather annoying when it comes to catchlights. Because while you might have a reasonably bright sky, that light is reflecting off the snow… and which is closer to the dog? Snow or sky?

Snow.

So we often end up with these weird underneath catchlights on snowy days.

I personally would NOT be enhancing those as they really do look a bit strange.

The same dog as above but with more snow on the ground. He actually had a LOT more light overhead: a HUGE open sky… but because I was down low and he was on a little rock, he looked down just enough to block the sky reflection and end up with snow. As you can see here, it’s not the prettiest look. There isn’t too much you can do about snow reflections though! I just tend to work on them in editing to make them less obvious. 

Window Examples of Distance

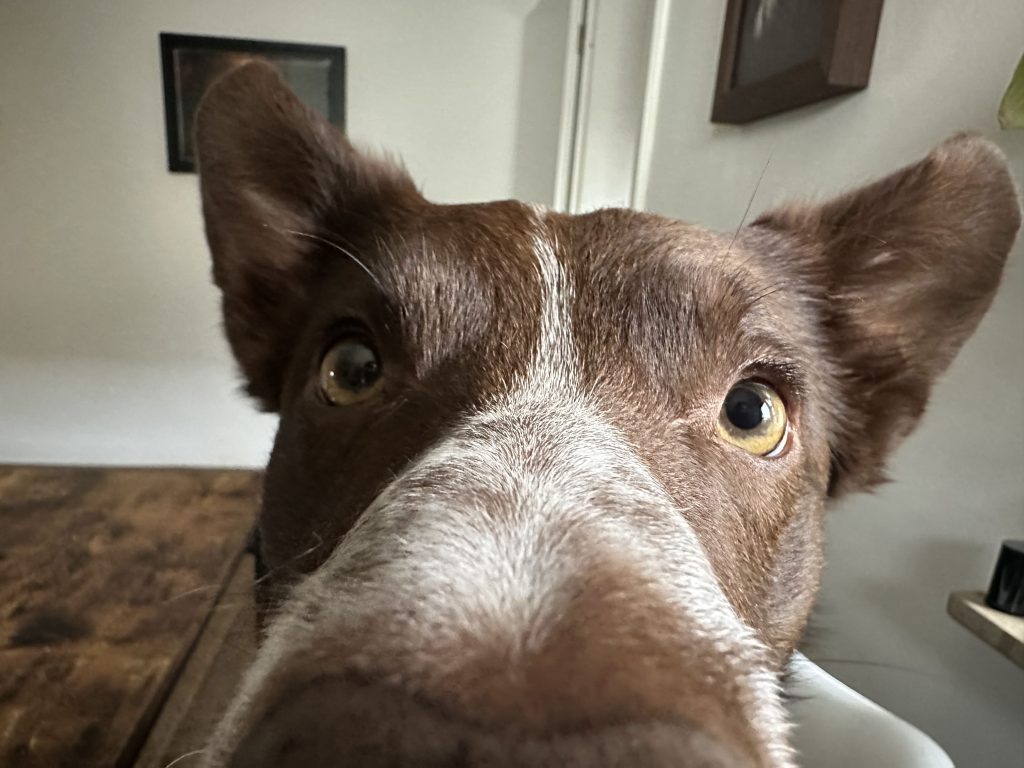
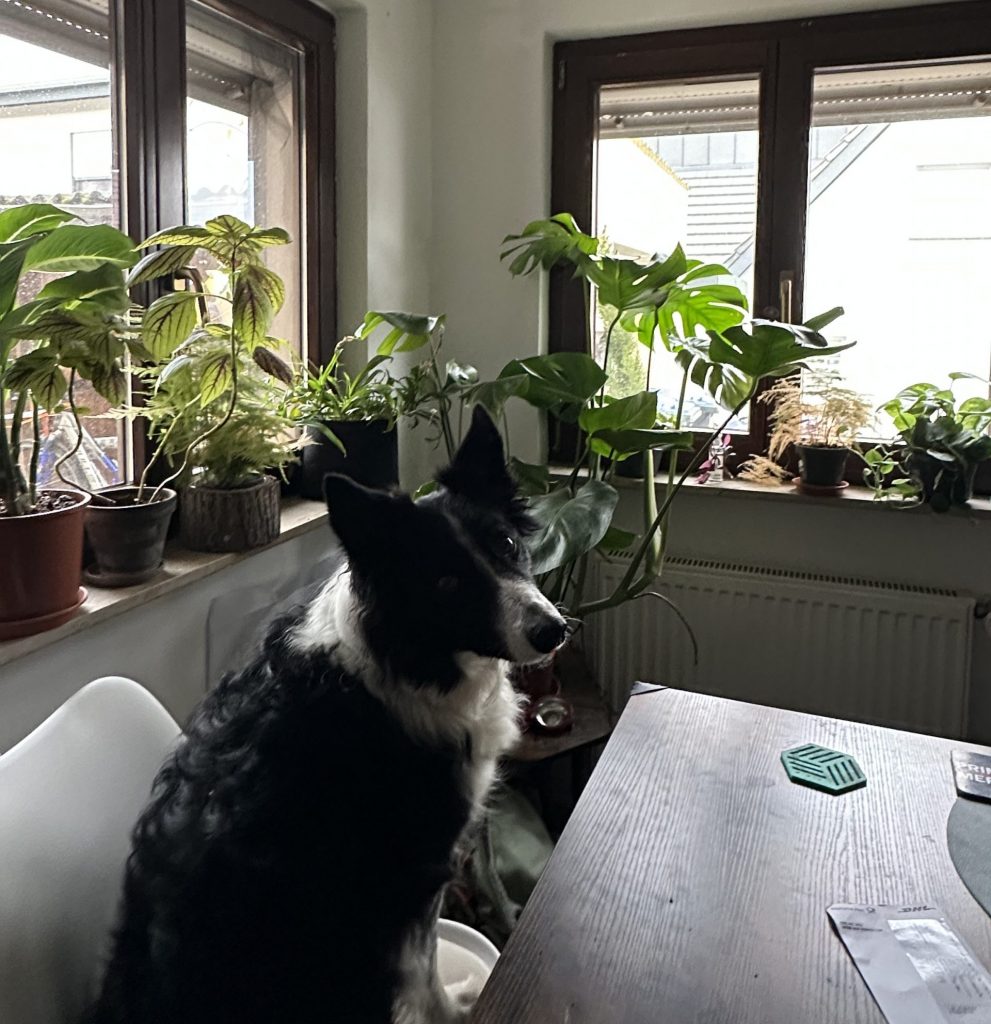
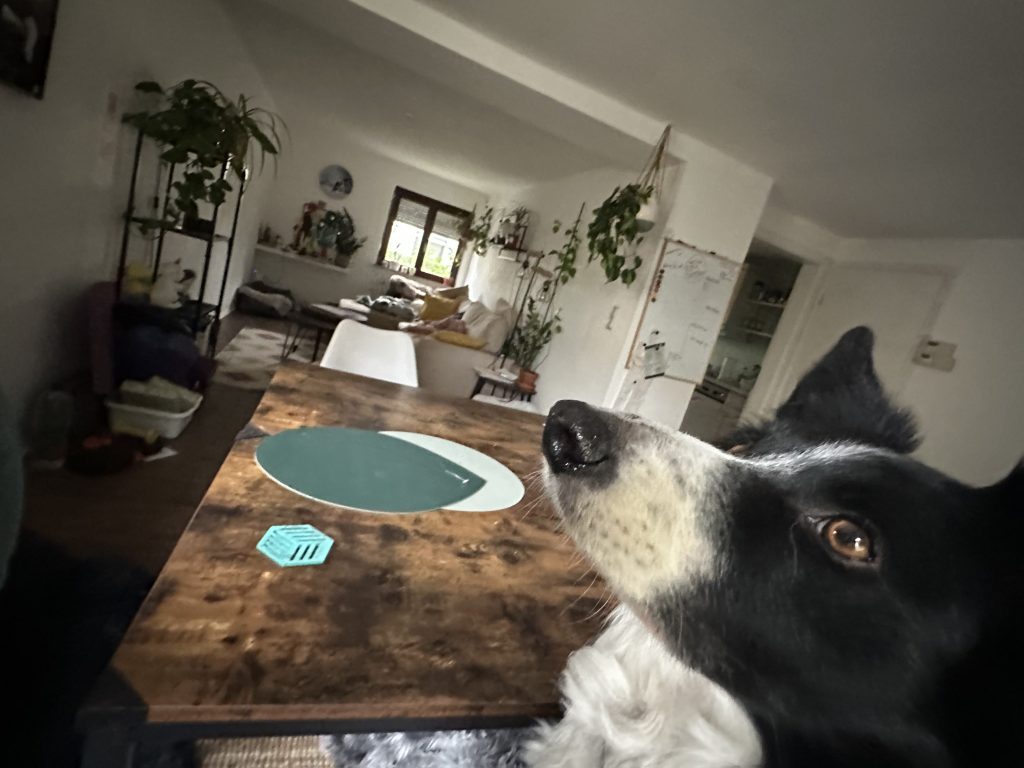
This is just a phone photo inside my house. Have a look at the catchlights. On the right, you can see the ledge of the windowsill, so Journey was sitting extremely close to it. You can clearly see the reflection of the window in his eye. On his right eye (camera left) you can see a tiny white spot? That’s our other window, about 8 meters away (there’s a BTS below so you can get an idea of this.)

This is why the sun makes a quite small catchlight! Because although it’s huge, it’s really, REALLY far away at least compared to the sun!

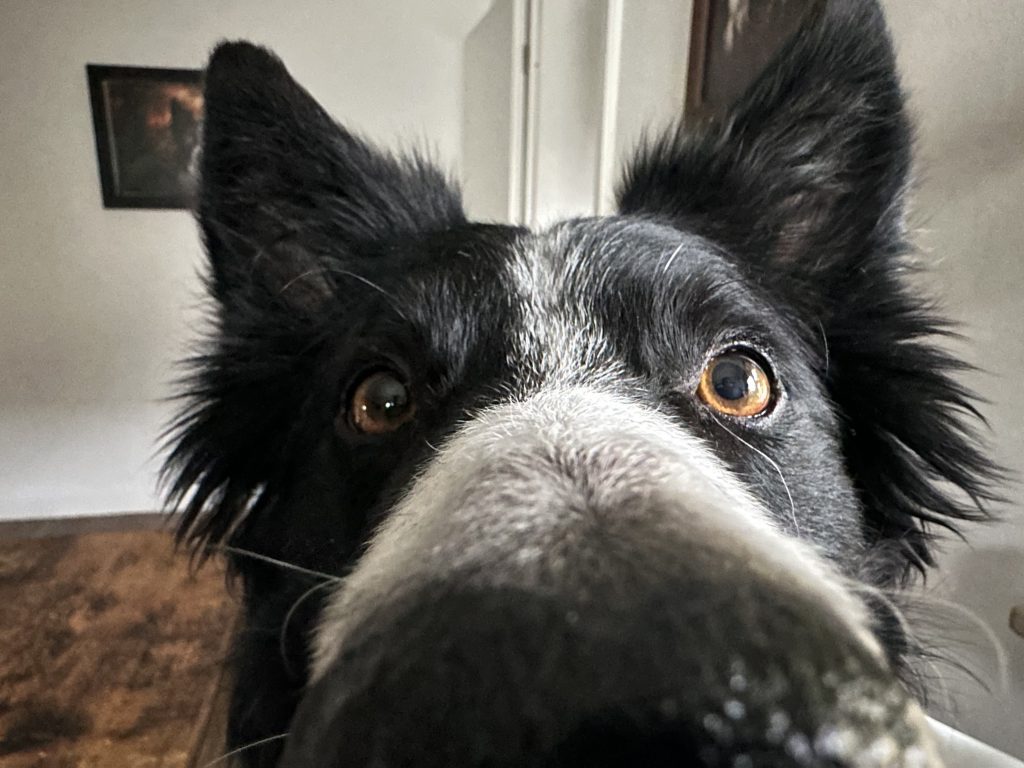
Loki is extremely difficult to NOT get catchlights in his eyes. It might be his face shape and eye shape, but even when I tried to get photos of his eyes for demonstrating this lesson, he still managed to have catchlights unless we were in a pitch black room.

Again, you can see the window reflection in his left eye (camera right), and in his right eye, he has TWO white spots. The one closest to the middle of his face is from a window directly behind me (check the BTS below), it wasn’t far away at all, maybe 1.5 meters? And the furthest white spot is the far away window. 

Now, it is an overcast, grey dark day, so the light source from outside through my not-huge windows isn’t that strong, but I think it’s really fascinating to look at.

Go check some of your recent photos and have a look at the catchlights. Is your dog a challenge when it comes to capturing catchlights? Or easy like Loki? Did you get large ones or small ones? Can you remember how the location looked like, especially overhead?

Here you can see the two windows. I was standing directly in front of Loki, so the window to camera left was the one with the biggest reflection in his eye. The other window didn’t show up in Journey’s eye at all!

The window way over there is the one that showed up in both dog’s eyes as a tiny dot.

How to get nicer catchlights

Obviously, getting nicer catchlights will depend on where your challenge lies. 

If your dog has a thick brow: try getting him to look up just slightly, even if he’s only slightly looking over the camera. Make sure you don’t put him on something high while you go very low to the ground. Just be prepared that you might not get catchlights in every photo, and his face shape is who he is.

If you’re in the woods and the catchlights are small: find an area with more open sky overhead. You’re probably in too dark of an area anyway and the light won’t be enough on the dog’s face, and/or your ISO is going to be super high, so if the catchlights are looking tiny, it’s probably time to find a better location anyway. 

If the dog is on a log/rock/whatever: Don’t be quite so low, OR use a reflector to bounce light from the sky onto their face (the catchlights will probably be in the lower part of their eye though), OR get them to look up, not down at you. 

“But my dog won’t stay!”

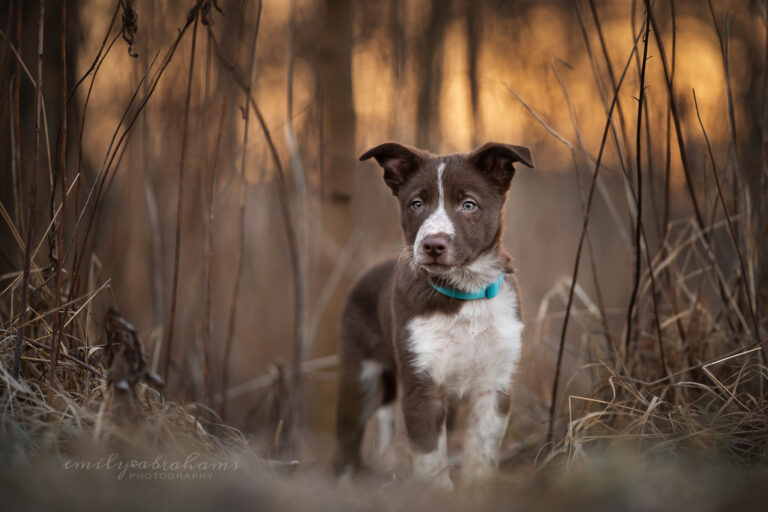
I had a lot of people ask me how I got my 8 or 9 week old puppy to stay for his first photos.

The truth was…

I didn’t.

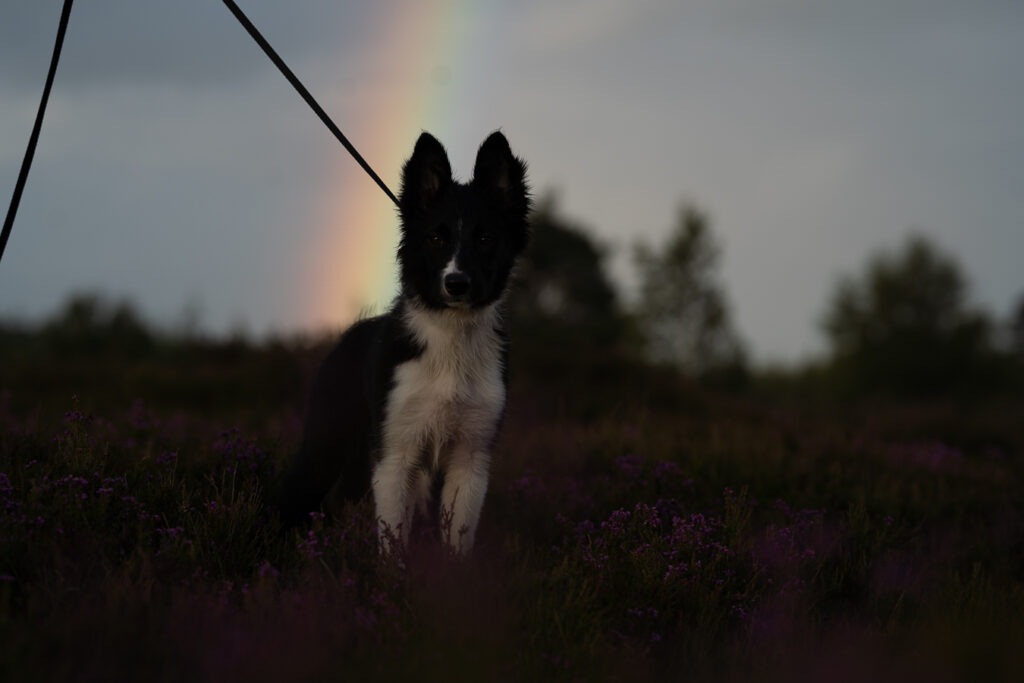
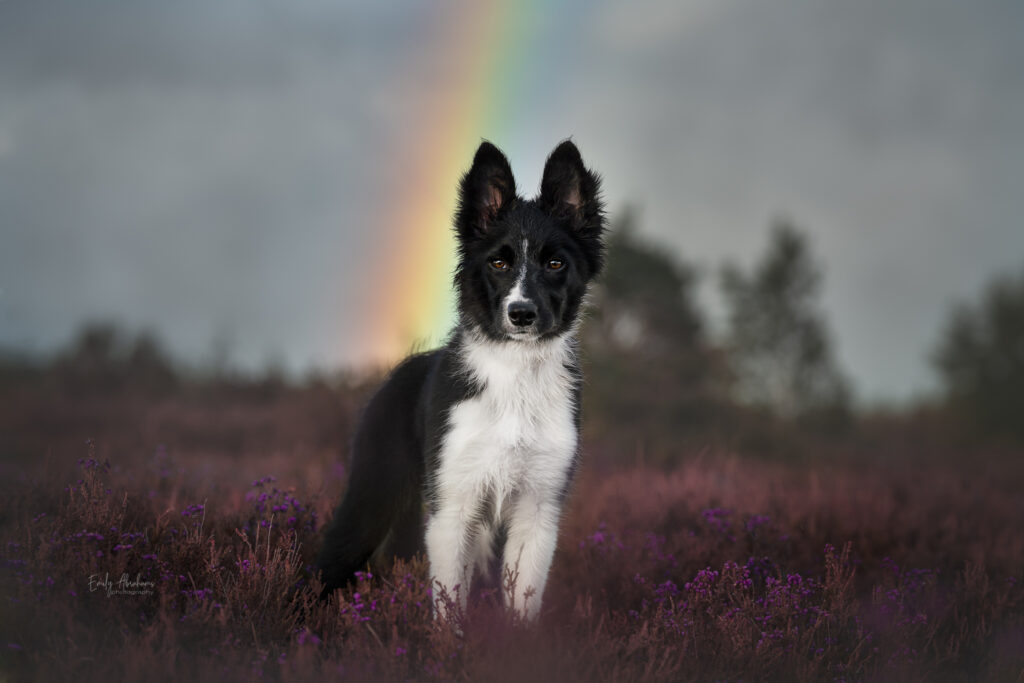
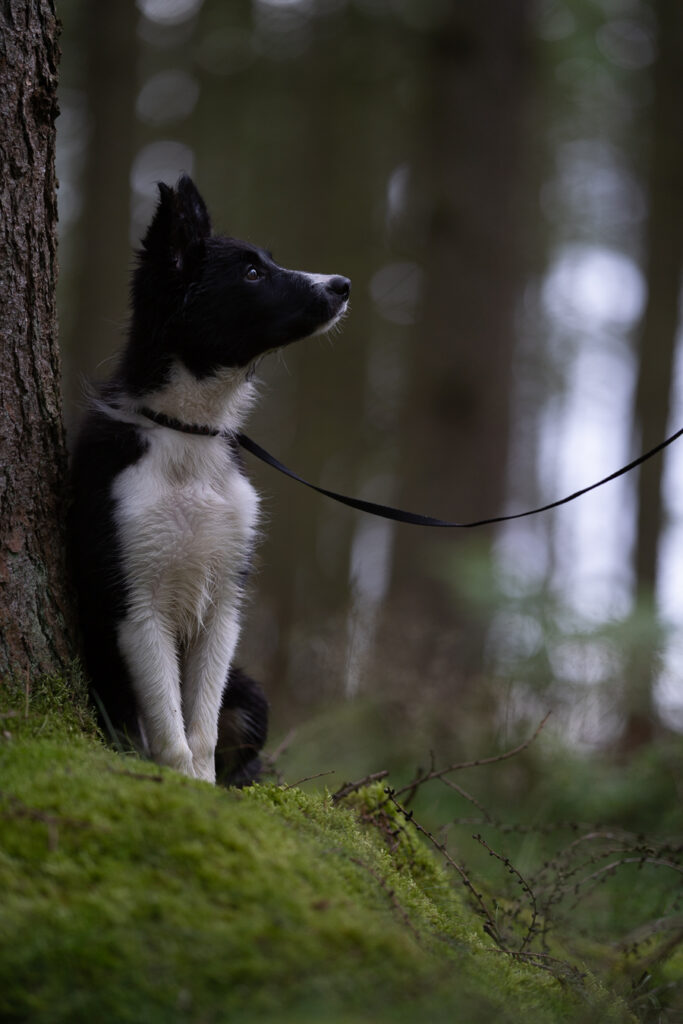
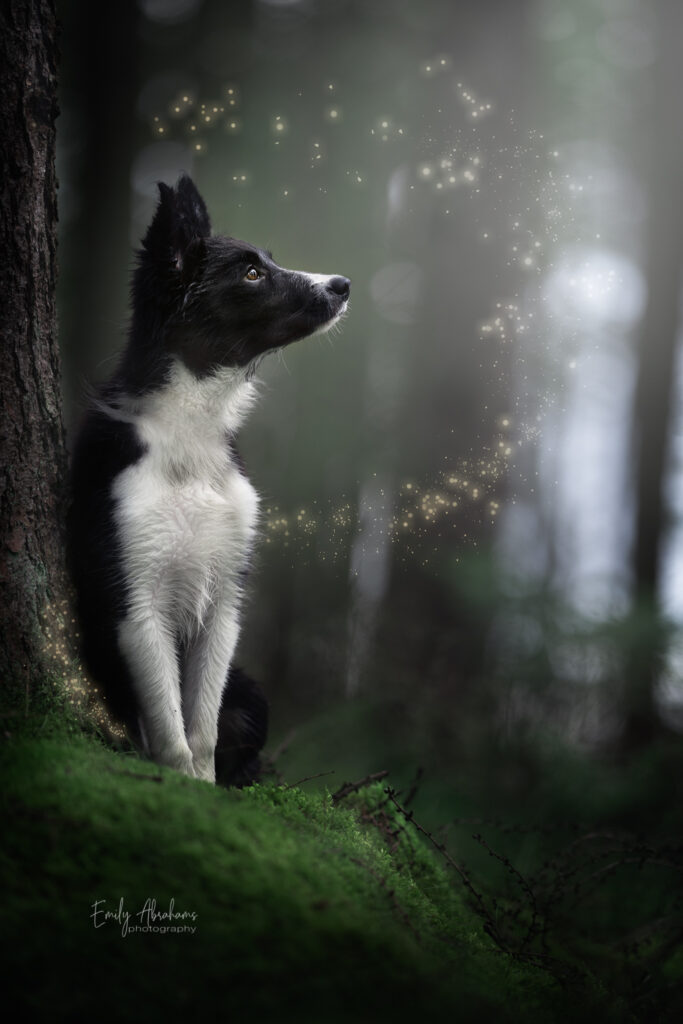
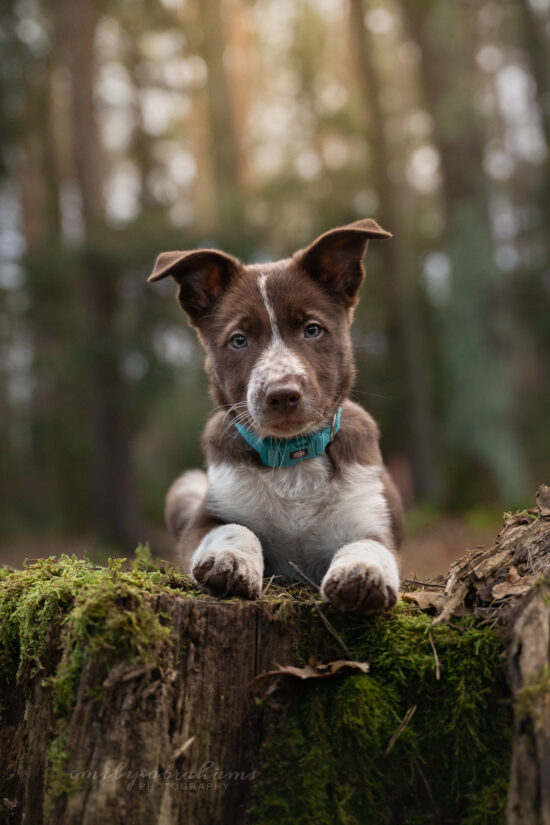
For the first 2-3 weeks of his life with me, he was either leashed to something in the background, and I removed the leash in editing (as with his first photo ever above!). And this is totally fine! I will often shoot client’s dogs on the leash, either because they’re young puppies, or they don’t have a stay, or the photoshoot is just way too exciting. I make sure to use a light/thin leash that is easily edited out in Photoshop.


Or, Journey was on a log or rock – this is a GREAT way to start getting your dog to stay, as the log or rock can provide a natural “barrier” that will stop them (temporarily) from moving. Just be sure you or the owner are close enough that the dog can be continually rewarded for waiting there. Whenever I’m shooting dogs for clients or if my boys are being models for a photographer, I insist on rewarding the dog. They are working so hard, they don’t know why they’re being told to wait, they’re having to pay attention but not move, there can be a lot of stress and pressure on them. Please consider them, and make sure they’re paid well for the job they’re doing!

This was one of his earliest images, taken just after he’d learnt to lie down, and with him lying on a log, and my wide-angle lens on so I could be very close to him and feeding him constantly.


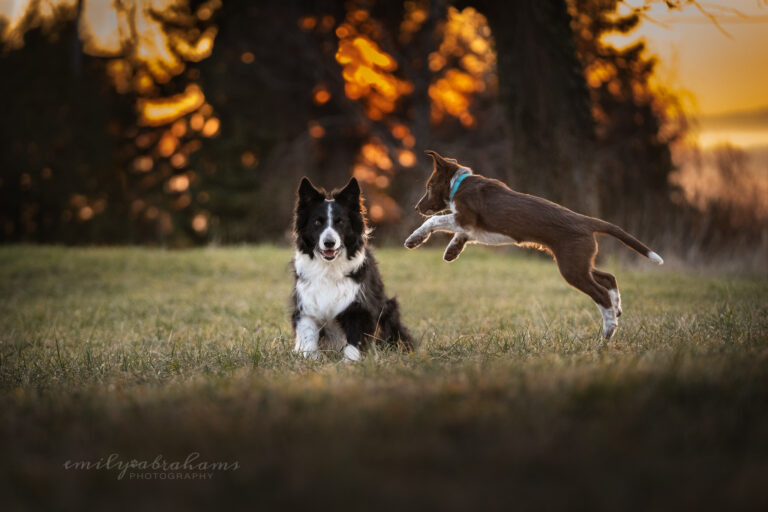
Another option is to take more candid photos, as you’ll notice in Journey’s earliest pictures with him free and running about being a puppy, while I would just try and keep up with my camera and hope he would pause long enough to get photos of him posing appropriately.

There was a lot of this bouncing around, early on.

Training a Stay

Clients' Pets

First, be realistic with client’s dogs. You’re probably not going to be able to fix a lack of stay in the session. 

So your options are going to be: 

  • use thin leashes and edit them out in Photoshop
  • pop them on logs, benches or rocks to keep them still.
  • keep the owner very close by, feeding the dog regularly, and edit them out in Photoshop. (hint! take extra photos of the scene without the owner in it, to make your job a lot easier)

Expecting a dog with no stay to magically learn a stay within an hour or two (without completely stressing it out and exploding its brain) is just not reasonable.

If your client insists on having them off leash, and they’re completely out of control, be up front with the client about the likelihood of getting the kinds of photos they want. 

There’s no harm in having the dog on leash for the session. This isn’t a time for the dog to be bounding around exploring – unless you really want to do candid photos. In general, clients appreciate specific directions, so don’t be afraid of speaking up and instructing them about what they need to do for this to be successful.

You MAY want to offer some tips and information, or even a little training session before the shoot, to help your owner prepare and try and get something of a mini-stay… but don’t expect miracles.

Your Own Dog

There is no magic solution, no quick fix. I think that’s what people are often looking for when they message me about how well my dogs stay for photos. But at the end of the day, the solution is…

Training.

Training, training, training.

Every day. Multiple times a day, especially when they’re learning. And I don’t mean just making them sit for their dinner bowl. 


I could write a whole course on teaching a dog to stay so please understand this is a VERY brief overview. Every dog is different. Every “broken stay” issue is different. Every dog will progress at different speeds, find different situations challenging, need different rewards, and will even have different reasons for finding stays challenging. 

If you really want to dig into dog training and solving a stay issue, I highly recommend you check out Spirit Dogs. This is an affiliate link but I LOVE Steffi’s methods, we’ve been friends for about 10 years now and her training philosophy and mine are pretty much the same. I love everything she does, her problem-solving approach to dog training, her positive methods… everything.

Personally I use positive methods of training, and believe this works for every dog, with patience and consistency… but I do have border collies with a very strong will to please. 

Dogs all learn at their own speed and in their own ways, so you really need to look at your individual dog and consider how he or she will learn best. Consider all training situations as problems to be solved. Imagine how you want the “end picture” to look, and think about the steps to get there. 

Always be asking yourself if you are helping or hindering the process, analyse the progress you’re making, and re-evaluate the training if you aren’t seeing results after a few sessions – but don’t give up immediately! For a dog with a broken stay behaviour, this can (and probably will) take a lot longer. 

Here’s the GENERAL method for teaching or fixing a stay. Remember, this is a really brief overview. 

  1. Decide on a set of rules and stick to them. The moment you are inconsistent is the moment your dog gets confused and won’t stay any longer. My rules are: You don’t move until I say the release word, no matter what I do. 
    1. If you ever watch videos of my two dogs you’ll see who understands this, and who has decided on his own rules. Journey is rock solid. He won’t twist or turn, move a leg, creep forward, or do anything except maybe lift his head from “chin down”. Loki on the other hand, will pivot to follow you if you go to the side. He technically “hasn’t moved” (eg., he hasn’t come forward, sat down or lay down), but he’s definitely not how I left him when I walked away.
  2. Start small and easy. Don’t spend 2 minutes teaching your dog to sit for their dinner bowl and then expect them to be able to stay at the dog park while you run 10m backward to take a photo of them with your long lens while you’re making silly noises. Realistic expectations.
  3. Choose a release word. In a nice, quiet, distraction-free location, with all your dog’s breakfast, ask for a sit or down – whichever they prefer. Reward them in position. Give them 3 bits of kibble, then release with your word.
  4.  Put them in a stay. Give them 5 biscuits in a row, one after another, then release with your word.
  5. Put them in a stay, give them 10 biscuits in a row, release.
  6. Put them in a stay, give them 4 biscuits in a row. Release.
    1. Note! We as humans SUCK at cues. We love to mix body language and verbals. Film yourself later in this process when you give the release word. What does your body do at the same time? My guess is you’re going to move in some way. Dogs very quickly learn that this kind of movement = release. Therefore, if you move in a similar way later on, the dog is going to move. And then they will react to any kind of movement (eg., you going to the side, you walking away, etc). Release on the WORD, not on any kind of movement from you.
  7. The reward should come from the PLACE & stay, not the release, for the most part. Don’t release them then feed them. Think: what are you rewarding then? Feed them mostly in position, and occasionally for the release. 
  8. Repeat. Reward for longer and shorter intervals. Wait a bit longer, then a bit shorter before delivering the treats. Release.  Be sure they are releasing on that specific word, not because you’re saying things (remember, we need to be able to make silly noises and for them to stay for photos). I throw in words like: “BANANA! BREAKFAST!” before using “BREAK!” We don’t release on the letter “B”, we release on Break. Note: “Rake” and “bake” wouldn’t be fair. 
  9. Repeat repeat repeat, until your dog realises how rewarding and easy it is to just lie/sit around and be fed.
  10. Start making it a bit harder. When increasing difficulty remember: duration, distance, distraction. And aim to make only ONE element harder at a time.
  11. For example, when working on duration, make the stays a bit longer, but don’t do that from far away and in the middle of the city! 
  12. Or, if working on distanceonly do very short stays, hurrying back to reward quickly and often, and do this in a quiet and distraction-free environment.
  13. Or, if working on distraction, in exciting locations, keep stays short, and be close by. 
  14. Eventually begin to mix the 3 Ds. So a bit longer duration in a distraction location, but being close by. Or longer distance and duration but in a less distracting environment. The goal is to give them as many experiences of successful stays as possible. For every successful stay (eg., they don’t move until you say so) give yourself 1 point. For every fail because the situation was too difficult, deduct 50 points. 
  15. Gradually increase difficulty. Test your dog. If they make a mistake, just say: “oops!” and set them up, and learn from it. Test, test, test. Always rewarding. Test if they truly understand their release word by simply saying it with no movement or hand gestures – as people we are notoriously bad at not “helping” our dogs by moving when we release them, or using our hands. We want them to move ONLY on the word we say, NOTHING ELSE. Here, some fails are acceptable – as you’ll see in the video. I make it a game. Can I make you fail? If so, no big deal, I win that round. I ONLY really start testing them like this when I’m very confident that they KNOW their job.
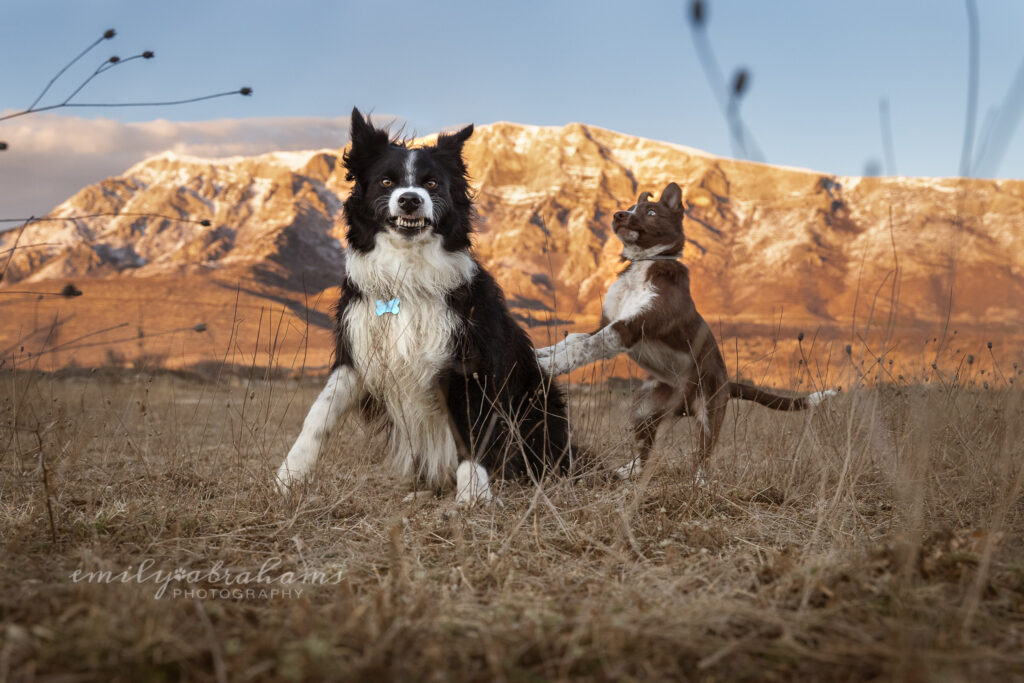
  16. Proof it. Everywhere. All the time. On walks, at home, anywhere. Keeping in mind the 3 Ds. See what they can handle. Can you throw food near them. Can you do cartwheels? Squeak a toy? Run away? Run around them in a circle (this is hard!). Can they have a puppy bouncing off their back and still hold their stay??
Two border collies, one is a young puppy who is pushing his front paws on the older one's back. The older one has a snarl on his face, and the puppy is looking shocked. There is a mountain lit by golden light behind them

But I repeat:

there is not a quick and easy solution!

Training a solid stay, to the point where your dog will sit or stand or lie placidly while you play with settings, change your position, reframe, shoot a bunch of photos, where you can make silly noises or say their name or throw a toy off into the bushes… all that takes time

And if you rush the process and the dog learns that it can just get up and wander off and find more interesting and REWARDING things to do… then why would they stay in the future? The environment is rewarding, stays are usually boring, and if there’s an OPTION to move… why wouldn’t they take it?

 If it’s your own dog and you need to be taking photos while you’re training this, then go for it, but I recommend using a wider-angle lens so you can be constantly feeding the dog quickly and often, OR tie them up to something and don’t ask them to stay. Treat them as if they had no stay, so you don’t “break” the stay while it’s still being learnt. 

Stay training shouldn’t be a bore – for either of you. My boys and I make it a game, a challenge. How many crazy things can I do to try and trick you into breaking before you’re allowed? BIG rewards if they don’t fall for my tricks, laughter and light-heartedness if they do, and we try again. I’ve hit Loki in the head with a thrown tennis-ball before, to see if he’d break (once he caught it and I couldn’t decide if that was against the rules or not. Technically he didn’t move….). I say: “ORANGE!” for Loki (his release is “OK!) in the same tone of voice as his release word. I say: “BREAKFAST!” for Journey. These are all tests, and all games, and all reinforcing the “rule” that you don’t move until you hear your specific word. 

Here is Part 2 of the video, where I start to take our “stay” games to the next level. I want to reiterate that your dog should have a very good understanding of a stay before you begin this kind of work!

Eventually, though, you’ll have a perfect stay, and be able to take gorgeous photos with a dog who LOVES his modelling job, because staying and posing has been SO rewarding. Journey  began pushing in so that I’ll take his photo instead of Loki’s by the time he was 6 months old, because he had a 4 month history of fun and rewards from posing. The other thing I am constantly doing is after they’ve posed, is have a super reward. For Journey that’s a big game of tug. For Loki, it’s a scatter of food on the ground. Make them love staying, and love posing by making it worth their while. 

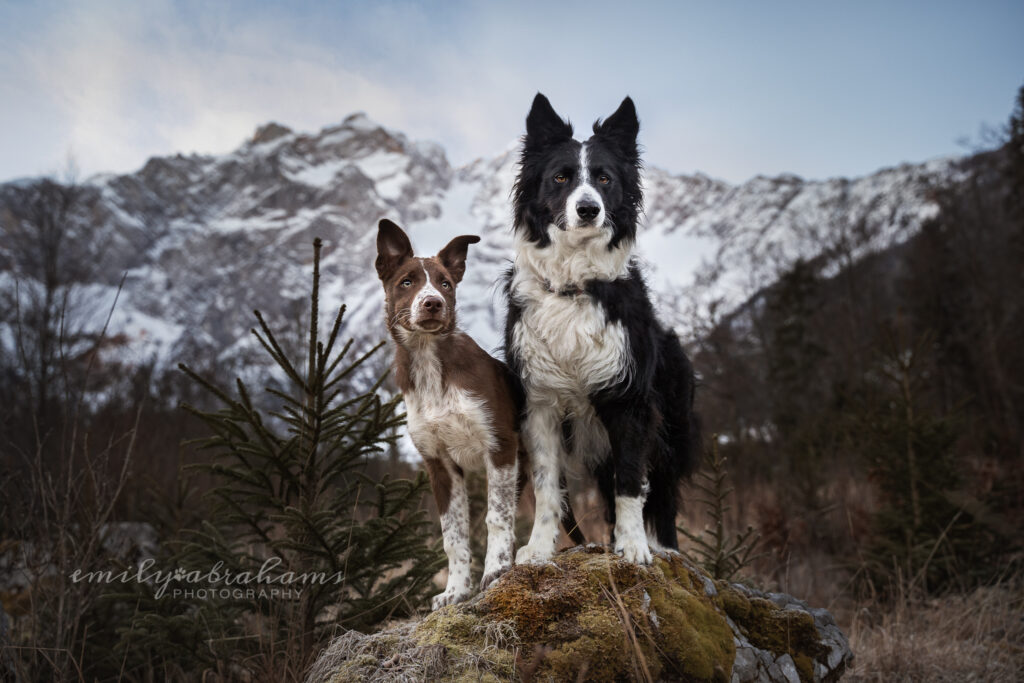
And of course… you can still pose them on rocks, if you want to.