You can download the RAW files here.
Thank you to the wonderful Daniela Zumkehr for letting us work on her photo!
You can download the RAW files here.
Thank you to the wonderful Daniela Zumkehr for letting us work on her photo!
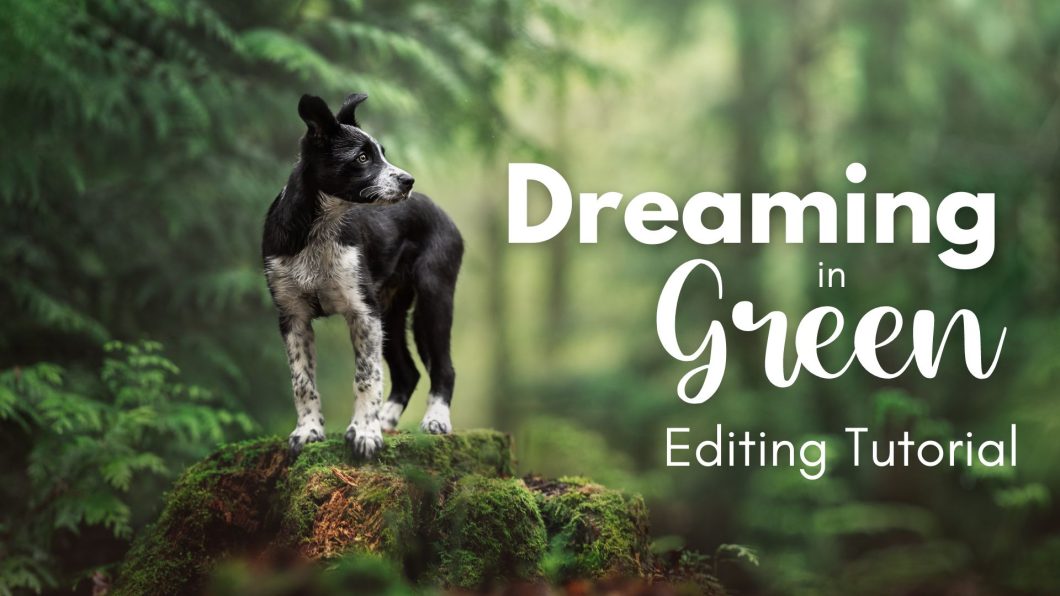
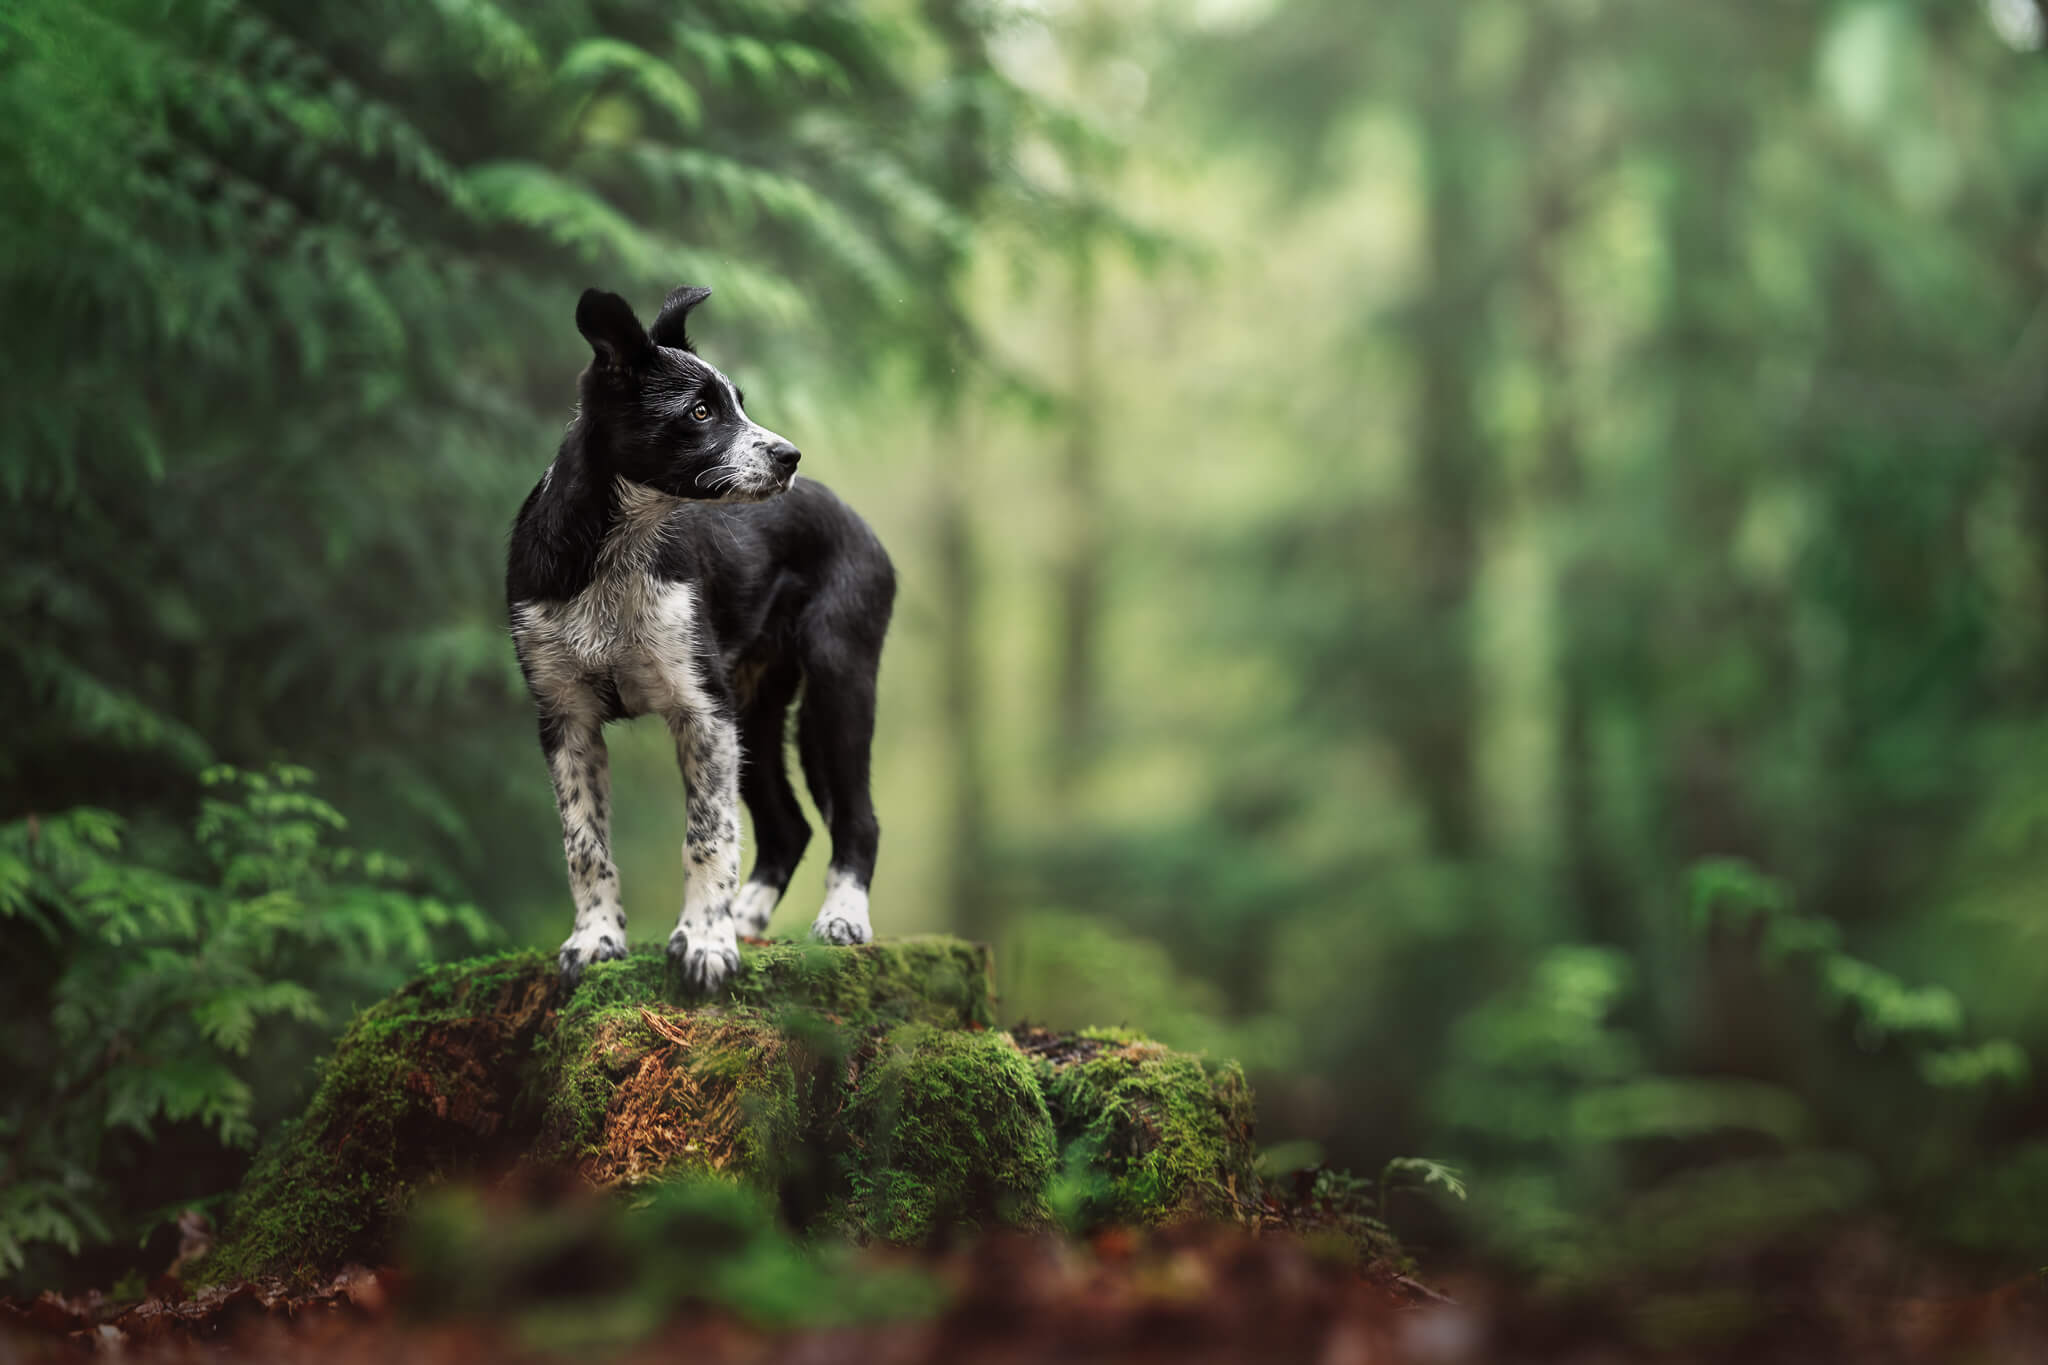
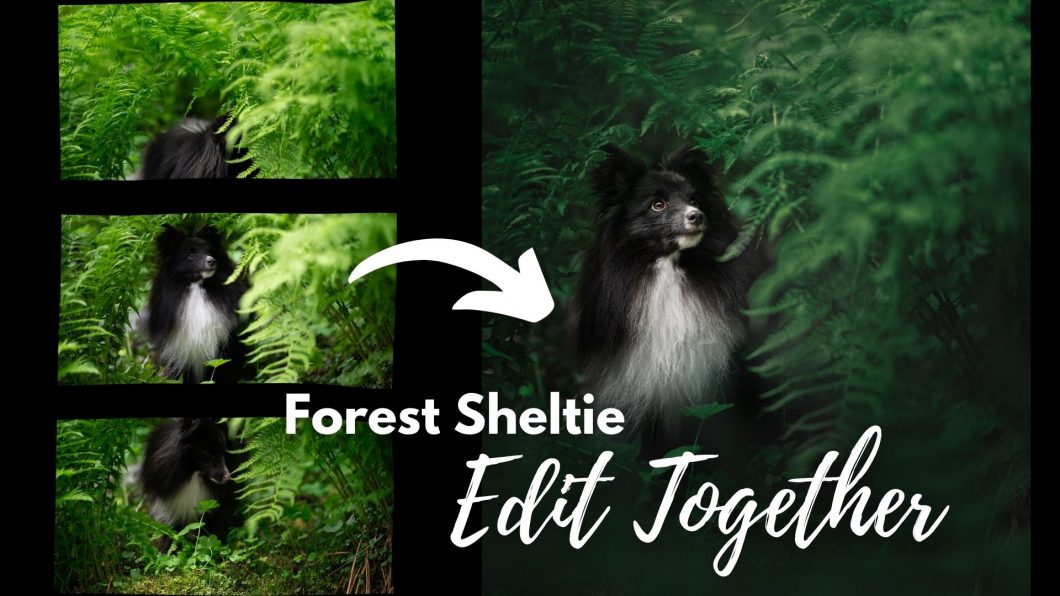
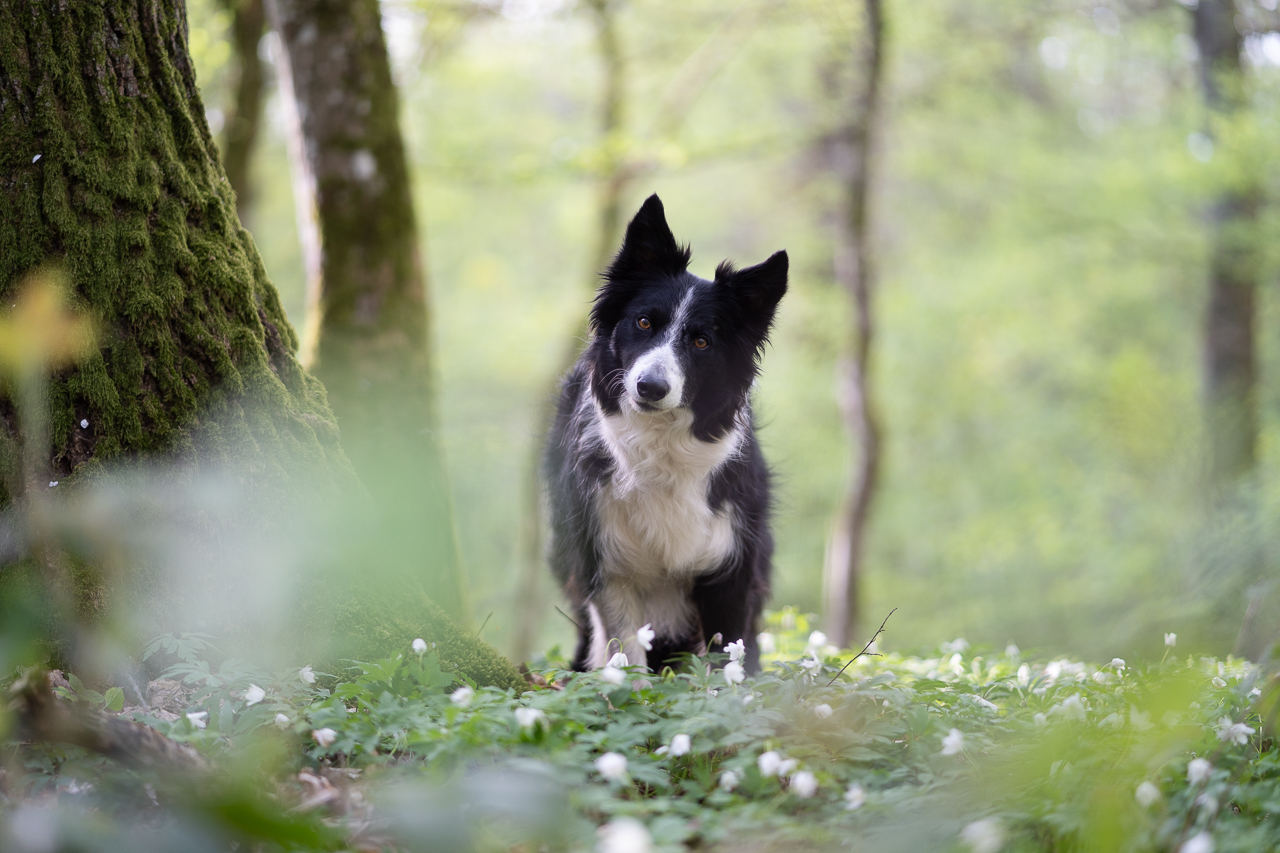
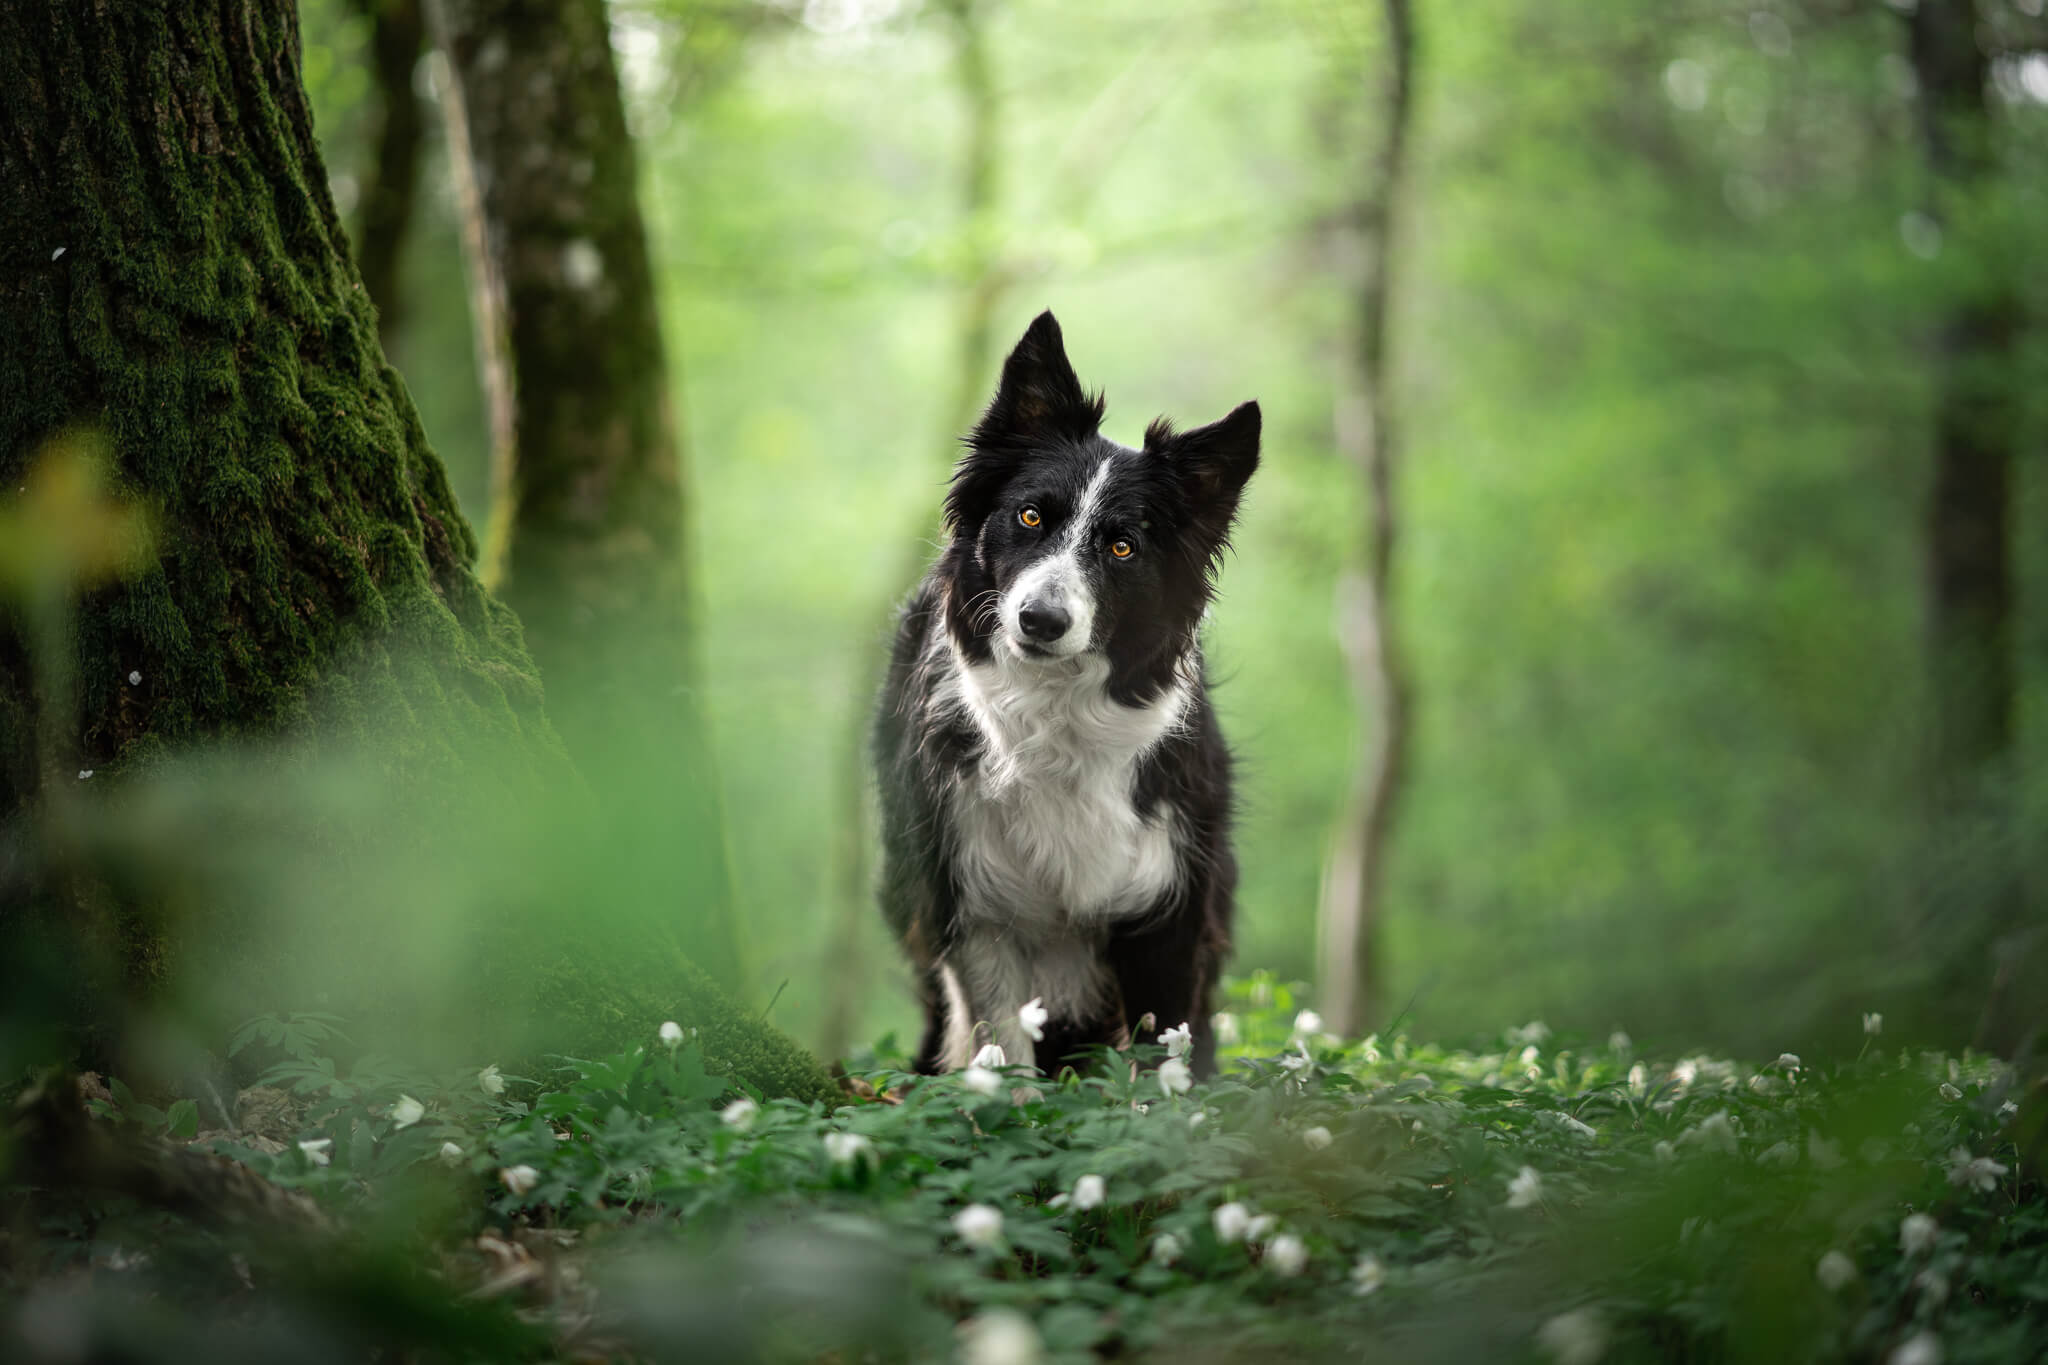
This was such a fun little edit! Making a panorama, taking our overly bright photo and deepening those greens, working through so many of my normal process.
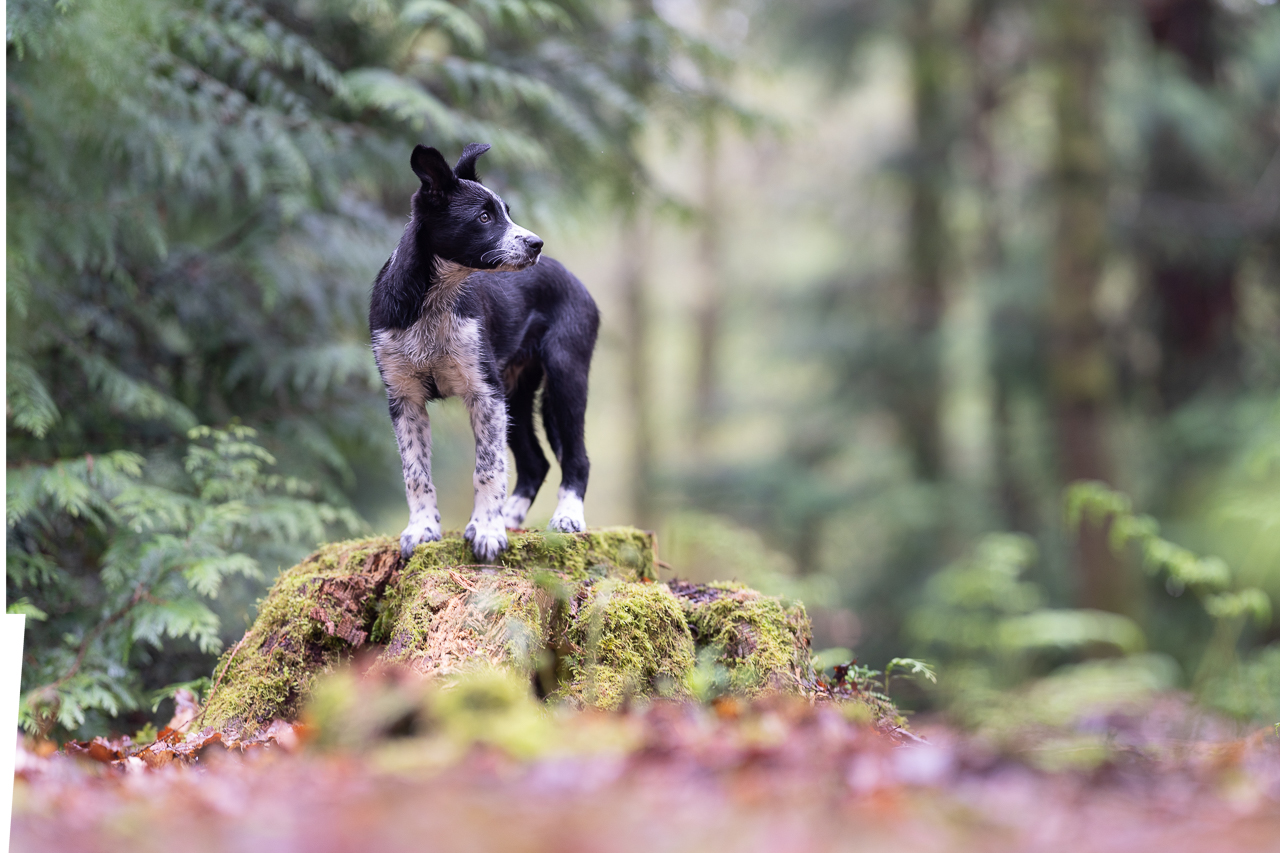
Make sure you download the 4 raw files from above. To take this photo, I used my panorama technique which I cover in depth in the Learning Journey. But in this case, I’d gotten a bit too close to Hijinx as I’d only JUST gotten into position but hadn’t framed up the photo yet, and was expecting him to look toward me, when he looked so beautifully to the side and into this lighter, open space.
I could either forgo the shot and move backward/change my perspective to be lower, and wait for him to look at me to have better composition…
Or I could take the photo with the perfect gazing direction and expression, and take extra photos of the scene to “build out” later in editing. So, that’s what we’re going to do.
Make sure you check out the step by step editing process that accompanies this video, but remember! You don’t have to do the exact settings as me, with the exact numbers.
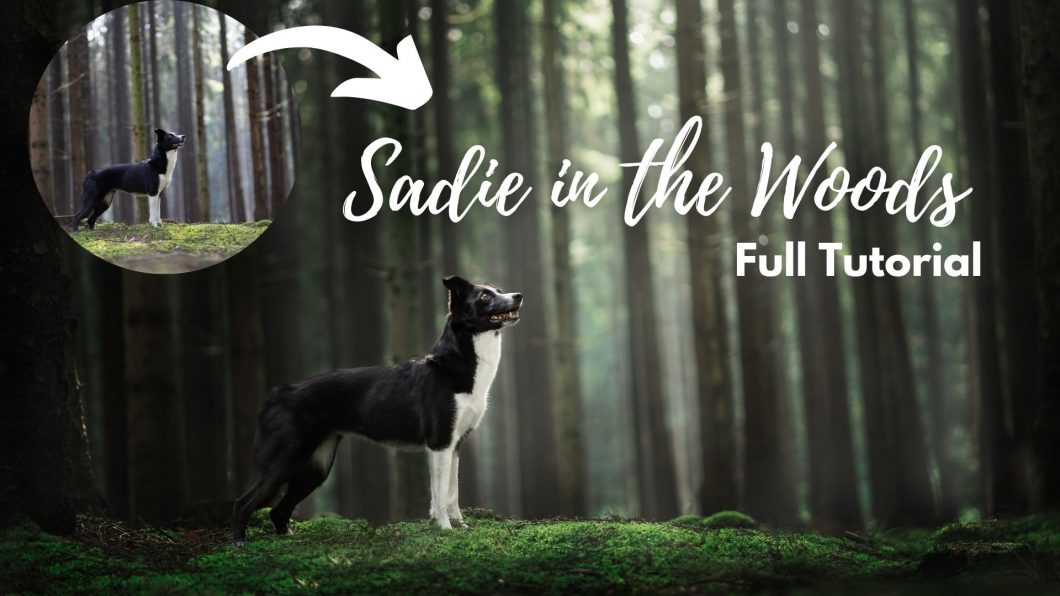
In this tutorial we’re going to working though my process to create one of my favourite pictures of my friend Annika’s dog Sadie, in the woods.
The first part of the tutorial was recorded from my van, while livestreaming on Facebook…. then my computer had an absolute meltdown, so I finished recording the tutorial later, without being live. Therefore the first part looks like pretty lousy quality, but the information is still good!
Since this is a photo for Annika, I won’t be offering the RAW file for download this time. You can of course edit along on one of your own photos, just keep in mind there’s a few elements in this photo that make the tutorial work, which won’t work with every photo:
In this tutorial, we combine 3 RAW file images to create one panorama, giving Petrie enough room below his feet and space above his head for him to look into. We also use a fern overlay for some foreground blur/to add a bit more depth. You can find the files in the download folder.
This is one of those images that I came back to later in Lightroom and made some reasonable changes to, from the point where we finish the tutorial.
Namely:
Yess I could have achieved the same effects in PS but I couldn’t be bothered opening it there again when I knew LR could do the job I wanted anyway.
Below: Before / After the Tutorial / After my LR edits
This was such a fun little edit! Making a panorama, taking our overly bright photo and deepening those greens, working through so many of my normal process.
Make sure you download the 4 raw files from above. To take this photo, I used my panorama technique which I cover in depth in the Learning Journey. But in this case, I’d gotten a bit too close to Hijinx as I’d only JUST gotten into position but hadn’t framed up the photo yet, and was expecting him to look toward me, when he looked so beautifully to the side and into this lighter, open space.
I could either forgo the shot and move backward/change my perspective to be lower, and wait for him to look at me to have better composition…
Or I could take the photo with the perfect gazing direction and expression, and take extra photos of the scene to “build out” later in editing. So, that’s what we’re going to do.
Make sure you check out the step by step editing process that accompanies this video, but remember! You don’t have to do the exact settings as me, with the exact numbers.
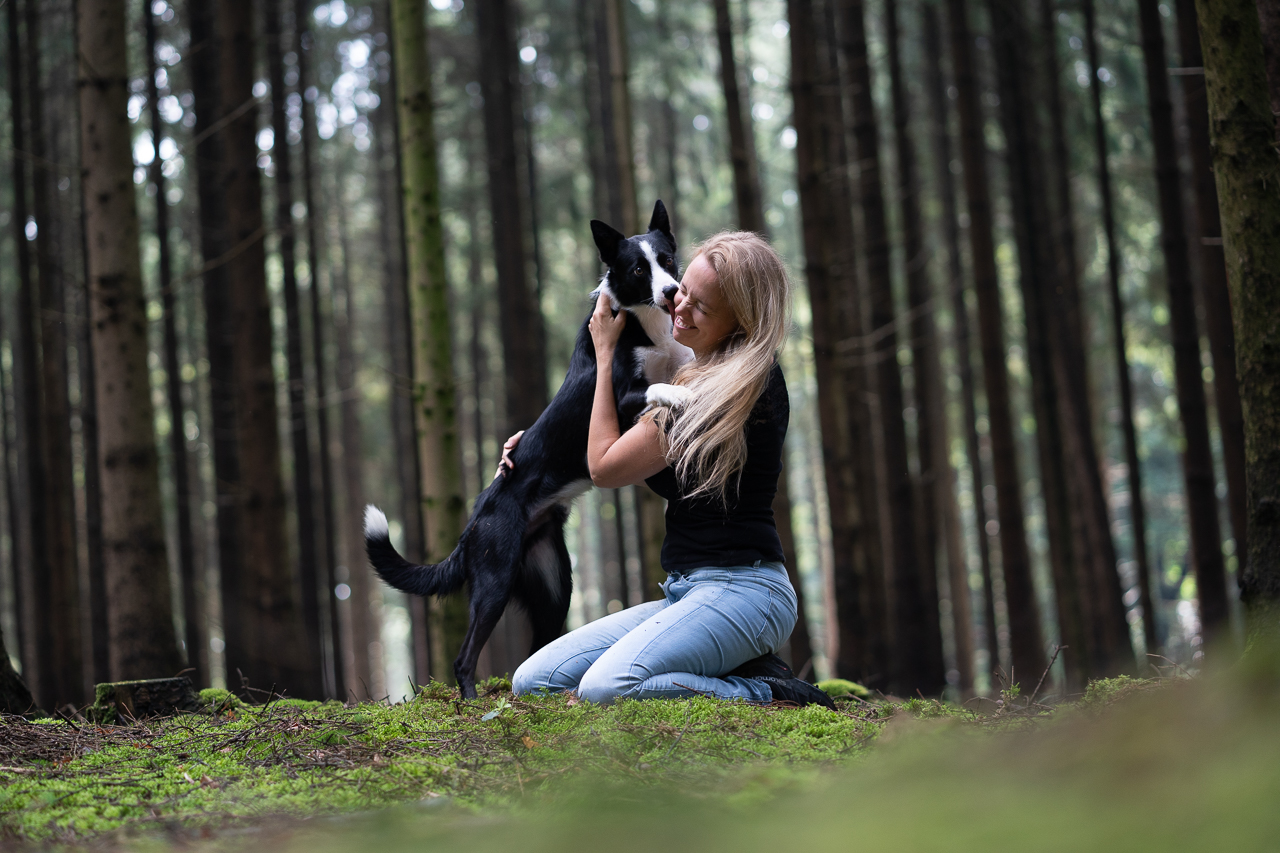
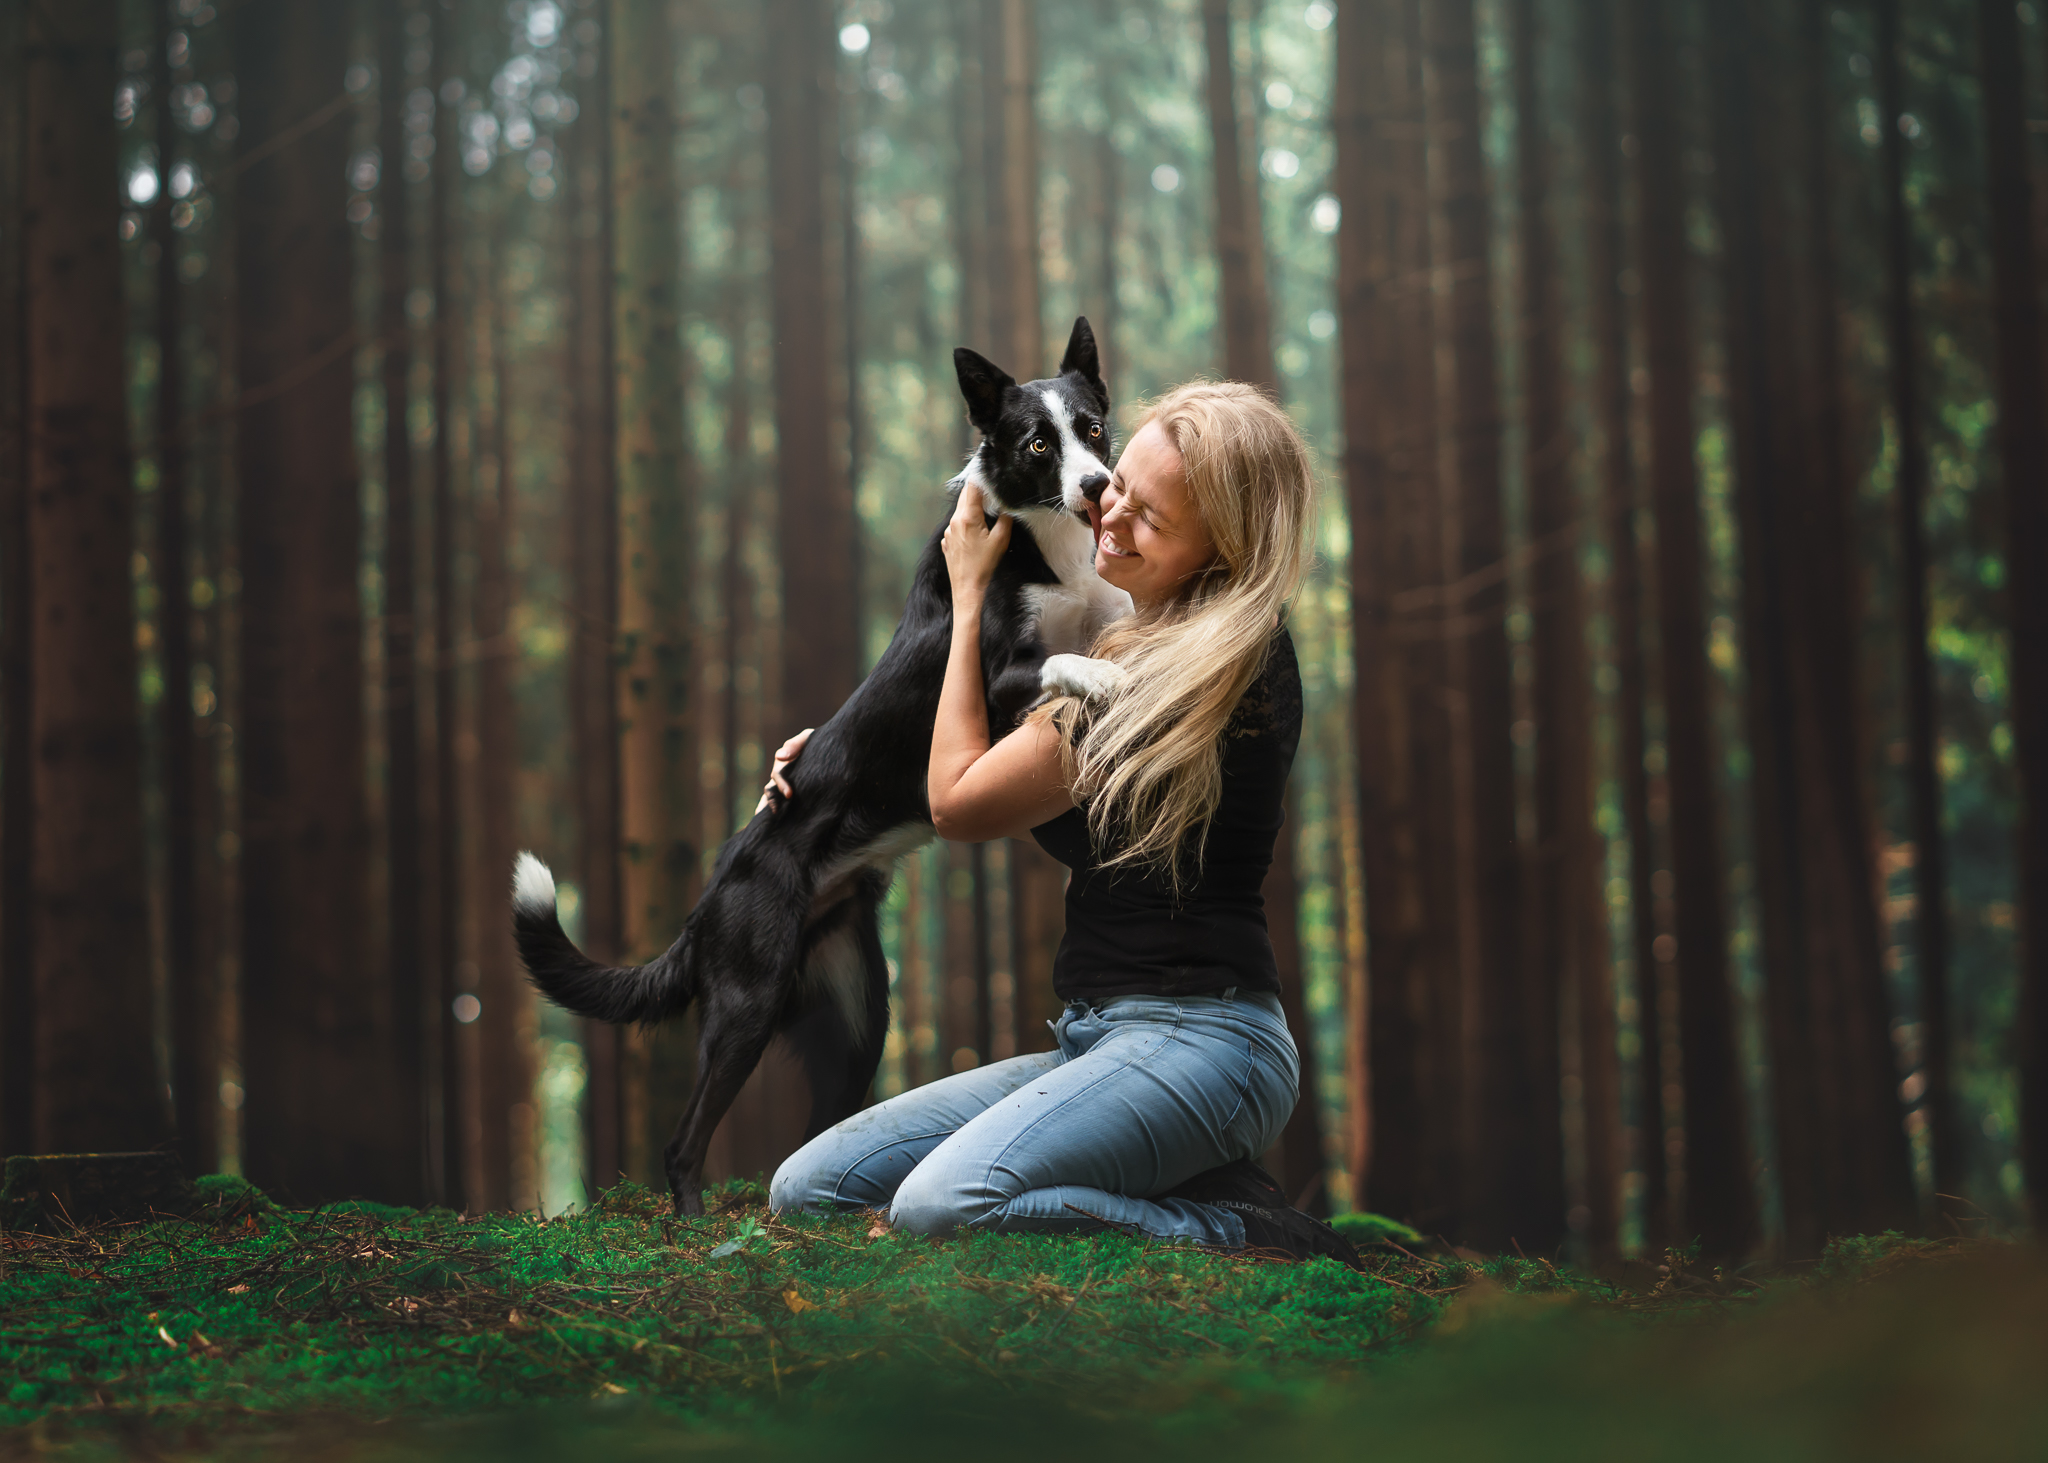
in this tutorial we’re going to work on this photo of Ike & Cecilia, cuddling in the green woods.
You are welcome to edit along, but I’ll ask you not to share this one on social media! Thanks!
After I finished recording, I went and cooled down the image a bit, as it finished feeling a bit too yellow/warm for me. Other than that I don’t think I changed anything afterwards.
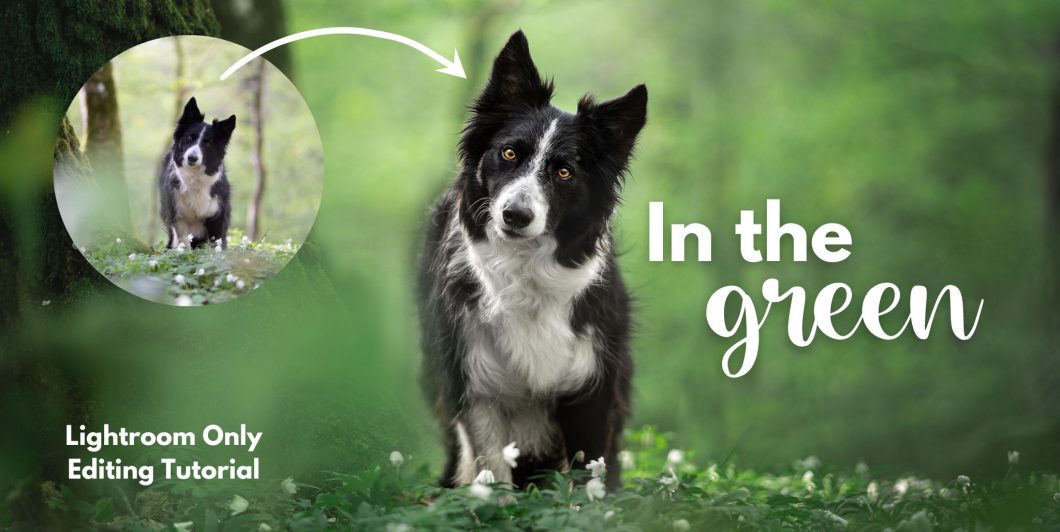
This tutorial takes place on Lightroom only, and discusses with some emphasis making editing choices or having an editing rationale, rather than blindly following a tutorial.
This tutorial will work best if you have explored around Lightroom before, even if you aren’t totally comfortable using it.
We will discuss:
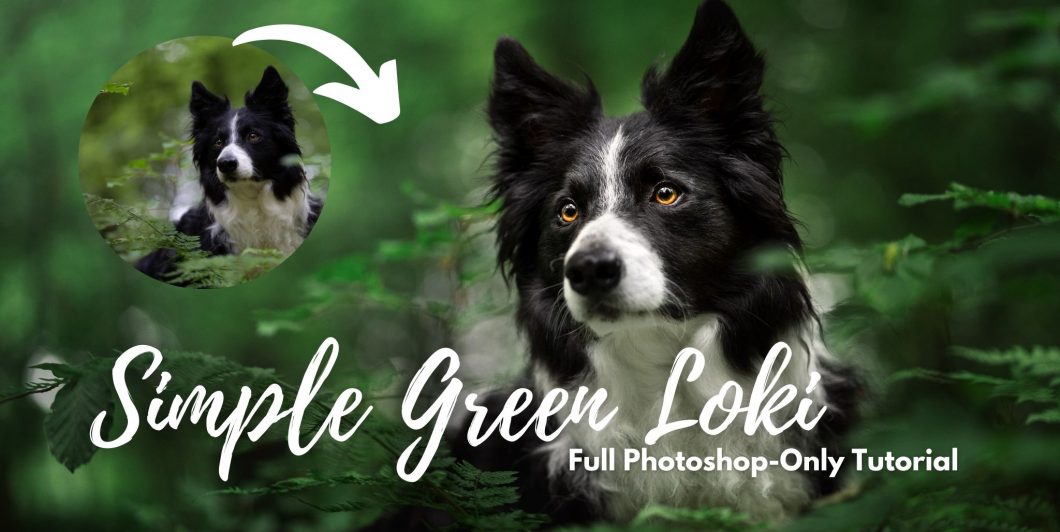
This is a full start to finish tutorial, editing a RAW file of Loki, reasonably well exposed, in the summer greens.
It’s a good tutorial for people who are newer to Photoshop, as we aren’t doing anything extremely complicated, but go through most of my normal tools and processes.
You can download and edit the RAW file below, and of course you’re most welcome to share on social media! Just make sure to credit & tag @inspawrationphotography when you do!
In this tutorial we’re going to working though my process to create one of my favourite pictures so far, of my friend Annika’s dog Sadie, in the woods.
The first part of the tutorial was recorded from my van, while livestreaming on Facebook…. then my computer had an absolute meltdown, so I finished recording the tutorial later, without being live.
Since this is a photo for Annika, I won’t be offering the RAW file for download this time. You can of course edit along on one of your own photos, just keep in mind there’s a few elements in this photo that make the tutorial work, which won’t work with every photo:
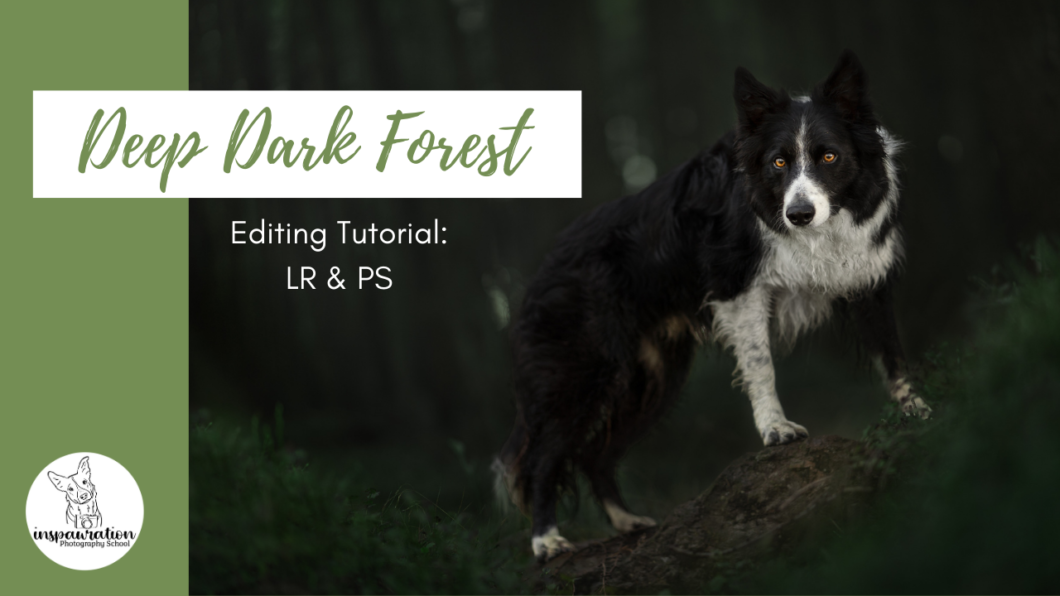
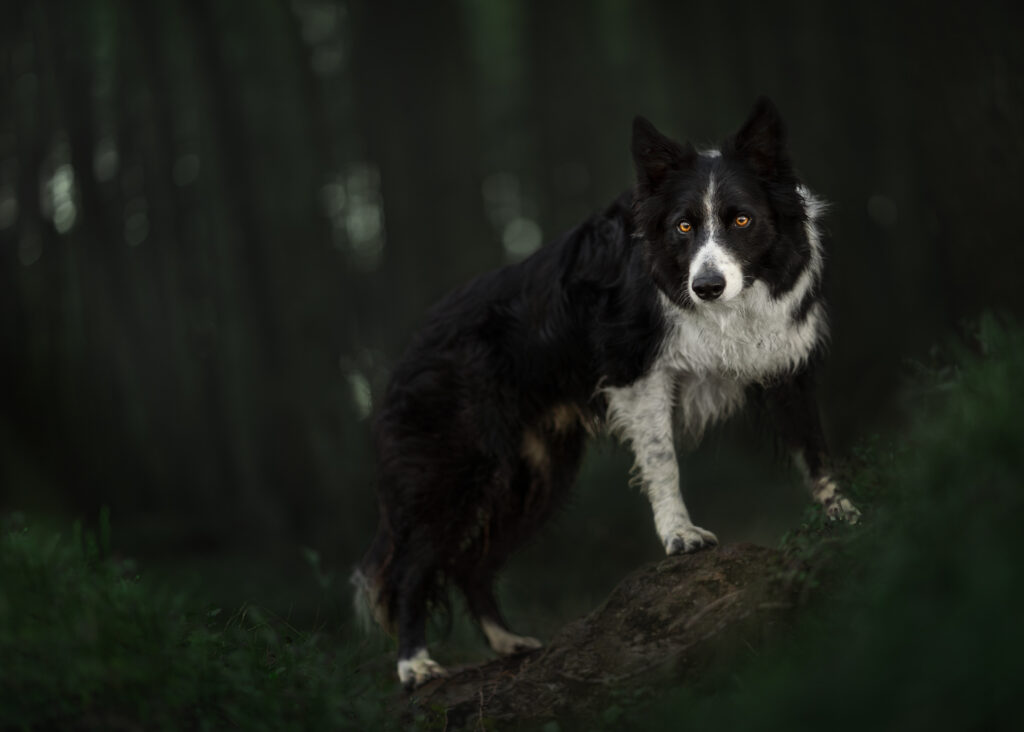
One important thing to keep in mind when it comes to creating the “Deep dark forest” look is that it really does begin in-Camera. Which is to say that if you haven’t set up this mood in the first place, just making the photo darker and darker is not going to create the mood you want.
There are so many elements that go into creating this photo that the editing is almost the least important part of it. You need to have already considered:
Without these things contributing to the feeling of the “deep dark forest”, your editing is likely to not make sense.
The Next Level course goes into detail about these elements. Or, if you’re in the Learning Community, make sure you check out the Deep Dark Forest lesson that covers these elements specifically to achieve this look.
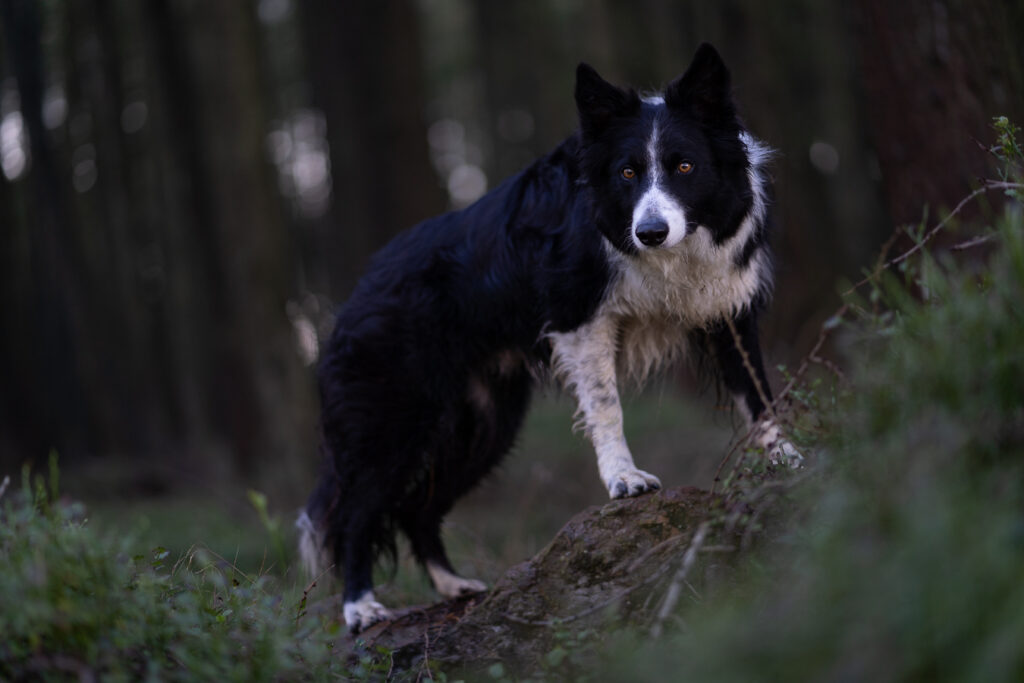
Here is an editing tutorial, working on the photo below. Remember, you mightn’t need to follow my exact steps – you may want 2 curves layers instead of 1. You might need to do more or less work on the greens, etc. It all depends on the photo you’re working with. Similarly, you can use many of these techniques to create other “deep dark” effects. It’s all about curves layers, darkening, and remembering where the light would naturally be hitting – even if there isn’t very much of it.
In the tutorial below, I actually couldn’t “shape” the light as much as I sometimes might, because there was no real shaded side of Loki. Just remember that if the light wouldn’t be hitting a part of your dog, because it’s amongst the ferns, or emerging from some trees, or it’s just his face surrounded by ferns, it doesn’t make sense for those areas that should be in shadow to be bright. The more you learn about how light works, how it falls off from bright to shadow and so on, the more realistic your edits will be.
You can have a go at editing this photo too! The .TIF file acts (more or less) like a raw file, but if for some reason you can’t edit .TIF files, there is also the high-res .jpeg file.
Cookie | Duration | Description |
---|---|---|
cookielawinfo-checkbox-analytics | 11 months | This cookie is set by GDPR Cookie Consent plugin. The cookie is used to store the user consent for the cookies in the category "Analytics". |
cookielawinfo-checkbox-functional | 11 months | The cookie is set by GDPR cookie consent to record the user consent for the cookies in the category "Functional". |
cookielawinfo-checkbox-necessary | 11 months | This cookie is set by GDPR Cookie Consent plugin. The cookies is used to store the user consent for the cookies in the category "Necessary". |
cookielawinfo-checkbox-others | 11 months | This cookie is set by GDPR Cookie Consent plugin. The cookie is used to store the user consent for the cookies in the category "Other. |
cookielawinfo-checkbox-performance | 11 months | This cookie is set by GDPR Cookie Consent plugin. The cookie is used to store the user consent for the cookies in the category "Performance". |
viewed_cookie_policy | 11 months | The cookie is set by the GDPR Cookie Consent plugin and is used to store whether or not user has consented to the use of cookies. It does not store any personal data. |