ArchivesBeyond

Spooky Season Challenge

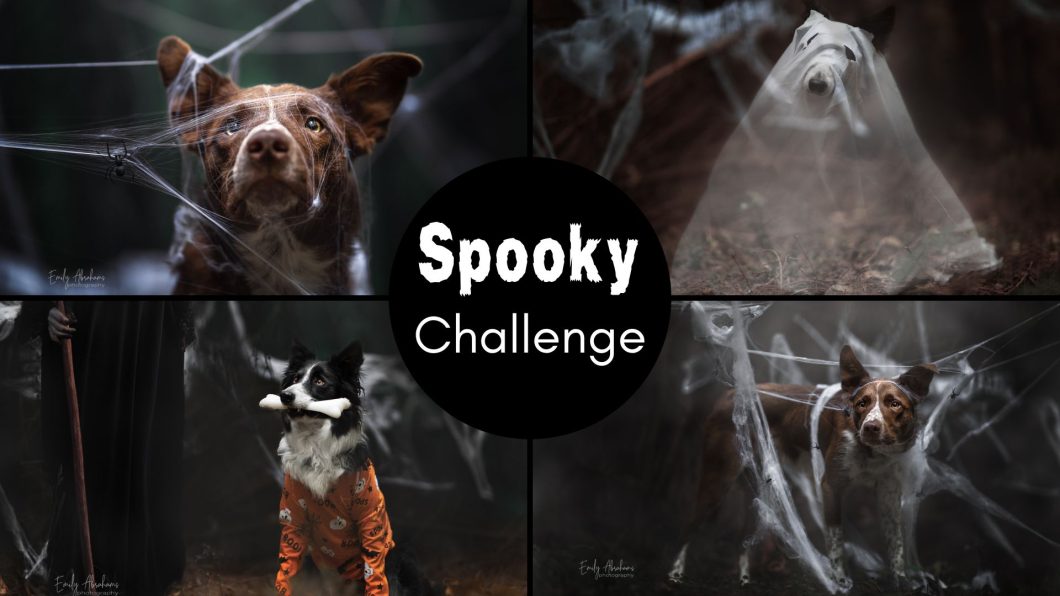
Welcome to our Spooky Themed Challenge! With Halloween right around the corner, it’s the perfect time to embrace the spooky and create enchanting pet photos. This challenge is all about unleashing your creativity and capturing the eerie essence of Halloween. It’s a great excuse to use props and costumes, and to go crazy on editing.

It’s also a time to get creative. You’ll see a lot of dogs wearing sheets as ghosts… so how can you mix up the idea and put your own spin on it? Try to think out the box and you’ll probably have a lot more fun, and come up with some unique ideas.

I did my halloween photos years ago (gallery at the end) and it was really fun to go in with a plan and a concept and shoot  in a completely different way than I normally would – because I was aiming for a very specific look and theme, rather than showing the dog’s majesty or power, or telling a magical story.
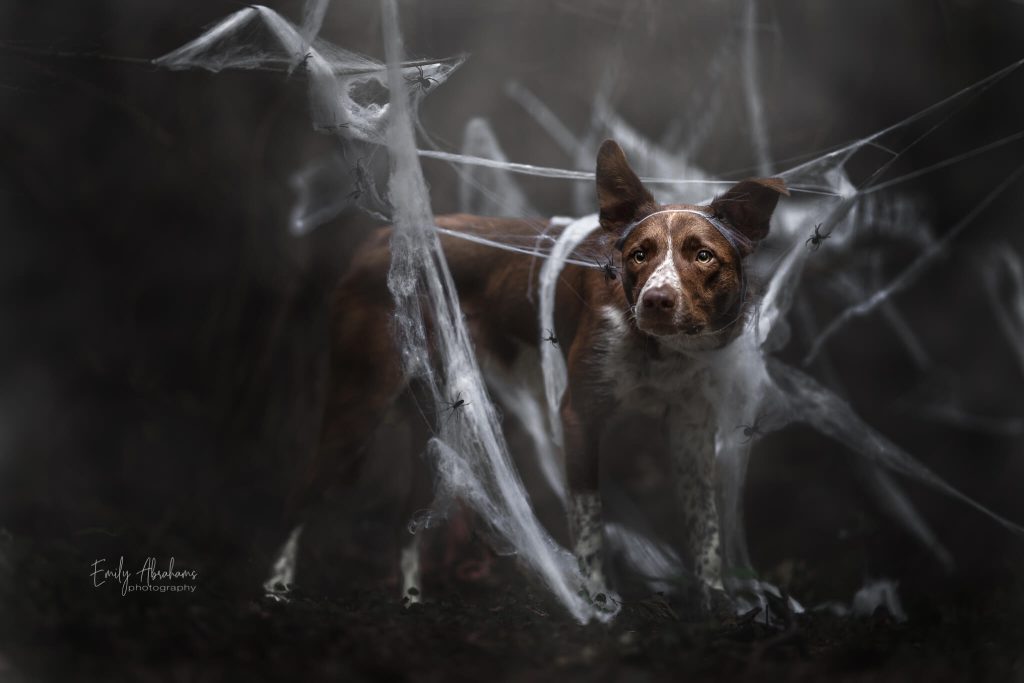
Journey was SUCH a good sport getting wrapped up in all these webs, bless him.

Some tips for the challenge:

1. Choosing the Right Location: To set the stage for your spooky pet photos, start by finding a location that exudes an eerie atmosphere. Think dark and dense woods with gnarled, dead trees, or any other spooky setting you can find. Sparkly bokeh and open skies likely won’t work for this sky. Look for solid backgrounds. Remember: dark and foreboding woods doesn’t necessarily mean an absence of light!!! You still need light for these photos to work.

2. Props and Costumes: Get into the Halloween spirit by using props and costumes. Fake spiderwebs, bones, a jack-o-lantern, or any other Halloween-themed items can add a creepy touch to your photos. Don’t forget that costumes can bring an extra layer of charm to your shots.

3. Expression Matters: Consider the expression of your furry model. Spooky photos often work best when your pet has a mysterious, serious, intense or even worried expression. While happy and open mouths are adorable, they may not suit the eerie theme. Loki’s sweet and hopeful expression as he hands the bone back to Death being the exception, so of course it depends on the story and scene you’re creating.

4. Watch the light: Even in a dark and spooky location, it’s essential to ensure your pet’s face is well-lit. Proper lighting is the key to making your photos both eerie and recognizable and aren’t overwhelmed by noise and grain by having to bump the ISO like crazy. 

5. Elevate with Editing: After capturing your spooky shots, don’t hesitate to take your editing skills to the next level. During post-processing, consider:

  • Darkening the image a lot more than you usually might, just keep in mind HOW LIGHT WORKS. What would be very dark? What would be less dark?
  • Desaturating colors to make your photos more monochromatic.
  • Adding a cold, grey-green cast to intensify the eerie atmosphere.

6. Fog and Smoke Overlays: For that extra touch of spookiness, try incorporating fog or smoke overlays during the editing process. These effects can add depth and enhance the overall atmosphere of your photos. You can have a look at how to add fog in this lesson.

I generally use a fog-shaped brush and stamp it on a new layer. You can find fog brushes on Etsy, or search “photoshop fog brush” for other options.
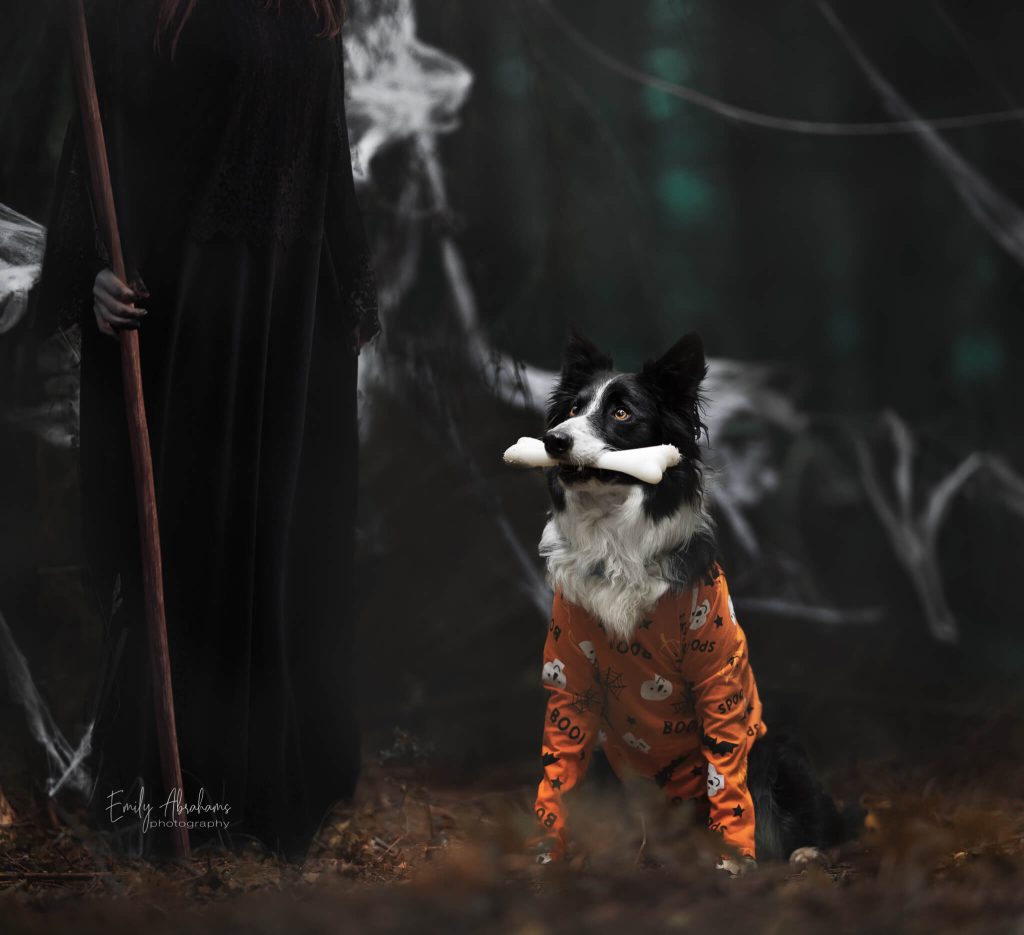
Death was actually from a stock image I found on Pexels or Pixabay or similar.


The Challenge: Now that you have all the tools and tips, it’s time for the challenge!

Your task is to capture a spooky-themed pet photo using the guidelines we’ve discussed. Let your creativity run wild, experiment with different ideas, and have fun with the process.

Enter the challenge following the normal process (Upload to the Community, comment on someone else’s challenge entry, and mark this lesson as “Complete”) and have FUN with it!

We can’t wait to see your spooky contributions!

Some SOOCs or with LR edits

Portfolio Challenge: Anchor

If you’re someone who wants to take on clients of any kind, whether for portrait sessions, to be hired to cover dog sport events, to do UGC or Commercial photography, you’re going to need a portfolio.

A portfolio is how potential clients can see what your work is about. Your technical skills, and your style. 

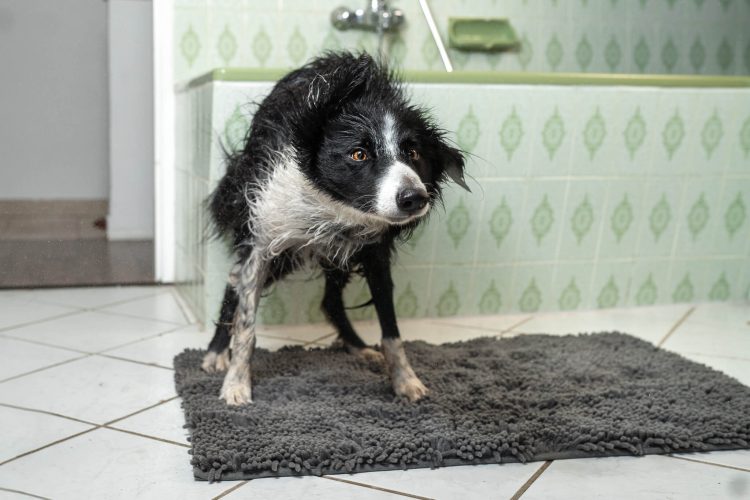
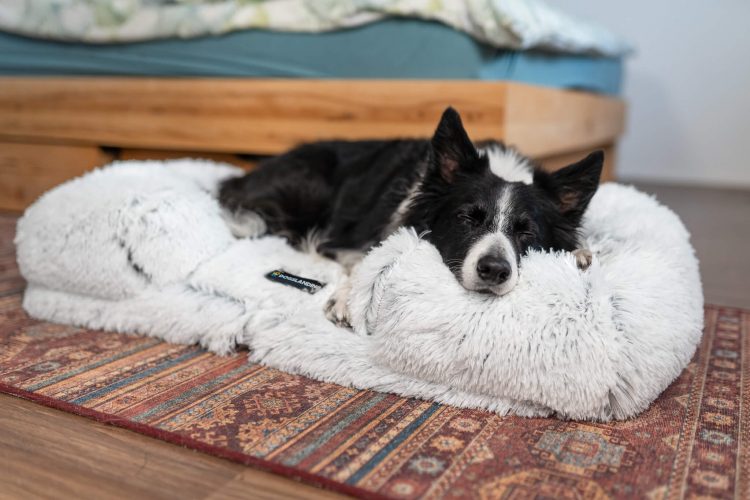
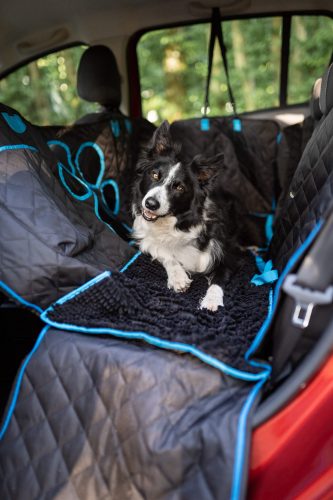
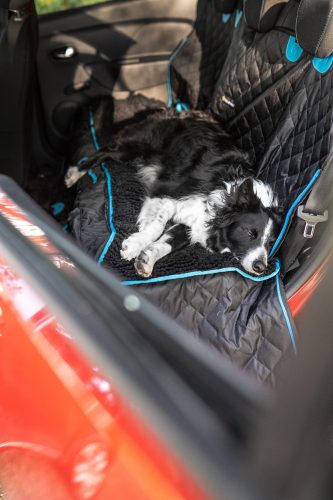
Depending on what kind of photography you intend to do, it may be worthwhile to have more than one portfolio. For example, I have one for my portrait sessions (which probably currently needs a bit of an update!) and one for product photography. After all, my product photography clients rarely want full fine-art edits, and don’t care about dogs posing majestically in the woods. They want to know if I can take a photo of a bed, a leash, a car seat cover. 

It would be easy enough to make a challenge that said: “Go and make your portfolio with 10-15 images.” and give you guidelines for that, however I think I’ll save that for another full lesson, as I want this challenge to be a jumping off point, rather than something overwhelming that you’re not going to attempt. 

I know that choosing your 10-15 images to represent your work can be really difficult! That’s where this challenge comes in.

Here’s the challenge:

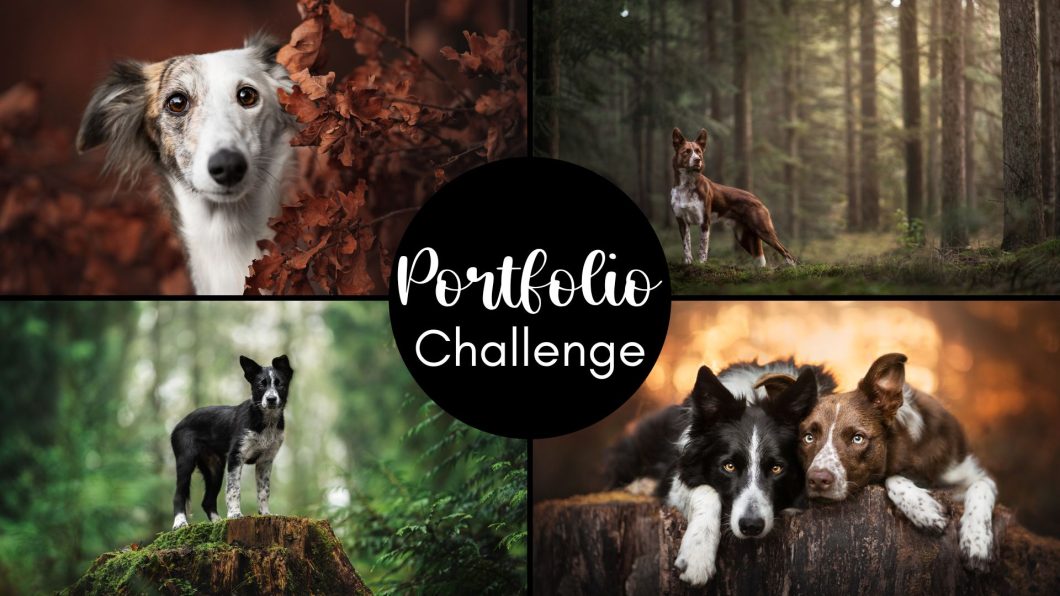
Find 2-4 photos that will act as “anchors” for your portfolio.

These photos should be your typical style/location/colours/light. They should be technically very good, and edited in your typical way. Eg., if you don’t normally mess with the colours of the sky like crazy, your anchor probably shouldn’t be one where you went from grey overcast to pink dawn.

The idea is to use these 4 images as a guide as to what else you might like to include in your portfolio. By building other images around your anchors, it should help your portfolio feel cohesive. 

My 4 anchor images might look something like this.

Interestingly, while writing out this challenge, I realised I had no deep green forest photos in my portfolio, despite this being a HUGE part of my photography style!

Basically, you want 2-4 images that best represent what you do. For me, it’s:

  • Backlight and intensity
  • Warm oranges and touching moments
  • Deep greens
  • Magical storytelling (warm tones and greens)

It’s maybe no surprise that these are 4 of my favourite photos, but not all of my favourites… because my other favourites fit into one of those categories. So the anchor helps me build out the portfolio using those themes/ideas/categories. 

The idea of using anchors can also help you trim things that don’t fit from your portfolio. For example, I had one of my favourite photos of Piet standing in front of a waterfall in my portfolio. I love it, but the likelihood of going to such a waterfall with a client is very slim. 

On the other hand, I left some frisbee shots in there, because it would be fun to do this kind of action photography in the future, so if an owner with a frisbee dog wanted to book me, I’d be up for it!

So using these anchors doesn’t mean you need to get rid of everything else, but it CAN be a useful starting point for building your own portfolio and to give you some guidance in how to make it cohesive and make sense. 

Once you have your anchor images, make sure you post them over in the “Challenges” topic in the Learning Community!

Remember, this method of getting your portfolio set up might not work for everyone. 

And, that what you choose now, is not your “forever portfolio”. There’s no right or wrong choices here. You can always change the photos at a later date! So, don’t agonise over your choices. Imperfect action beats perfect inaction every time!

Pricing for Profit: Guest Speaker Nicole Begley

This week we were joined by business-guru supreme, Nicole Begley from Hair of the Dog Academy.

In this guest talk, we discussed:

  • How to get $2-3k average sales, and that this is achievable in ANY market
  • How NOT to price your work
  • How to determine your price-list (worksheet included – download it below!)
  • 3 stages of business
  • The key? MESSAGING
  • What o you want to sell and how do you price it?
  • How do clients decide who to hire?
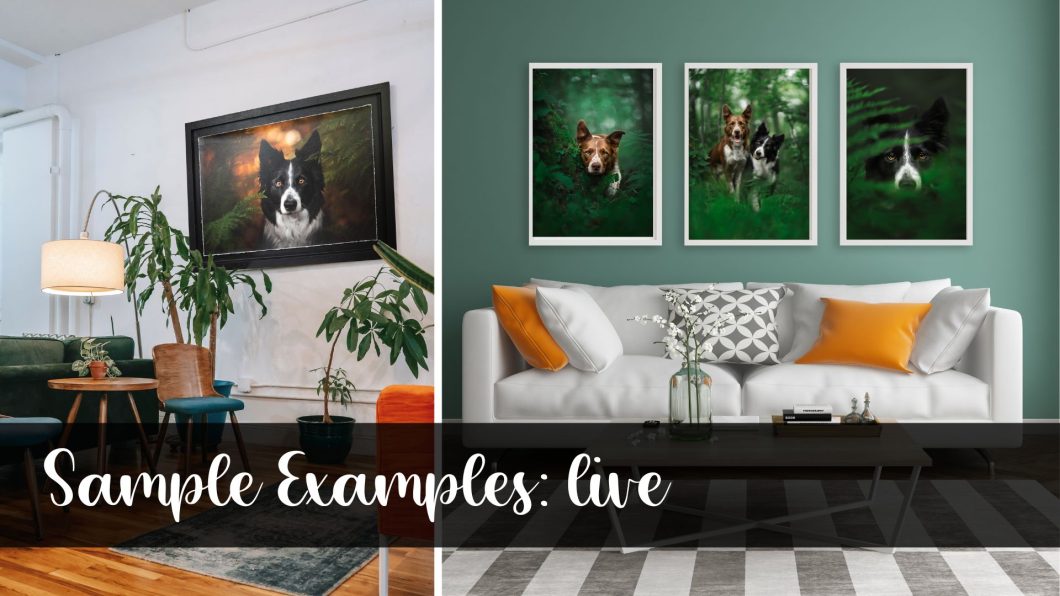
  • A brief discussion on mock-ups and showing art on walls
  • How to find high-paying clients

About Nicole and Hair of the Dog:

Hair of the Dog Academy is a comprehensive community in which we go deep into what it takes to build a profitable pet photography business with easy to follow step-by-step actions – and a good side of mindset shifting.  

If you join as a yearly member before August 15th, you’ll get a 30-minute 1:1 call with Nicole as a bonus (a $375 value) – which will help you hit the ground running and know exactly what to focus on next in your business.  


Sample Examples: live session

In this live session, I collected all the wall art samples I’ve ordered over the past 3-4 years, as well as my album and folio box and other small things, to show you what SOME options are that you might want to offer clients. 

This is NOT a definitive list. I have not ordered every product from every company, so ultimately my advice is to see something you think you would like for yourself, and that you find beautiful, and order a sample of it.

Many of the companies listed below do quite large sample discounts especially when you sign up with them for the first time, so order a sample and see if you like it. 

There is no “right or wrong” when it comes to choosing products to sell to clients. If you love a product, you’re more likely to sell it. If you only have it because you think you should… you probably won’t sell it. 

There are also endless ways to go about pricing your products, however one guideline could be:

Cost of Goods Sold (eg., the cost of the raw product) + Shipping * 1.5-3 (for Europe/UK) or up to * 5 for USA + Tax = Cost of the product for the client. 

Professional Print Labs

Keep in mind that not all of these are “professional photographers only” (like Whitewall and Saal Digital) which means your client could theoretically find out the raw price.

Keep in mind as well that this is not an exhaustive list. I’m sure there are many, many more print labs. Feel free to write a comment below of any you have used and can recommend and I’ll be sure to add them to the list.

Many of those in the UK and EU will ship to the UK or EU so don’t rule them out just because they’re located in one place or the other – however do be aware that due to Brexit, there is no longer free trade between the EU and UK so customs fees and charges will apply. I’m sure there are similar things in place for the US & Canada and potentially AUS & NZ.

Similarly, you may be able to order from Graphi, Whitewall etc to the USA, but I have no idea what happens with taxes, customs and so on. You would need to check with those individual companies as some of them have branches overseas (I know Queensbury does, for example).

UK

  • Digitalab
  • Loxely
  • 3xm
  • Nphoto

EU

  • 3XM
  • Saal
  • Nphoto
  • Whitewall
  • Gicleeart
  • Finao
  • Laminamarc

US

  • Millers
  • Bay photo
  • Frame suite
  • Visionart
  • ACI American colour imaging
  • H&H
  • Floricolor
  • Album crafters
  • WHCC
  • Midsouth

Canada

  • Pictorem
  • prolabcanada.ca
  • printpartner.ca
  • gtaimaging.com

International

  • Graphi (Italy)
  • Whitewall?
  • Queensbury (nz company)

AUS/NZ

  • Atkins in SA
  • Brilliant prints
  • Streets
  • Seldex
  • Photoking

Product Photography & UGC

Product photography, and more specifically, User Generated Content (UGC) is really taking off in social media right now.

Thinking about offering product photography or hooking up with brands to do UGC for them can be a GREAT way to earn some additional income by taking photos of your own dog/s. 

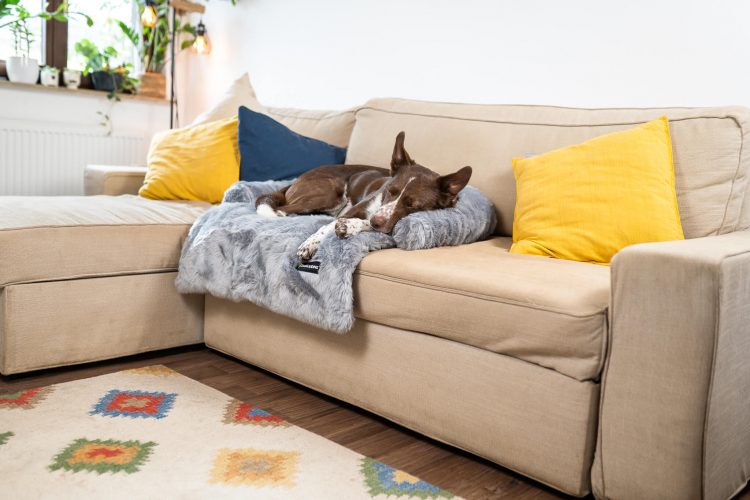
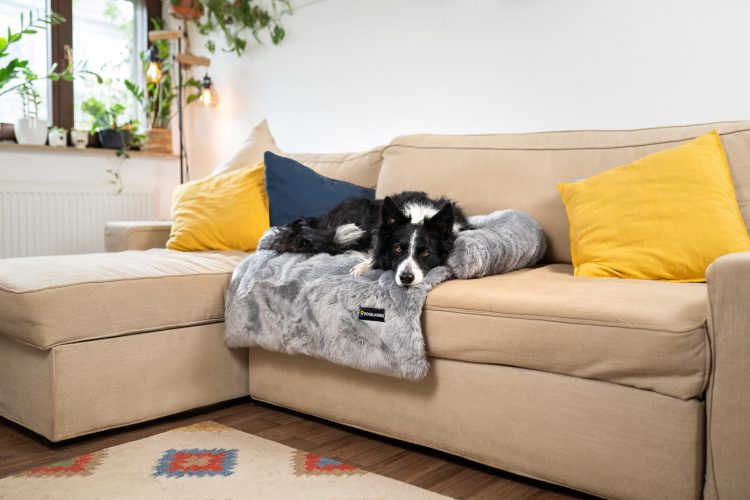
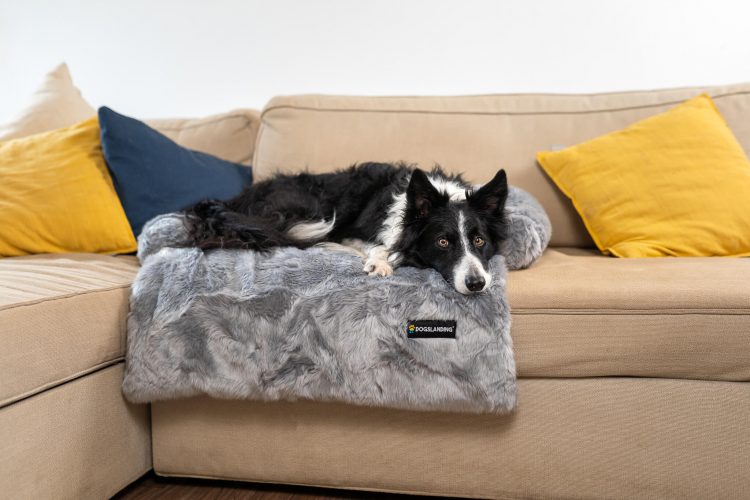
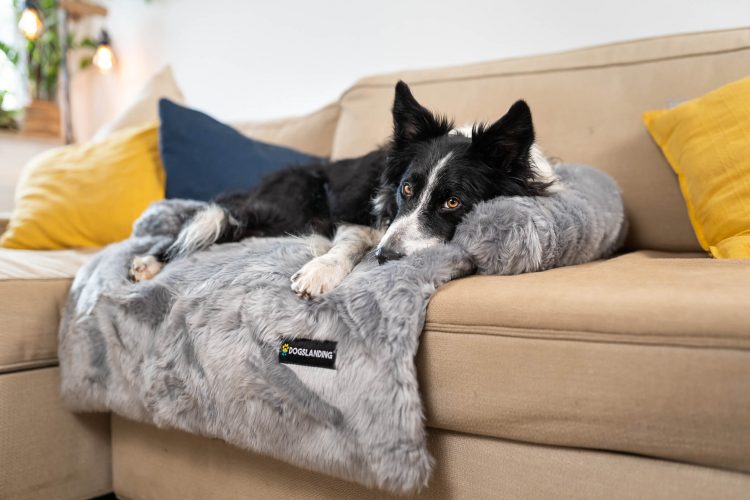
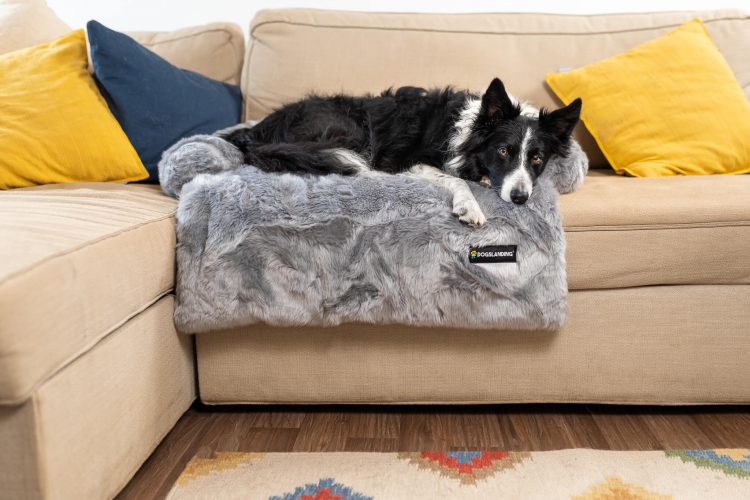
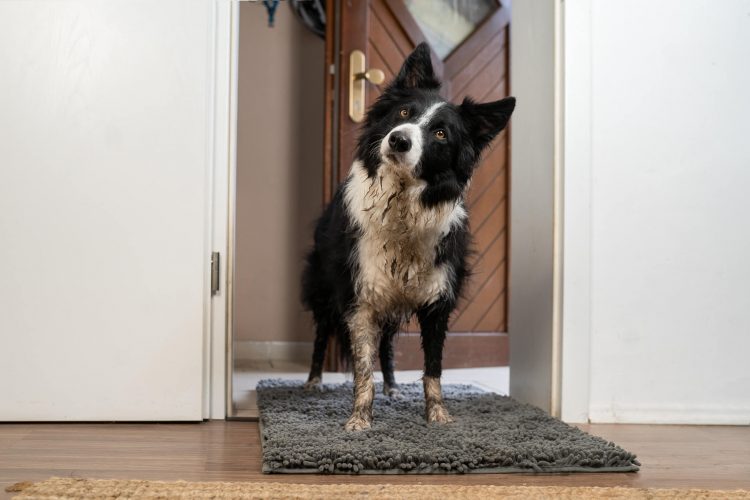
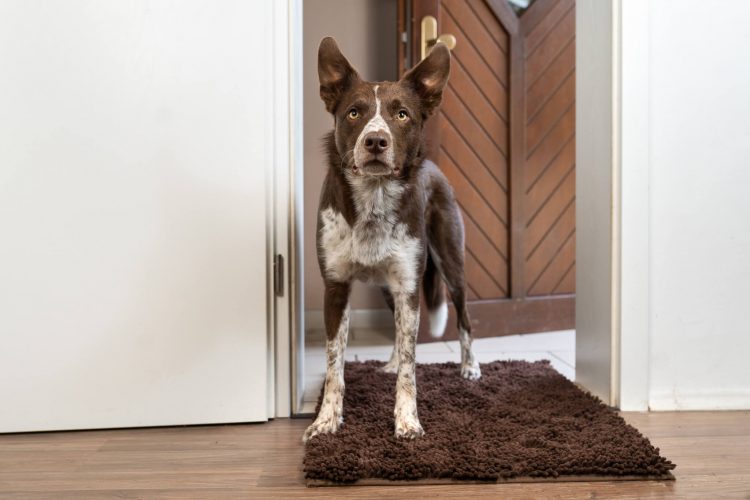
Product Photography or Commercial Photography is going to be photos of the product for an ecommerce website usually. Imagine you want to buy a collar or a dog bed. You go to their site, click the product, and view the photos. Someone has taken those photos, and they have a lot to do with whether you make the purchase or continue shopping. 

UGC is generally more for social media, and might show you/your dog using or interacting with the product in a way that feels natural. “Look at my great new harness!”: This content is usually posted on the COMPANY’S social media, and NOT yours. It’s different to a brand partnership or sponsored post arrangement, as you might not have anything further to do with the brand beyond creating content for them. Therefore, it doesn’t matter how many followers you have or if you’re even ON social media, you can create UGC.

The two types are super closely linked so often if you’re taking product photos or videos, you’re also making UGC, depending on the terms of your arrangement and how the content will be used.

For me, I am set up on Fiverr, and have put together a media kit for any companies who contact me through social media, that explains my rates for both sponsored posts on MY channels, as well as UGC. 

I’m not going to go into what to charge in this post! 

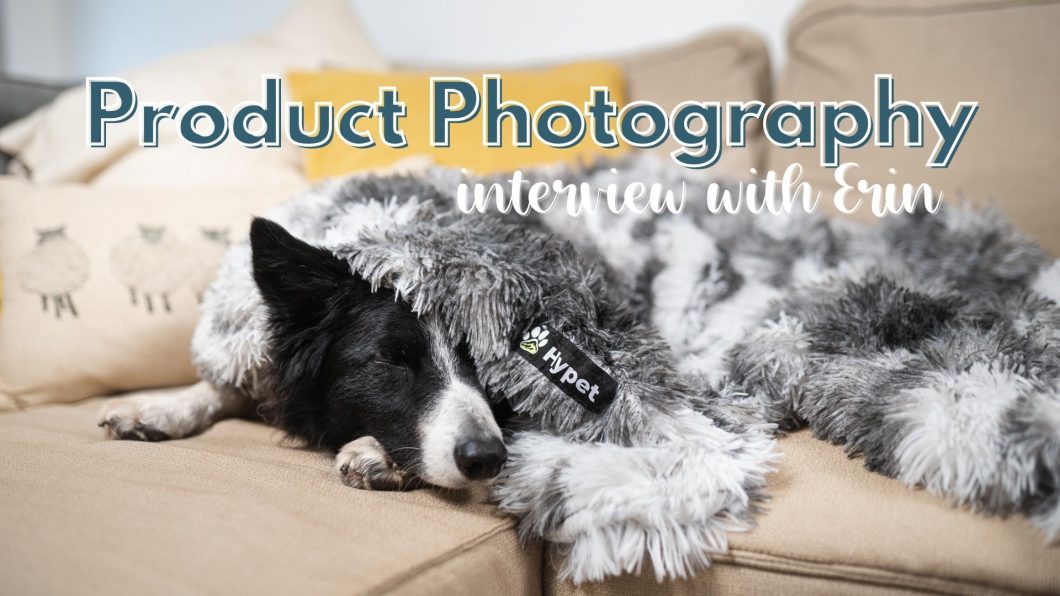
But in this interview I did with Erin for Pet Biz Creatives that she’s kindly letting me share with you all, I talk a lot about product photography both from an ecommerce business side, and from a photographer’s side.

If you want more thoughts and info on this option as a revenue stream please let me know on Inspawration Connect and I’ll be happy to share more of my experiences. 

Some of my recent product photos

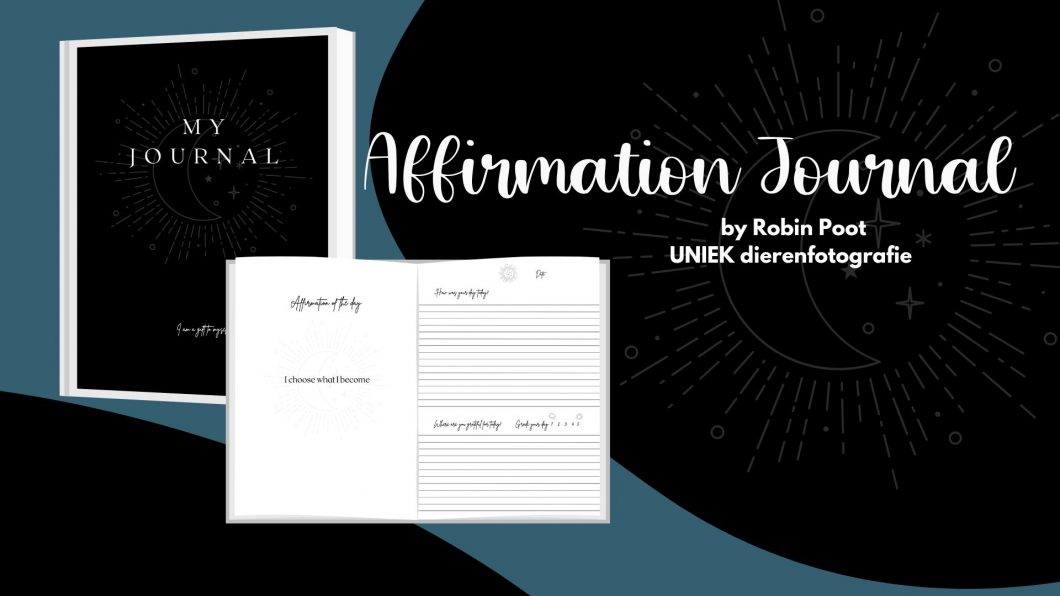
Affirmation Journal

Our amazing student Robin created this affirmation journal as a way to record the amazing things happening in life, and to give you daily positive affirmations.

She has graciously shared the .pdf with us which you can download below, but as there are 190 pages I highly recommend you pick up a hard copy for yourself from Amazon (and you’re supporting one of your fellow students in the process, woo hoo!)

The Perfect Trap: How Perfectionism hurts Performance: Guest Speaker Kai Simmonds

The Perfect Trap: How Perfectionism hurts Performance: Learn more about  Perfectionism and how it harms more than it helps. We’ll dive through the effects of Perfectionism as well as it roots and some ways to overcome it.


Kai Simmonds Bio:

Kai is Certified Corporate Wellbeing Coach who has spent the last 2.5 years supporting over 100+ clients with anxiety, stress and burnout. She is a Certified Life Purpose Coach, Yoga and Meditation Teacher and Sound Healing and with her combined knowledge is able to help ambitious professionals achieve big goals without burning themselves out. Her mission is to help others learn to live a balanced life full of purpose and joy.

Please help Kai out by leaving her some feedback on this form, once you’ve watched the recording! Not only does this help her improve her workshops, but it can support her business with testimonials, and I’m so grateful that she came in to talk with us, it’s the least we can do. https://forms.gle/25z419ZV7tz85e48A

Pressure and Perfectionism with guest speaker Jenni Glad

About Jenni:

Jenni is a change catalyst, clinical hypnotherapist, writer and motivational speaker. Creator of the Clarity Method, she is a master of helping people to reconnect with themselves to change their beliefs, thought patterns and habits for self-mastery, happiness and success. Her mission is to show everyone you are the creator of your happiness and reality, and you can consciously change your life and manifest your desires by empowering the connection with the Self. Jenni undertakes personal coaching, online courses and mindfulness coaching with large-scale organizations.

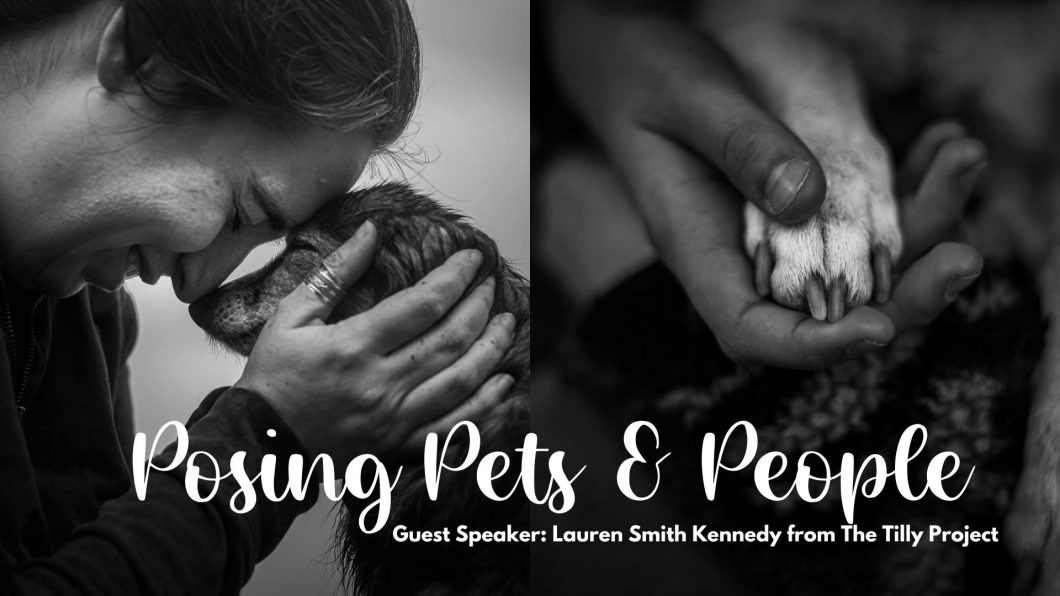
End of Life Sessions & Posing Pets & People: Guest Speaker Lauren Smith Kennedy

Lauren Smith Kennedy from the Tilly Project joined us to talk about her heart’s work: End of Life pet photography. Capturing the bond between owners and their pets who will soon be crossing the rainbow bridge, and inspiring other pet photographers to not avoid this heart-breaking aspect of photography.