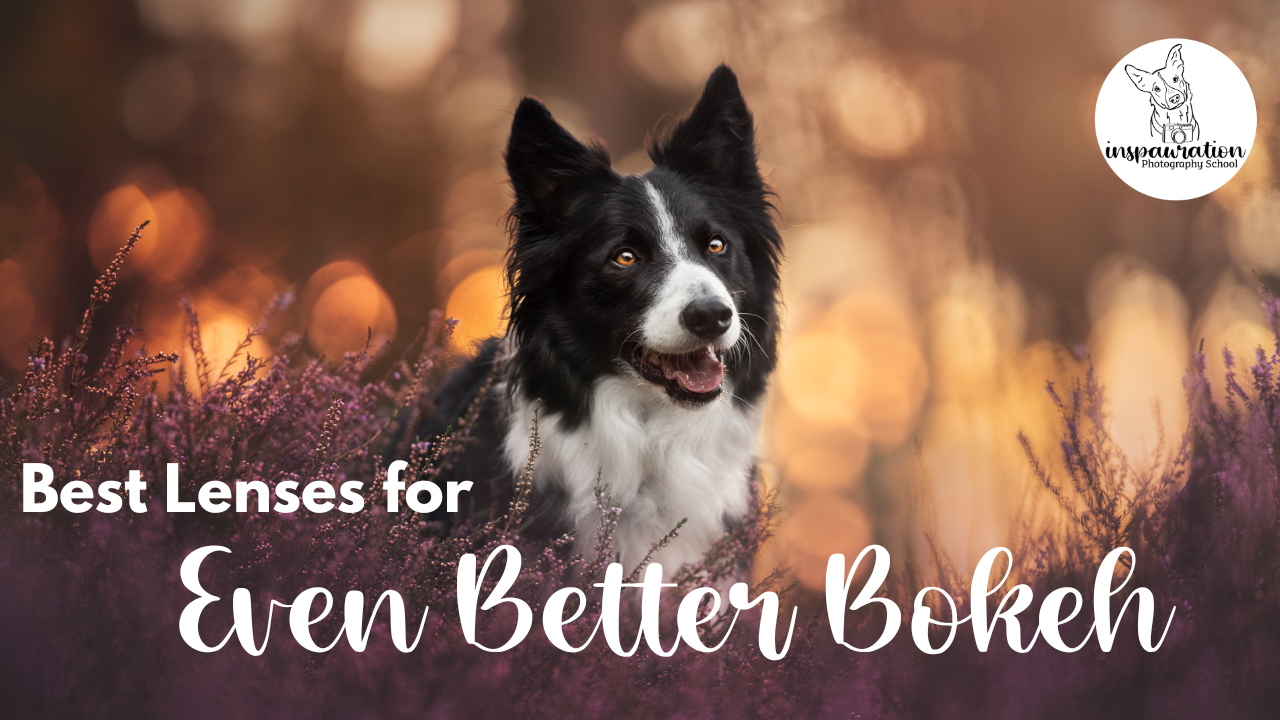
The lens you choose has the power to transform a mundane moment into a magical one – so what are the best lenses for bokeh in pet photography? This guide will help you navigate lens selection, and set you up for dreamy pet portraits with ethereal blurry backgrounds.
My Preferred Lenses
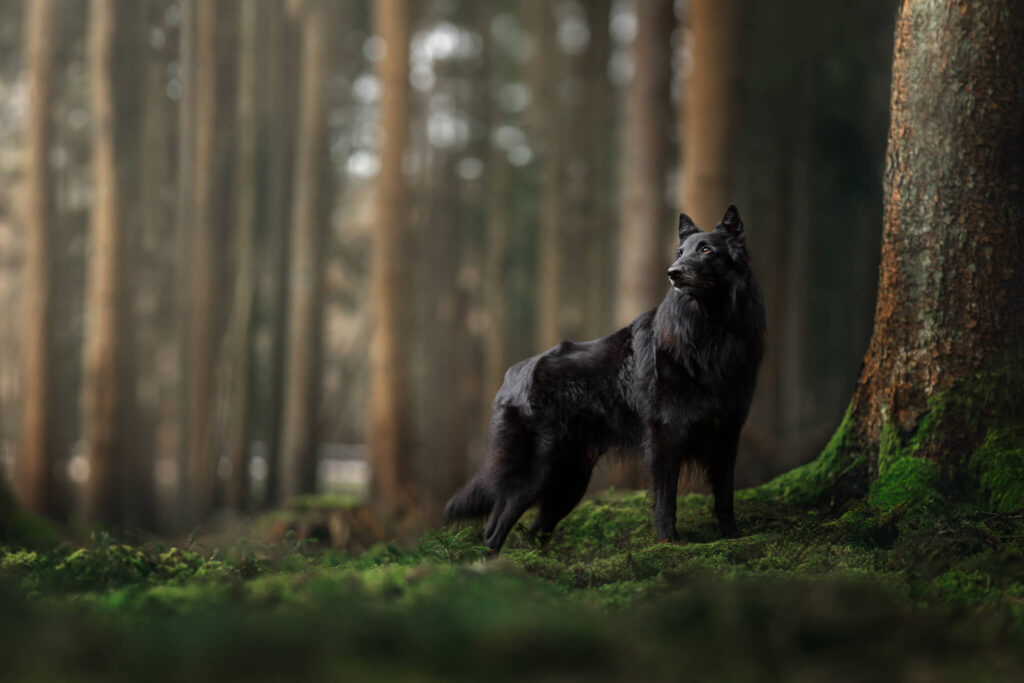
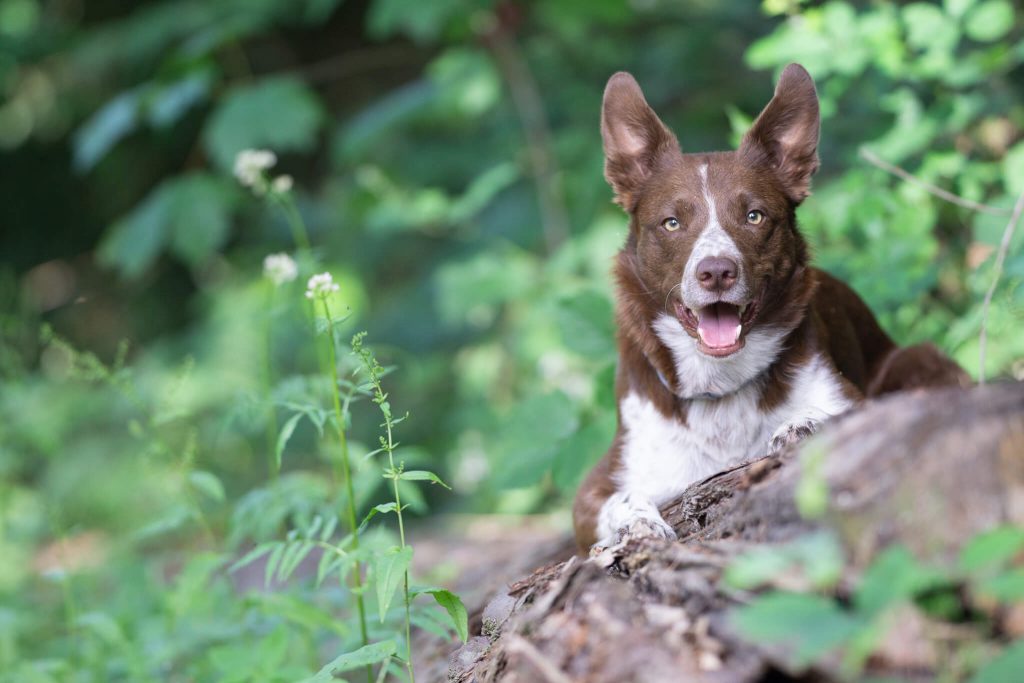
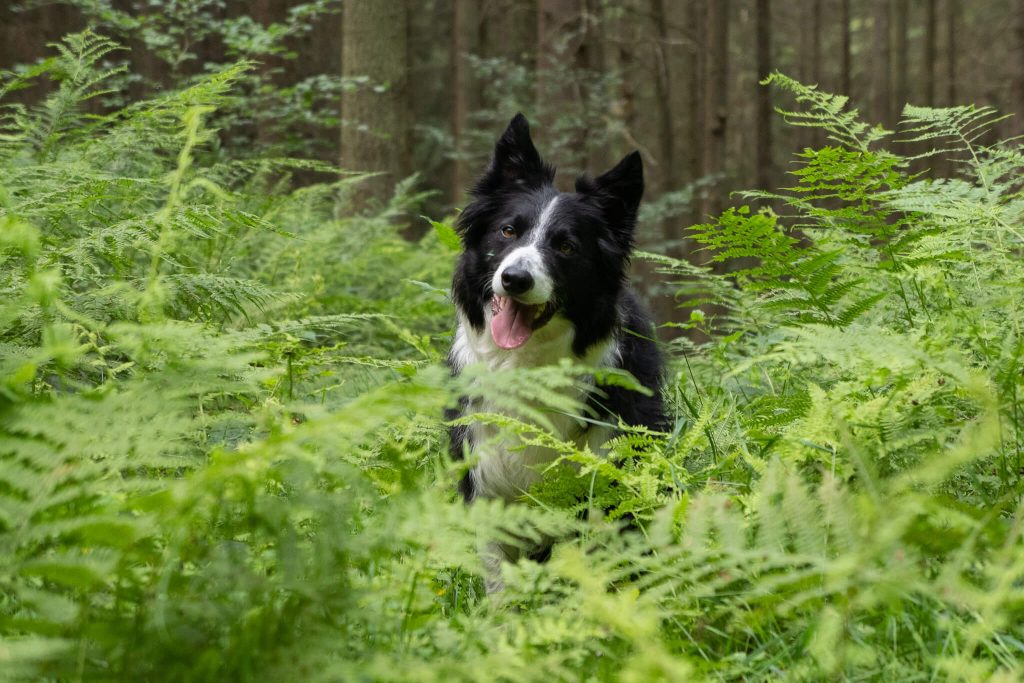
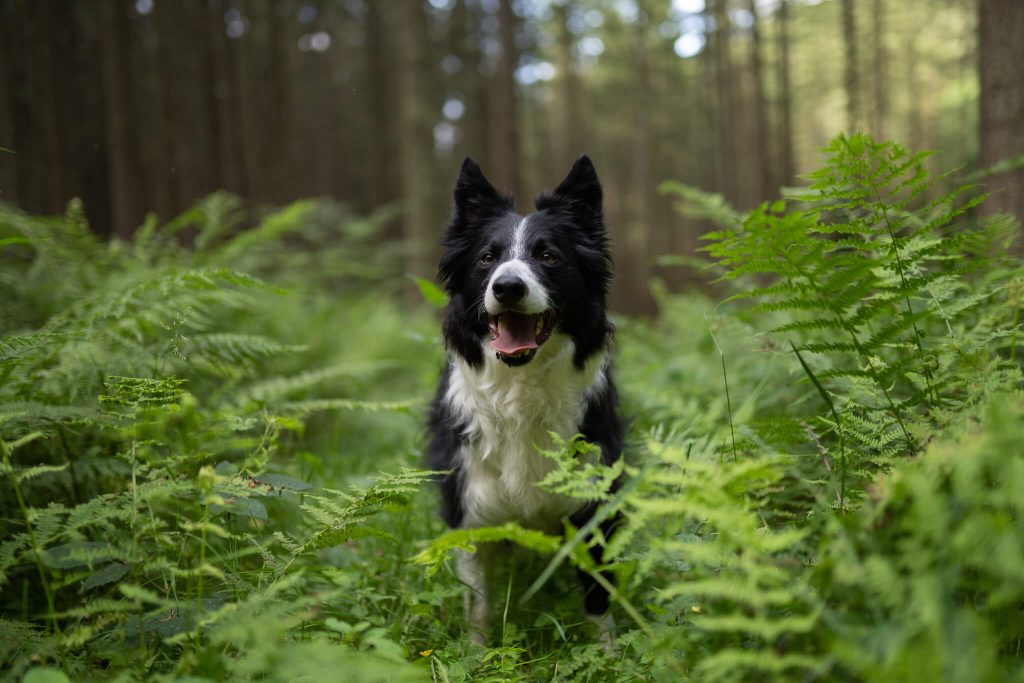
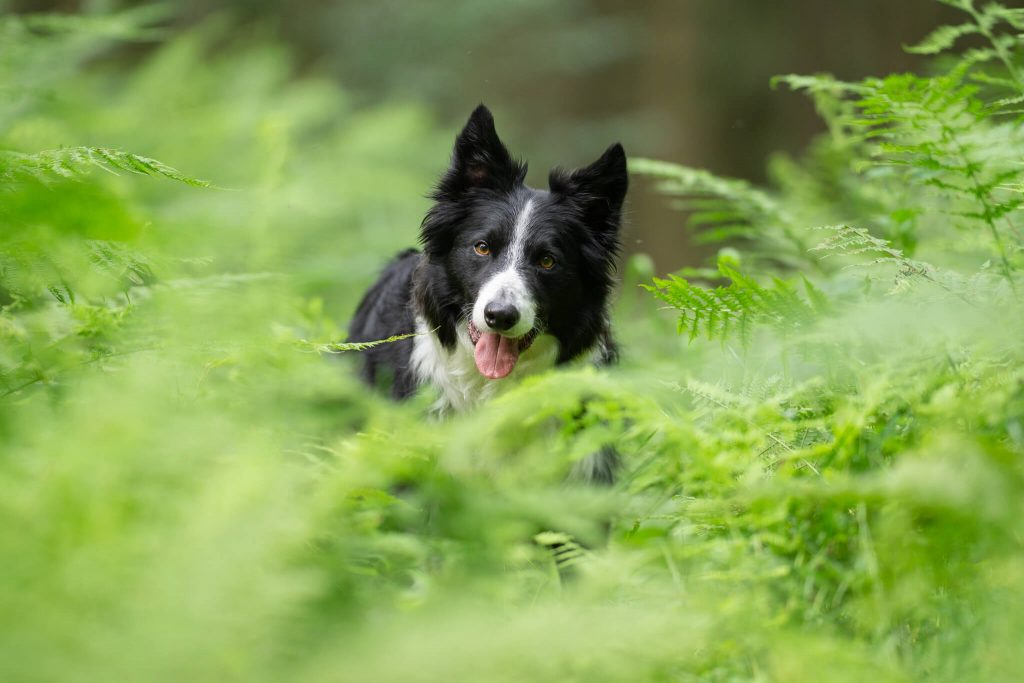
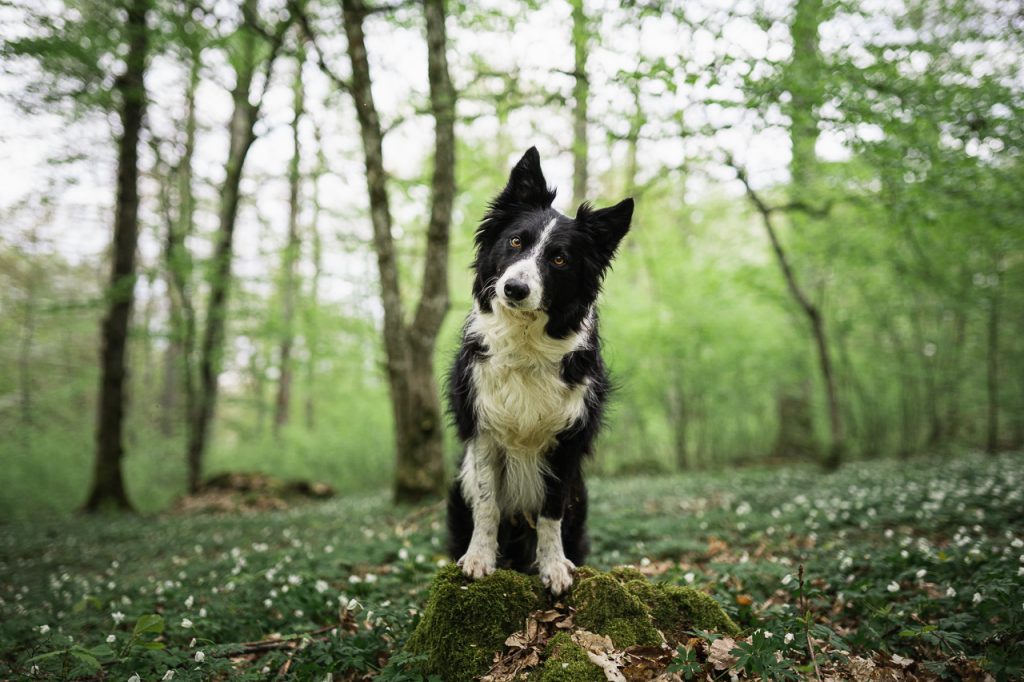
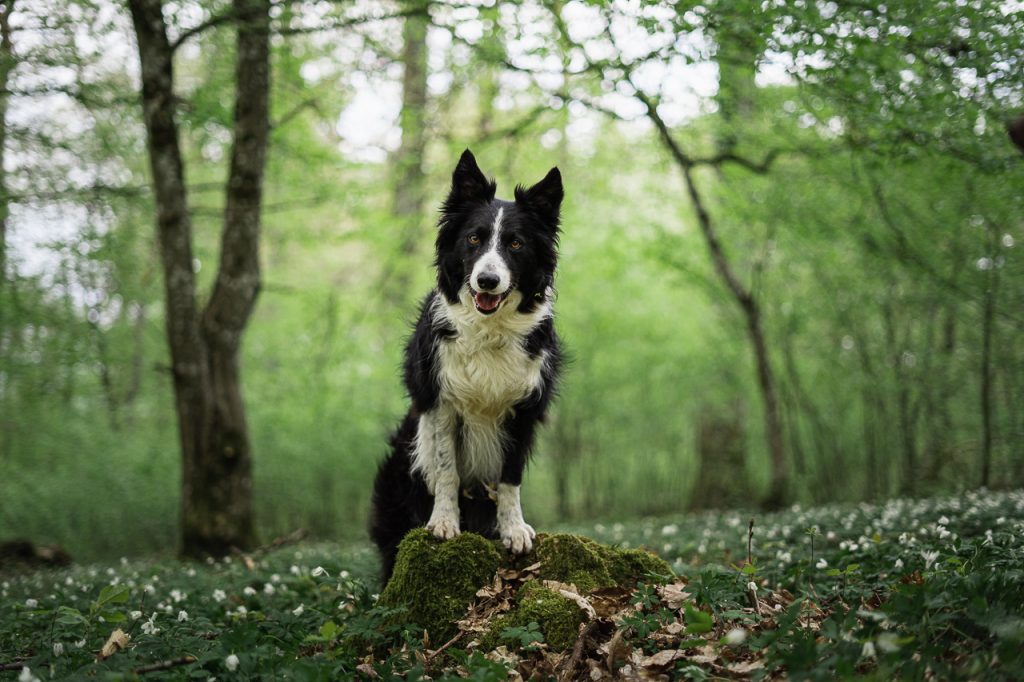
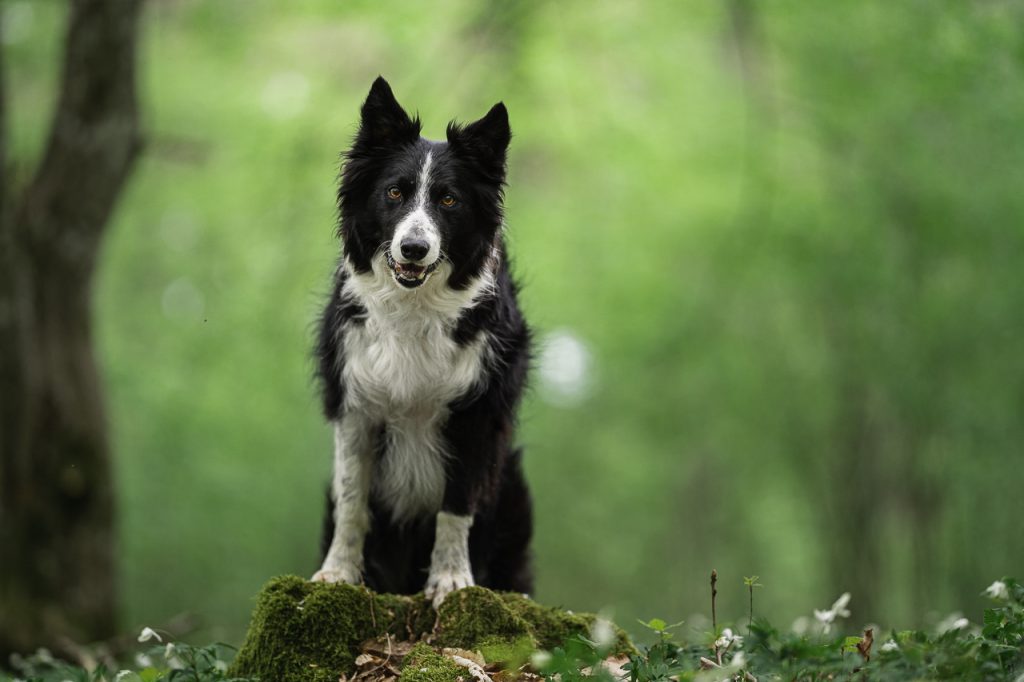
In my quest for perfect pet portraits, two lenses have proven to be my favourites: my Sony 135mm f/1.8 GM, and my Sony 85mm.
What’s the difference, and which lens is best?
Well, the 135mm lens, known for its sharpness and ability to capture detailed images, is my go-to for most photography sessions. It handles 80% of the workload, giving outstanding results with its ability to render backgrounds into creamy bokeh, making your models really pop.
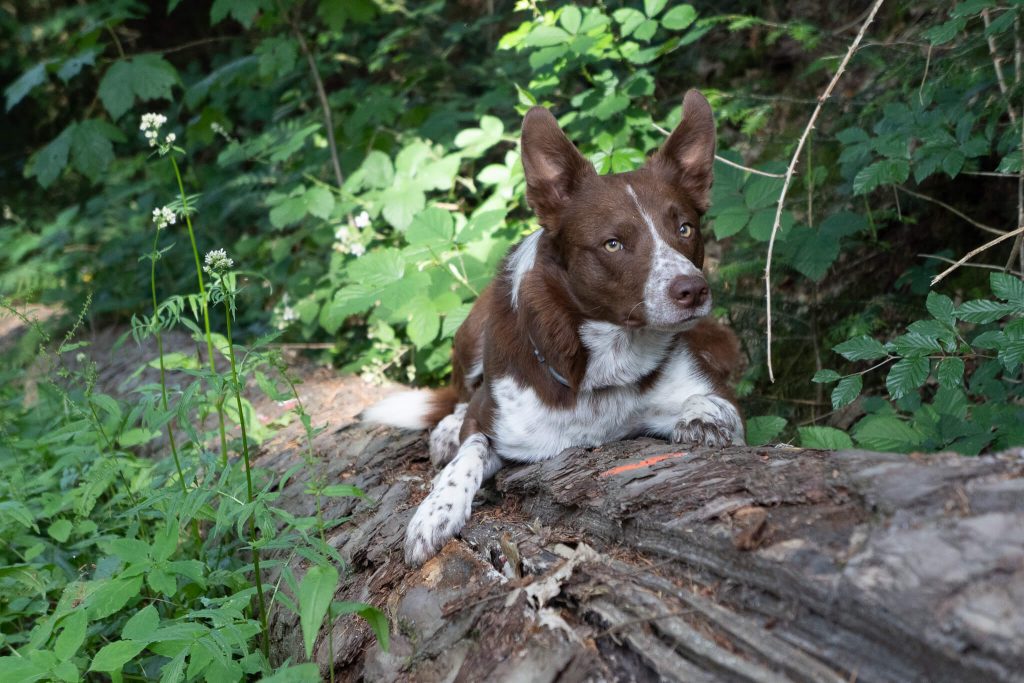
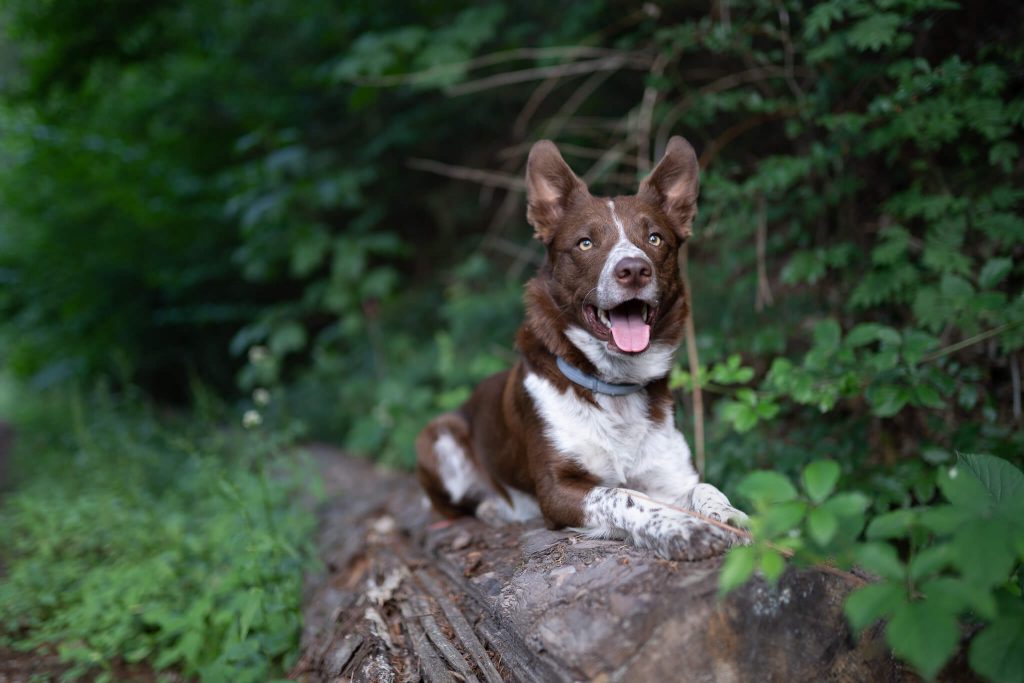
My Sony 85mm lens, on the other hand, is a versatile choice, perfect for those closer and more intimate shots. It’s smaller and lighter than the 135mm so if I’m going for a longer walk, it’ll be the one attached to my camera. It offers a beautiful balance between quality and price, making it ideal for beginner photographers or hobbyists looking to try out their first “good” lens.
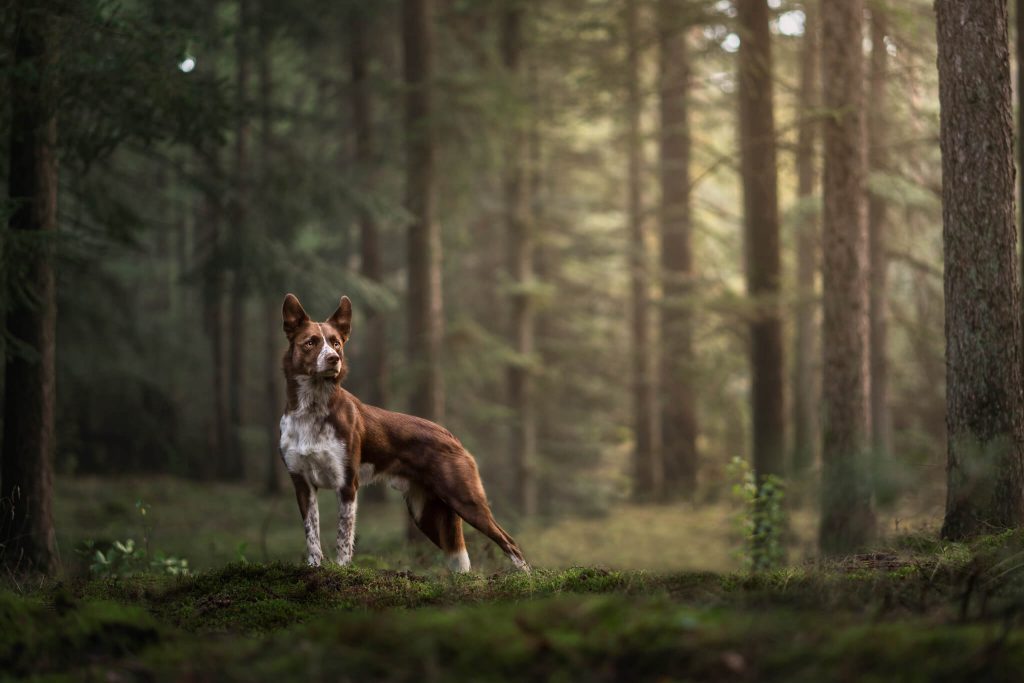
Left taken with the Sony 85mm f/1.8 lens / Right taken with the 135mm f/1.8 GM Lens
The Role of Aperture in Creating Bokeh
The aperture (or f-number) of your lens plays a crucial role in bokeh creation. You can find the aperture written on your lens! All those crazy numbers? They tell you the maximum aperture, and the focal length.
Aperture controls the depth of field in your images, affecting how much of your photo is in sharp focus versus beautifully blurred. Lenses with a wider aperture (f/2.8 or wider, such as f/2, f/1.8, f/1.4) allow more light into the camera. This enables shooting in lower light conditions and also provides a shallower depth of field, giving you that soft, out-of-focus background that makes your subject stand out.
If you’re struggling choosing the best lenses for your pet photography, I recommend upgrading from your kit lens (if you can!) as these tend to be less sharp, and usually have a very narrow maximum aperture – limiting you on light, and on getting those blurry backgrounds. Seriously, upgrade your lens before you upgrade your camera. Don’t believe me? Here’s a side by side comparison taken from a lesson on lenses inside the Learning Journey.
Above, the photos on the left were taken with my Sony a7iii – the camera I use for all my client shoots, a professional-level camera… with a 18-55mm kit lens. Because the lens was zoomed in, the widest my aperture could go was f/5.6. Check out the ISO.
In the middle column are photos taken with my Sony a6000 – a much cheaper, much older, crop-sensor camera, with a Sigma 35mm f/1.4 lens.
And finally, on the right, are photos taken with my old Sony a6000 and my 135mm f/1.8 lens. The difference is startling.
Choosing the Best Lens Length for Pet Photography
The length of your lens significantly influences the background compression and depth of field. There is a whole other blog post with examples of these different lenses, you can find it here.
- Wide angle lenses (12mm-35mm): Great for landscapes, indoor shots, bobble-heads, and some pets and people photos. LOTS of background, busy, small bokeh.
- 50mm Lens: Many people start with this lens as it’s recommended a lot of photographing people… but the majority of my members upgrade VERY quickly and never look back. I wouldn’t mind a 50mm f/1.2 but can’t justify it right now! Tends to have busy bokeh in the background.
- 85mm Lenses: Ideal for beginners or hobbyists. This focal length is great for those just starting with pet portraits, offering an excellent blend of usability and beautiful background blur.
- 135mm Lenses: Best for capturing detailed shots with a lot of background that you want to cut out and blur. You get a lot of foreground and blurry background, but it’s heavy and you have to be far from your dog. Big, soft bokeh balls and creamy backgrounds.
Tips for Achieving Better Bokeh
1. Maximise your Aperture
Use a wider aperture setting on your lens to soften the background and make your subject stand out.
2. Choose the Right Lens Length
Consider the scene and how much you want to compress the background. A longer lens will help achieve a more dramatic bokeh effect.
3. Aim for Natural Light
Bokeh looks best with natural light, especially during the golden hour when the light is soft and diffused.
4. Get Closer
Moving closer to your subject while maintaining a wide aperture enhances the bokeh effect, making the background even smoother.

Professor Snoot says…
Like any aspect of photography, achieving the perfect bokeh comes with practice. Experiment with different lenses, settings, and environments to see what works best for you!
Ready to learn more about the best lenses for pet photography…?
What if I told you there’s a whole course dedicated to lenses and camera settings?
An easy to follow, self-paced treasure trove of lessons, side-by-side examples and video tutorials that will help you understand and harness your camera’s capabilities…?
Well, there is… and it’s called Master Your Camera for Pet Photography! You can access this as a standalone course and take your understanding from oh no to hello, pro! in a matter of hours.
But wait – want to know some even better news?
Learning Journey members already have access to this course and so so so much more! Memberships are now wide open to newbies, meaning you can sett out on a self-paced educational trip (or a Learning Journey Roadmap, hehe) straight away.
Click here to check out membership options and get started!