Archiveslight

Indoor

I will admit, up front, that indoor photos do not form a large part of my photography. They’re not my style, and I would rather be out in the woods.

That being said, for those of you with cats, or who might want to get into commercial work (which is when I do my indoor photos) this lesson might be interesting for you. Just keep in mind I am definitely no studio lighting expert. 

Lighting types

Indoors, you have a few options

  • window light
  • constant light
  • flash/strobes

Since I don’t even own a flash, we’re going to leave that for another day.

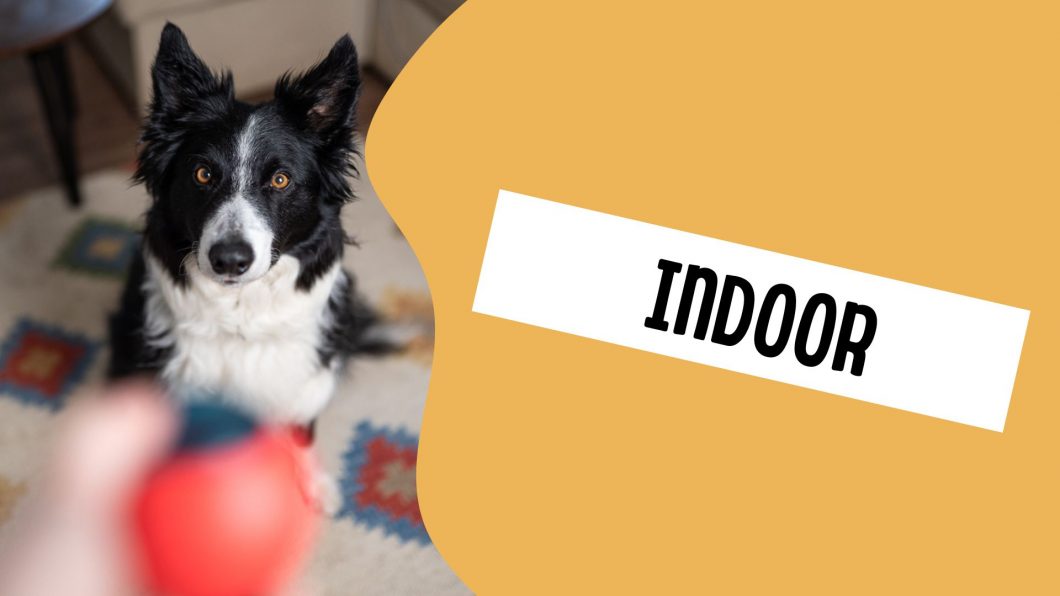
The photo to the left was taken with Journey facing a really large floor set of windows.

Window light

Inside, most of your light is going to either come from lights on the ceiling, or windows. Windows could also be sliding doors or skylights.

Because of the nature of a window (being a square or rectangular space to allow light in), the light can be very directional. 

Consider if you had a window on one side of your pet’s face, and a wall on the other side. There would be a HUGE contrast between the light side and dark side, unless the wall was bright and reflecting a lot of that light.

The sun can also shine in through the window, leading us to experience many of the issues faced in the “full sun” lesson, or even the “patchy shade” lesson, since it could be shining in a sharp beam somewhere on, or near the subject. If you really have no option but to shoot while the sun is coming in through the window, try using a diffuser or even a sheer curtain or white sheet hung in the window, to soften the light. 

Because larger light sources make the light softer (the reason why an overcast sky will provide softer light than the sun, for example), having the pet quite close to the window itself should make the light softer.

Then, you want to consider light direction. Facing them into the light/window will mean they get that light evenly on their face, as well as nice bright catchlights in their eyes. 

If you are in any typical European or UK house, you may not have an abundance of window light!

Unfortunately, without an external light source, there’s really no way around this. 

In terms of camera settings, you need to figure out what the slowest shutter speed you’re happy with is. For me, this tends to be no slower than 1/320 second, or I just notice too much blur. 

You probably want your aperture wide open, unless you’re doing a product shoot where you need to show the full product or label.

Your ISO is likely to be very high if you’re relying solely on window light.  There’s no secrets to get around this.

Continuous Light
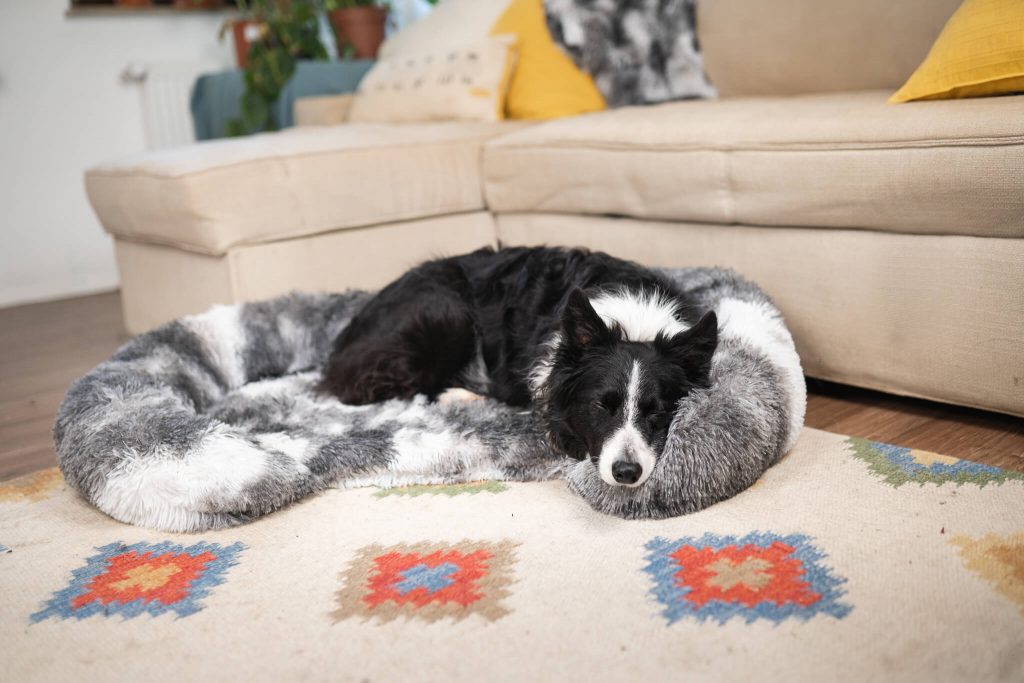
A photo taken recently for a dog bed company using my two continuous lights

Another option is continuous light.

Without a specialised light set up (which could just be a set of two studio lights with soft boxes from Amazon), this is probably going to mean turning on all the lights in your house.

Unfortunately, this might not have the best result.

With all these lights can come crazy and unexpected areas of contrasts, shadows and highlights, that make editing annoying and complicated.

Different globes can throw different colour casts, and colour casts can also be thrown from walls, soft furnishings, and other coloured objects in your house. 

Of course, this might be the only option if you’re taking a quick snap of your sleeping pet, but if you’re wanting to consistently take photos of your indoor cat, I would recommend investing in a simple 2-light set up.

These usually come with soft boxes, and you honestly don’t need to spend a fortune to get decently bright light with different colour and intensity settings.

By being able to select the light temperature, and turning off other lights in the vicinity, you can reduce or eliminate colour casts, which will make editing a lot faster and easier. 

So that your photos don’t look flat and one dimensional, you probably don’t want to have the light shining directly onto the subject, but having them staggered, or even having one at a slightly less intensity can create gentle, soft shadows and therefore provide a bit more depth to the photos. 

Using my two continuous lights, even at night in my lounge with all other lights off, means I can be shooting at 1/320, f/2.5, ISO 640. Without the lights, the ISO would likely be ~ 2000.

It’s possible that if you have only a single window or lack of natural light from outside, that even a simple ring light would be better than nothing!
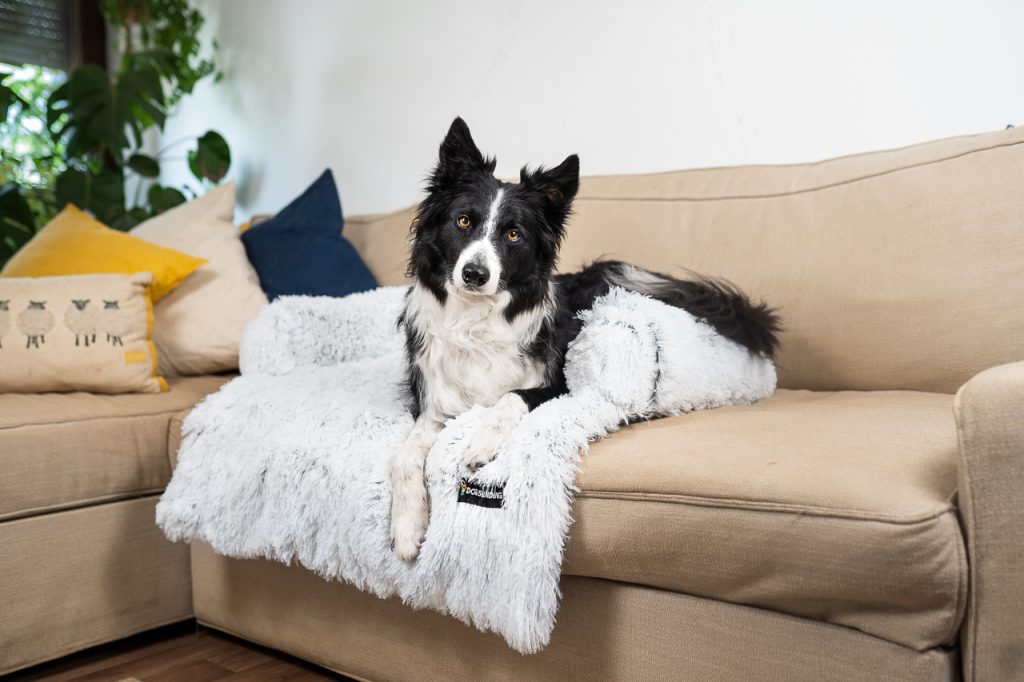
 

Taken in my lounge with my two lights. You can see there’s quite harsh shadows, but the soft boxes aren’t that big, and I need them at full strength to output enough light, so it ends up more harsh than I would like.
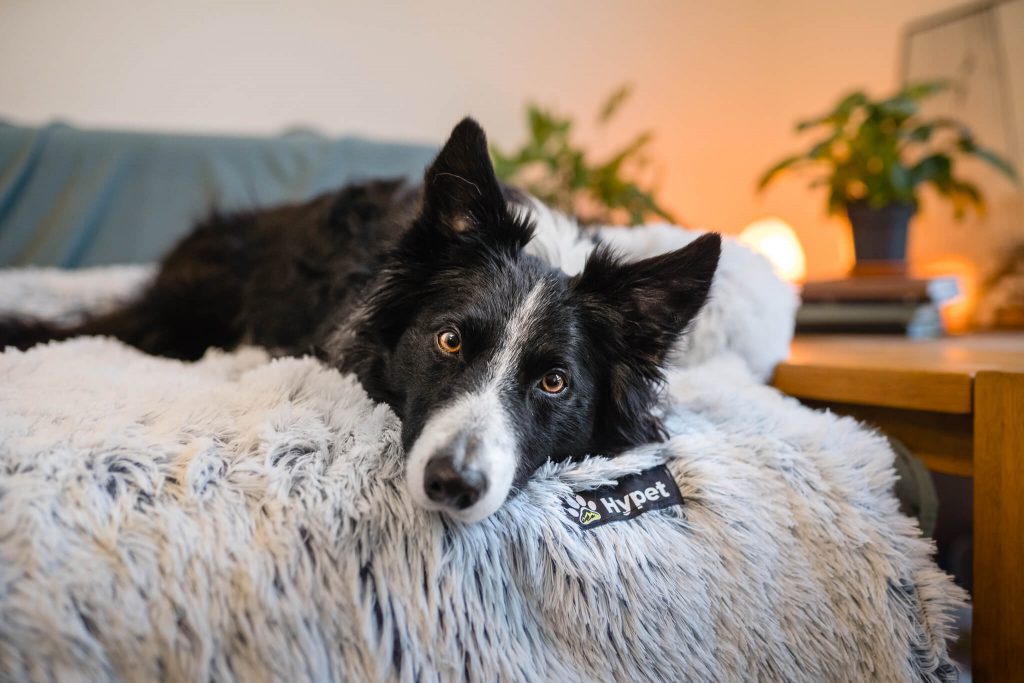
This photo was taken before my two-light set up, by turning on all the lights of the house, and trying to make use of the window camera right. I turned on the salt lamp in the background as an “ambient light” (you’ll notice they do this in movies all the time). But you can see how yellow everything is, there were colour casts everywhere and if you look at the quality of the photo it’s obvious the ISO was much higher (1250 vs 640)

Light fall-off

Keep in mind that depending on the room (size, number of windows, etc), the rest of the room could appear quite dark, as the light won’t reach all the way. 

In this case, in order to balance your exposure, you may want to move the subject a bit further into the room….

Or, embrace the dark, and try making a classic “black background” portrait, often seen with horses in stables, where the horse is standing on the threshold of stable and out in the soft ambient light, so the background appears very dark compared to the lighter foreground area.  

Golden Hour

Table of Contents

You may have heard the term “golden hour” thrown around by photographers as being the ideal time for photography.

While it’s not without its challenges, and generally requires you to have an understanding of how to utilise backlight, it can create some really beautiful portraits, with creamy, warm, soft light.

Quick Profile

Golden hour is the hour or two after dawn, or before the sun sets. There has to be some amount of sunlight for golden hour to occur. If there is nothing but thick clouds that the sun can’t break though, there won’t be a golden hour.

If the sun can break through the clouds though, you could have golden hour with dramatic cloud formations.

The light temperature is noticeably warmer, sometimes insanely orange or yellow, or sometimes a more gentle cream, depending on other atmospheric conditions.

The light of the sun is much softer than midday sun, and because it is low, there are likely to be long shadows.

Benefits

  • Softer light than midday/afternoon sun, but not as soft as overcast
  • Warm glowing light
  • Sun can be blocked by things like tree trunks, people, the dog, etc. 
  • Perfect for backlight
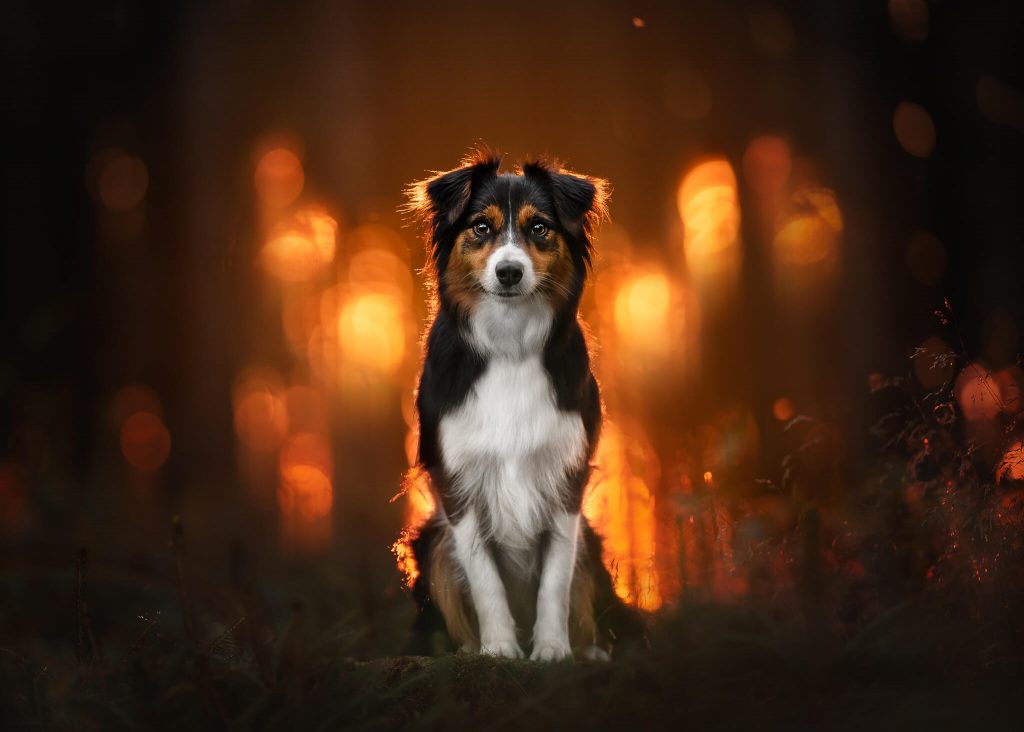
An adorable black and white dog peacefully sitting in the woods lit by intense golden light, captured beautifully through pet photography techniques and editing
This evening had the most INCREDIBLY orange light, it really was like fire. It worked absolutely perfectly as backlight behind Amie.

Challenges

  • Dogs can still be shiny and highly contrasty if being directly lit by golden hour sun
  • The golden tones can make the fur colour of the dog go crazy, and setting the white balance will be a big challenge as the light was naturally warmer, and the dog might look “wrong” when edited to its correct temperature
  • Backlight is challenging to master (but worth it!)
  • It can be difficult to balance the light or expose for highlights when shooting into the sun for backlight, sunset photos, etc.
  • Planning for golden hour doesn’t always work out when you’re booking in client shoots, leaving you with really low-light situations if the sun just doesn’t show up but you’re shooting in the last 2 hours of the day!
  • Lens flare can be an issue

Now look, I know there’s a lot of challenges listed, but mastering golden hour and how to use it can really create some beautiful photos!

This photo has golden hour light shining directly on Journey's face. See how he's still shiny and kind of a weird colour?

How to Use It

Because the light is still coming from the sun, you need to treat it as directional.

That means:

  • pointing your dog’s face into the light, whether they are side-lit and therefore looking to the side, or the light is shining directly onto their face (from behind you)
  • or using backlight, so having the sun behind the dog. There is a lot more on backlight in the Backlight lesson.
Personally, I tend to almost exclusively use golden hour for backlight, or MAYBE sidelight for a dramatic effect. I’m not a fan of how shiny the fur gets when directly lit, or just how the face looks when being hit by the sun. 
 
That being said, if you’re at the beginning of your photography journey, you may wish to start with direct lighting, and move into backlight and side light as you progress.
 

It’s important to be aware of your shadow when shooting at golden hour, if you’re using it as direct/front lighting. Shadows are much longer at this time of day so you may need to try and get yourself extra low to the ground, zoom your lens in more, or adjust your angle to hide the shadow.

Photoshop CAN remove some shadows, depending what else is on the ground/in the scene.


Otherwise, you will want to follow either the principals of backlight, OR, of getting that light nice and even on the face.

Shooting at golden hour is the MAIN WAY that I achieve the beautiful warm orange tones in my images, because this is the natural temperature of the light.

Backlit Golden Hour

Side Light & Direct Light Golden Hour

It was really difficult finding photos that showed golden hour from this direction. It’s not something I do, ever!

Overcast

Table of Contents

A lot of people fear overcast days for photography, when in fact, they are probably one of the easiest, safest, and most flattering weather conditions we could hope for. 

Overcast days give us a lot of flexibility not only in the shoot, but in editing too.

Quick Profile


  • Soft, even, flattering light
  • Neutral or blue tones
  • Large catchlights if in an area with view of the sky
  • Possibly dull, flat, boring grey skies without texture or interest
  • Possibly dramatic clouds, light beams, rainbows and other interesting weather events
  • Forests can be too dark
  • Shoot any time of the day, but be much more careful of early morning or evening due to lack of light
  •  Possibility to do sky replacements to swap out boring grey skies

Benefits

  • Even, balanced light with no crazy contrasts, giving nice detail to the dog.
  • Flattering light.
  • More possibilities to “manipulate” light in editing depending on how heavy the cloud-cover is and the location.
  • Can get some visual interest from certain cloud types, or really create some drama and epic landscapes
  • Nice bright catchlights in the eyes

Challenges

  • Blue tones, especially on black dogs, which need to be fixed by adjusting the White Balance in editing
  • Sky can look flat and dull.
  • Much less light in shaded areas, so photos in the woods will be difficult! Shoot in the middle of the day, at the edge of the shade if you have to.
  • Depending on the cloud, if it’s coming and going, you’ll need to continually keep an eye on your camera settings & the direction you’re facing your dog.

How to Work with Overcast Days

Overcast days can range from very bright, but without the sun really being out, to rather dark, end-of-the-day kind of lighting conditions. You will need to be aware of the conditions and whether they are changing, either becoming brighter and lighter, or darker, and adjust your settings, the direction you’re shooting in and so on, as appropriate. 

A rule of thumb when considering which direction to shoot in:

Is your subject (or are you) casting a shadow?

If so, you need to make sure you are using the direction of the light appropriately. Make sure you’re working through the Light Direction lessons as well. This means:

  • direct light (having the sun behind the clouds behind you) is probably safest
  • side light is difficult but can be dramatic – be especially careful of strong side light when the other side of the subjects is facing an area of deep shadows
  • back-light could be a possibility depending on the height of the sun, whether it’s being filtered, what effect you’re going for, and so on. Just be aware of your highlights, as with all backlight. You may be able to get some interesting white/neutral rim-light depending on where the sun is.

The opposite of course is true on particularly dark cloudy days.

  • Watch your ISO, especially if you are in the forest/around the edge of the forest and may be losing too much light. Do not lower your shutter speed to compensate for a high ISO or you will likely end up with blurry images.
  • Try using a reflector. You can play with the angles to find one that helps add just a bit more brightness to the face, especially if you have a helper
  • You can shoot from any angle around the dog, at least in terms of the sky, as the whole sky is your light source and is omni-directional. Of course if you are at the edge of the forest, having the woods behind you and the open sky behind the dog is not a good idea. 
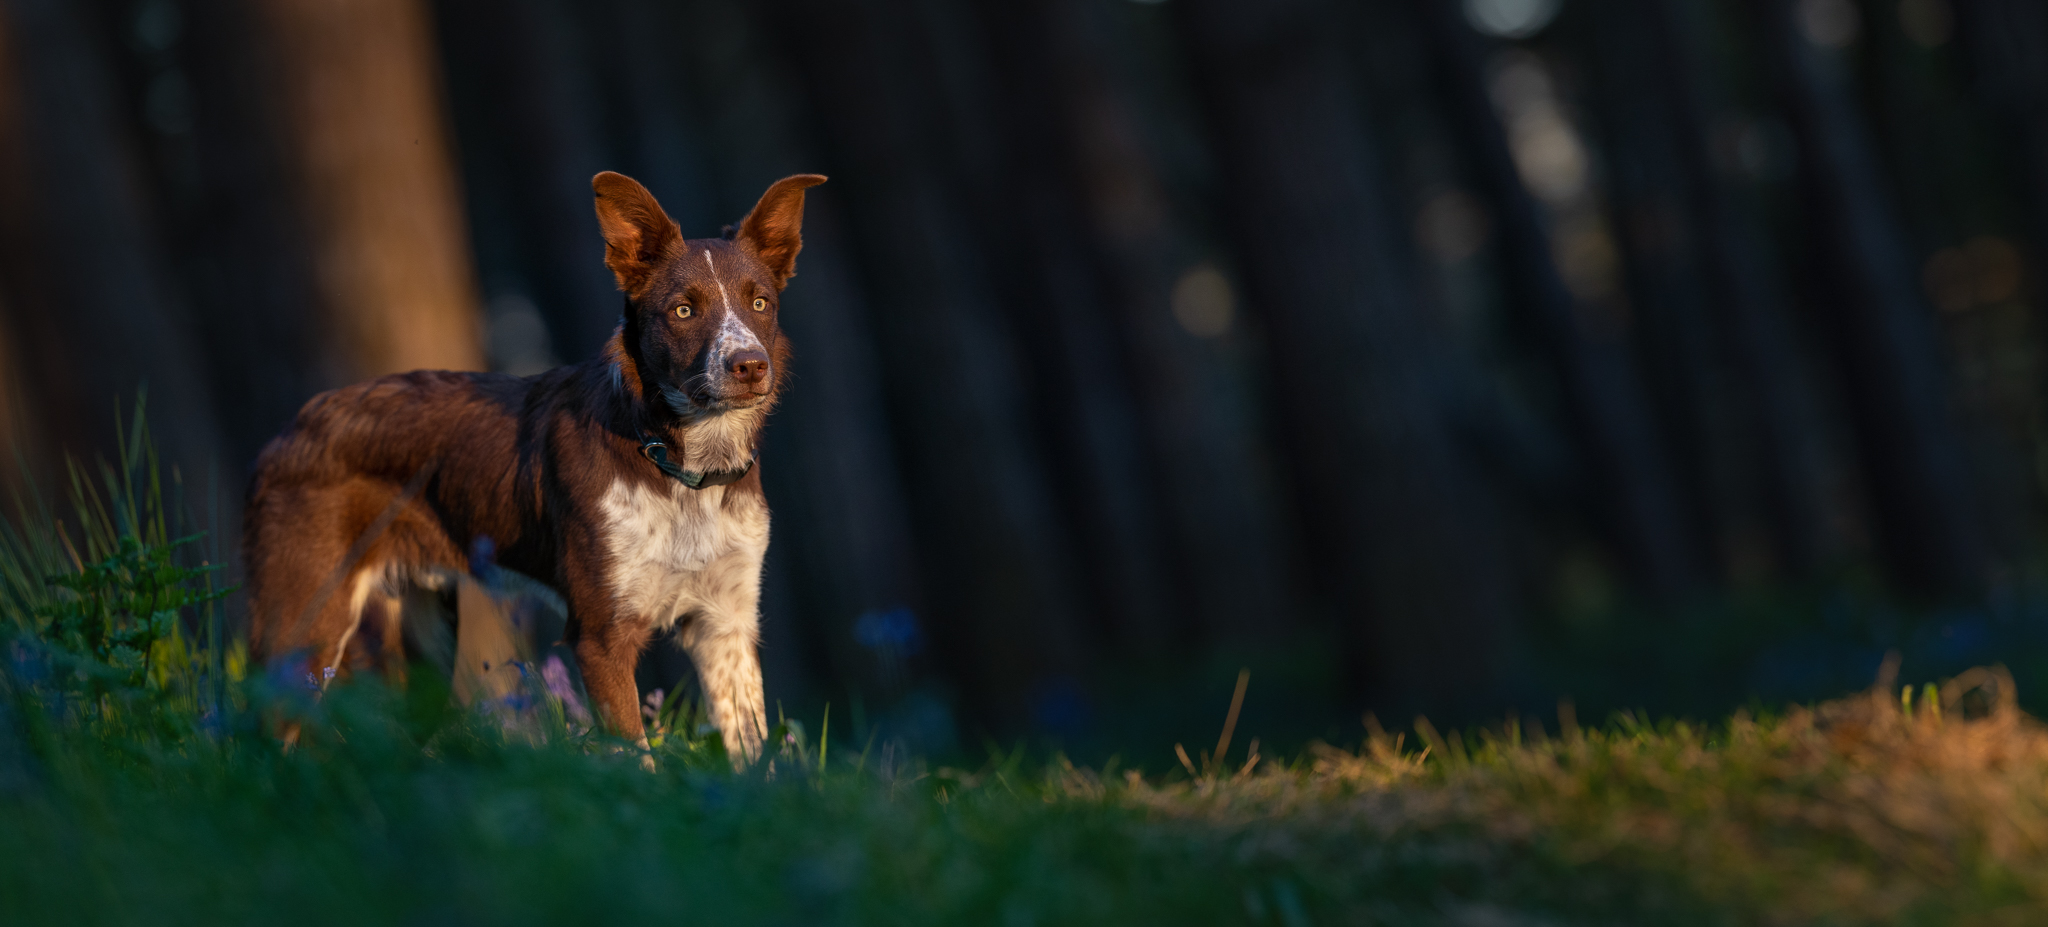
Examples

Capturing Dramatic Clouds

The key to capturing dramatic clouds is thinking about our depth of field. If we think back to the DOF lesson, we want to consider the effect that a longer lens length might have (more compression) as well as:

  • Needing to expose for the sky
  • Using a slightly wider depth of field for more detail
Exactly how you want to set up these shots is up to you. Maybe you want blurrier, softer, less detailed clouds – in which case a longer lens length and/or narrower depth of field might be what you’re after. Maybe you want to be able to capture the exact cloud formations and sun-rays bursting through, in which case a wider depth of field and/or wider angle lens might do the trick. It depends on the look you’re going for!

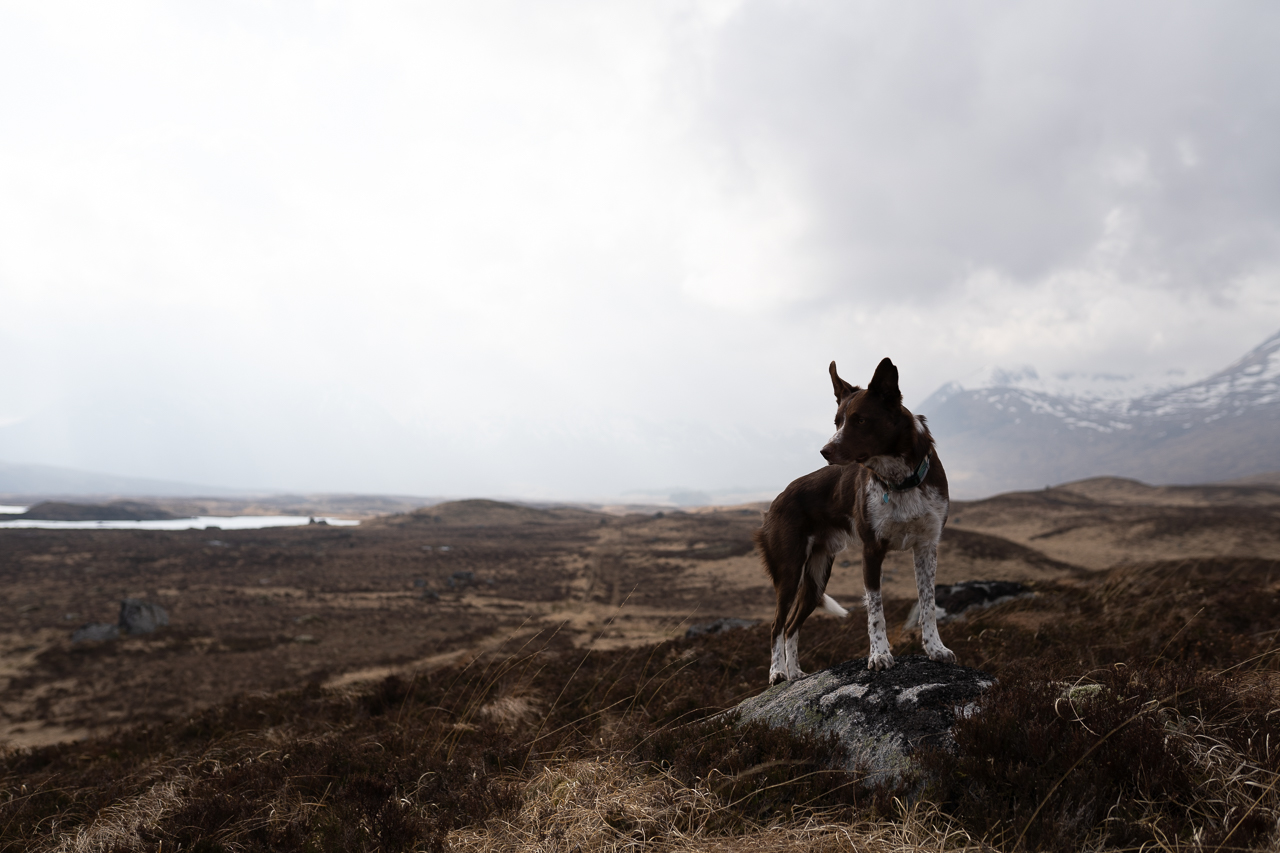
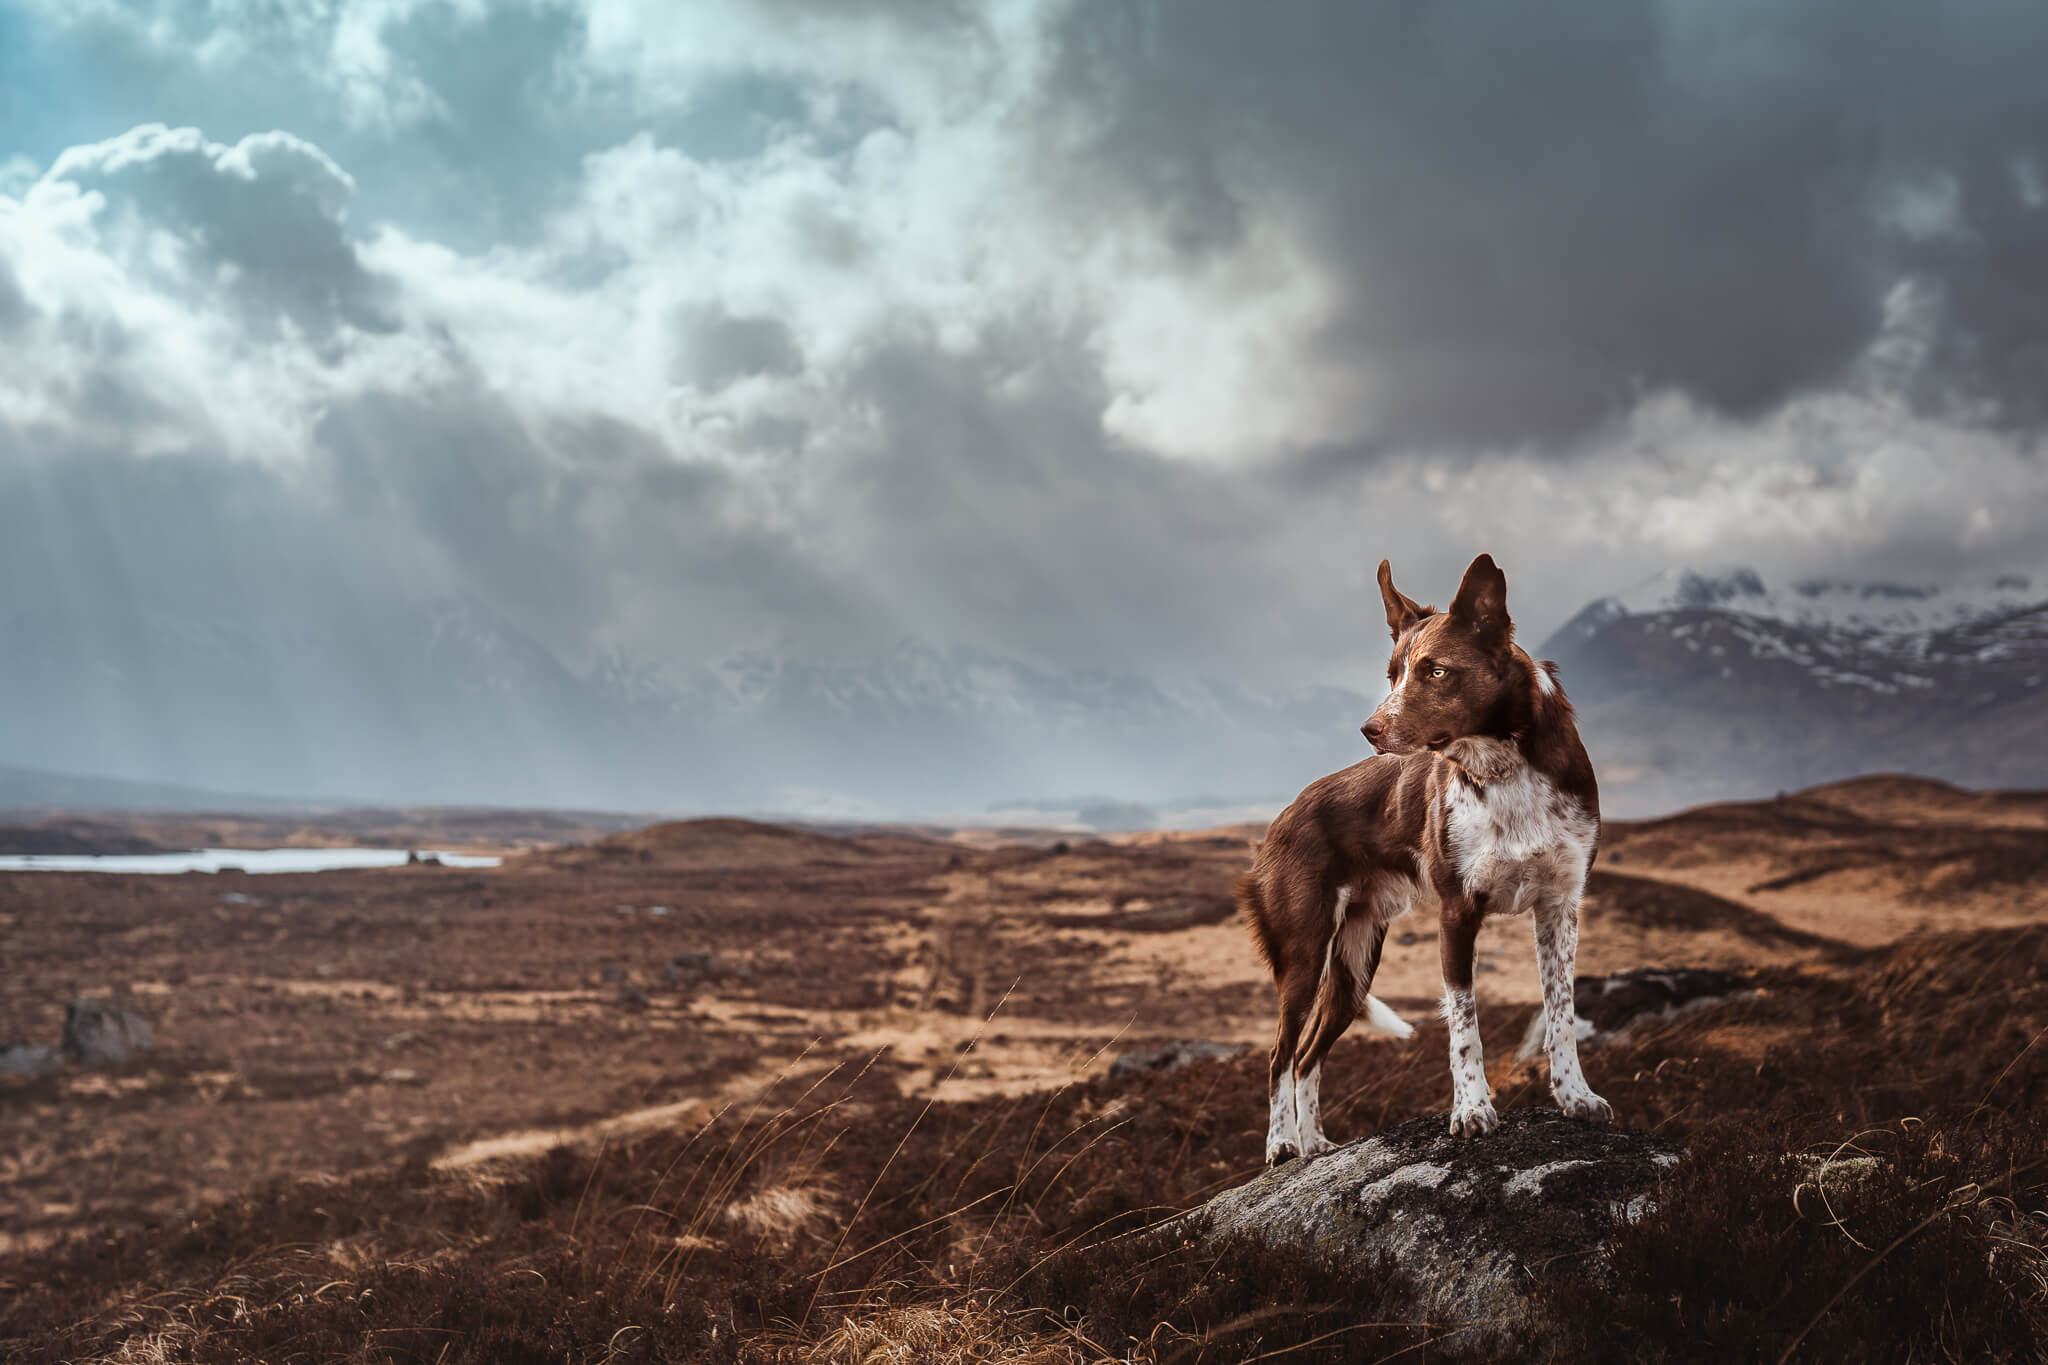
Two examples here. These are totally natural clouds, enhanced a bit through editing (of course) but the light rays were real. The one on the left was taken with my 85mm at f/5.6. The one on the right was at 44mm, f/4.5

DSC06818-2 DSC06818

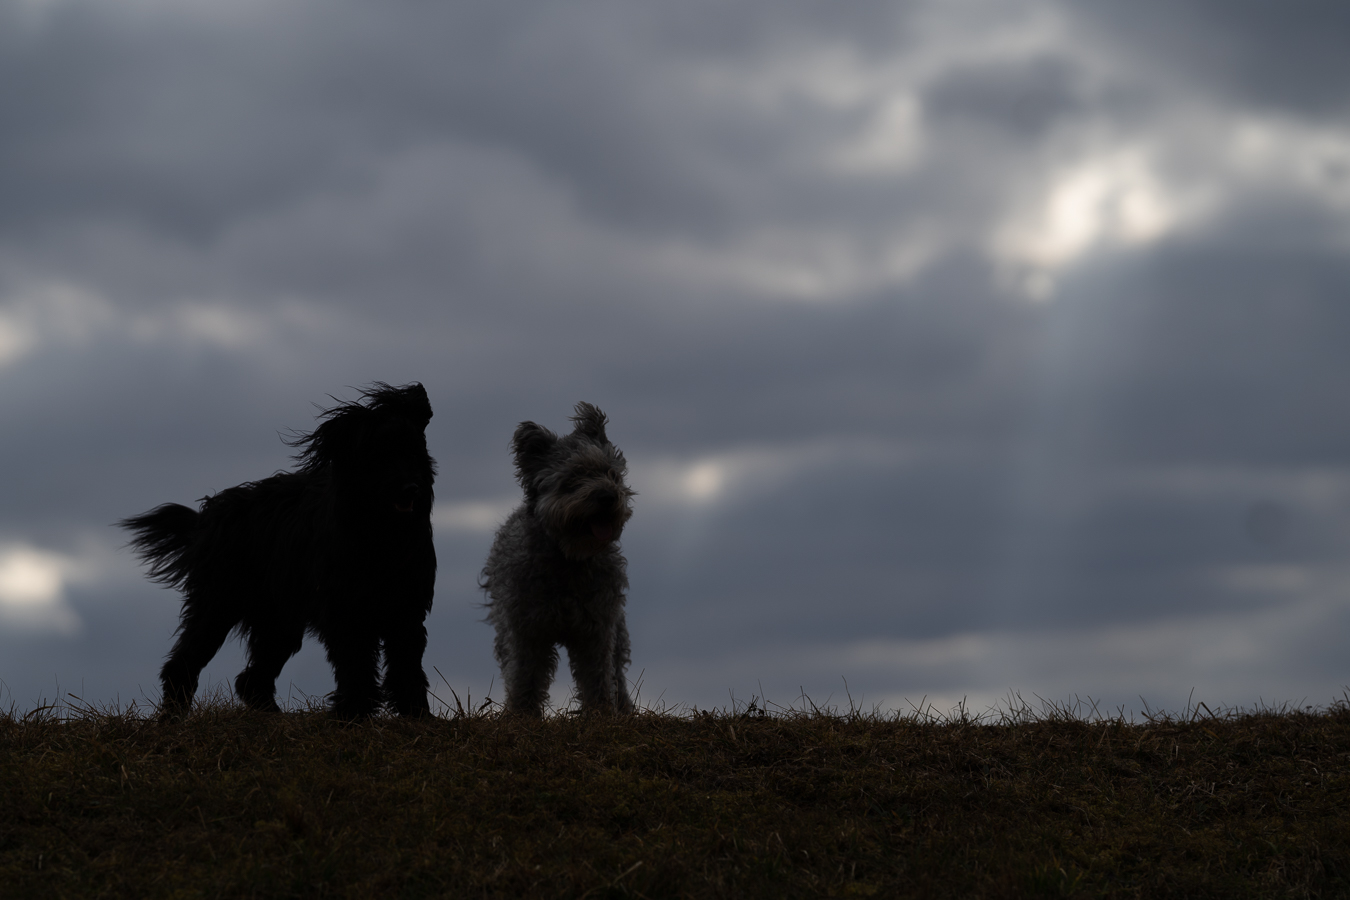
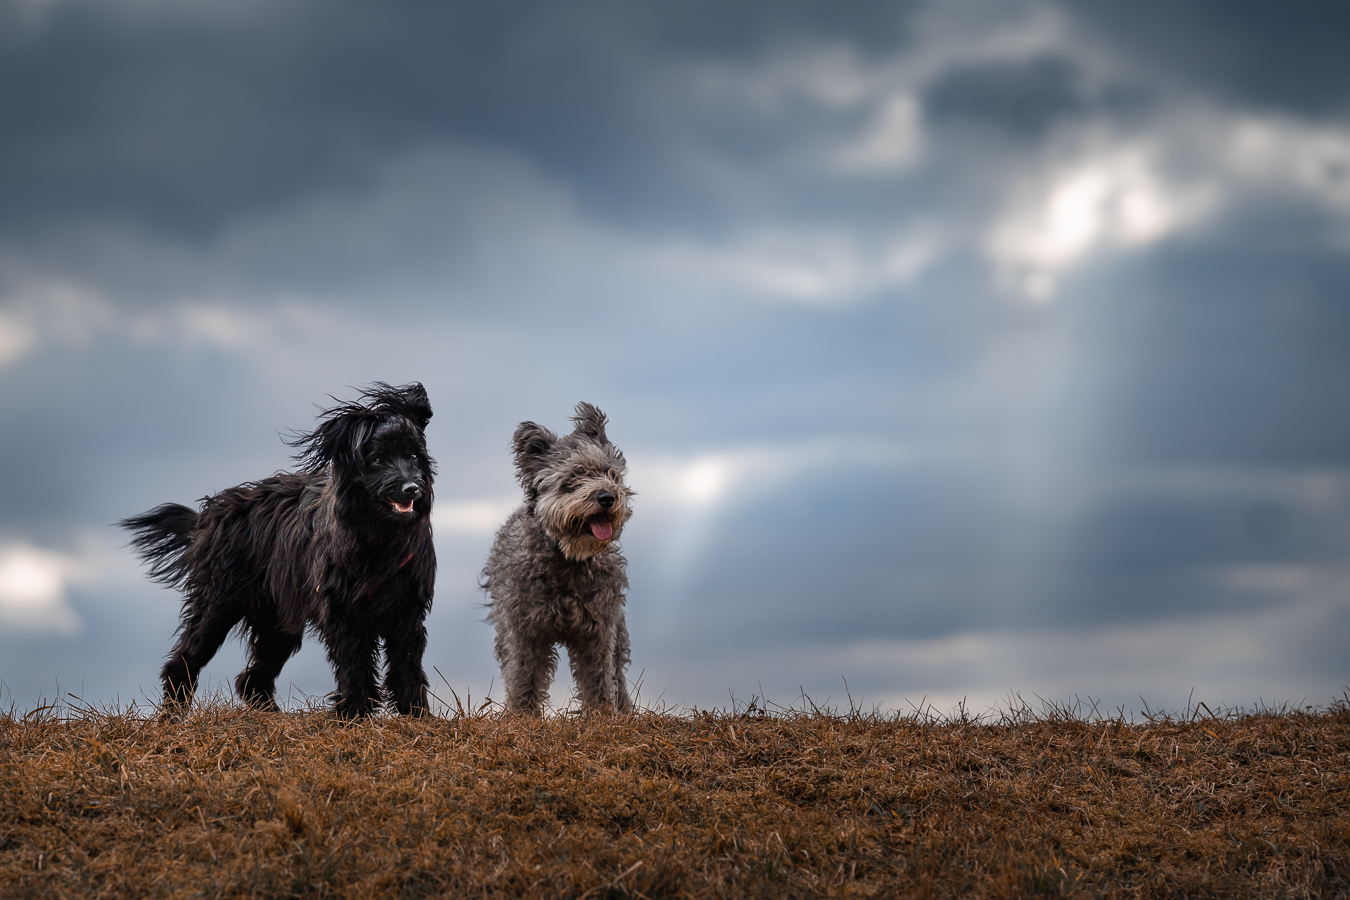
Here is an example of needing to expose for highlights.  I was originally going to do this image as a silhouette, hence the ridiculous under-exposing of Diliys. But you can see in the before image that I was pretty close to blowing out the sky where the sun was shining through. Whether your camera can handle this is another matter. Having someone hold a reflector to bounce some of the sky’s light onto the dog’s faces here would be a very good idea. 
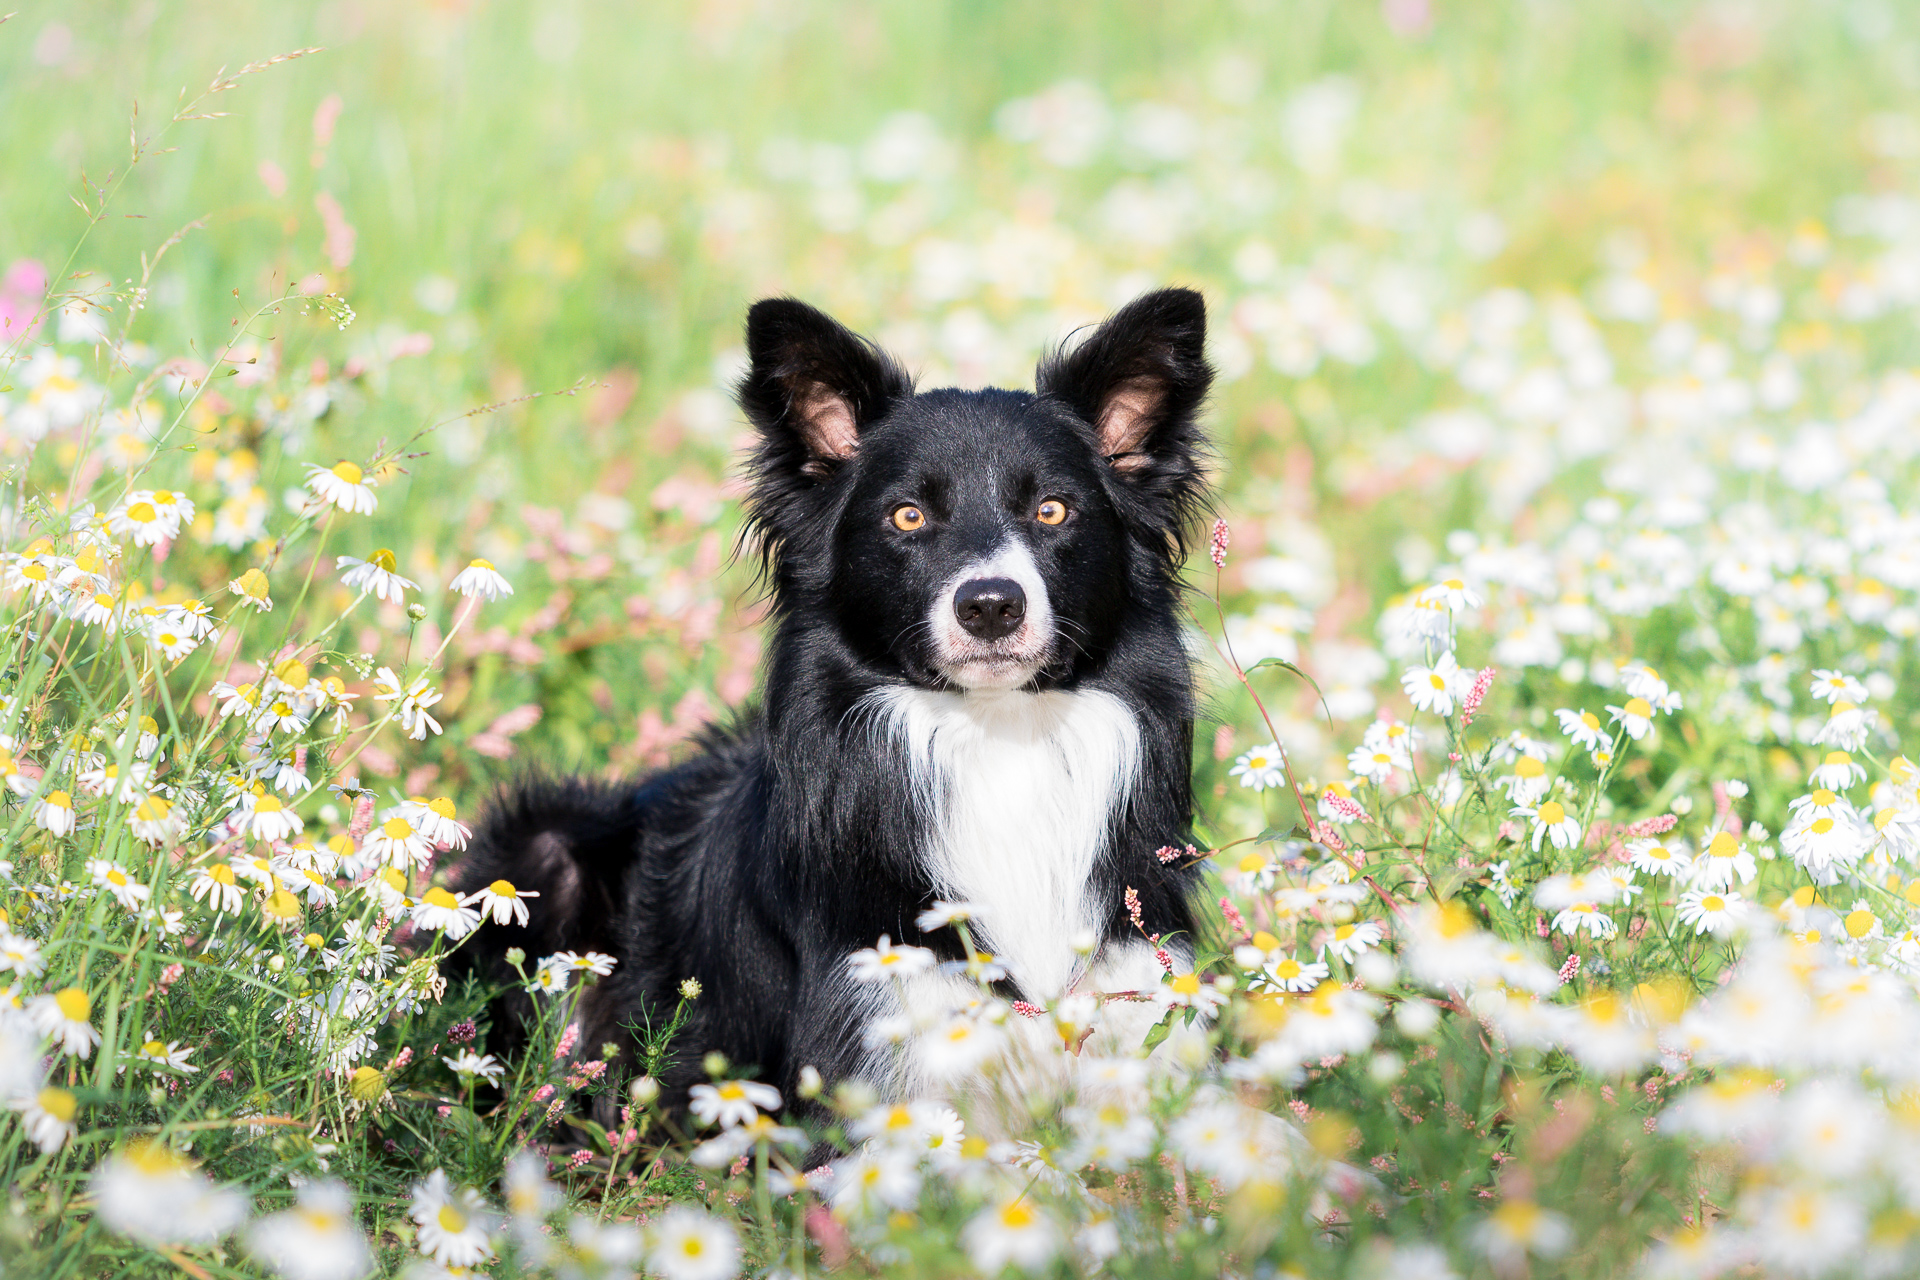
Also, note how soft and blurry and undefined these clouds are. These were taken with my 135mm at f/3.2.
Below are a couple more examples of bringing back details in the clouds (when there were details in the first place!)

DSC04402 DSC04402-Edit
DSC05359 DSC05359-Edit

Sky Replacements

When the sky is a flat, dull grey-white, it does make it pretty easy for any editing software to figure out what’s sky and what isn’t, allowing us to replace the sky with something more exciting.

A word of warning, however. If you decide to replace the sky of an overcast day, I strongly advise replacing it with a slightly more dramatic overcast/cloudy day.

Don’t do this:

Unless you are pretty confident you can fake ALL the ambient lighting conditions that would go along with such a scenario, eg., what temperature would the grass/dog be? How underexposed should the dog have been to get such a sky and therefore how should he look now that he’s brightened? What temperature should he be? Should there be rimlight? The hill in the background should be in shadow, since the sun is behind it, but how much? And so on. 

Also, blur your sky to the same degree as the horizon. This background is much too in-focus to be believable.

This:

Is reasonably better, considering it was a 5 second job on an unedited image. Here is the original:

I don’t always recommend sky replacements, and maybe that’s because most of my photography isn’t done with areas of open sky (unless it’s twilight or dawn), so I really don’t have a need to replace them. If you live in an area where you are often shooting with wide open grey skies (or even empty blue skies – then you could replace it with a blue sky that at least has a few clouds in it) then this could be something for you to consider.

Just please keep it natural, unless you’re pretty confident that the sky matches the ambient lighting and so on. 

DSC00615 DSC00615-Edit-Edit
DSC00467 DSC00467-Edit
DSC02222-2 DSC02222-Edit-2

Some images with replaced skies. And actually I’m not sure I’ve ever shared these anywhere (the beach ones anyway) because I’m too self-conscious about being called out for replacing the sky!

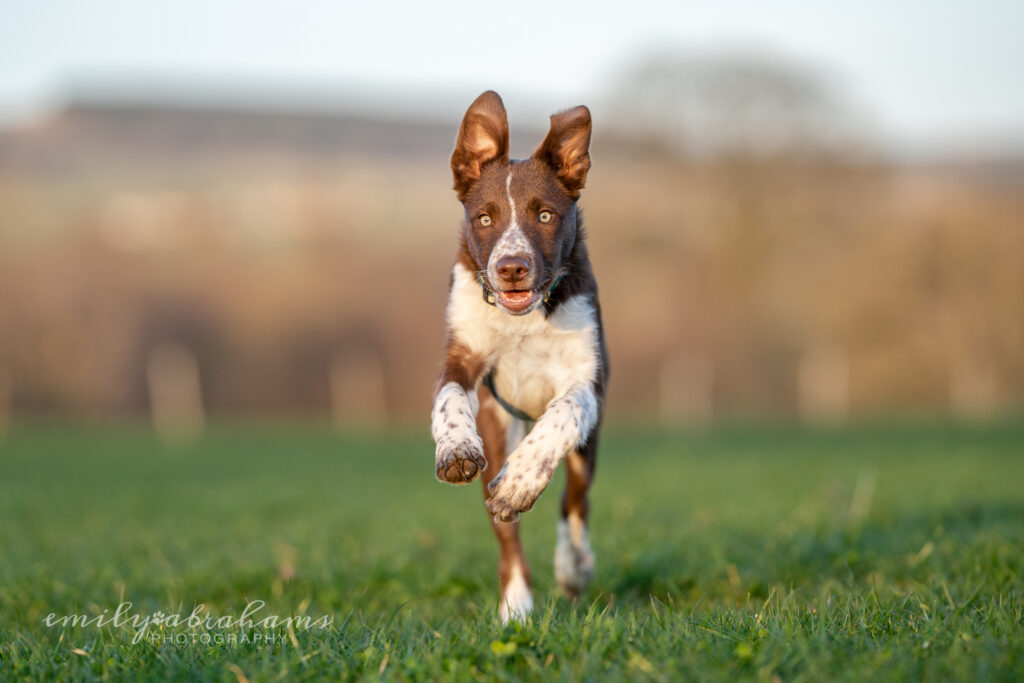
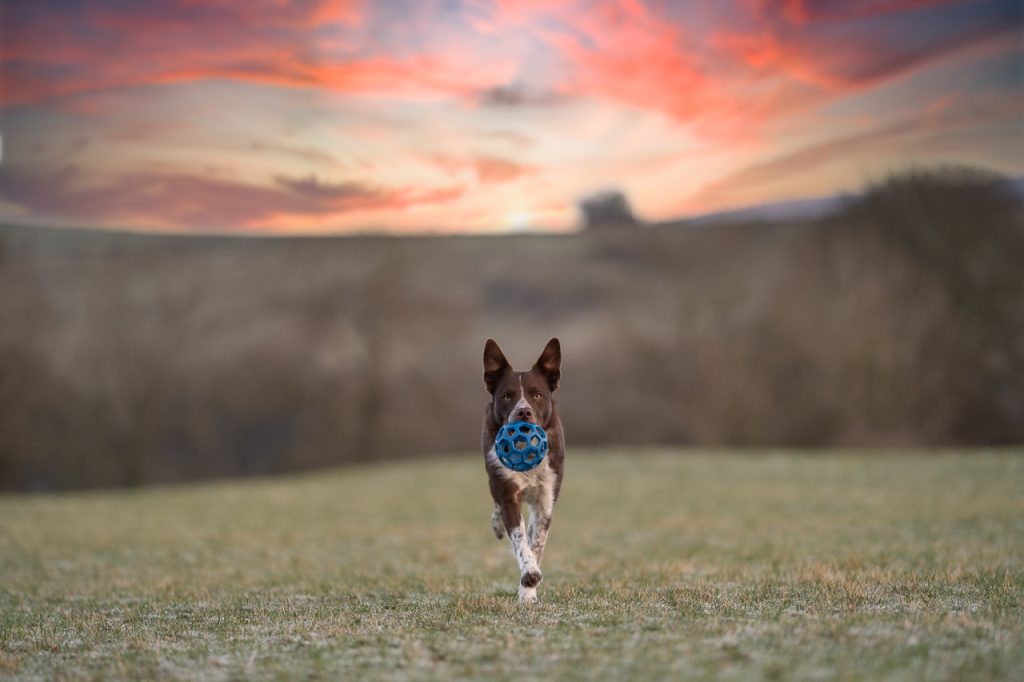
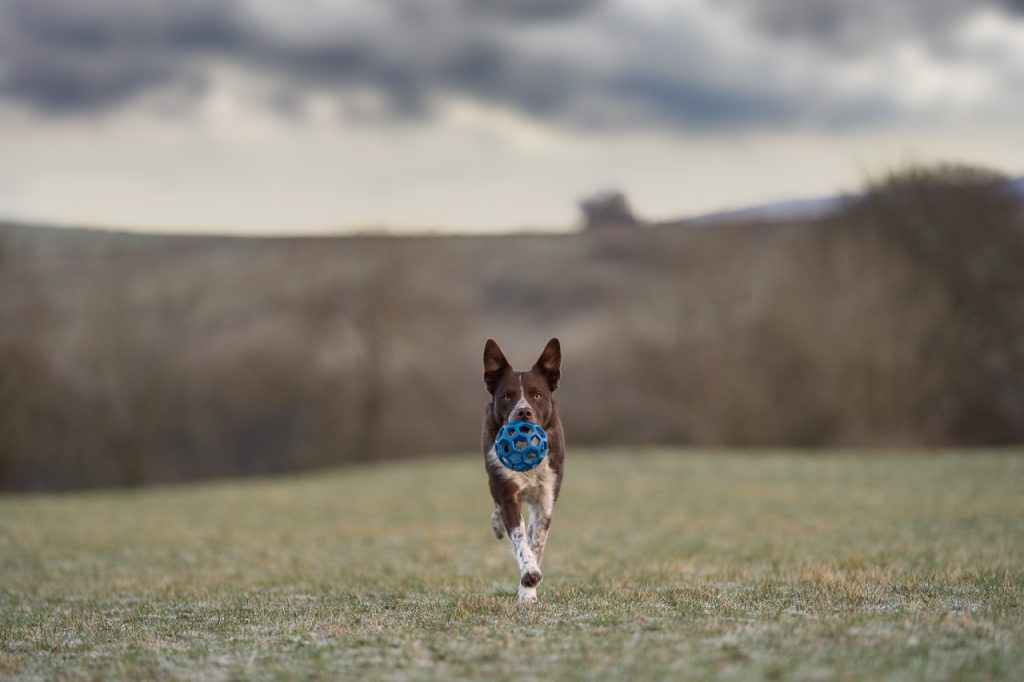
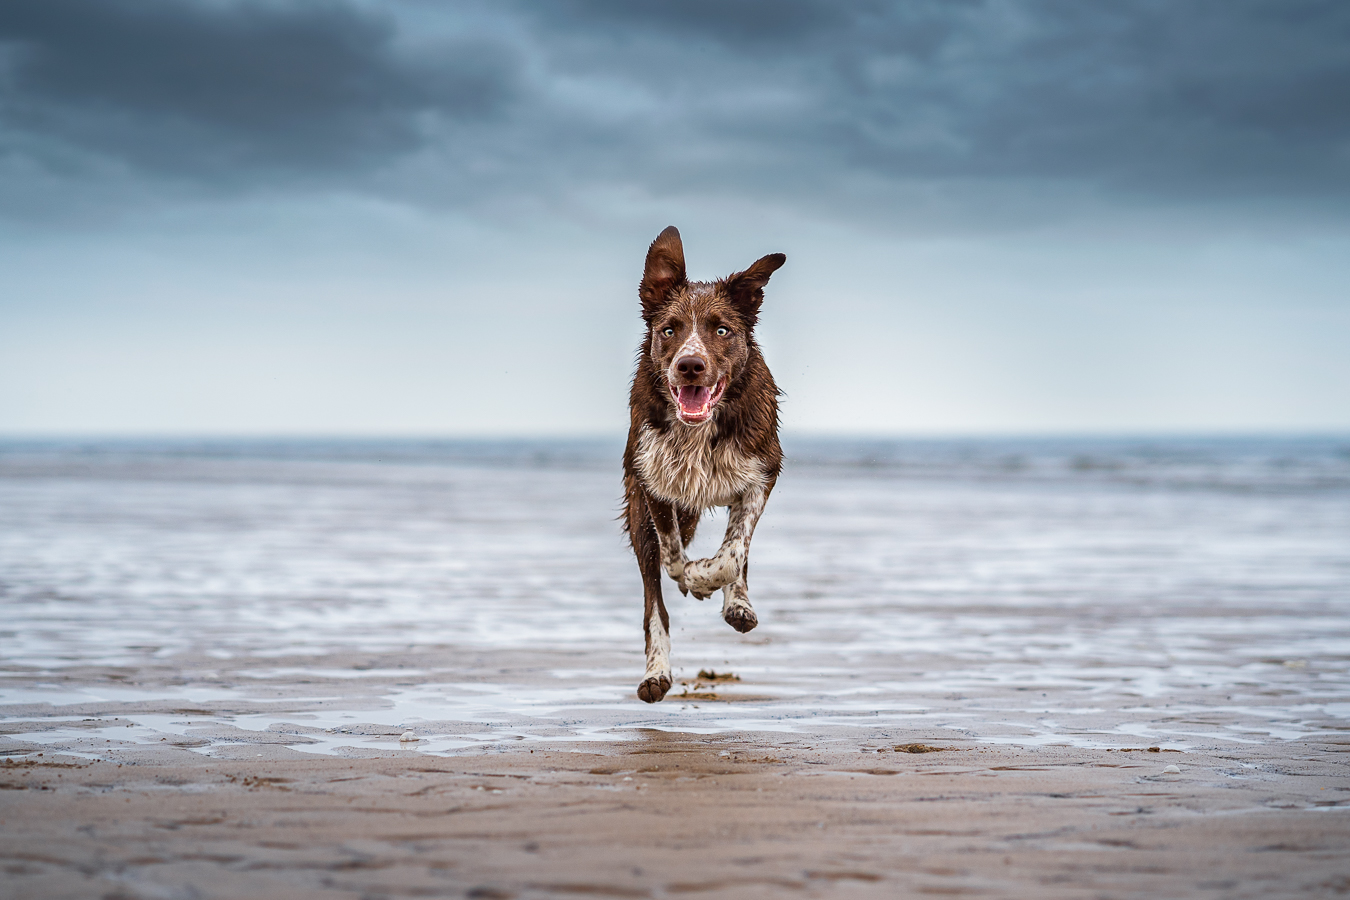
In the Loki image, the replacement is quite dramatic, as I’ve completely changed the lighting and temperature. For the image of Journey running, I’ve replaced a flat, empty sky, with another overcast sky, but one where the clouds have substance. And for the last image, it was actually twilight. The sun had just set. The replacement I chose was not that dissimilar to the actual sky at the time.

Old Video

This video is a bit old now buy may contain some interesting or useful information, so watch it if you’d like, but it’s mostly here as a bonus!

Full Sun

Table of Contents

Most of us, when we first start taking photos, are under the impression that more light = better photos.

In some ways, this is true. We need light, and a good amount of it, to take photos.

What doesn’t usually work for us, especially in pet photography, is full, harsh sunlight.

Quick Profile

The sun as a source of light can be both our best friend, and worst enemy in our photos. 

  • Sunlight can be neutral white (most of the day) or warm (~1-2 hours of the day, and end of the day). 
  • In harsh sunlight, there is plenty of contrast (lights are light, darks are usually very dark) and dogs are very shiny (very shiny. Too shiny)
  • There is plenty of light for super fast shutter-speeds so sun + action photography go together very well.
  • Sun can be used for direct light (shining onto the face of the dog) or backlight (behind the dog) but you should be very careful with side-light and sun.
  • Sun in the middle of the day is harsh, and rarely flattering as it’s coming from overhead. 
  •  Take photos when the sun is lower in the sky. If it’s not golden hour, then direct light shining on the front/face of the dog is probably going to work best.
For most of this lesson, I will be focusing on full sun, during any part of the day except golden hour (as we have a separate lesson for that!). 
This photo is side lit - the sun is off to the left. But since we can't see Journey's face, and it's shining on the inside of his body creating some rim light and lighting up his face, it works. If he had been facing toward me...
Crazy contrast from the side-light. Not pretty or flattering at all!

How to Use It

First of all, I recommend that you avoid taking photos when the sun is harsh. If the sun is out, these are your options. Please note, I don’t have any kind of “magic” solution to deal with sun. It is what it is, and you have to make decisions about what you want to do.

Many of my students ask me: “But what if I have a client and we HAVE to do the shoot at midday in the sun?”. Personally, I let my clients know that if they’re booking me, it’s because they want my style of photos, and those photos require very specific lighting conditions. If they absolutely cannot book any alternative time or day in the foreseeable future, then you’ll either need to use some of the advice below, or find a photographer who is happy to take this kind of photo.

Personally, I know that harsh sun is incredibly unflattering, difficult to edit, and never truly represents my work. 

If I absolutely had to take photos on a day when the sun was forecast to be out, my options would be:

  • Taking photos earlier or later in the day, either as direct light or backlight. The light will be warm, soft, and can be blocked by trees, the dog or a diffuser, etc because it’s much lower in the sky. If you can’t wait for golden hour, wait till or start when light is not directly overhead.
  • Turning the dog’s face directly into the sun, with it over one of your shoulders, to avoid harsh shadows. Getting that light evenly on the face is paramount.
  • Finding some shade, either open shade, or in the woods, being careful of patchy shade. Check the Shade lesson for more.
  • Use an off-camera lighting source like a flash or strobe, to counteract the sun. There are a few photographers who do this very well and it’s their style. Big skies, sun-star in a corner, they are using harsh sunlight but overpowering it with flash. 
  • Wait for another day when it’s less sunny. 
 
Full sun can be great for action photos, so if you want to get photos of the dog running around, now’s your chance! 
That being said, directionality is still SUPER important. Get that light shining DIRECTLY on the dog. Avoid light from overhead (eg., at midday) or from the side. 

Benefits

I’m not going to lie, I don’t see many benefits to shooting in full midday sun. 

If you’re shooting later in the day when it’s coming directly onto the dog rather than from overhead, then some benefits can be:

  • More light, allowing you faster shutter speeds for action
  • More contrasts, making action photography easier.

Challenges

You’ve probably already guessed that there’s a lot of challenges to be had here!

  • Crazy contrasts and areas of deep, black, sharp shadows, compared to bright, overpowering highlights
  • Limited direction flexibility. If you’re at a beautiful landmark or landscape, and the sun is coming from the wrong direction, you have very limited options to get the photos at that time, if you want the sun to be directly lighting the dog
  • Golden hour sun can do crazy things to white balance if shining on the dog directly
  • Small catchlights (the sun is far away) and squinting dogs
  • Black dogs can look silver/grey due to their fur reflecting and shining so much light.
  • White dogs can get blown out

Examples

Difficult Sun

Some better examples

Keeping in mind I don’t take photos in these conditions any more unless travelling!

DSC03535

Very late afternoon sun, in the last 20 minutes of sunlight.

DSC09818-Pano

I don't think I edited this one at all as I wanted to leave in the bright highlights and dark shadows. It's an example of "side light", where the light is coming in from the side, rather than behind me (for direct light) or behind the dog (for backlight, which we'll cover in another lesson)

DSC00422

A plain photo with my old camera, basically edited.

DSC01827-Edit

"Side light" - with a beam of sunlight cutting between the trees, and lighting Norman from the side (this is a VERY difficult effect to do right, and without quite some editing)

DSC09630-Edit

HOURS of work went into fixing the crazy highlights of this image, which was taken at about 10am. Another example of "side light" with the light coming in from the side, rather than behind me, or behind the dog.

DSC07137-Pano

Very late afternoon, standing in a shaft of direct sunlight. Image was SUPER warm.

AV7A5312

Facing direct into afternoon sun.

AV7A4892

Lucky for me she turned her face toward the light!

pexels-mareks-steins-1560666

From pexels.com - I'm not sure about this one. The face is actually surprisingly evenly lit without really harsh shadows, but the catchlights in the eyes are a bit strange and the top of the head looks like it's been blown out (too bright)

pexels-joan-montaner-1626219

From pexels.com - face evenly lit... there was possibly some flash involved here though

Sun-flares, Sun-Stars & Aperture

One thing to note is how the aperture you choose can affect the kind of effect you can create with the sun. 

A wide aperture will give you a hazy sun – a glowing ball or blob, as seen in most of my photos where the sun is present.

A narrower aperture will give you a “sun star” if you capture the sun itself in the photo.

This is as close as I’ve come to a sun star at f/5.6. Given that I never shoot at such a narrow aperture it’s a wonder I have anything close! The photo on the right is from pixabay.com and was taken at f/22.

Keep in mind that in order to shoot into the sun, you need to expose the photo appropriately.  This is likely to be quite difficult without an artificial light source as underexposing for the bright sky and sun will make your subject pure black. 

Using the Sun for Drama

I do think there is potential for dramatic, interesting shots which make use of stronger sunlight and even don’t worry so much about blown out highlights, depending on what you’re trying to achieve. Sometimes a dramatic shot that tells a story or makes an impact can be more important than some other aspects (depending on the purpose for the photo. Obviously not if you’re going to be entering it in a competition).

Therefore, as I’ve been saying all along, if you want to use the sun in a purposeful, intentional way, then do that. By making purposeful, intentional choices about the direction of the sun and how that will illuminate (or not!) our dog, what kind of story that tells, how it can isolate just the shape of the dog (as shown below) or how it can turn structures in nature or in urban settings into interesting shade patterns, we can create interesting photos that may set us on the way to finding our style.

Old Video

This video has been replaced by the one above, but there could be some other interesting bits and pieces in here.