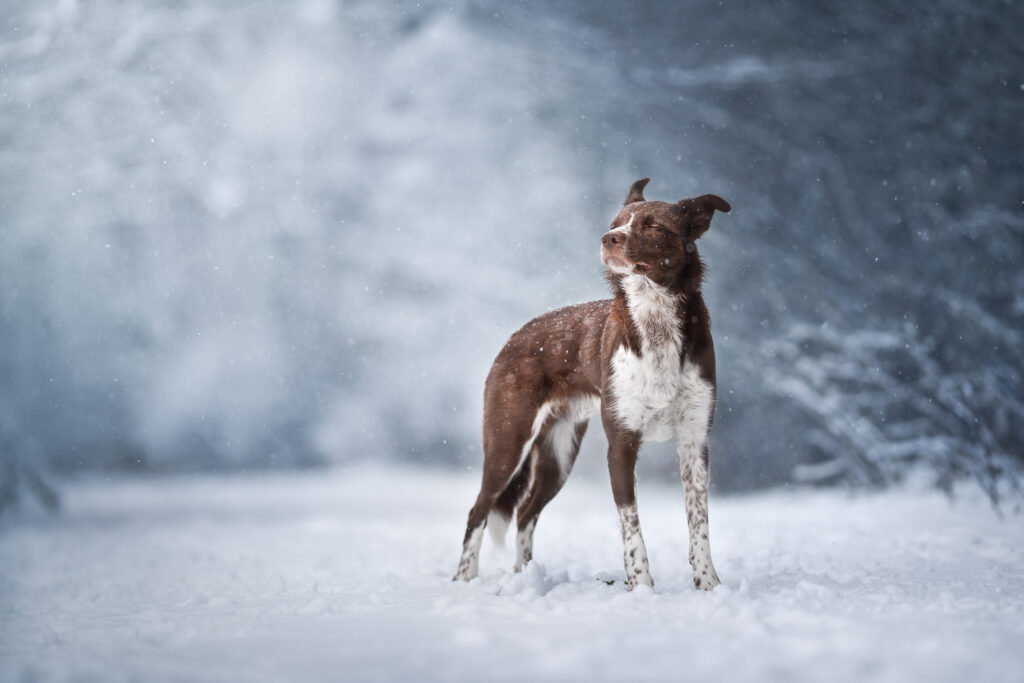
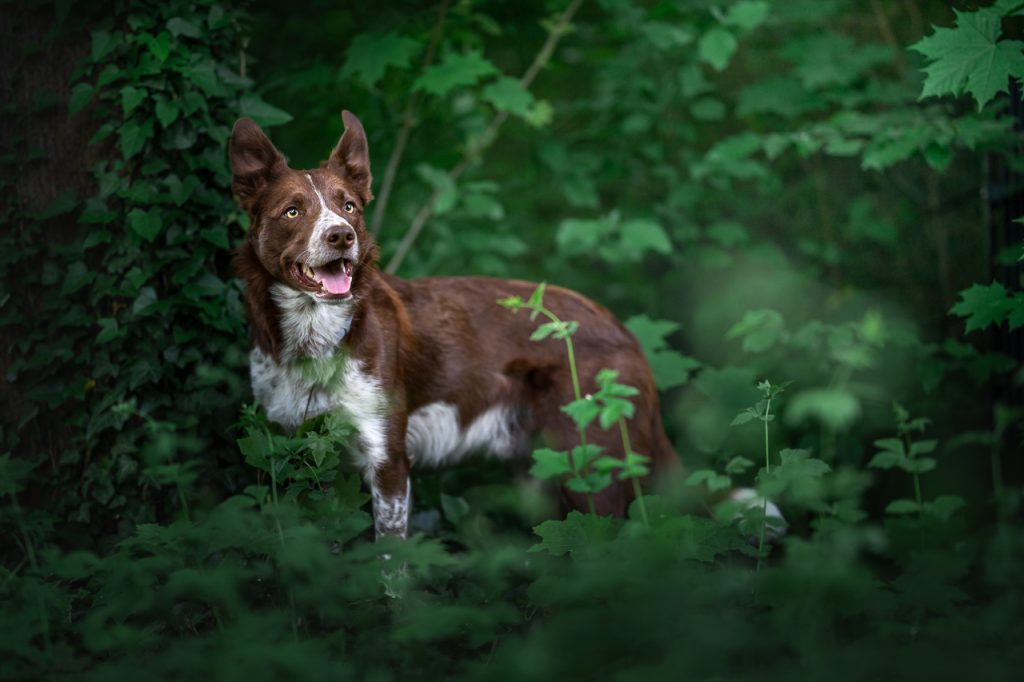
Using parts of your photo, or photos taken in the same area, is one of my favourite methods for changing, fixing or extending the background.
Quite often, I’ll take additional photos of the surrounding area, or into the treetops for pretty bokeh, as I can then use these elements and add them to my photo, to change the scene however I want.
As soon as you really begin to understand how to move the parts of your scene around like the pieces of a changeable puzzle, the more flexibility you’ll have in how you construct your photo!
There are two methods we can use to take the background and use it elsewhere in the image.
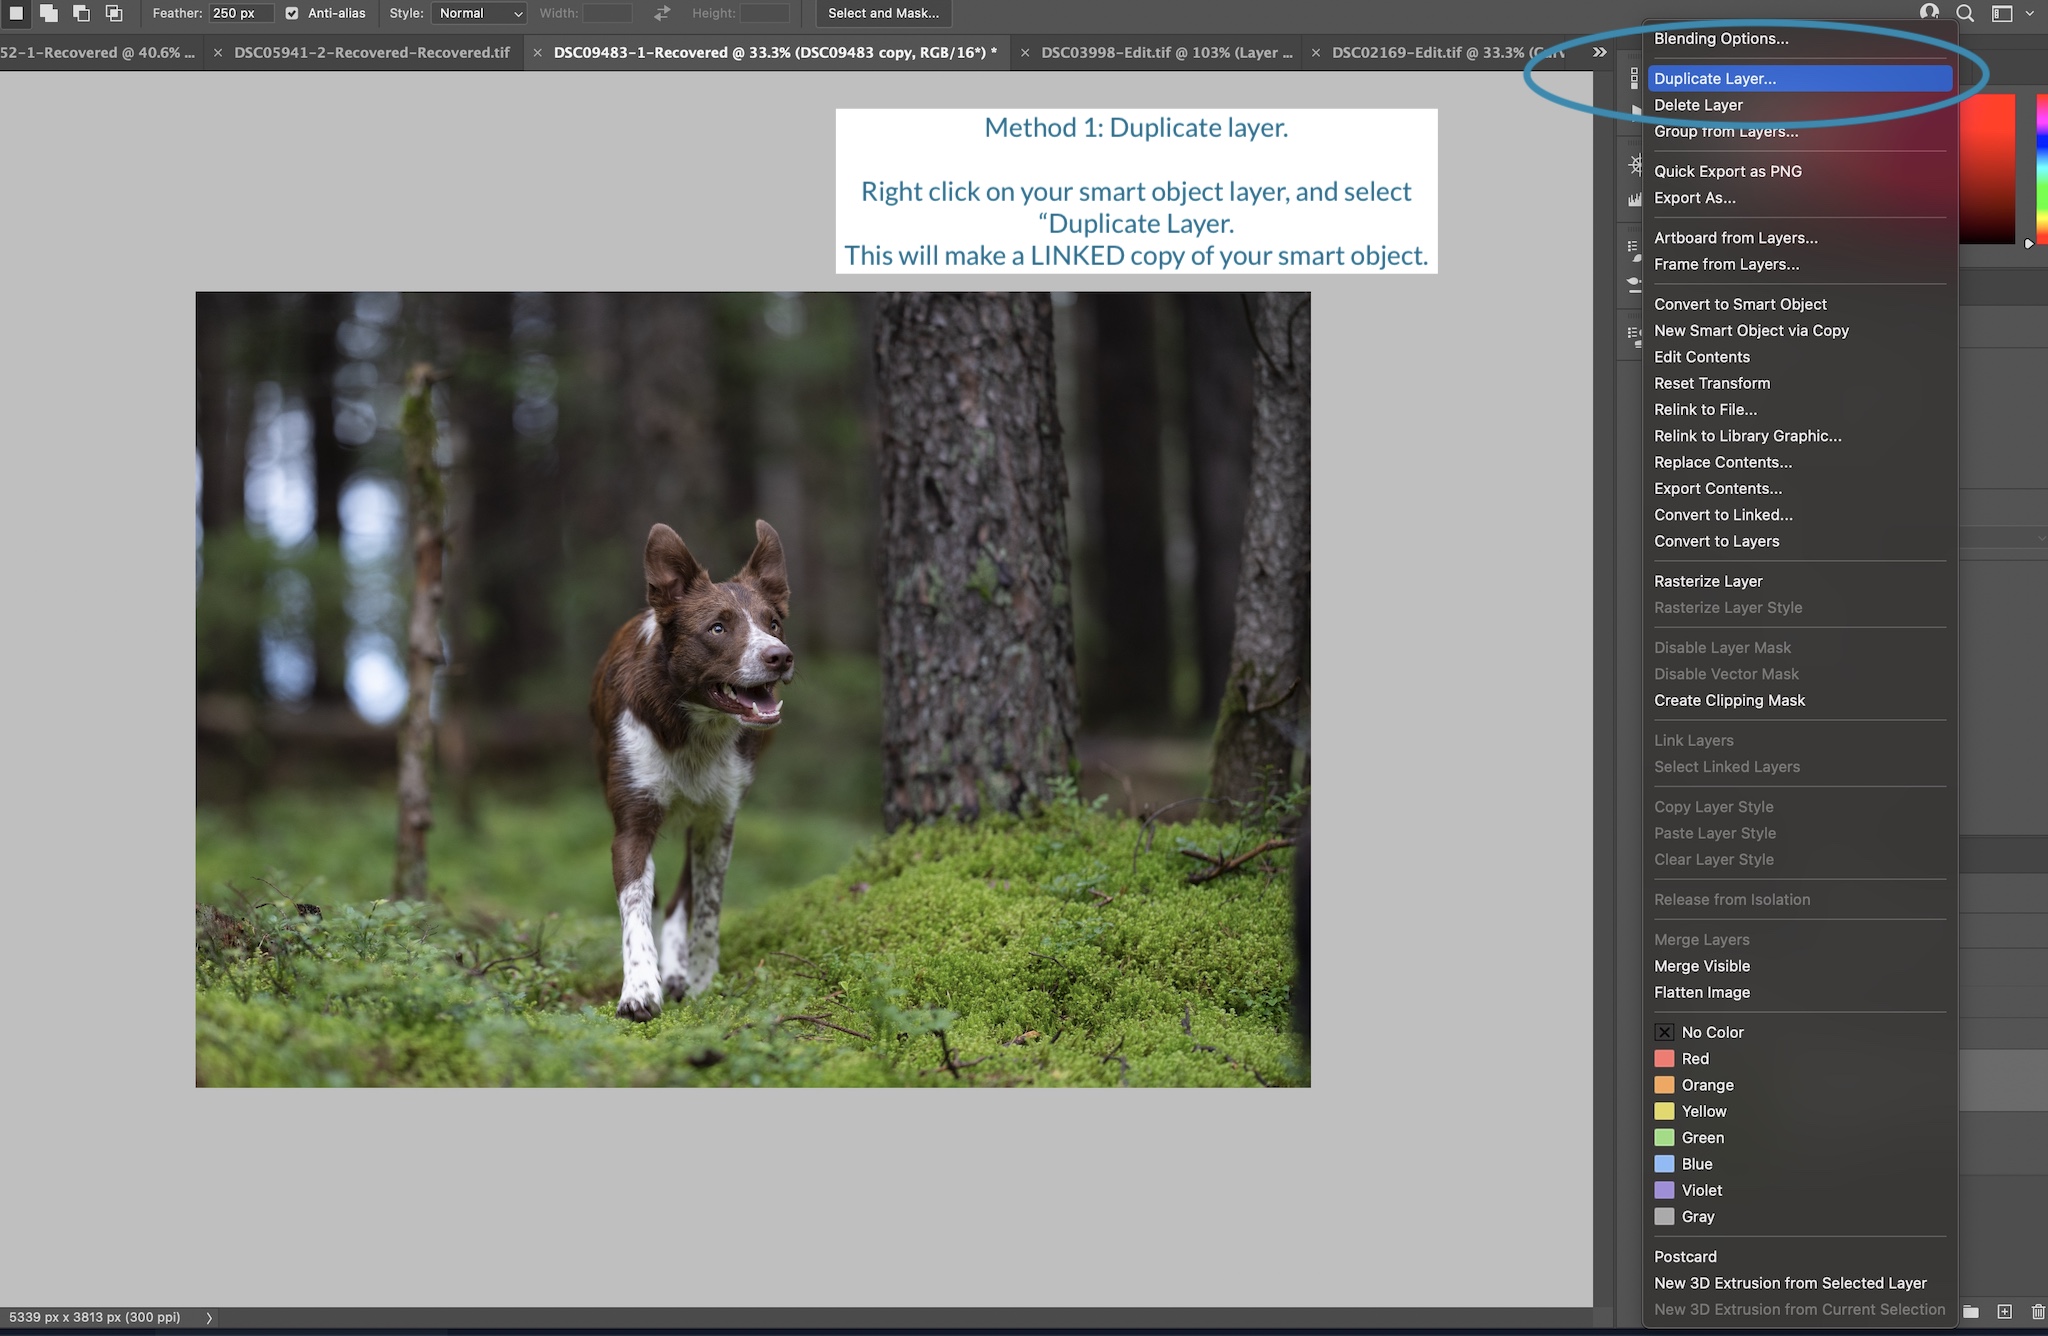
- duplicate the whole layer, flip it if we want, and mask it in.
- If you’re working with smart objects, this keeps the layer linked to the original smart object so if you do changes in Camera Raw Filter later (eg., white balance adjustments, global adjustments etc) these will also be applied to your duplicated layer.
- this can result in larger file sizes as you now have at least 3 layers of your raw file as smart objects. That’s a lot of data!
- copy only a part of the image and paste it in as a new layer.
- this means they won’t be linked any more so any adjustments you do in CRF will have to be applied separately to your layer (maybe through clipping masks, or opening CRF on that layer only – but since you’re working on a .jpeg now, you might struggle to get the exact same effect)
- the size of your edited file shouldn’t be as huge, as you’re now only working with a .jpeg layer file.
Duplicate Layer
After you’ve duplicated your layer, you have two options, depending on what you want to achieve and what you’re working with in the background.
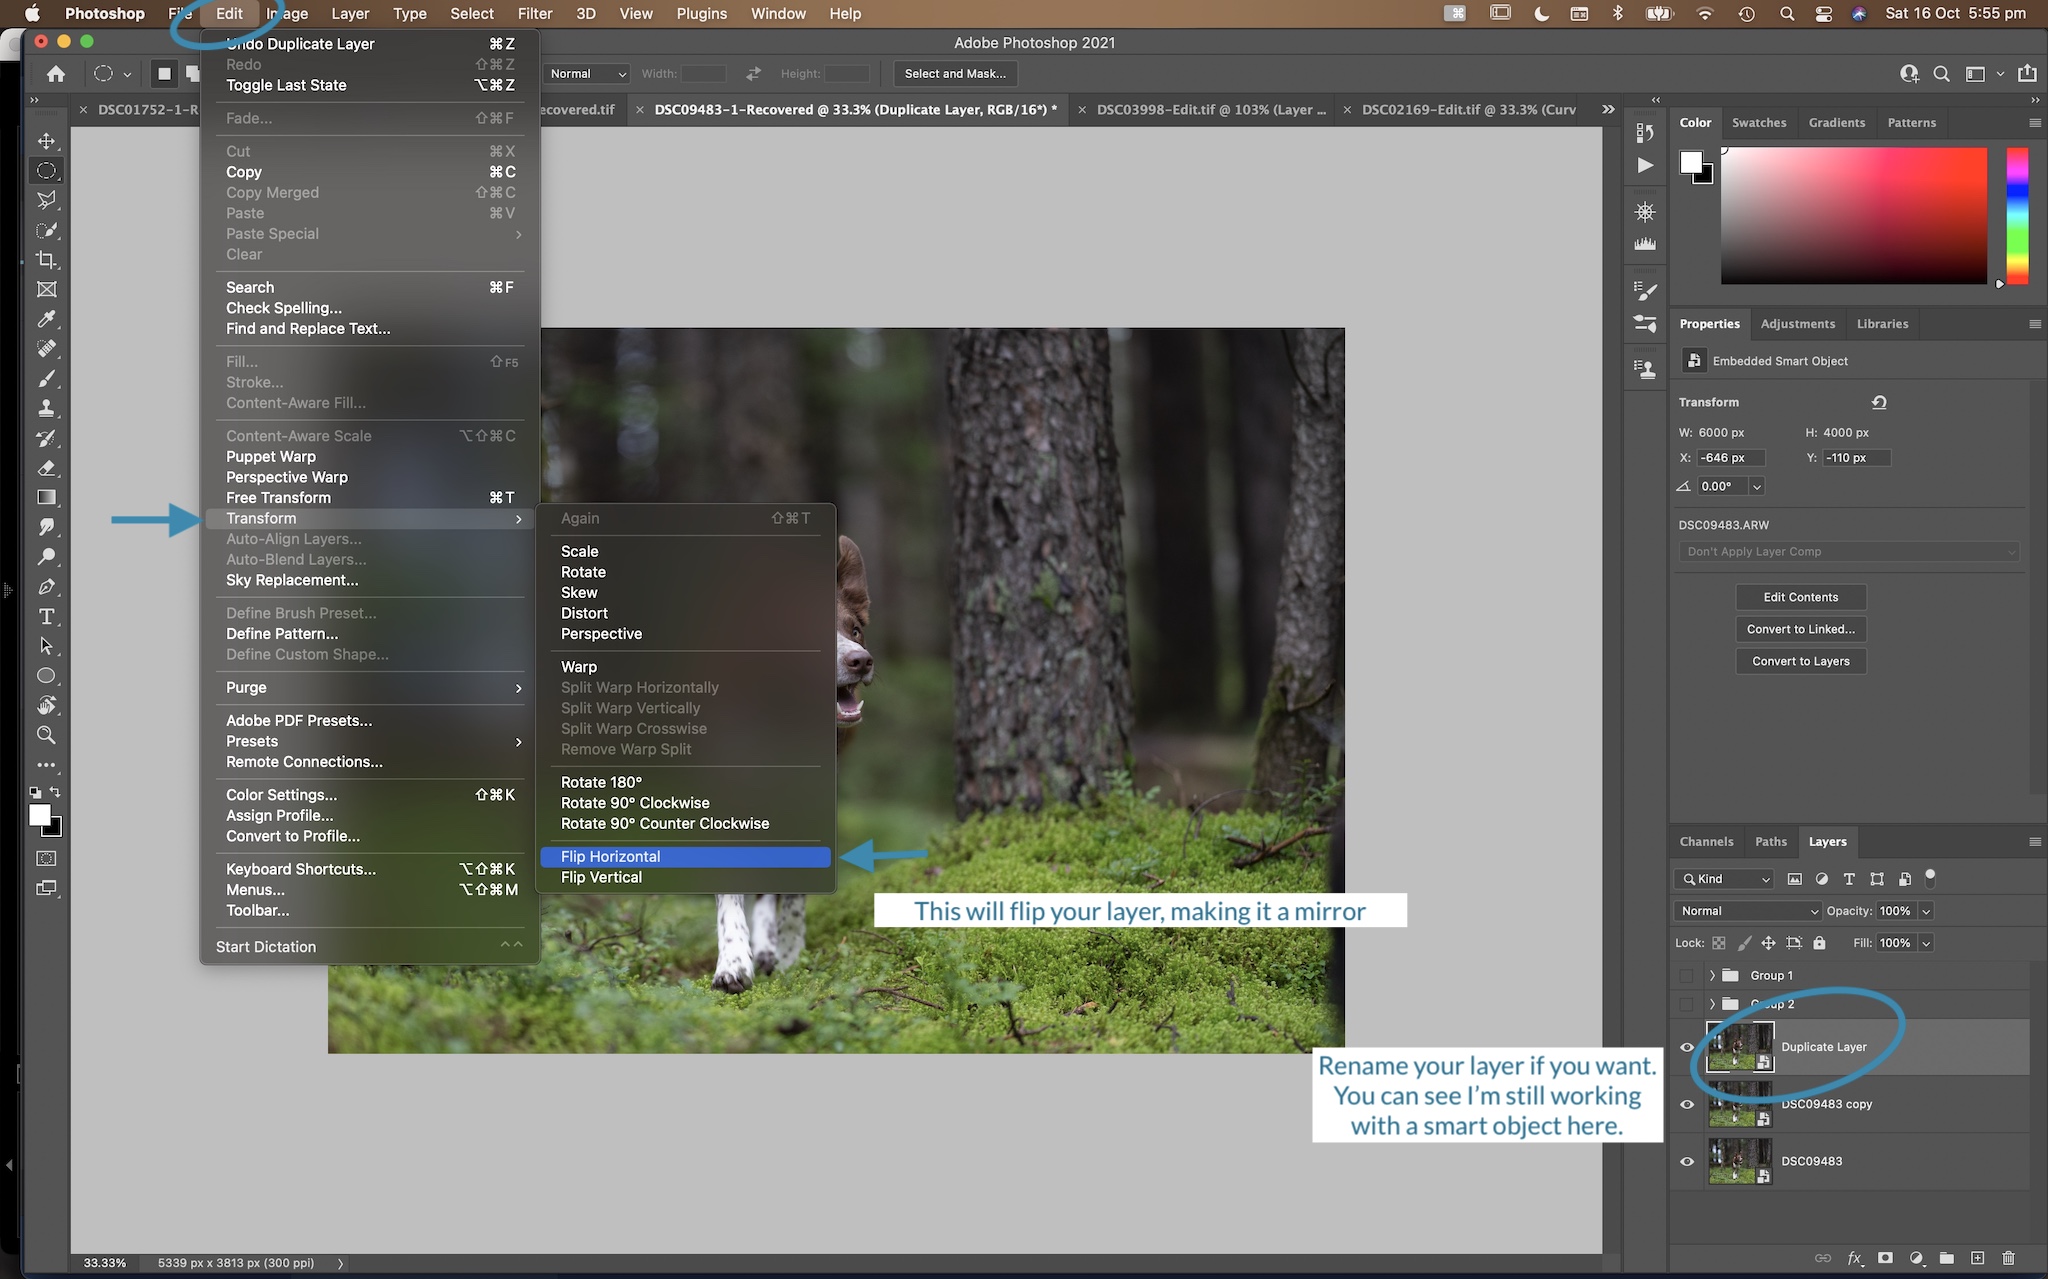
You can either simply move the layer to where you want the background elements to be and add a layer mask to the duplicate layer… or more often, you’ll want to flip the duplicate layer.
In that case we need to go to Edit > Transform > Flip Horizontal
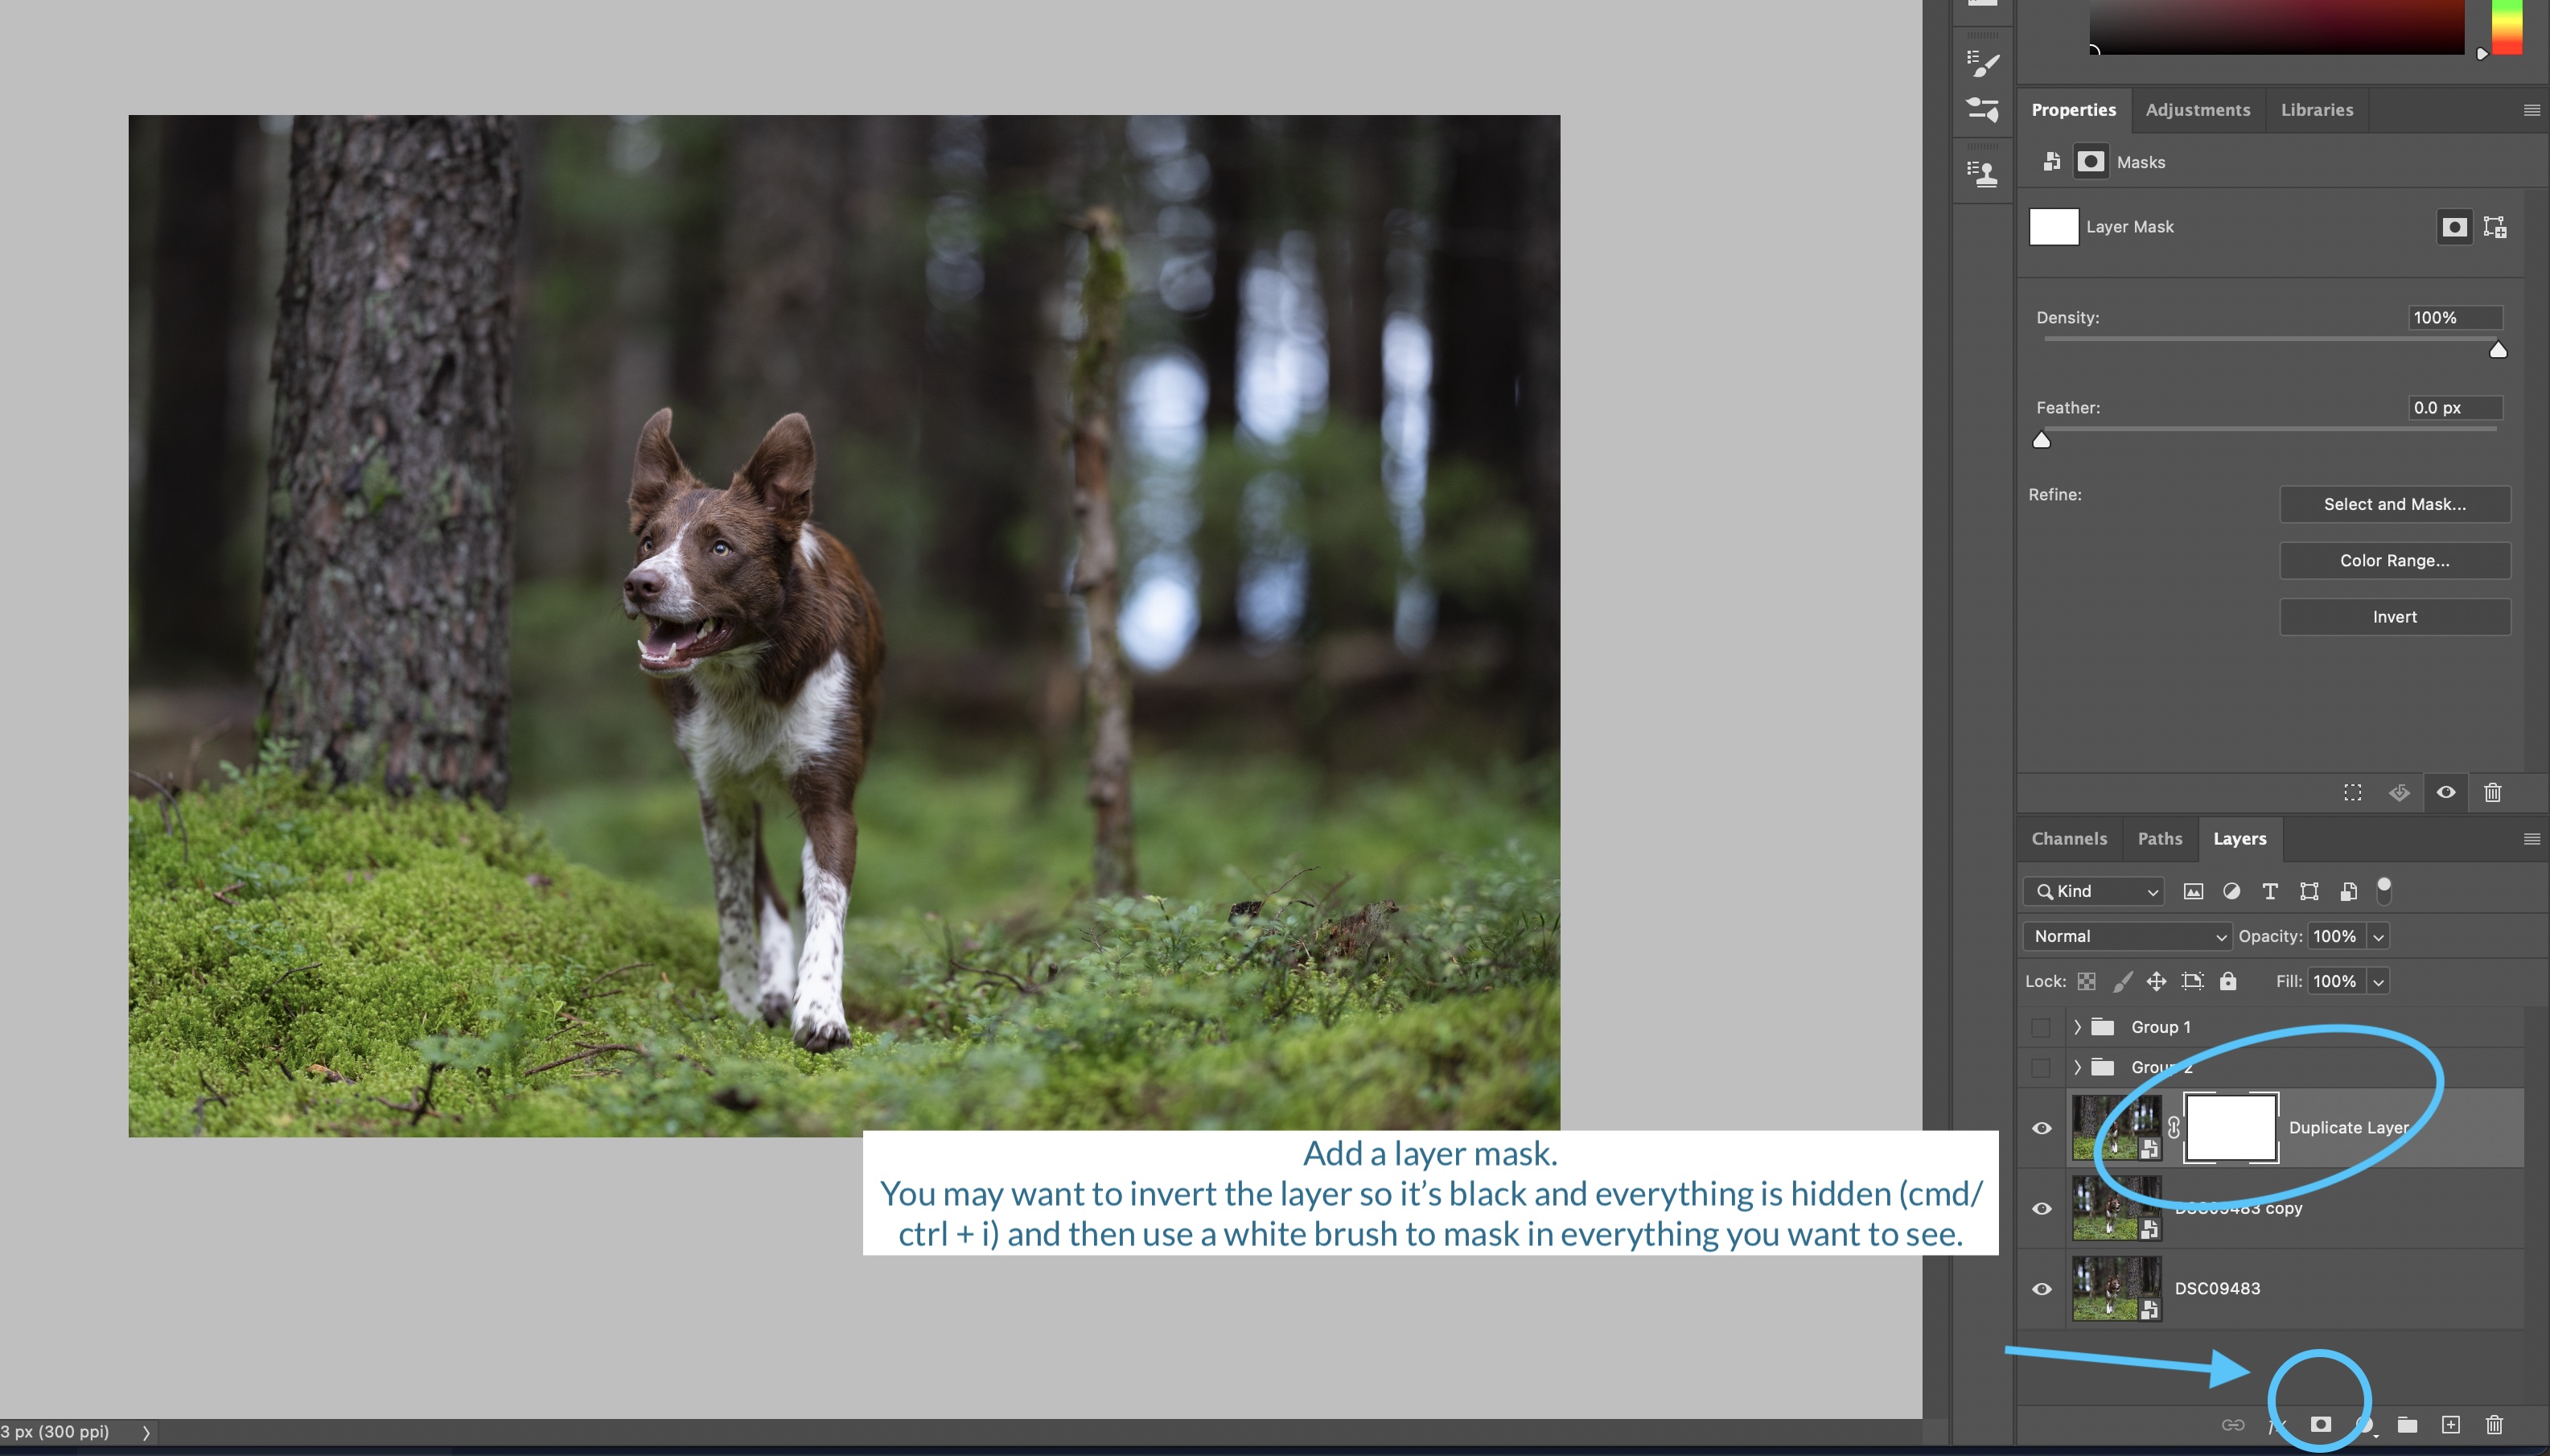
Move your layer to where you want it using the move tool (or you can move it later, it doesn’t matter!), add a layer mask by clicking the “add layer mask” button from the lower collection of buttons.
You might want to invert it to black by pressing cmd/ctrl + i on your keyboard.
Then use a white brush to mask in the areas you want to see.
Copy & Flip a Part of the Image
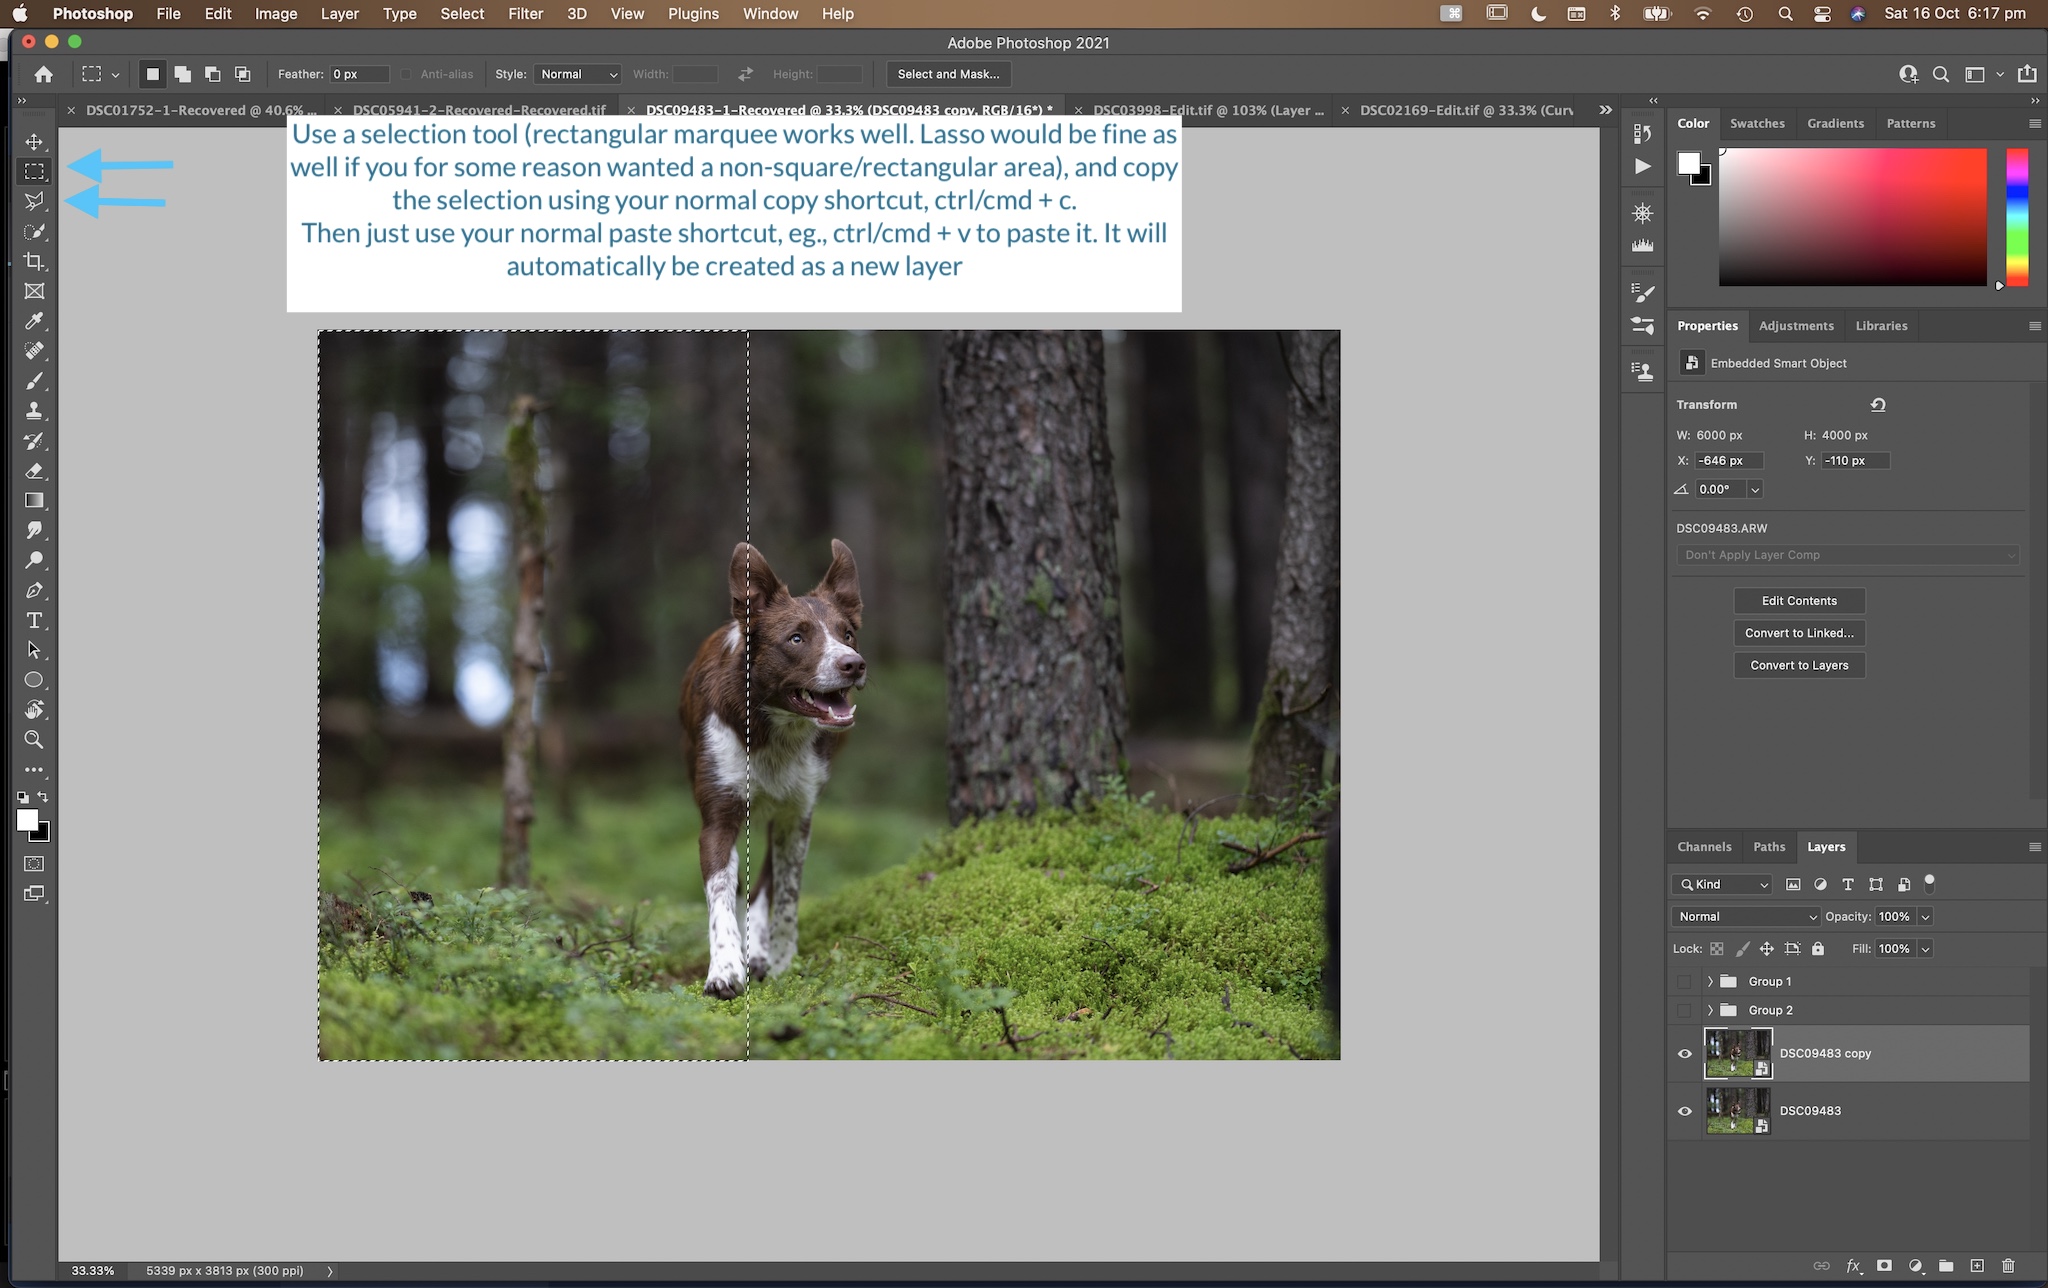
Using a selection tool (I usually use rectangular marquee tool with 0 feather. You could also use the lasso if you wanted) select the area you want to move somewhere else. Have a fairly wide margin (extra area) if you can. This will make masking it in much much easier.
Use your normal Copy/Paste shortcuts, eg., ctrl/cmd + c then crtl/cmd + v to copy and paste it onto a new layer.
If you need to flip the part of the image, follow the same steps as above, with Edit > Transform > Flip Horizontal
Move the selection/layer wherever you want it (or mask it in first, it doesn’t matter), add a layer mask as per the instructions in the section above, invert it with cmd/ctrl + i, then using a white brush, mask in the areas you wantt to see.

