Archivesexposure

Exposure, Brightness & Other Options

Brightness/Contrast

A very simple tool that does what it says on the jar: adjust the brightness, adjust the contrast.

This tool is pure simplicity. You have no control over what part of the histogram or tonal range is being affected by it. It just brightens, and adds or removes contrast.

It could be a good tool to use at the very end of your workflow to add a final “pop” of brightness, and add a little contrast if the image needs it.

Levels

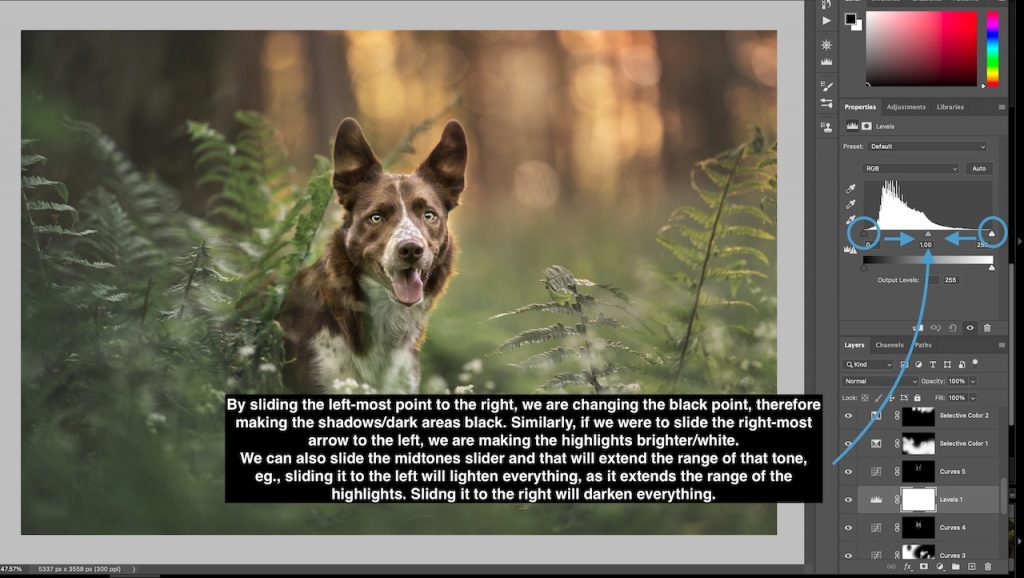
Allows you to choose from 3 points along the histogram: blacks, midtones, and whites.

Essentially, you are changing where the blackpoint or whitepoint is, or you’re extending the range of highlights or shadows. 

So for example if you pull the right-hand side arrow toward the left, you are saying these highlights should be white. 

Similarly if you dragged the left-most arrow (blacks) toward the right, you’re saying: “these shadows should be black”. 

It is essentially a less flexible version of the curves tool, giving you 3 areas that you can adjust, rather than many (given that you can add as many points along the curve as you want).

Exposure

Another quite simple tool which simply makes a global adjustment to either increase or lower exposure.

There are other options, eg., “offset” and “gamma corrections” but I’ve never had a need to use them for any of my pet photos.

In most of my photos, I tend to add +.20 or +.30 exposure at the end of many of my photos, so you could use this tool for that too.

Aperture

Aperture = the pupil/eyeball of your lens.

You know how when it’s dark, your pupil gets bigger to let in more light? And when it’s light, it gets really small? Aperture is controlling how big or small the hole of our shutter is. 

Unlike our eye, however, aperture also affects how soft or sharp the out of focus parts of our image are, eg., how much detail we’ll see either side of our focus area. There is more information on this in the “depth of field/plane of focus” lesson.

Represented as an “f-number” – f/2.8, f/3.5 and so on. You can usually find this number written on the lens. Some zoom lenses will have a variable number (eg., f/3.5-f/5.6) meaning when they are zoomed all the way in, the widest aperture they can use is f/5.6


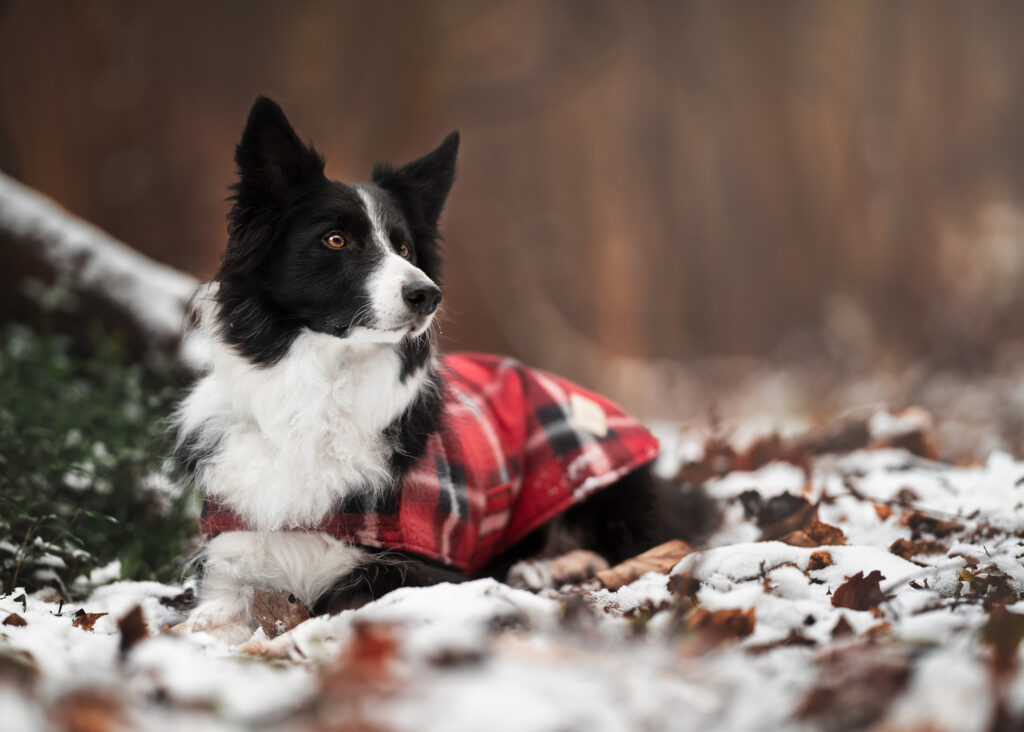
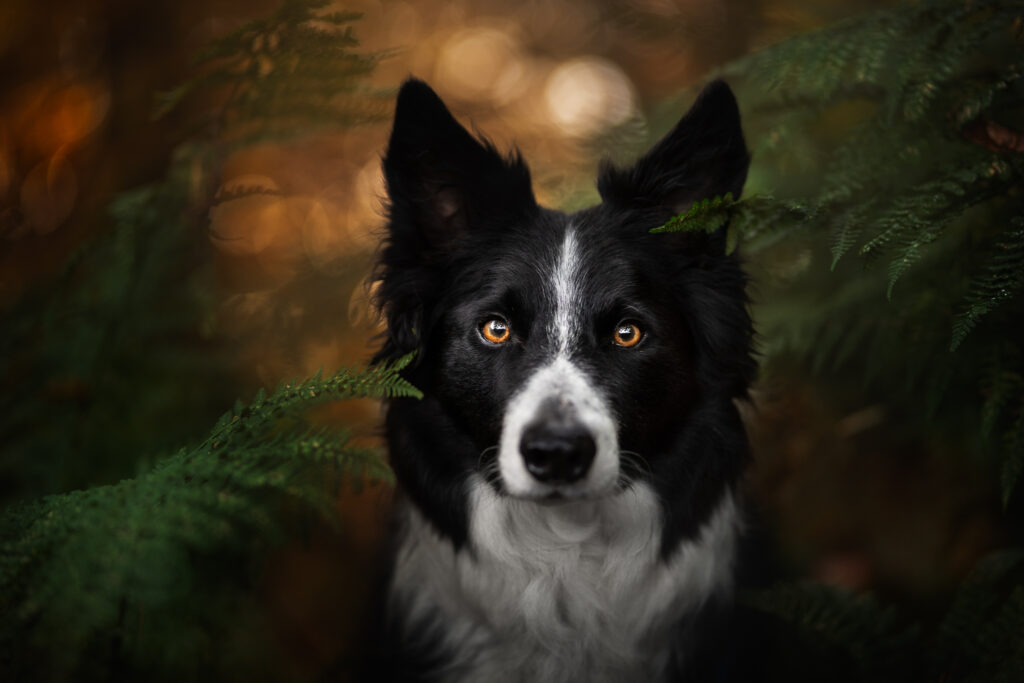
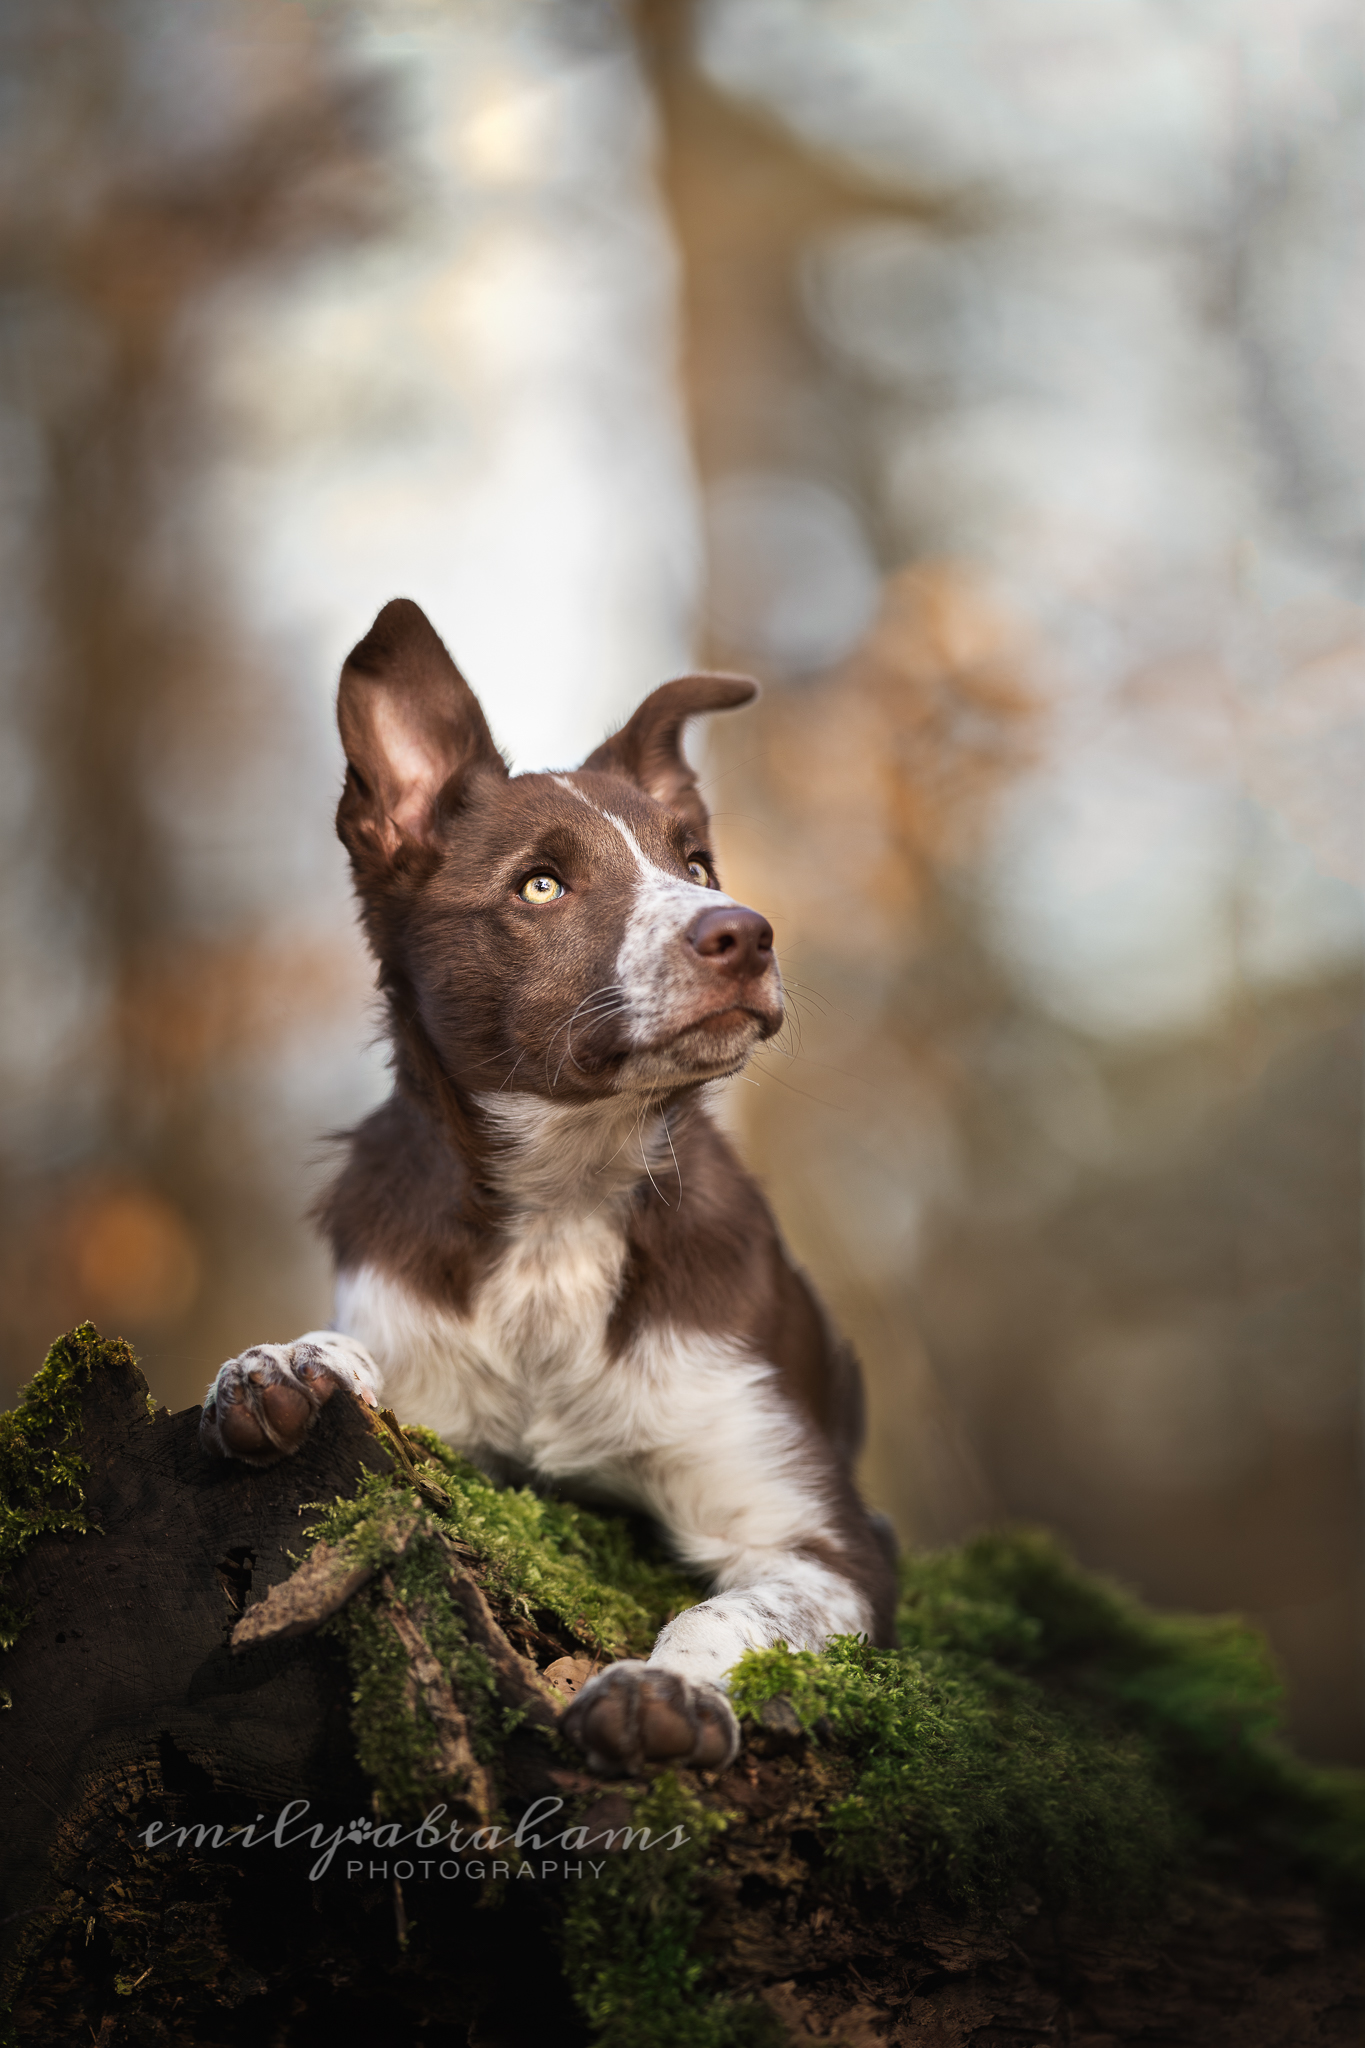
Shot at 1/500 sec, f/1.8, ISO 320

Remember:

  • A small f-stop number = large hole = more light getting in = soft background & foreground.
  • A large f-stop number = smaller hole = less light getting in = more in focus.
  • Therefore: A small f-stop number (f/1.2 up to f/2.8) are perfect for portraits with soft, dreamy backgrounds and less distractions to draw our eye away from the dog. A wide aperture is also very useful to us as it allows us to take photos in the woods, at twilight, or in lower-light conditions, as it allows more light to get into the camera. 
  • My camera is rarely set to anything other than the widest aperture, which on my favourite lenses, is f/1.8
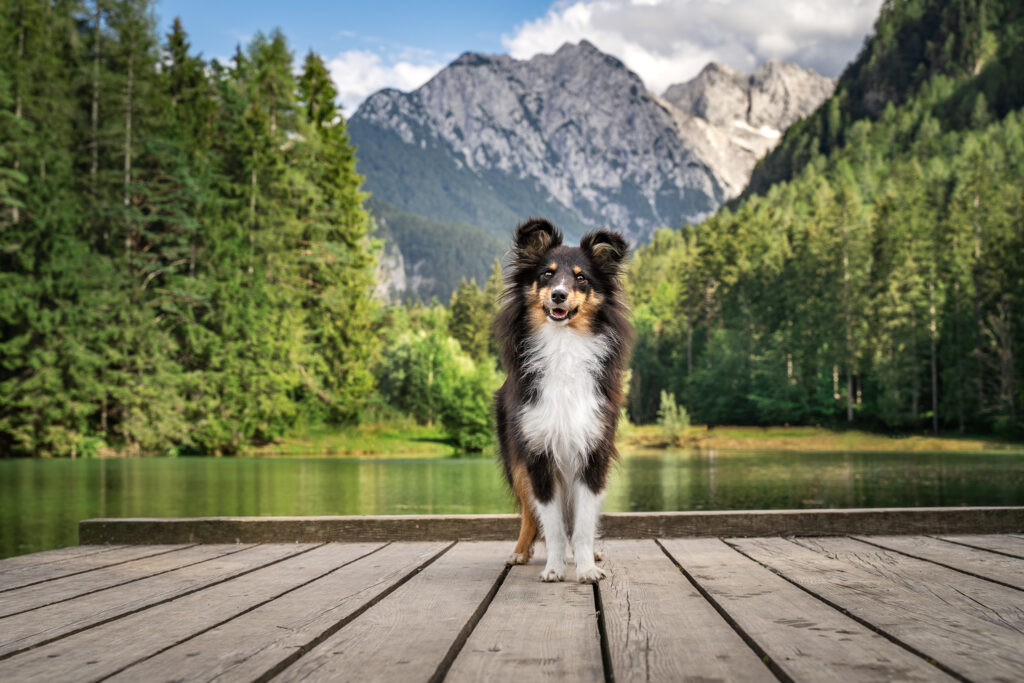
  • A larger f-stop number (f/4.5 to f/22) are for landscapes, or when you want the background to have as much attention as the dog.

One thing to note is that the blurriness of the background CAN be altered by a lot of other factors, not just aperture – make sure you check out the “Depth of Field” lesson for more on this.

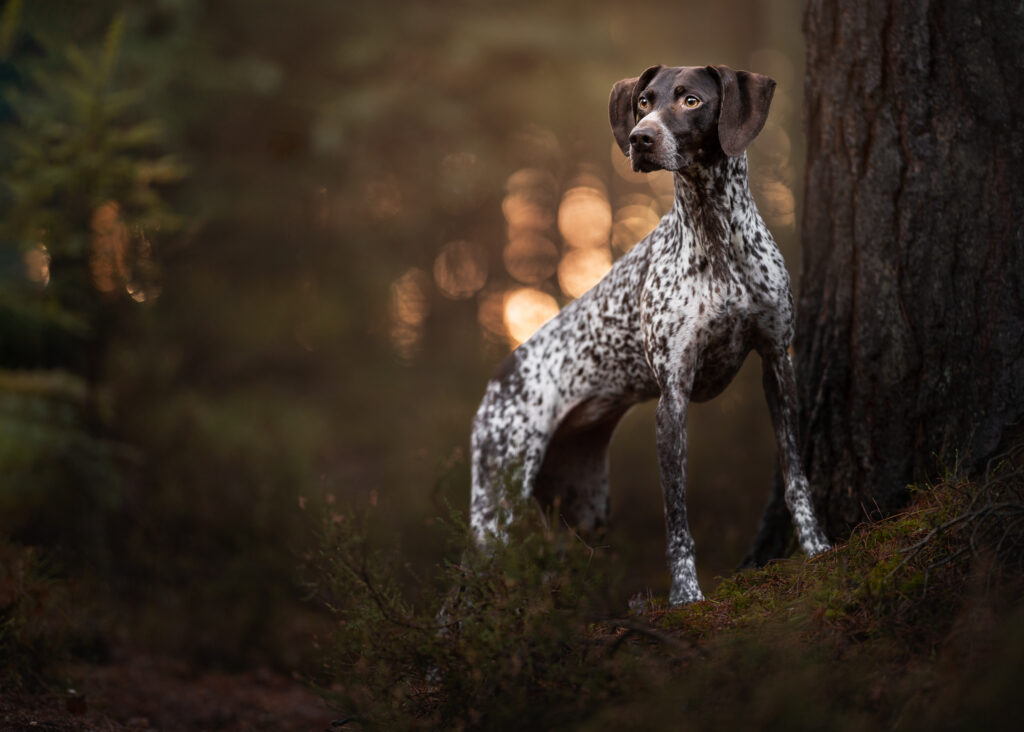
1/500 sec, f/7.1 (landscape!), ISO 200

Having the Nose in Focus

It’s worth mentioning this again.

I often see questions in dog photography facebook groups about why the dog’s nose isn’t in focus, or how someone can get the dog’s nose in focus but have the background soft. 

The answer to the first question is: use a narrower aperture.

The answer to the second question is: you probably can’t.

In my opinion, I don’t want the dog’s nose in focus. I want the viewer’s attention to be on the eyes, and only the eyes. This may be personal preference, but I would argue that most big-name/artistic-style pet photographers (not studio photographers!) take photos at the widest aperture, and don’t care if the nose is out of focus. 

This may be a decision you want to make yourself. I don’t want to compromise my image, and distract my viewers by having plants in the foreground and background in focus just so that the dog’s nose is in focus. Because if you narrow the aperture to get the nose in focus (and the nose can then be a distraction, too), then you allow a lot more detail in the rest of the image too, and this may take our attention away from the subject.

Shot at 1/400 second, f/1.8

Is the nose in focus? No.

Does it detract from the image? I doubt it. 

In the examples below, I was using my 135mm. I wanted to change only the aperture, to see how narrow I would need to go before the nose was in focus, and how this affected the background detail. Since it was the 135mm it retained pretty good compression throughout.

Keep in mind that I was quite close to Journey with this lens (eg., he is filling a lot of the frame). 

Keep in mind as well that as I narrow up the aperture, I had to adjust other settings – we cover this more in the Exposure lessons… but by the time I was at f/8 I needed ISO 5000 despite it being quite a light and bright day! So I was starting to see a lot of noise, simply because I wanted the nose in focus.

Hover to see the camera settings, click to enlarge.

Group Photos

This may be a little advanced but I’ll add it here for future reference.

One time you MAY wish to narrow the aperture is when taking group photos, IF you aren’t skilled in Photoshop.

By having a wide aperture and therefore a narrow Depth of Field, photographing more than one dog would require them to be perfectly lined up, so that the eyes of each/every dog is in focus. This is almost impossible. Personally, I still shoot at f/1.8, and I photoshop the images together so each subject is in focus…. however, if that isn’t possible (or maybe you’re just feeling lazy and think they’re lined up close to perfect) then you could just make the aperture narrower, to get a larger depth of field, so hopefully they would both be in focus that way. More than 2 dogs? I think it would be impossible unless you had a VERY narrow aperture. 

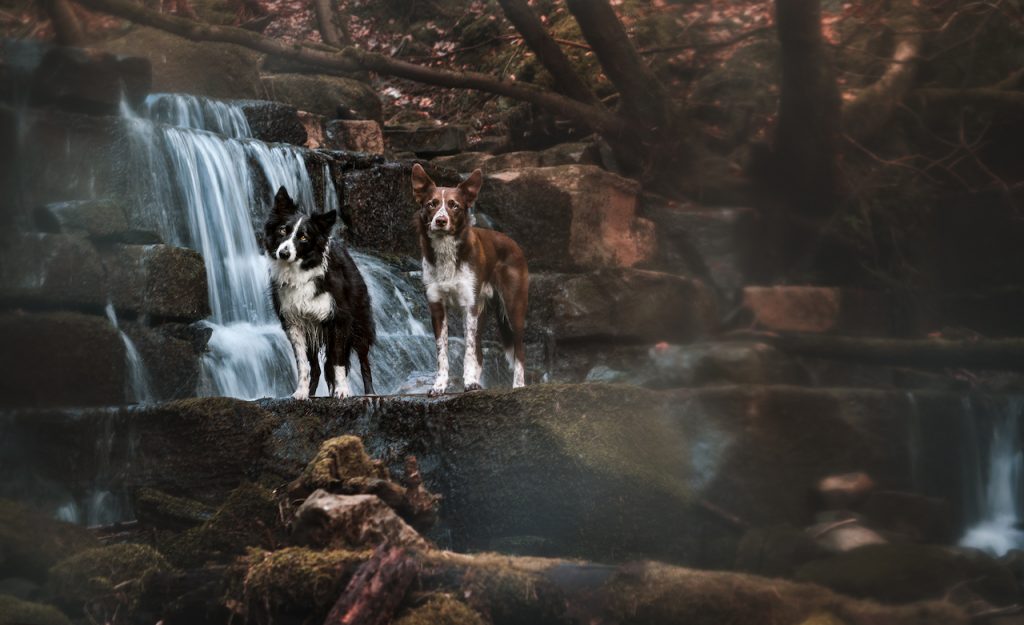
Shot at 1/500 sec, f/4.5, ISO 1000 – I intentionally used a wider depth of field than normal (higher number) as I wanted to make sure myself and BOTH dogs were in focus, even if one of us was slightly closer to or further from the camera.

These two images were taken at f/1.8. I took several photos where Loki was in focus, and several where Journey was in focus, and then combined the two in Photoshop so both dogs were in focus.

Shutter Speed

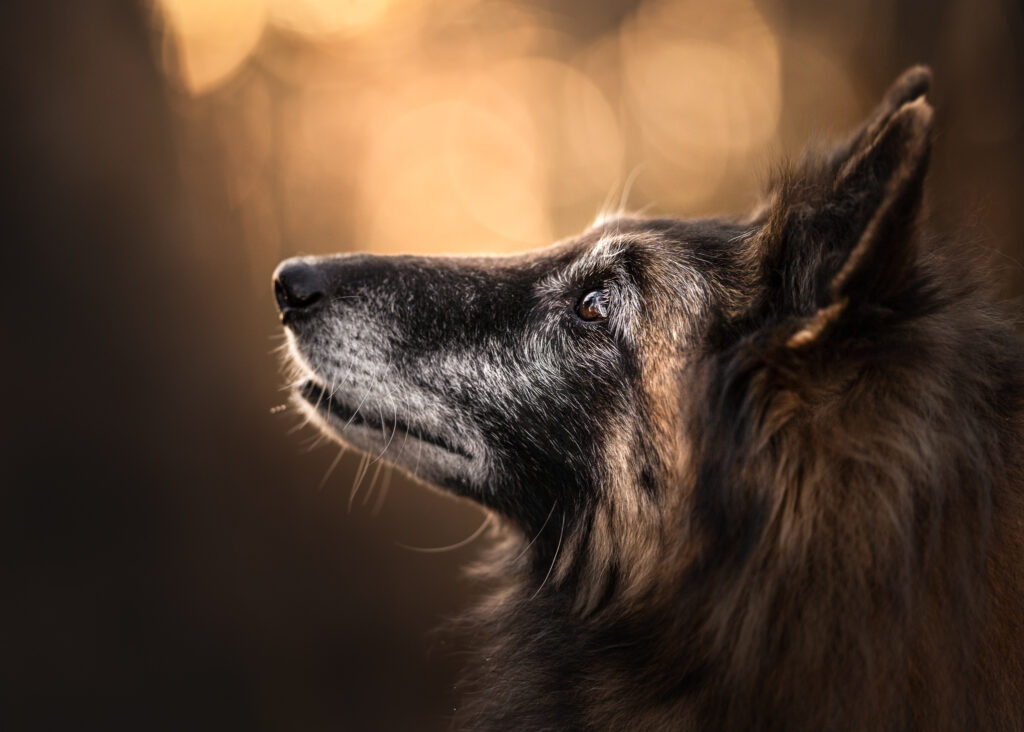
Shot at 1/500 sec, f/1.8, ISO 160.

Shutter speed = how quickly the “eye” of the camera closes to freeze the action. The faster the shutter = the better it freezes moving objects, but, the less light that gets in. Represented as 1/whateverths of a second. Eg., 1/500= one five-hundreth of a second. 

As a general rule, my shutter speed is never slower than 1/400 second. This is something I will rarely compromise, in order to get more light. It just isn’t worth it to end up with a blurry/soft photo.

For action, it is at least 1/1000 – faster if I have enough light! Ideally 1250 or 1600!

I usually keep my shutter speed at 1/400 because even Loki, my perfect model, is a living, breathing, moving creature. 1/400 freezes his slight movements, while still letting in as much light as possible. 

Interestingly, using my 135mm lens recently on my old Crop-Sensor camera… I had a LOT of motion blur, even at 1/400 second.

A too-slow shutter speed, of about 1/125 second, is the MAIN mistake I see beginners making when they’re wondering why their images aren’t very sharp. 

Shot at 1/1250 sec, f/1.8, ISO 1600

This photo (click to enlarge), as well as having a lot else wrong with it, was probably taken at 1/125 second. Everything is slightly soft and blurry because of this slow shutter speed. 

I will also – although more rarely – increase the shutter speed in high light conditions. E.g, if I was shooting in bright sunlight. This is because my aperture will almost always be at its widest – allowing in the most light but making sure I get a nice, soft background. Although I could change my aperture to allow in less light, it would mean more of the background would be in focus, which isn’t usually what I want – and my ISO will be at its lowest, so the only other setting I can change to get a photo at the correct exposure without compromising the look of the image, is shutter speed. If this doesn’t make sense yet, don’t worry! It will all come together as you learn how the other aspects of the “exposure triangle” work.

Having a too-fast shutter speed will rarely/never be a problem. Having a too-slow shutter speed will be!

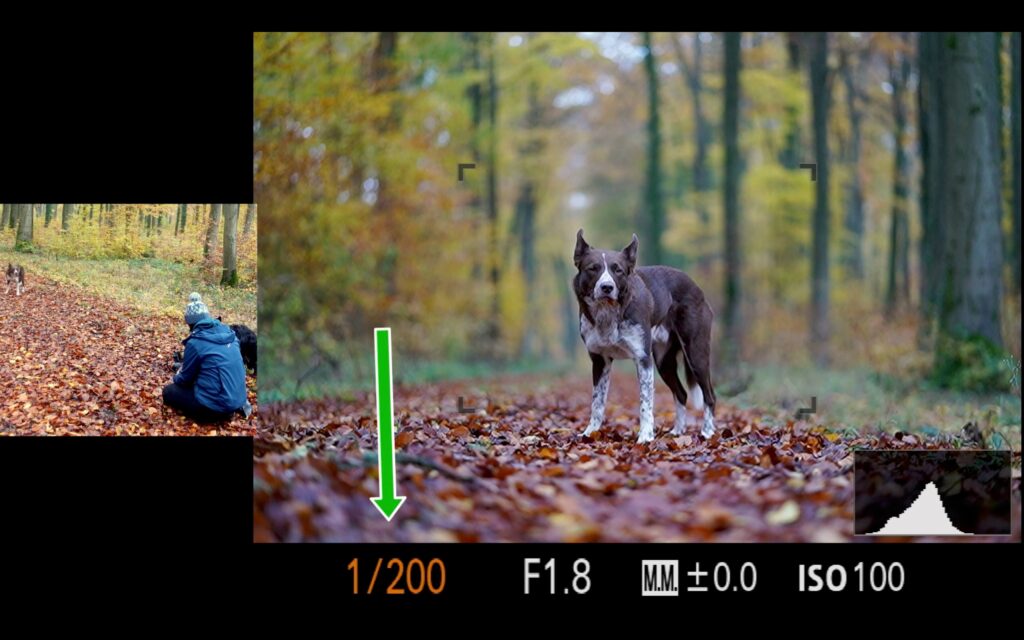
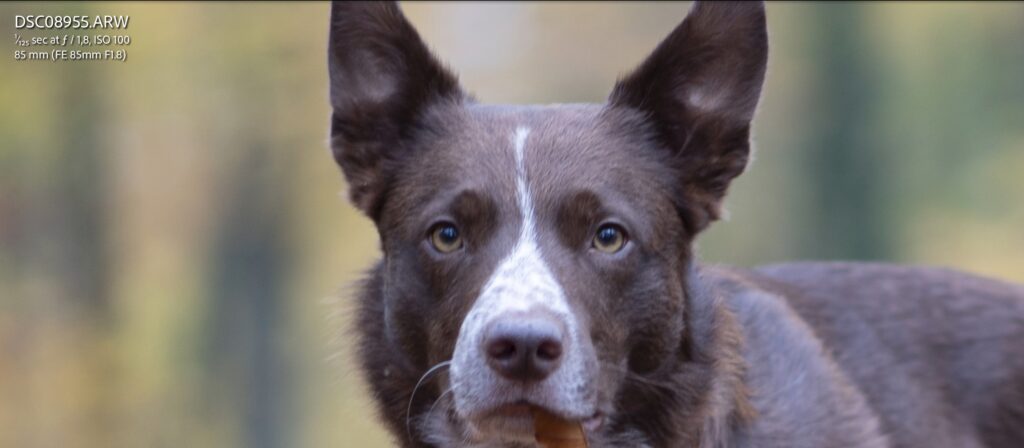
This photo is a great example of the above. It was quite bright out (though not harsh sun). Usually I would take this kind of portrait on 1/500 second, f/1.8 and ISO whatever. However on this day, because of all the extra light, I was already on f/1.8 and ISO 100 (as low as it can go, so letting in the least amount of light), and it was still EXTREMELY bright. My options would have been to narrow the aperture – meaning there would have been a lot more detail in the foreground, and in that soft creamy background…. or to increase the shutter speed, which would just freeze any small motions Journey made even better.

As a result, the settings were: 1/1250 sec, f/1.8, ISO 100.