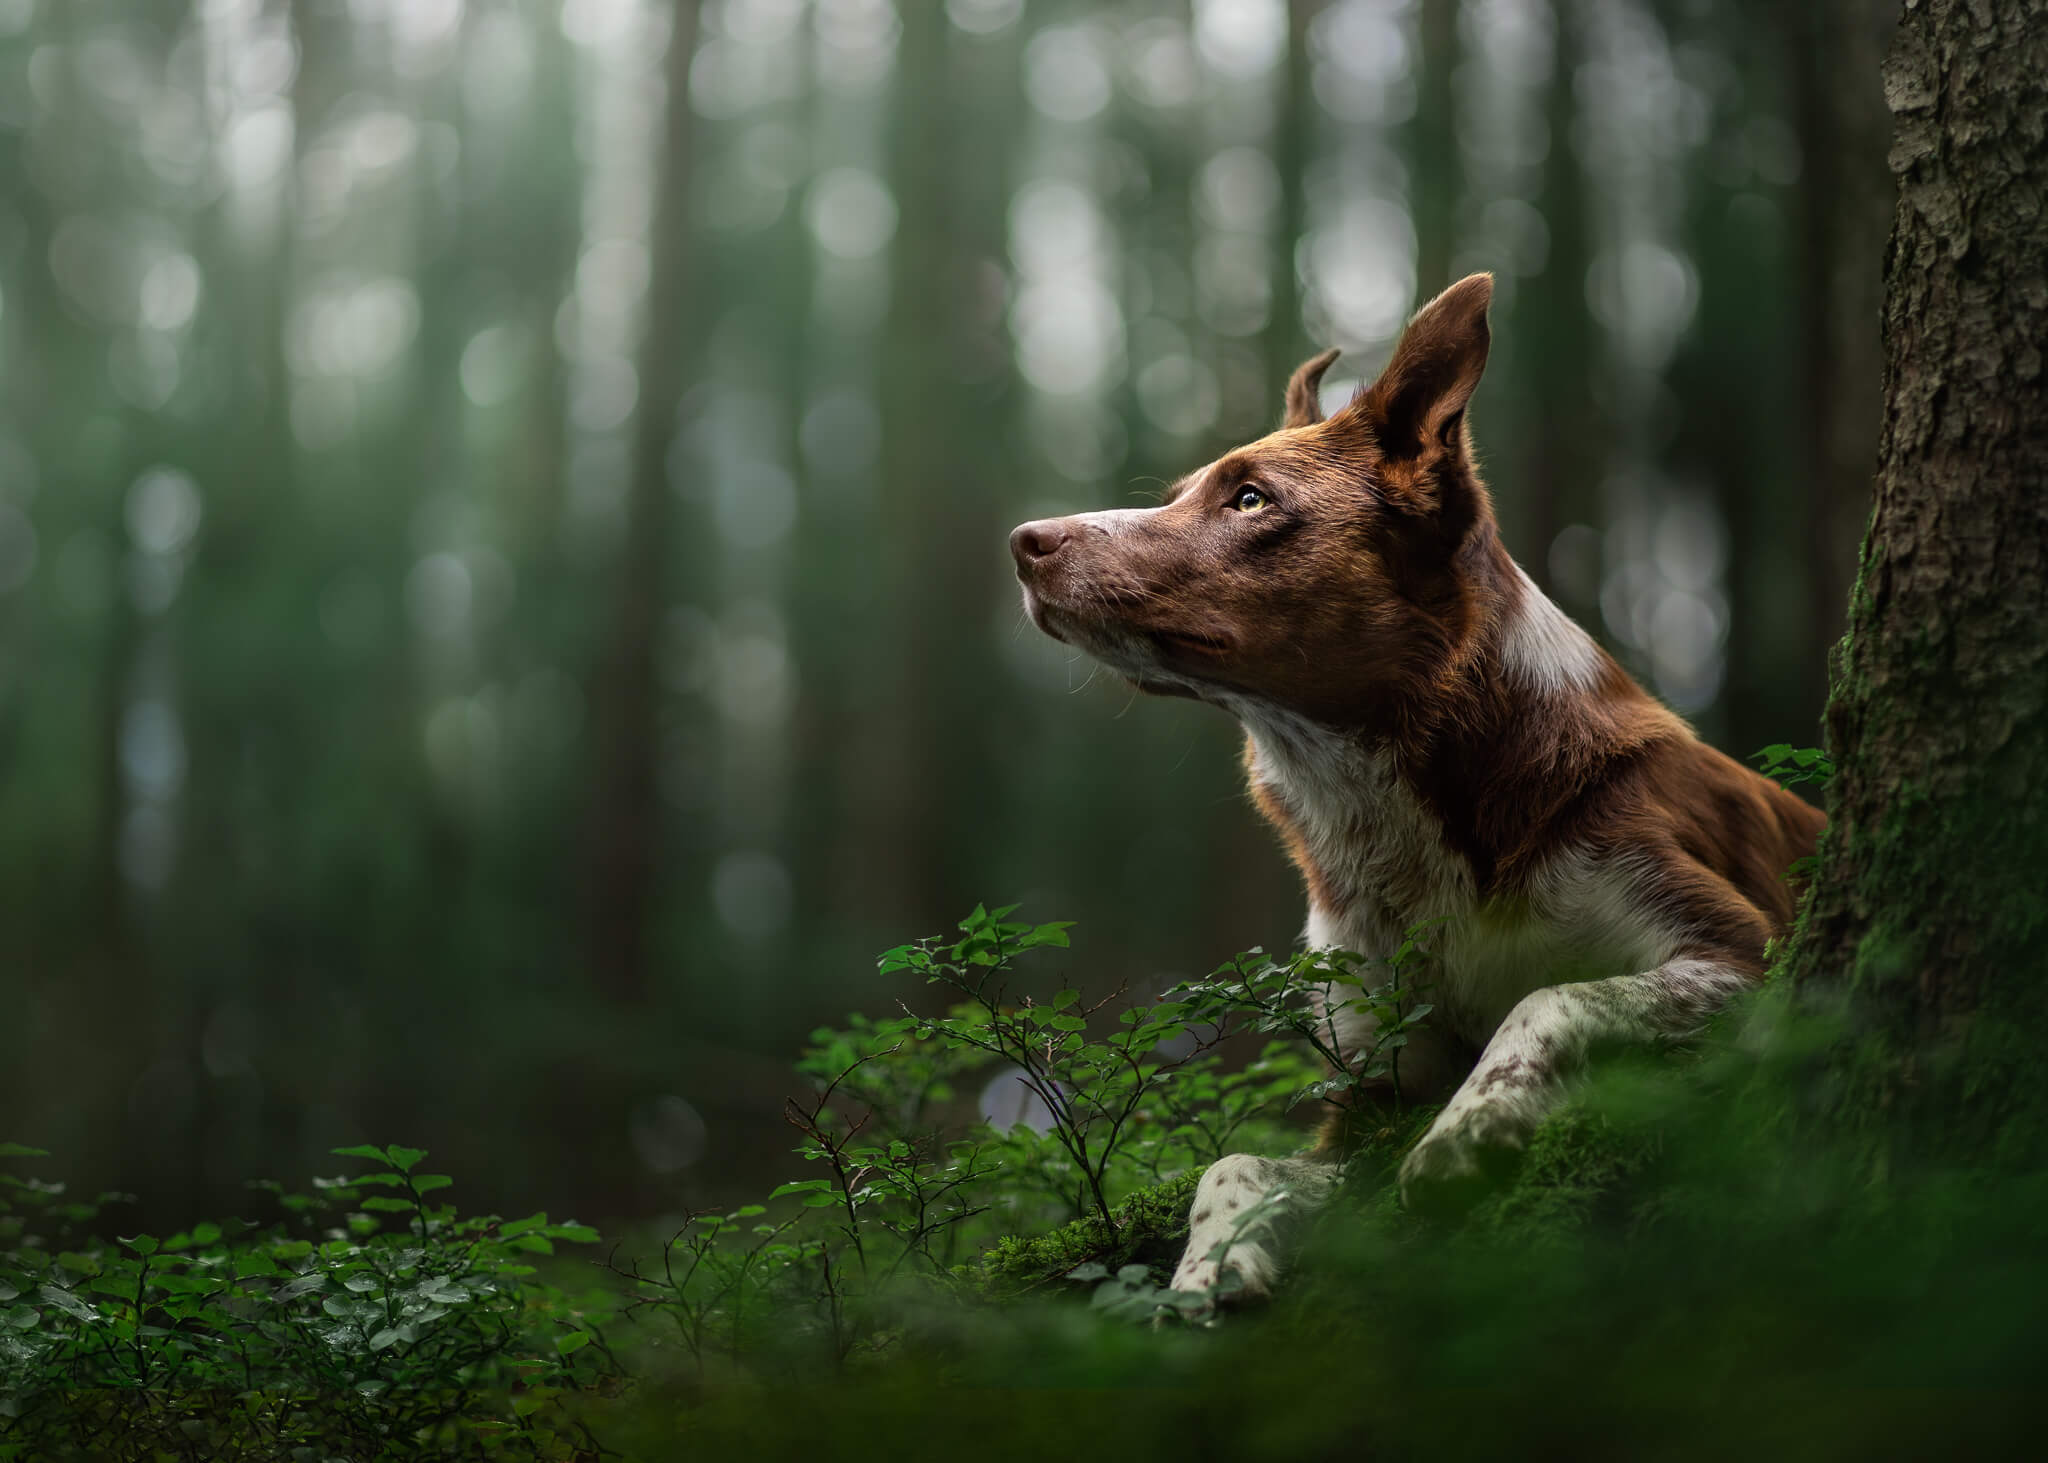
This photo is slightly more challenging in SOME ways, but easier in others. You WILL need to know how to mask two images together in Photoshop… but if you’re using ANY of my Photoshop techniques, you should already be familiar with masking. There are other green-focused Lightroom only tutorials if you would rather tackle this in Lightroom. That would also work perfectly well.
Again, remember, you don’t HAVE to do all the steps listed below. You don’t have to edit the photo the way I did. You don’t have to do the same layers, with the same settings. In some cases, I’ve provided you with the exact settings I used… but also feel more than free to make this edit your own. Take what you want from the process below, and leave the rest.
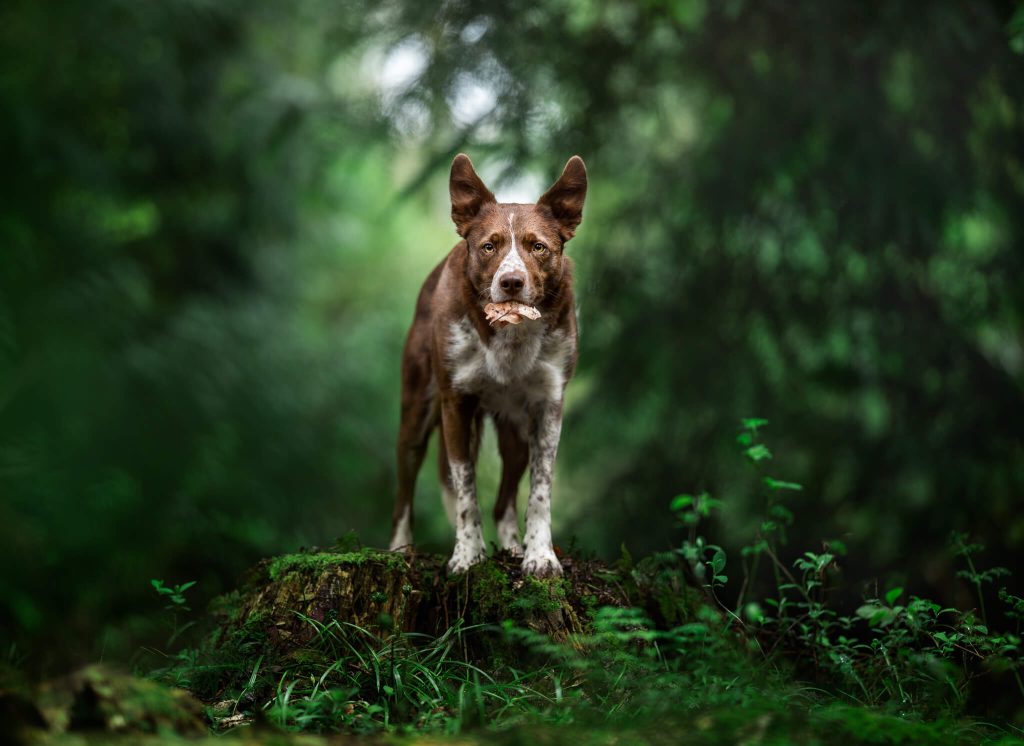
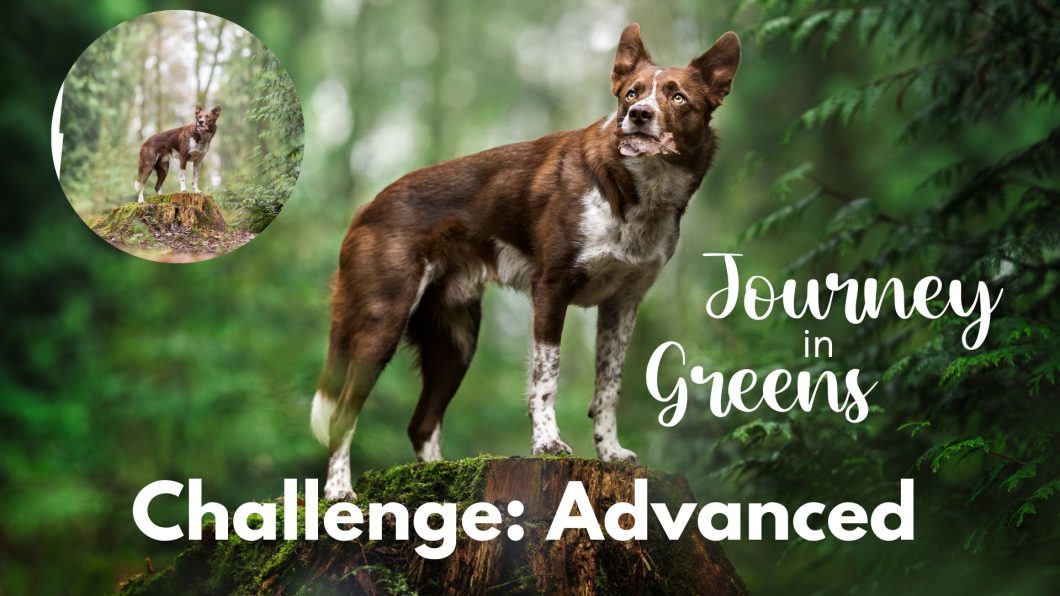
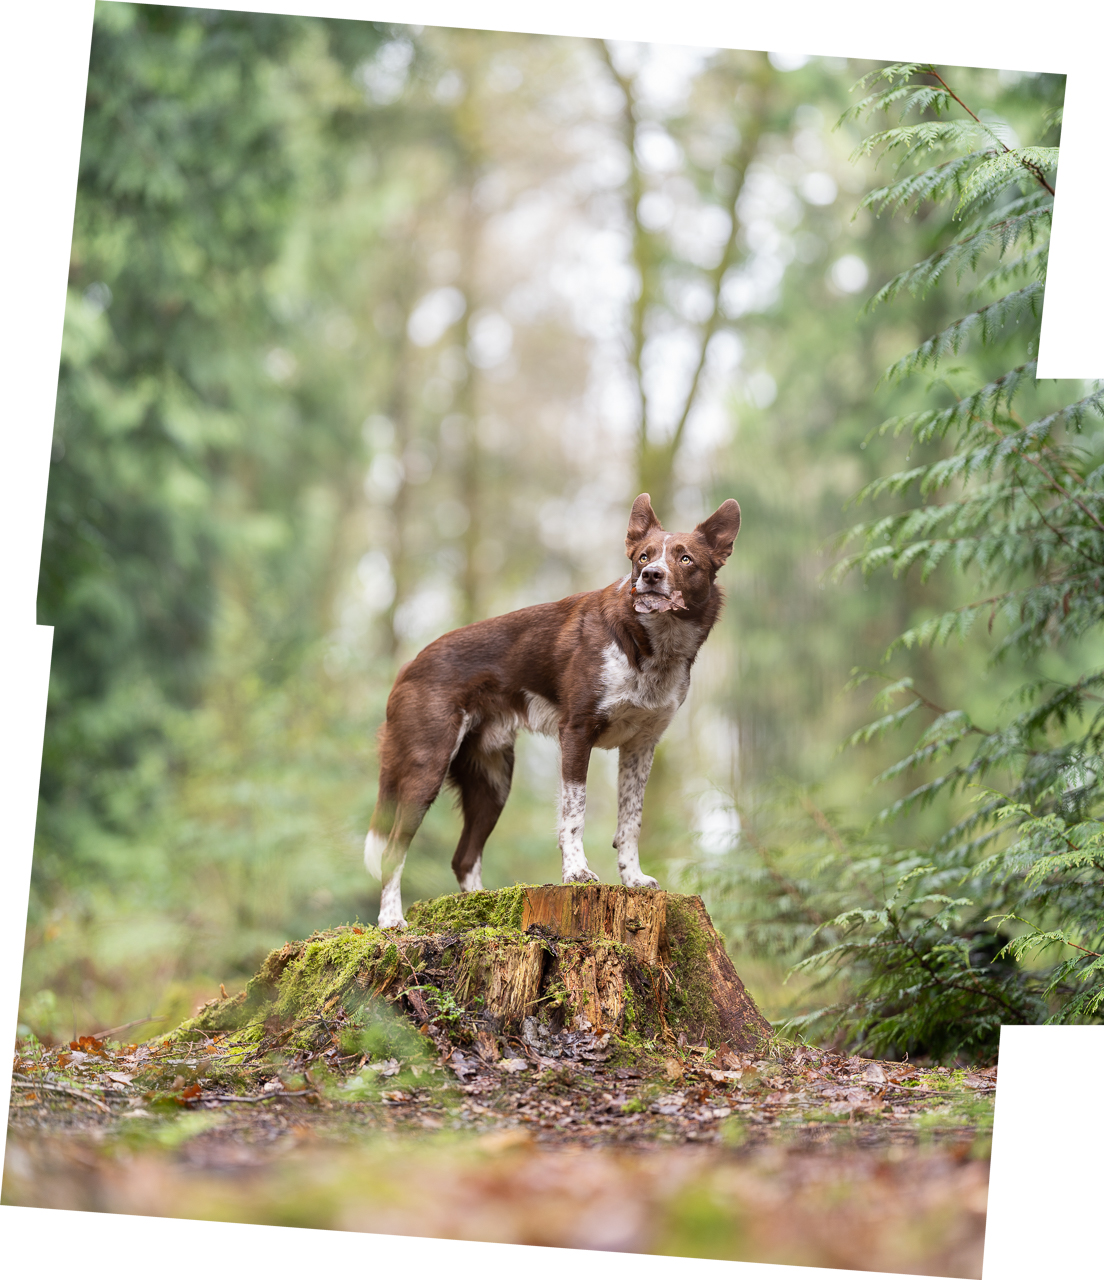
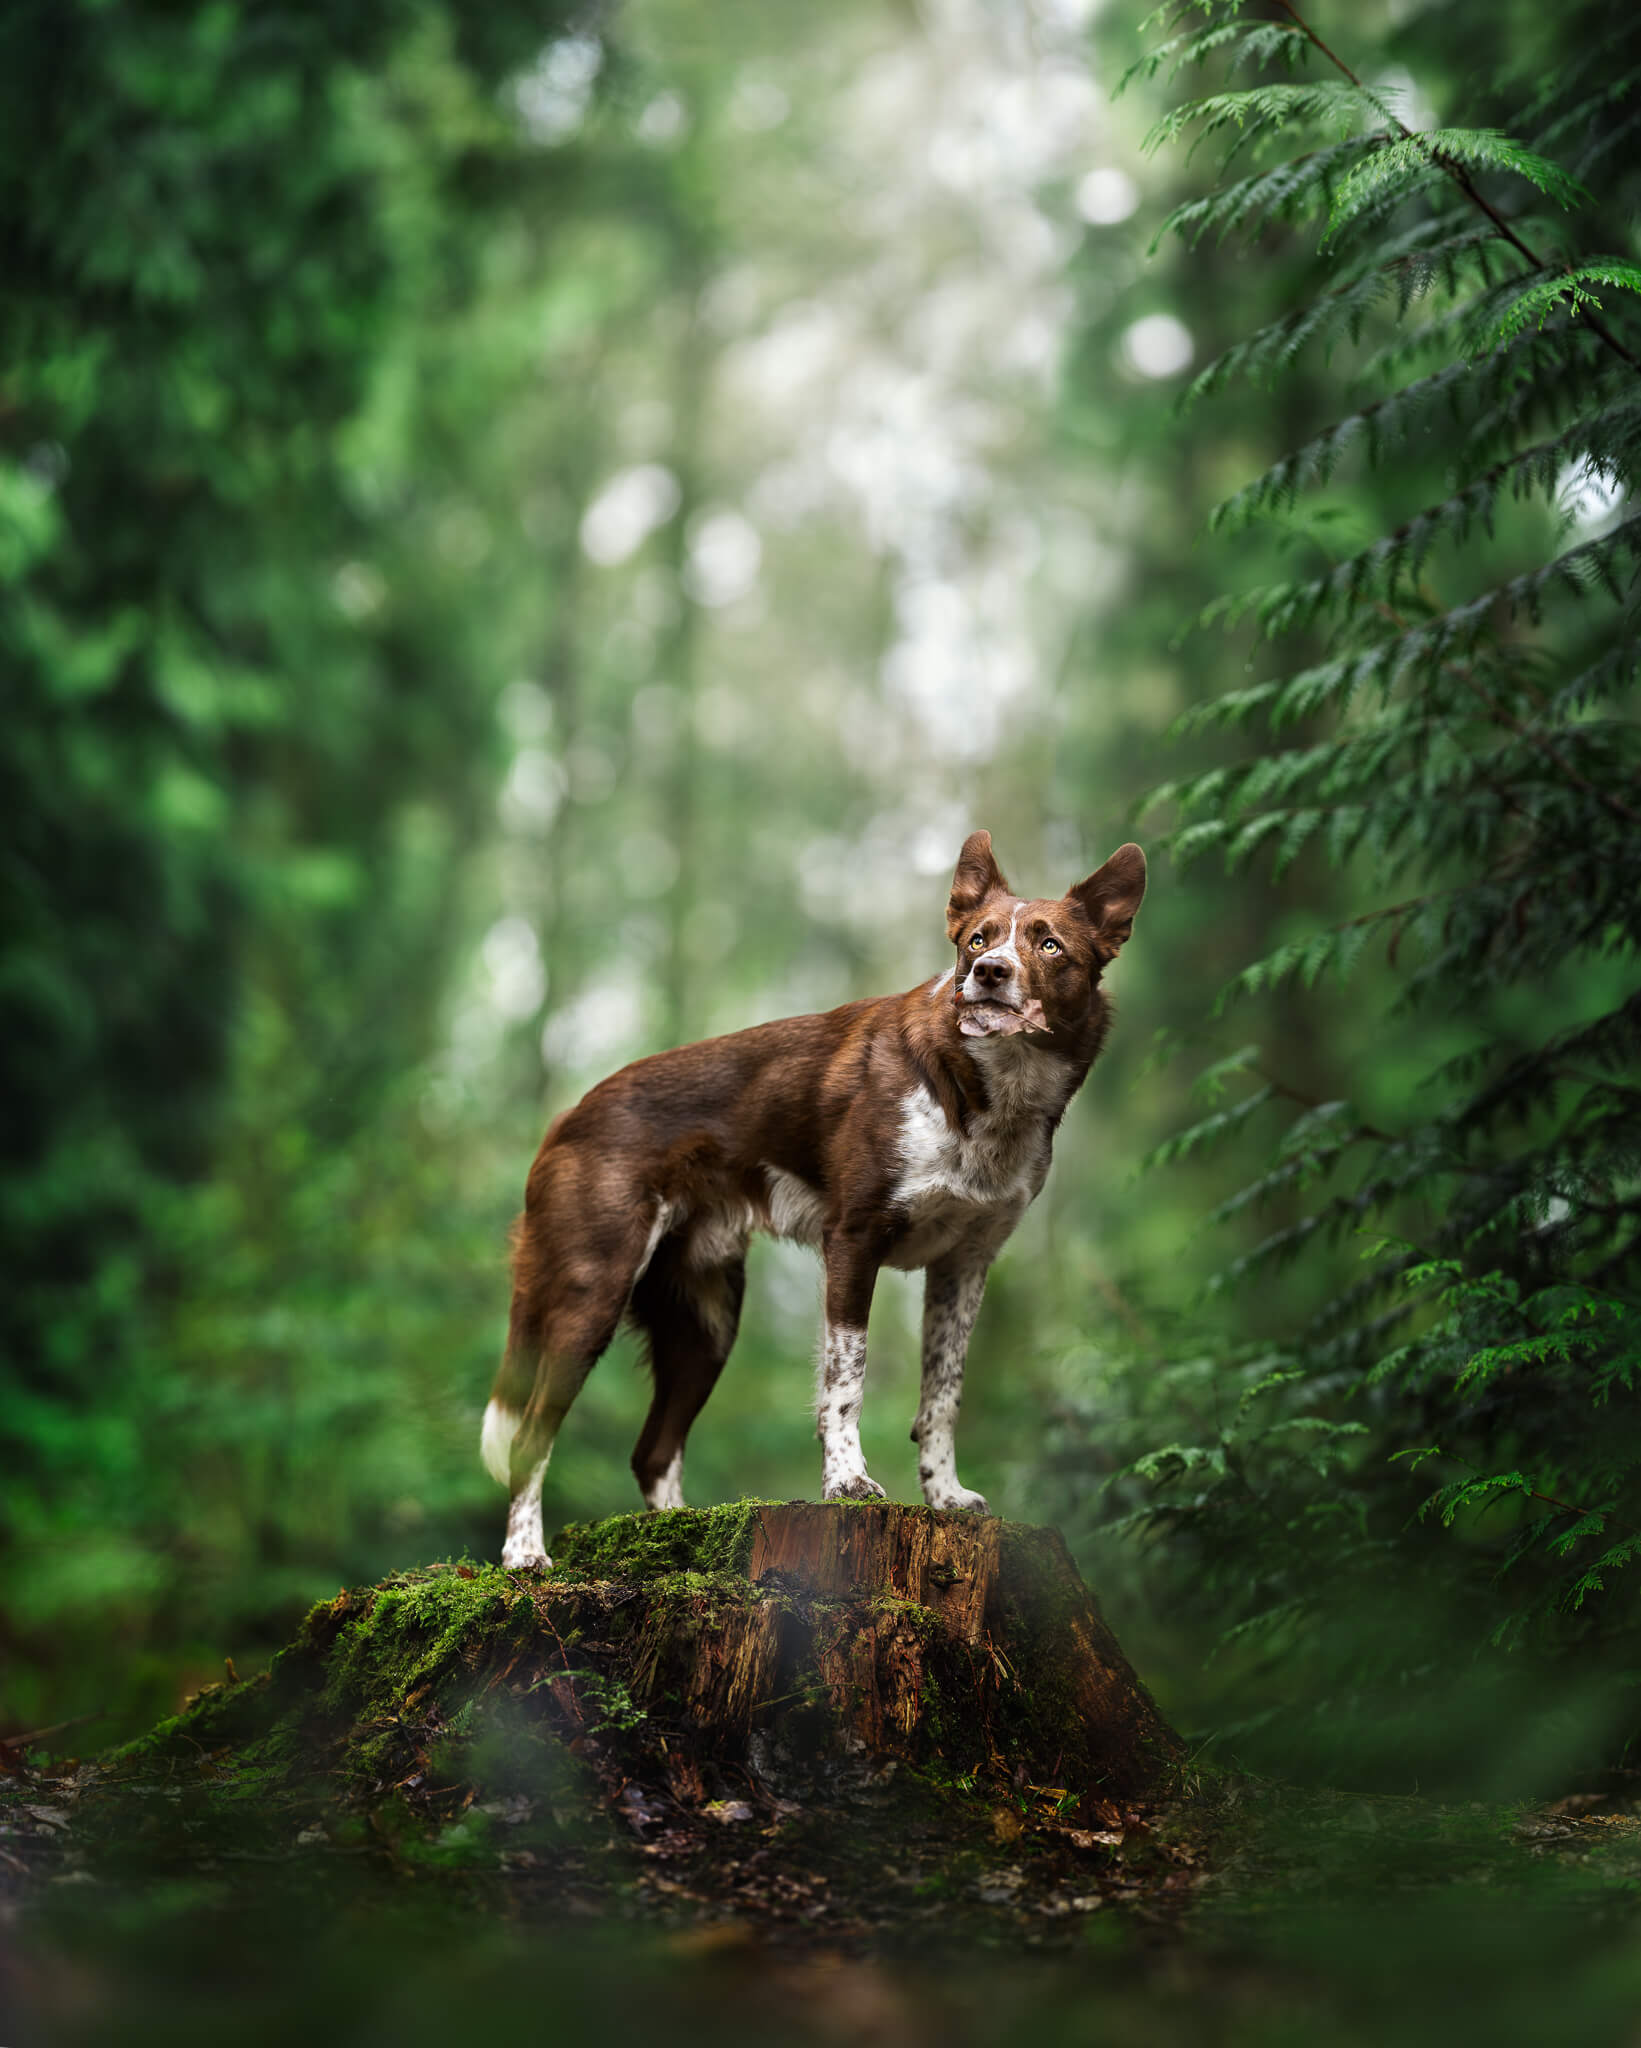
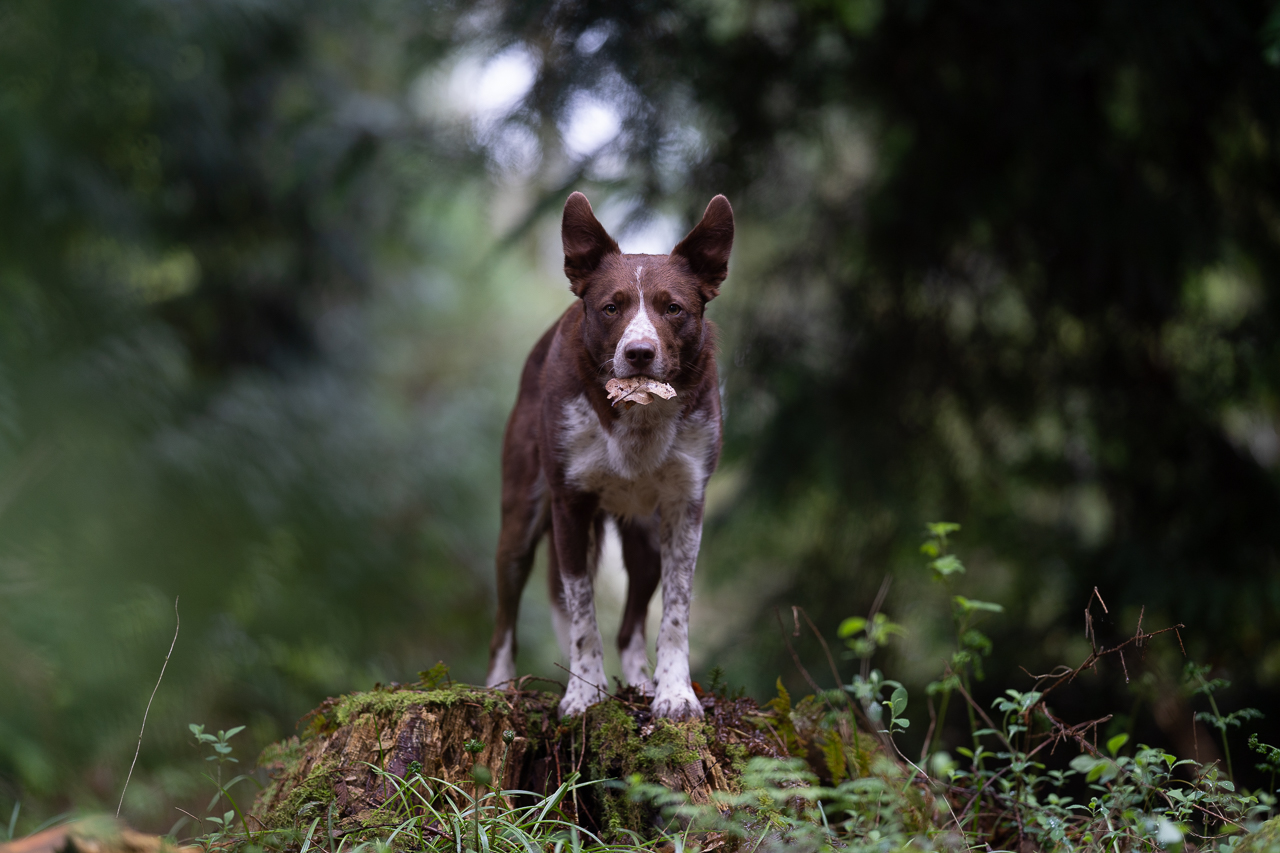
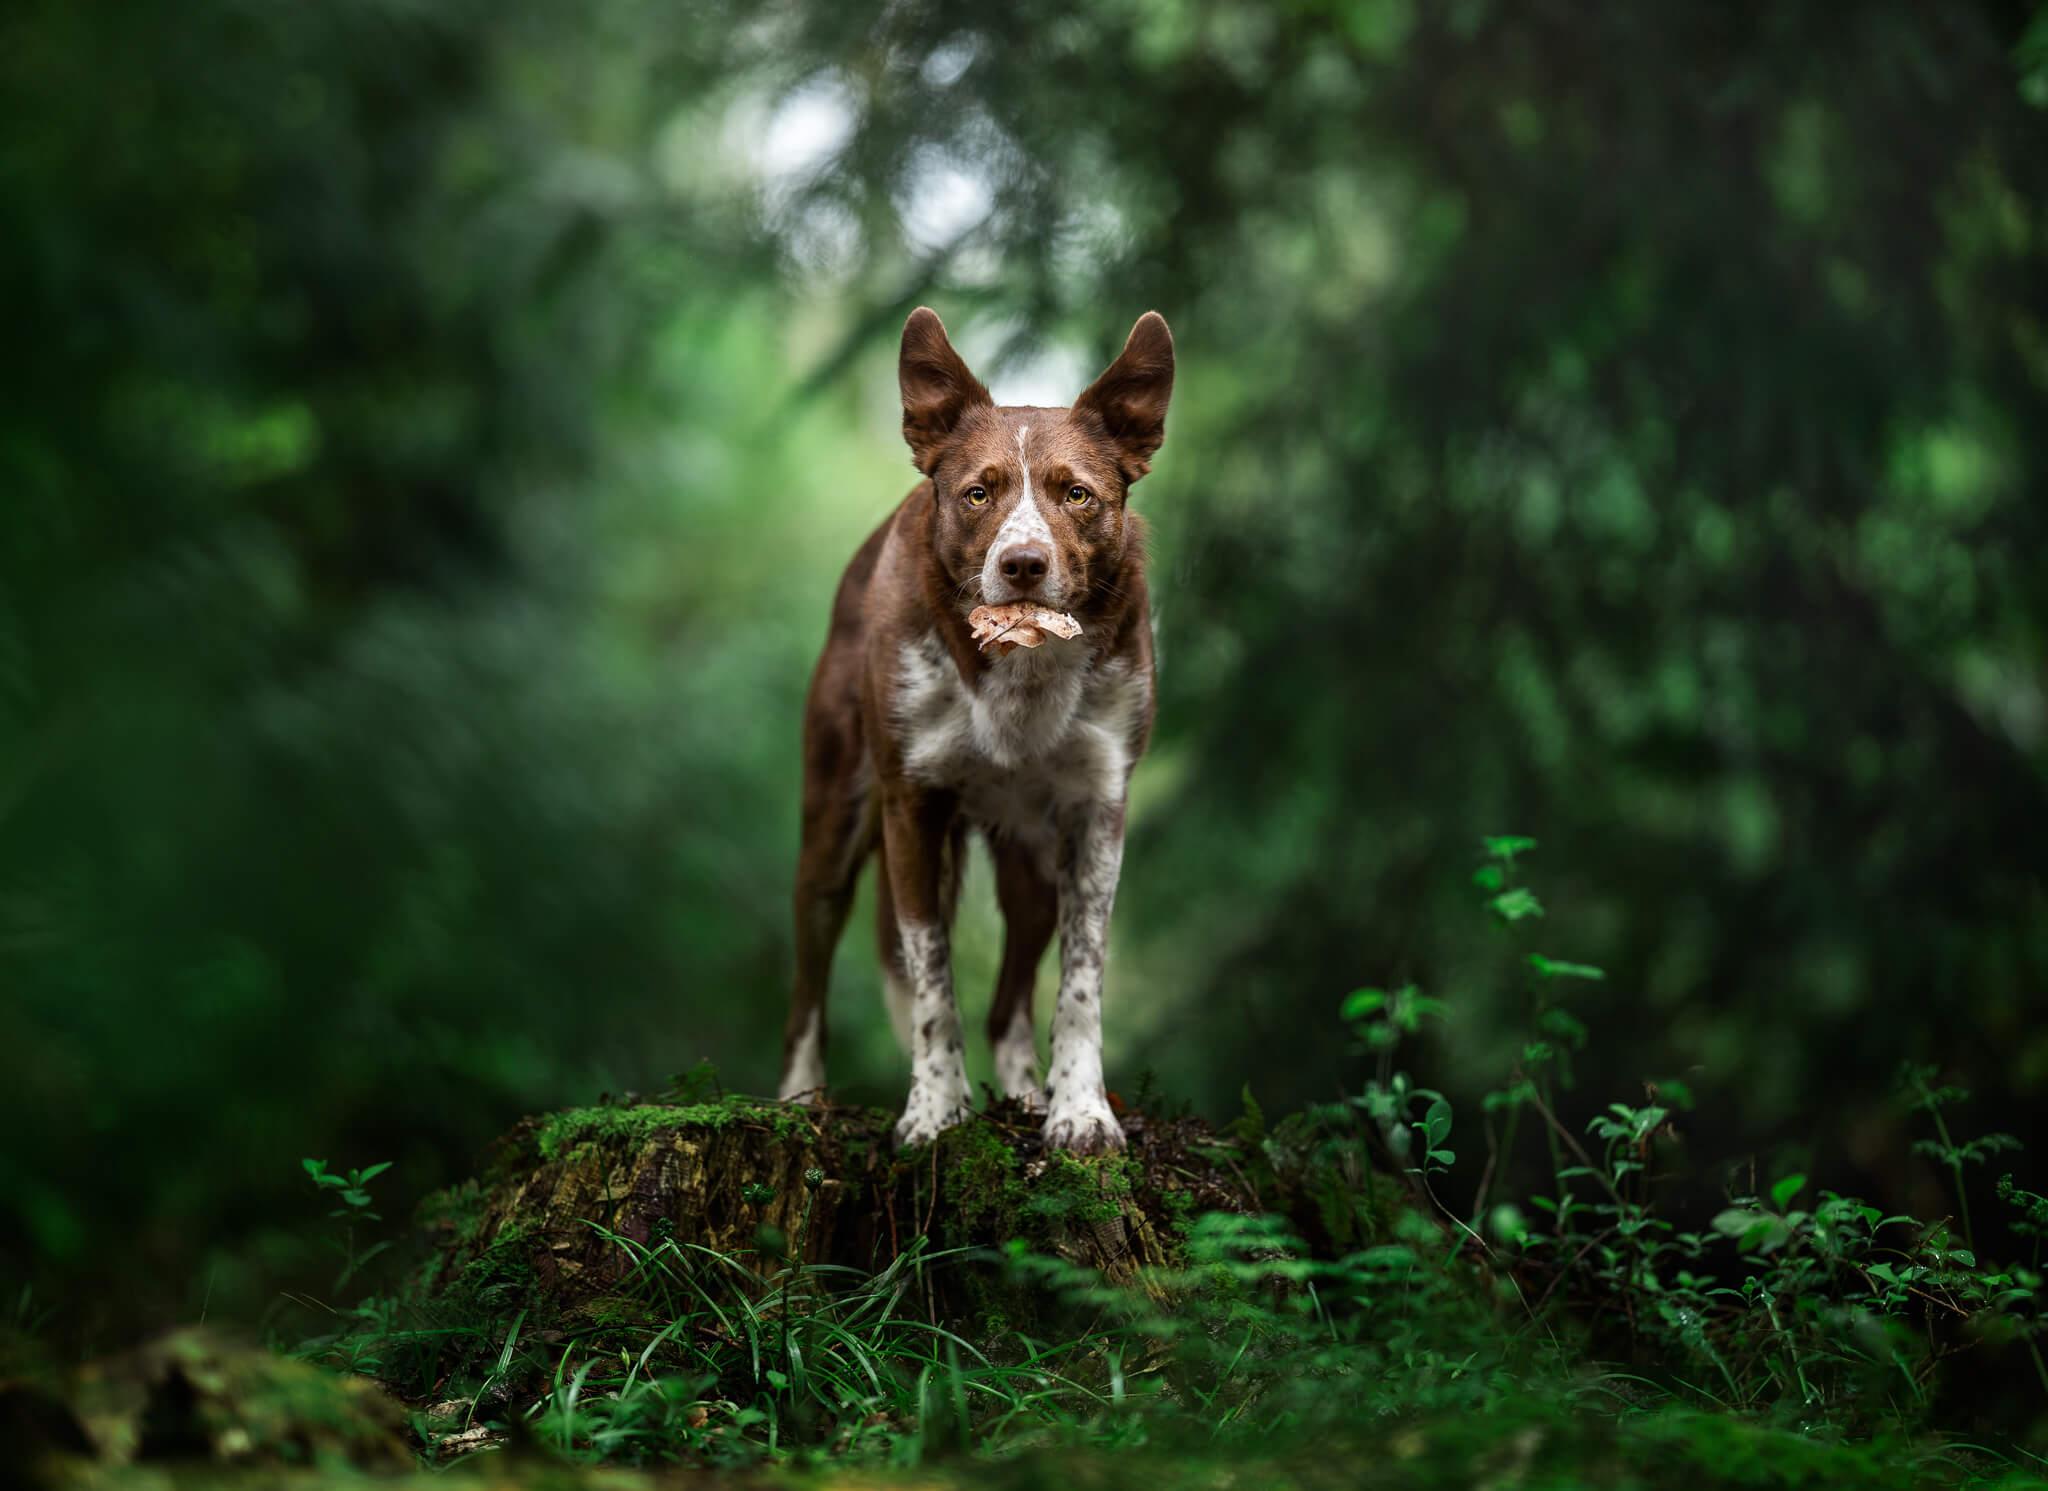
What I loved about this photo was this real curving tunnel wrapping around Journey in the background, with the light area directly behind him – something we see so often Photoshopped in behind the dog.
Of course, he is too funny with his leaf, but we’re going to ignore it and make it a nice deep green photo.
We want a little bit more space under him, to give him some more presence on the stump, and make better use of rule of thirds by placing his eye on the thirds line.
How to Do it
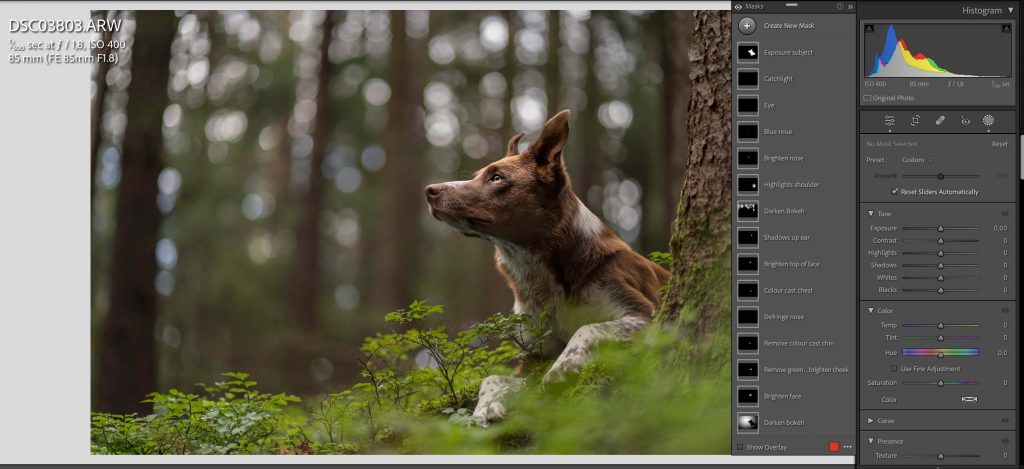
Lightroom/Camera Raw/Whatever
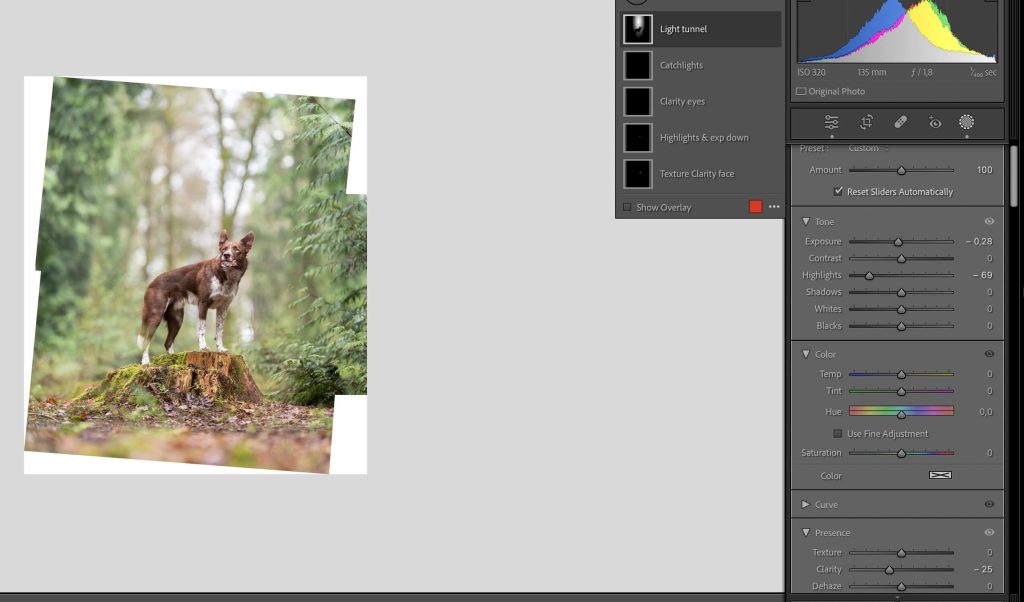
- Adjust the white balance. Journey was very cool and EXTREMELY magenta SOOC. Remember, he’s much more of a brick colour, not pink.
- Overall exposure up a bit. The photo is rather dark and we don’t have a lot of highlights to worry about.
- Highlights down a bit, shadows up a fair amount (I had -40 highlights, +60 shadows). I especially want to get some light in that black-hole in the top-right of the photo. It’s EXTREMELY dark and unbalanced.
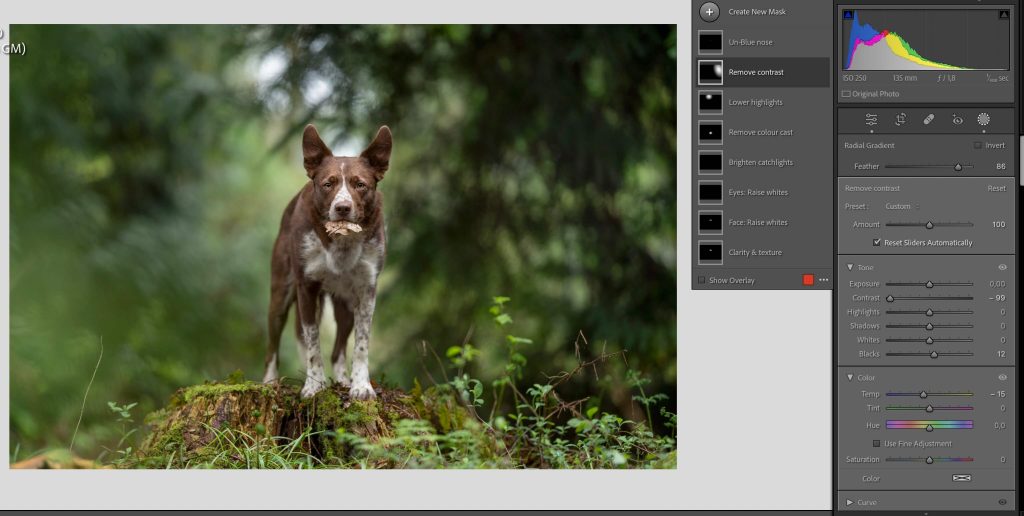
- Selective edits
- Clarity and texture over the eye area
- Brighten the eyes by raising whites
- Brighten the face by raising whites either side of his stripe
- Brighten catchlights by raising whites and shadows
- Remove colour cast on chest by desaturating and raising whites
- Lower highlights in the bokeh spots above his head
- Remove contrast & raise blacks in that dark area to the right
- Add yellow to nose as it was blue
Photoshop: Setting Up the Image & Composition
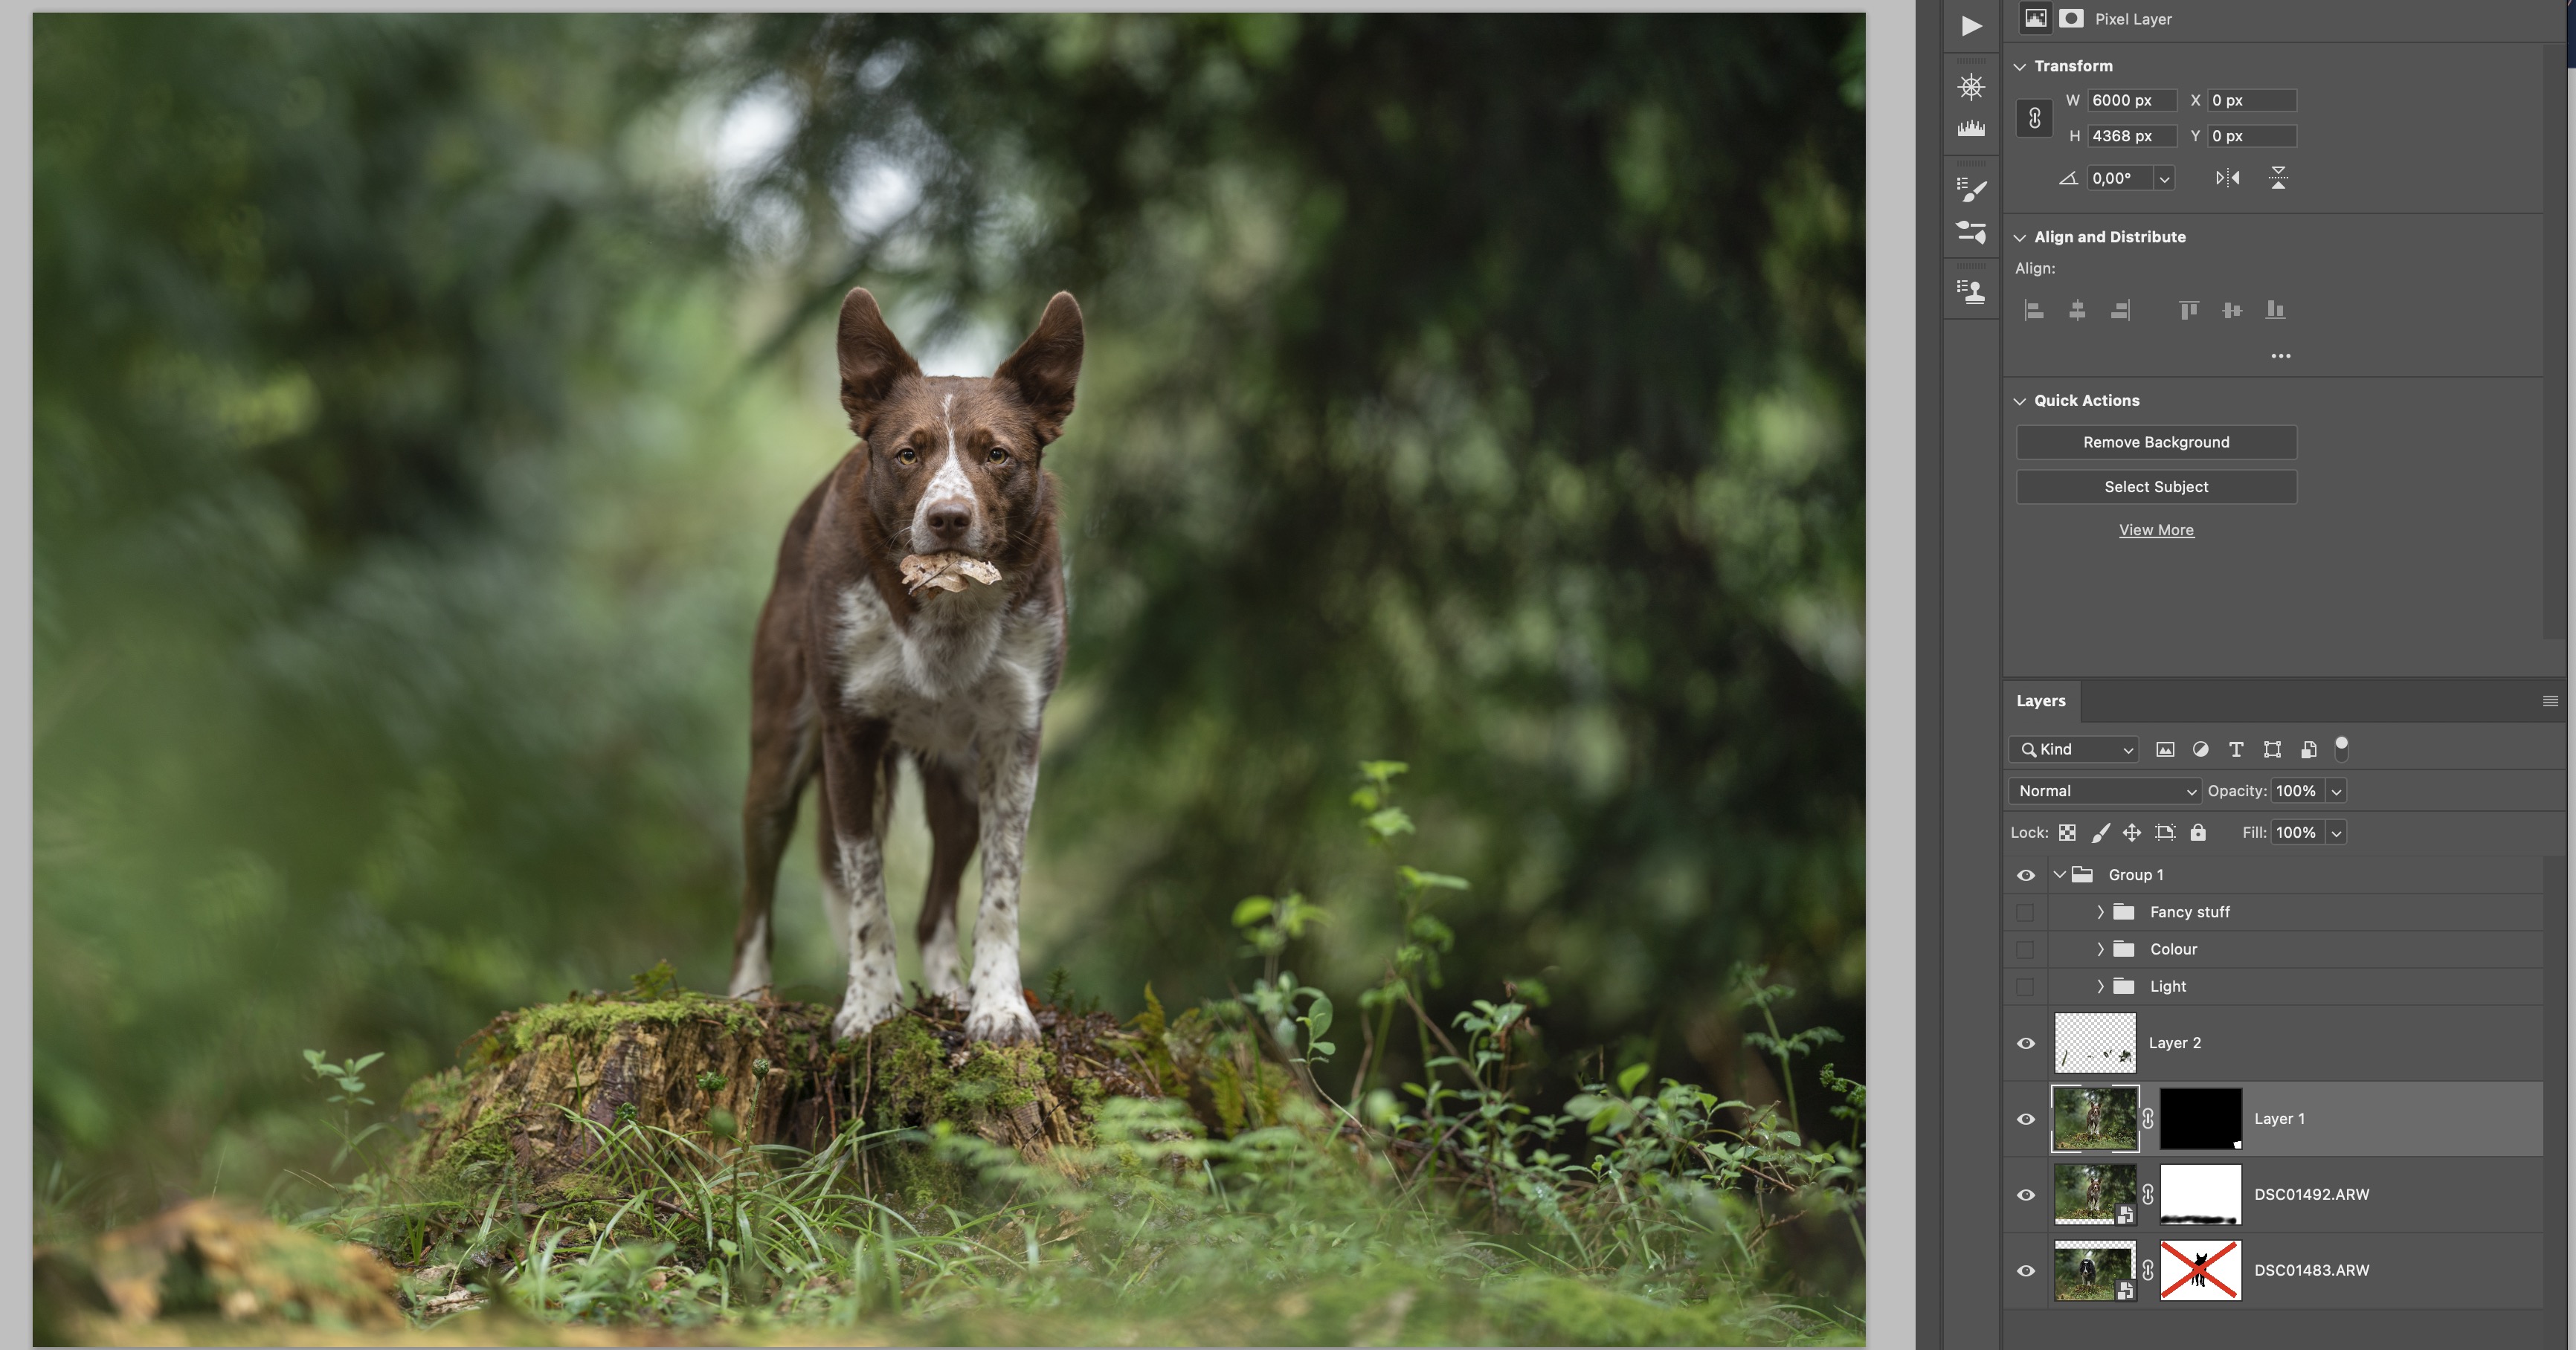
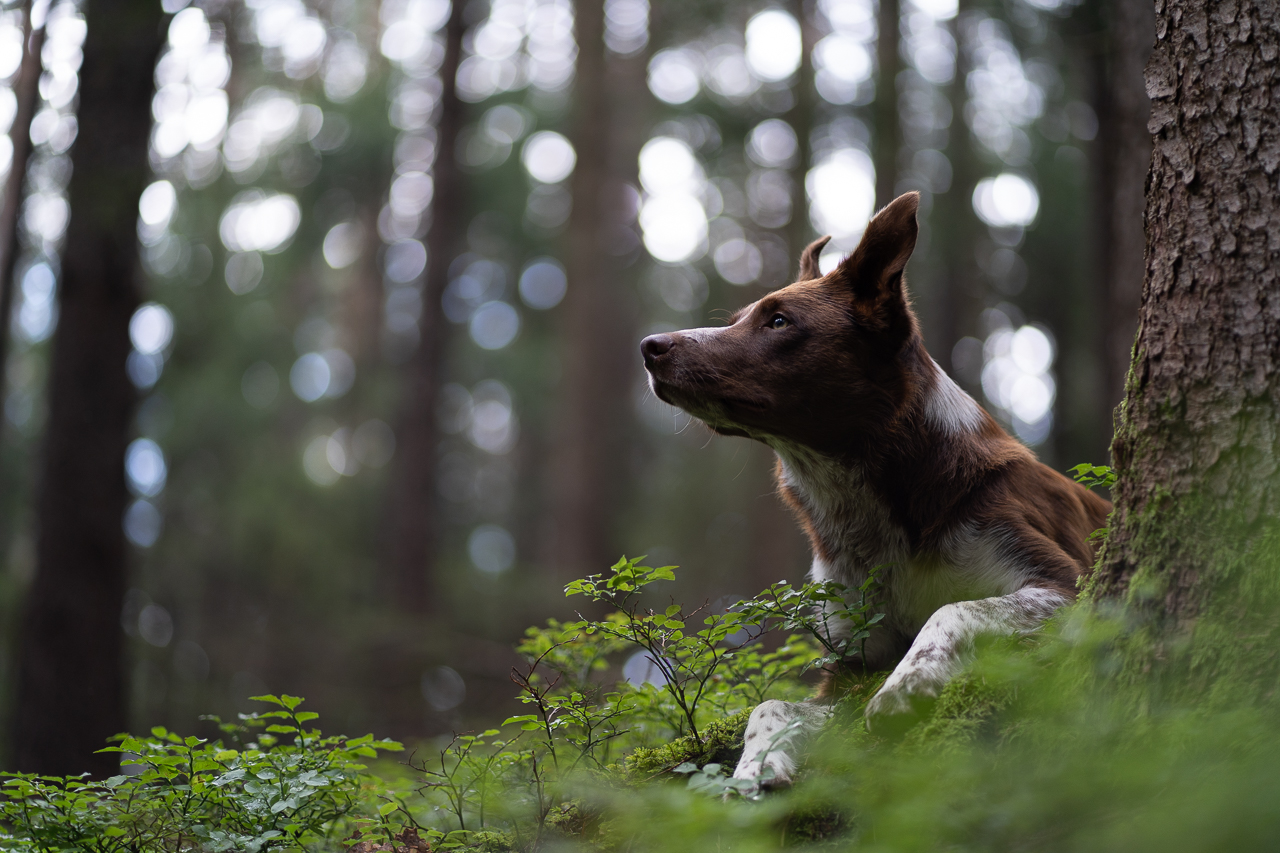
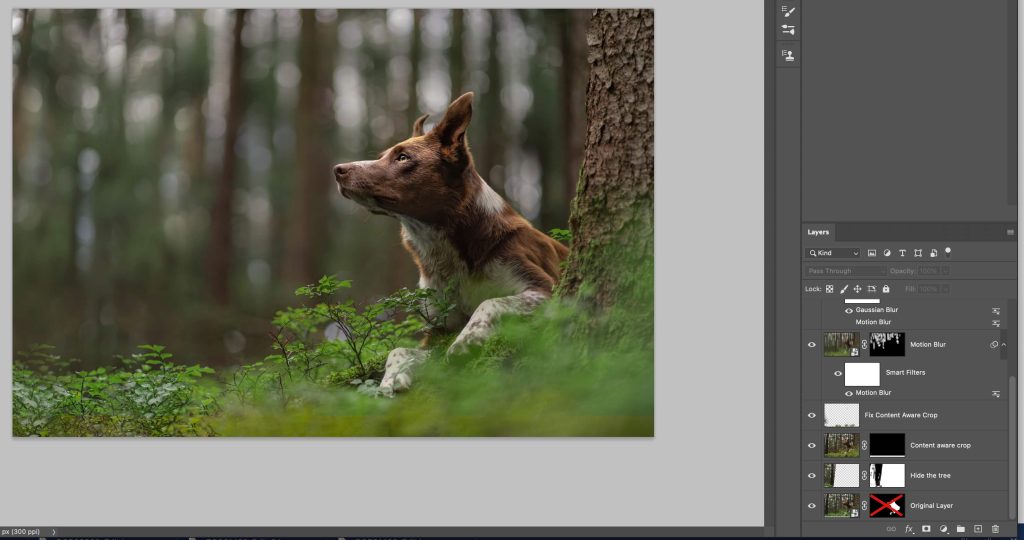
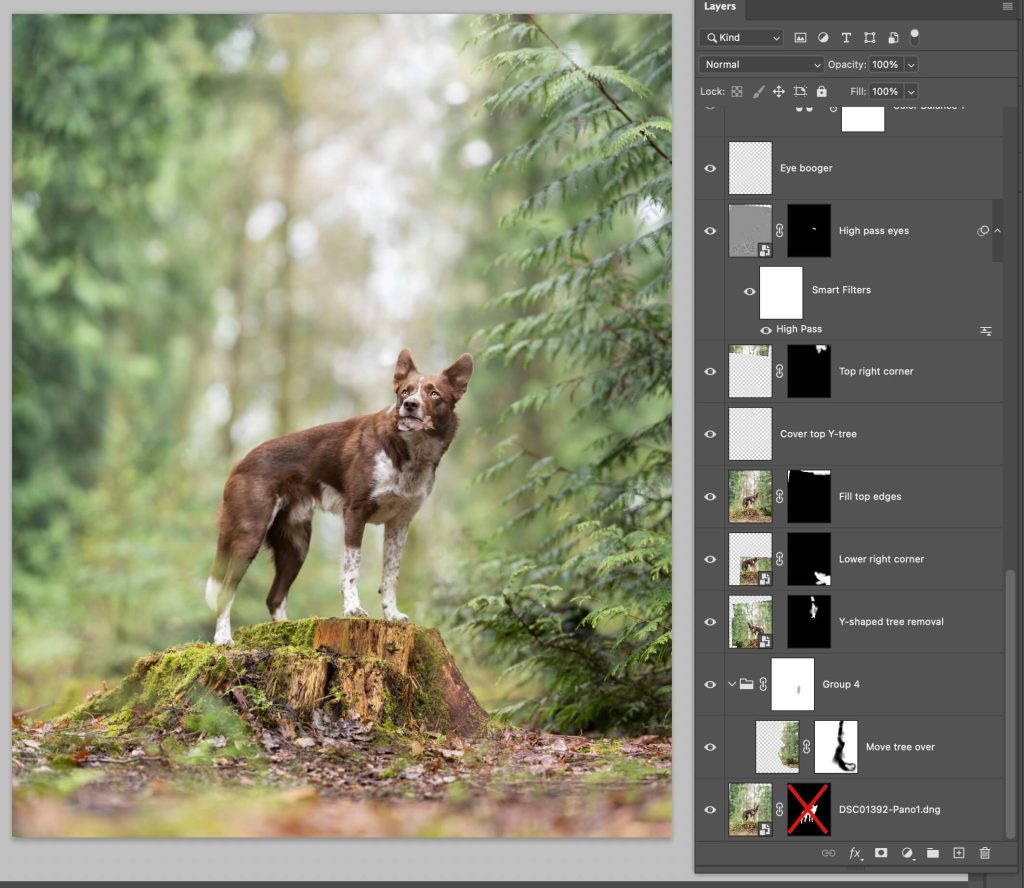
Since we want some more space below him/a bit more foreground depth, we’re going to use a different photo of the location and mask it in.
This is somewhat optional as you could just crop the image so his eye is on the 3rds line and not worry about it. But I wanted some more depth from being down lower.
I didn’t have any lower photos of Journey on the log, so we’re using a photo of Loki instead.
- Open the image as Smart Object in Photoshop.
- Open the Loki layer and get them into the same workspace. Put the Loki layer down the bottom and move it into position. Add a layer mask to the Journey layer. Use a black brush to merge the edges of the the two layers.
- Make either a smooshed layer (shift + cmd/ctrl + opt/alt + E) or a new blank layer and fill in the empty lower right hand corner that will likely be missing. Content aware fill will work perfectly with a smooshed layer, or you could use clone stamp.
- Make a new blank layer. Use the spot healing brush and clone stamp to tidy up some of the dead grasses and twigs.
Photoshop: Shaping Light
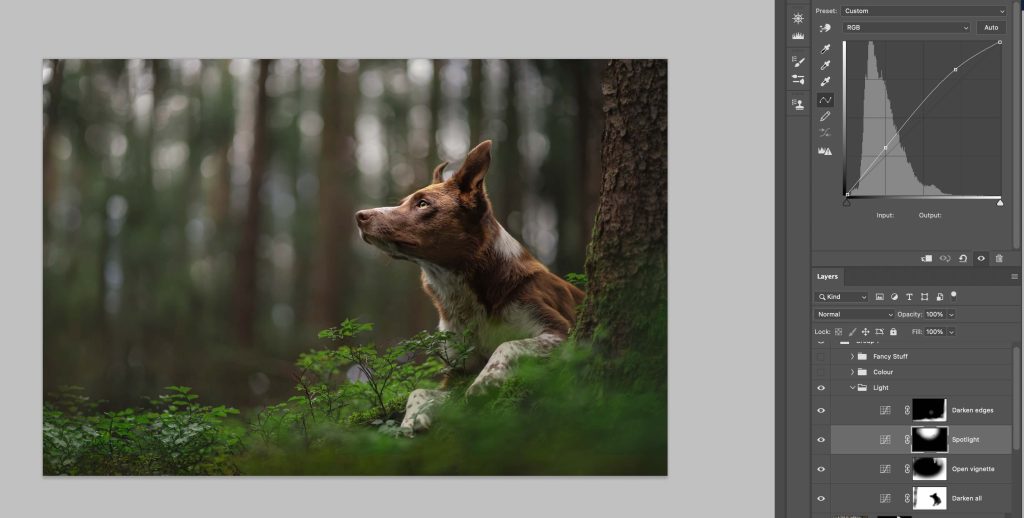
Ready for some curves layers?
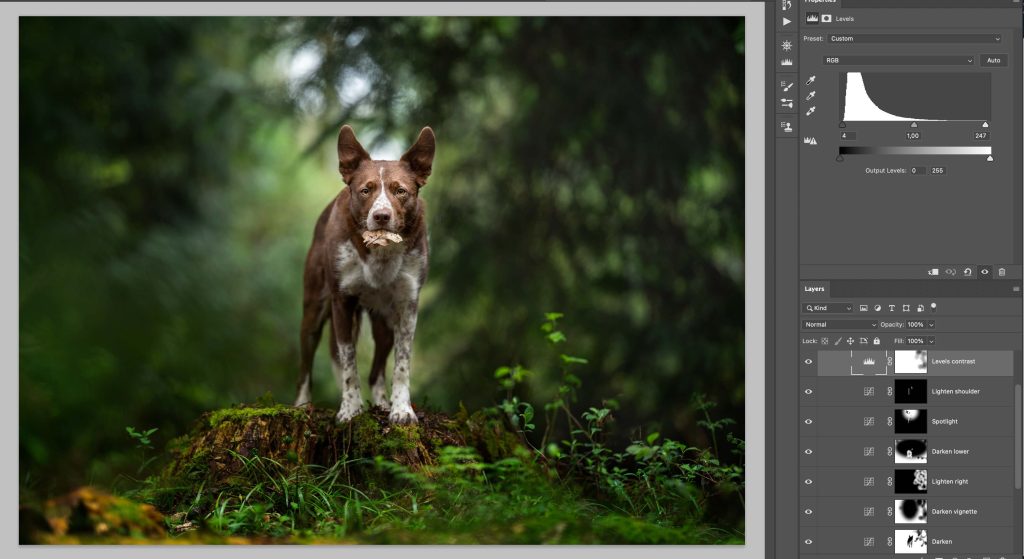
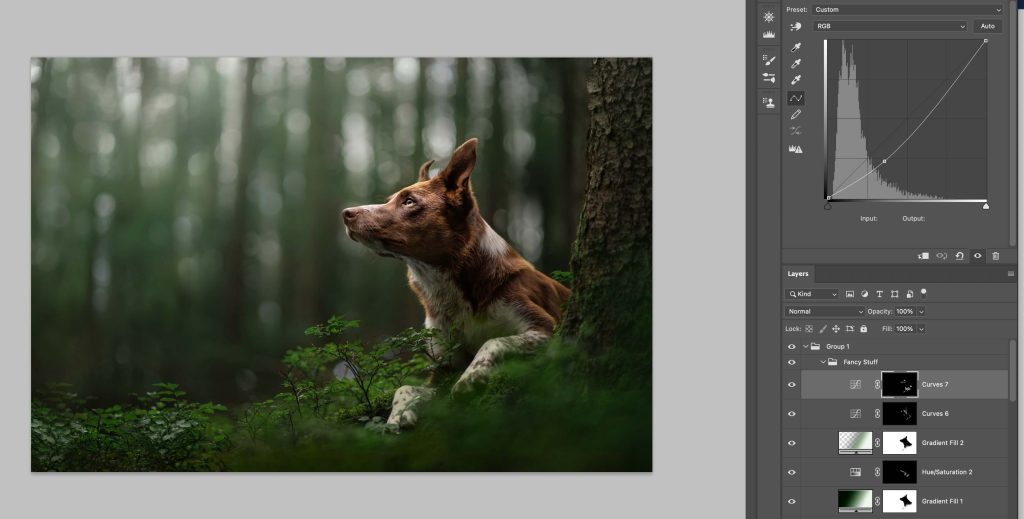
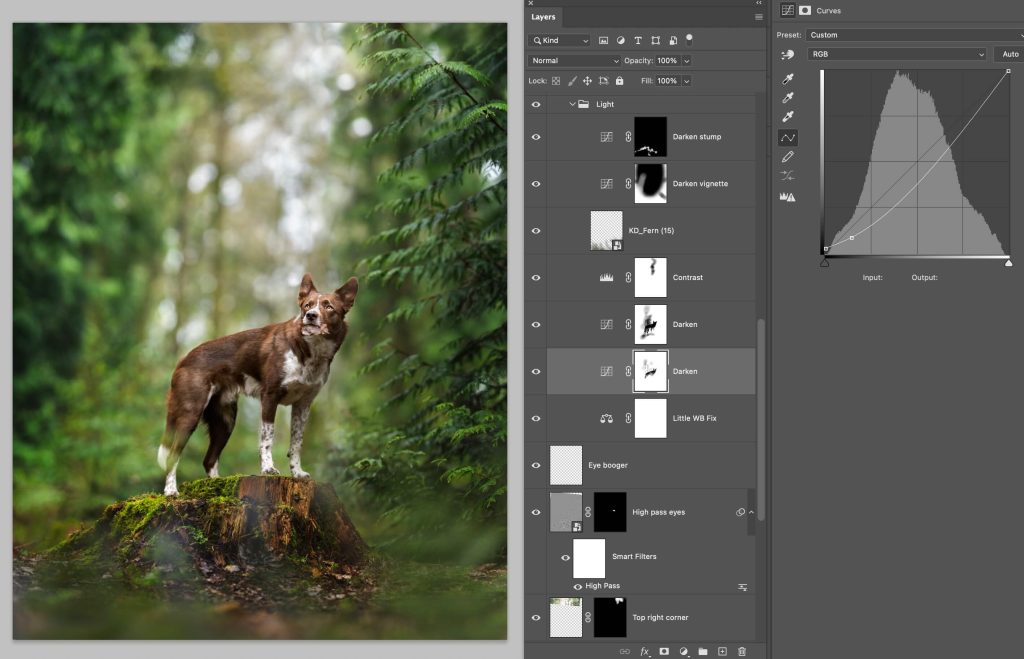
- One curves layer to darken pretty much the whole image except bits of that dark branch to the right. Blacks pulled slightly up. Mask out the dog by hand.
- Open vignette. Curves layer to darken the two sides and lower part of the image. Brushed off that dark branch. Blacks pulled very slightly up, but not much.
- Curves layer very slightly pulling up blacks, anchored at the shadows area. Masked in only over that dark branch to pull some black/contrast out.
- Another curves layer, sort of another vignette but wider this time – mostly just darkening the lower part. Curve pulled down near shadows. Blacks left alone.
- Spotlight from directly above. Curve pulled up, anchored near shadows.
- Brightening curves layer just on his shoulder to brighten it (not sure why! Whoops)
- Levels layer to add contrast.
Photoshop: Colours
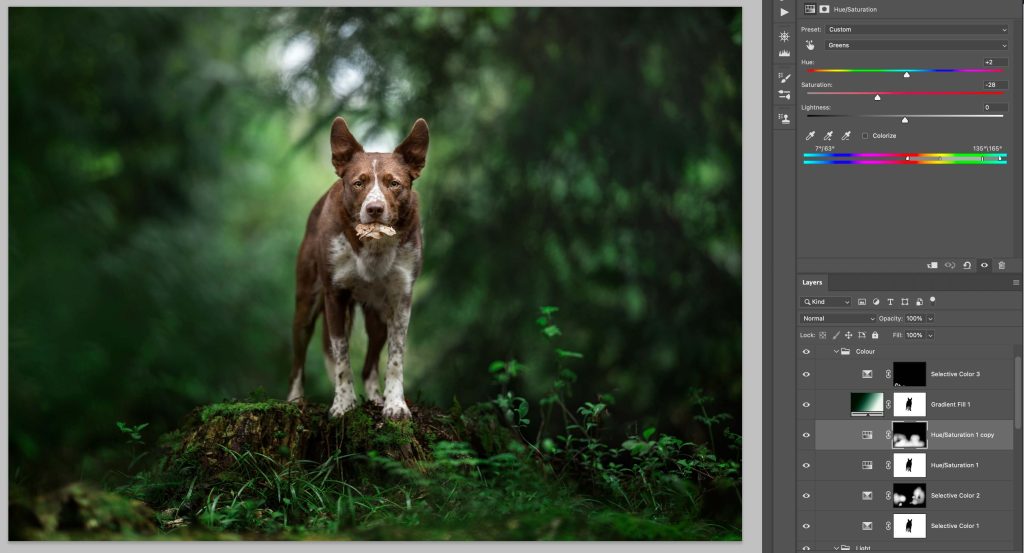
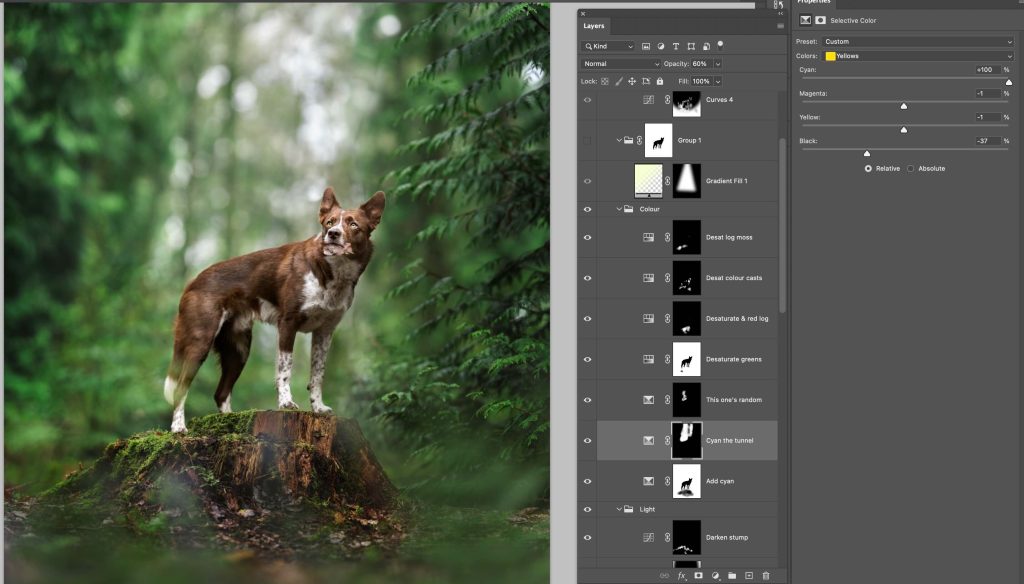
- Selective colour layer working on yellows. Add cyan by about +25. Mask out the dog with a proper mask.
- Selective colour layer working on yellows. Add cyan by about +30, lower yellow by about -10. Use on areas of background that have a slightly more yellow tinge to unify colours toward the cyan/green tone. This is very subtle.
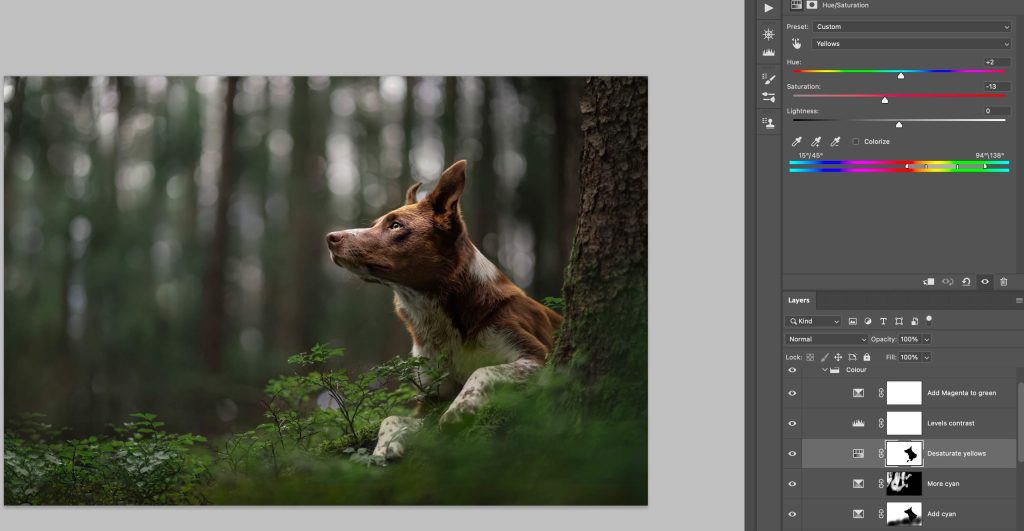
- Hue saturation layer, working on greens with the slider extended into yellows. Desaturate by about -10, shift hue by about +2. Mask out the dog.
- Another hue/sat layer, again working on greens extending into yellows. Desaturate by about -30, shift hue by about +2. Mask in over areas of the lower part of the image that are quite fluorescent green.
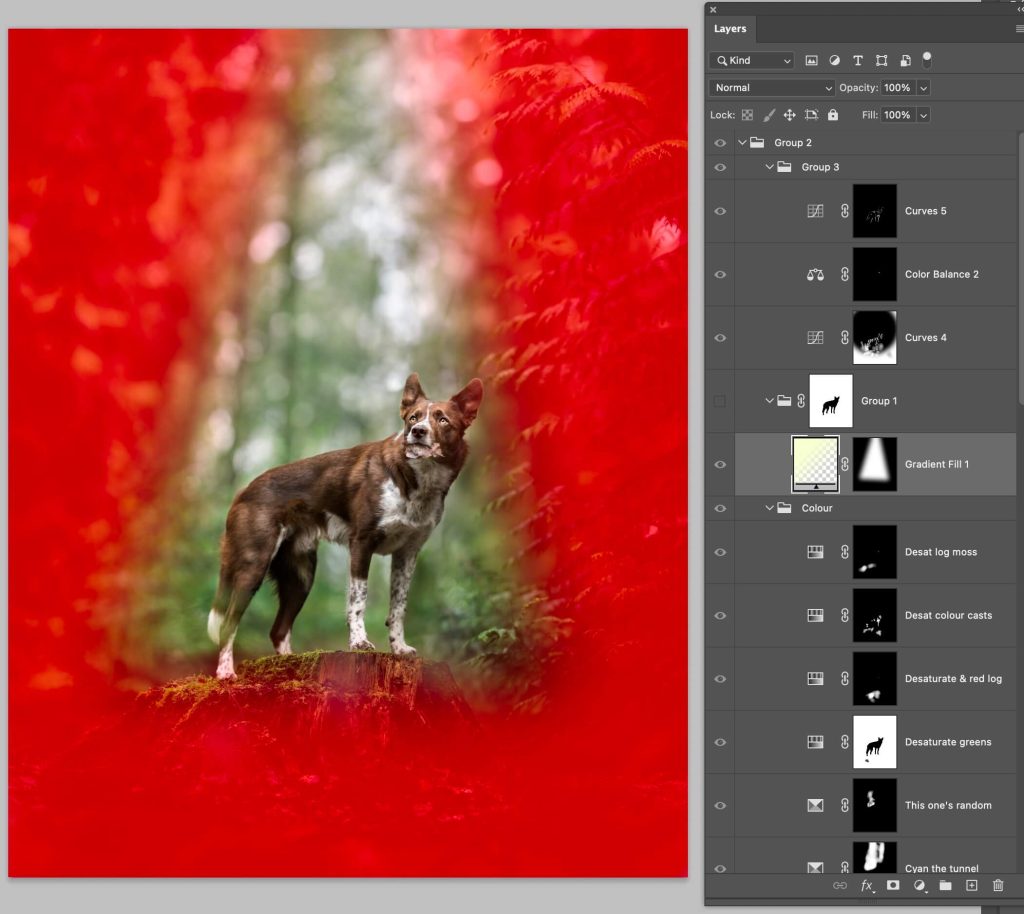
- Gradient fill layer. Linear style. From the top, a very pale white/green, to the bottom, a very deep dark green. More toward the cyan side of the green spectrum rather than in the middle. Set to Soft Light blend mode. Opacity 20%. Mask out the dog.
- Selective colour layer working on yellows, adding a TON of cyan (+85) and removing yellow (-20). Mask it in on the little fallen tree in the lower left corner that is likely very yellow.
Photoshop: Finishing Touches
- Two curves layers: one lightening, one darkening, for dodge and burn. If you’re in the Learning Journey, see Exploring > Exploring Editing > Face Contouring for more information.
- Colour balance layer, working on midtones, adding yellow (about -10 toward yellow), and magenta (about -2) on the shoulders and cheeks to offset some blue colour-casts from the light.
- Selective colour layer, working on yellows. Lower cyan by about -10… mask in over the leaf to give it a little extra colour.
- New blank layer, remove eye booger using spot healing brush (yes, I should have done this earlier, or put it right down the bottom of all my layers, but I got lazy)
- Another selective colour, lower cyans/add red by about -60. Mask in over the leaf. More red!
- Hue/saturation layer. Desaturate by about -40. Mask in places on cheek, chest and legs where you notice colour-casts.
