
Pet photos are made up of location, editing, pose, expression, light, and more. Sometimes, when we only see the finished product, it’s hard to know exactly what went into that photo… even when we see a before/after comparison, we don’t get an idea of the full picture*!
In this new series (which I hope you’ll love) I want to pull back the curtain to reveal how I created some of my most-loved, most-interesting, or most-challenging pet photos, as a professional pet photographer and photography teacher!
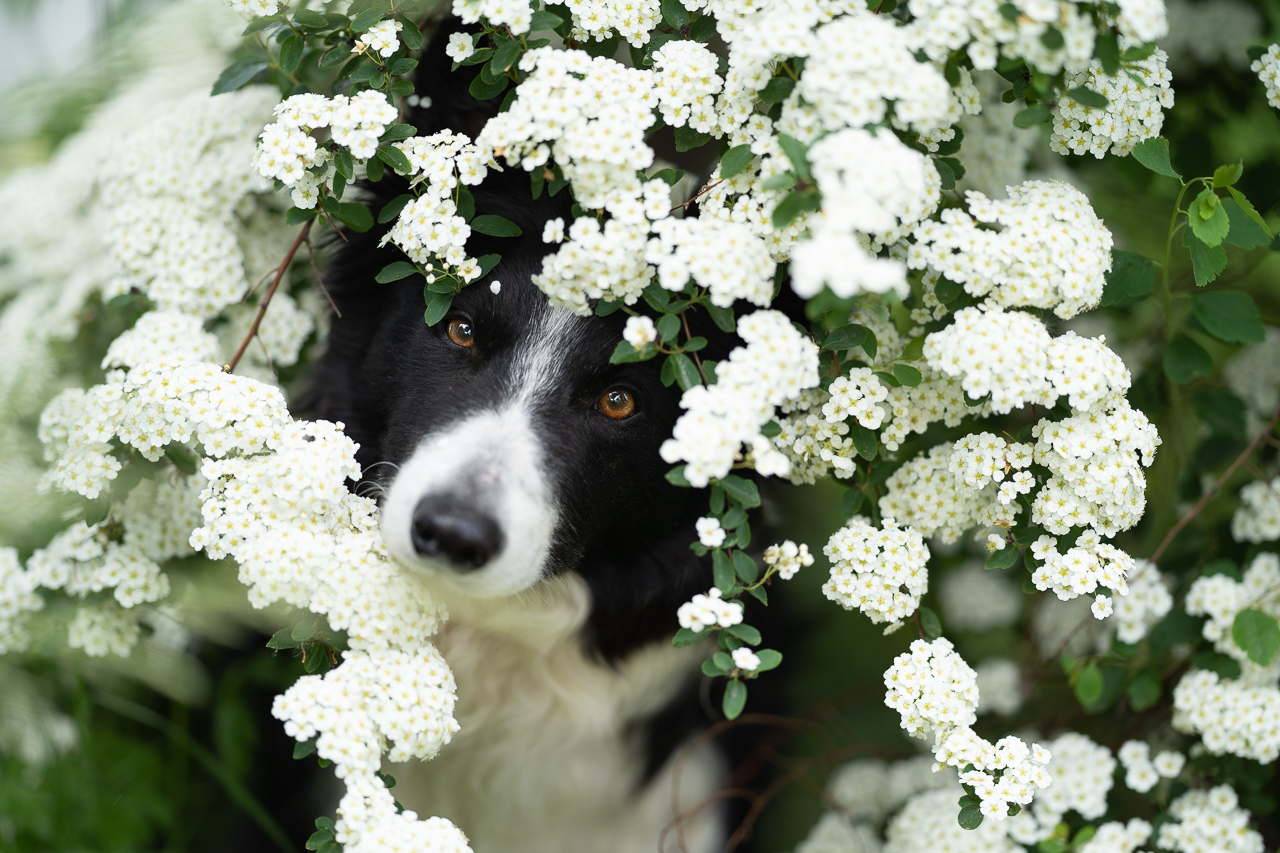
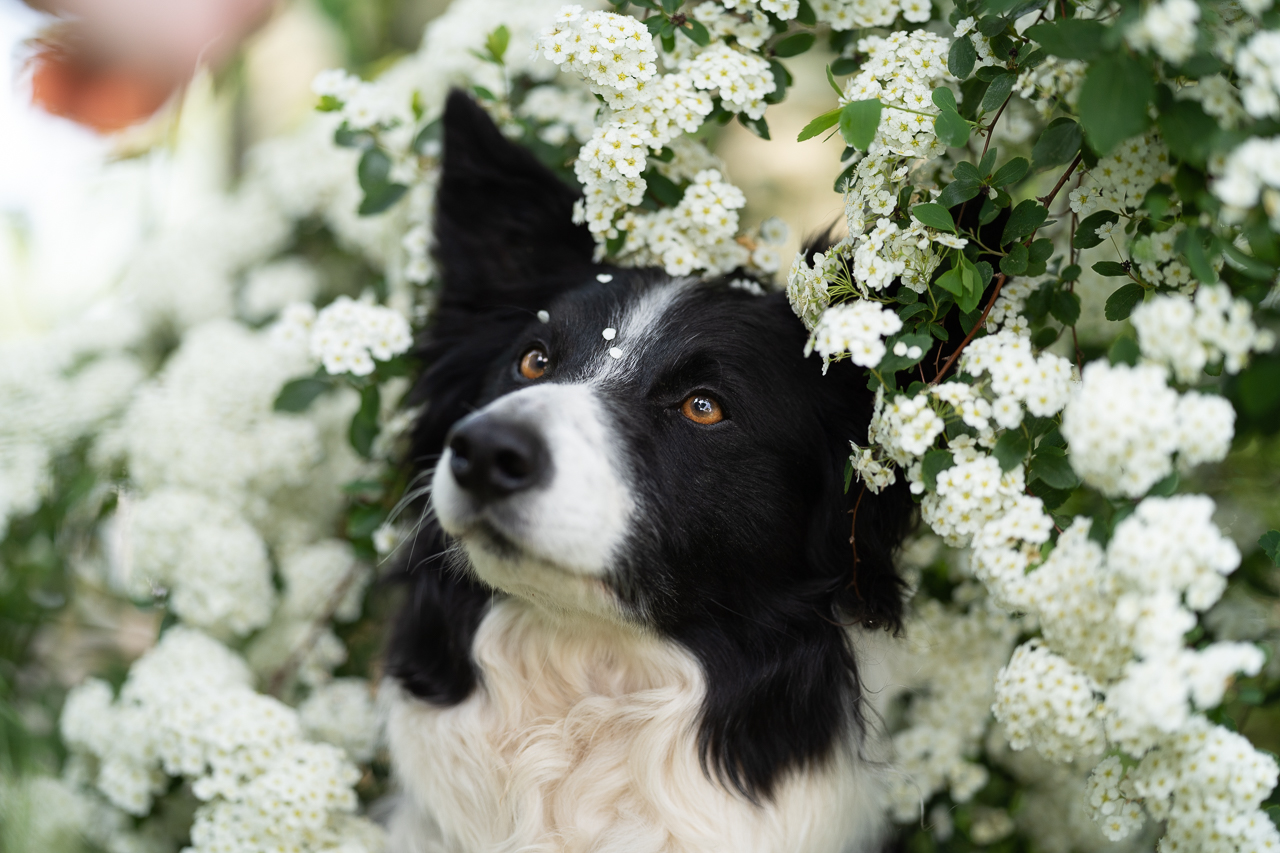
We’ll dive into light, location, posing choices, choice of expression, and of course editing. For this first post, we’re going to “dissect” this dreamy springtime photo of Loki surrounded by lush white flowers.
*pun intended
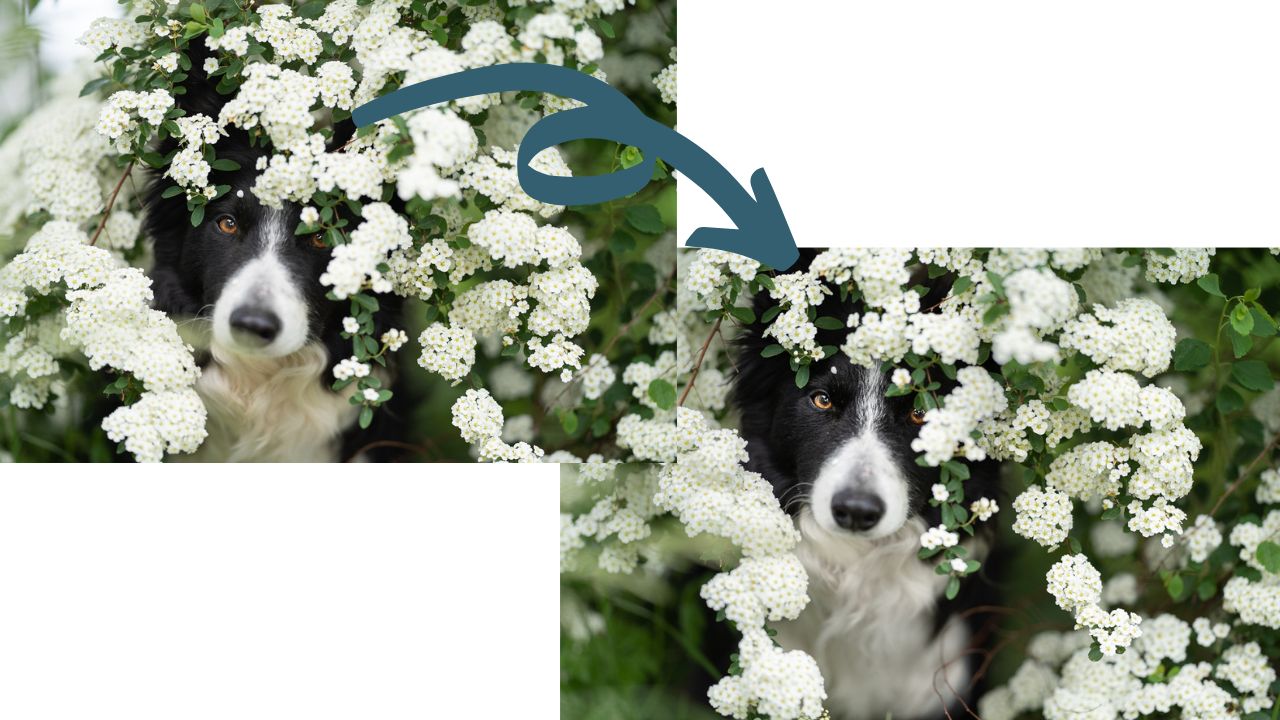
Before/After Comparison
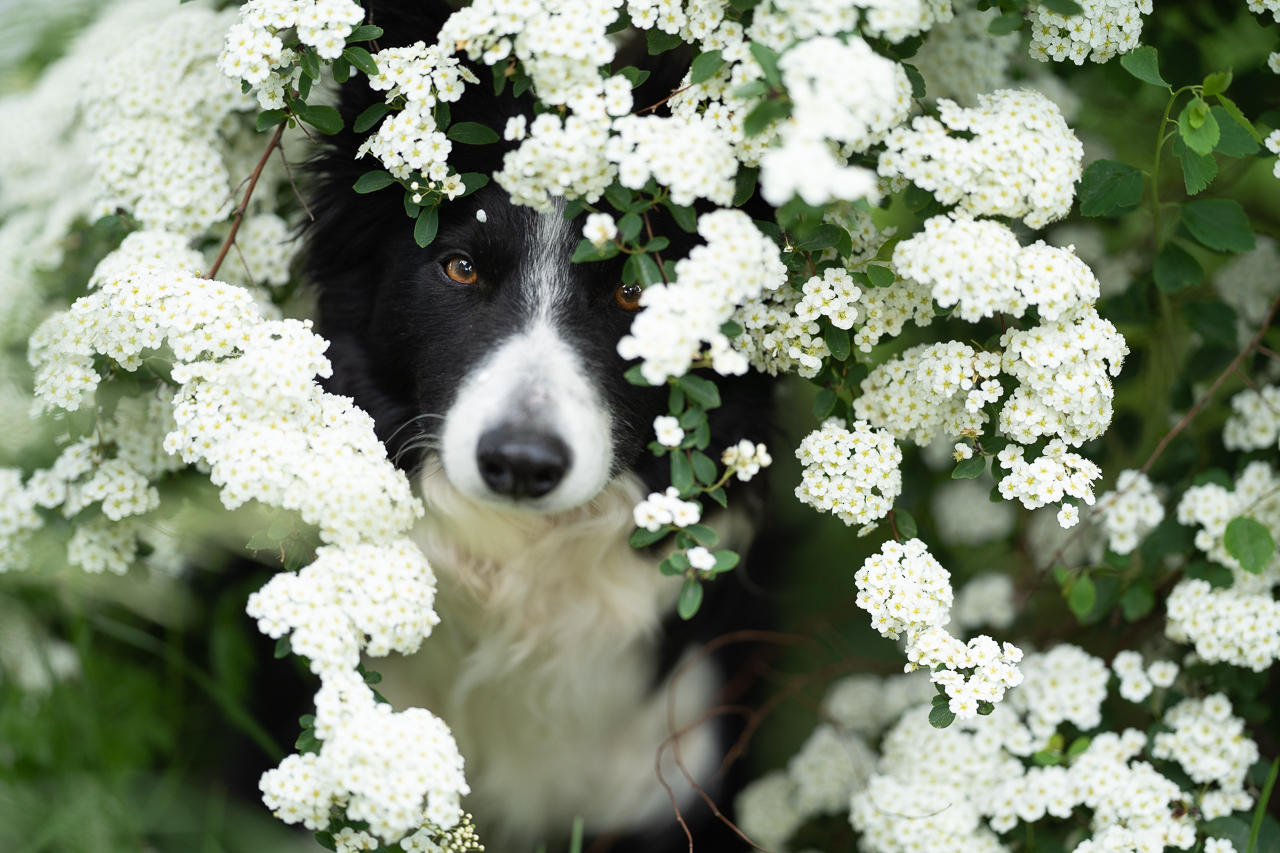
Yes, they don’t match up, but I’ll explain why further in the post.
The Location & Light
Looks like a pretty nice location, right? Gorgeous flowers, soft light… it’s probably in some fancy garden or magical forest…
In fact, it was by the side of a pretty busy road here in Trier, with an electrical cable box to our left, rubbish in the grass, and people walking by giving us quizzical looks.
The photo was taken in the afternoon but the sun was still very harsh, so this spot was actually perfect as some deep shade was being thrown by nearby trees, allowing Loki to get beautiful, soft even light on his face.
The Pose & Expression
I manoeuvred him into this bush and played with a few variations of where I wanted him to look, whether straight down the camera for more connection, or dreamily up and off to one side.
Loki, as the truly model that he is, gave me all the variety, including head-tilts, mouth open, mouth closed, more intensity, and less intensity.
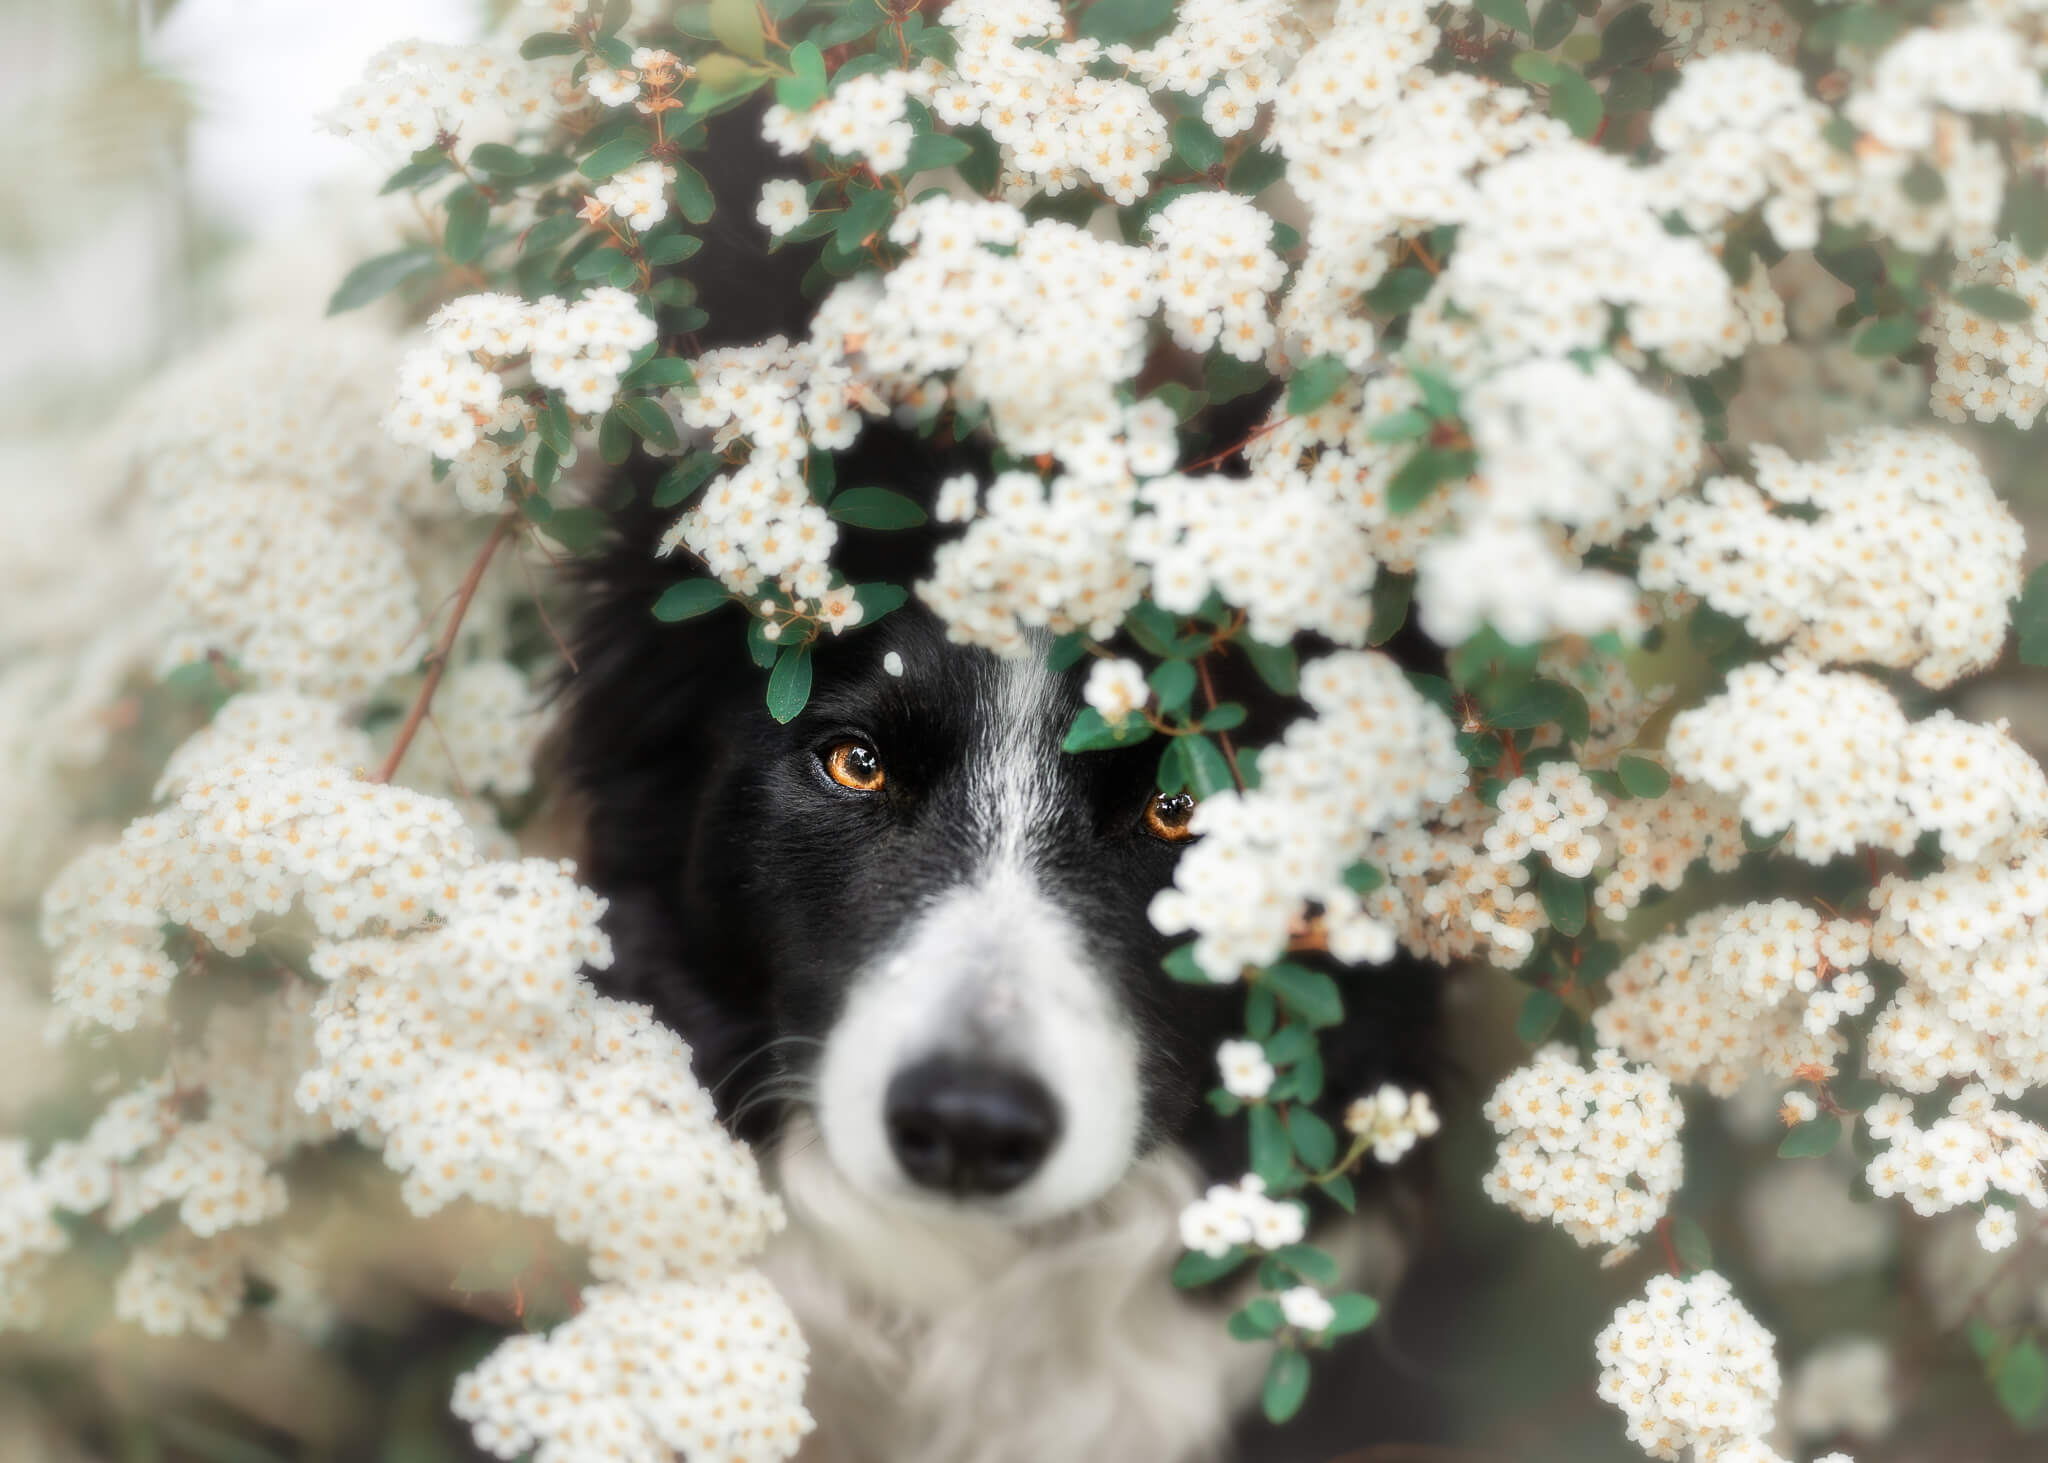
In the end, despite the white flowers crying out for a bright, happy open-mouthed expression, I opened for something more serious. I liked the way Loki was staring into my soul, without being so intense that he looked wolfish.
I decided on head and shoulders only because the foreground was quite boring – only grass, and the bottom part of the bush wasn’t that pretty. Having his legs and body visible wouldn’t have made a better story than the headshot alone, where Loki’s gorgeous eyes and these pretty white flowers could be the star of the photo.
Editing: First Steps
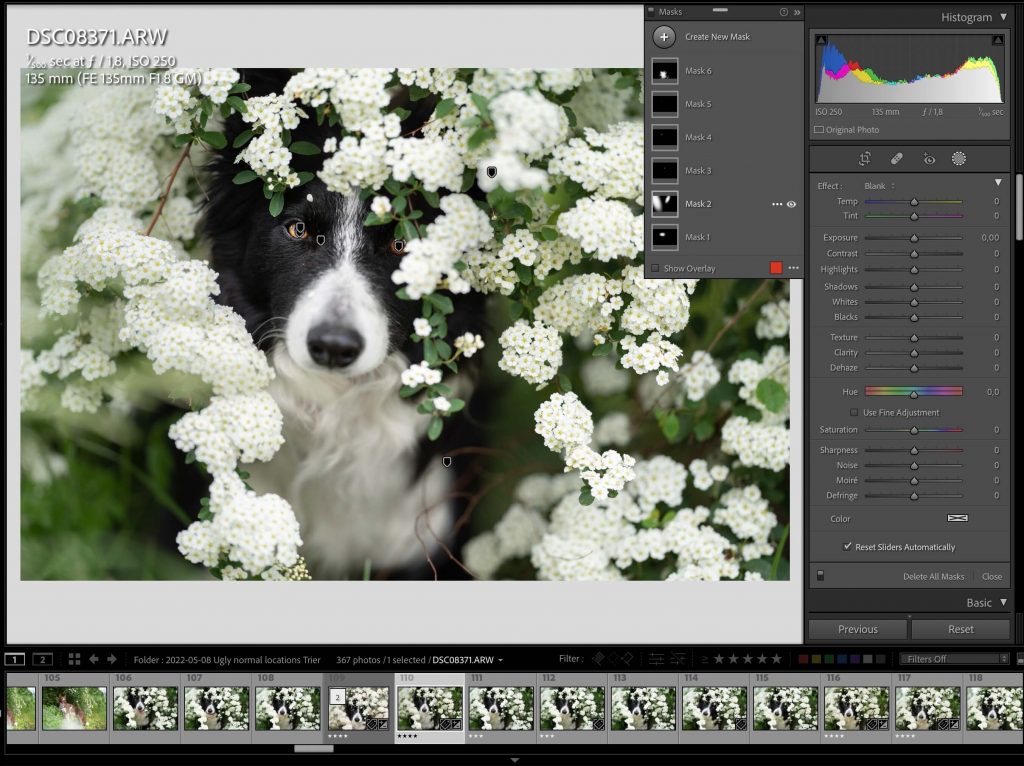
The photo started in Lightroom so I could work with all that juicy RAW data.
First, I adjusted the WB, using either the eyedropper tool, or by turning the saturation & vibrance up to see what colours were dominating.
Then, a few selective edits. This is one of my favourite ways of working as it allows me to choose what smaller part of the image I want to edit, and how, rather than editing the WHOLE image.
If I want the eyes to have more clarity, then I can do this with radial filter masks. If I want to remove the colour cast from his chin and chest, I do this with radial filter masks.
My goal with all my edits at this stage is to:
- enhance the dog
- lower distractions in the environment
- get everything to a “neutral” base so the image is ready for more extensive edits in PS.
Editing: Photoshop Fixing Composition
Next, I brought the image into PS as a smart object.
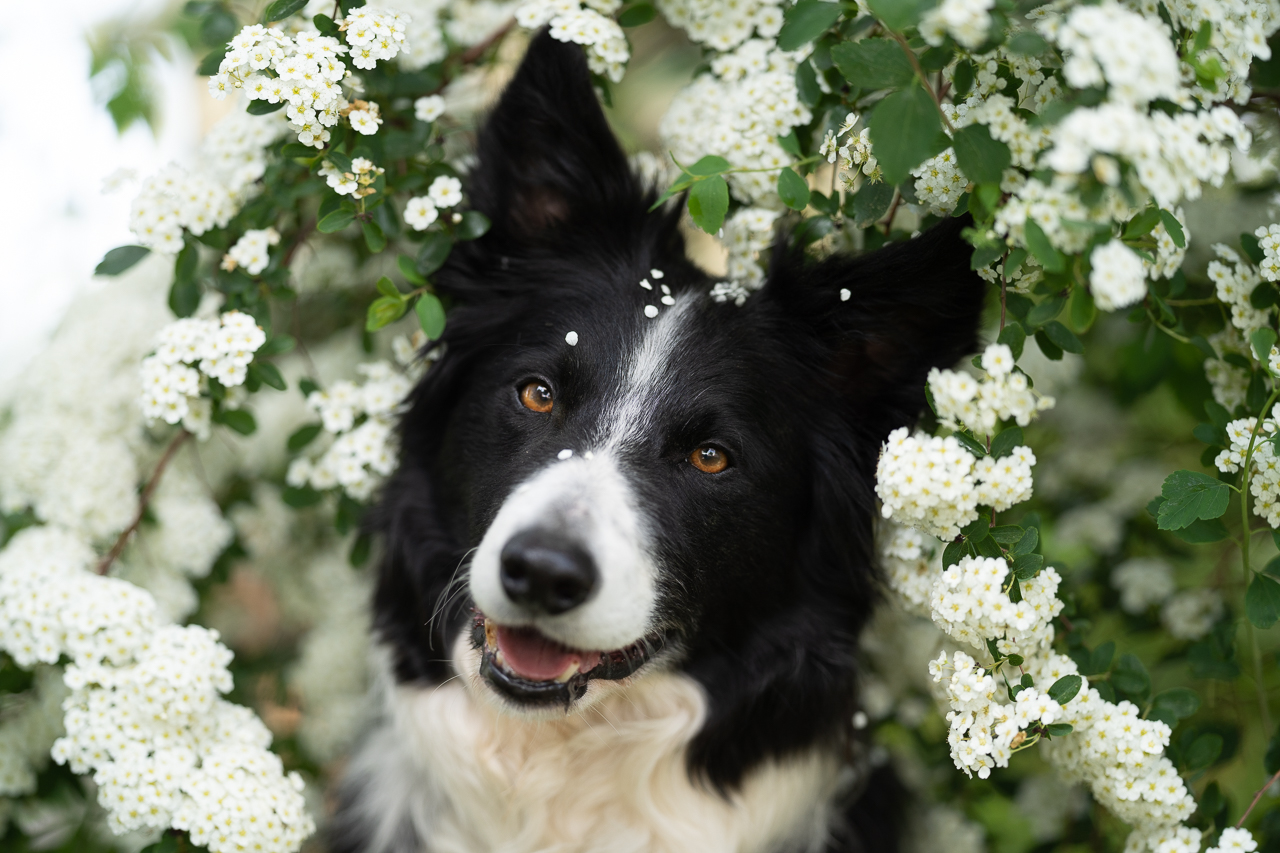
You may have noticed that I have one really big problem with this RAW file, and that it was the only version I took where he’s looking directly forward without head tilt….
Did you spot it?
I chopped off the tips of his ears!
For me, this is a HUGE no-no, and in this case it’s pushed the whole image to the top of the frame and feels super cramped and weird.
Luckily, I have the tools and skills to fix it without much trouble.
All I did was take the surroundings & ears of another image, and mask Loki’s face onto it. I quite often use other very similar photos to help me improve composition, by being able to extend the frame to one side, give more space above or below the dog, or even turn landscape orientation into portrait! There’s even a whole lesson on this inside my Learning Journey!
I especially love being able to use this technique for dogs who don’t stay still very well, or who look in all directions. It takes a heap of pressure off you to have to “get it right” perfectly in camera, since you’ll be confident in fixing it up later in editing with the other photos you’ve taken!
Editing: Photoshop Light, Colours & Effects
After fixing the composition and cleaning up little bits of dust and whatever else, I used a broken frequency separation action to create a soft and dreamy effect on the flowers.
Then, a couple of curves layers help to dodge and burn Loki’s face, giving him a more 3D effect, and two selective colour layers help to work on the greens and yellows in the image.
Finally, a soft overlay creates a brown-tinged vignette, warming up the whole image. This isn’t a step I normally take but the photo was so simple I wanted to give it a little bit of something extra.
And that’s it! A really quick, simple edit with a few unusual bits and pieces, to make a pretty. summertime flower photo of my perfect Loki!

If you enjoyed this format of blog post, please let me know in the comments below! I’d love to hear from you! If you found it interesting, make sure you copy the link, take a screenshot, and share it to social media! I’m sure other pet lovers and pet photographers would find it interesting too!
If you guys like it, I’ll make sure to do more of them in the future so definitely drop your feedback in the comment section!
Until then!
~Emily, Loki & Journey
Ps. Maybe you have an idea of what photo I should do a “breakdown” for next? Let me know in the comments, or send me an email!

