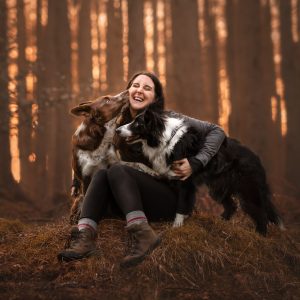
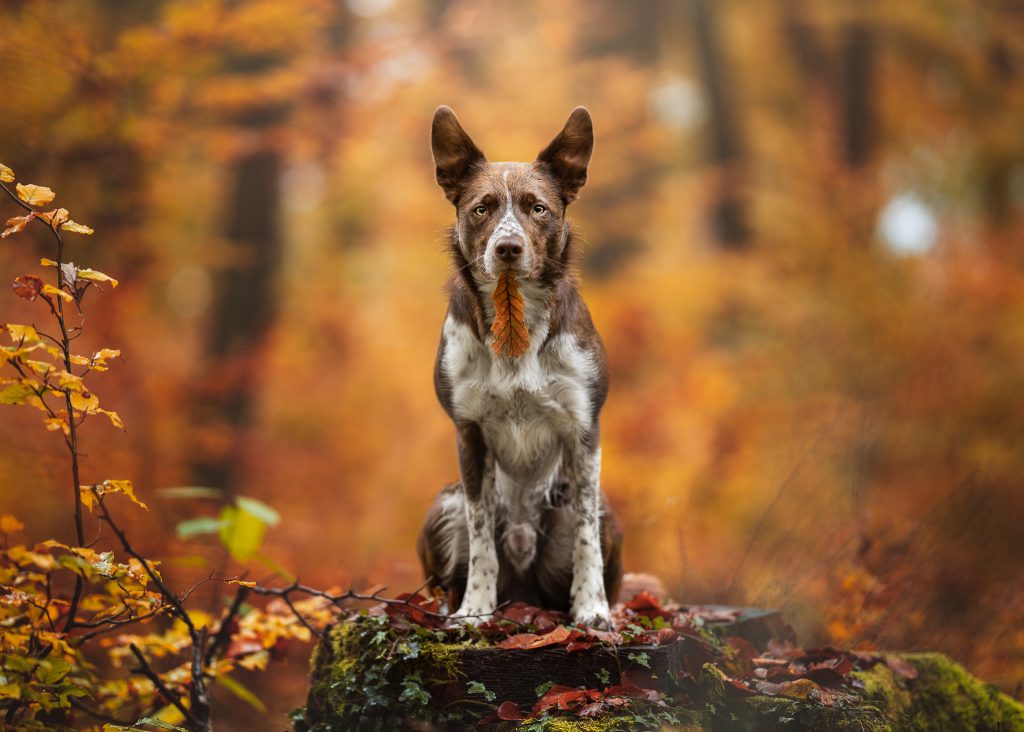
You might have noticed your Instagram feed suddenly flooded with autumn dog, cat and horse photos. After all, there’s no better time than now, with abundance of colour that the onset of autumn in the Northern hemisphere has brought about, as the leaves shift from sunny, bright greens and yellows to deep, rich reds and firey oranges. It’s one of my favourite seasons to take pet photos in. But sometimes, our photos need a little help editing them to change the colours so they reflect exactly how we saw the location at the time. In this guide, I’ll be sharing some of my favourite Photoshop tools to do just that.
Taking Pet Photos in Autumn
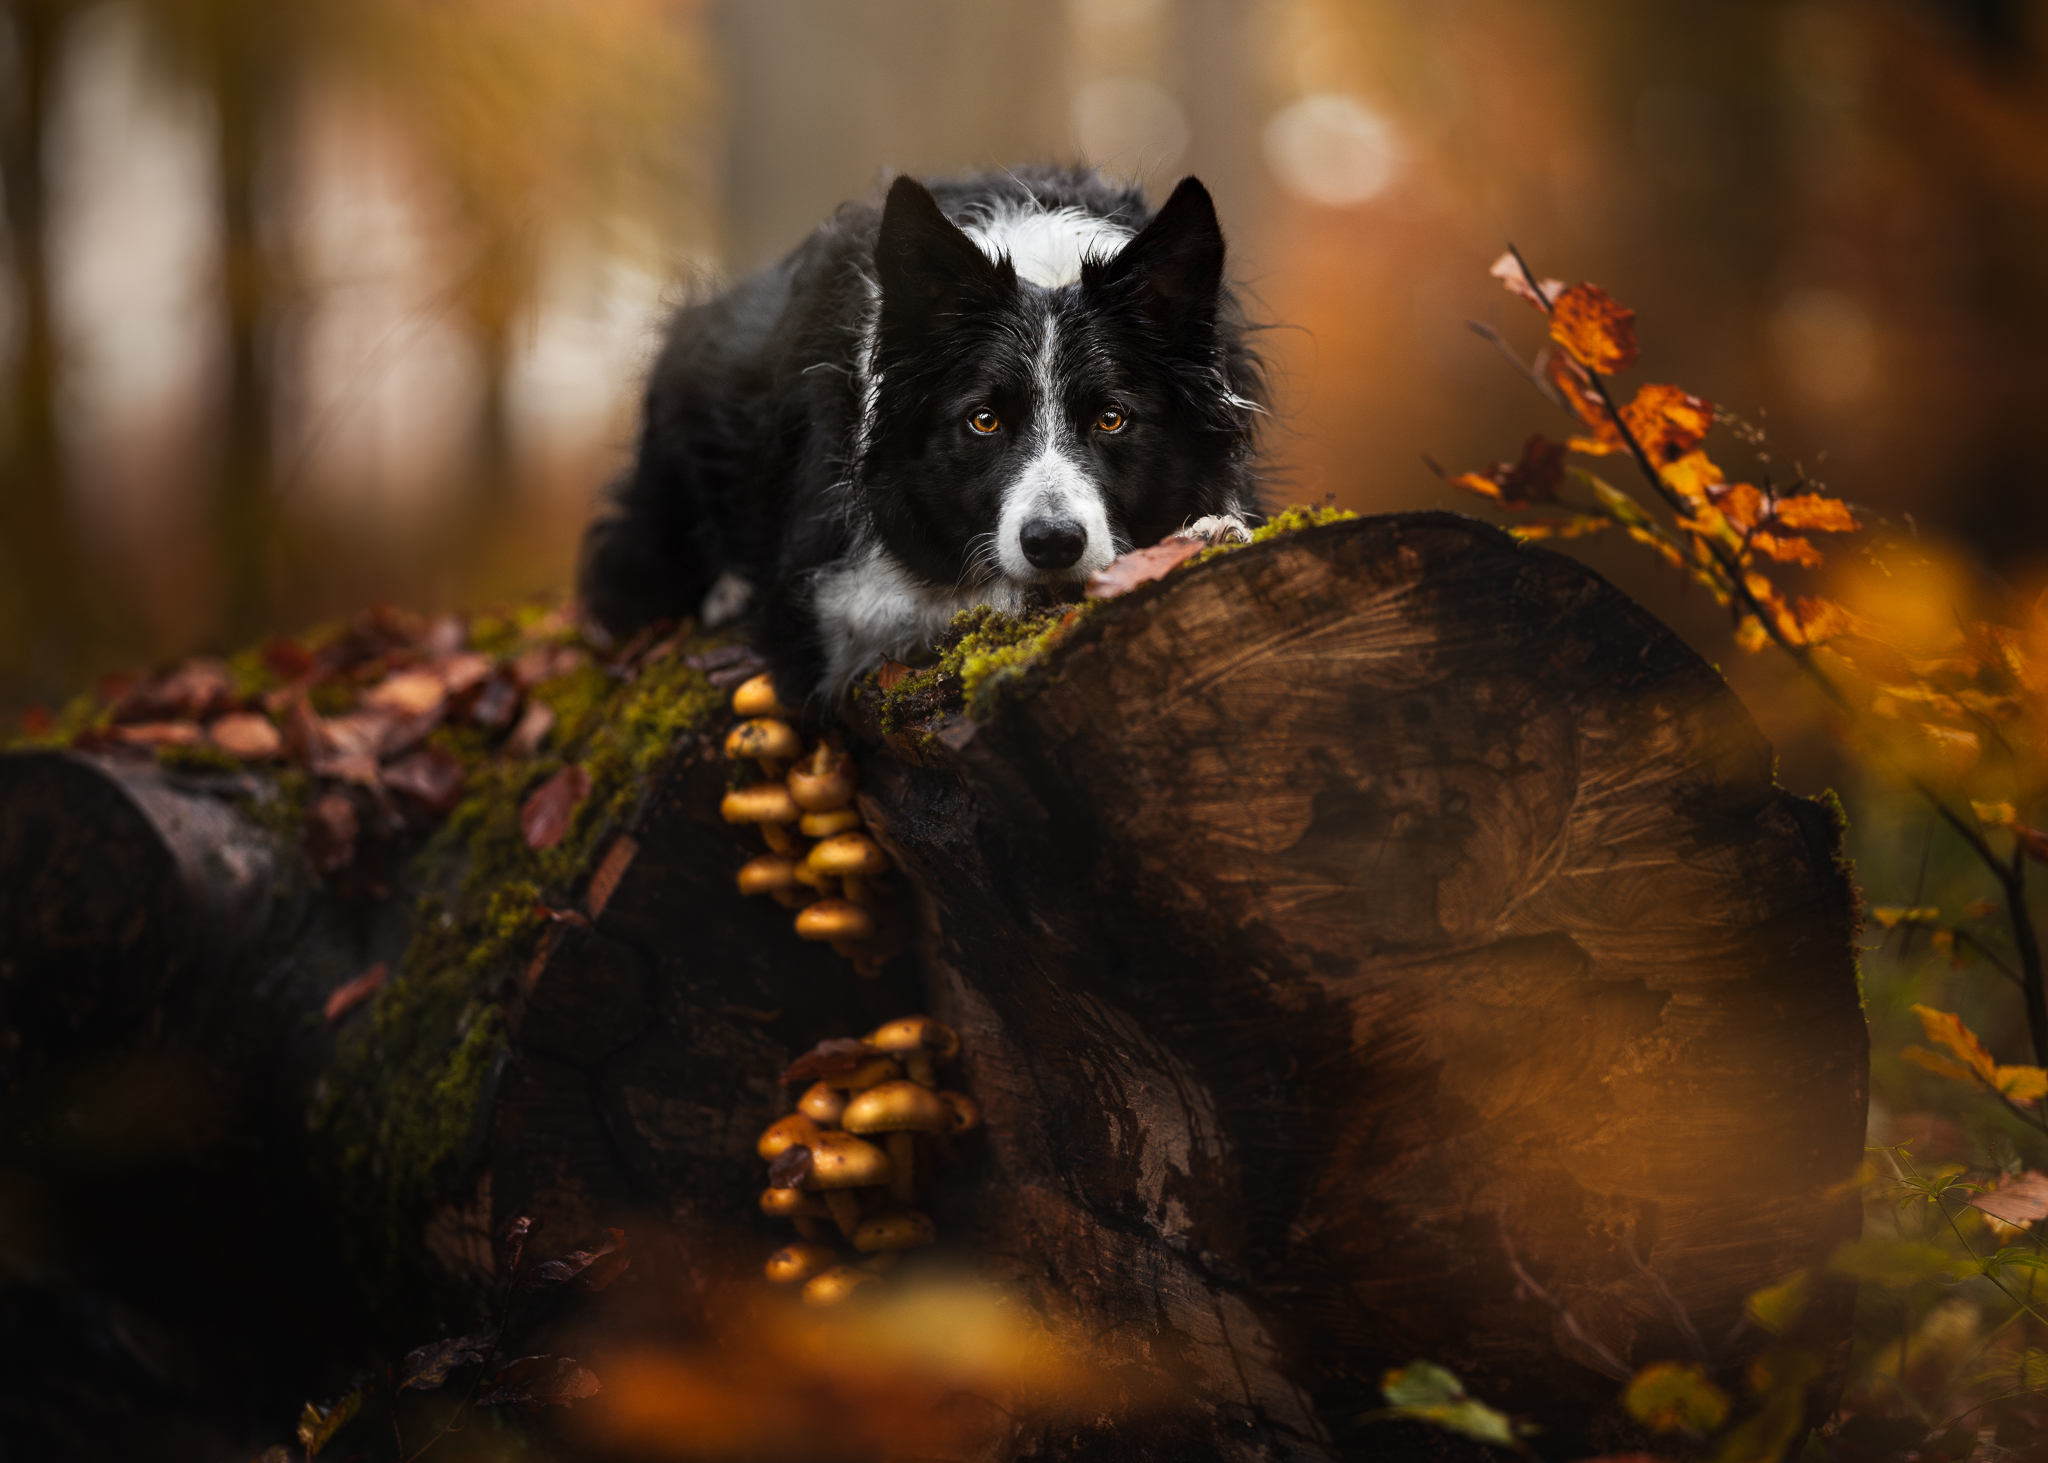
First, you’re going to want to make use of all those beautiful autumn colours in the background. You’ve heard me say it once, and I’ll say it again:
get down low when taking pet photos!
This allows us to have a leafy foreground, and we get to see all that glorious background behind and around the dog. Bonus points if you can get some interesting foreground in your image for extra depth.
You’ll want to watch your camera settings while you’re out shooting. It’s getting darker earlier, and there is a lot more cloud cover about. This means, if you’re in the middle of the woods, it might be really dark and will push your camera’s settings beyond what they’re capable of!
I highly recommend learning your camera’s limits, and how to choose the settings for any situation, so you have full control over how your photos turn out. If you find Manual exposure a bit scary, I go over it all in my Improve your Pet Photography course.
You may need to choose your locations a bit more carefully, finding places that allow enough light to reach the subject’s face. That being said, as more leaves fall from the trees, more and more light will reach the forest floor. Woo hoo!
If you’re out shooting in open spaces, be aware that bland, grey skies without any texture usually aren’t that exciting, so try and choose days or times where the clouds or light is a bit more interesting.
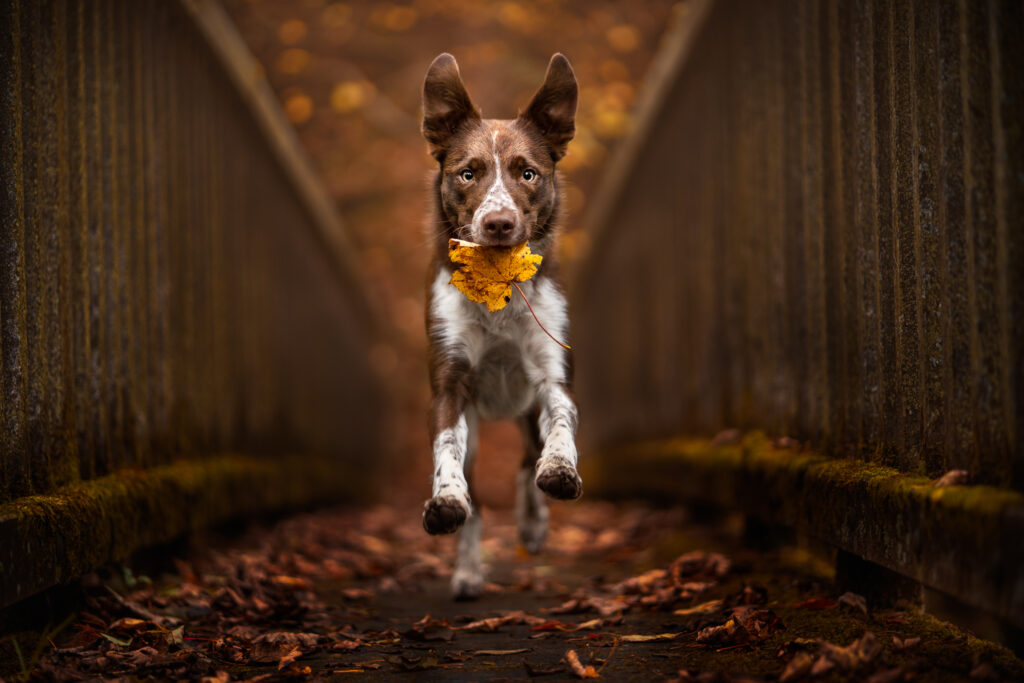
Get Creative!
It’s pretty easy to just rely on how pretty the colours are in autumn to help us make a nice photo, but there’s plenty of ways you can be creative.
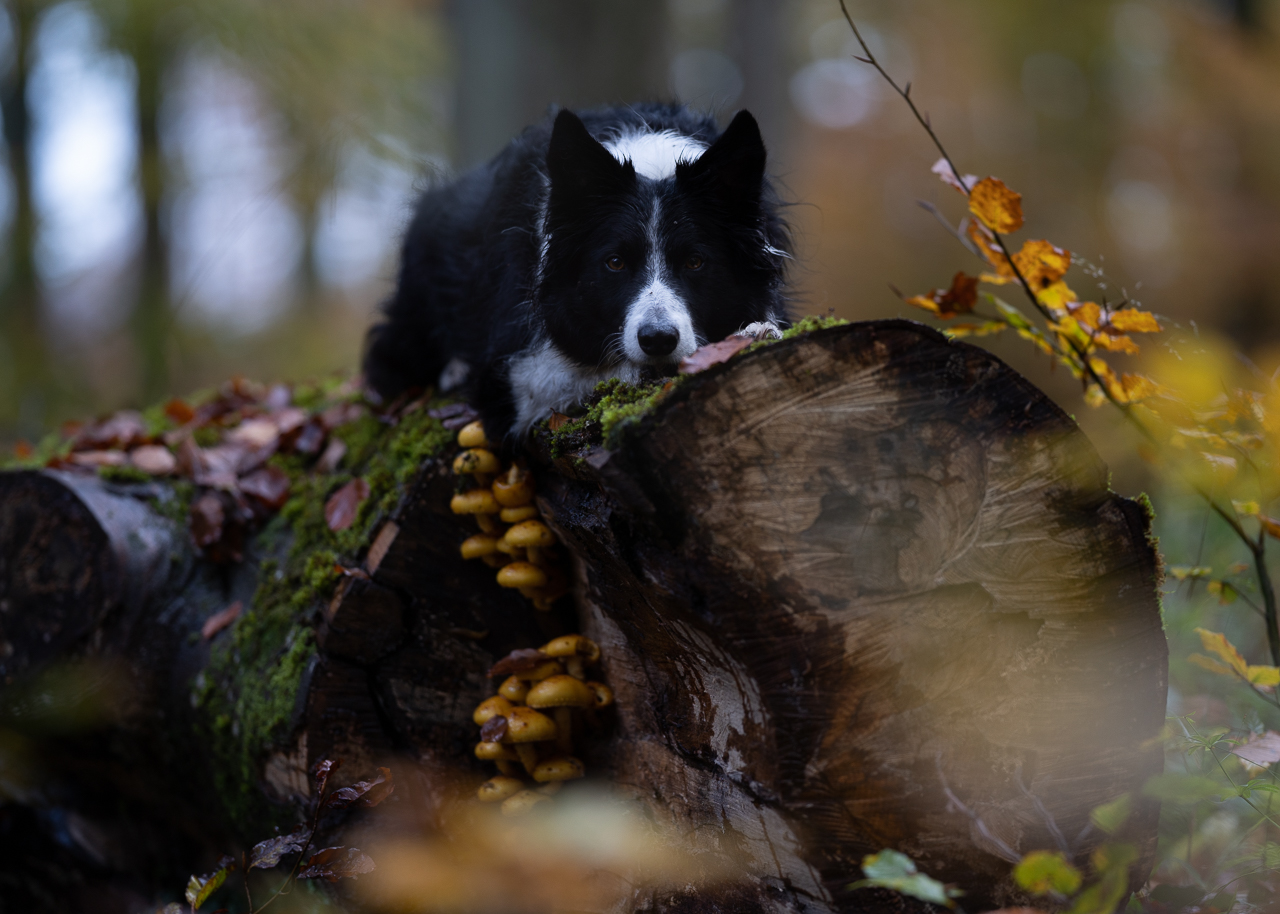
Think about using leaves in the foreground, as a frame, shooting through them, using the curved shape of a branch or having the subject interact with the leaves in some way.
You can also use falling leaf overlays in Photoshop (it seems like everyone is doing this at the moment!) to give the photo a bit of extra magic. Just make sure the leaves match the scene in colour, light, and depth of field.
Editing Autumn Pet Photos
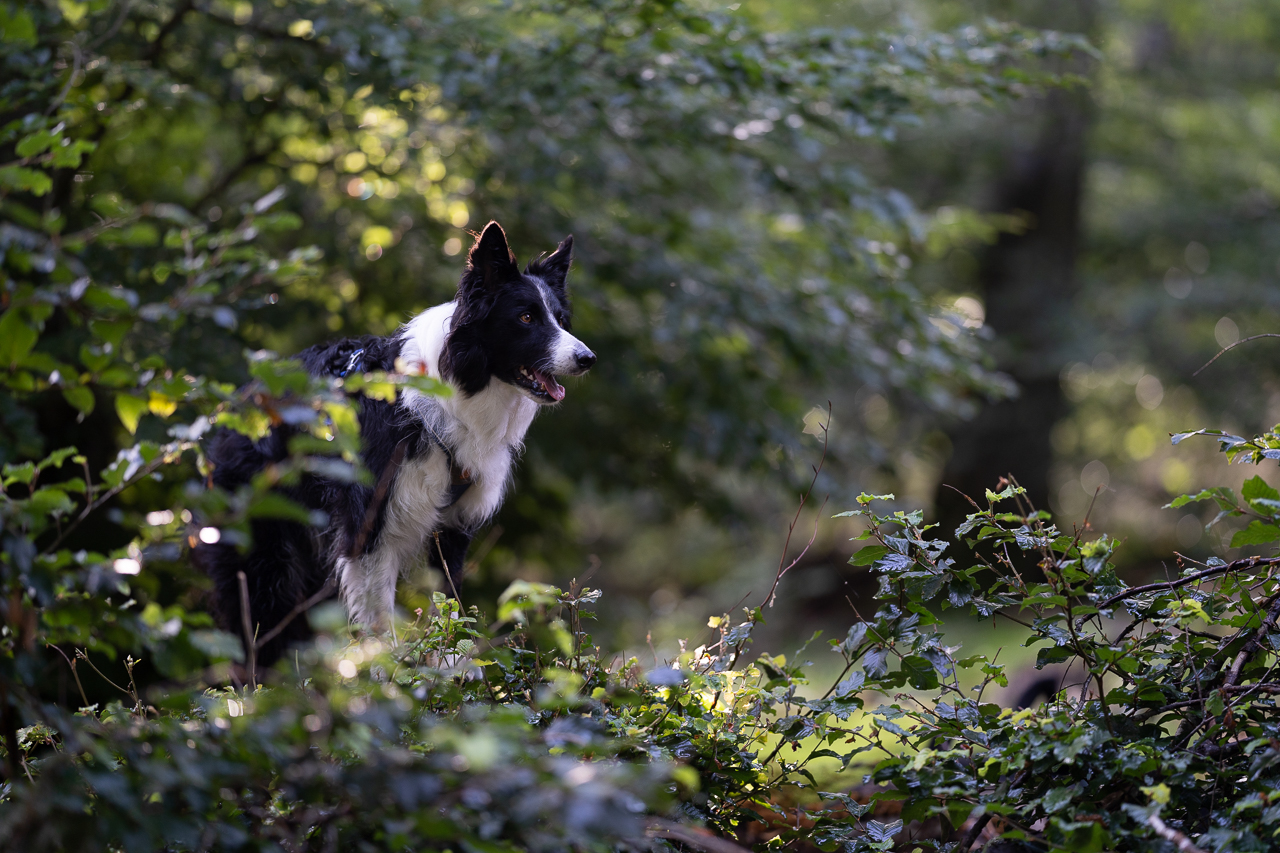
The tricky thing with autumn photos is that while your eyes might be seeing mostly oranges, yellows and reds in the photos you take, chances are, your camera will also pick up on a lot of leftover greens and browns. And those pesky colours are usually the reason your autumn photos just don’t seem to have that true autumn feeling.
Never fear though, in this blog we’ll look at some handy Adobe Photoshop tools you can use to make your autumn pet photos look exactly the way you want them to. If, after reading this, you feel like you’d like a broader understanding of how these tools work, check out my Changing Colours workshop that’s going to be held on November 20 at 19:00 CET. If you miss out, don’t worry – it’ll be recorded and uploaded!
My Favourite Photoshop Tools
When it comes to colours, Photoshop has a number of neat tools that can help you achieve almost any look you desire. I often say that no one tool in is one-stop-shop. It is more than likely you’re going to need to use a few separate tools to fully achieve the look you want. This isn’t a bad thing though, because it allows us to decide how strong of an effect we want to create and then tweak it and keep it as realistic (or magical) as we want.
White Balance and Colour Balance
Now, the first tool, well two really, you need to be thinking about is adjusting the White Balance, and using its very good friend, the Colour Balance adjustment layer.
I know what you might be thinking, she’s making fun of us, I know how to use the white balance tool. I know.
Hear me out though. Using the white balance tool, you can warm up your whole photo, which is going to help you achieve that cohesive autumn look on your image. Don’t go overboard. You still want your dog’s coat to be the correct colour. But in my experience, most of my students tend to colour their photos slightly too cool anyway.
In addition, you can use the Colour Balance tool to basically do that same thing, but on just one, selected, tone of light. For example, you could just choose to warm up the midtones of your perfect autumn photo to set the range of light up for future edits.
This all helps you create a good base for any bigger colour changes you want (or need) to do. Of course, don’t forget to make sure that your perfect model’s coat is the correct colour. Besides that though, everything else in the photo is fair game.
The Best Tool for Changing Colours is....
The next tool and one that I probably use the most for colour editing are Selective Colour Adjustment Layers. This tool is hugely powerful and it can produce some very fun effects when stacked up, layer upon layer of selective colour edits. On the other hand, even one simple change to the “Yellows” can have big results!
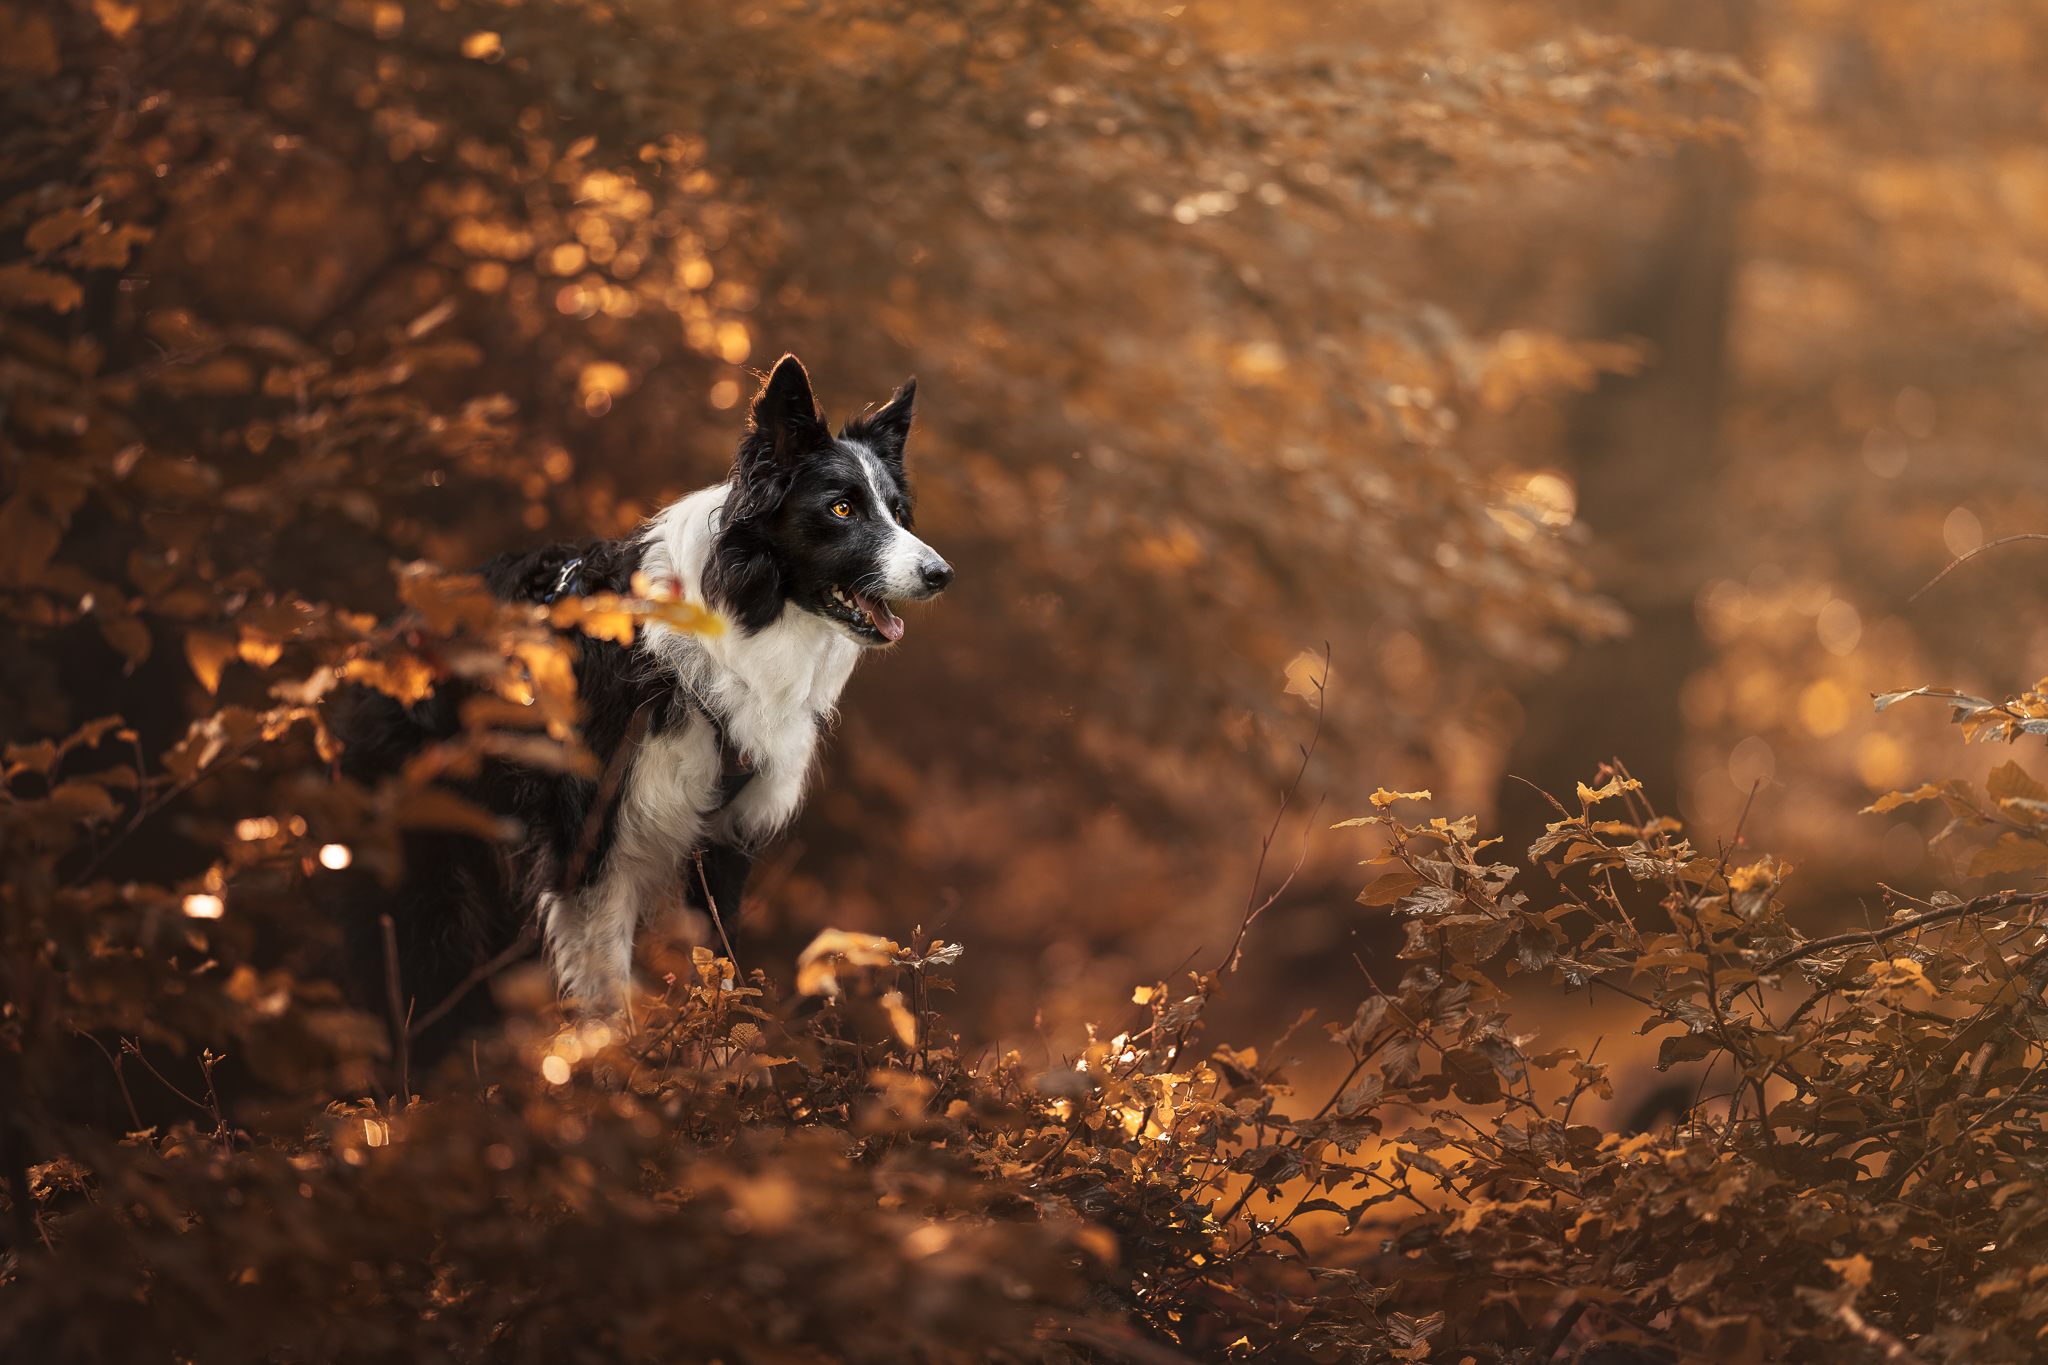
Imagine a photo that has just a little bit too much of green in the background to feel cohesive and properly autumny. Or a photo you think would work perfectly in the deep red and orange shades of autumn.
You can quickly change the colours with a Selective Colour adjustment layer to take the cyan out of yellow. And if you feel like the colour you’re after isn’t strong enough, well, just put another (or as many as you want) selective colour layer on top to build up to the perfect colour. You might need to remove some saturation later!
If all these tools or how to use them still seem a bit scary to you, don’t worry, you can get more in-depth information in my Photoshop course (to be released at the beginning of December) or, more immediately, you can register for my Changing Colours workshop on November 20 now! The workshop does require a basic knowledge of Photoshop, however, so make sure you know about masking and adjustment layers before signing up.
In the meantime, you can also hop onto Inspawration Connect, my little online community corner which is like Facebook but not on Facebook. Share your autumn photos there, celebrate your wins, and ask questions of our growing community. We would love to see what you create!
Happy photographing, get out there and enjoy those autumn colours!
~Emily, Loki & Journey