

If you’re taking photos of pets or dogs, and trying to get those soft, creamy, blurry backgrounds like you see on social media, but they always end up looking busy and detailed, let’s look at what you need to do in camera to create that background blur effect everyone loves so much.
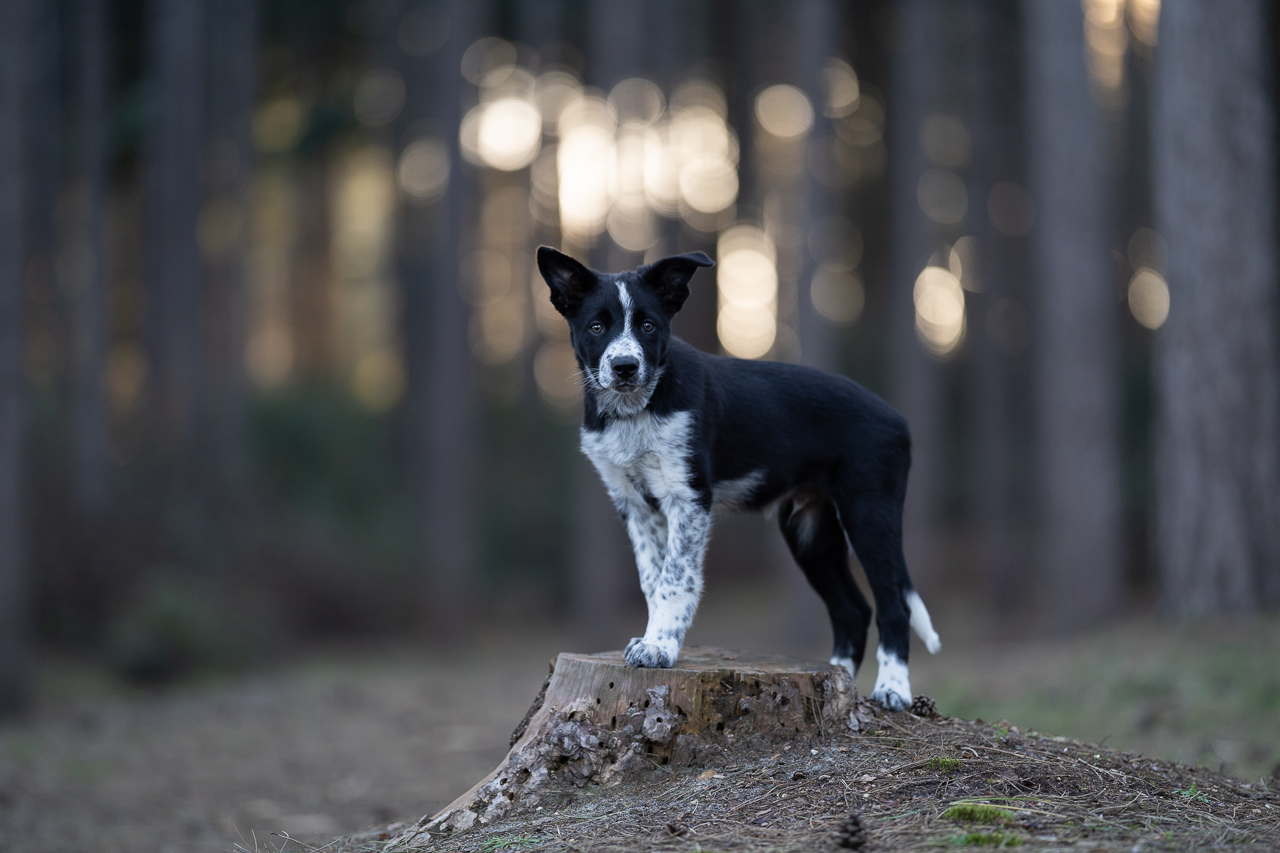
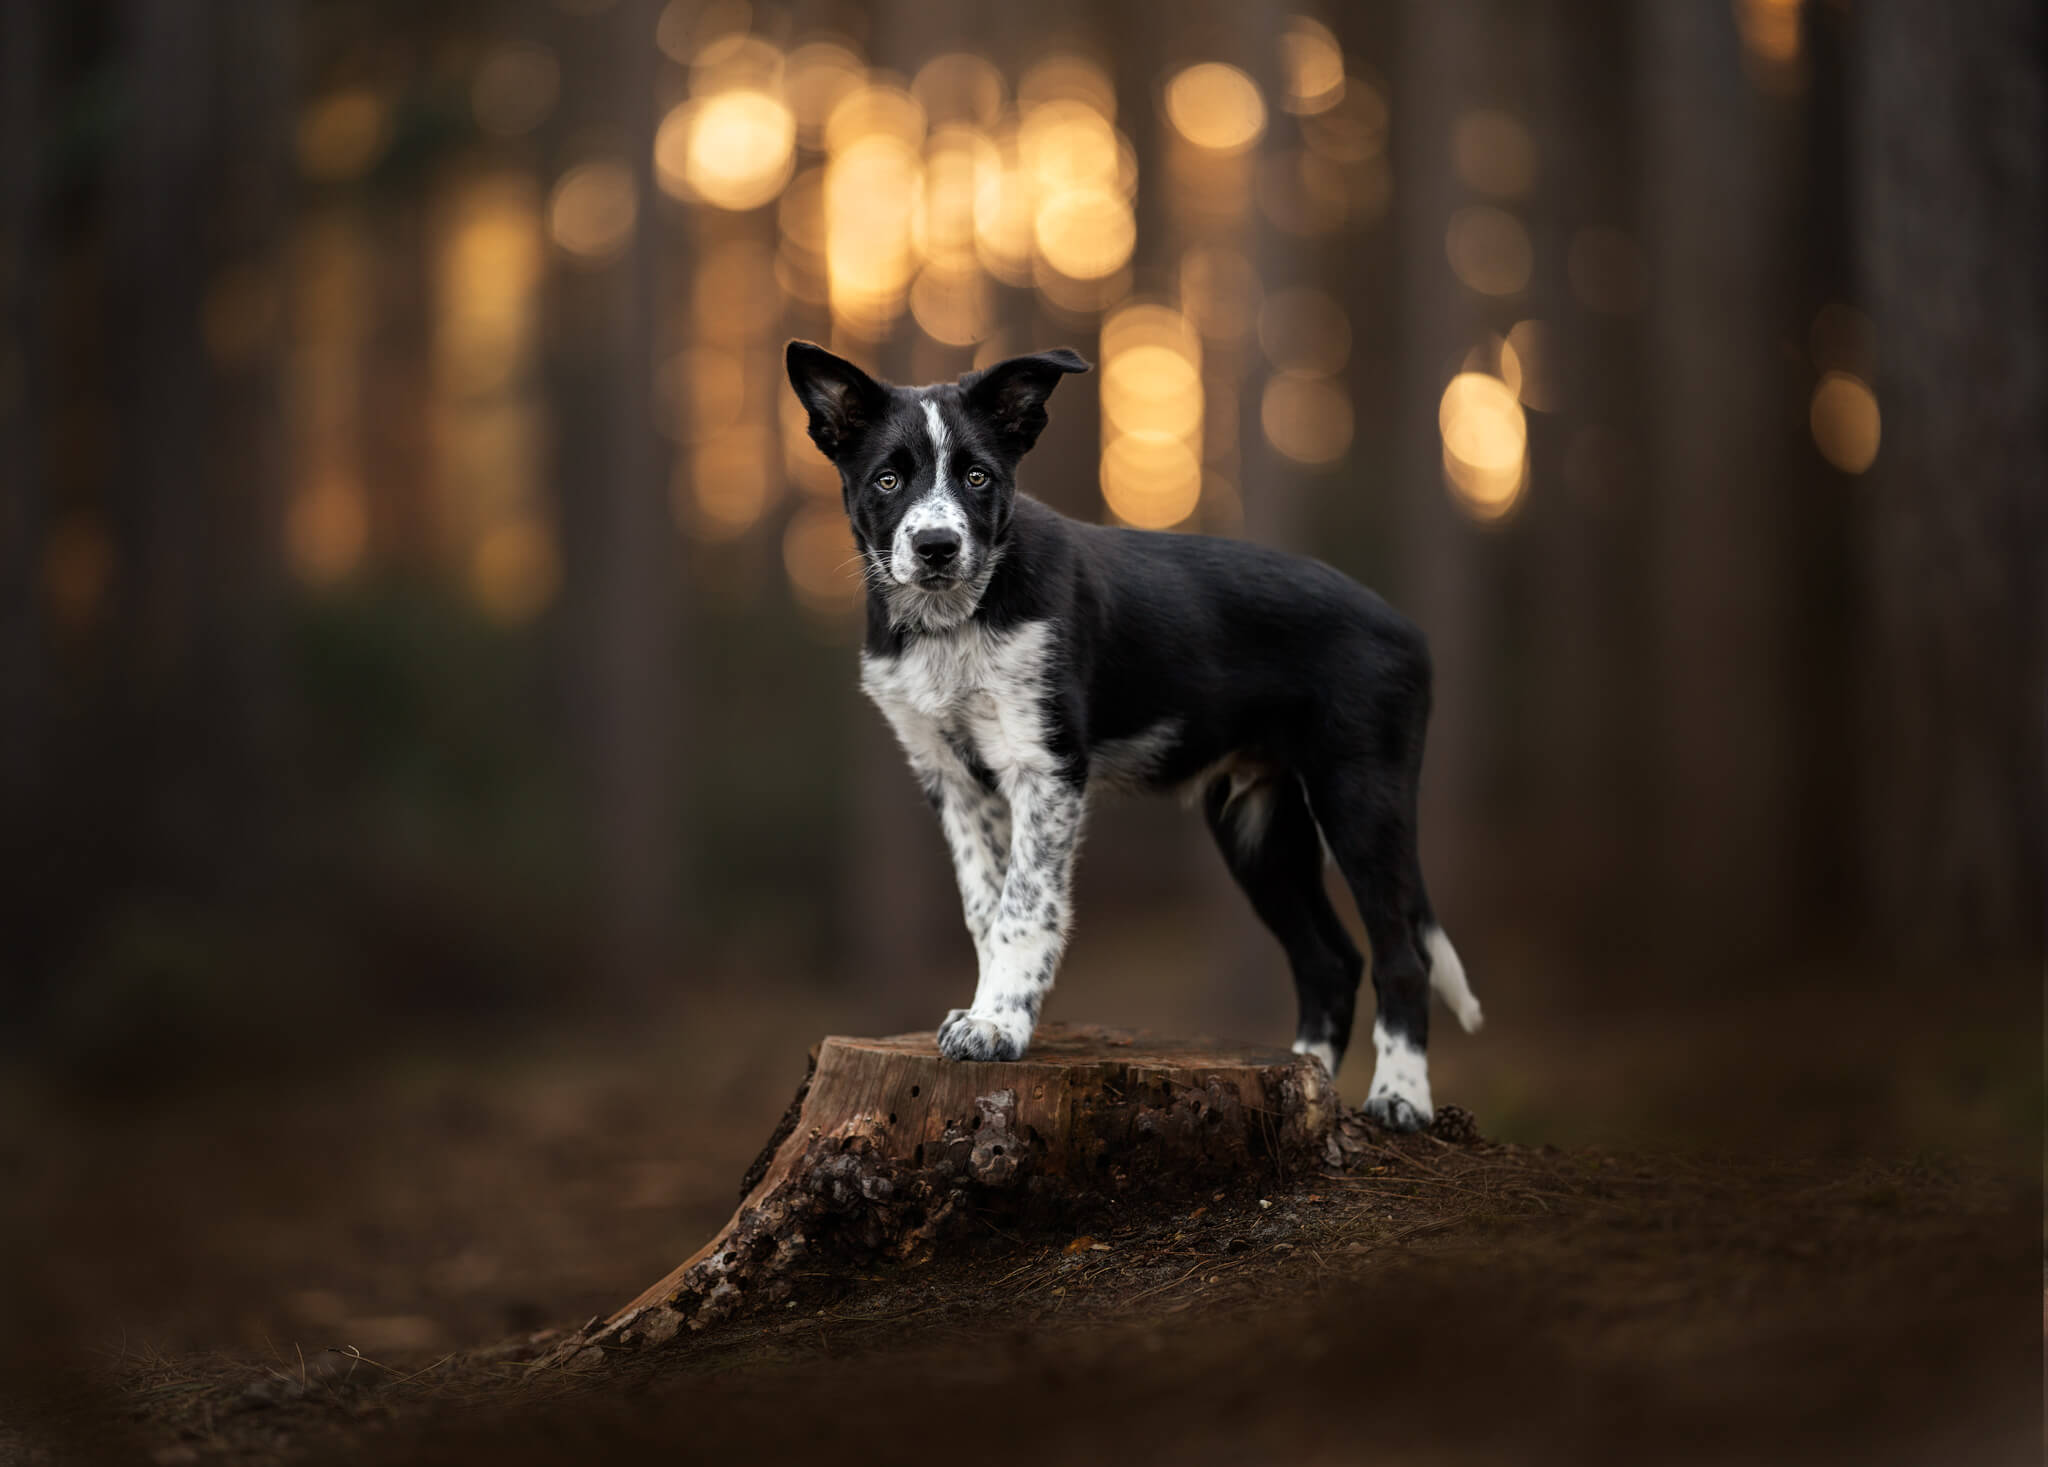
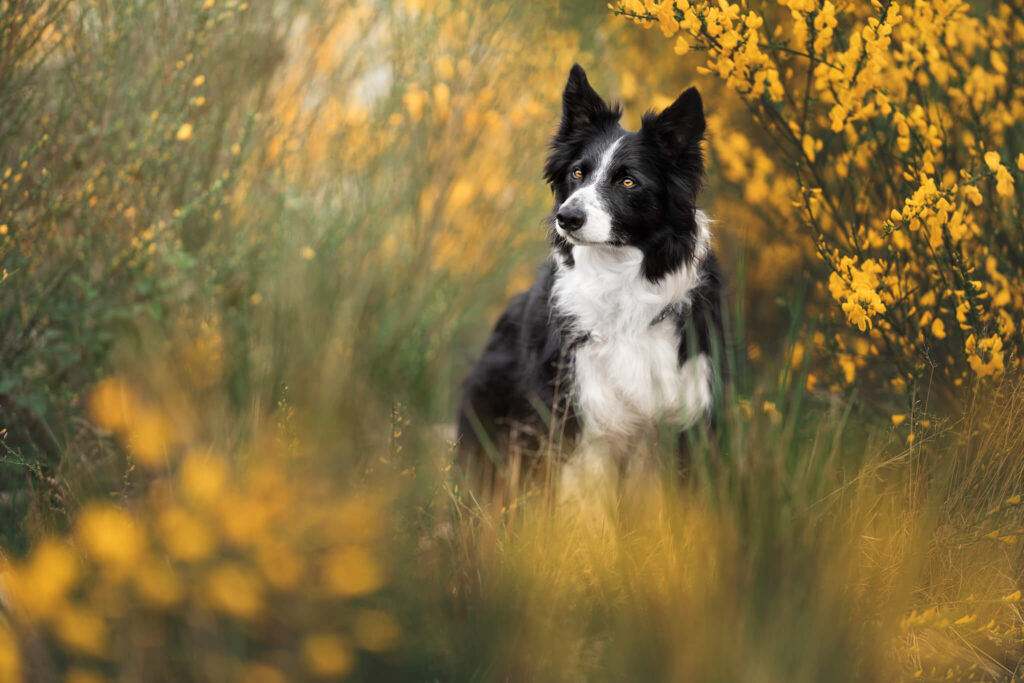
Whether you like sparkly bokeh balls, or a more smooth textured general blur, the concept is the same, and it all comes down to your lens, settings, and the background itself. I very rarely add any extra blur effects to my backgrounds, although removing some contrast and adding a gradient at 10% opacity is seen as a crime by many purists and completely distorting the reality of the image, I want you to check out these before and after photos, paying special attention to the background blur.
In this post, we’re mostly going to be talking about camera-specific tips, although tip #3 also works and applies if you’re using a phone. Using your phone on “portrait mode” can give you a kind of artificial blurry background, but depending on the dog can have some weird edges around the fur – there isn’t really a way to fix this, except to have a more distinct difference between dog and background to help your phone find the edges.
1. Aperture
The aperture is the “f/ number” on your lens. It’s a series of blades inside your lens that can be wider or narrower depending on the setting you choose. The smaller the f/ number, the wider the aperture, the more light that can get into your lens, and the narrower your depth of field (how much of the photo is in focus) will be.
Remember, it’s important to think of depth of field less as “the camera is focusing on a thing or multiple things” and more like there’s an area a certain length wide and everything inside that line will be in focus.
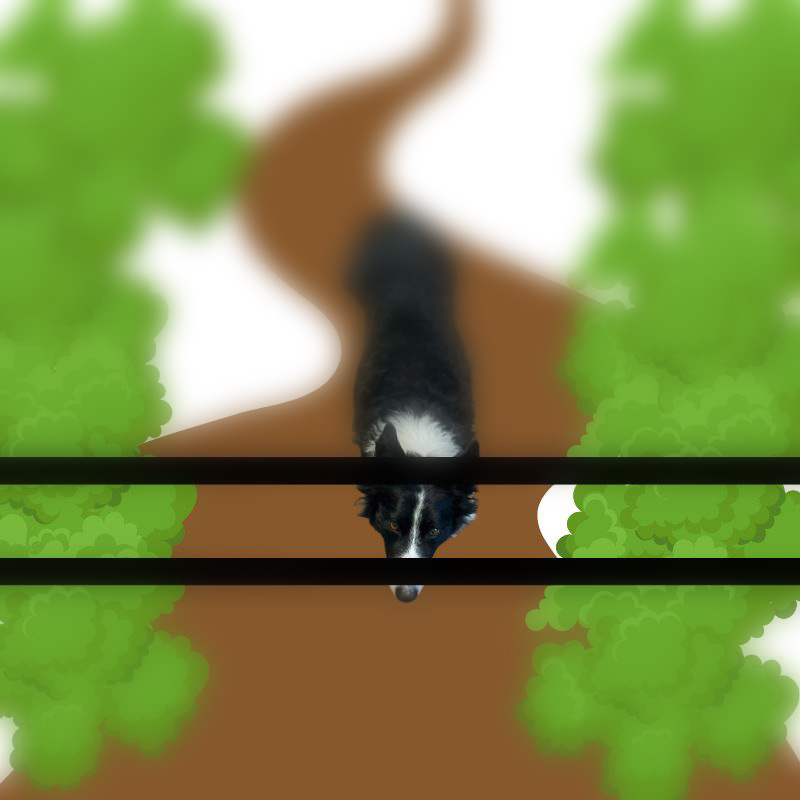
Let’s steal this graphic straight from one of my “Depth of Field” lessons in the upcoming Beginners course, and in the Learning Journey. We can assume this would be a reasonably wide aperture (small f/ number), like f/1.8, f/2.8 etc. Only Loki’s eyes will be in focus. His nose will probably be a little blurry, and everything will get blurrier the further away it is.
Therefore, if you’re shooting at f/4, or f/7 and depending on how far away the background is (and how close your subject is)- the background may be in focus!
I take 99% of my photos at f/1.8.
2. Lens Length
The longer your lens, the more compression you’ll have. Aka, imagine stretching the background out toward you. This is what happens with longer lens lengths, and helps you achieve a blurry background.
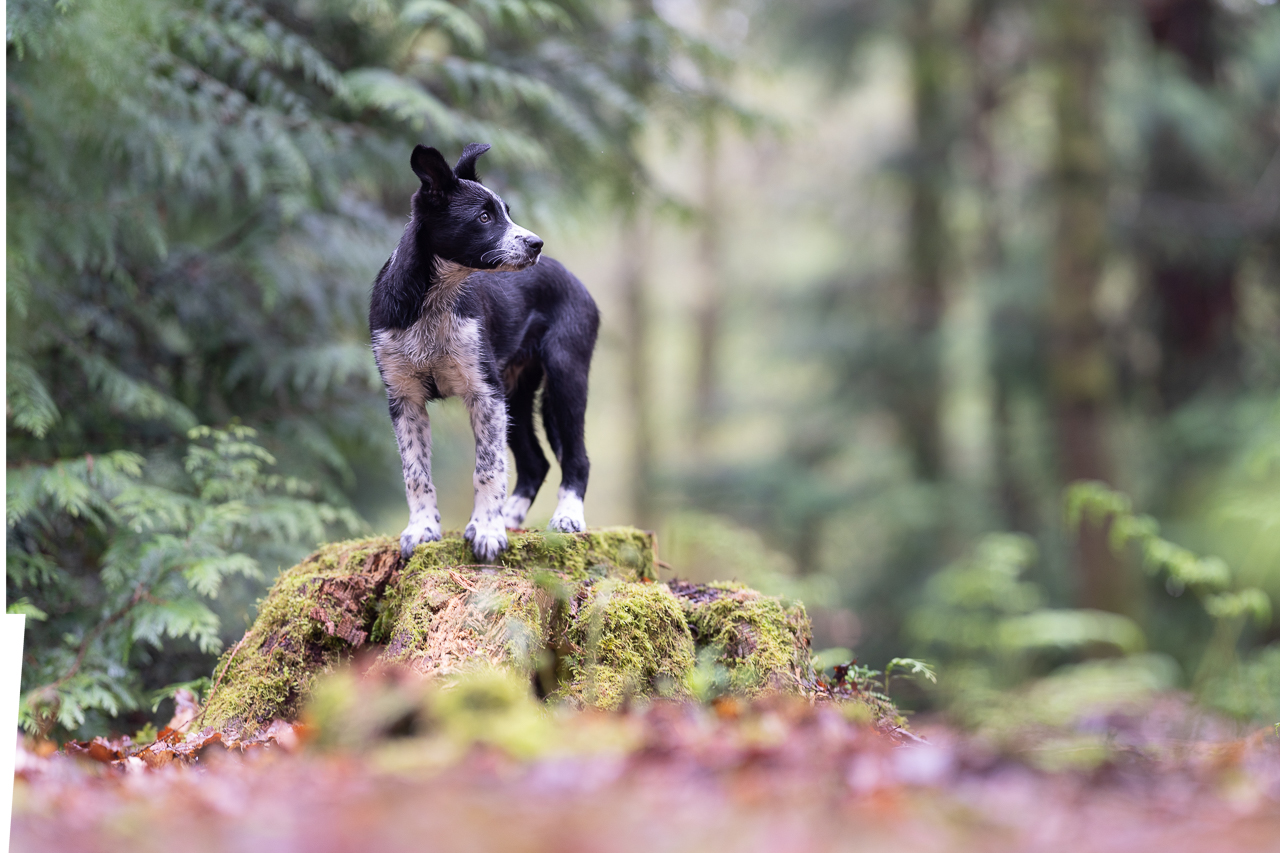
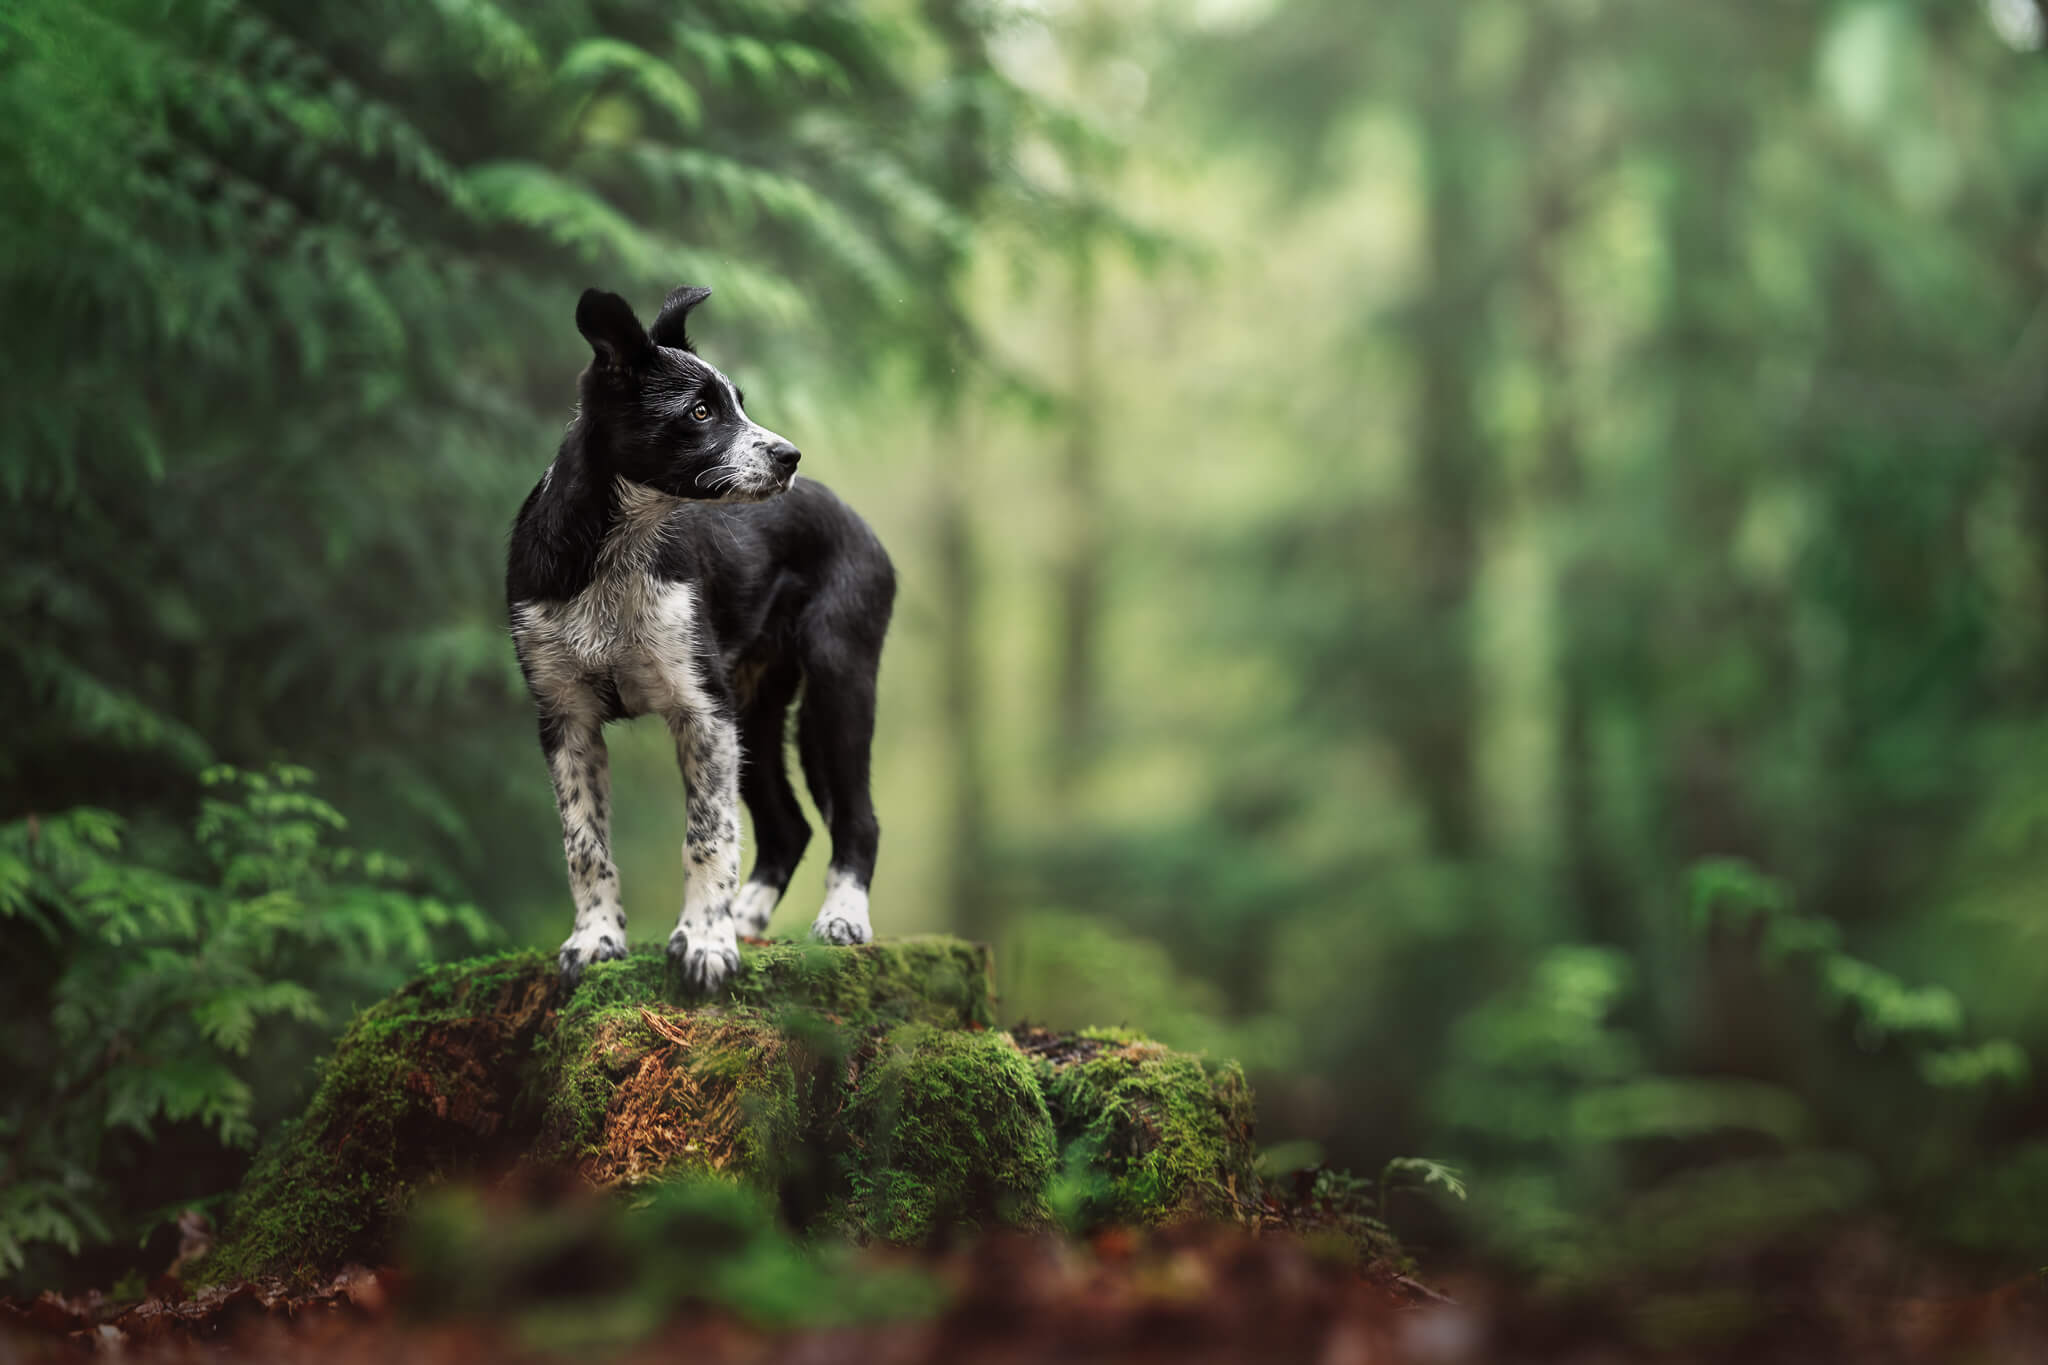
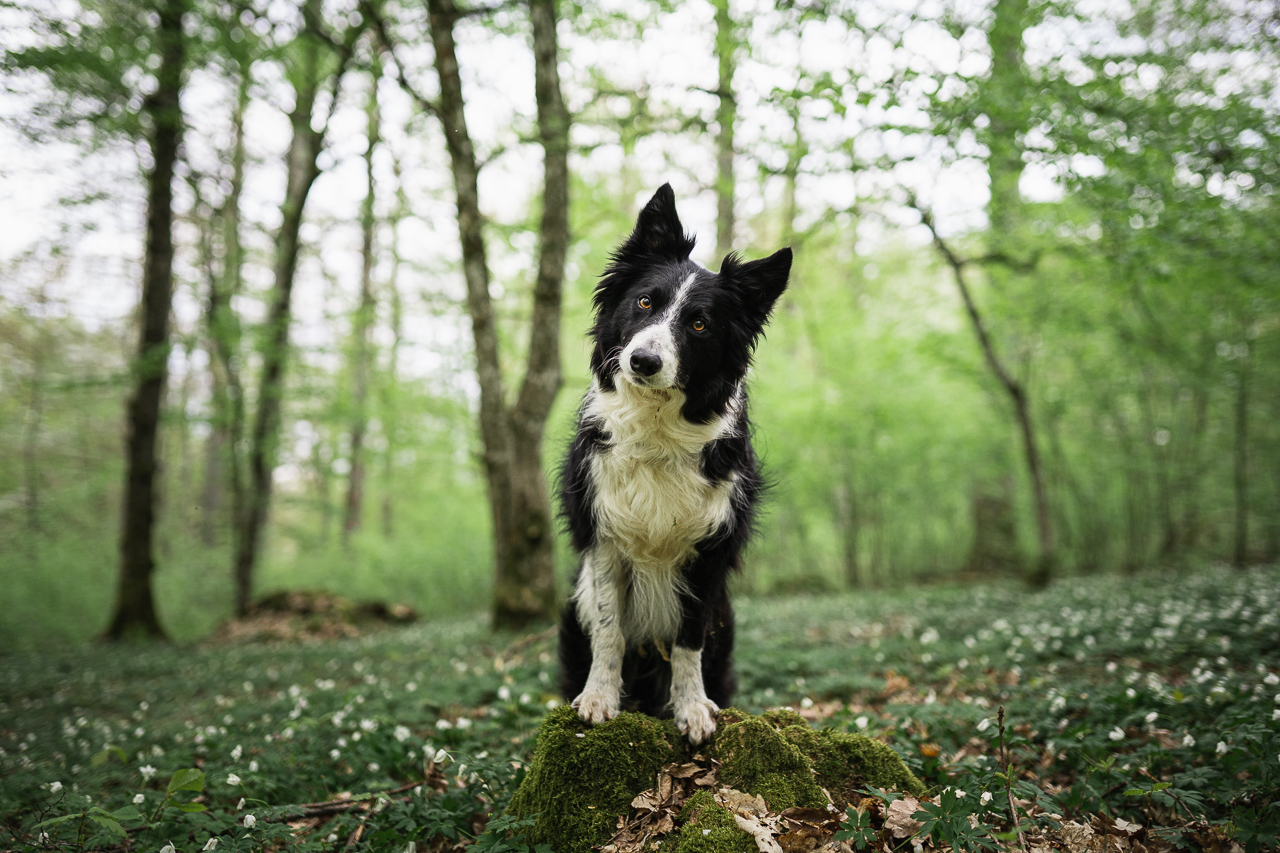
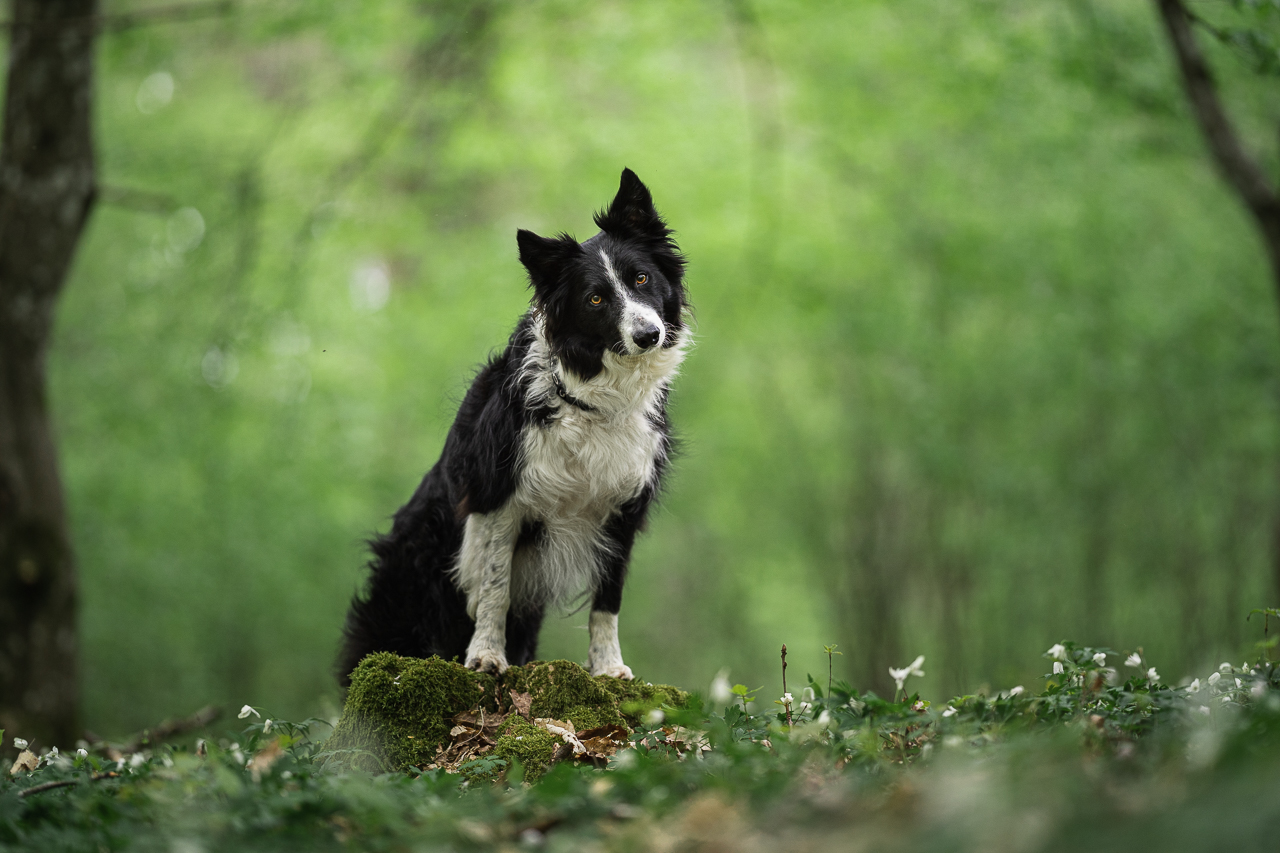
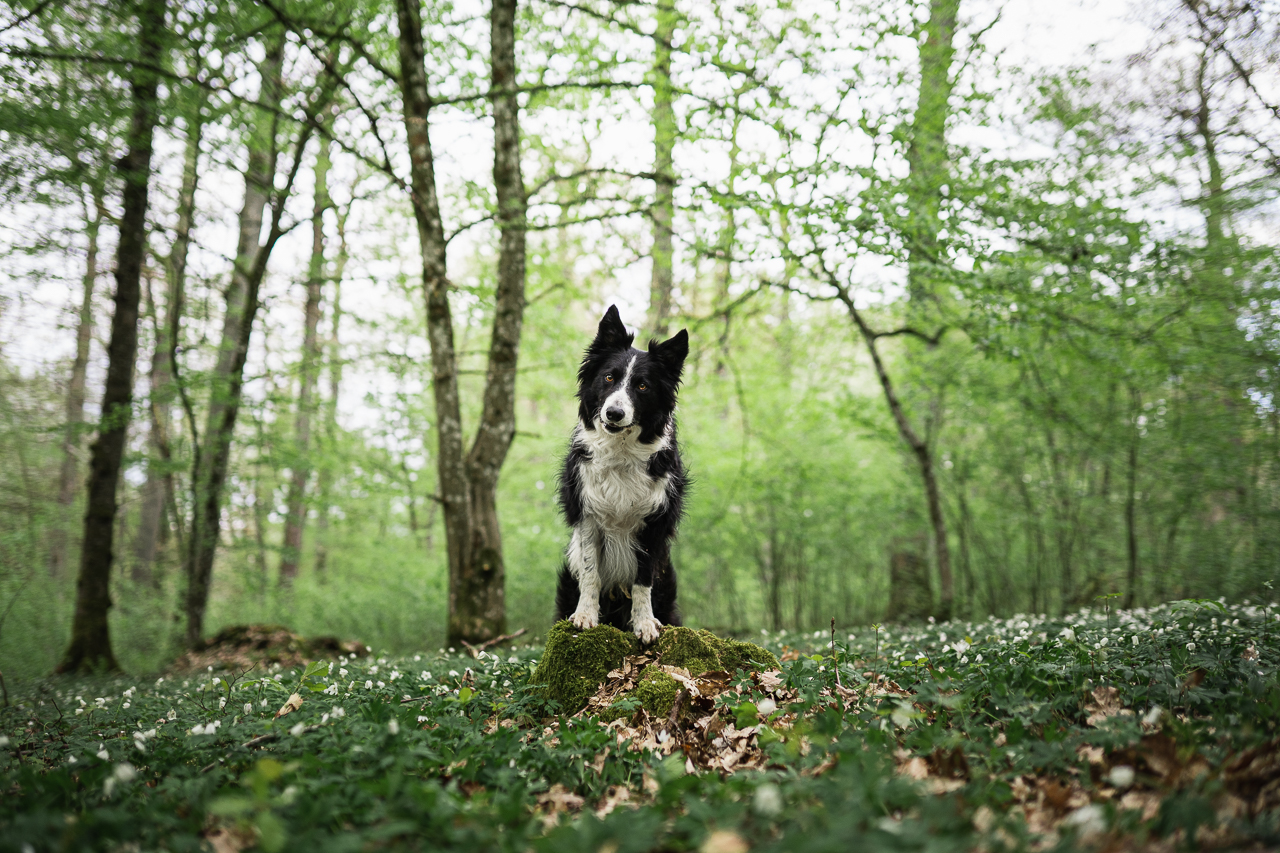
Take the two examples below. One is at 35mm, and one is at 135mm, both at f/1.8, same location, same amount of dog in the frame (obviously I’m further away from Loki with the 135mm, but he takes up the same amount of relative space)… two COMPLETELY different backgrounds.
3. Closeness to the subject
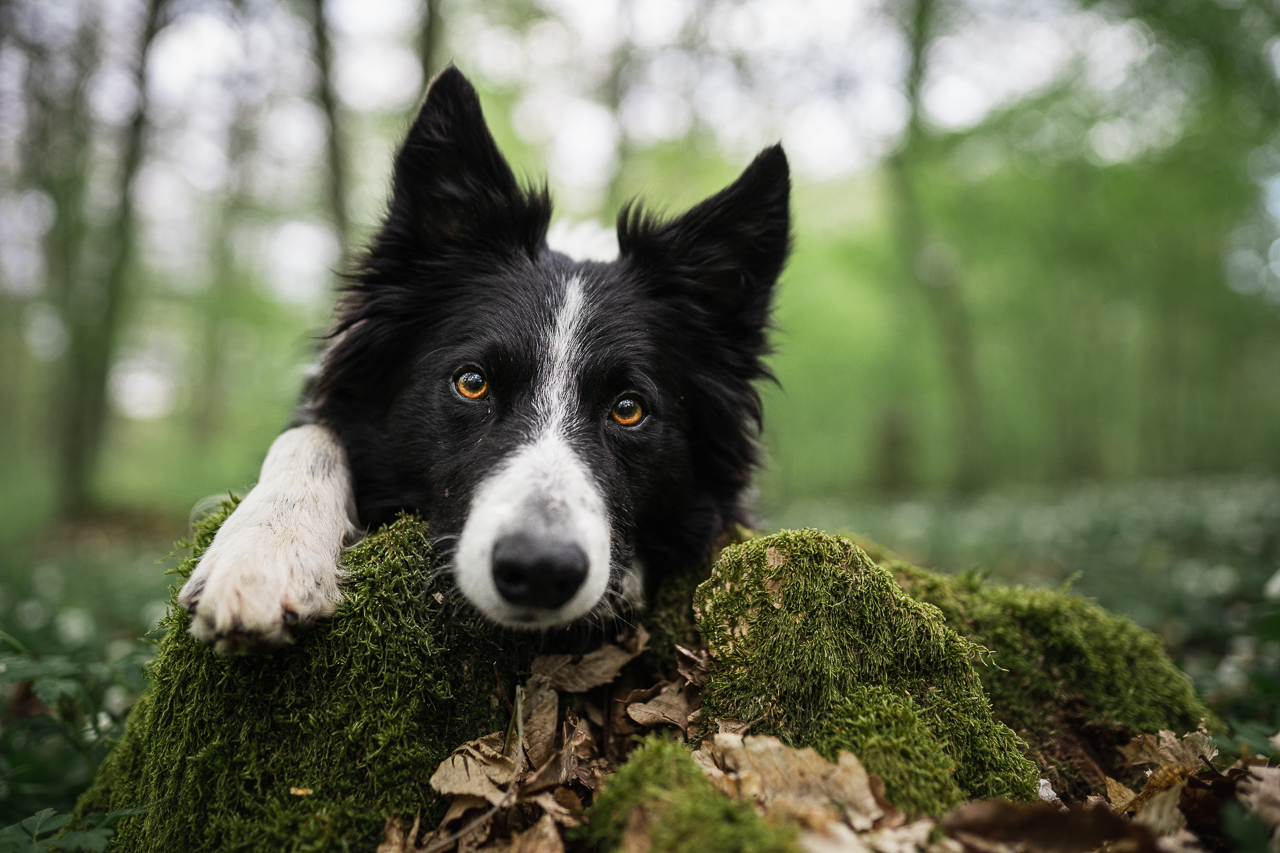
How close you are to your subject also has a big impact on the blurriness of the background!
The closer you are = the blurrier it will be.
Here’s that same location, this time with the 35mm in both photos, but one as a wider, full body shot, and one a tighter headshot. Notice how the background changes.
And again, with the 135mm, the same experiment…
By the way, if you’re wanting to learn about depth of field, mastering your camera, choosing locations, posing dogs, editing, and more, all while being a part of the most amazing, supportive Community, make sure you check out my Learning Journey membership. These photos are just a tiny snippet from a much larger lesson in the Beginning Stage.
4. Distance to the Background
Lastly, how far away your background is from your subject, will influence how blurry it is.
Further away = blurrier background!
If you’re putting your subject right up in some bushes and taking full body photos of them, even at f/1.8 it’s likely those bushes are going to be pretty detailed.
On the other hand, trees way off in the distance behind the dog will be blurry, even at f/4.
As you can see, it’s all interconnected. Putting your lens at f/1.8 alone won’t necessarily always give you blurry backgrounds (although it will help), and not all is lost if your lens only goes to f/3.5 or f/4. You’ll then need to play with the other points in this post!
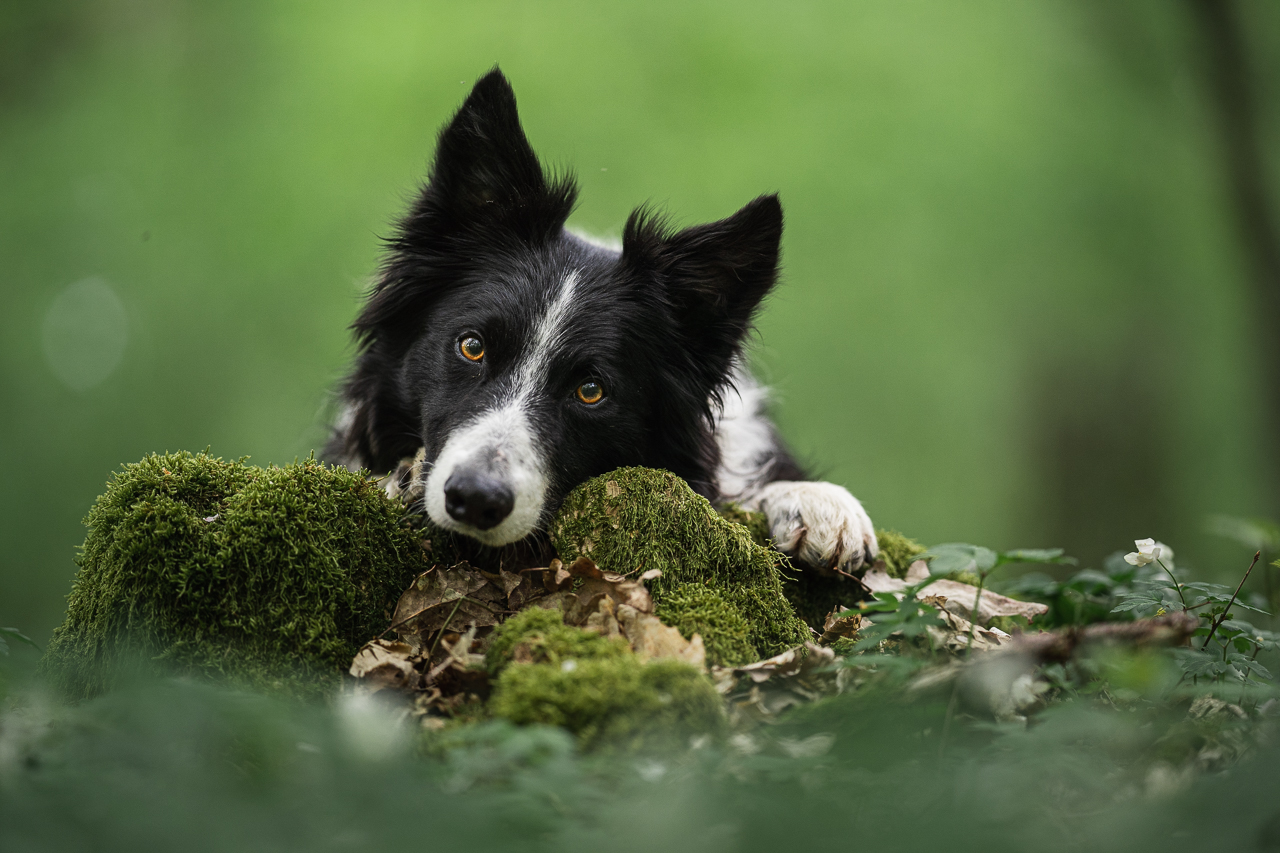
Below, taken with my 135mm at f/1.8, the bushes on the same focal plane as him are in focus, and the ones behind are still pretty detailed – since there still reasonably close in line with him, but far enough back that they’re blurred due to the lens and aperture! If I’d been closer to him, they would have been blurrier still.
Of course, there are tools you can use in editing, but in my opinion they very rarely look realistic, and I would rather get this soft, smooth, creamy bokeh through my lens in the foreground AND background!
Happy Photographing!
Emily, Loki & Journey

