
Choosing the perfect location for your pet photos doesn’t have to be difficult. If you’re lucky enough to be able to go “on location”, it can sometimes seem like you can spend hours searching for the perfect location, and find nothing!
One question I get a LOT from students – especially during in-person workshops with me, is how on earth do I find these magical places for photos?
The truth is… most of my locations AREN’T magical! They’re just regular, random places, in regular, random woods. Sometimes I’ve even run challenges to myself and my students, to use one small location and create as much variety as possible!
In this post, I’m going to share with you my secrets for creating beautiful pet photos, without needing to be in some fairytale location.
The Magic of your Lens
One thing to recognise is that your lens is going to make a HUGE difference to how you photograph the world.
If you want to cut out the potentially ‘ugly’ parts of a location, you’re going to need a long focal length to do so!
The wider the lens, the more of the scene you’re going to see! So if you’re taking photos in a less-than-fairytale location, it’s going to be a much bigger challenge to make it look pretty with a 35mm than with a 135mm lens, which softens the background, blurs out everything, and really brings your focus to a very small amount of the scene.
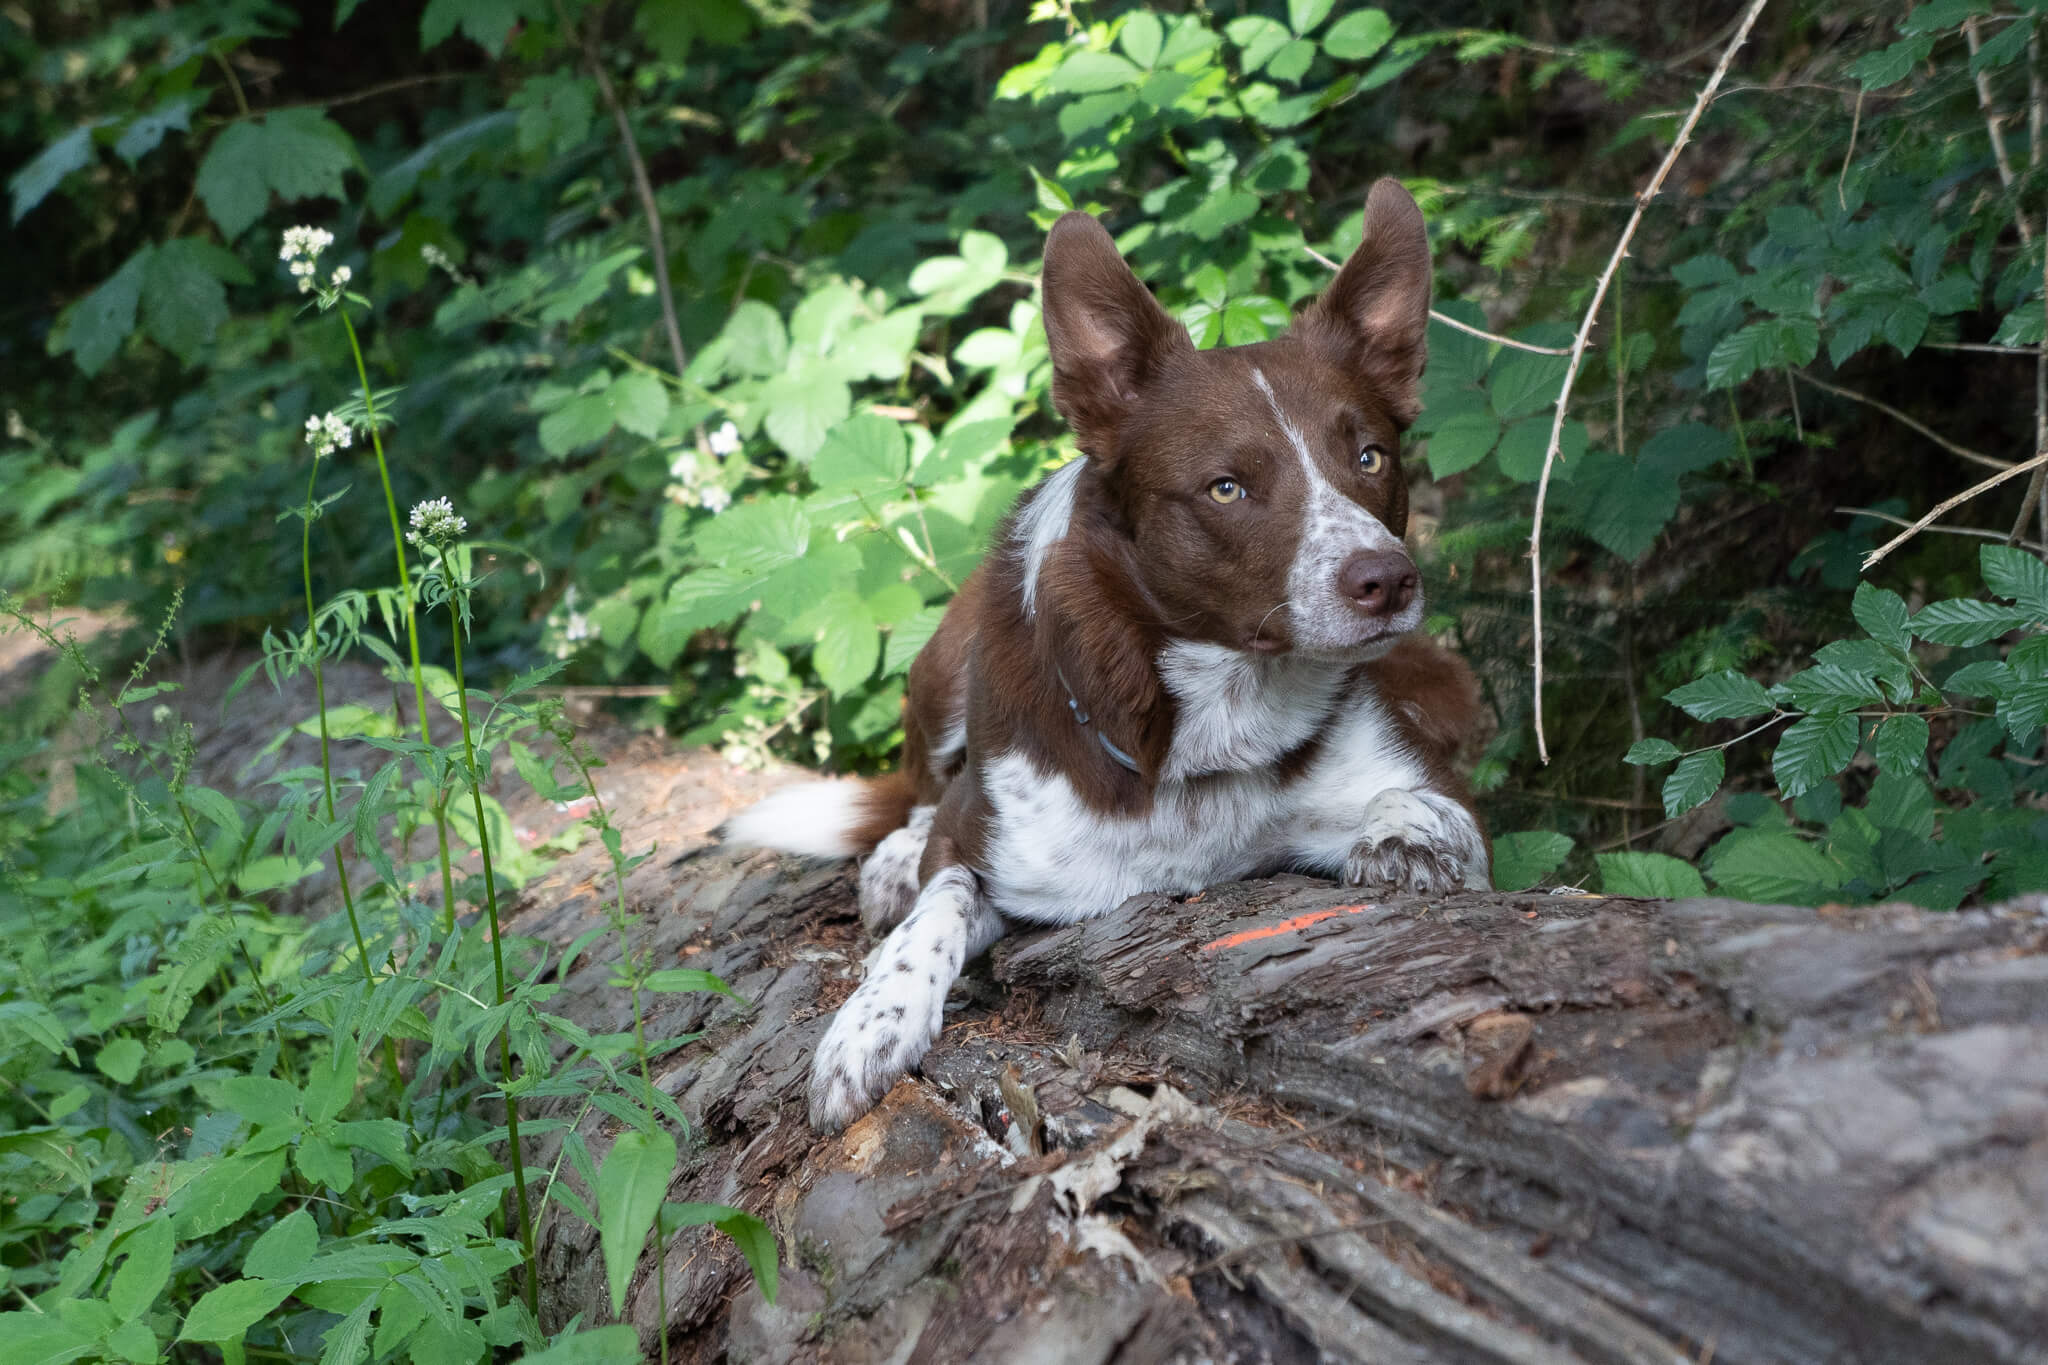
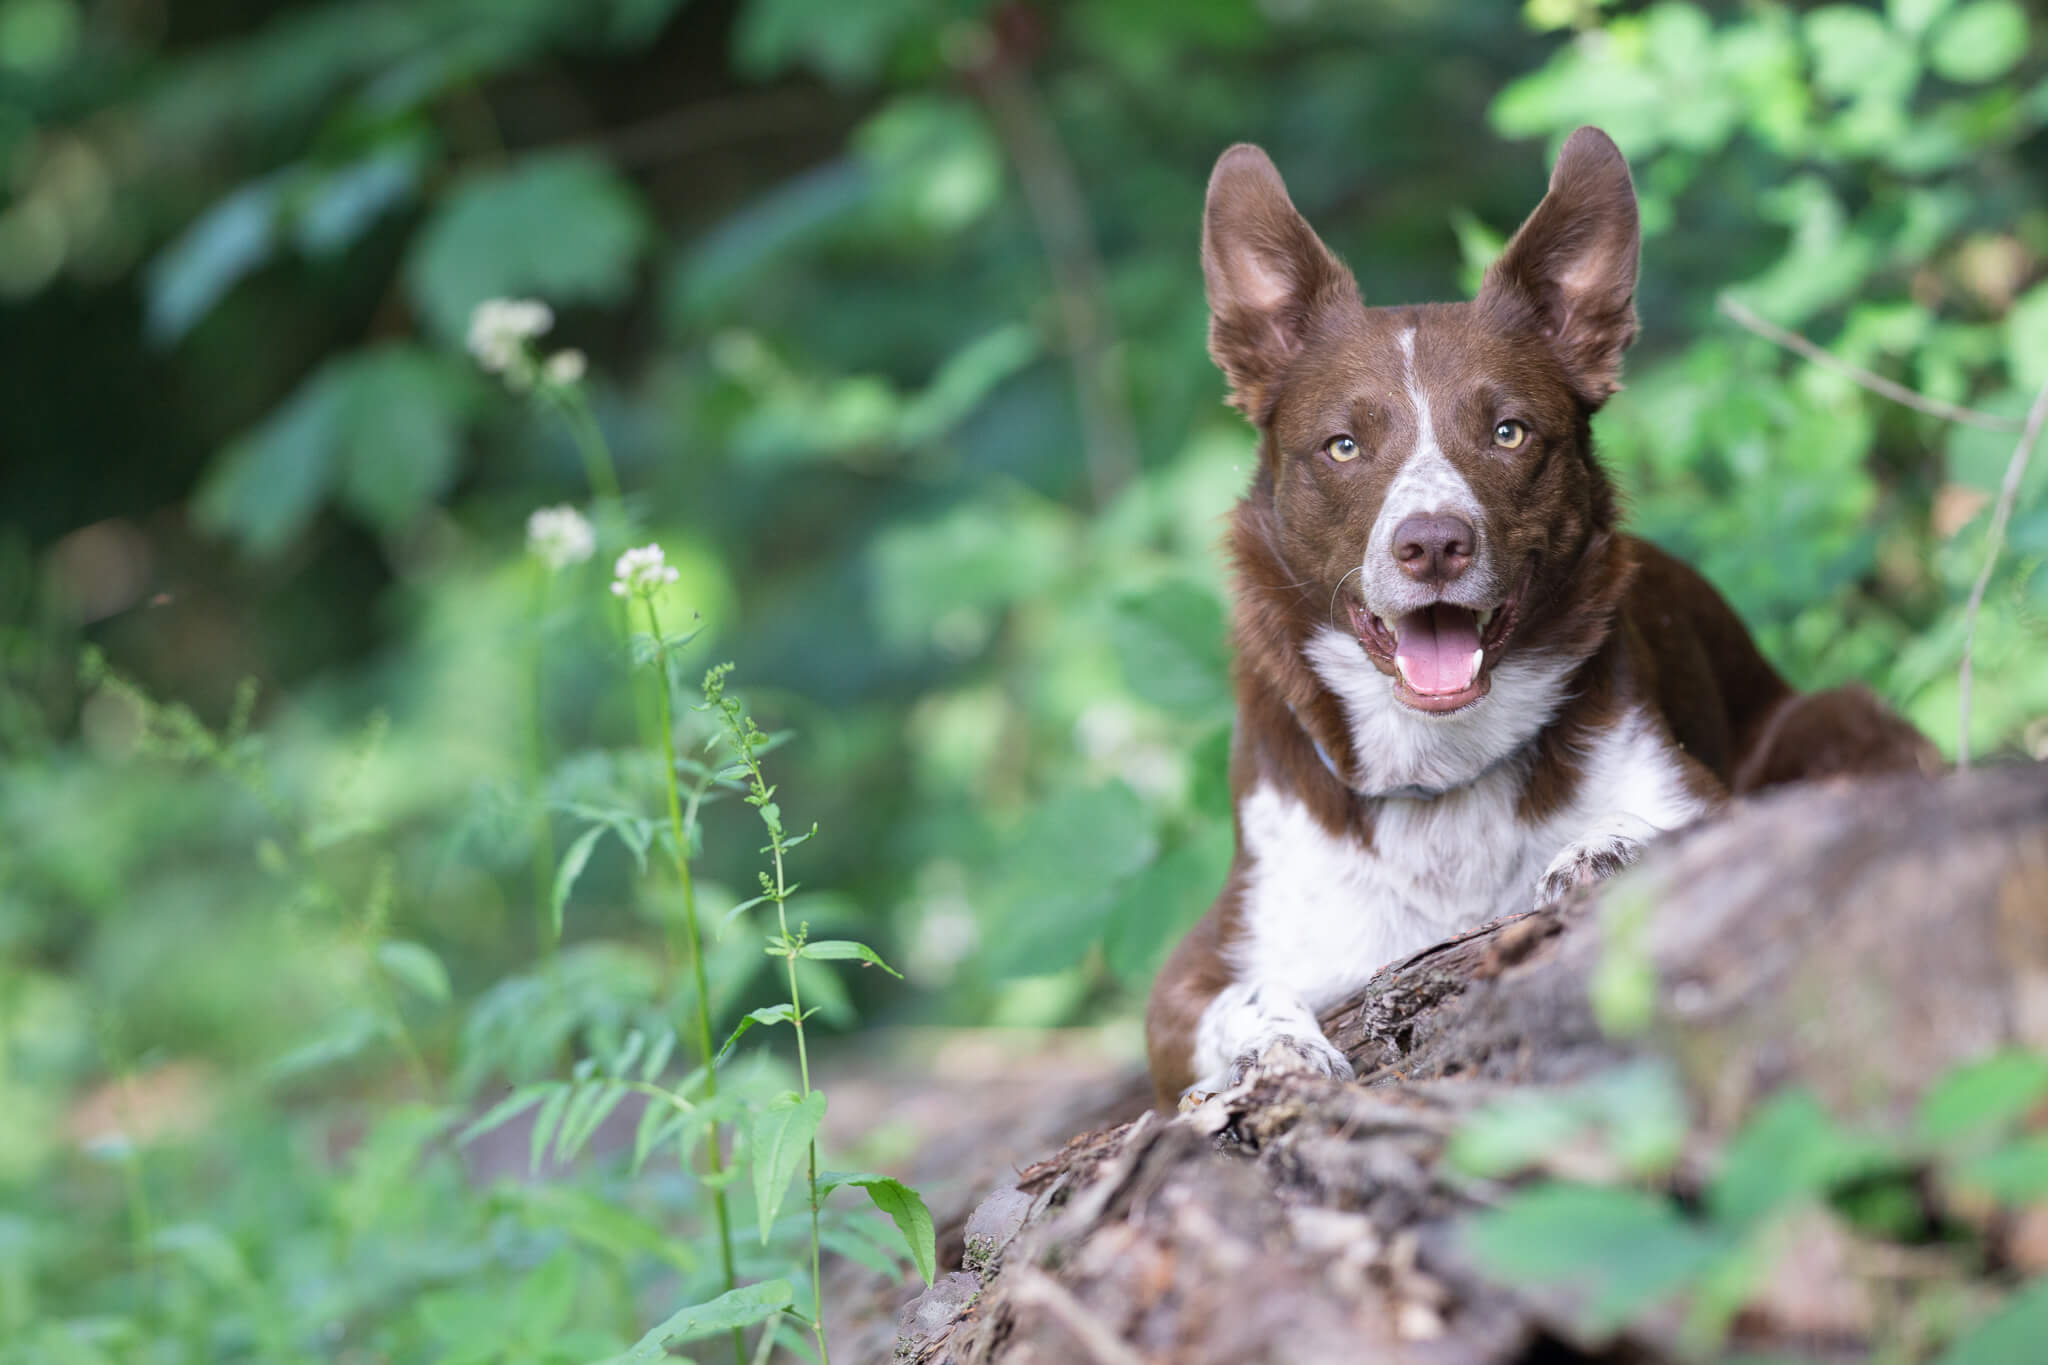
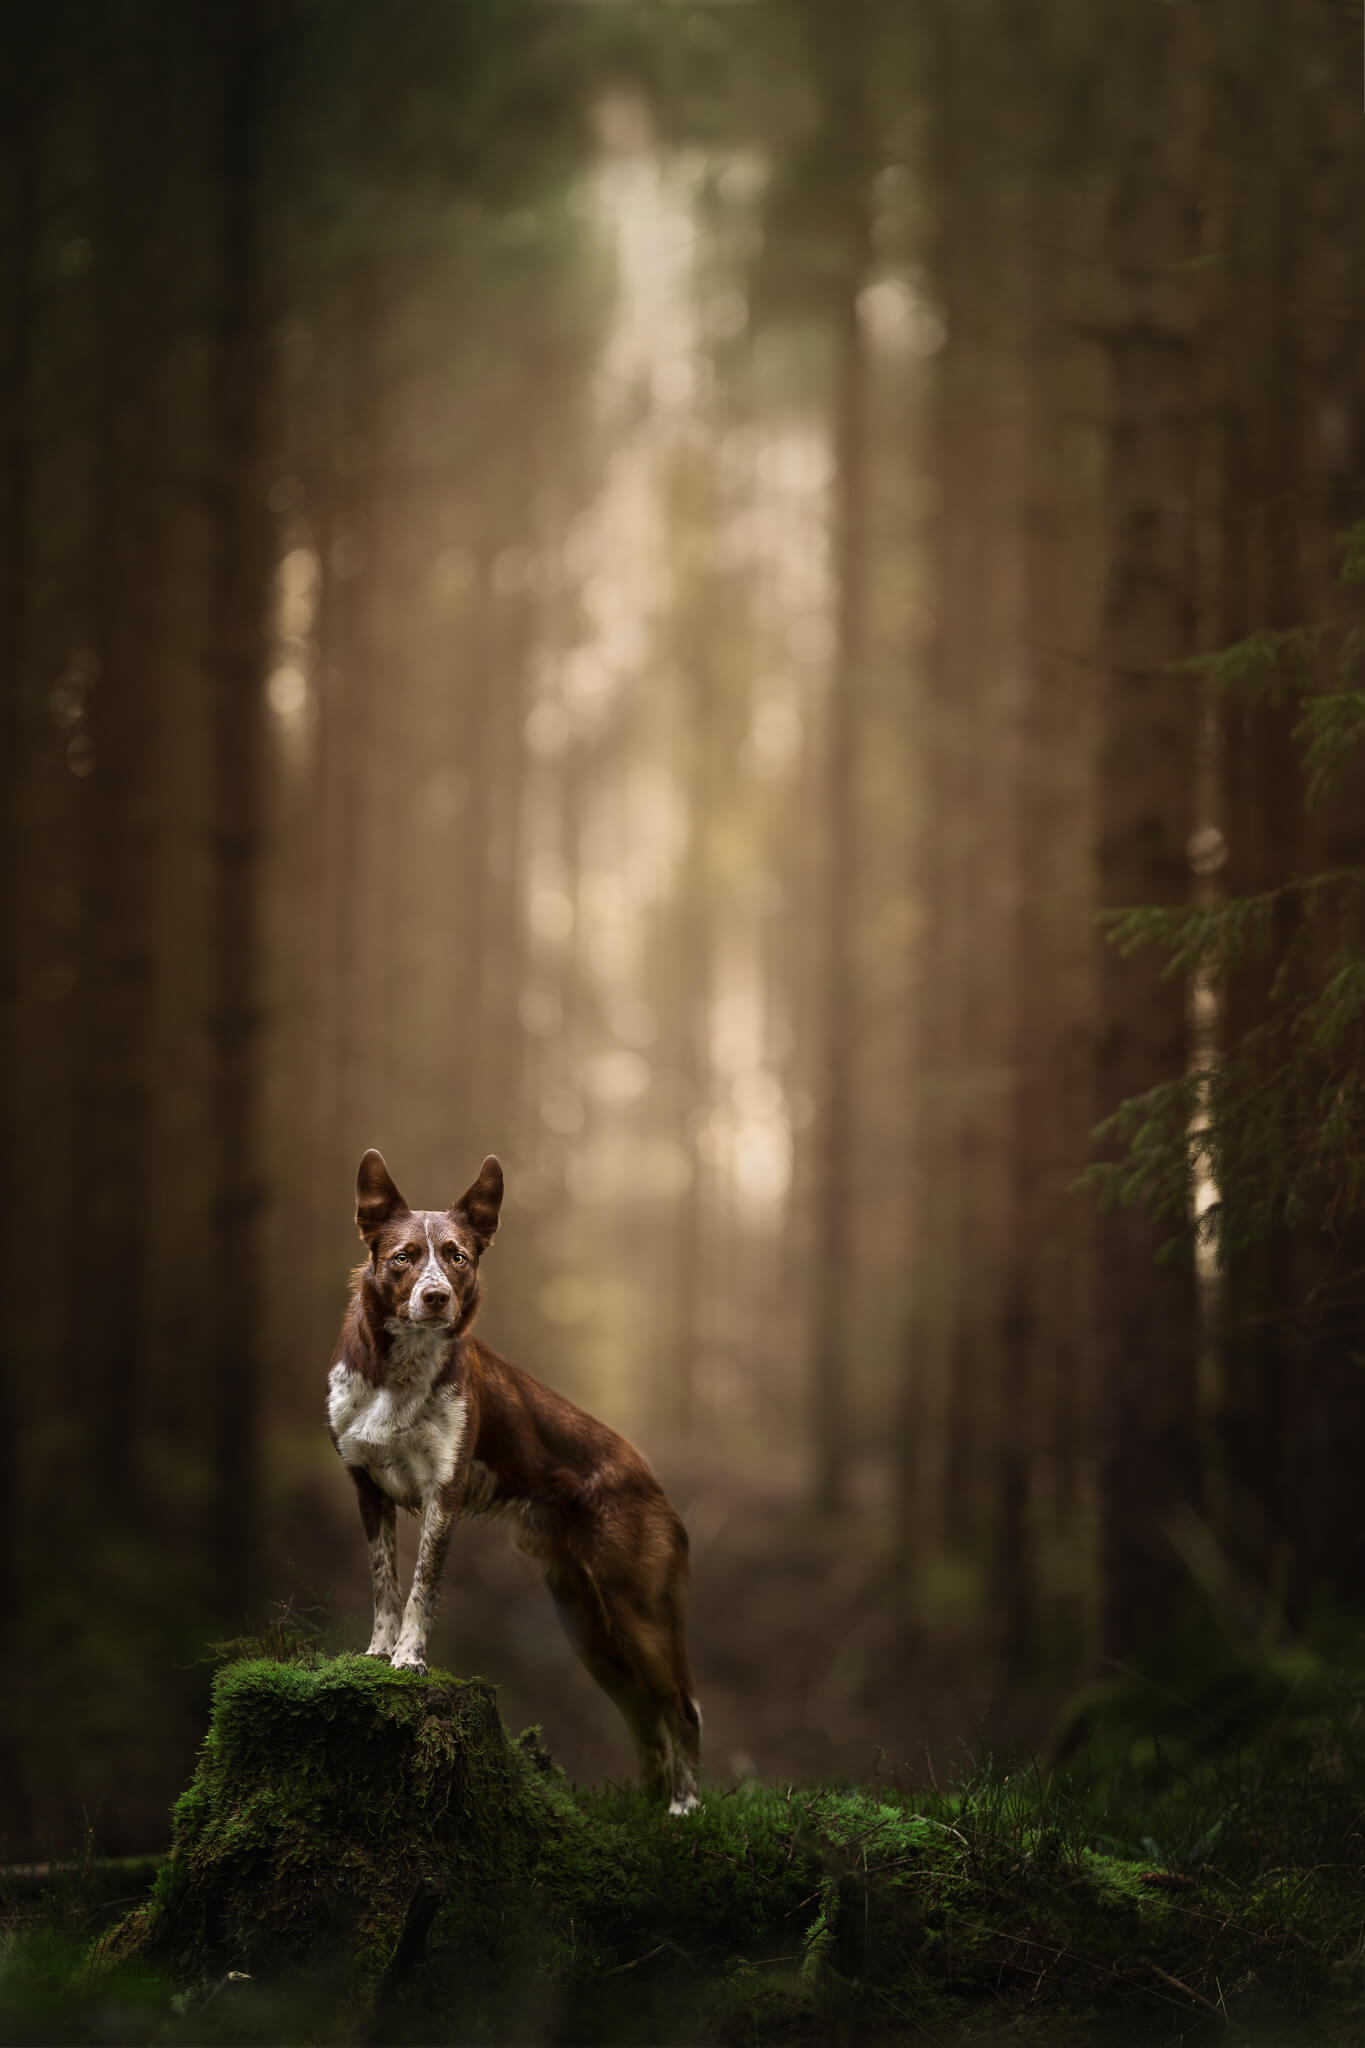
These two photos were taken in the same location. Both are unedited. Left at 55mm f/5.6 (kit lens) on my Sony A7iii, right at 135mm f/1.8 on my Sony a6000.
One definitely looks a bit more “magical” than the other, considering it’s a pretty boring log with a pretty boring background.
The Key Ingredient
The most important thing for me in finding a location? The thing that starts the wheels in my brain turning and inspires me to get out the camera?
Finding something interesting.
Most of my students overcomplicate this. They look for something spectacular, or magical.
I didn’t say spectacular or magical.
I said interesting.
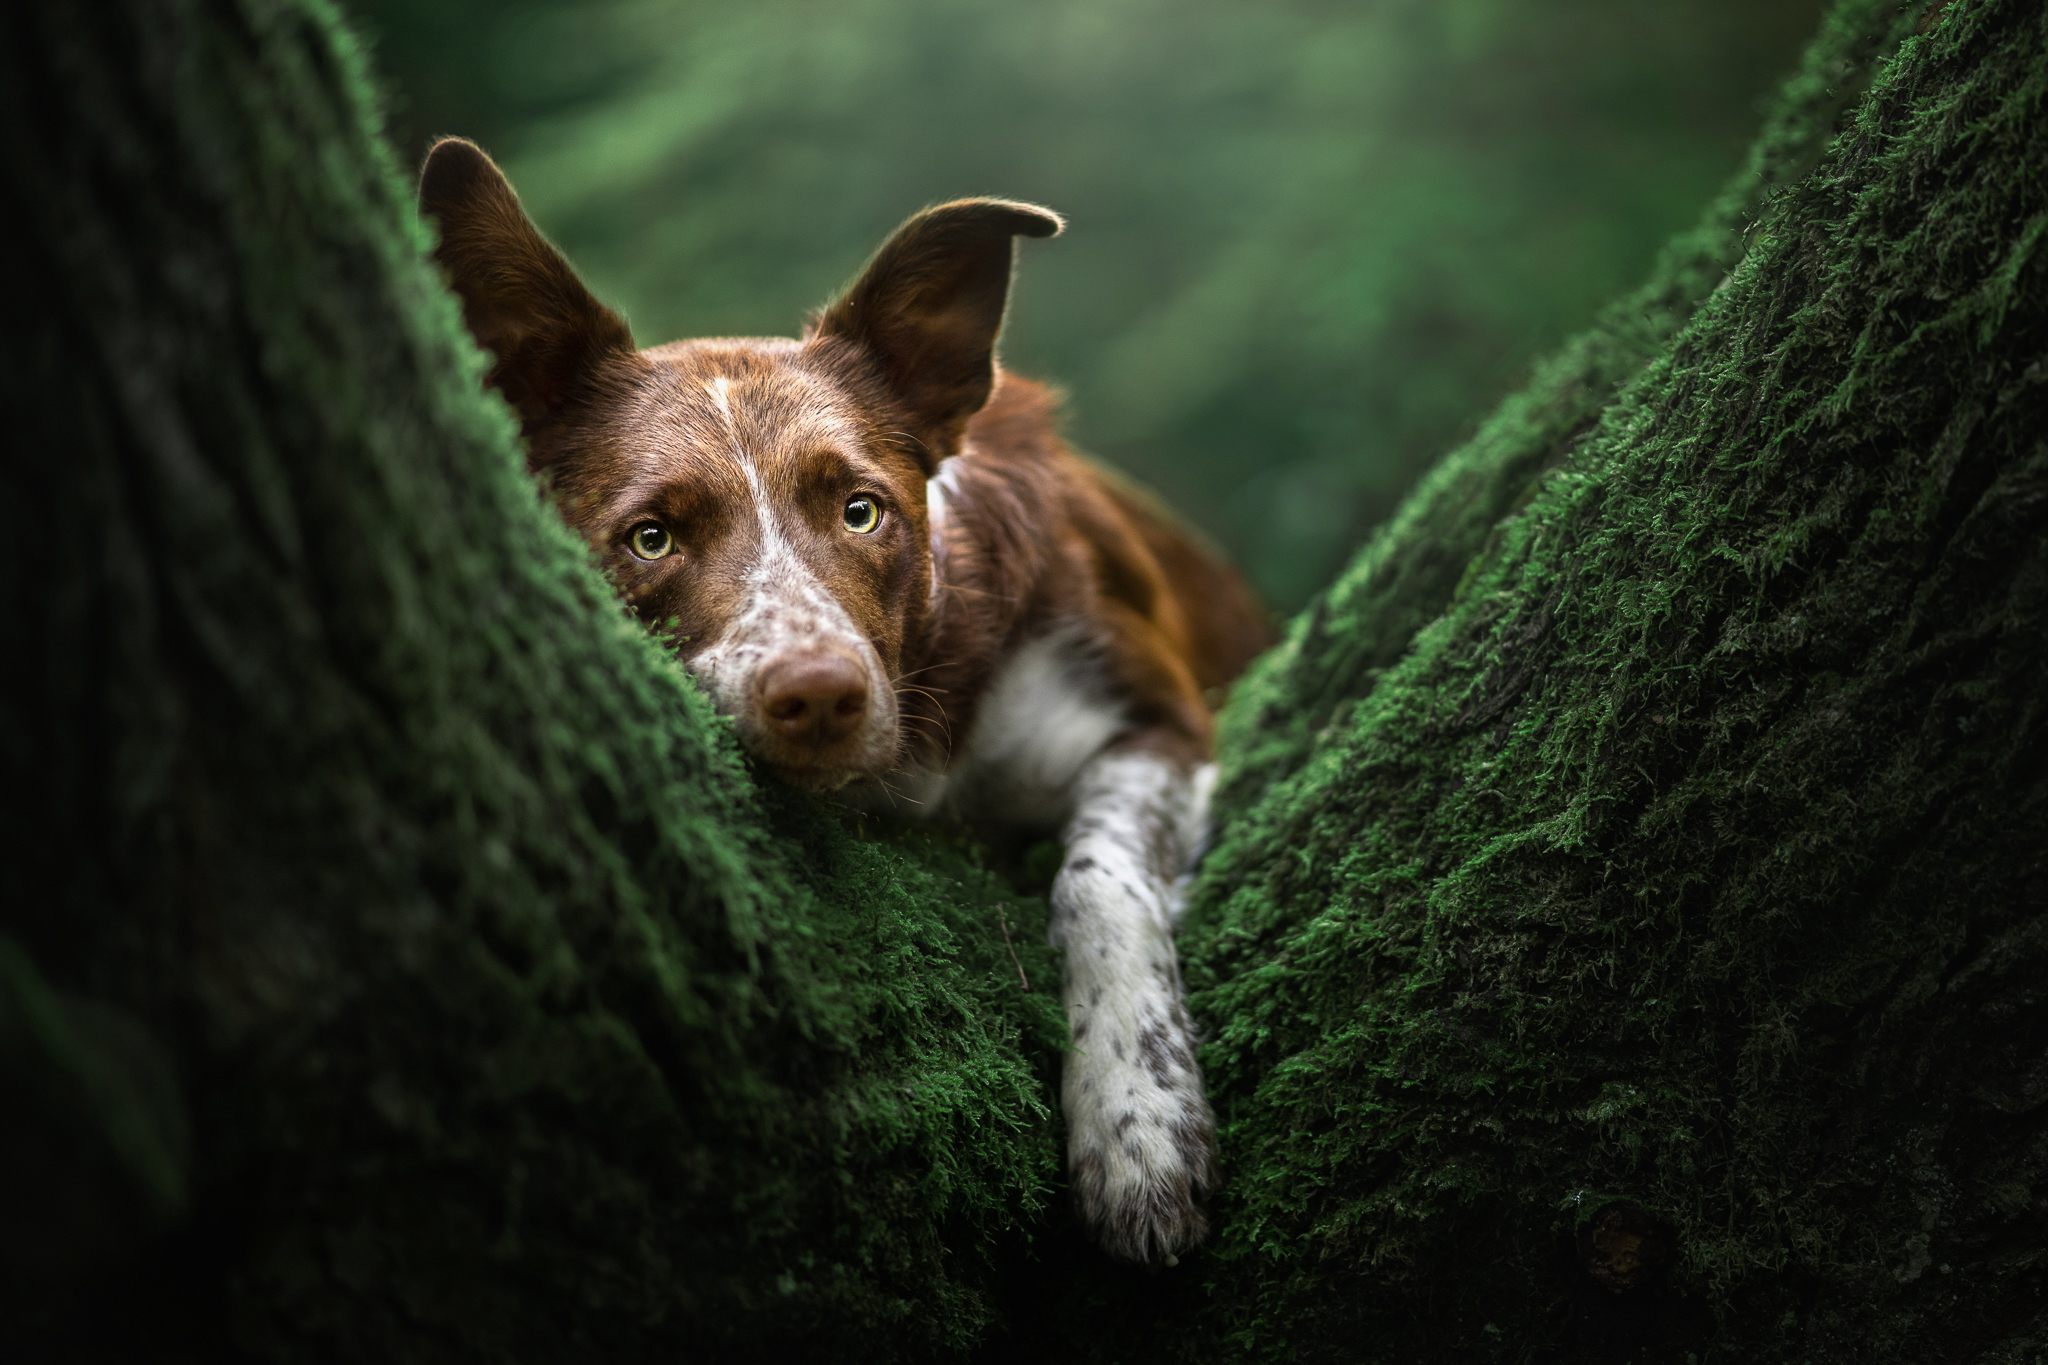
Interesting can be anything. It can be moss or ferns (I find them interesting just because of the feelings and stories they invoke), it can be the way a branch curls over, creating an arch.
It can be the spodgy texture of some tree bark, the cyan-grey-green of a fallen branch’s leaves, a collection of mushrooms on a log.
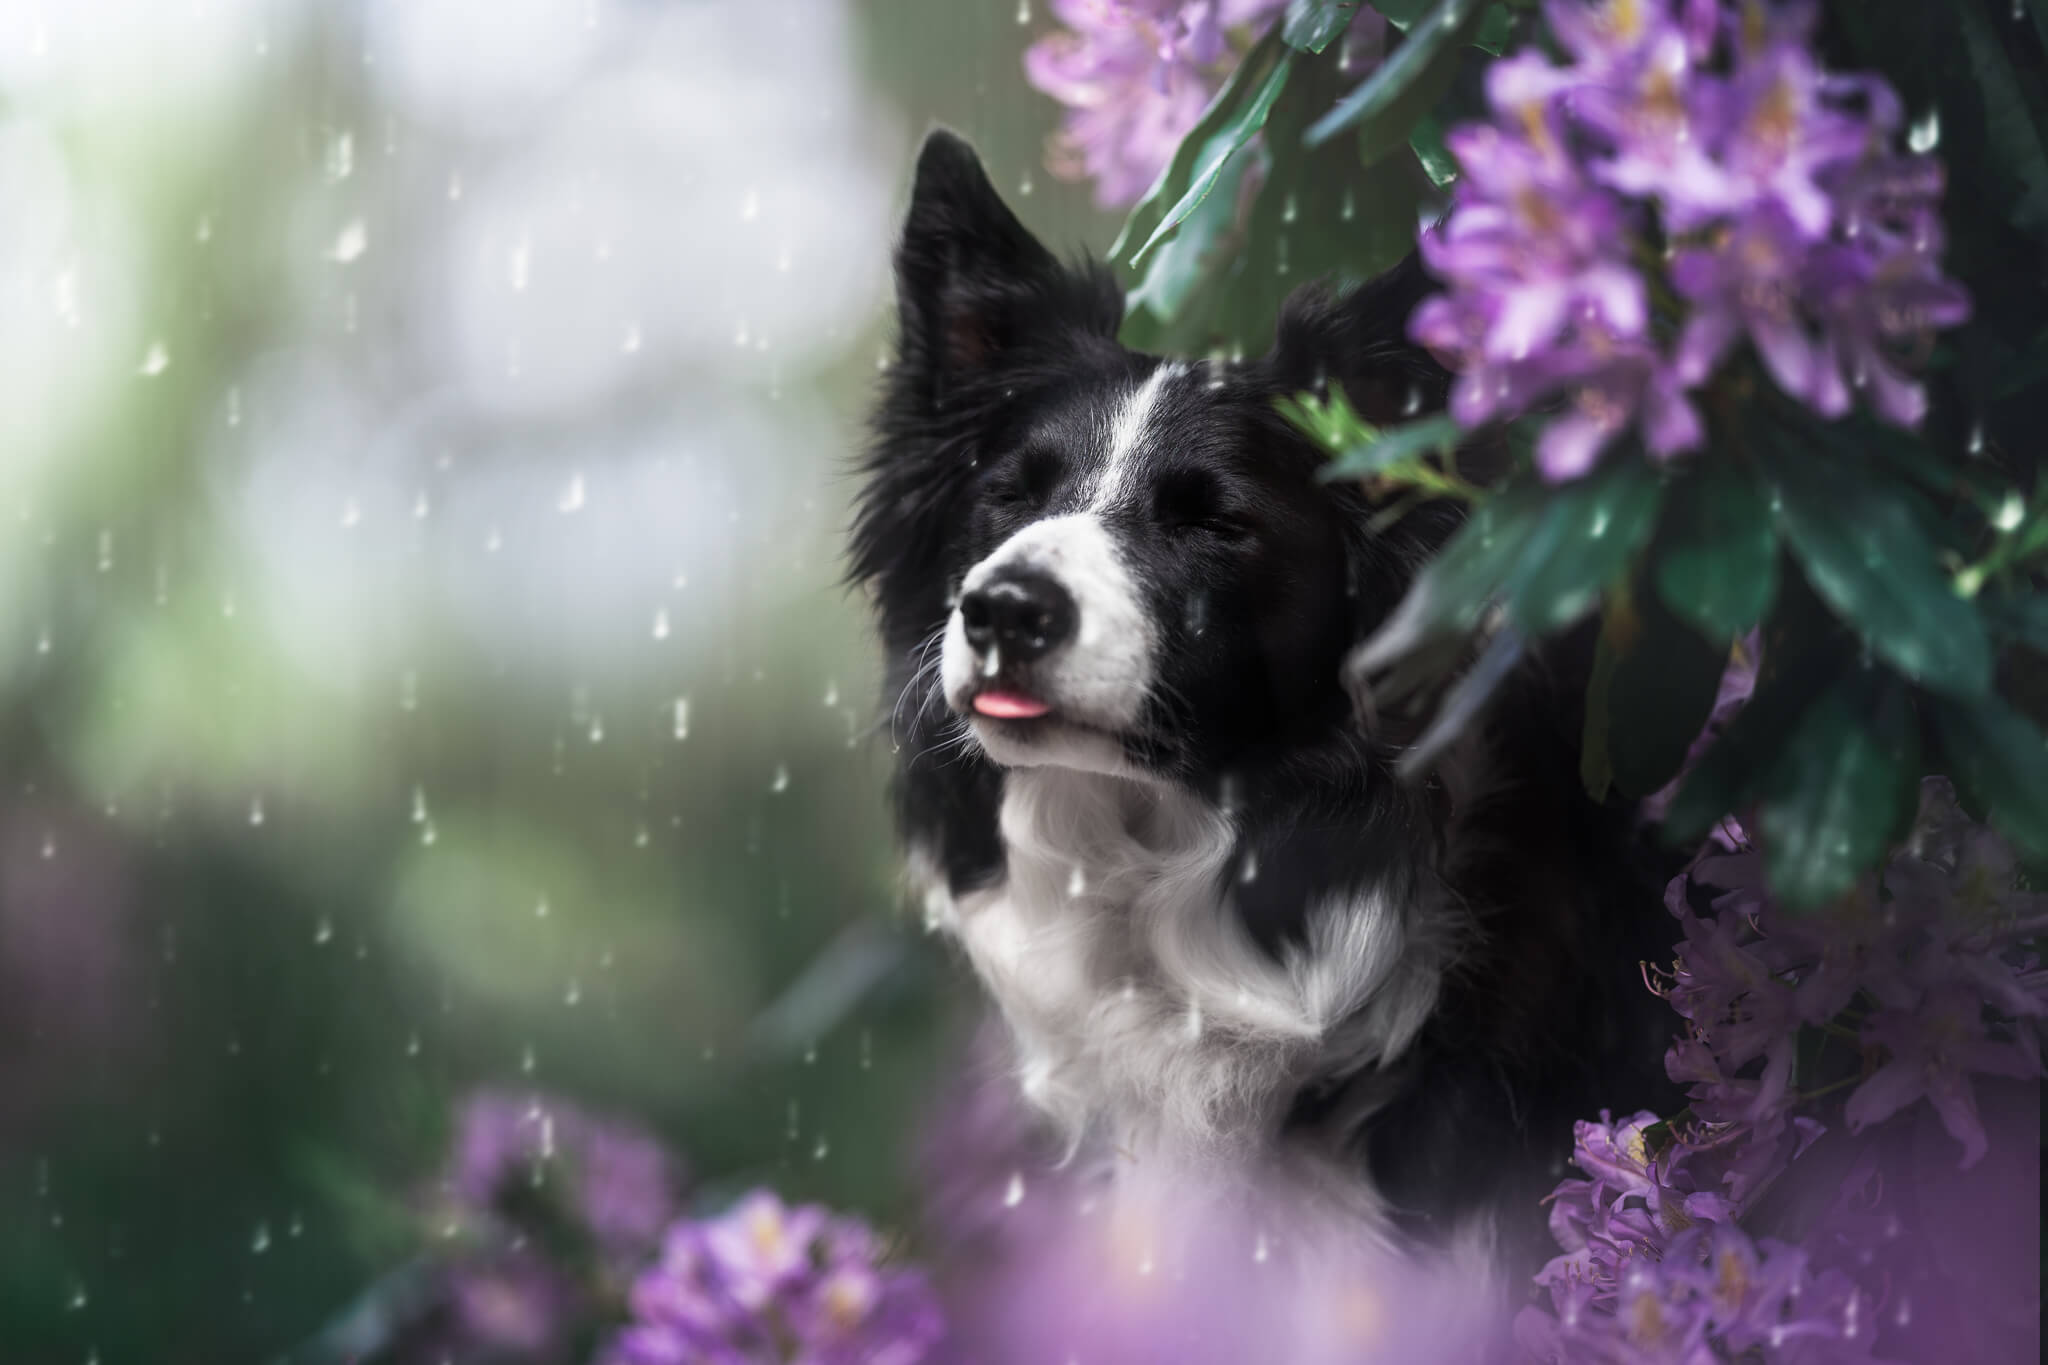
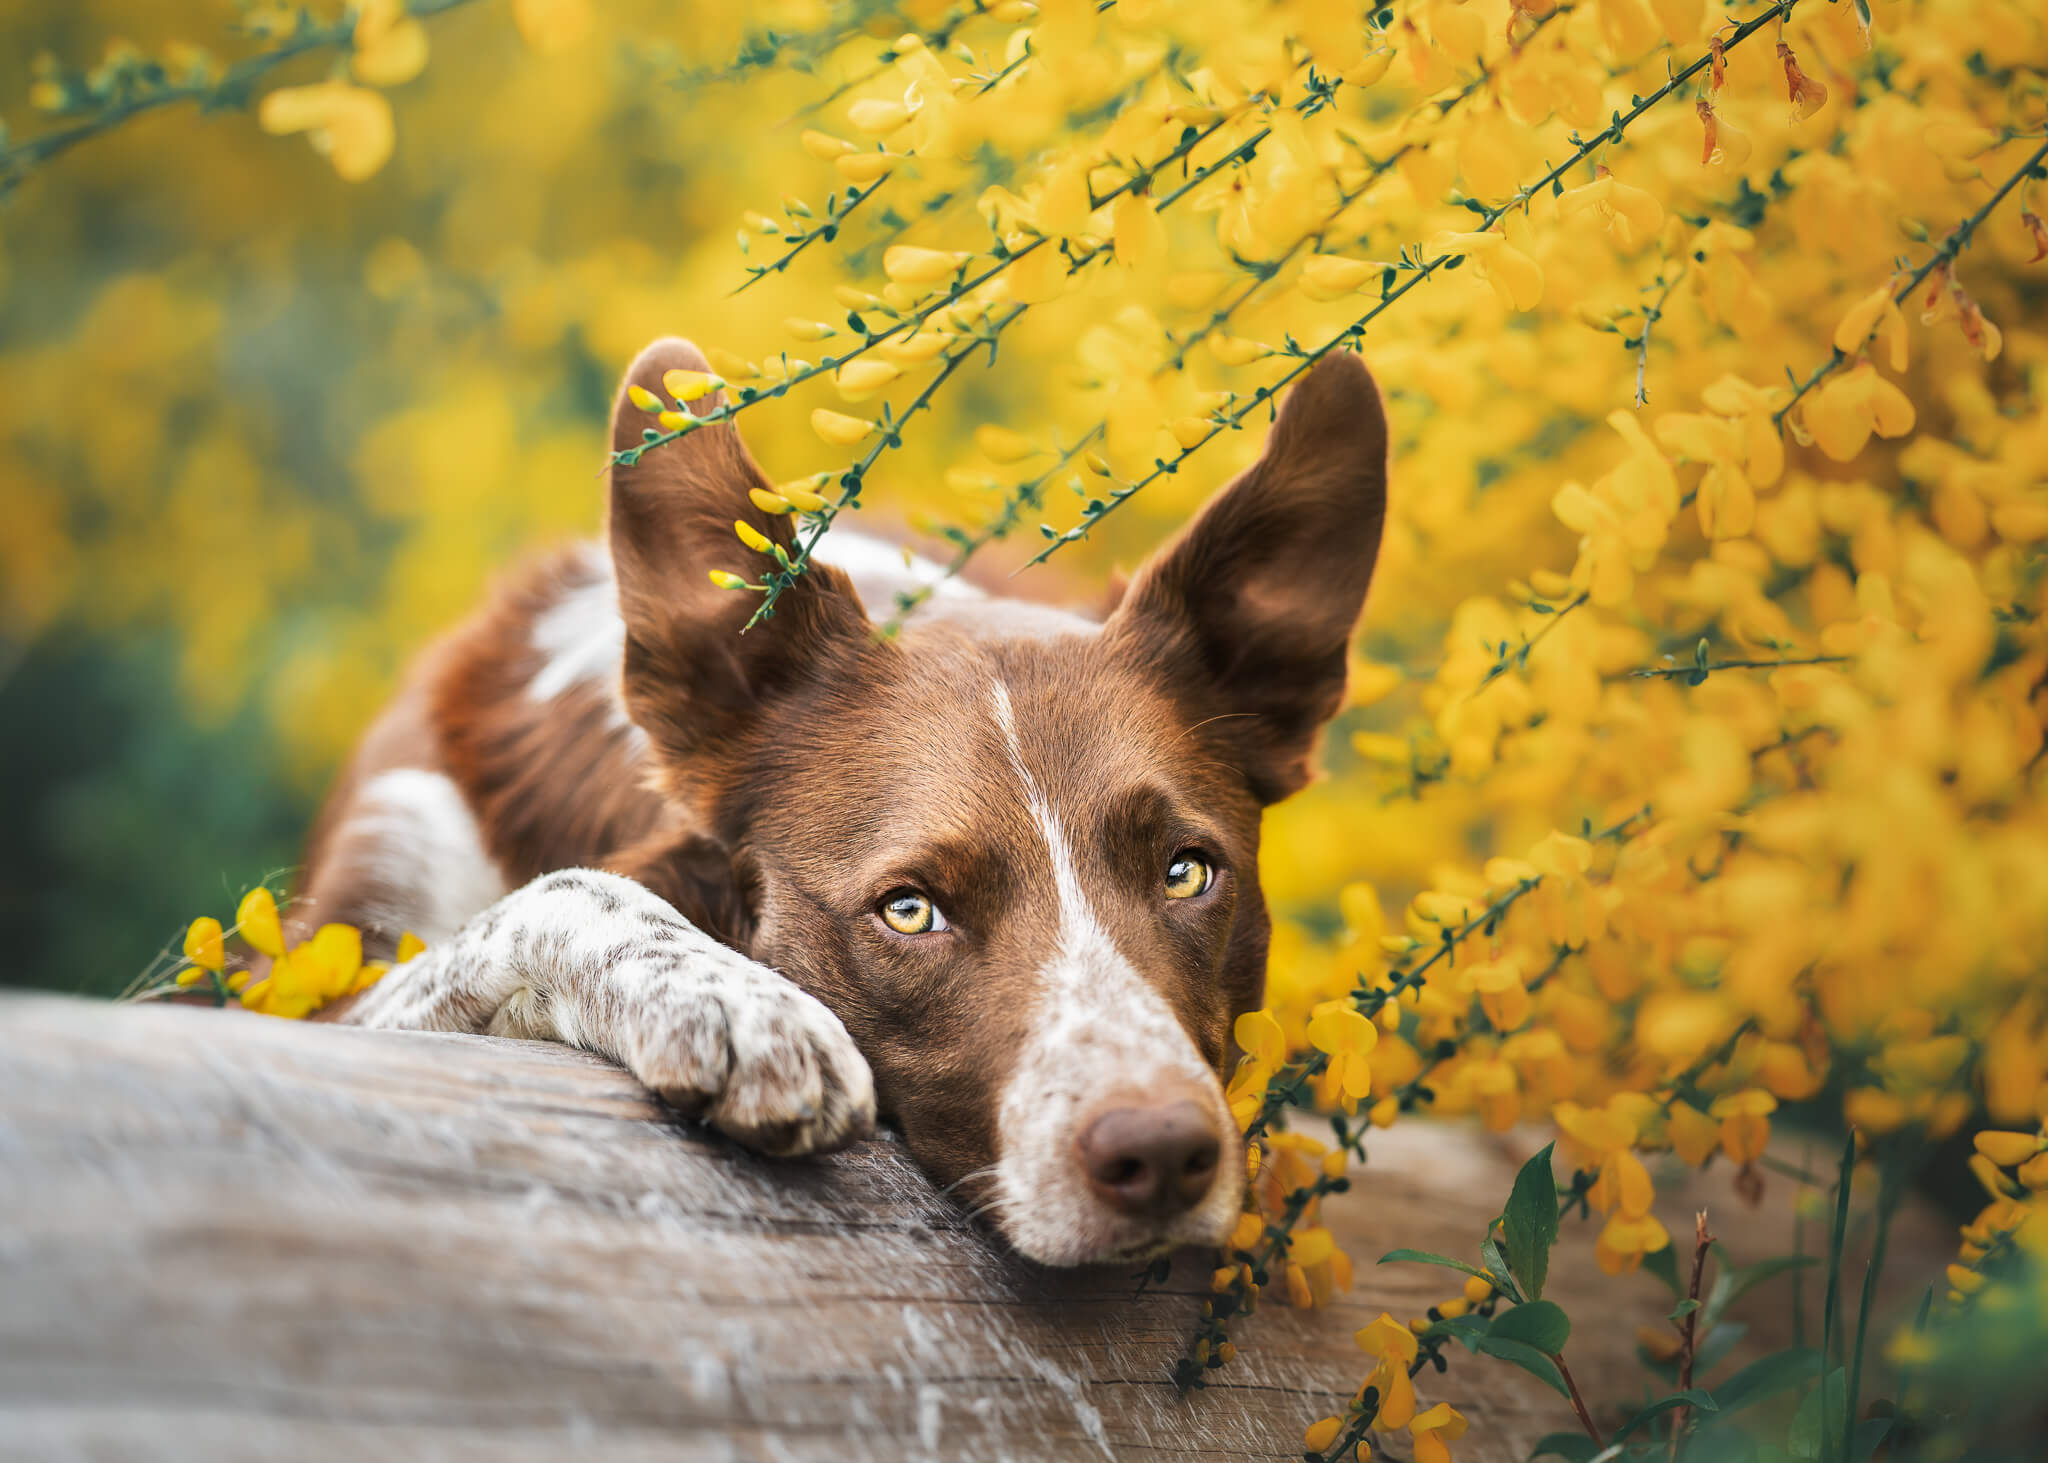
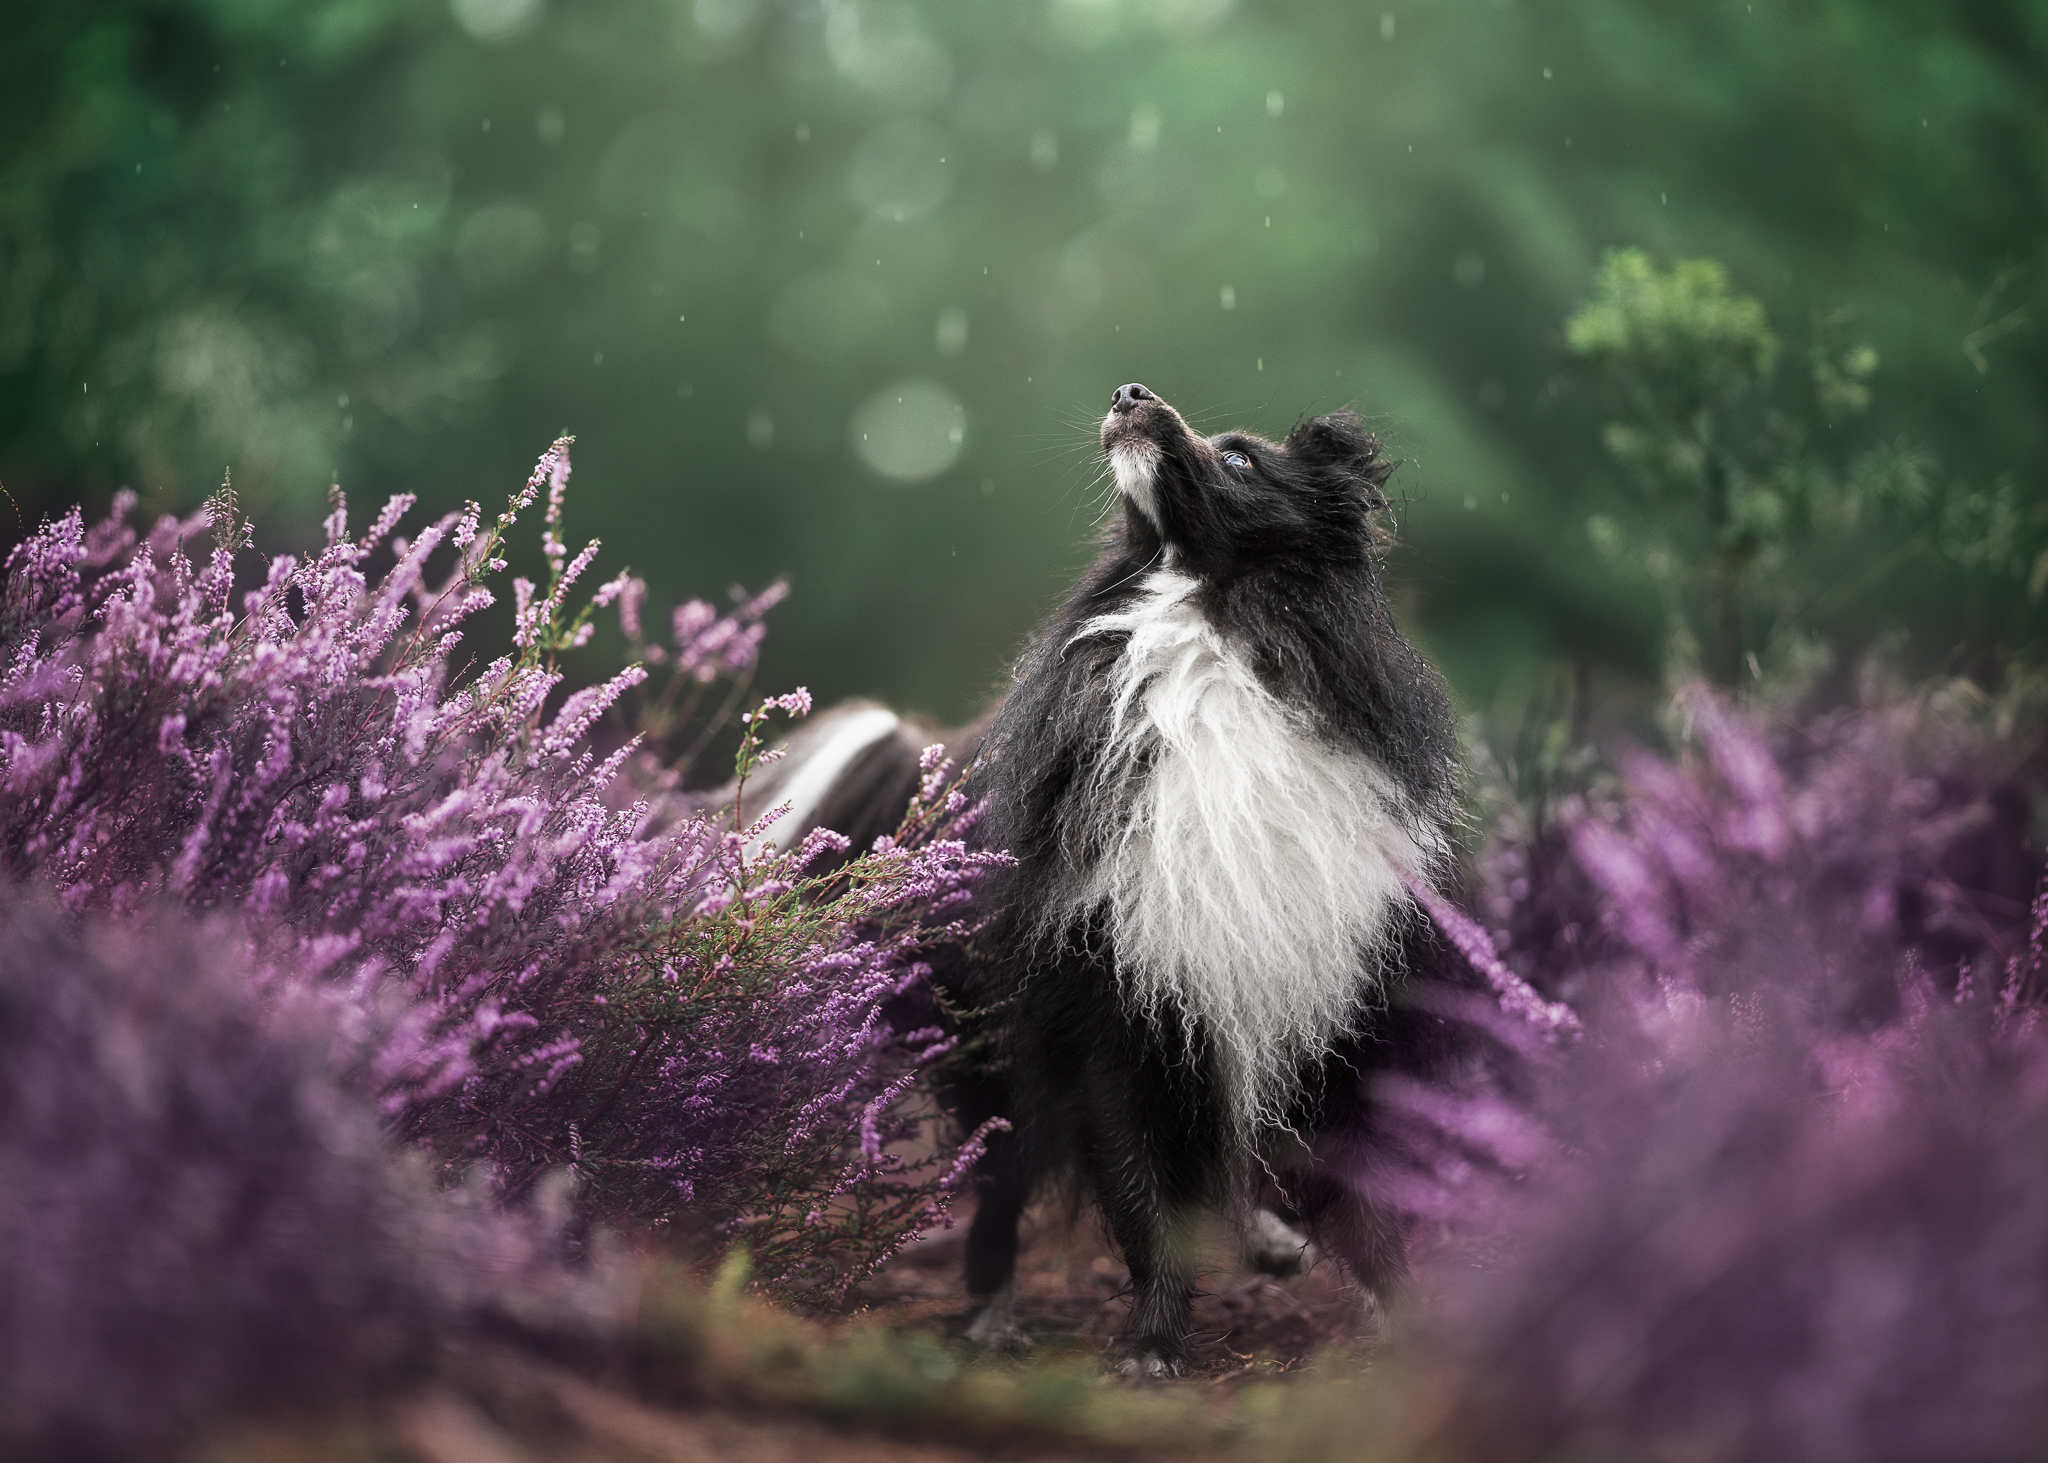
It can be the way the light is orange-gold and peeking through the leaves. It can be flowers, or dramatic clouds.
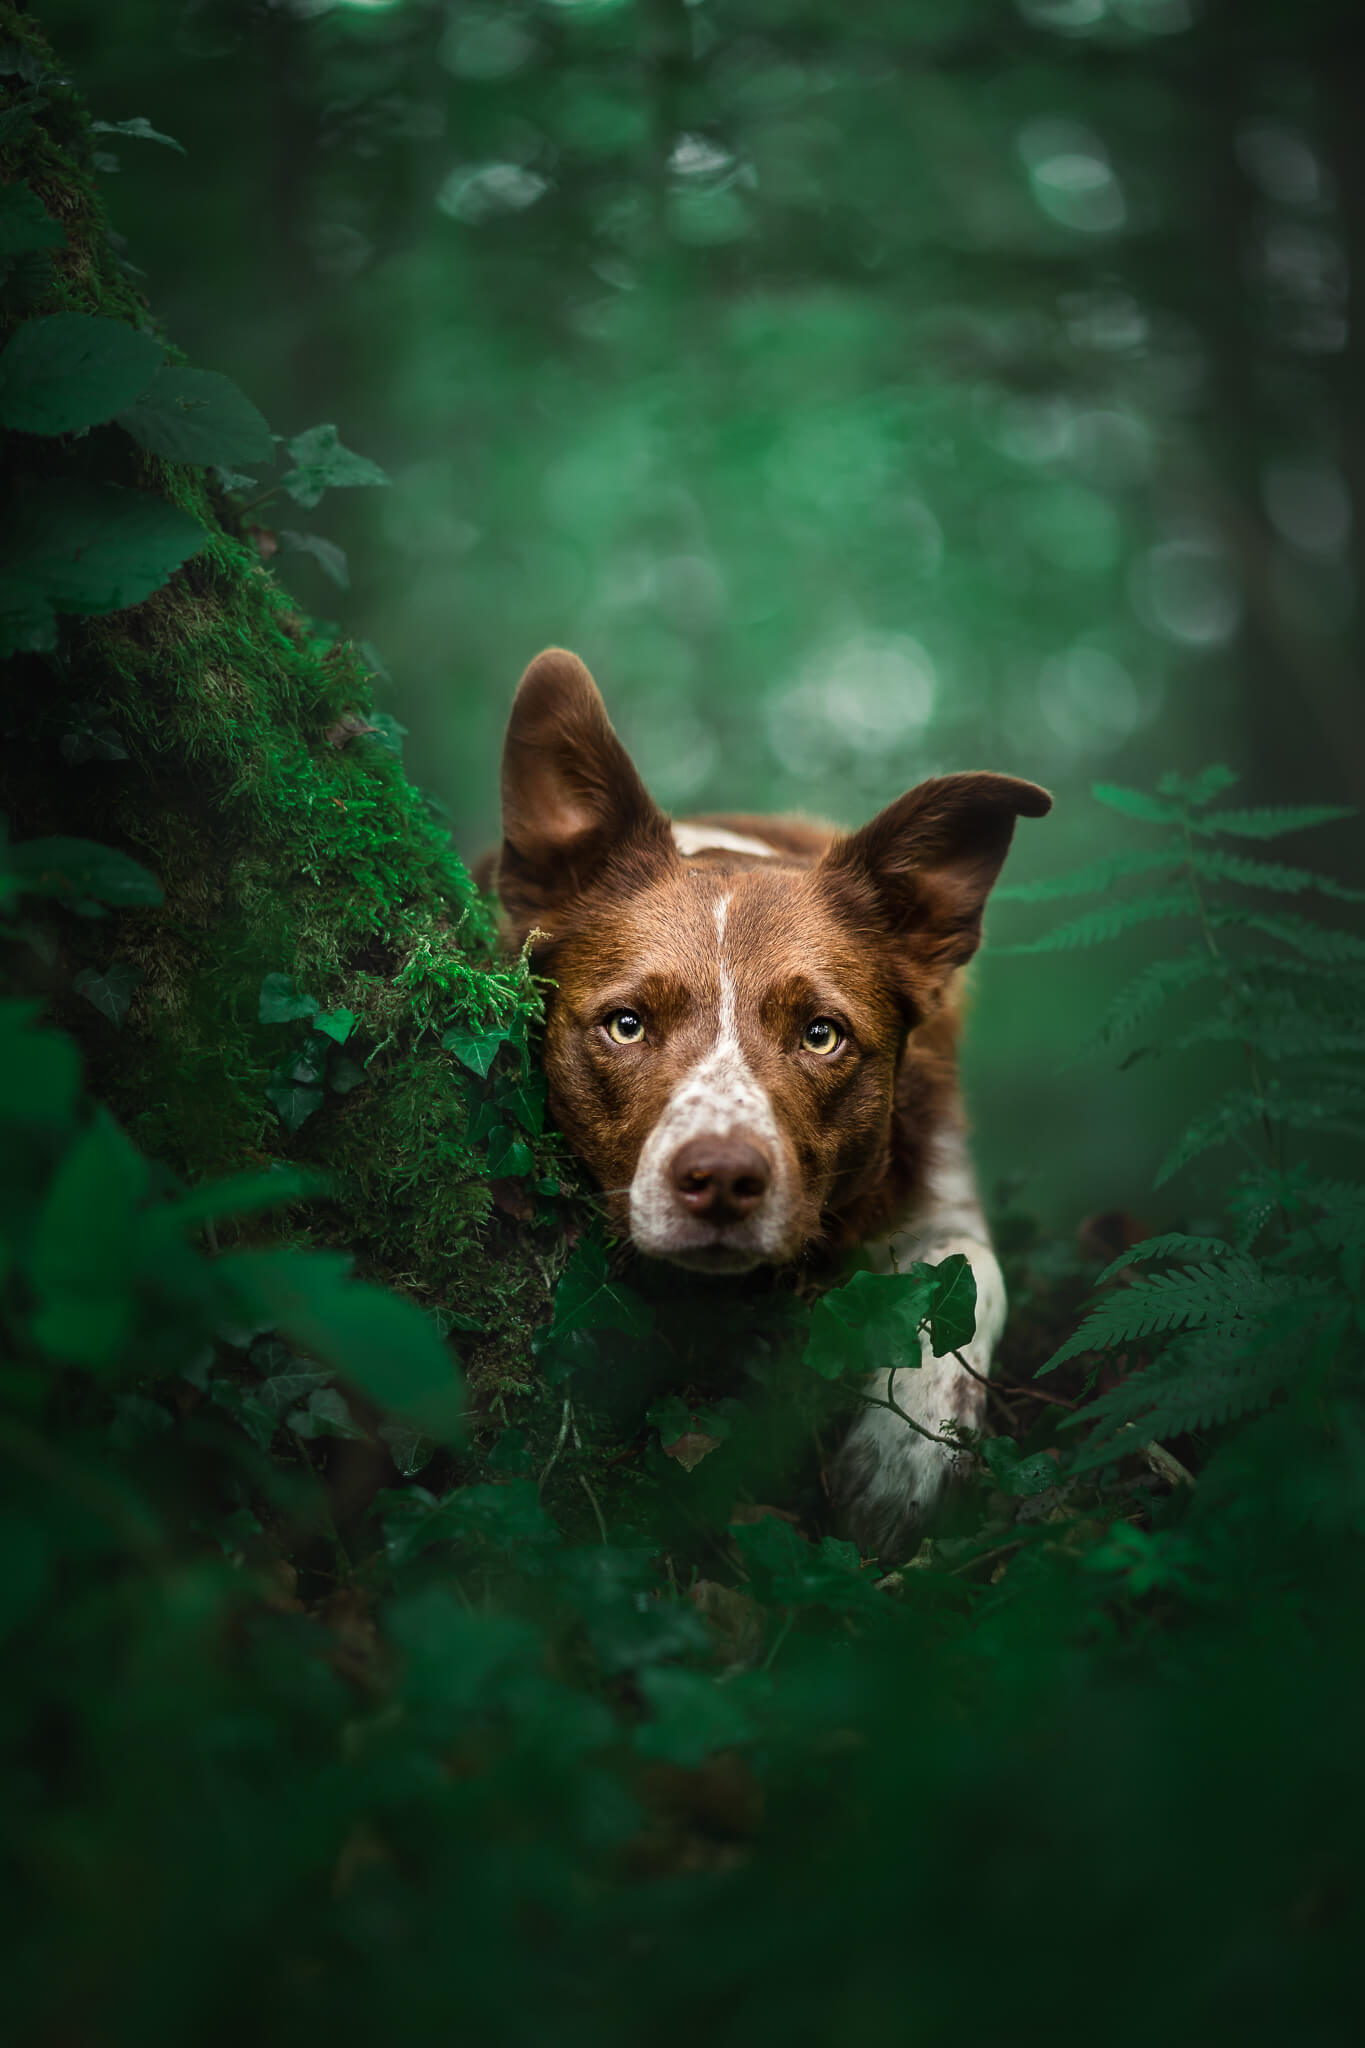
It could be a narrow trail, or a curtain of ivy, or the way ivy vines wrap around a tree, with one perfect leaf just where you need it.
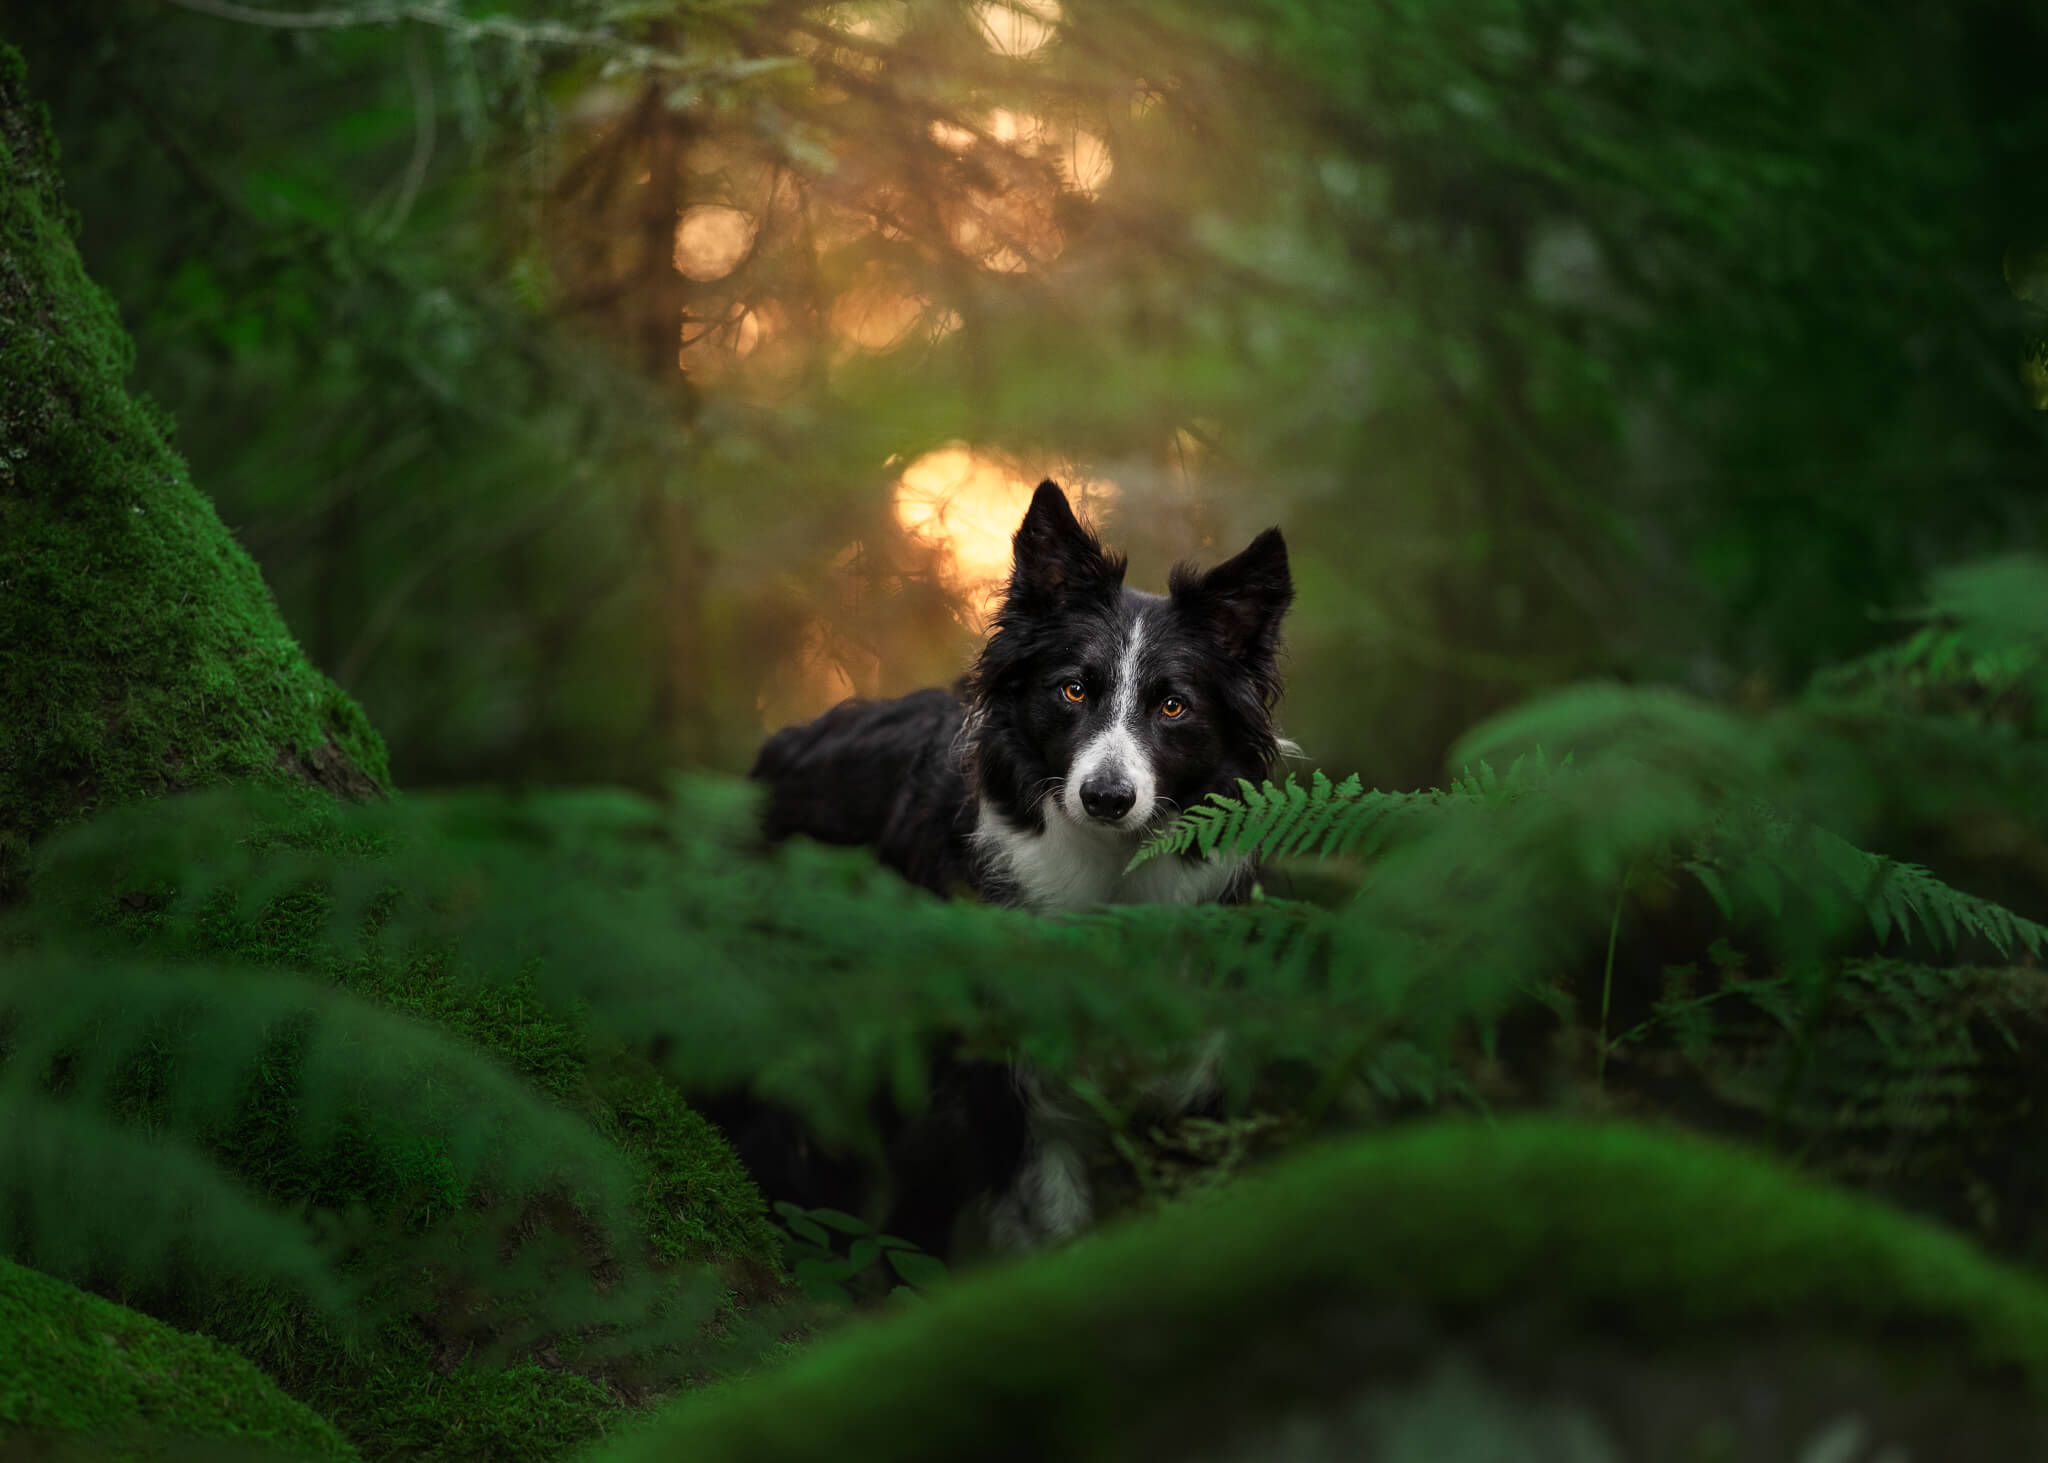
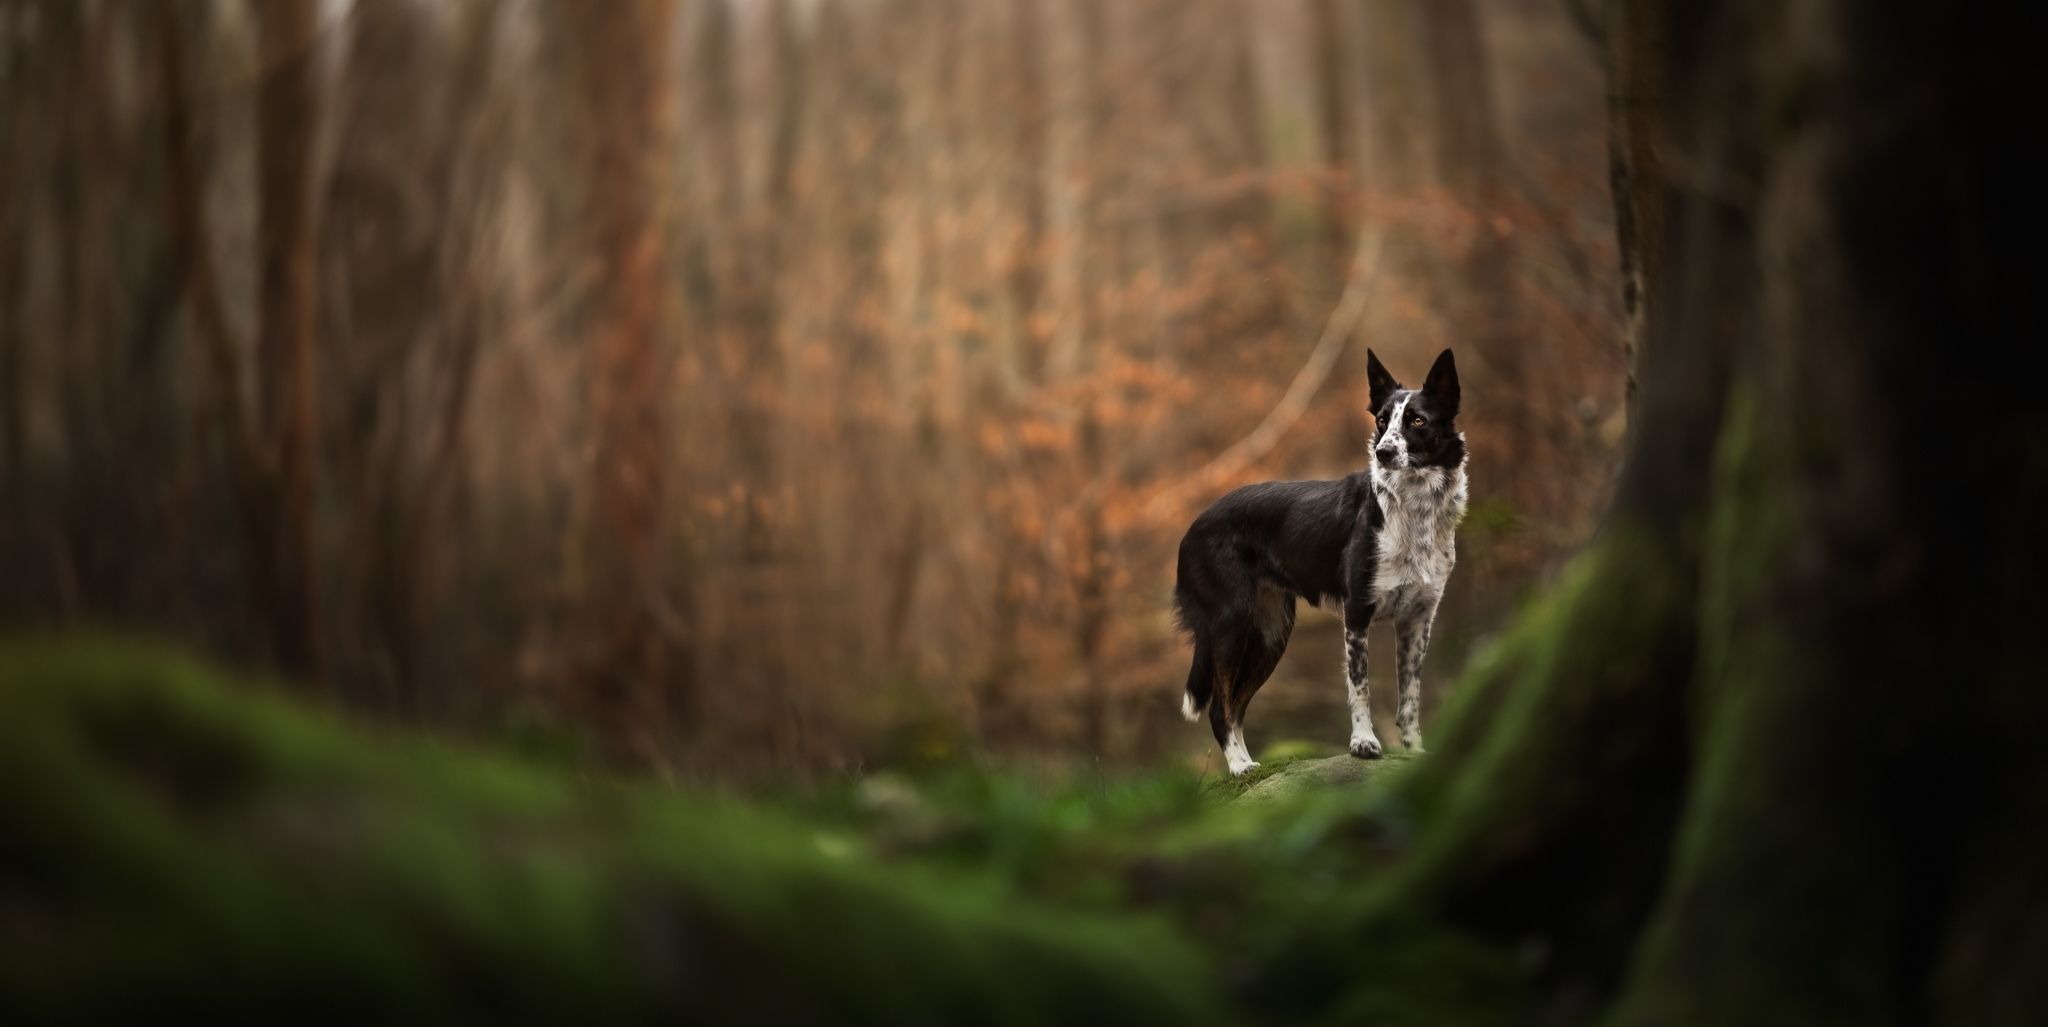
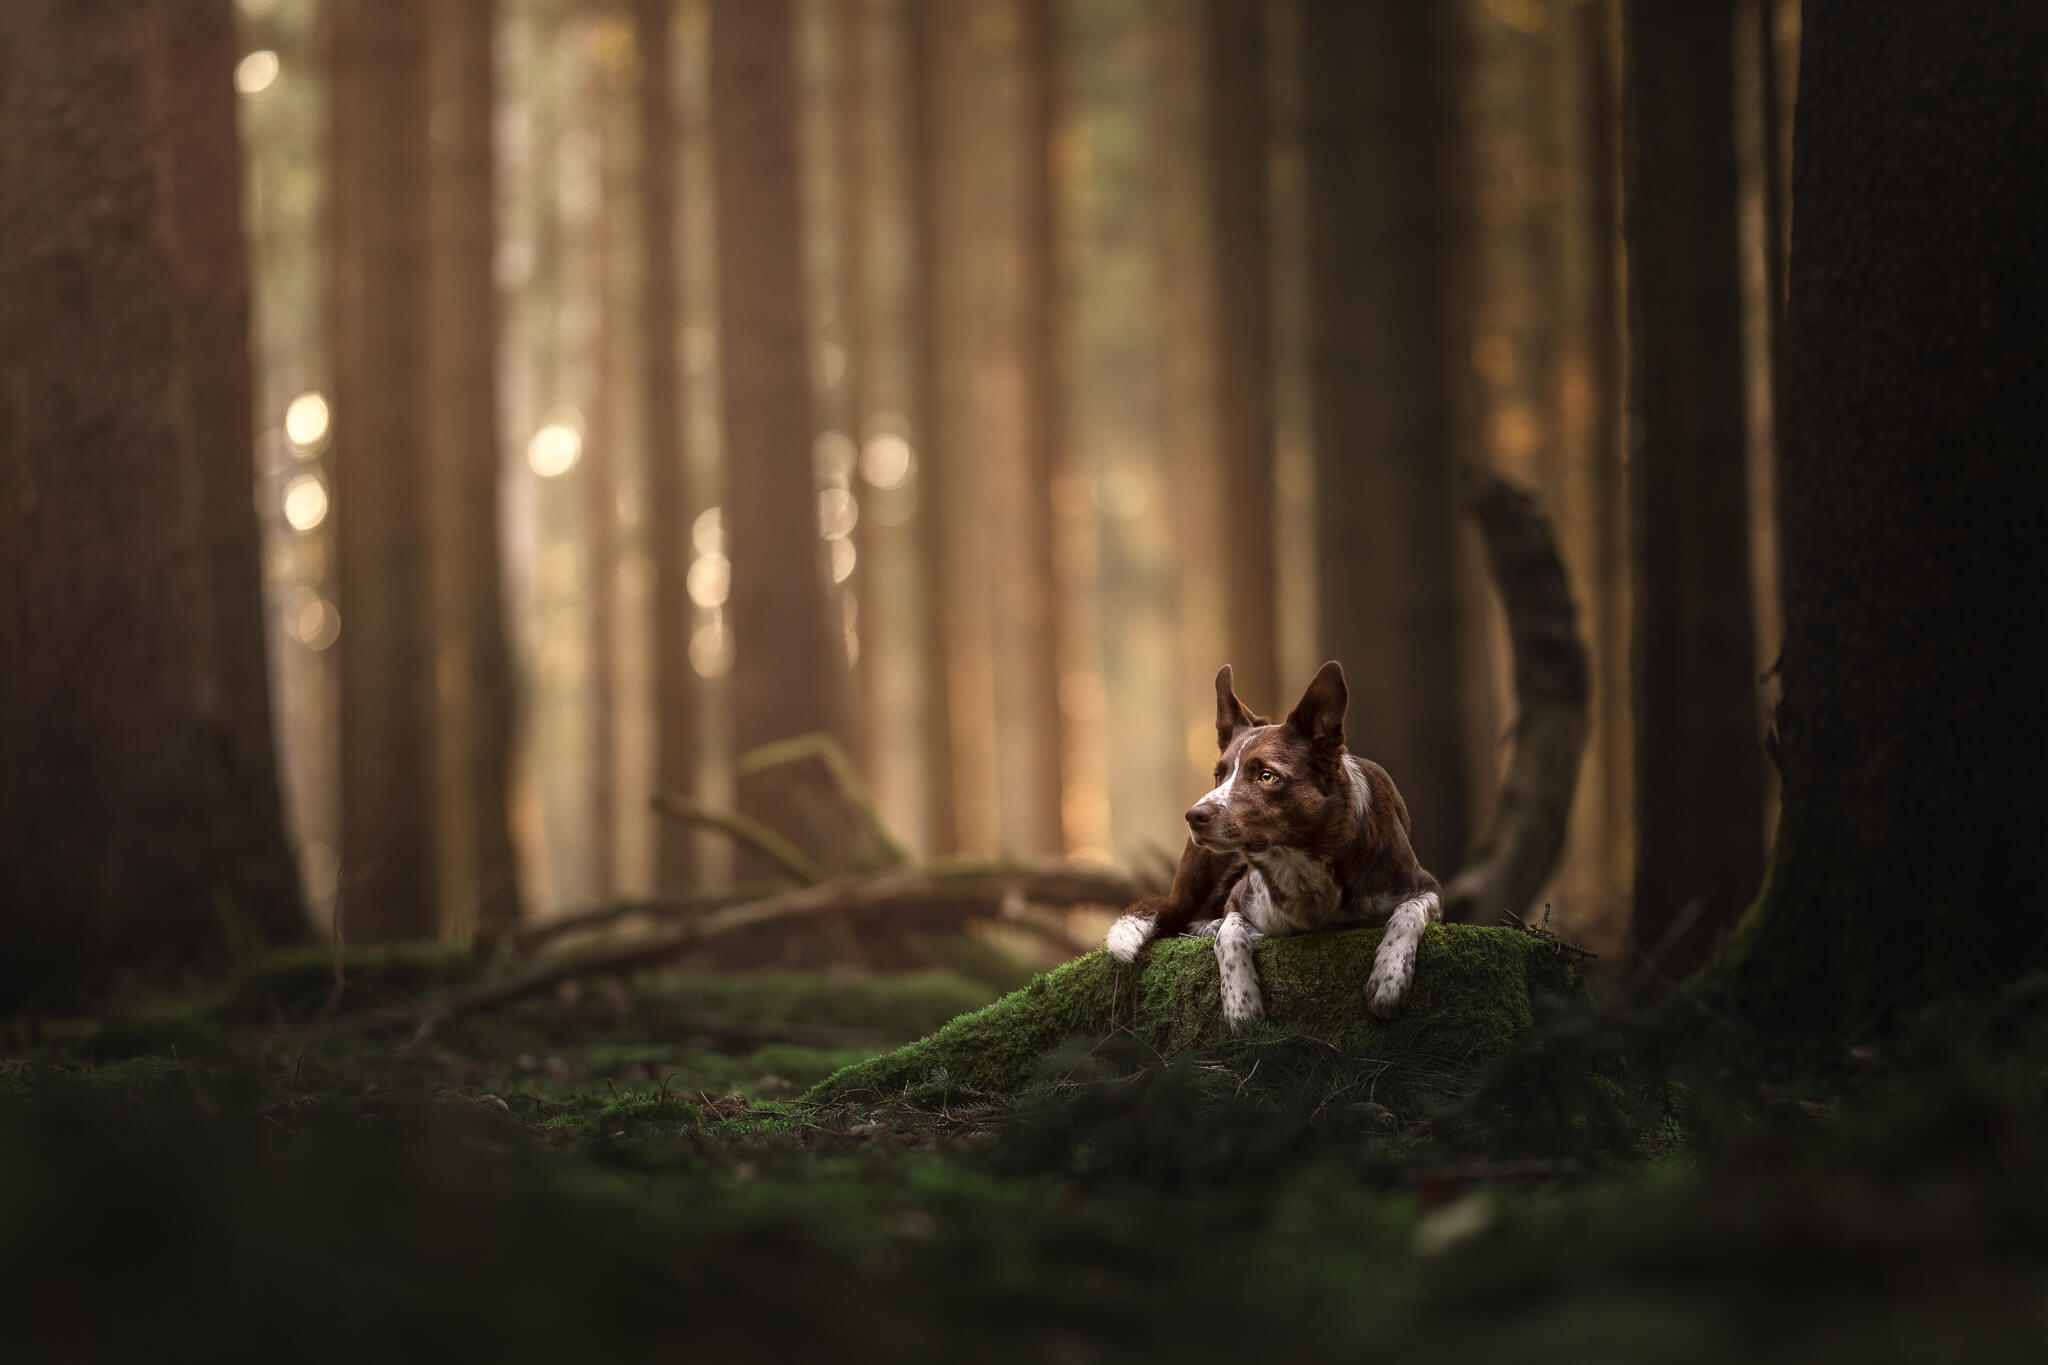
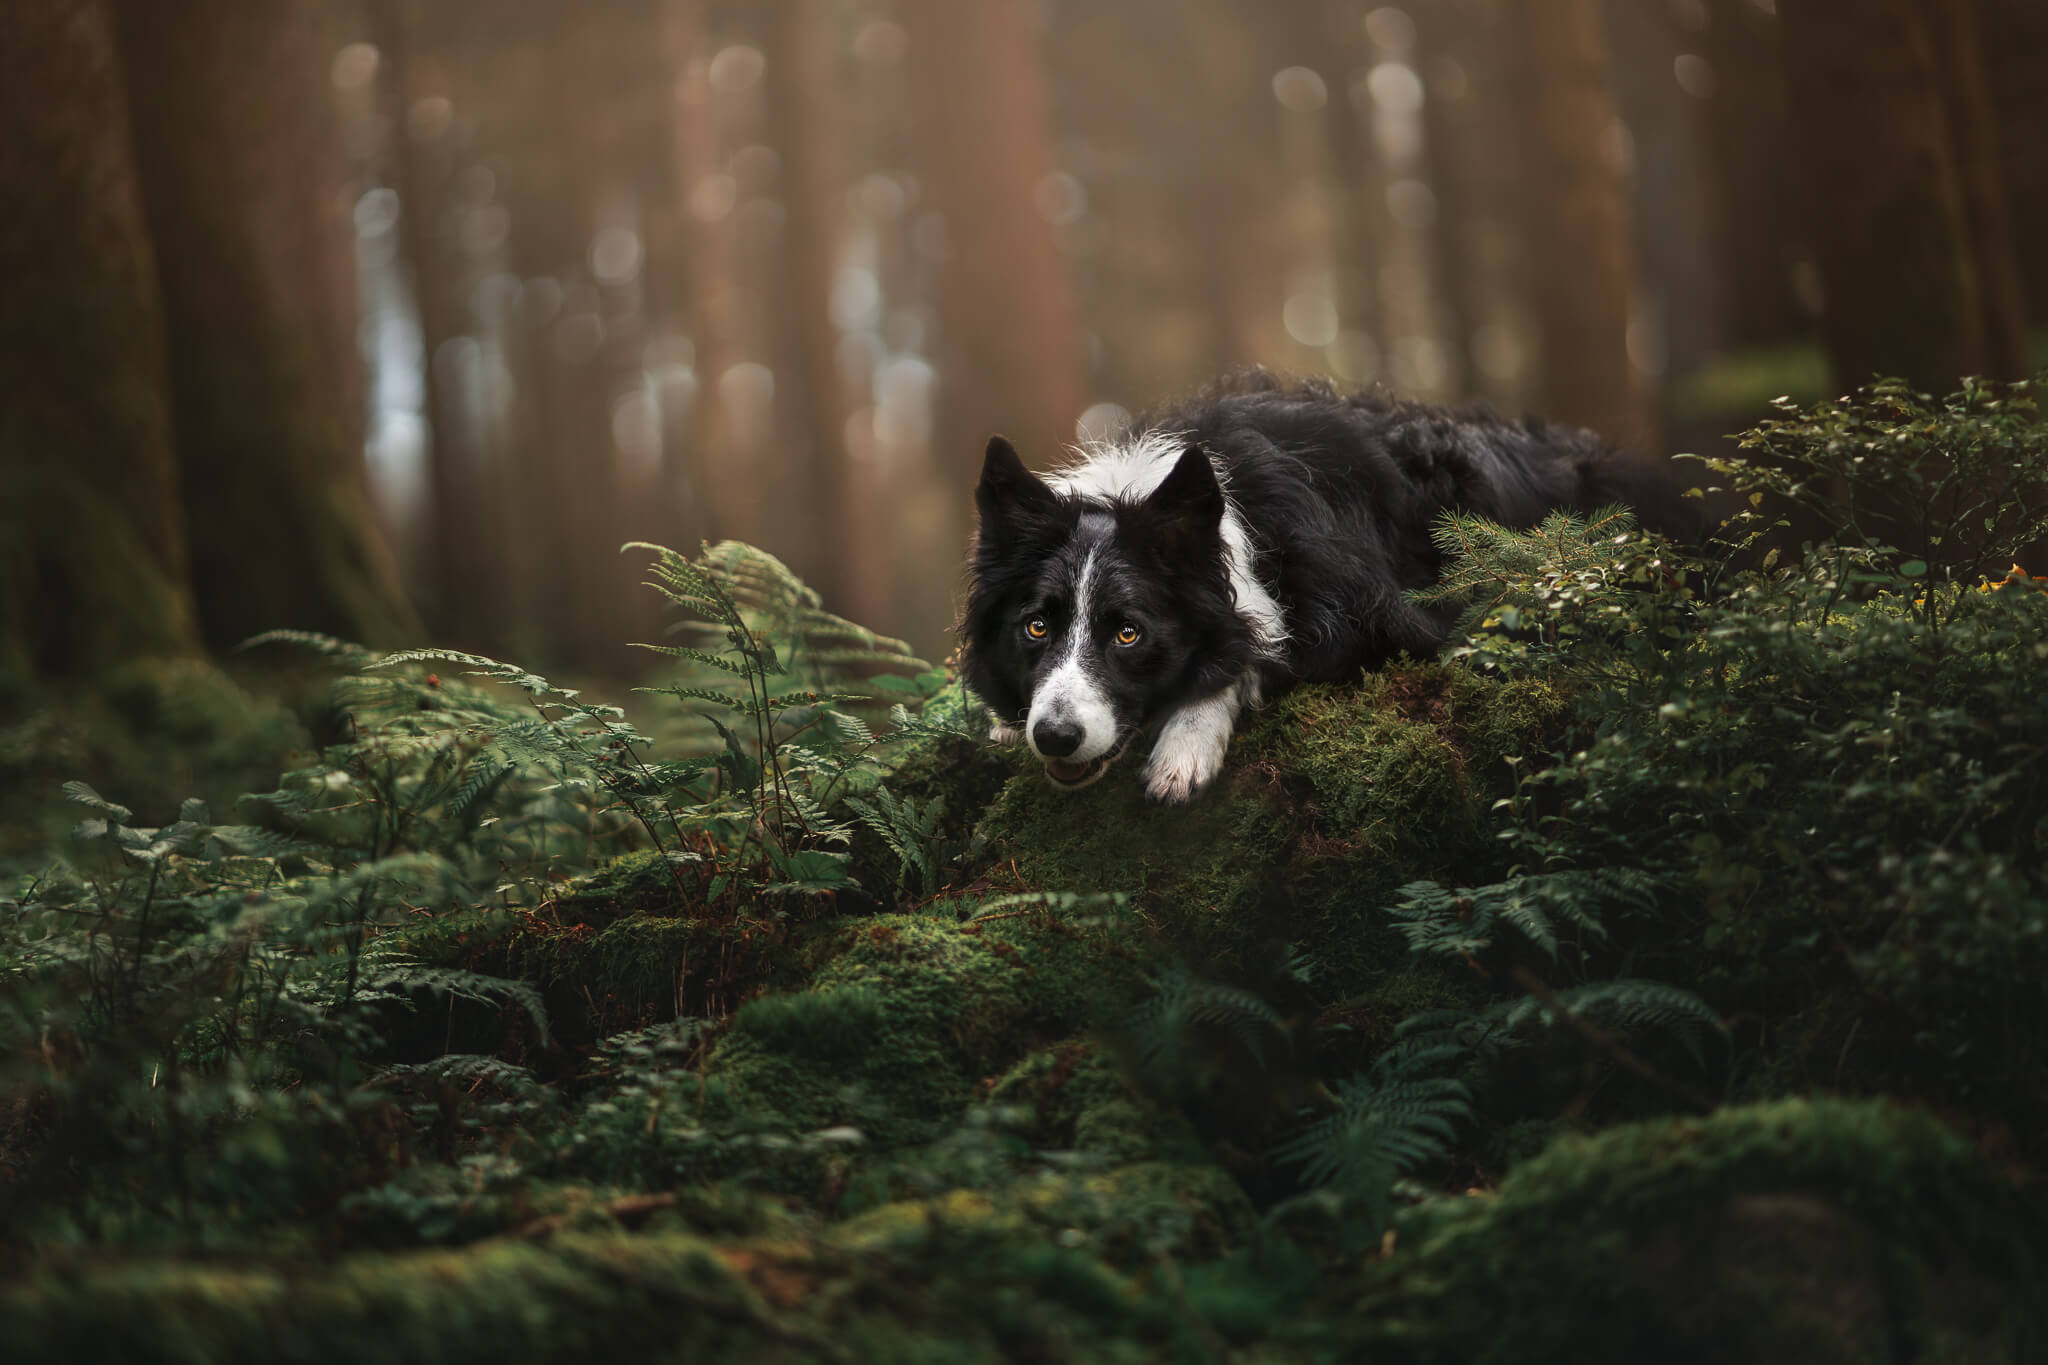
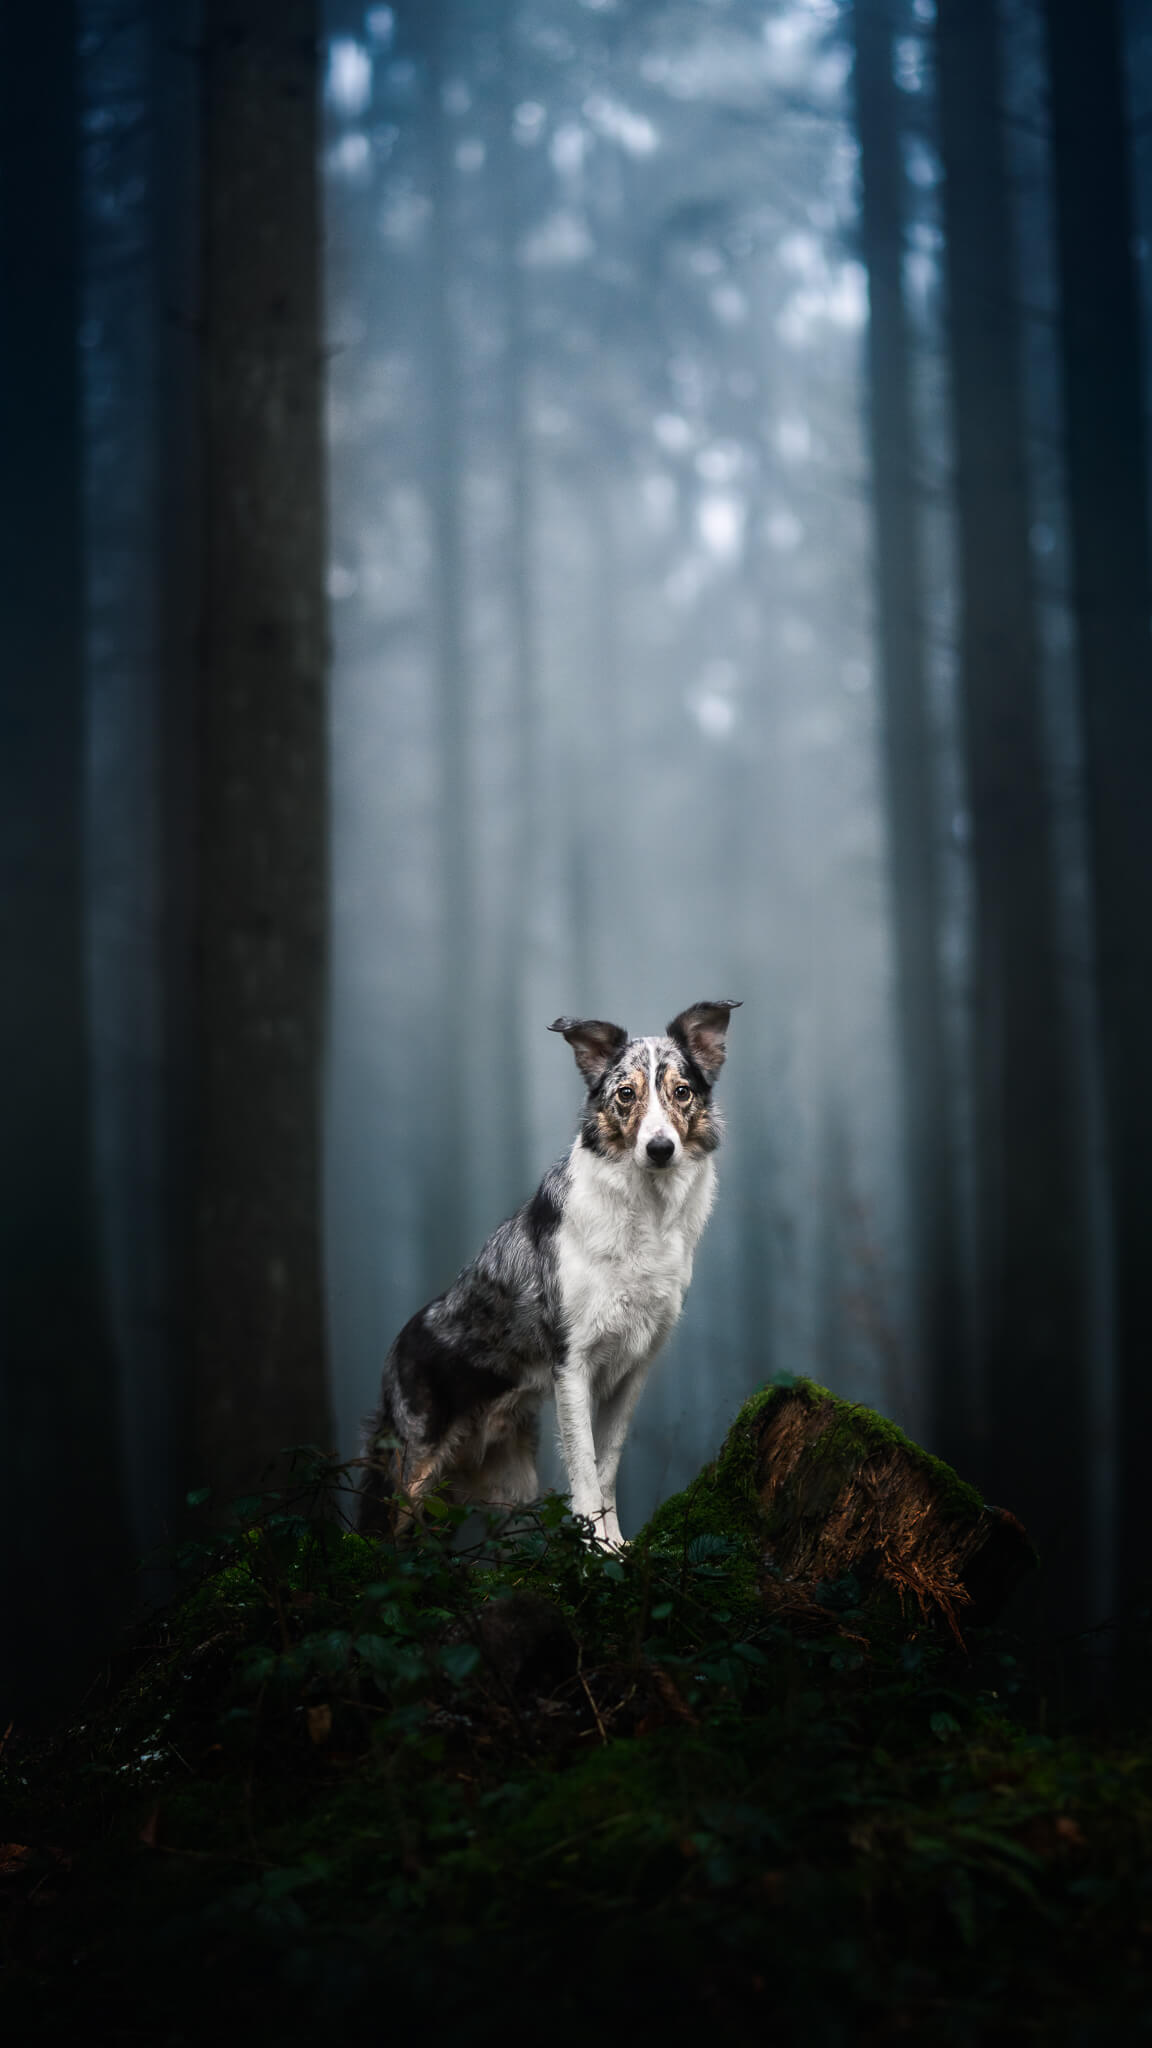
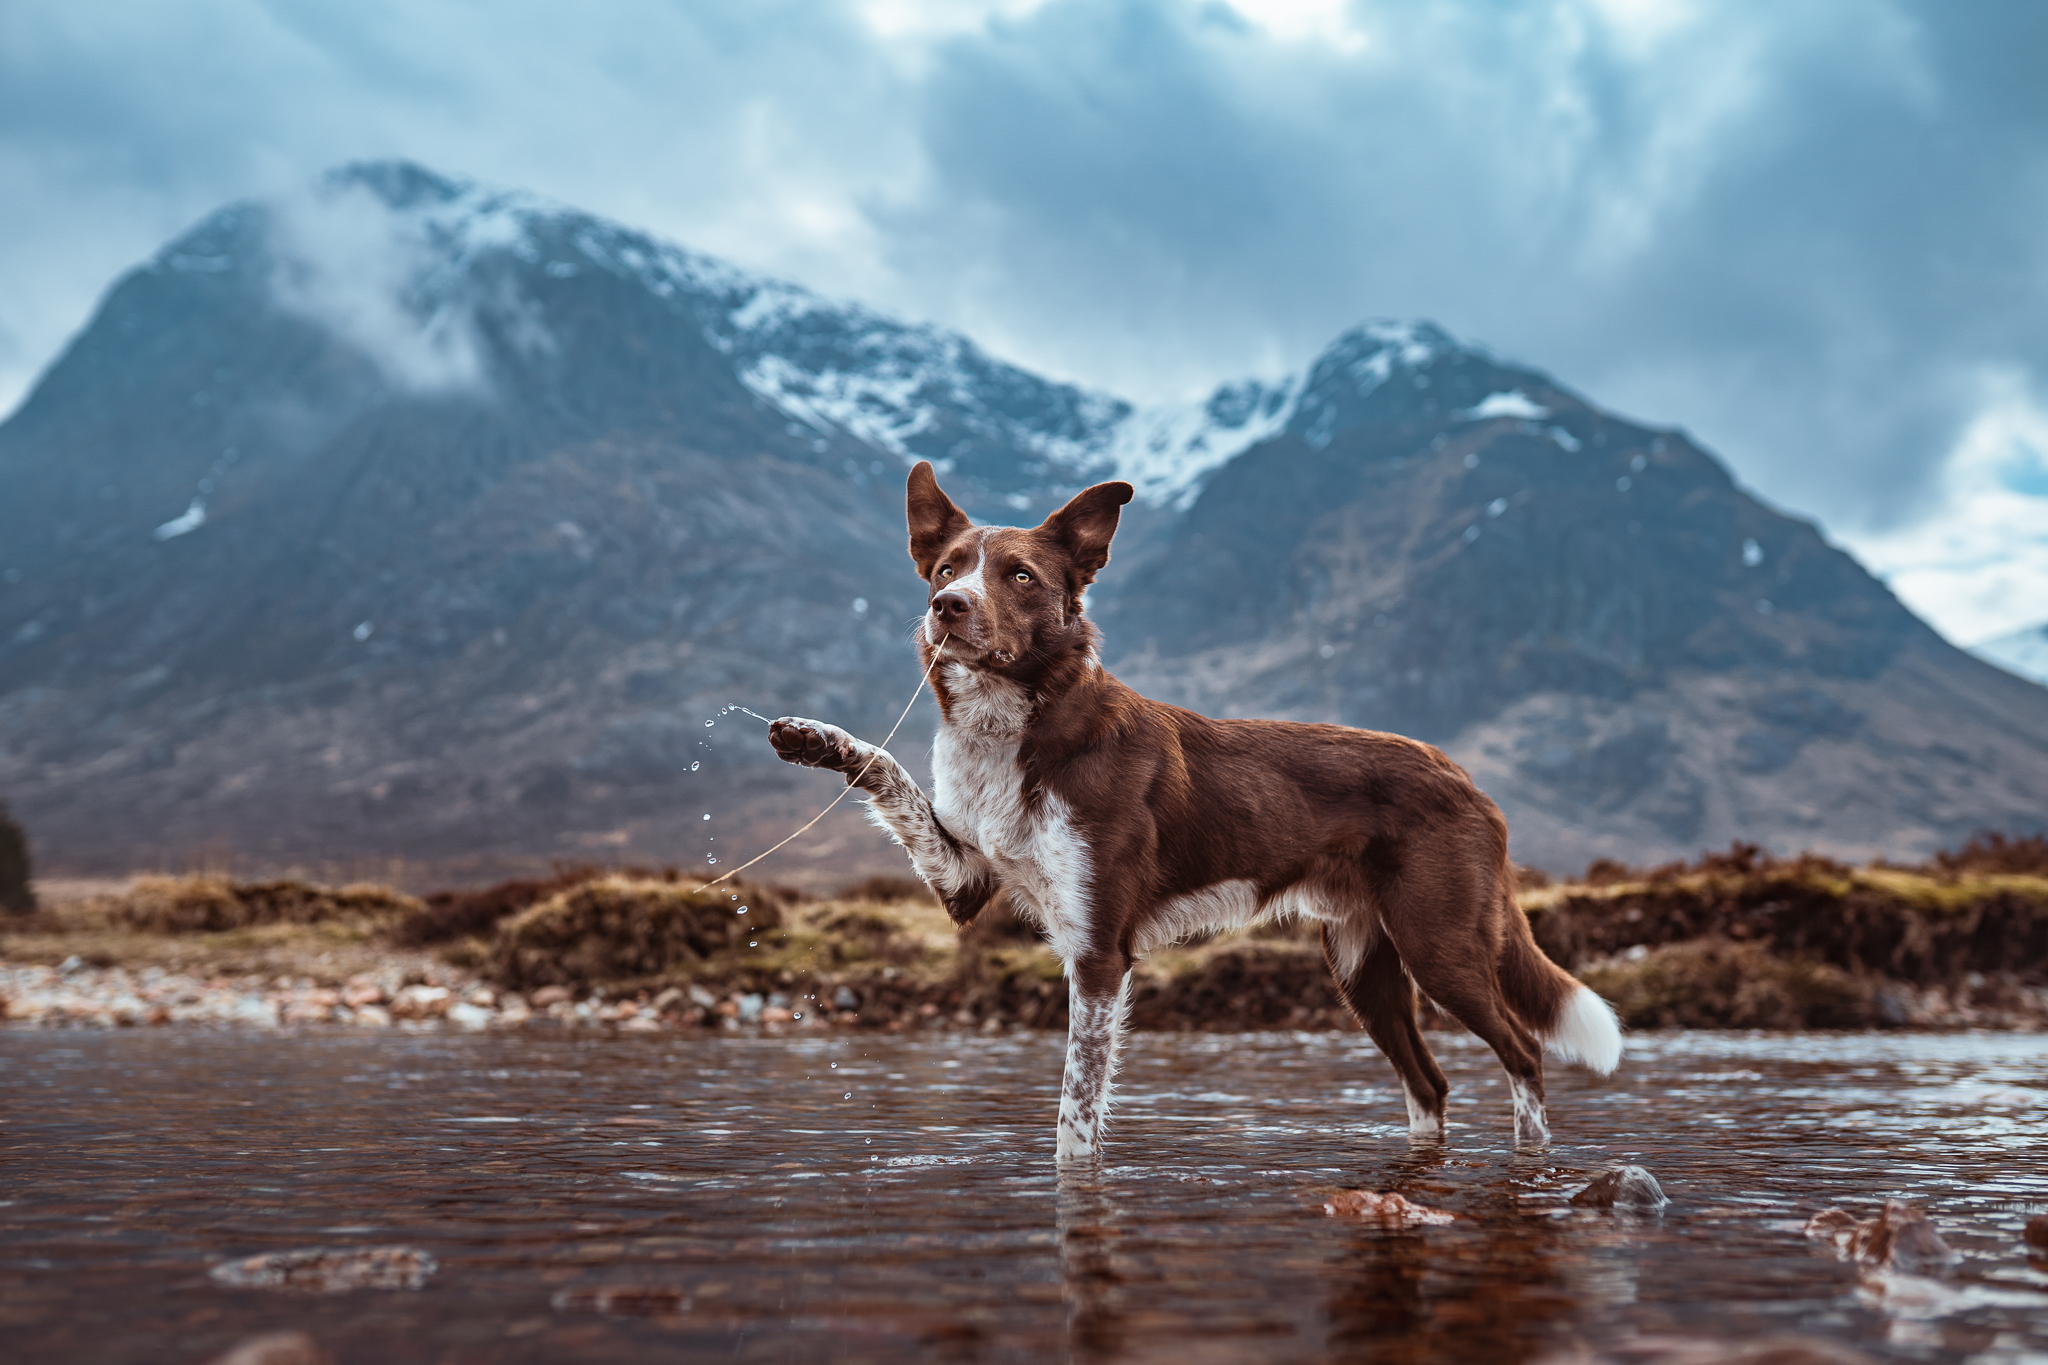
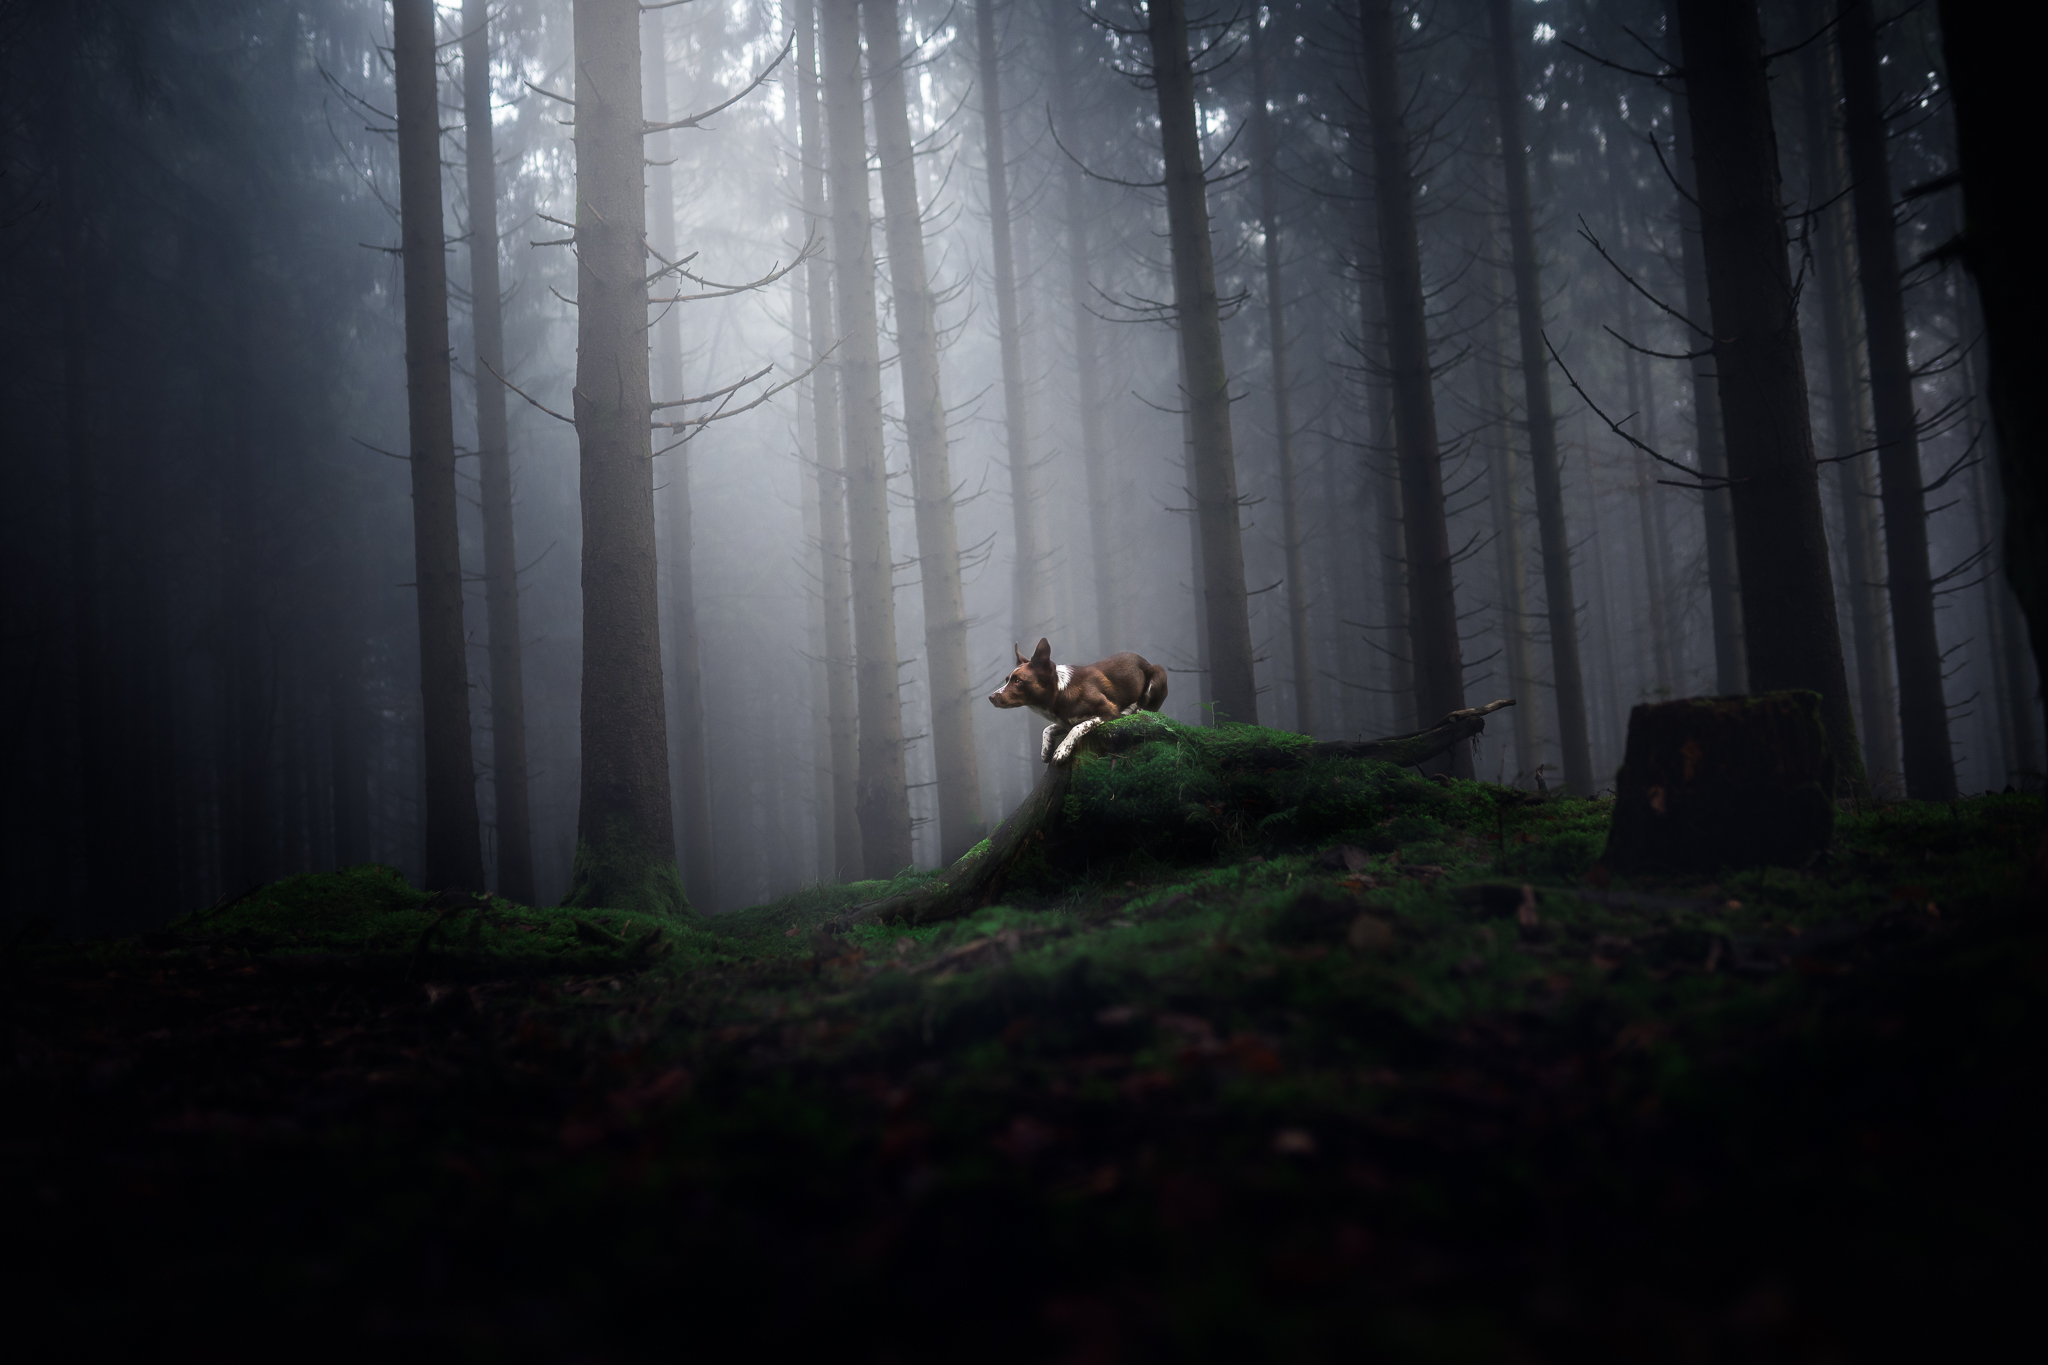
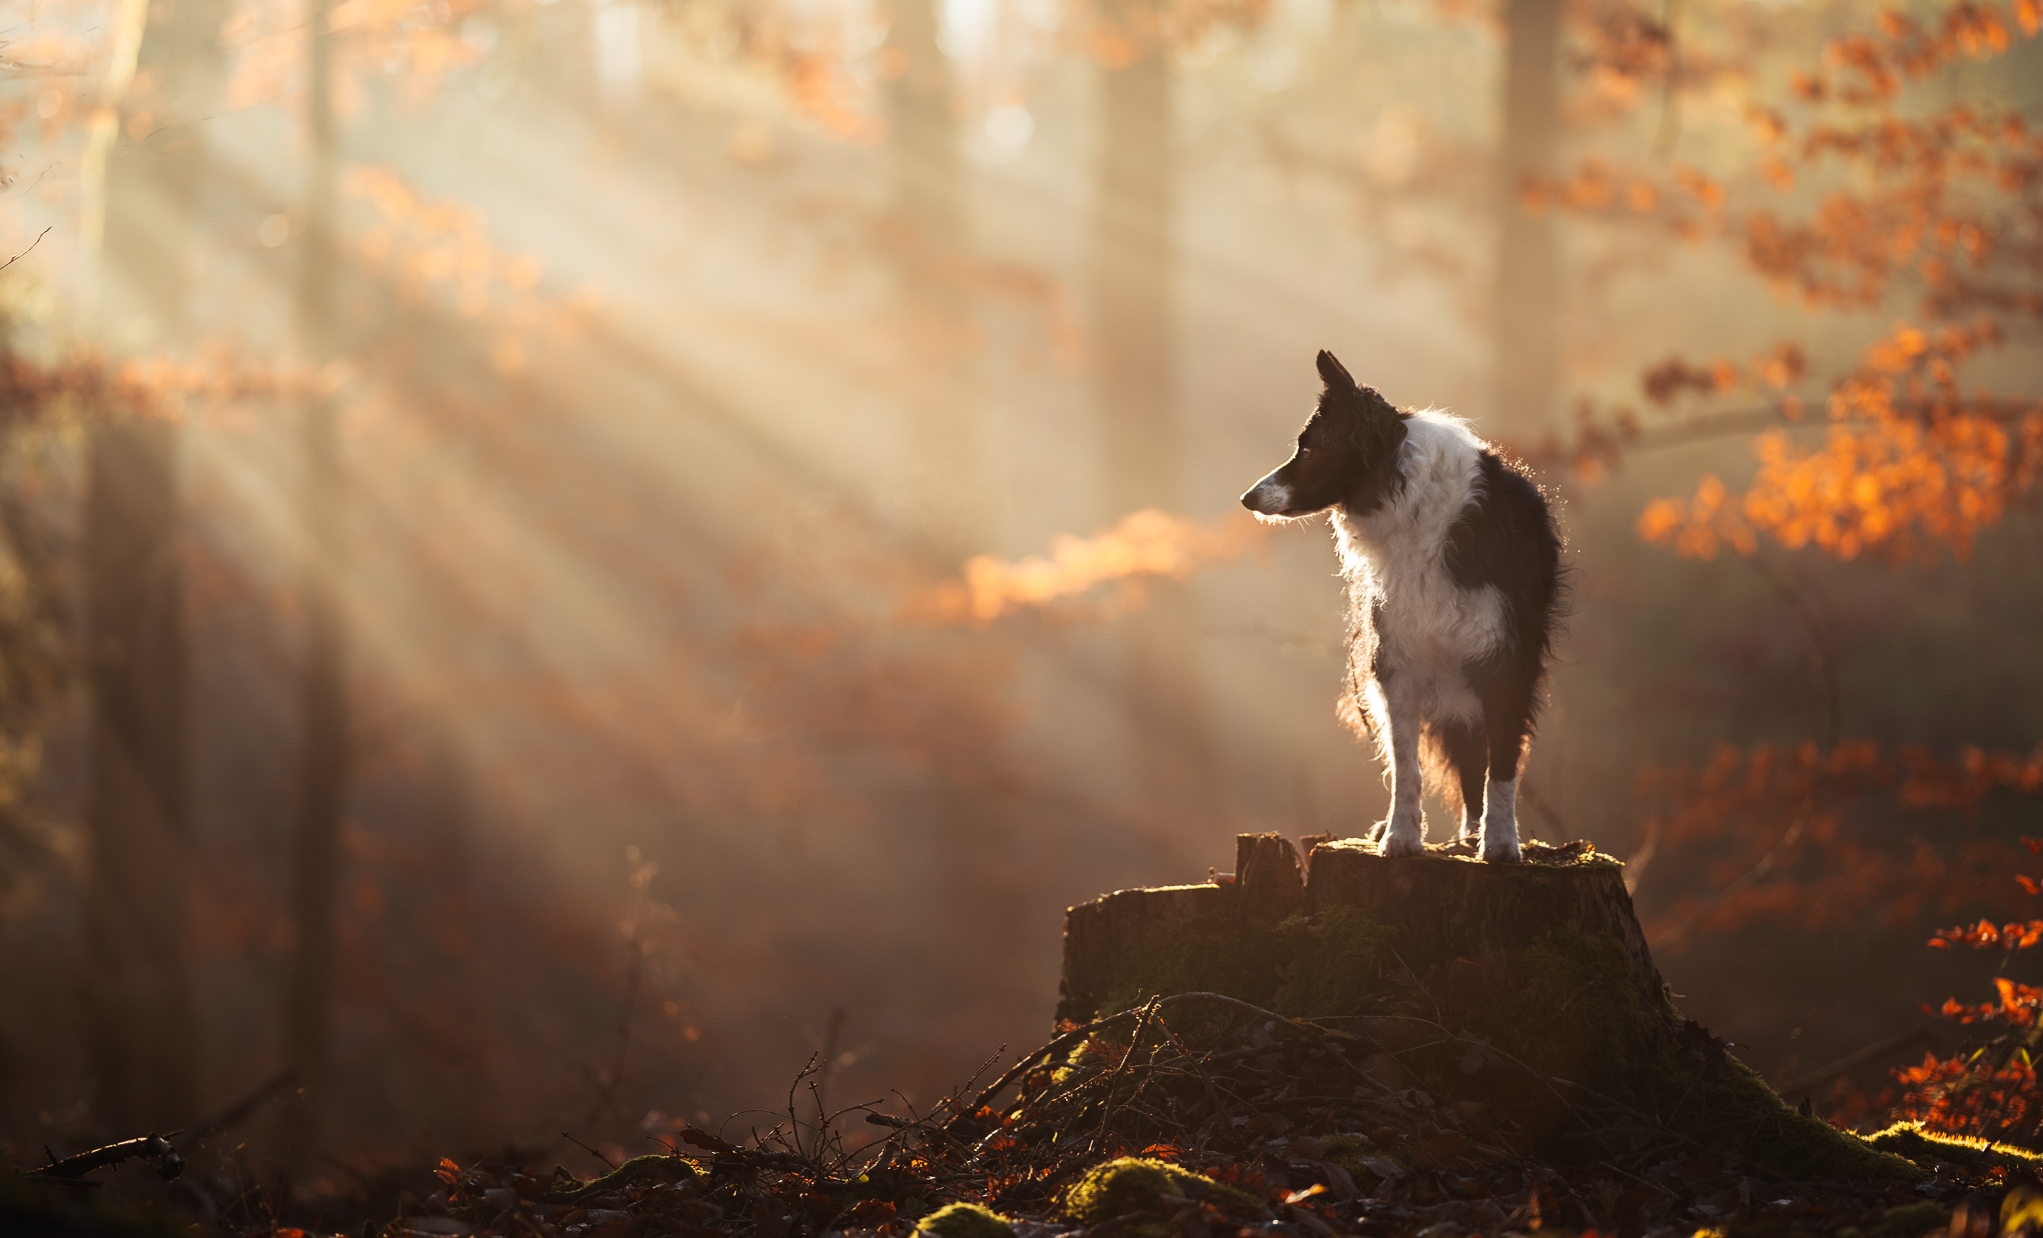
Have a look at the photos below. What do you think the “interesting thing” was that inspired me to take them?
More editing skills... more options.
While I’m not a fan of the idea that “editing fixes everything” or “editing is the answer”, I will admit that having a number of editing skills in your toolbox WILL provide you with greater flexibility when it comes to taking “less than inspirational” locations and making them interesting.
Being able to move, swap, or change parts of the background can make your composition work for you.
Knowing how to shape the light can make a dark, flat scene into something a bit more magical.
Knowing when an overlay can transform this open, empty space into something a bit more mysterious.
But it all comes back to the interesting thing. The reason you turned on your camera in the first place.
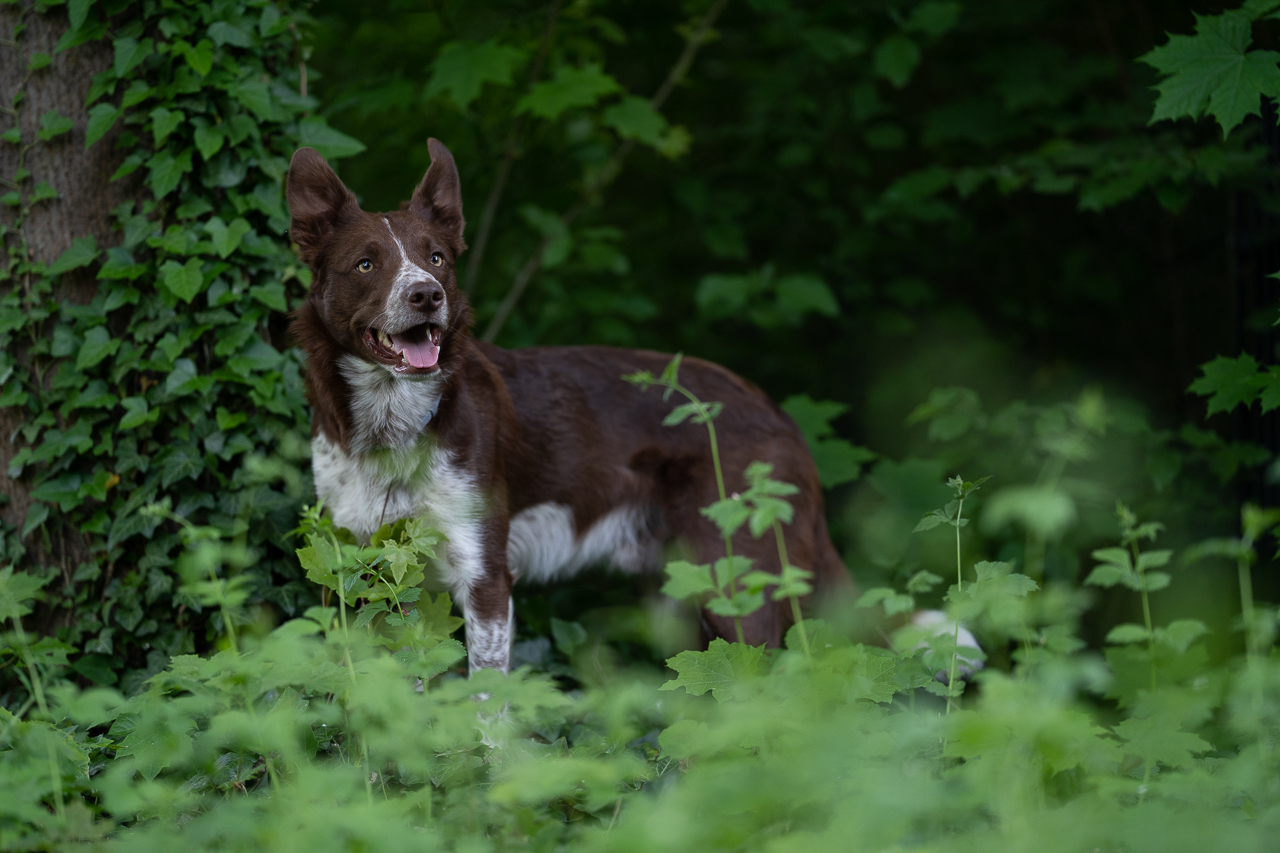
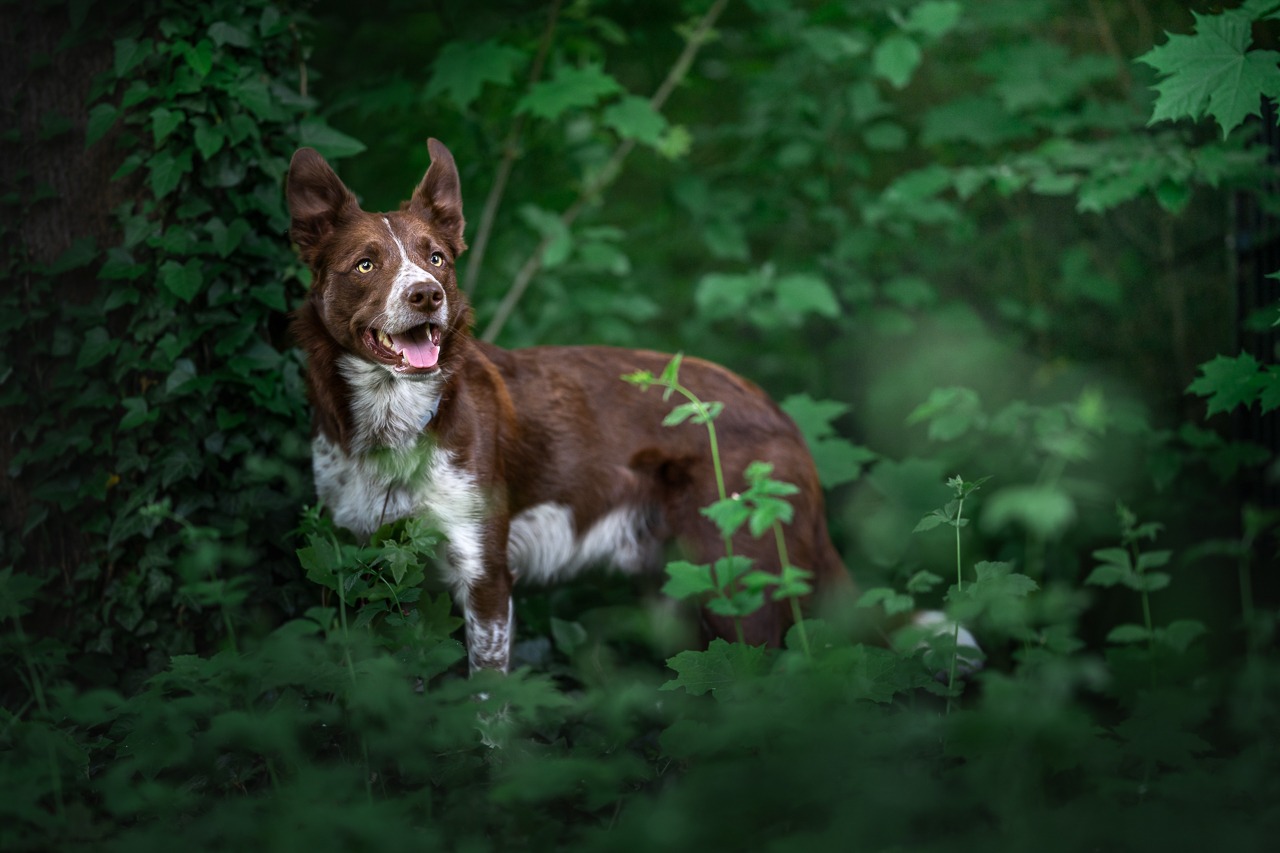
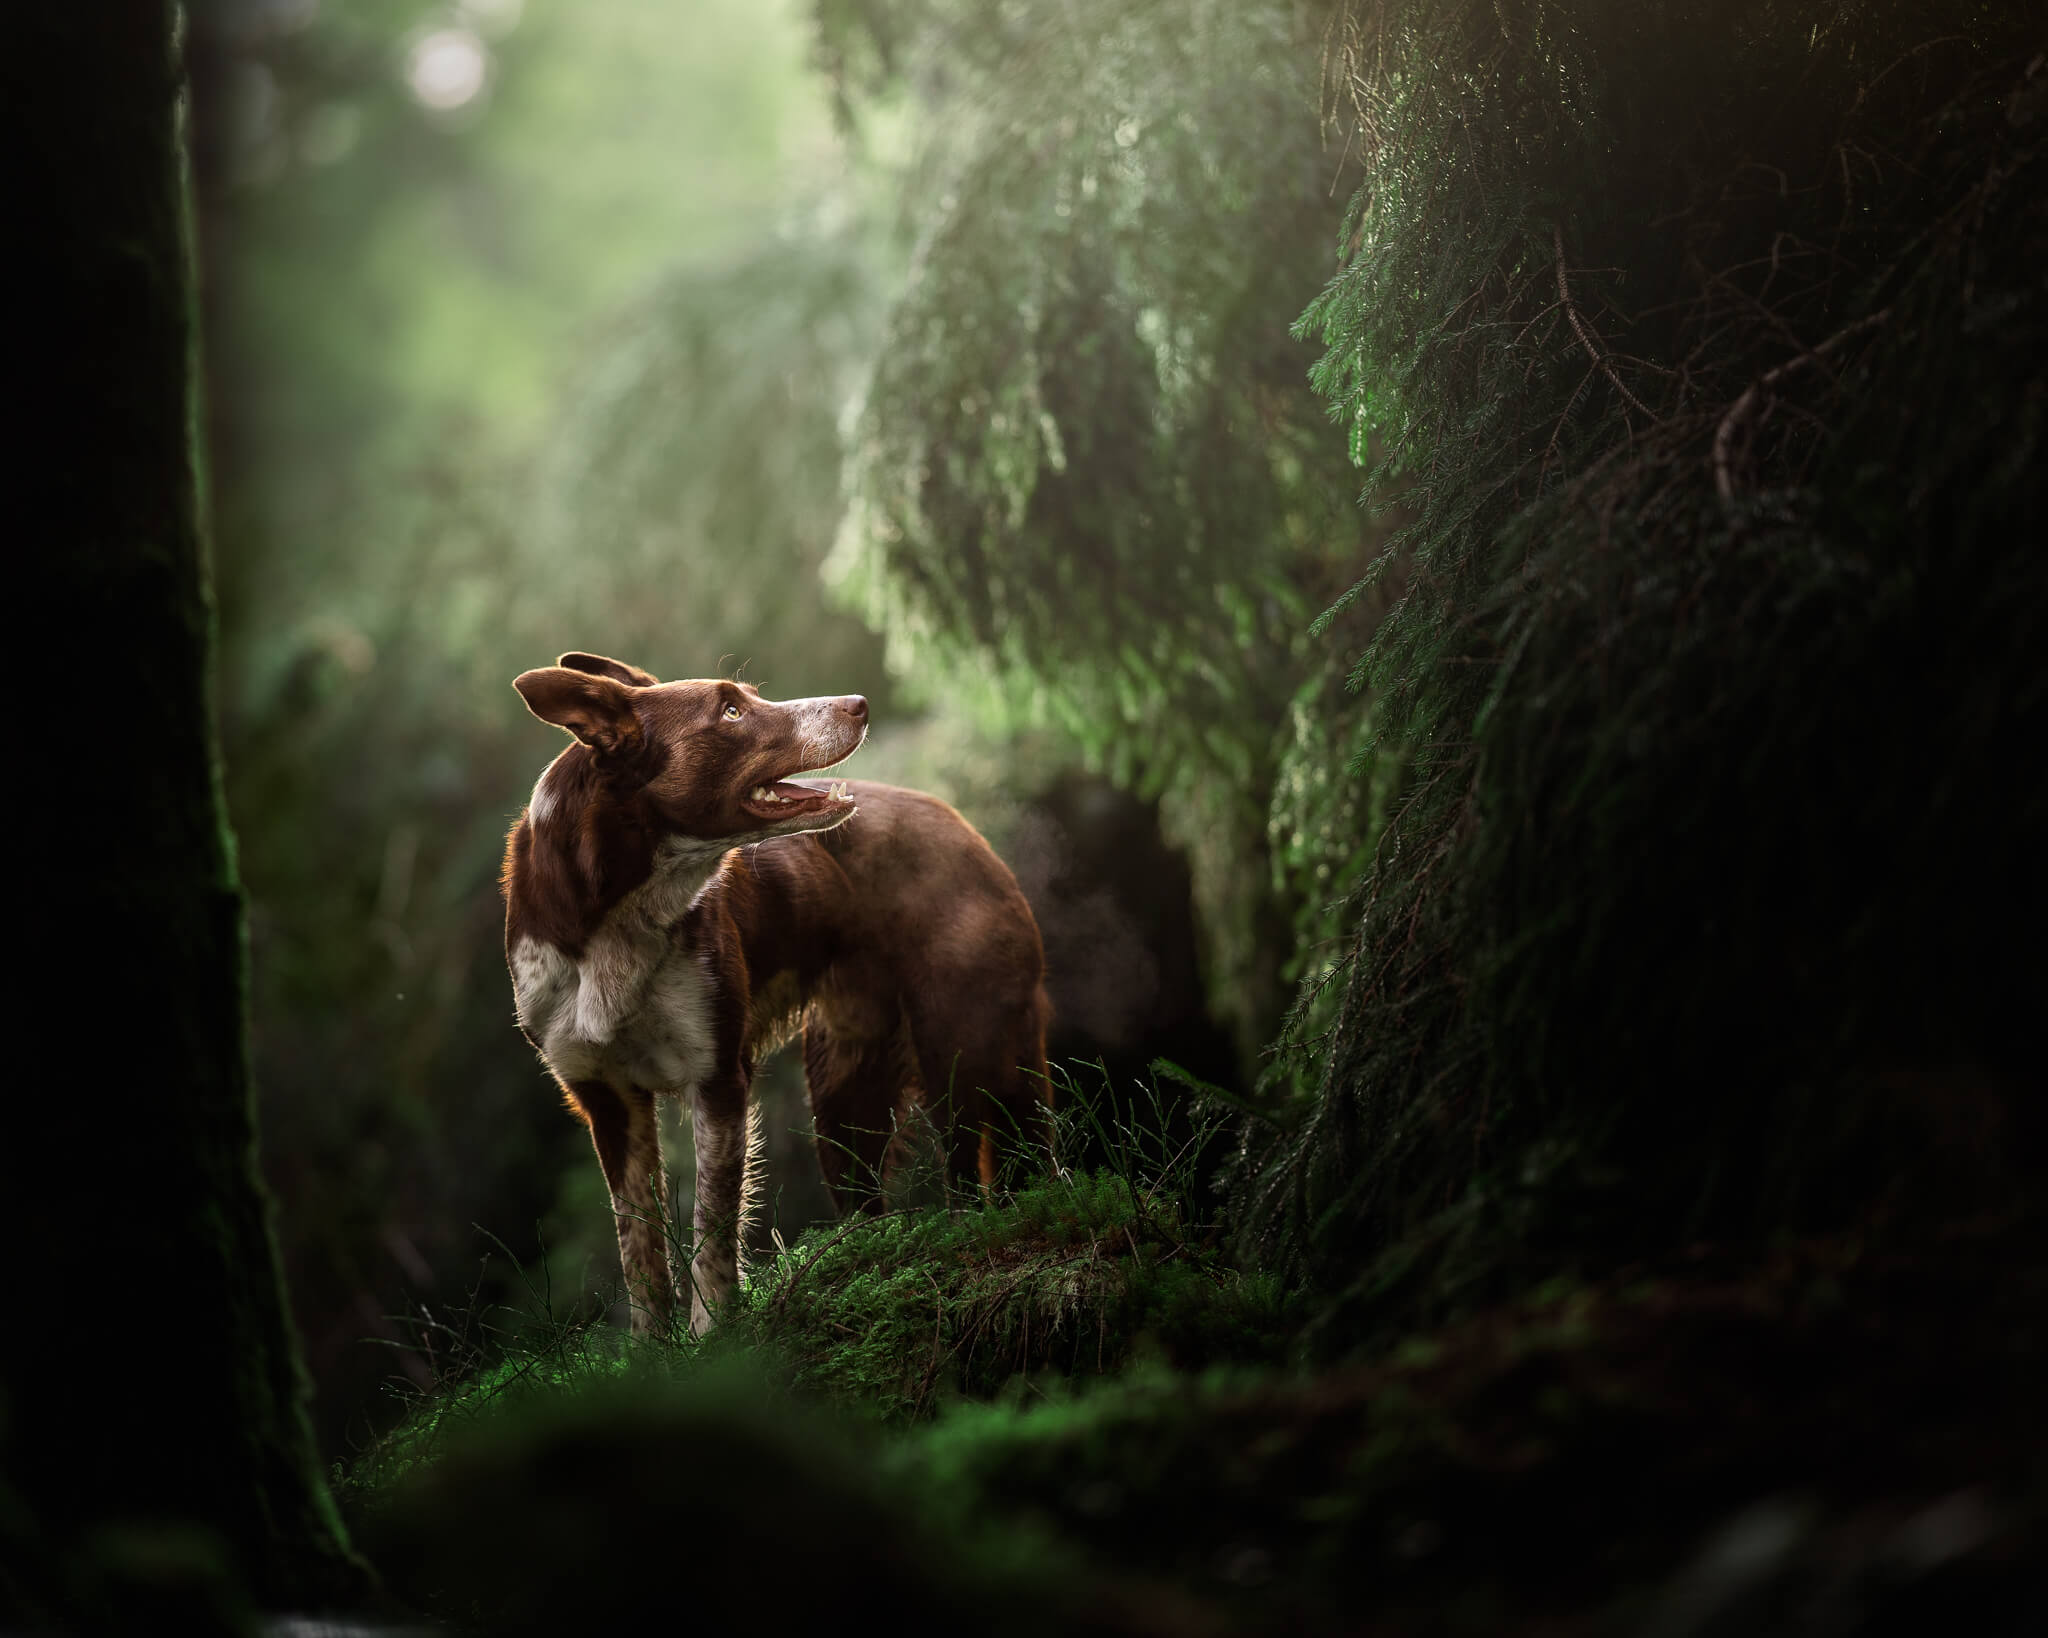
This was taken right next to an apartment complex, with a playground to our left. The bushes to the right were hiding a metal fence. Subscribers of my Mailing List got to see the BTS footage of the location!
I chose this location because I liked the ivy, and I liked how with my 135mm lens, this photo could have easily been taken deep in the woods.
Start Noticing!
So that’s my big secret to locations.
A good lens, something vaguely interesting, and some editing skills. Nothing too complicated, right??
The main thing I’d recommend is to START NOTICING.
Next time you’re out on a walk, really look at the world around you. Look at the shapes the branches at dog-height make.
Look at the small flowers.
Look at the colours of the leaves, or the way the light shimmers through them.
Look at the tunnel made by a narrow path, or the way the ferns form a little cave.
The more you teach yourself to notice, the more of an unconscious process that noticing will become, and the easier you’ll be able to find locations for your photos!
Until next time!
~Emily, Loki & Journey.
PS. If you find these tips and lessons informative or useful and want even MORE, make sure you’re signed up to the mailing list! You can use this link to sign up! You’ll also get access to my Pet Photography Secrets guide! Bonussss! Share it with your friends who would enjoy it, too!


