Last week we explored how selecting the right lens can help you achieve dreamy, buttery bokeh in your pet photography. This week I thought I’d build on that and give you a foolproof guide to using natural light effectively in your pet photography. If you’re hungry for more in-depth instruction, I have a huuuuge workshop on this (an hour and a half worth of video instruction plus a workbook) in the Learning Journey.
Click here to check it out (if you’re a member) or here to enrol! Don’t worry, I’ll include these links again at the end of the article – so you can read on and keep learning when you’re ready.
Alright, let’s get into it.
In this guide, we’ll explore the ins and outs of natural light pet photography, from selecting the best time of day to mastering different lighting techniques.
Understanding Natural Light
Pop quiz time – when is the best time to shoot your portraits?
Is it…
- A: In the middle of a bright, sunny day;
- B: Late in the afternoon/early in the morning (Golden Hour); or
- C: In softer light or on a mildly cloudy day?
If you answered A: You’re likely to see super shiny fur, weird shadows, harsh highlights and a squinty model because the sun creates challenging conditions. Not the vibe!
If you answered B: Look, it’s a popular choice and I personally LOVE it, but it has it’s own challenges! Golden Hour (aptly named) delivers rich, warm light which can either tint your dog strange colours, OR be used as beautiful backlight – which can be strong and difficult to manage. Tricky conditions – but you can harness them if you know what you’re doing. Luckily for you, we’ll chat more about this later on in the article. Hold that thought…
If you answered C: BINGO! For natural light pet photography, soft light is much more flattering, and much easier to work with! This is because soft lighting is usually a result of the sky rather than the sun, reducing harsh shadows and shiny fur, resulting in more pleasing pet portraits.
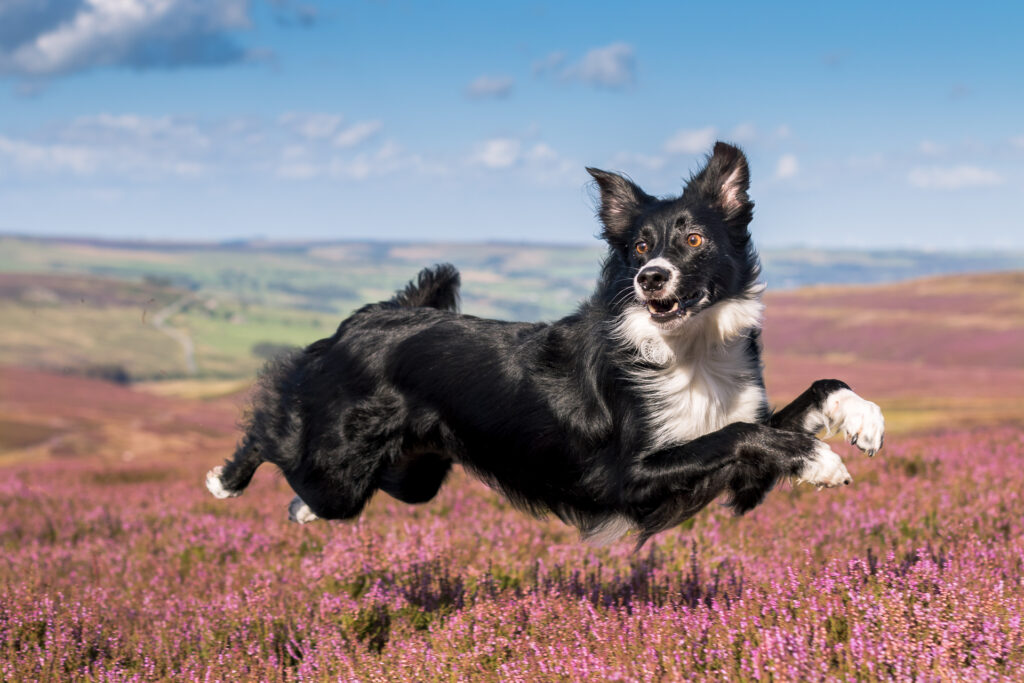
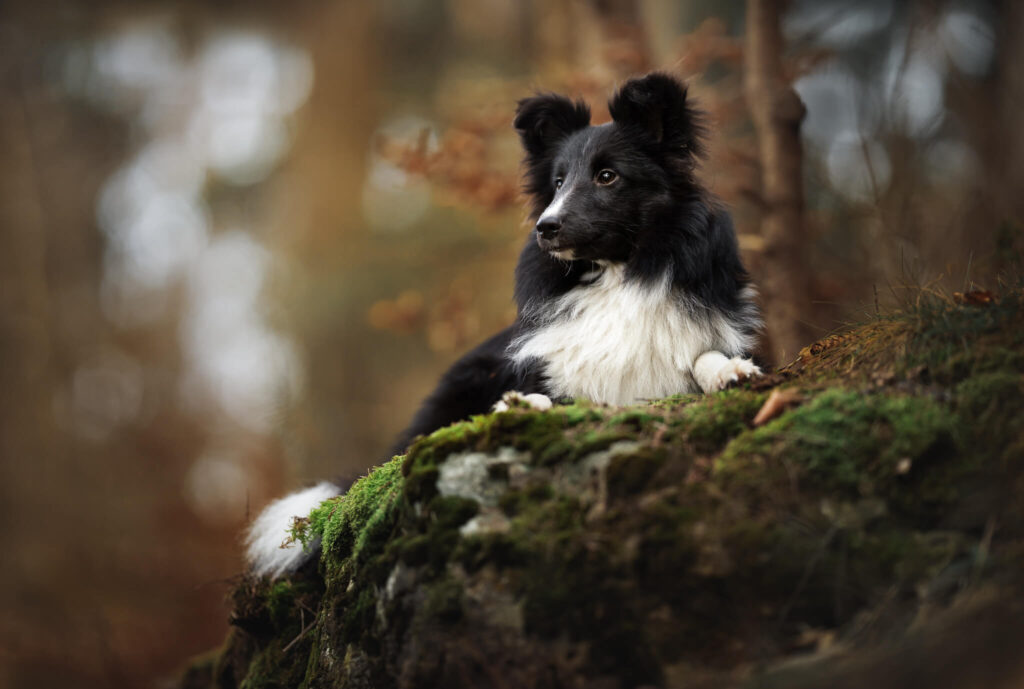
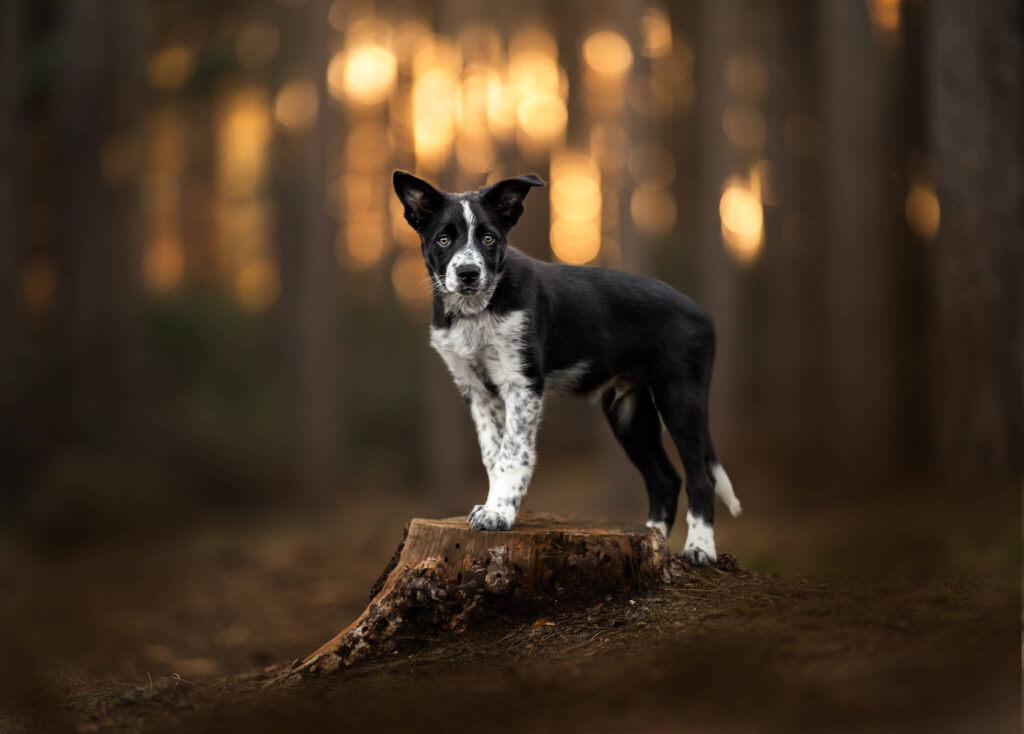
Above: Full, harsh sunlight – overcast light – backlight
How to Use Natural Light Effectively
While using soft light will give you the best results, it’s not the only factor to consider.
The natural lighting puzzle is a bit more complex than that, and requires a delicate dance between:
- awareness of changing conditions (like clouds moving overhead),
- the ability to quickly and accurately adjust your camera settings, and
- a firm understanding of contrast to enhance the final image during your editing stage.
Balancing Natural Light in Your Pet Photography
There are times when harsher light is unavoidable, like if you’ve just hiked up a mountain, or you’re photographing an agility competition. I’m always telling my Learning Journey members to just get the photo.
In most situations, exposing for highlights can help make sure you don’t blow out the bright areas of your photo and end up with pure white blobs… BUT it may make the darker shadows especially dark. Your camera’s capabilities and your editing skills will play a significant role here.
If you’ve tried everything but still can’t retain detail in the highlights and shadows, consider reshooting at a different time or angle.
In your edits, you may need to adjust exposure and contrast to balance the light in your photos. Editing software can help recover details in both highlights and shadows, ensuring your pet’s features stand out.
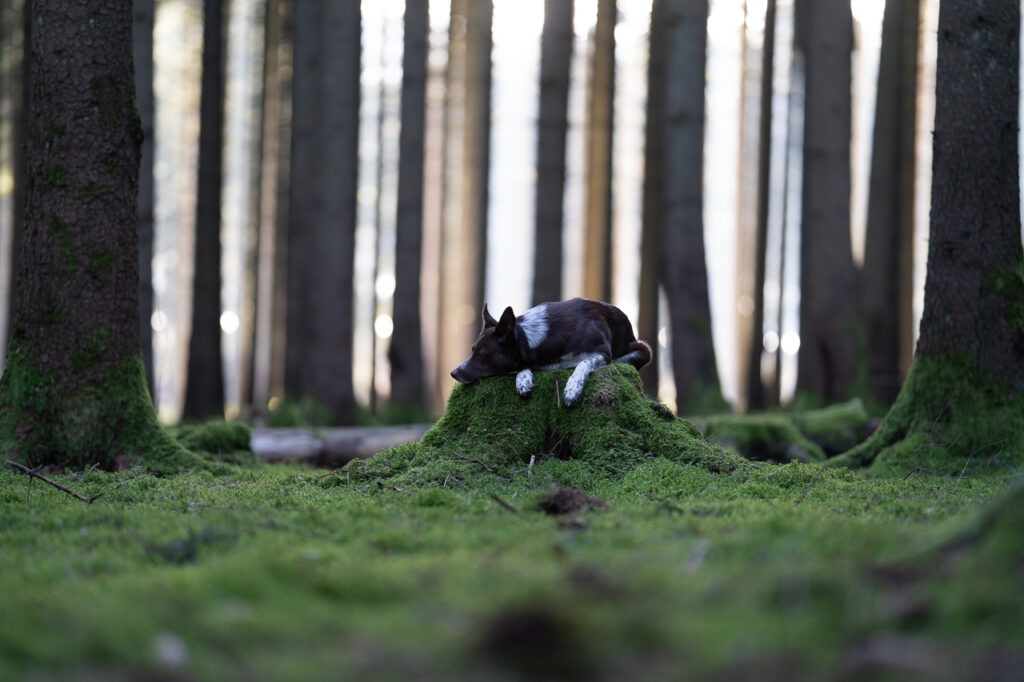
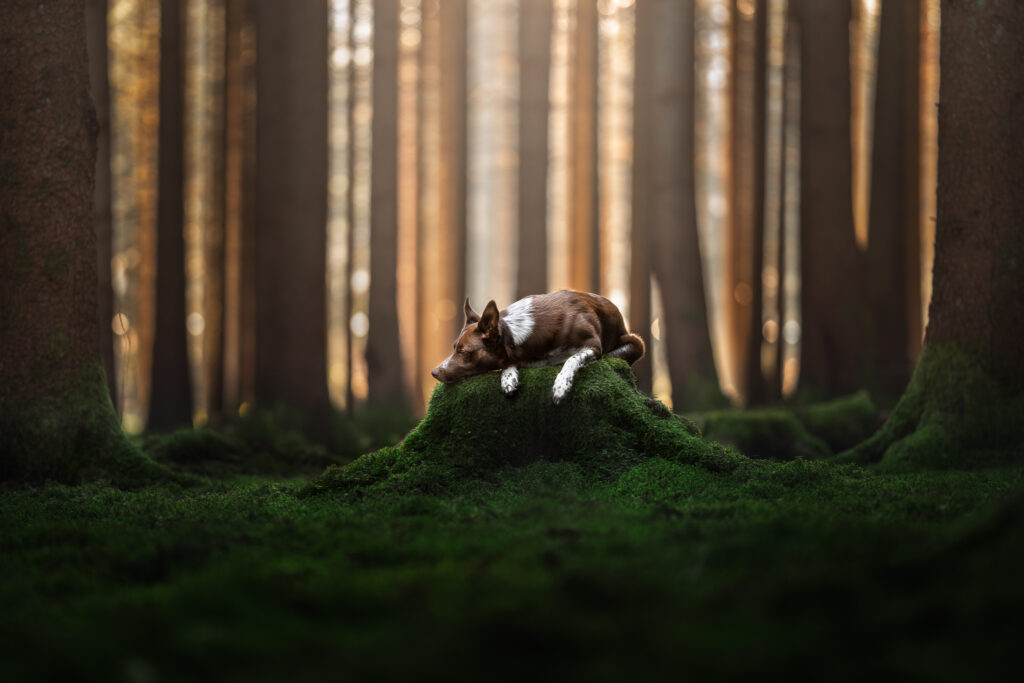
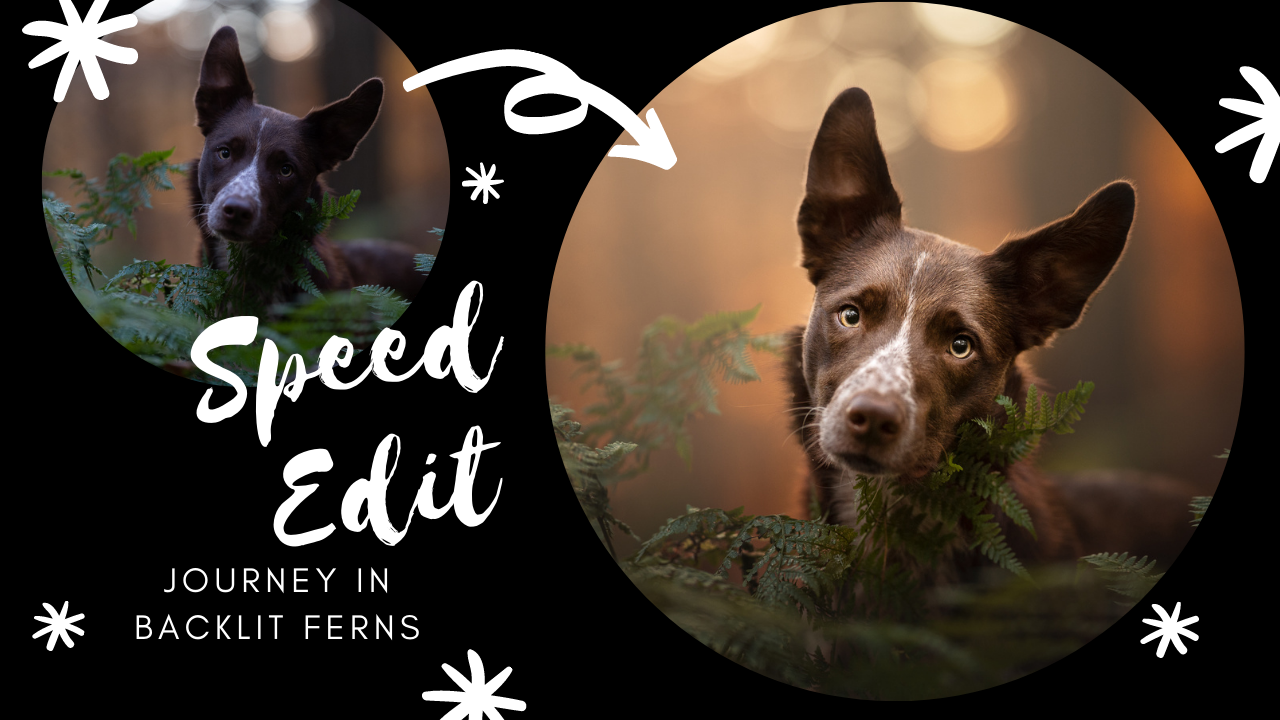
Notice how in this photo, Journey is quite dark? If I’d taken the photo bright enough for Journey to be correct, the bright areas in the background would have been totally ruined – nothing but white blobs. Instead, I can darken the background and get all that beautiful texture, and brighten Journey.
The Importance of Light Temperature
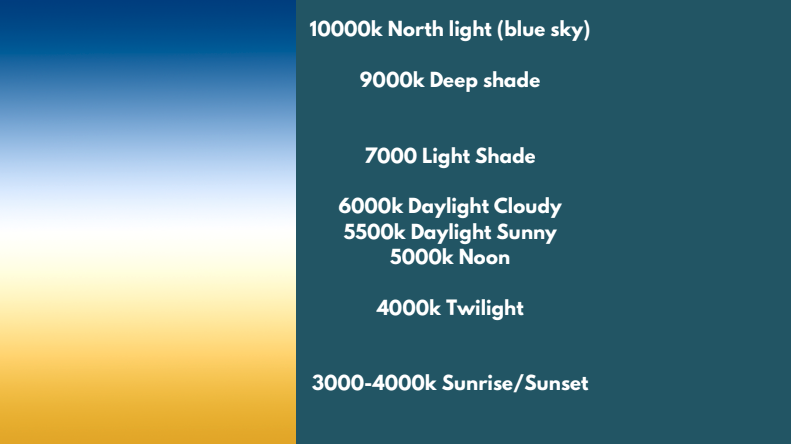
Light temperature, measured in Kelvins, varies by time of day and location.
Understanding this can help you set the correct white balance and make better editing choices. For natural light pet photography, getting the white balance right is crucial for realistic, vibrant colours. Accurate white balance settings during the shoot will minimise editing time and improve the overall quality of your photos – though I’ll be honest, I usually just shoot in Auto White Balance, because I know how to fix it in editing!
Mastering Light Direction
Direct Light:
Direct light, where the light falls on the pet’s face from behind you, is the easiest to work with. This setup ensures even lighting across the pet’s face. Be mindful of any shadows that might appear if your model tilts their head!
Side Light:
Side lighting can be challenging but creates dramatic effects. Extreme side lighting may require significant editing to balance the dark and light areas and isn’t recommended even if you CAN edit the light to be even. Position your pet to turn and face INTO the light area for more even lighting.
Learning Journey Lesson Snippet!

Ignore Journey’s expression in these photos and look instead at the light on his face. To camera left is a large open clearing, making a lot of soft ambient light. Behind the trees is the sun (so this photo is both backlit and side-lit!)
In the first photo, with Journey looking straight at me, his face gets split in half by the difference in light, even though the light is soft! It COULD be corrected in editing, but it likely won’t look all that natural.
By contrast, when he turns his face toward the open clearing, the light is even right across his eyes to his cheek, which is much more flattering.
Back Light:
Backlight occurs when the primary light source is behind the pet. Ensure there’s ample ambient light in front of the pet. You might need to underexpose your image slightly to balance the strong backlight and not blow out the highlights, and you’ll need to make sure you try and balance your light as much as possible, getting soft ambient light on the dog’s face. Backlight can create a beautiful, ethereal rim of lighting around the pet.
What’s next?
Okay, so you’ve dipped your paws into natural lighting, now what?
If you’re ready to learn more, my Natural Light Workshop is exactly what you’ll need… with an extended video tutorial and a printable workbook with practical examples and before/after comparisons.
It’s one of the hundreds of in-depth lessons available to Learning Journey members (click here to access if that’s you) – so if you’re not enrolled yet, head to this page to get started!

