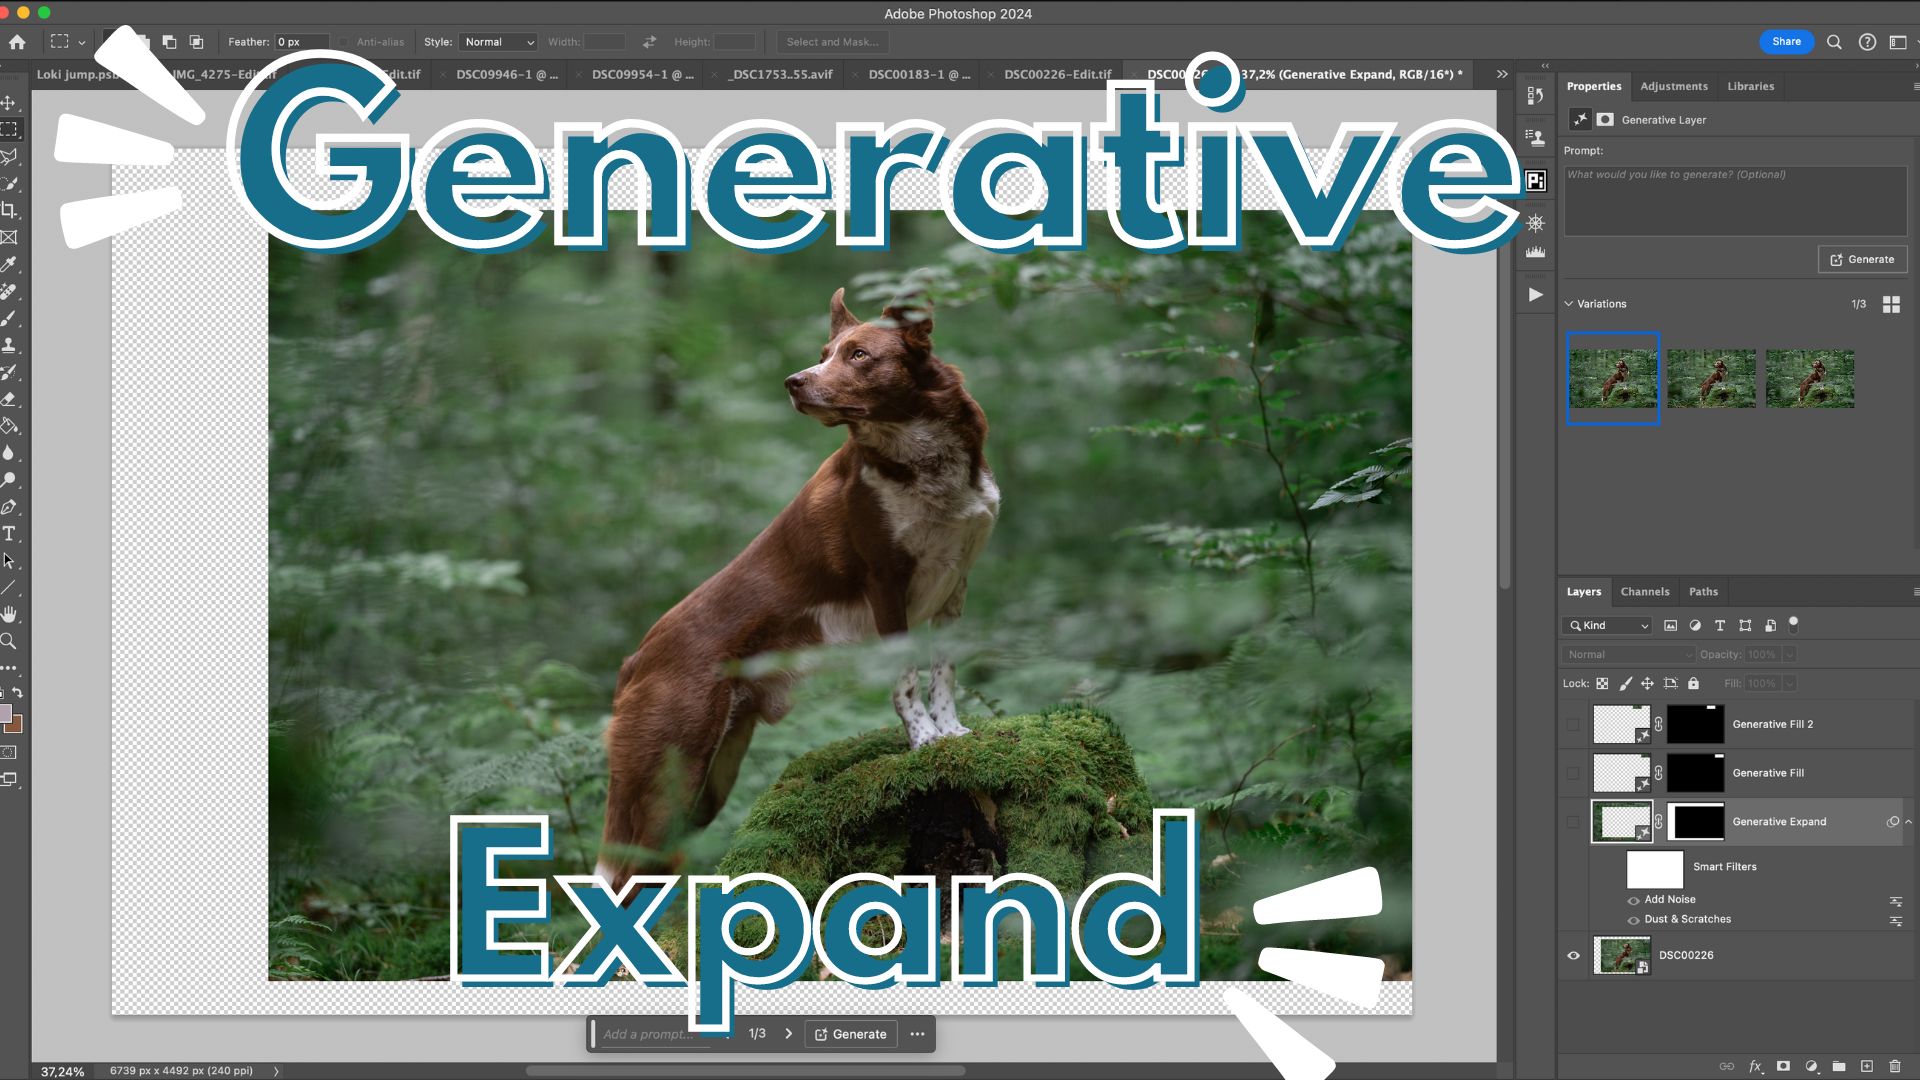
Why would a photographer need Generative Expand? Well, have you ever taken a photo that didn’t quite get the composition right? Maybe you wish you had a bit more space around the subject to make it look perfect.
Fortunately, Photoshop’s Generative Expand tool, powered by Adobe’s AI, offers a quick and efficient solution to this common problem. In this blog post, we’ll explore how to use Generative Expand, discuss its benefits and limitations, and provide tips for achieving the best results.
If you find this intriguing and want a deeper dive, I’ve developed a full lesson, complete with step-by-step instructions on my learning platform, The Learning Journey. Otherwise, make sure you read to the end for a demonstration video!
Understanding Generative Expand
Generative Expand is a Photoshop tool that uses AI to extend the edges of your image, filling in the new space with generated content that matches the rest of the photo. This can be incredibly useful when you need to adjust the composition or fit your photo into a specific frame size without cropping out important details.


Why use Generative Expand?
Generative Expand offers a quick and relatively easy way to adjust your image composition without extensive Photoshop skills. It’s perfect for social media posts where high resolution isn’t critical.
However, for client work or prints, ensuring high-quality results might require more effort and technical knowledge.
Getting Started with Generative Expand
Before diving into the steps, let’s address some pre-editing essentials.
First, you’ll need to open your image in Photoshop in whatever way you normally do. For instance, you might import it directly from Lightroom, Camera Raw, or your computer’s file explorer.
The Basic Steps
- Open Your Image in Photoshop: Start by opening the image you want to expand. It doesn’t matter if you work with a Smart Object or a rasterised layer – both work fine!
- Select the Crop Tool: Press “C” on your keyboard to activate the Crop Tool. Ensure “Generative Expand” is selected in the Fill dropdown box.
- Adjust the Crop Handles: Use the handles at the corners and sides of your image to drag out the canvas to your desired size. You can change the aspect ratio or clear it to use a freeform ratio.
- Generate the Expansion: Click “Generate” and wait for Adobe to provide you with three expansion options. You can choose one of these or click generate again for more options. Delete the ones you’re not using.
- Review and Refine: Examine the expanded area for any strangeness.
Dealing with Low Resolution

Adobe’s generative features are high resolution up to 1024 pixels. If you’re expanding the sides of a full size image, you’ll likely encounter low resolution generation. This might result in a weird hatching pattern.
To combat this, you can smooth over this pattern using the Dust & Scratches filter followed by adding noise to match the surrounding texture.
High Resolution Generations
For those needing higher resolution, the solution involves generating the expansion in multiple smaller sections.
Use the rectangular marquee tool to select an area no larger than 1024 pixels. Generate the expansion for this section, choose your favourite result, and delete the rest.
Repeat this process until the entire expansion area is filled. Voila!
The Verdict: Generative Expand
Expanding your image with generative AI can save you time and effort while giving impressive results.
Whether you’re preparing a photo for social media or delivering it to a client, understanding how to use this tool effectively can enhance your workflow.
If you’re eager to expand your knowledge on Generative Expand (see what I did there… heh), there’s a lot more to learn and other tools we can use! For your educational pleasure, I’ve developed a more comprehensive guide to get you generating to your heart’s content. It’s over in The Learning Journey, so be sure to grab a membership and test it out!
Happy editing!


