Camera settings can make or break your pet photography, so let’s get into the the five essential camera settings pet photographers need to know. They can be a little tricky to understand on the first go, but trust me – mastering these foundations at the start will make your life SO much easier later on!
RAW vs JPEG: The Power of RAW
First up, let’s talk about RAW vs JPEG. Setting your camera to save photos in RAW is a game-changer.
Why?
When you shoot in RAW, your camera records all the data from the sensor. This means you get a TON more flexibility in editing, allowing you to bring out more details and create more dynamic photos.
Yes, RAW files can look a bit flat and grey straight out of the camera, but that’s because they’re the original files, nothin’ but pure data. When shooting in JPEG, your camera converts the RAW file to JPEG, guessing how it might look “best.” In RAW, you get to decide what looks best.
Sure, RAW files are larger, but it’s a small price to pay for the quality you get. Investing in an external hard drive to save your photos is a great idea. Each camera has a different menu location to change this setting, so you might need to Google the manual to figure it out. Some phones can even record photos in RAW with apps like Halide.
Below you’ll see some examples. The left example was taken in JPEG, the right in RAW. They are both exactly the same photos, edited as close to one another as possible (if I applied exactly the same edits the results would be completely different).
Note the fur texture in the close up…. and note the sky and clouds in the landscape.
Burst Mode: Capture Every Expression
Next, let’s talk about burst mode.
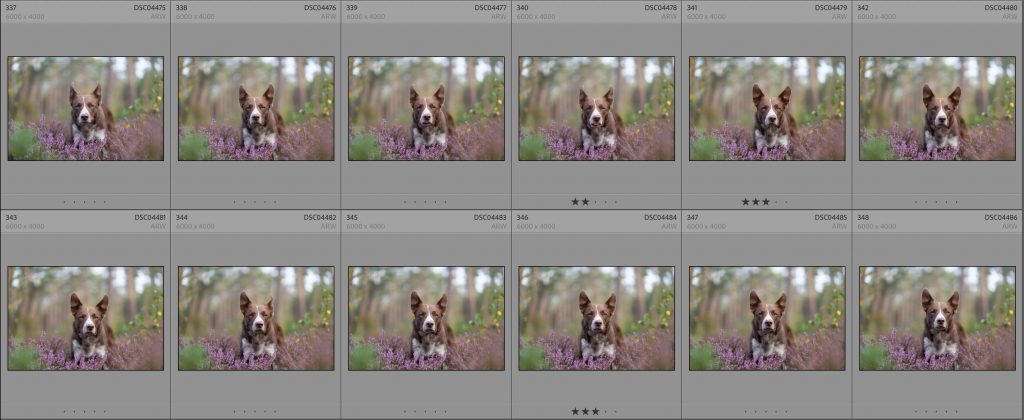
Pets are unpredictable, and capturing their expressions can be challenging… That’s where burst mode comes in. By firing off several shots in quick succession, you increase your chances of getting that perfect shot.
Even if your model is sitting still, they will give you a wiiiide range of expressions in a very short timeframe. Using burst mode ensures you have multiple photos to choose from, improving the odds of getting a sharp, in-focus shot.
Does this mean your camera should be on super fast burst mode all the time?
It’s a no from me – mine is usually on “Medium,” unless I’m doing action photos. Find the sweet spot between taking too many photos with slight variations and not capturing enough.
Shutter Speed: Freezing Motion
Shutter speed is one of the most crucial camera settings for pet photography, especially for action shots. A fast shutter speed (like 1/1250) freezes motion, perfect for capturing your pet in action. For calmer moments, slower speeds (around 1/400) work beautifully.
Experiment with different shutter speeds to see what works best for you. Fast shutter speeds are great for playtime shots, while slower speeds are ideal for relaxed, posed portraits… that being said, my shutter speed is rarely below 1/400 because any slower and I start noticing motion blur.
Aperture Settings: Creating Depth
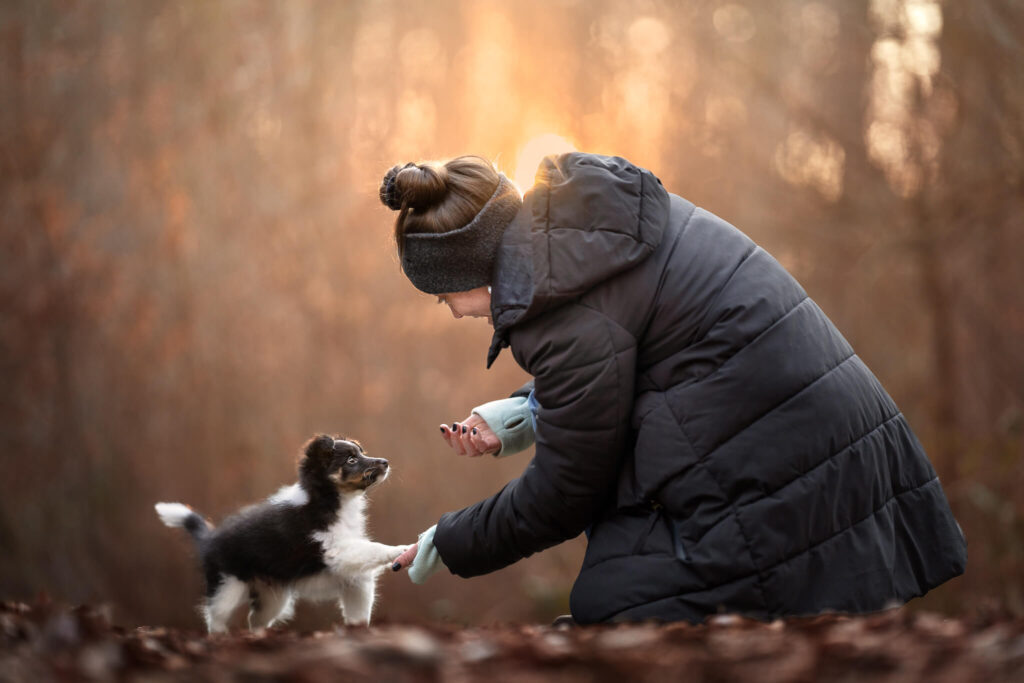
Aperture settings control the depth of field in your photos. For stunning portraits with creamy bokeh, opt for a wider aperture (low f-stop). This blurs the background and makes your pet the star of the shot.
Play around with different aperture settings to see how they affect your photos. A wider aperture (like f/1.8) will give you that beautiful background blur – the nose will likely be out of focus (which isn’t a concern for me personally), but some lenses will be soft when at wider apertures. A smaller aperture (like f/8) will keep more of the scene in focus, but this lets much less light into your camera and means your ISO will need to be higher.
ISO Settings: Managing Light and Noise
ISO settings control your camera’s sensitivity to light. While higher ISO can brighten a dark scene, it also introduces noise. Aim for the lowest ISO possible for the situation you’re in, to maintain image quality. Adjust as needed based on your lighting conditions.
In bright conditions, you can probably keep your ISO low (100-400). In darker conditions, you might need to increase it (800-2000+), but be mindful of the noise. Each camera handles noise differently, so find out what works best for yours.
The Wrap-Up:
And there you have it – the five essential camera settings every pet photographer needs to know. From RAW format to burst mode, mastering these settings as a beginner will elevate your pet photography game and give you the foundational knowledge you’ll need to create stunning portraits.
For beginners looking to dive a little deeper, you can grab my Camera Settings Masterclass ! Great news for Learning Journey members – the workshop is included with your membership!
If you’re not a Learning Journey member, don’t fret! Sign up for your membership today and you’ll have access to the Beginner Workshop (and all recorded workshops from the past 3 years! Yay!) along with oodles of in-depth lessons and hundreds of hours of video tutorials on everything – including camera settings!.
You can join the Learning Journey via this link, or click here to register for the workshop as a standalone lesson.
See you next time!
Emily, Loki & Journey
Ps. Want to pin this on Pinterest for later, or share it to your stories to help your friends with new cameras to master their settings?
Check out my graphics below!
