Whether you’re a new photographer looking to learn how to take better photos of your dog, or a seasoned professional pet photographer looking to add some magic through editing, it’s important to know the different elements that go into creating dreamy, whimsical, and magical photos of pets.
As we close out our wondrous 3 Weeks of Wizardry email series, I’m buzzing with excitement for my free “making magic webinar” where I’ll walk you through a recap on some of the basic tips, tricks and techniques we’ve explored during the email series, live tomorrow night (but catch the recording if you’re reading this later!). If you’ve been following along for all three weeks (thank you! ?) you’ll know that the mini-series and webinar follows the three stages of the Learning Journey Roadmap – Beginning, Creating, and Exploring.
There’s also a Beyond… for Pro members who want business resources and new editing tutorials every month. ?
Why am I telling you this?
Well, tomorrow’s webinar is extra exciting because we’ll also be celebrating the grand re-opening of our Learning Journey memberships on the 1st of May! This means you’ll be able to join and access hours of videos, in-depth training sessions, course materials and more – taking you all the way from happy snapper to professional pet photographer!
Beginning
The Beginning stage is all about getting your foundations right before you move on. This means nailing the basics like composition, camera settings and gear selection.
In the Learning Journey, you’ll find loads of lessons covering everything from using your phone for photos to in-depth full lessons on lens selection and camera choices… all with helpful example images and videos to guide you through.
Our 3 Weeks of Wizardry email series, and Making Magic webinar covers only a smidge of these. We touch on basic composition, camera settings and gear selection.
Composition Basics
The most important things to remember when composing your shot are pretty simple really.
- Give the dog space: Space to look into, space around them, space to tell their own story.
- Change your perspective: Get down low to capture more background!
- Don’t chop anything off: This includes ears, paws, tails… capture your whole dog to level up your end result.
Camera Settings
Where possible, and when shooting with a camera, you should set your camera up to shoot in RAW format. This will give you more control over more of your photo in the editing process. You may not be able to achieve this full control with your smartphone, but there are full lessons on camera settings in the Learning Journey, along with a load of content specifically for phone photographers!
I encourage all photographers to get as much control over their cameras and camera settings as possible. To learn what focus settings are going to help make sure the eyes of your dog are tack-sharp, as well as why the exposure triangle matters in getting the photos you’ve been imagining.
Lens Selection
When it comes to making magical pet portraits, choosing the right wand is critical. Your best wand (sorry, lens) is going to change depending on the shot and background you’re working with. For the kind of soft, blurry backgrounds you see in my portraits, you’ll need to go longer in your focal length and make sure you’ve got a wide maximum aperture.
My sharpest (and most-used) lens is my Sony 135mm f/1.8 GM, but I also recommend trying out the 85mm f/1.8 if you’re a photographer ready to graduate from your kit lens!
Light
If you take one lesson from this article, please let it be this:
Full midday sun is not what we’re after.
Harsh sunlight is unflattering for everyone!
Whether you’re seeing odd shadows or colours that your dog definitely isn’t… the full, midday sun will work against you. Try to shoot in the early mornings or late afternoons when the sun is lower and softer, but be wary of the added orange in the afternoon sun if you’re having it shine directly on your subject!
I’ll dive deeper into lighting during the webinar – stay tuned, or head to the Learning Journey if you’re already a member.
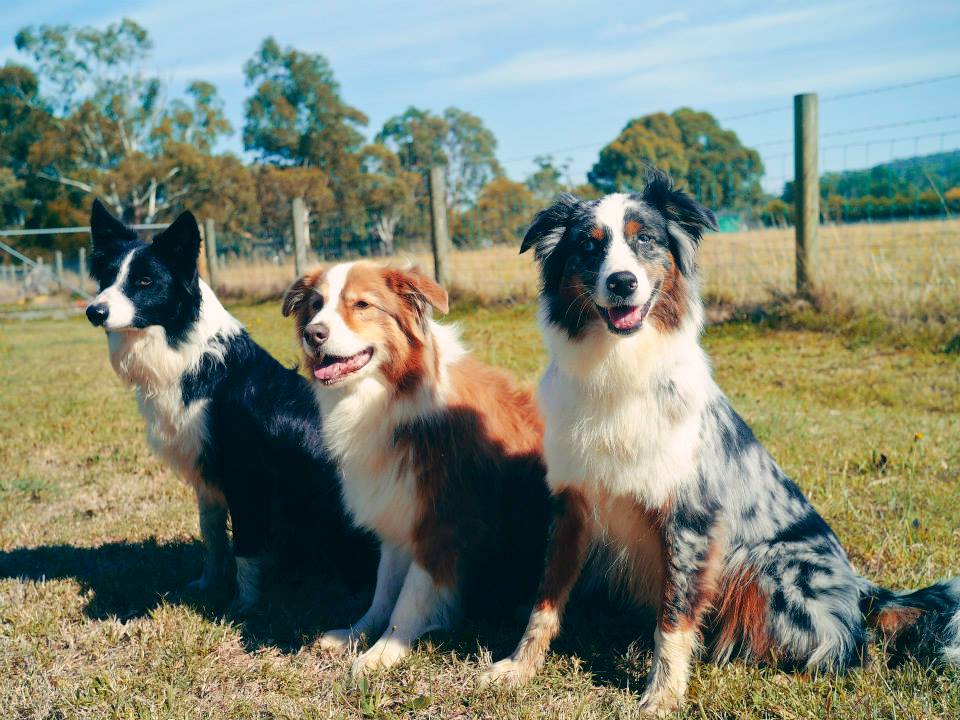
This kind of harsh light and crazy shadows just ain’t it.
Creating
Location Scouting
When looking for a location, there are three big things to consider:
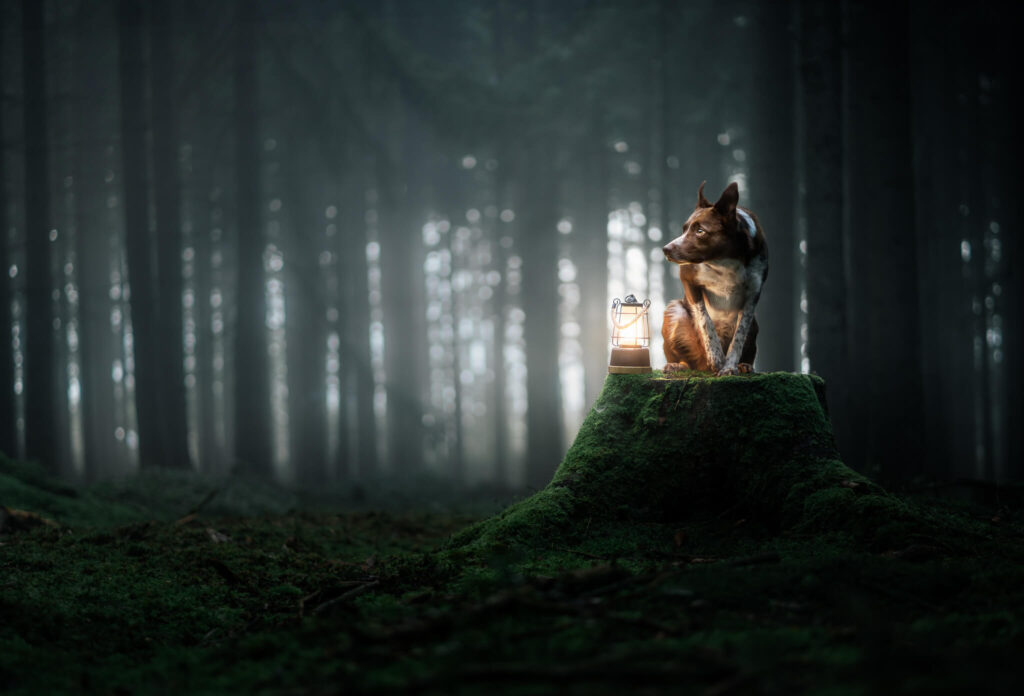
- The purpose of the photo – what story are we trying to tell in our image?
- Light – where is it? How much is there? What temperature is the tone?
- Visual interest – anything that is visually interesting or eye-catching in the scene. We can use this to help tell our story (purpose). I personally love using moss!
If you’re ready to hone in your location scouting skills, you can download my location reference sheet by clicking here! There are also hours and hours of lessons in the Learning Journey about locations, with recorded photo walks in the woods, and in the streets around my home.
Pose & Expression
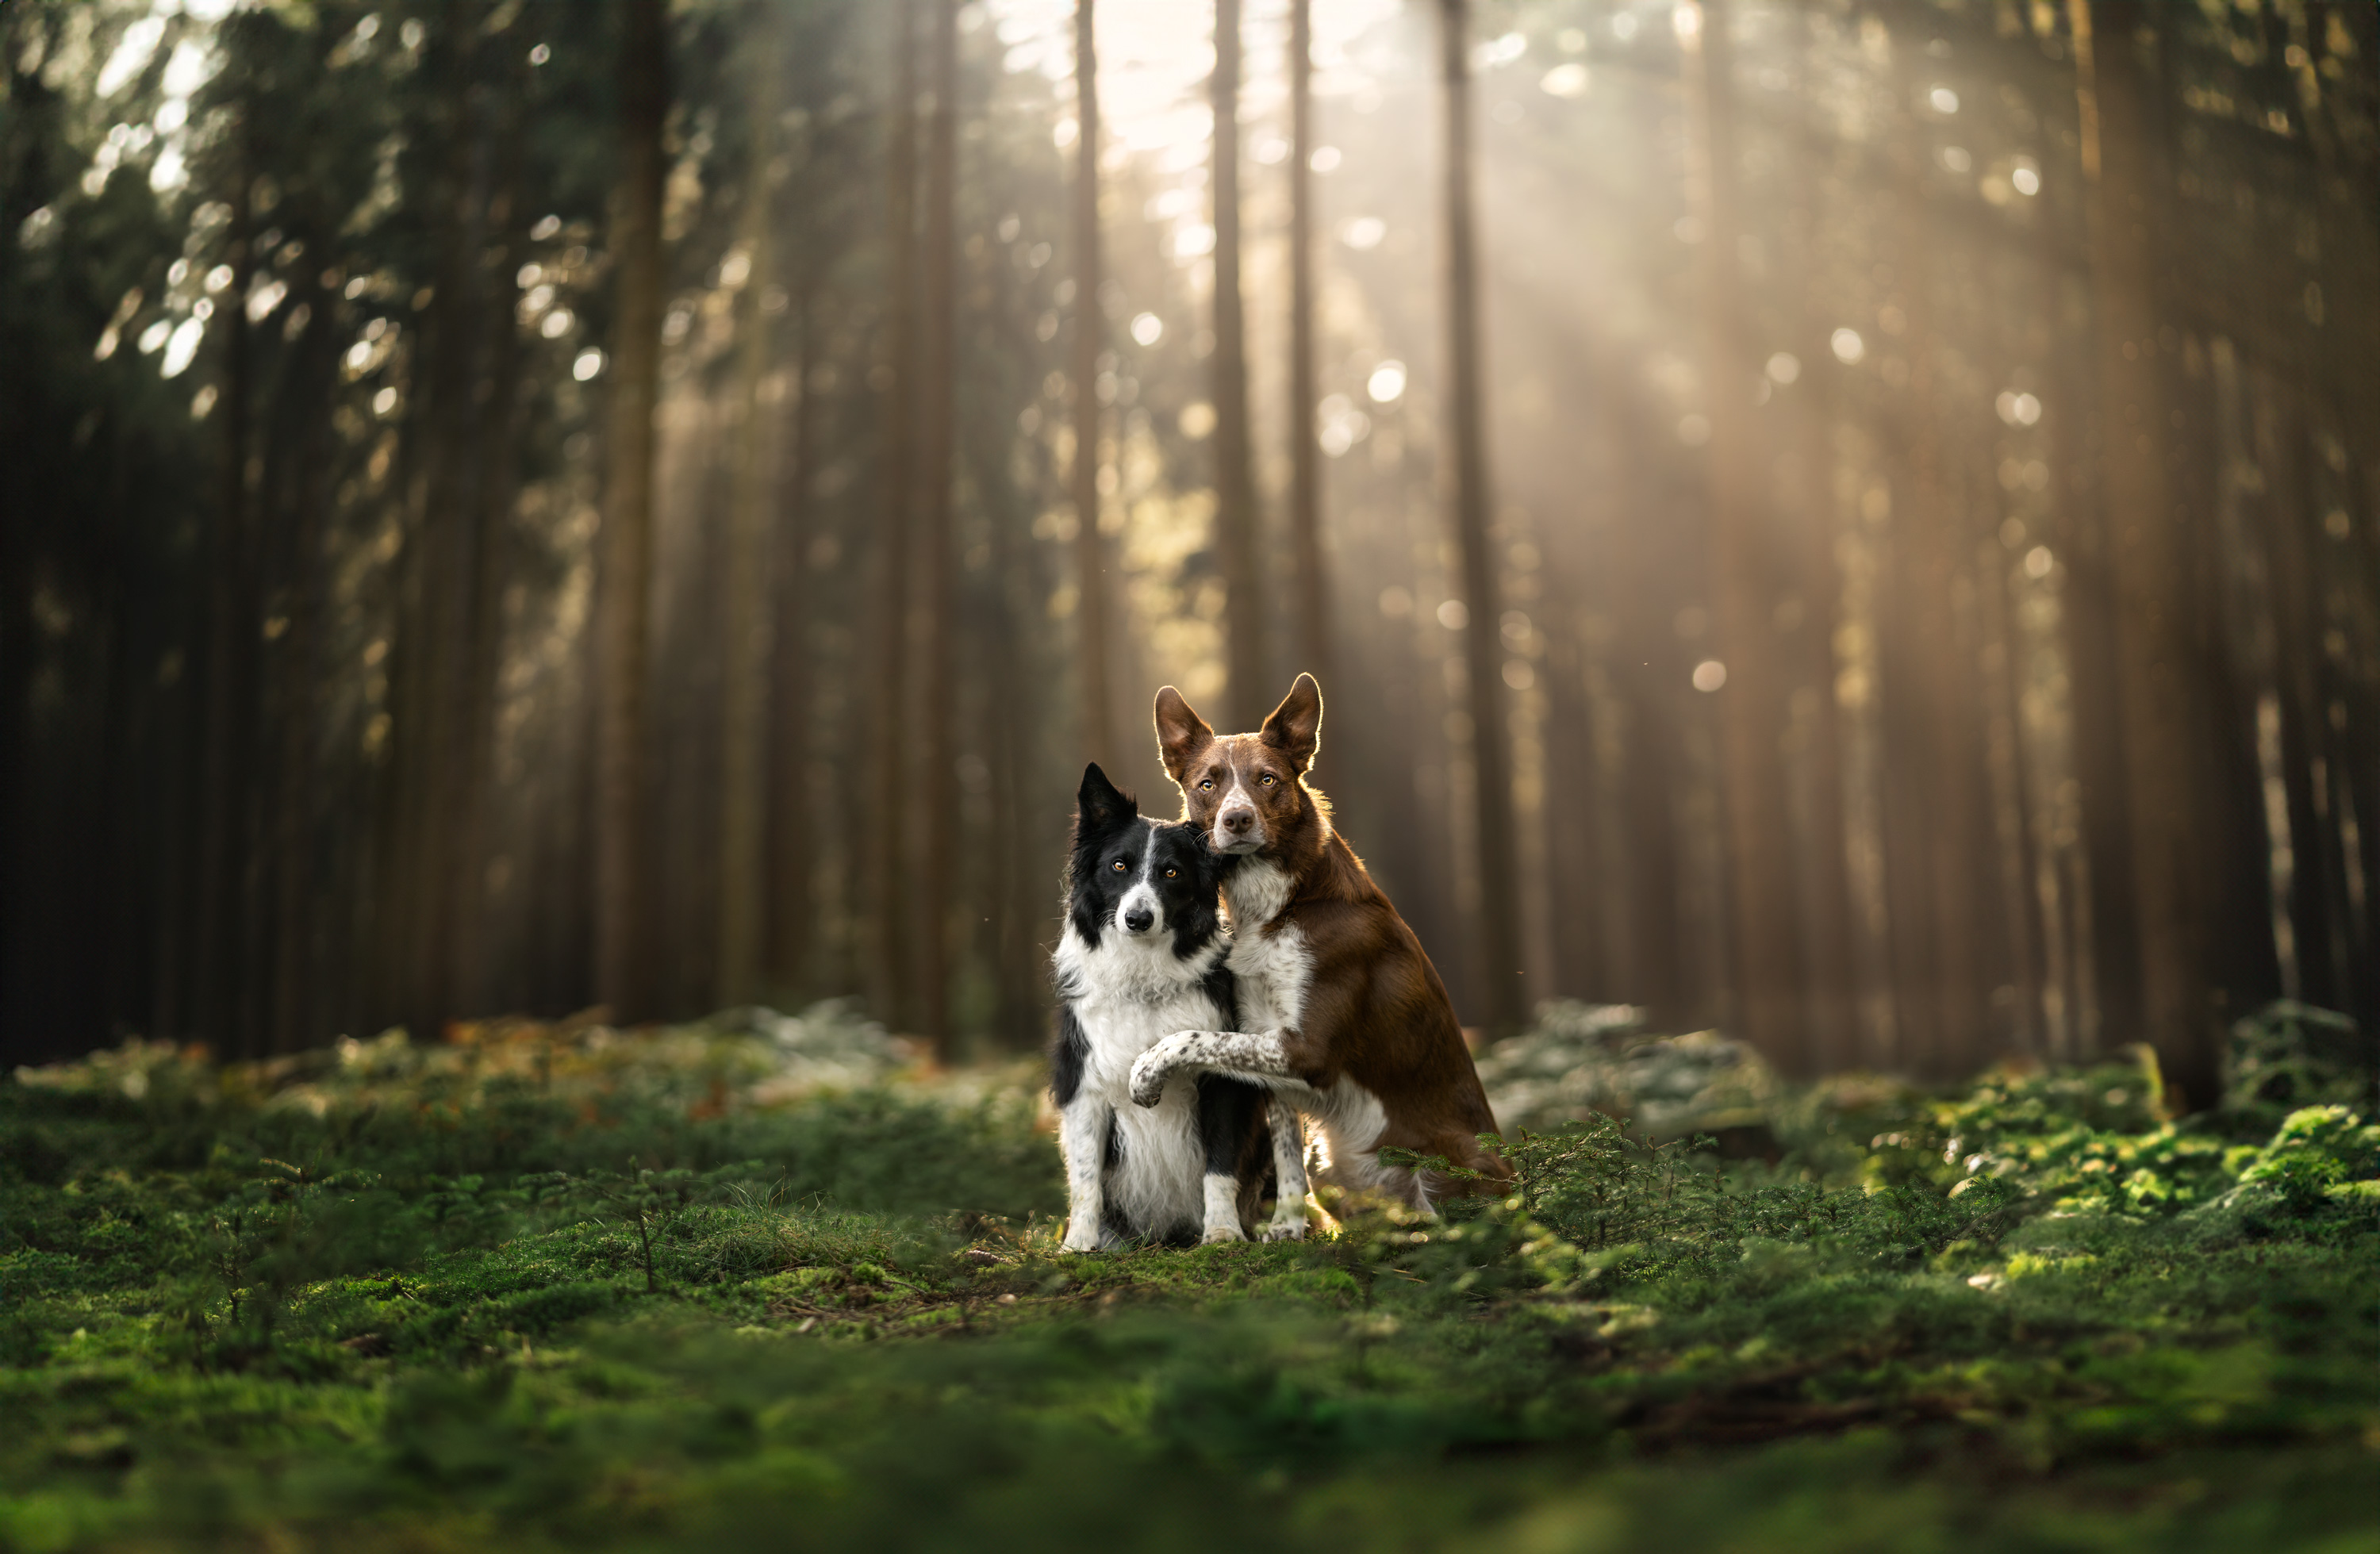
When it comes to visual storytelling, your best asset is your model’s personality. Keep your posing and expression prompts true to the dog’s unique personality. If your model has a goofy natural expression and playful eyes, don’t put them in a serious setting (and vice versa).
In the webinar I’ll be sharing a quick overview of a few poses and expressions, and connecting them with their emotion or meaning. But, in the Learning Journey you’ll find a tonne of lessons on expression and posing, and even Snoot School, helping you train your model (and make it fun) with advice from one of my favourite trainers.
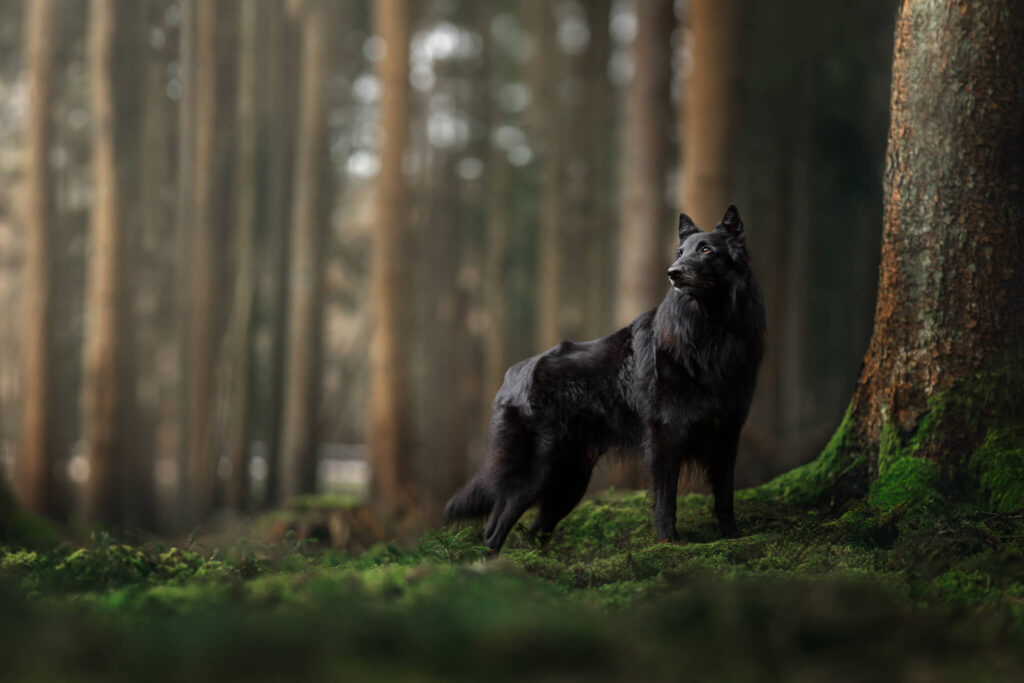
The pose, expression, weather and location all had a HUGE part to play in the story of this photo.
Exploring: Editing Basics
When used properly, edits are your best friend!
That’s why its essential to sharpen your editing skills – right from the very basics. Some of my favourite editing tools include Radials and Curves… if you’re not familiar with these terms, check out the webinar!
Since editing is such a huge chunk in the process with so much to learn, it’s tricky to cram it all into a blog post, email series and webinar. The Learning Journey has loads of lessons on editing, along with side-by-side examples, quizzes and (recorded) live editing sessions.
A new feature has been Explore the Edit sessions for members, where I peel away at each layer of edits and explain how (and why) I’m making each adjustment.
These have been crazy popular and seem to be a favourite of all Learning Journey members. If you’ve ever wished someone could walk you through an edit in real time (and using real terms) – this is for you!
Check out an example, taken directly from the Learning Journey, and uploaded to YouTube, for a teeny tiny sneak peek!
What’s next?
Now that you’ve got some new skills under your belt, you’re ready to take the next step!
Be sure to register for the webinar on 28th April 2024 at 20:00 (CEST), an exciting live session where I’ll share some of the key ways you can create more magical pet portraits. If you’re reading this from the future, check out the recording of the live session, and find out more about getting your Learning Journey membership.
Can’t wait to show you how you can go from a happy snapper to a booked and busy professional pet photographer!