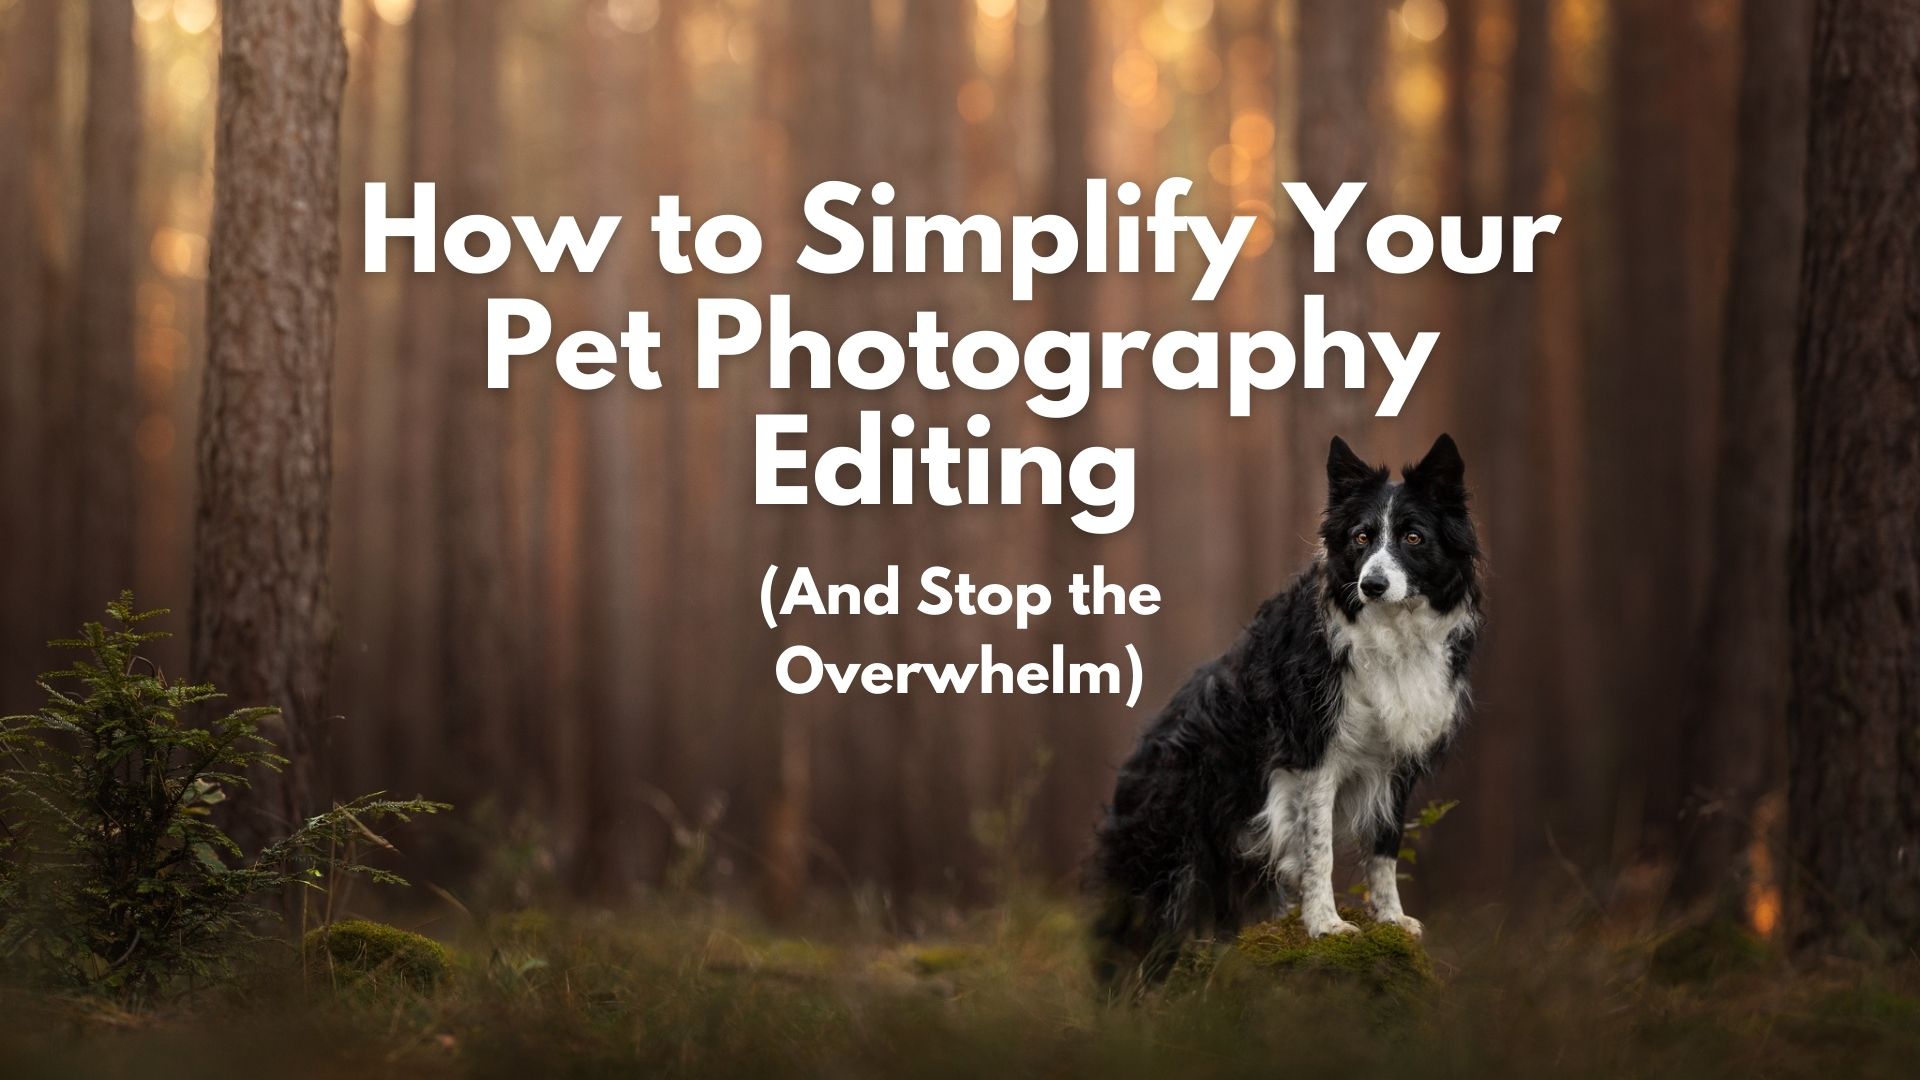
If you have ever opened a photo in Lightroom and felt an immediate sense of dread… you are not alone. Pet photography editing can be one of the most overwhelming parts of the creative process. We are told we need “pop,” we are told we need “the perfect preset,” and we’re given about a thousand different sliders to play with.
For many photographers—especially those of us with neuro-diverse or perfectionistic brains—this leads to total decision fatigue. We end up moving sliders back and forth until the photo looks “muddy” and we just want to close the laptop and give up.
The goal of this post is to give you a simple pet photography editing framework that reduces the “mess” and helps you get back to the art of seeing.
The Core Goal: Stop clicking and start directing
Most editing tutorials focus on the how—”move this slider to +20″—but the how doesn’t matter if you don’t know the why. In my work, the goal is always the same: Direct my audience to my dog. Trap them in my photo. Every edit I make is filtered through that one goal. Having this “north star” is the only thing that stops the brain-melt of the unlimited slider.
The 5-Step Simplified Framework: What to do (and in what order)
To stop the “random clicking” phase of editing, you need a repeatable process. This is the general flow I use for 99% of my images.
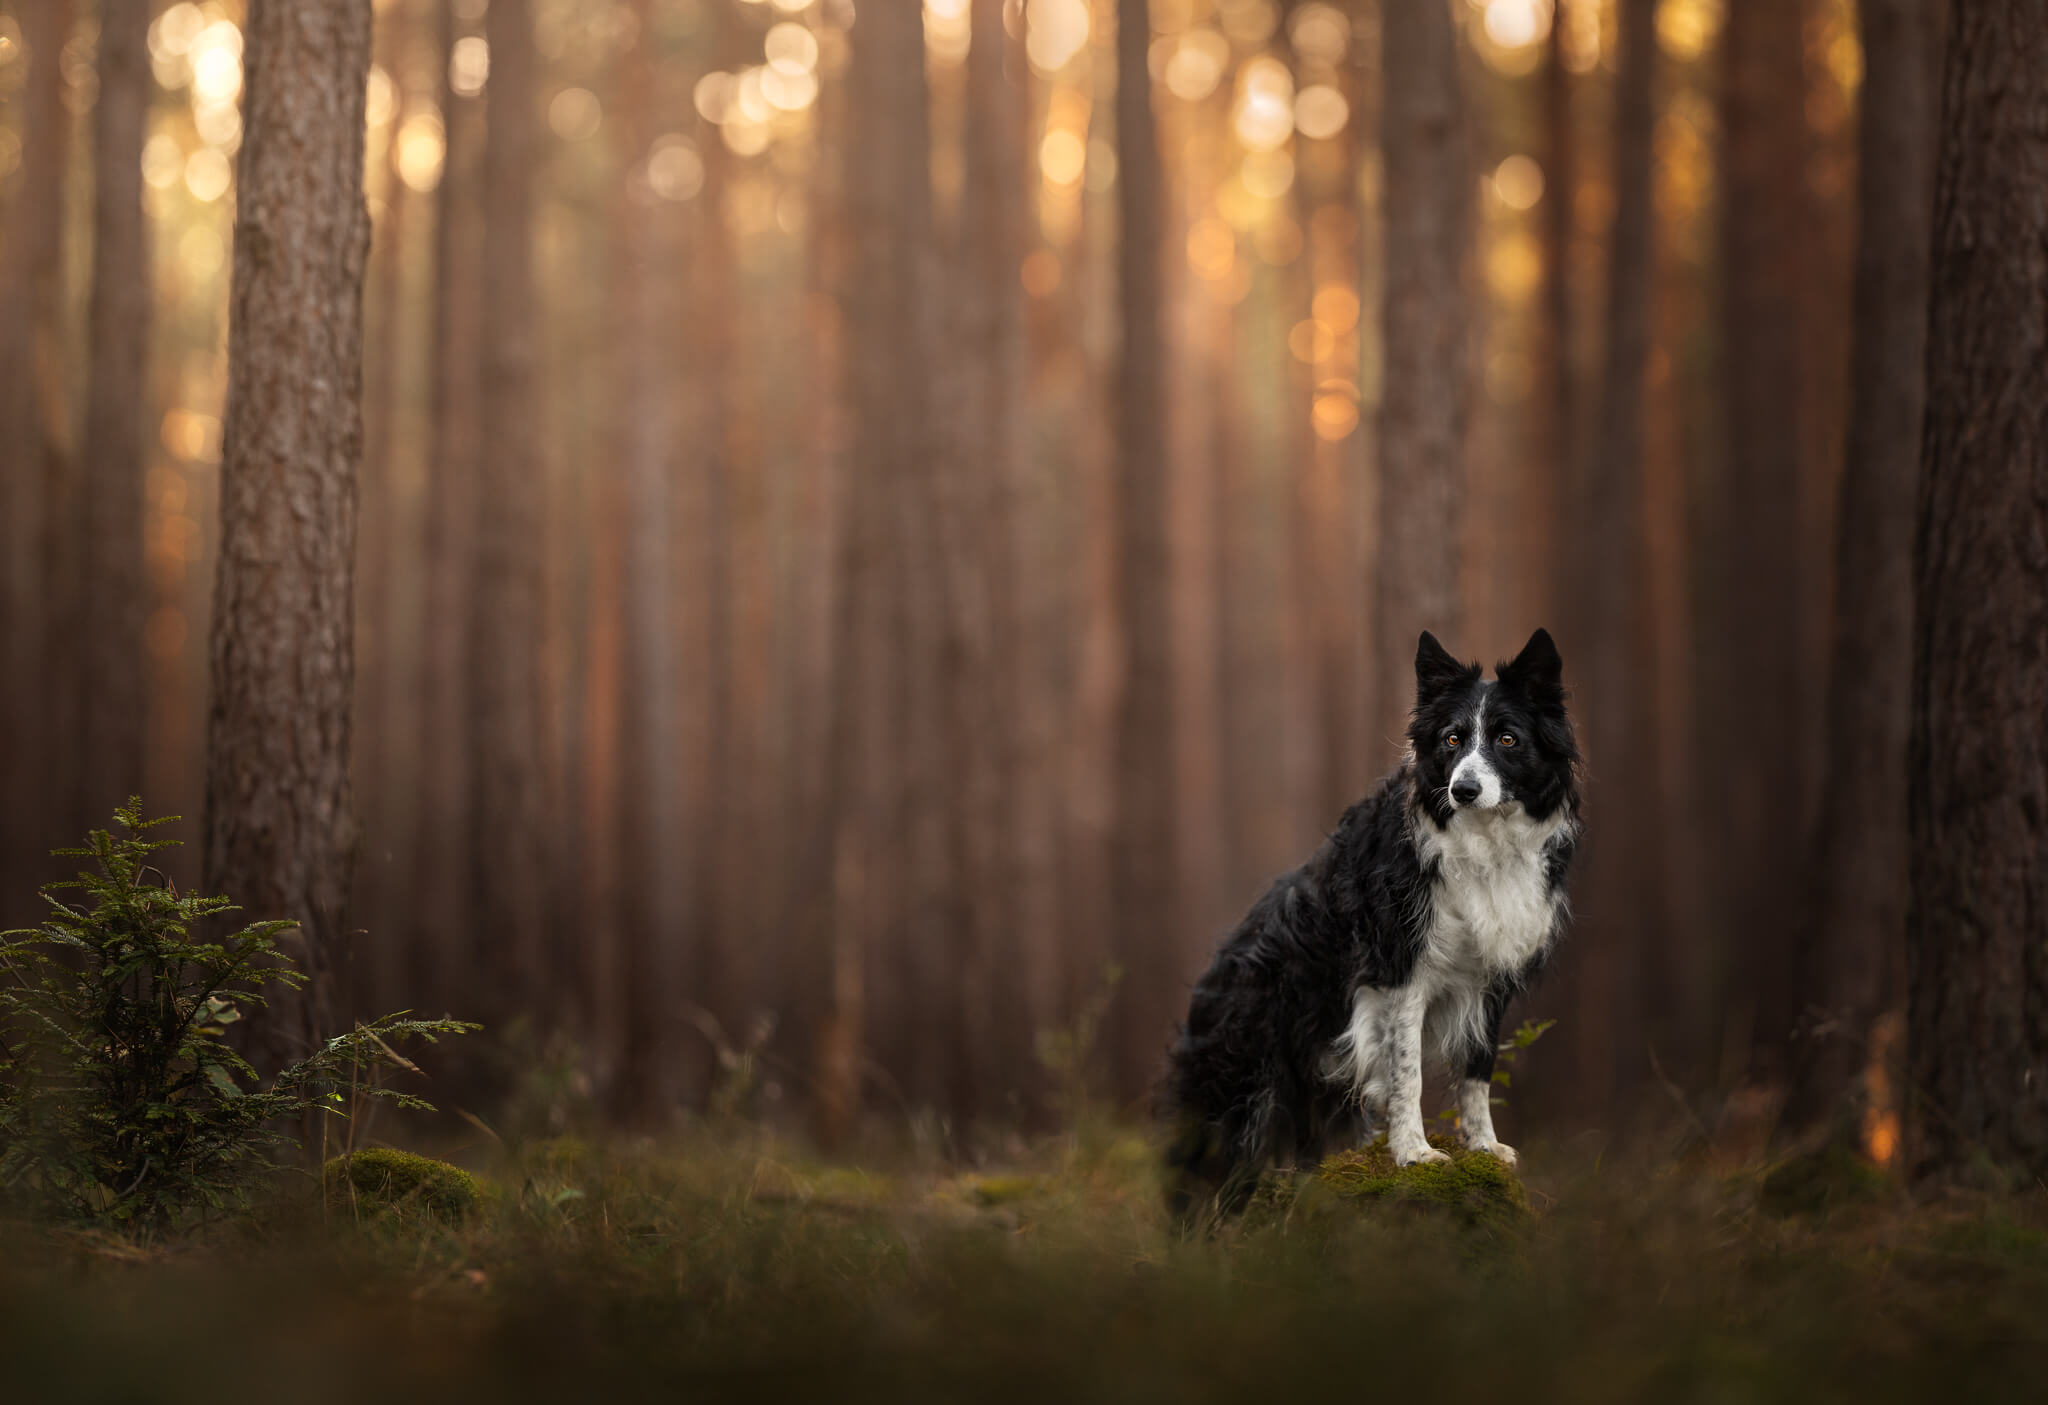
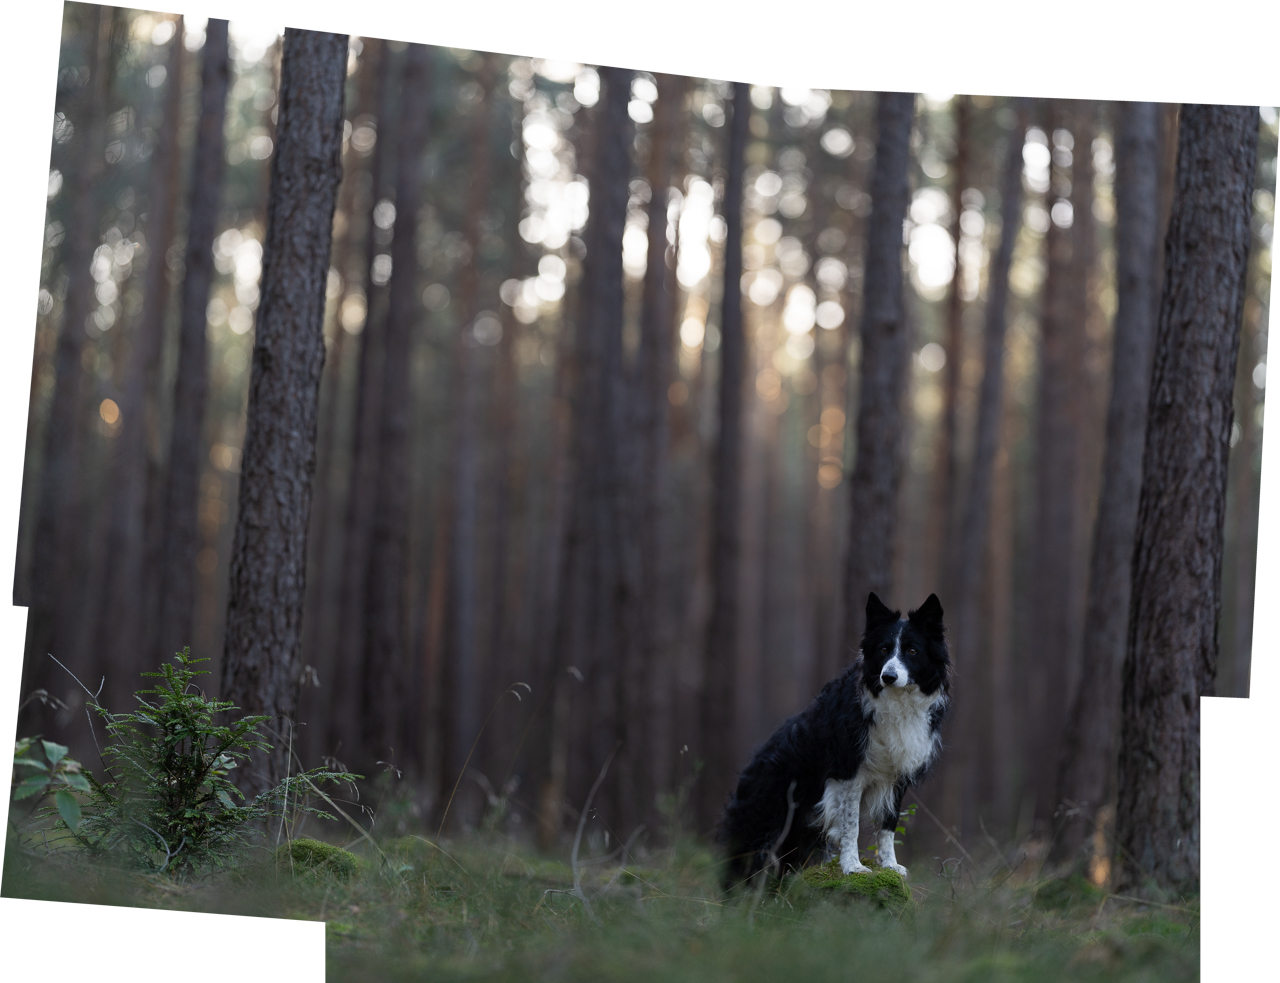
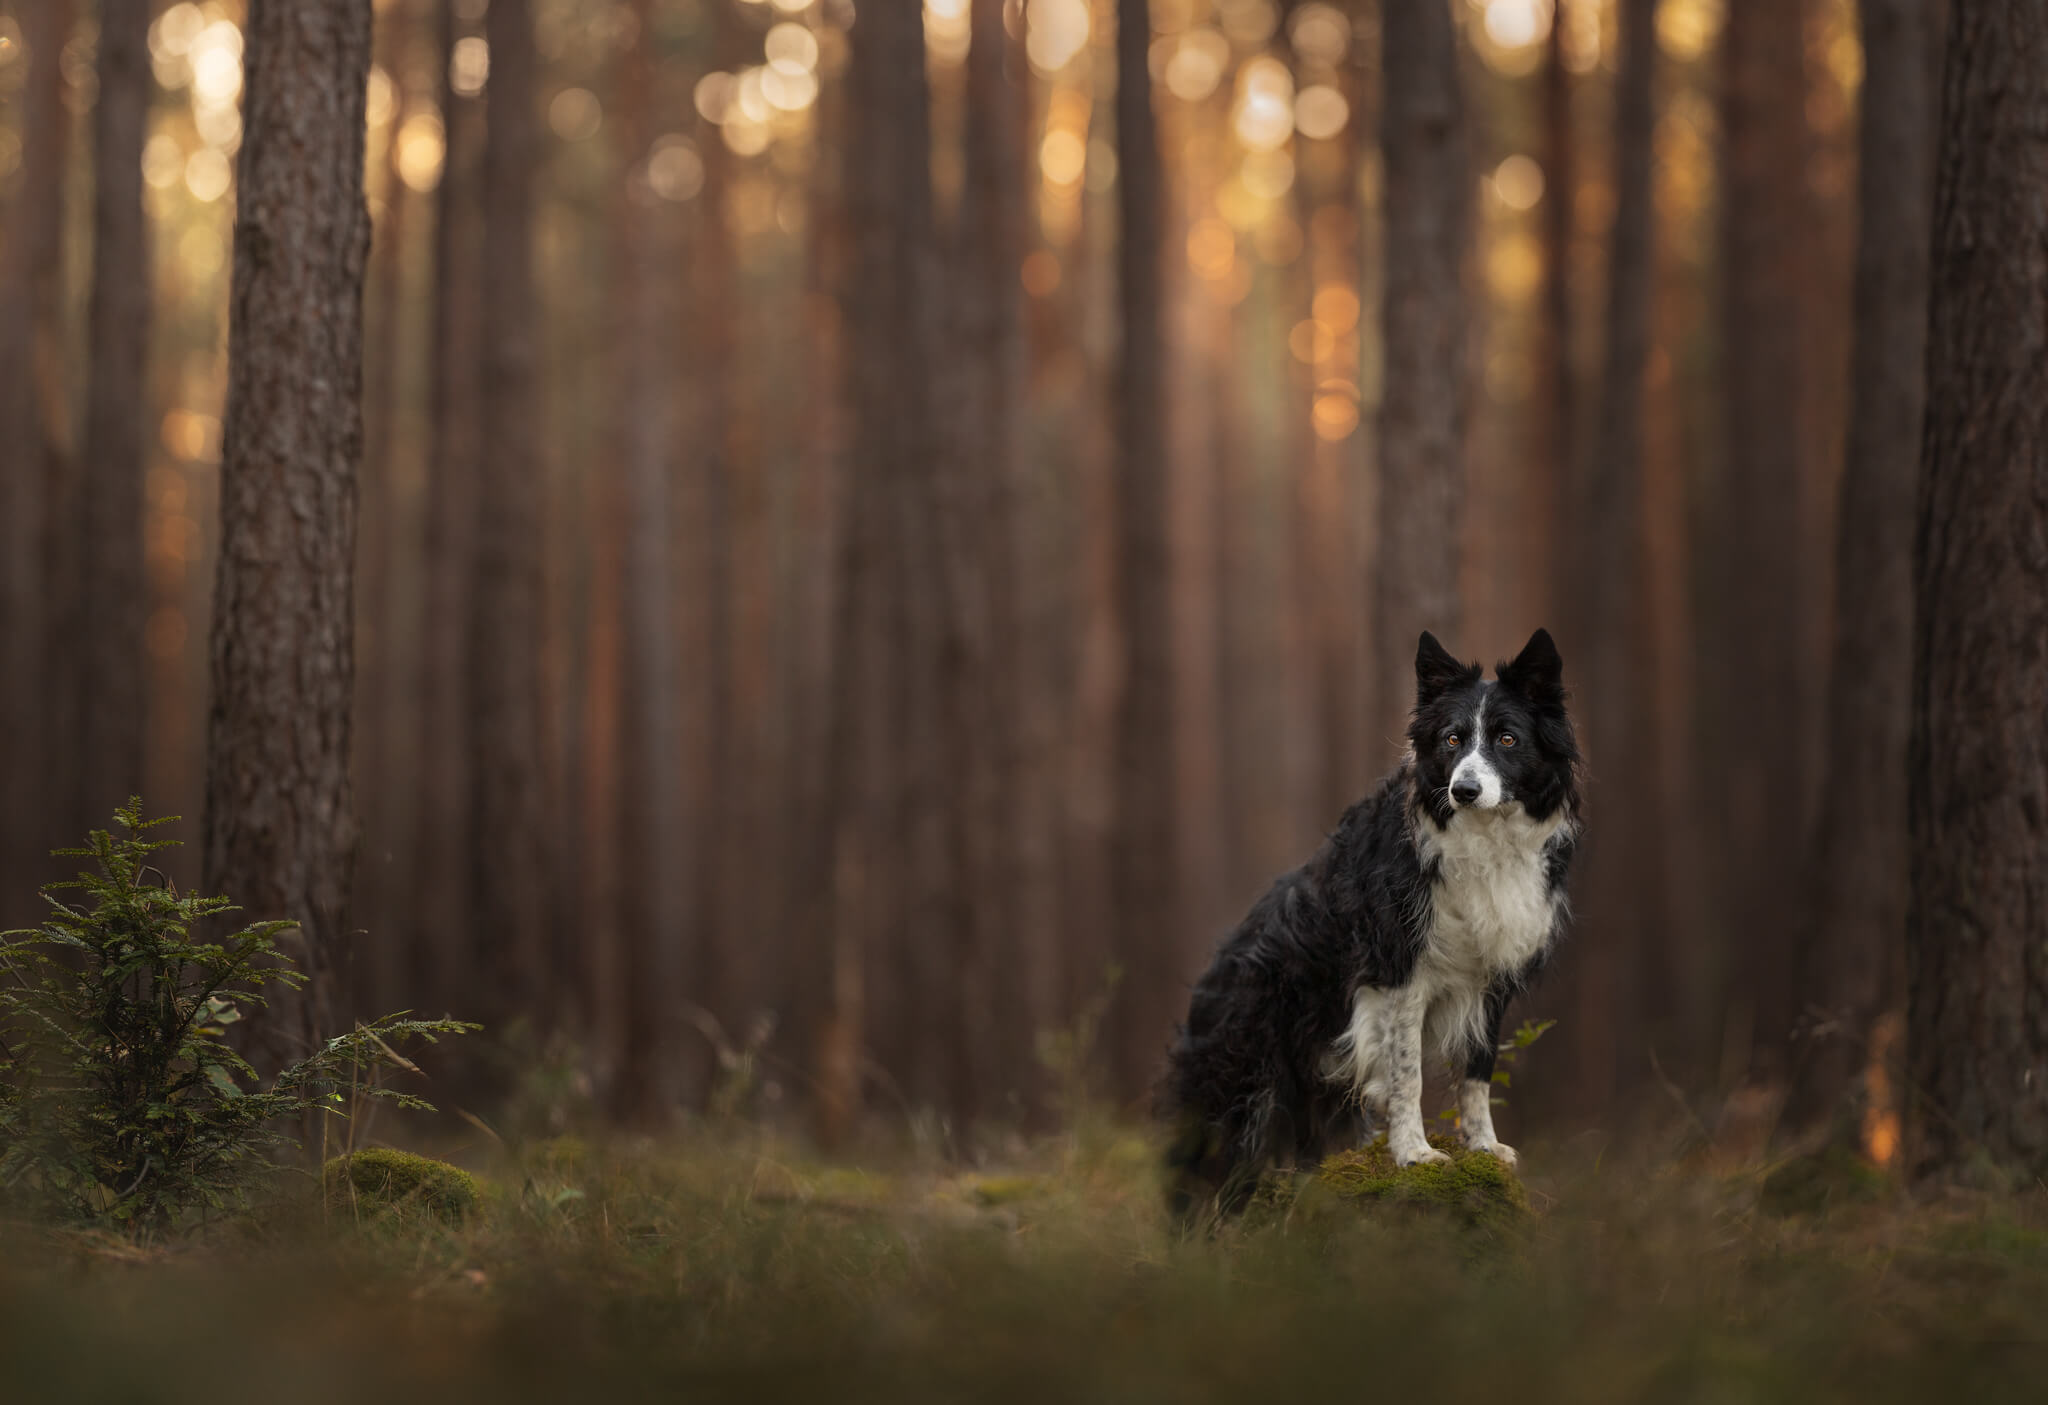
1. The Baseline (Global Fixes) This happens first in Lightroom or Camera Raw. You aren’t doing anything fancy yet; you are just getting the photo to a neutral point. This includes correcting your white balance, setting basic exposure, and ensuring the dog’s face and eyes are bright and sharp so the audience is immediately drawn to them.
(Shown below)
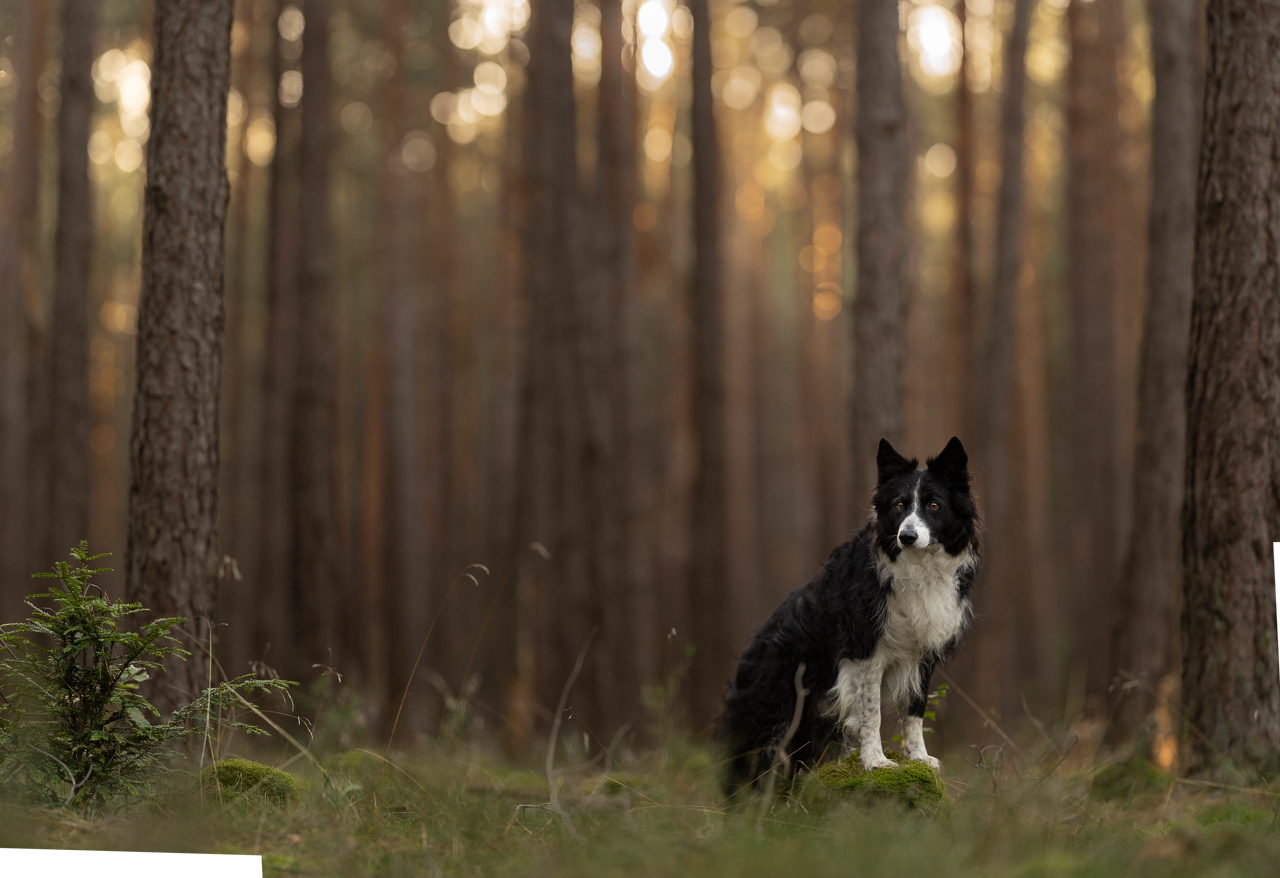
2. Setup & Cleanup Before you add any special effects, you need to “prepare” the photo. This is the retouching phase where you remove leashes, distracting twigs, or grasses. By reducing these distractions, you start to “trap” the viewer in the photo without their eye wandering off to a stray branch.
3. Shaping the Light (Look Here!) Light always comes before colour because light dictates the mood and depth of the image and helps guide your audience’s eye where you want it to go. I use Curves layers to shape the light: one layer to darken everything and add some richness and depth, one darkening the outside in an open vignette and using a “spotlight” to direct the eye toward the dog. Remember: bright areas say “LOOK HERE,” while dark areas say “NOT ALLOWED”.
4. Color Harmony Once the light is shaped, then we look at the colors. This step is about making the image feel cohesive, not just “saturated”. I use selective color or hue/saturation layers to work on specific tones like yellows and greens, ensuring they support the story rather than distracting from it.
These three steps are shown below
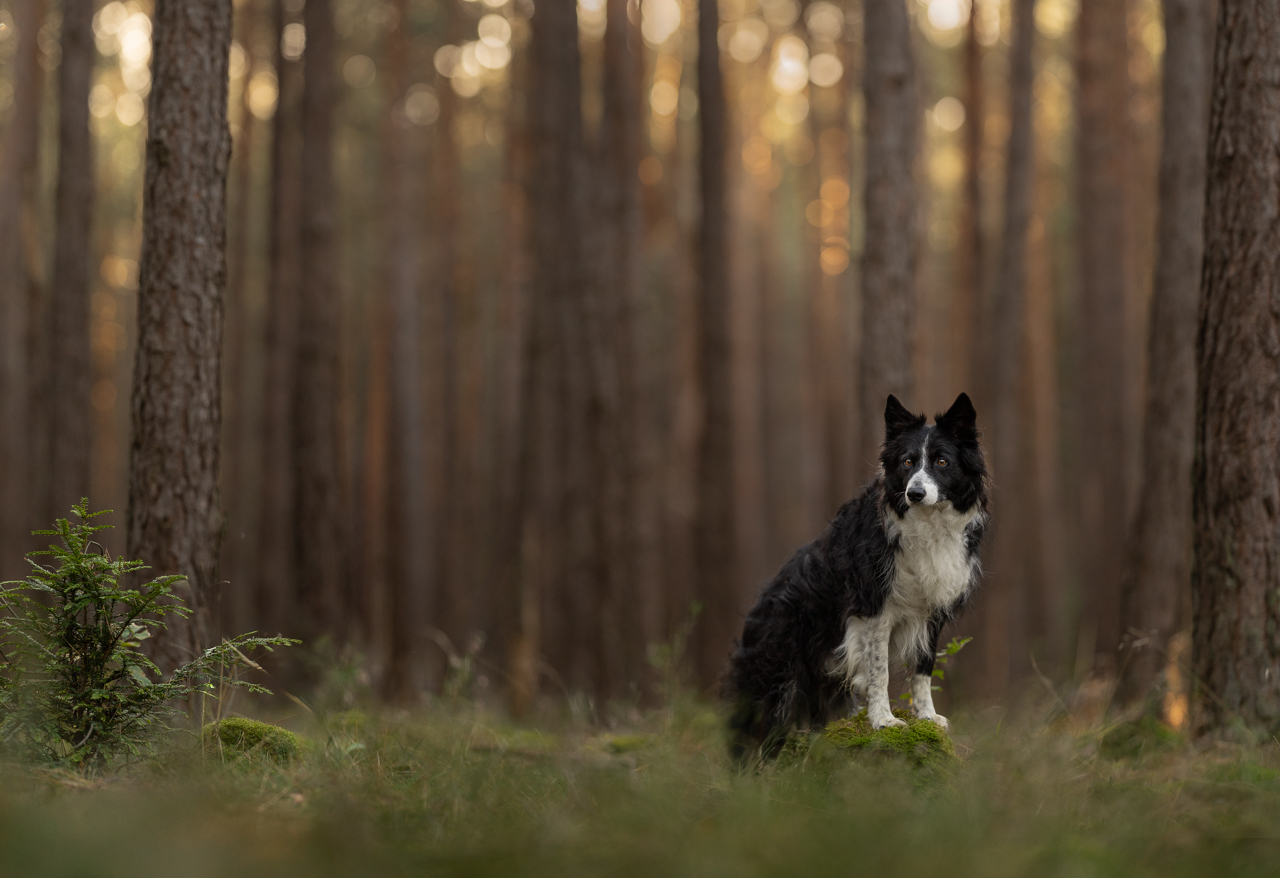
5. Elevating the Art (The Optional “Fancy” Stuff) From here on out, everything is optional. These are the steps used to “elevate” the photo.
This might include adding levels to give the dog “shiny whites” and contrast, using gradients to enhance the glow of the light, add a pop of colour and contrast, or help separate the dog from the background , or using subtle dodging and burning to make the subject look more 3D.
You’ll find the full before/after at the bottom of this post!
Knowing when to STOP
The biggest struggle for most photographers isn’t starting… it’s finishing. We feel like we should be doing more, but when you follow a framework, you reach a point where the subject is clear and the distractions are gone. That is your exit ramp. You don’t need to keep going just for the sake of it.
This is something I see a LOT in the Learning Journey Community, when members have a more “simple” photo (think snow, beach, open field) and they want to go crazy and do ALL THE THINGS… but that photo needs a more simple touch, NOT a sledgehammer!
Want to see the map?
I’ve put together a more detailed FREE Editing Framework Workbook that walks you through these steps with more depth. It’s designed to help you reduce that “messy” feeling and give you a clear map to follow.
By signing up, we’ll send you a link to the Editing Framework pdf – check your spam if you haven’t received it! This will add you to our mailing list where we share tons of tips, tricks, photography thoughts and inspiration… but of course you’re welcome to unsubscribe any time!
If you try these steps and find yourself wanting to dive deeper, or if you want to watch me apply this framework live and though multiple editing tutorials, AND get feedback on your own work, you are always welcome to join us in The Learning Journey. The Lifetime membership is open anytime to new members, and it’s where we go from “knowing the steps” to truly “understanding the art.”
Check out The Learning Journey!
Otherwise, if you’re more in the mood for a one-off tutorial, my Basic Process Tutorial (+ bonus!) goes through the steps I use in 99% of my editing process, clearly explaining the rationale as we go!
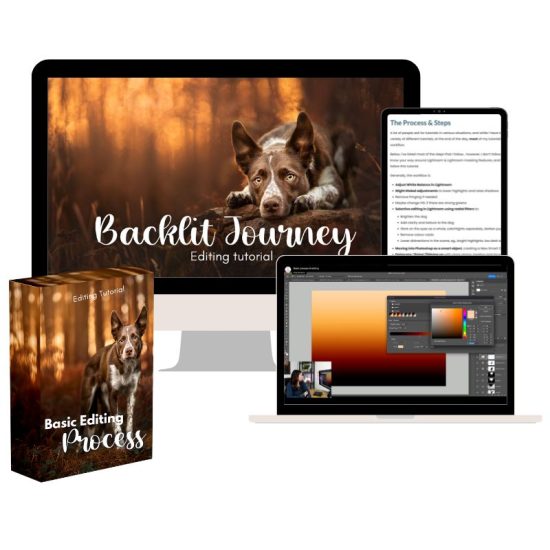
Backlit Journey – TWO Editing Tutorials!