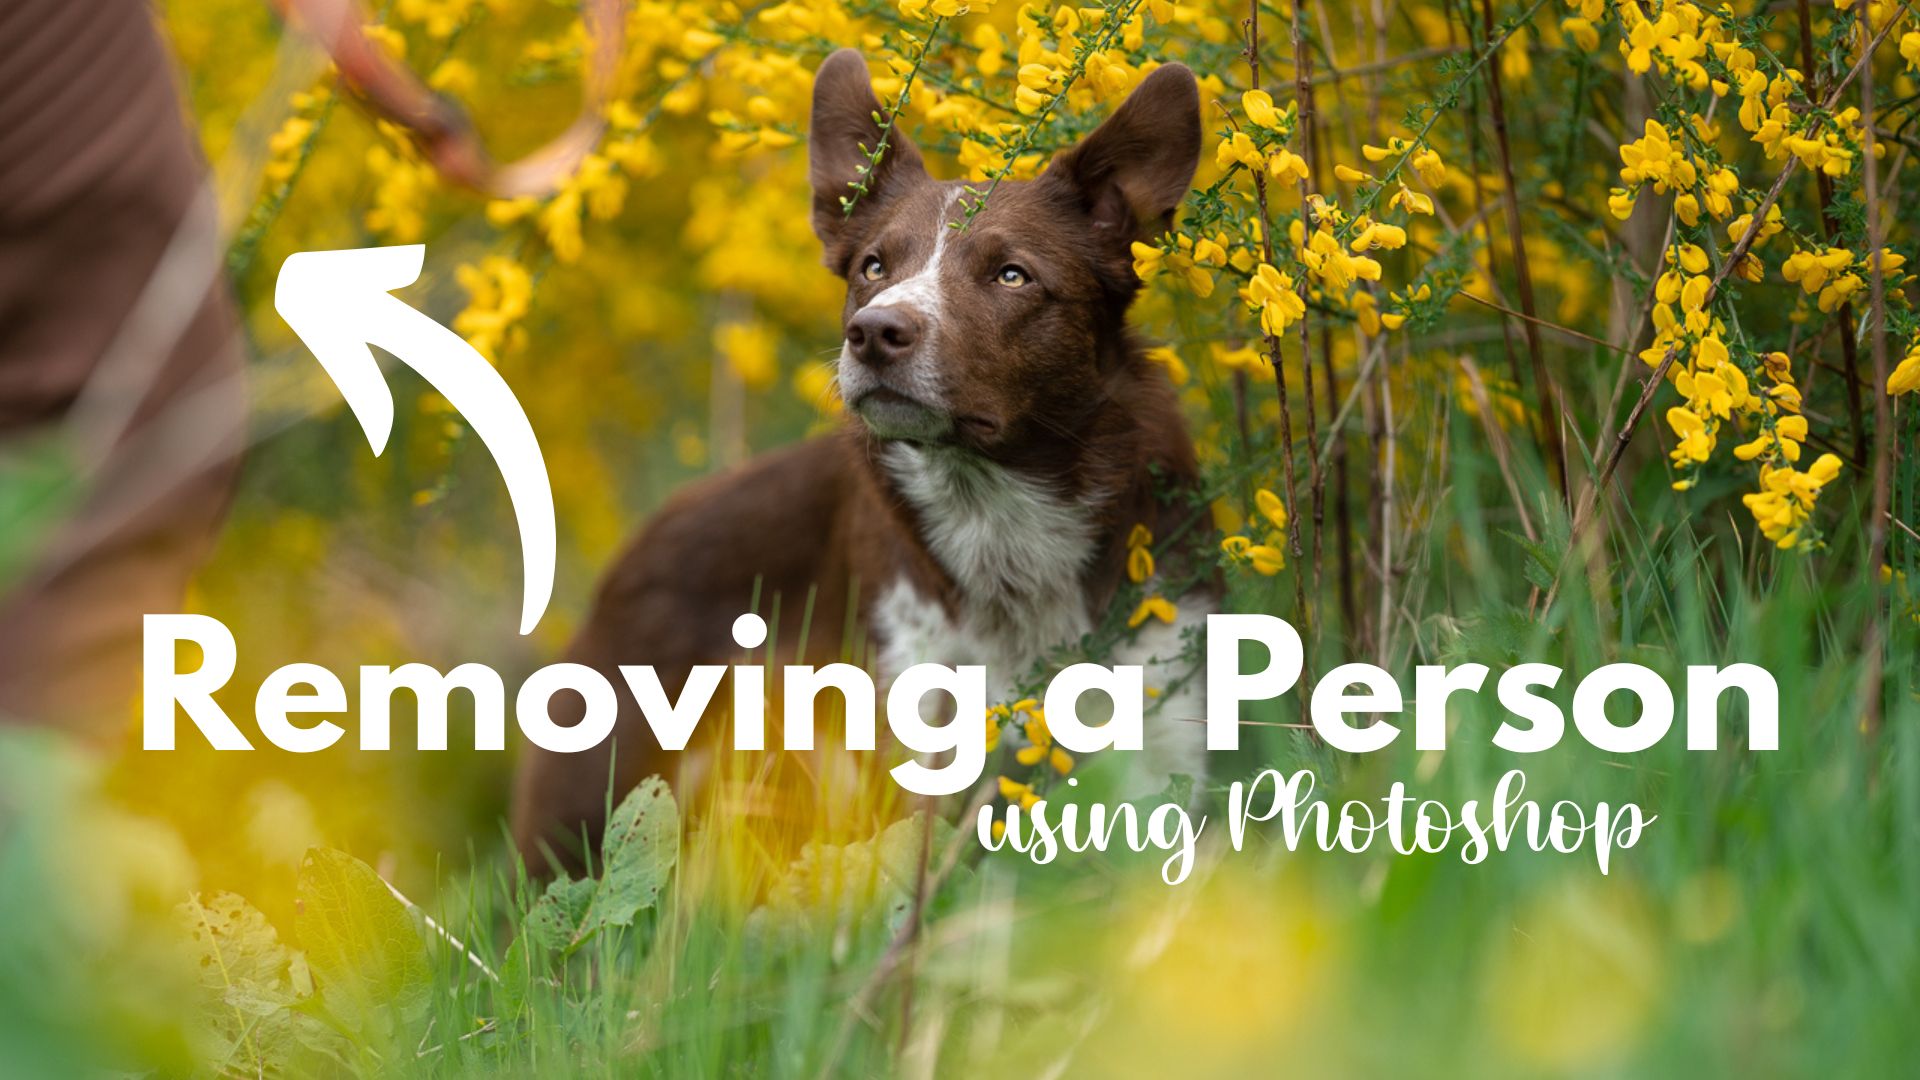
Sometimes, especially when working with client dogs, they will not stay of their own accord, and you may end up with the owner in the photo, holding the leash or feeding the dog. Rather than stressing out about the dog not staying still and trying to get the handler OUT of the photo, it’s better to learn the skills to be able to easily edit the photo so you can remove them that way.
As with everything PS there are MULTIPLE ways to achieve the same results.
In this lesson, however, I’m going to be covering my favourite method. It’s important to note that this method begins on location.
A little forethought while shooting will save you time, effort, and having to fix weird PS effects.
In order to make this work, you need to:
- Take the photo of the dog in the scene with the handler near the dog. Try and make sure the dog and the handler have a gap between them. Whether you’re removing them using this method, or some kind of “content aware” method, you will want a gap between the person and the dog.
- WITHOUT REFOCUSING, either have the handler move out of the photo, or leave the scene entirely – the dog can leave too, it doesn’t matter. Take a photo of where the handler was, plus any extra space you might need.
- If you’re using Back Button focus, it’s super easy to not refocus. Just don’t press your focus button again when the handler leaves.
- If you’re using shutter half-press to focus, you either need to turn your lens to “Manual focus” (some have a switch), or change your focus mode to manual focus. Otherwise, when you press the shutter to take the photo, the camera will refocus and this technique will not work.
- Do your normal LR edits. Make sure any GLOBAL adjustments are applied to all the photos you’re going to be using.
- Open them in PS. I open as a Smart Object, so I need to copy each layer and paste into my “Main layer” (the one with the dog).
- Apply a layer mask
- Mask in the “scene” over the top of the handler. Ta-daaaa! Handler disappeared.
- Edit as normal.
The reason I like this technique so much compared to a “content aware fill” type method to remove a person/dog/whatever, is that it’s using information about what was actually there, instead of relying on Photoshop to just create pixels from thin air.
This is ALWAYS going to be more accurate (since the scene you’re masking in is the actual scene as it was in “real life”), you’re not going to have to deal with weird Photoshop artefacts and duplicating patterns, and it’s just going to be more accurate.
The cool thing is you can use this technique of masking in parts of the scene for pretty much anything.
Chopped off the feet? Make sure you get some photos of the feet and underneath, so you can mask it in later.
Other dog walked through the scene? Wait for it to leave and take some photos without it there.
Dog suddenly looked in the other direction? Take some photos of the scene in that direction and mask it together.
Below, you can download all the images I used in this edit, so you can have a go at masking them together too. Feel free to finish editing this photo of Journey however you like! I would love to see them fully edited!


