
Whether you’re using your phone or a super professional camera, you can work within the principles of depth of field. Understanding and controlling the DOF in your photos will mean you begin to get more depth and layers in your image, will be able to make choices about when an image is too “busy”, and will start to work with getting nice separation from the subject and the background, by getting that soft creamy background seen in my photos.
In this assignment, be thinking about your perspective/angle and what’s in the background of your photo! We haven’t talked about this yet, but start taking your photo with purpose. Why are you choosing that location? What are you wanting to show? What’s beautiful/interesting about it?
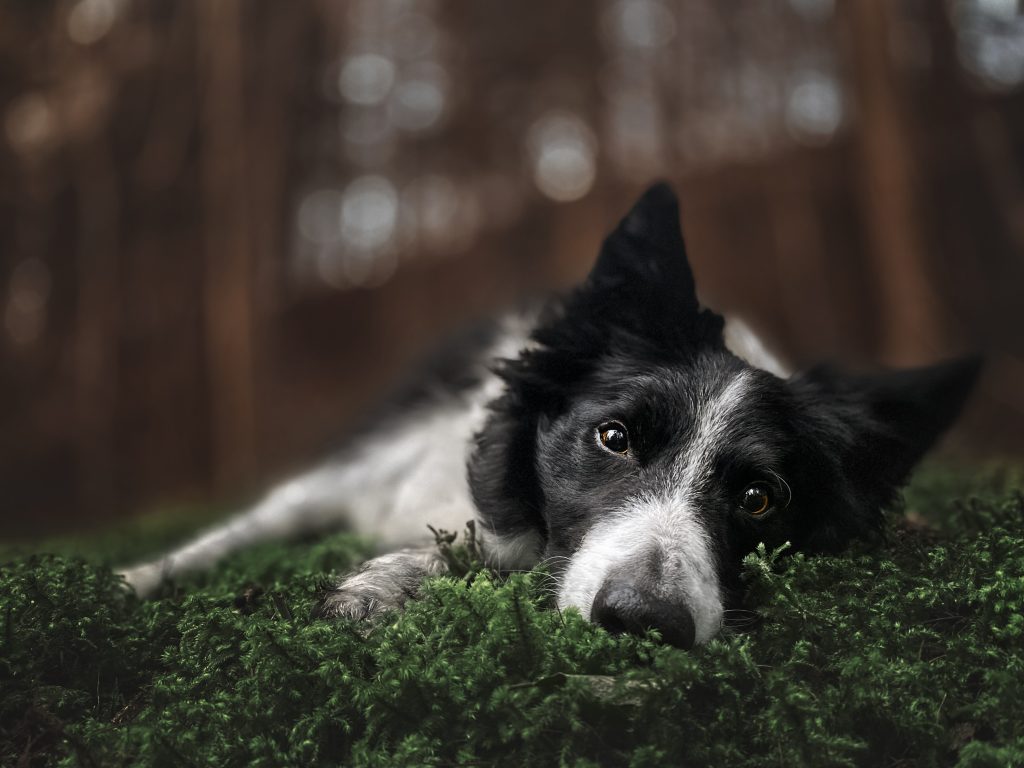
Part 1. Soft, Blurry Background
Part 1 of this challenge is to take a photo in a location and get a soft, blurry background.
You may need to work within the limitations of the equipment you have, but since I’ve managed this even with a phone camera, it’s definitely achievable.
Just remember:
- wide aperture (low f/ number), or your phone on portrait mode. Some even have the option of changing the aperture too by clicking the F in the corner
- closeness to subject
- distance from background
- lens length (longer lens = more compression).
Part 2. Wider Depth of Field = More in Focus
Take another photo at this location but this time create a wider depth of field. It doesn’t have to be so everything is in focus. It could be as simple as going from a tight head/shoulders shot to a wider full-body shot. How does the background change? What do you notice?
Try this experiment with different lenses, or zoomed out and zoomed in! I know the effect would be different if I use my 35mm to do a close-up photo vs. full body compared to if I used my 135mm to do a close up vs. full body photo.
