
Table of Contents
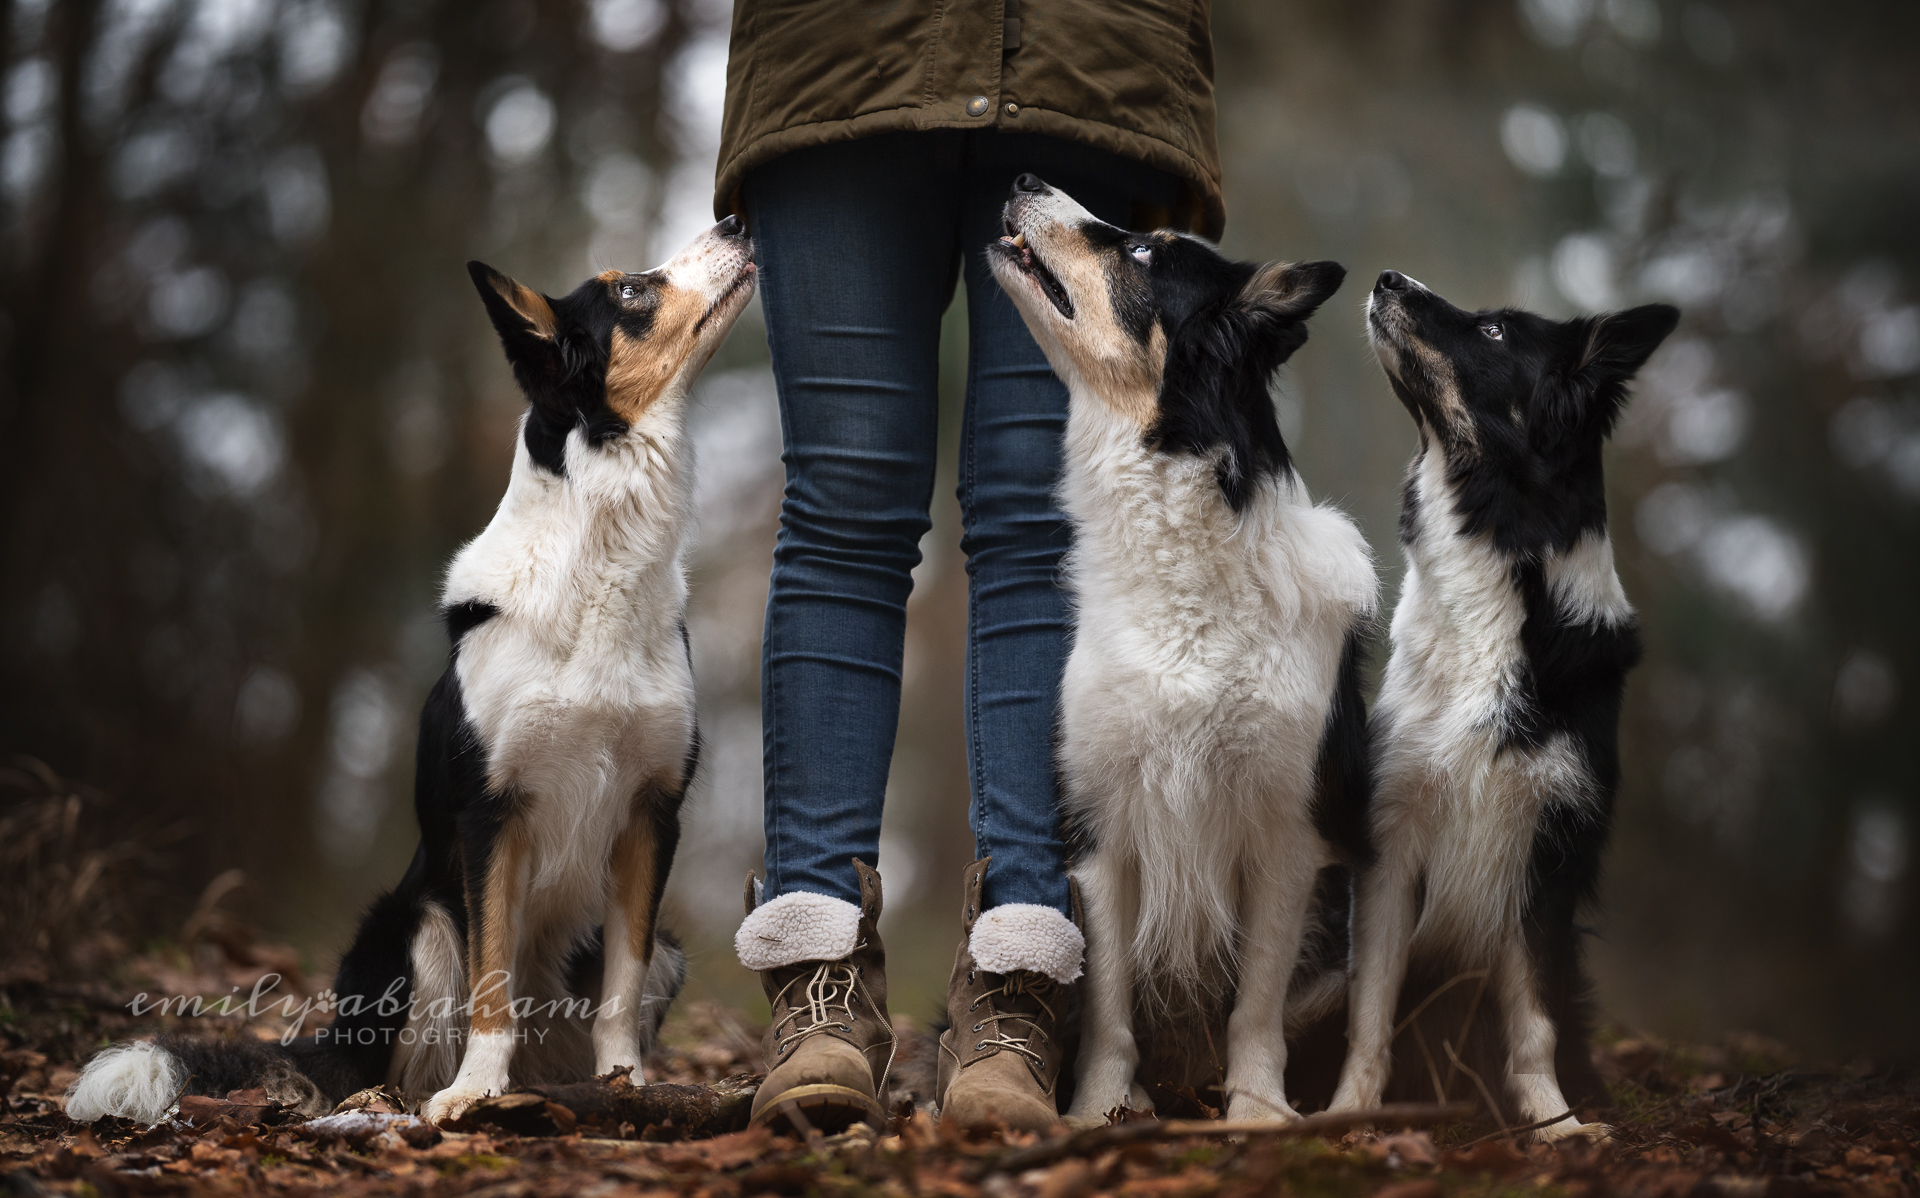
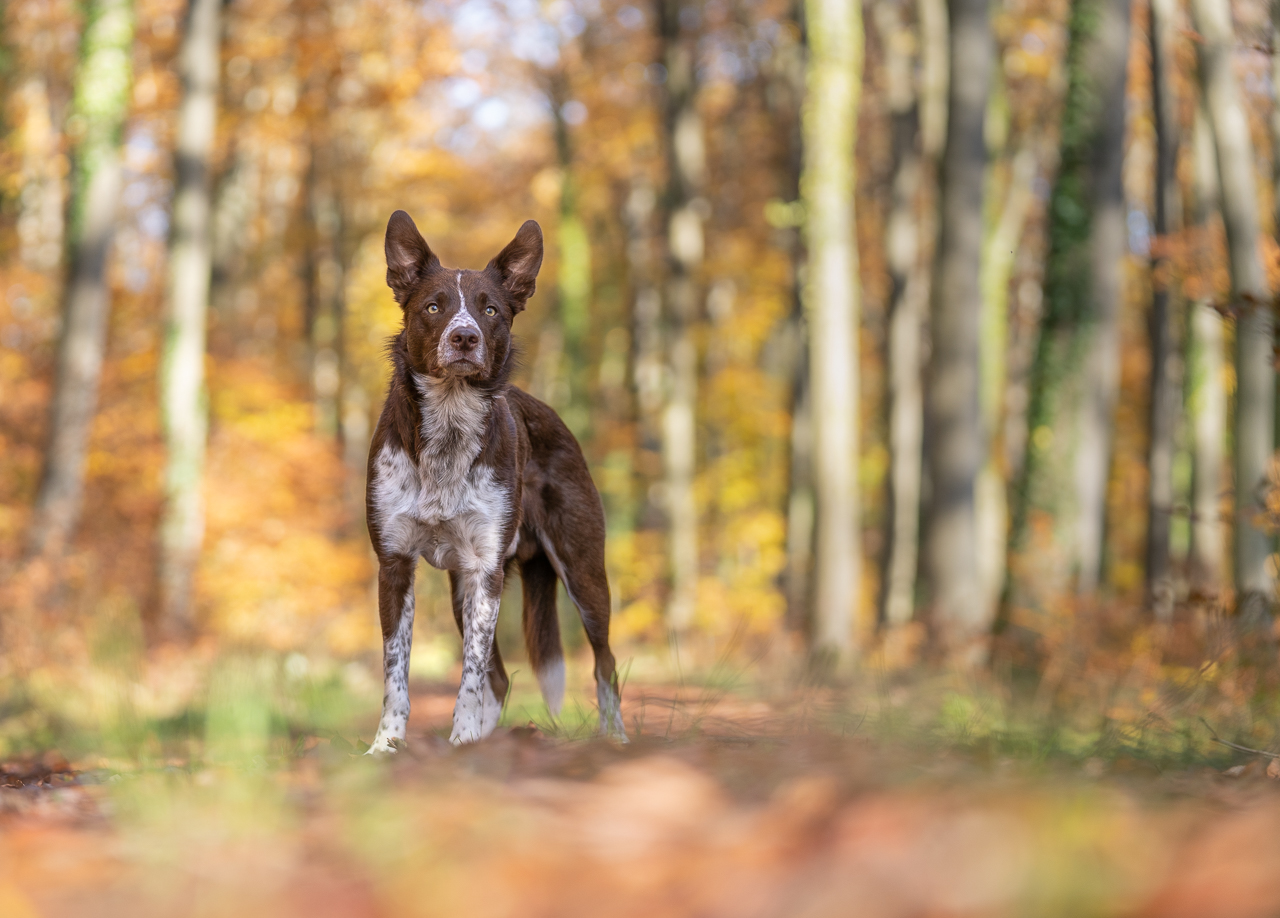
I think it goes without saying that the perspective or angle at which we take our photos can determine whether they are impactful portraits with a sense of depth and context… or not. It can determine how majestic our dog looks, how connected we are with the dog, how powerful they come across, and can often separate a professional-feeling photo from an amateur one.
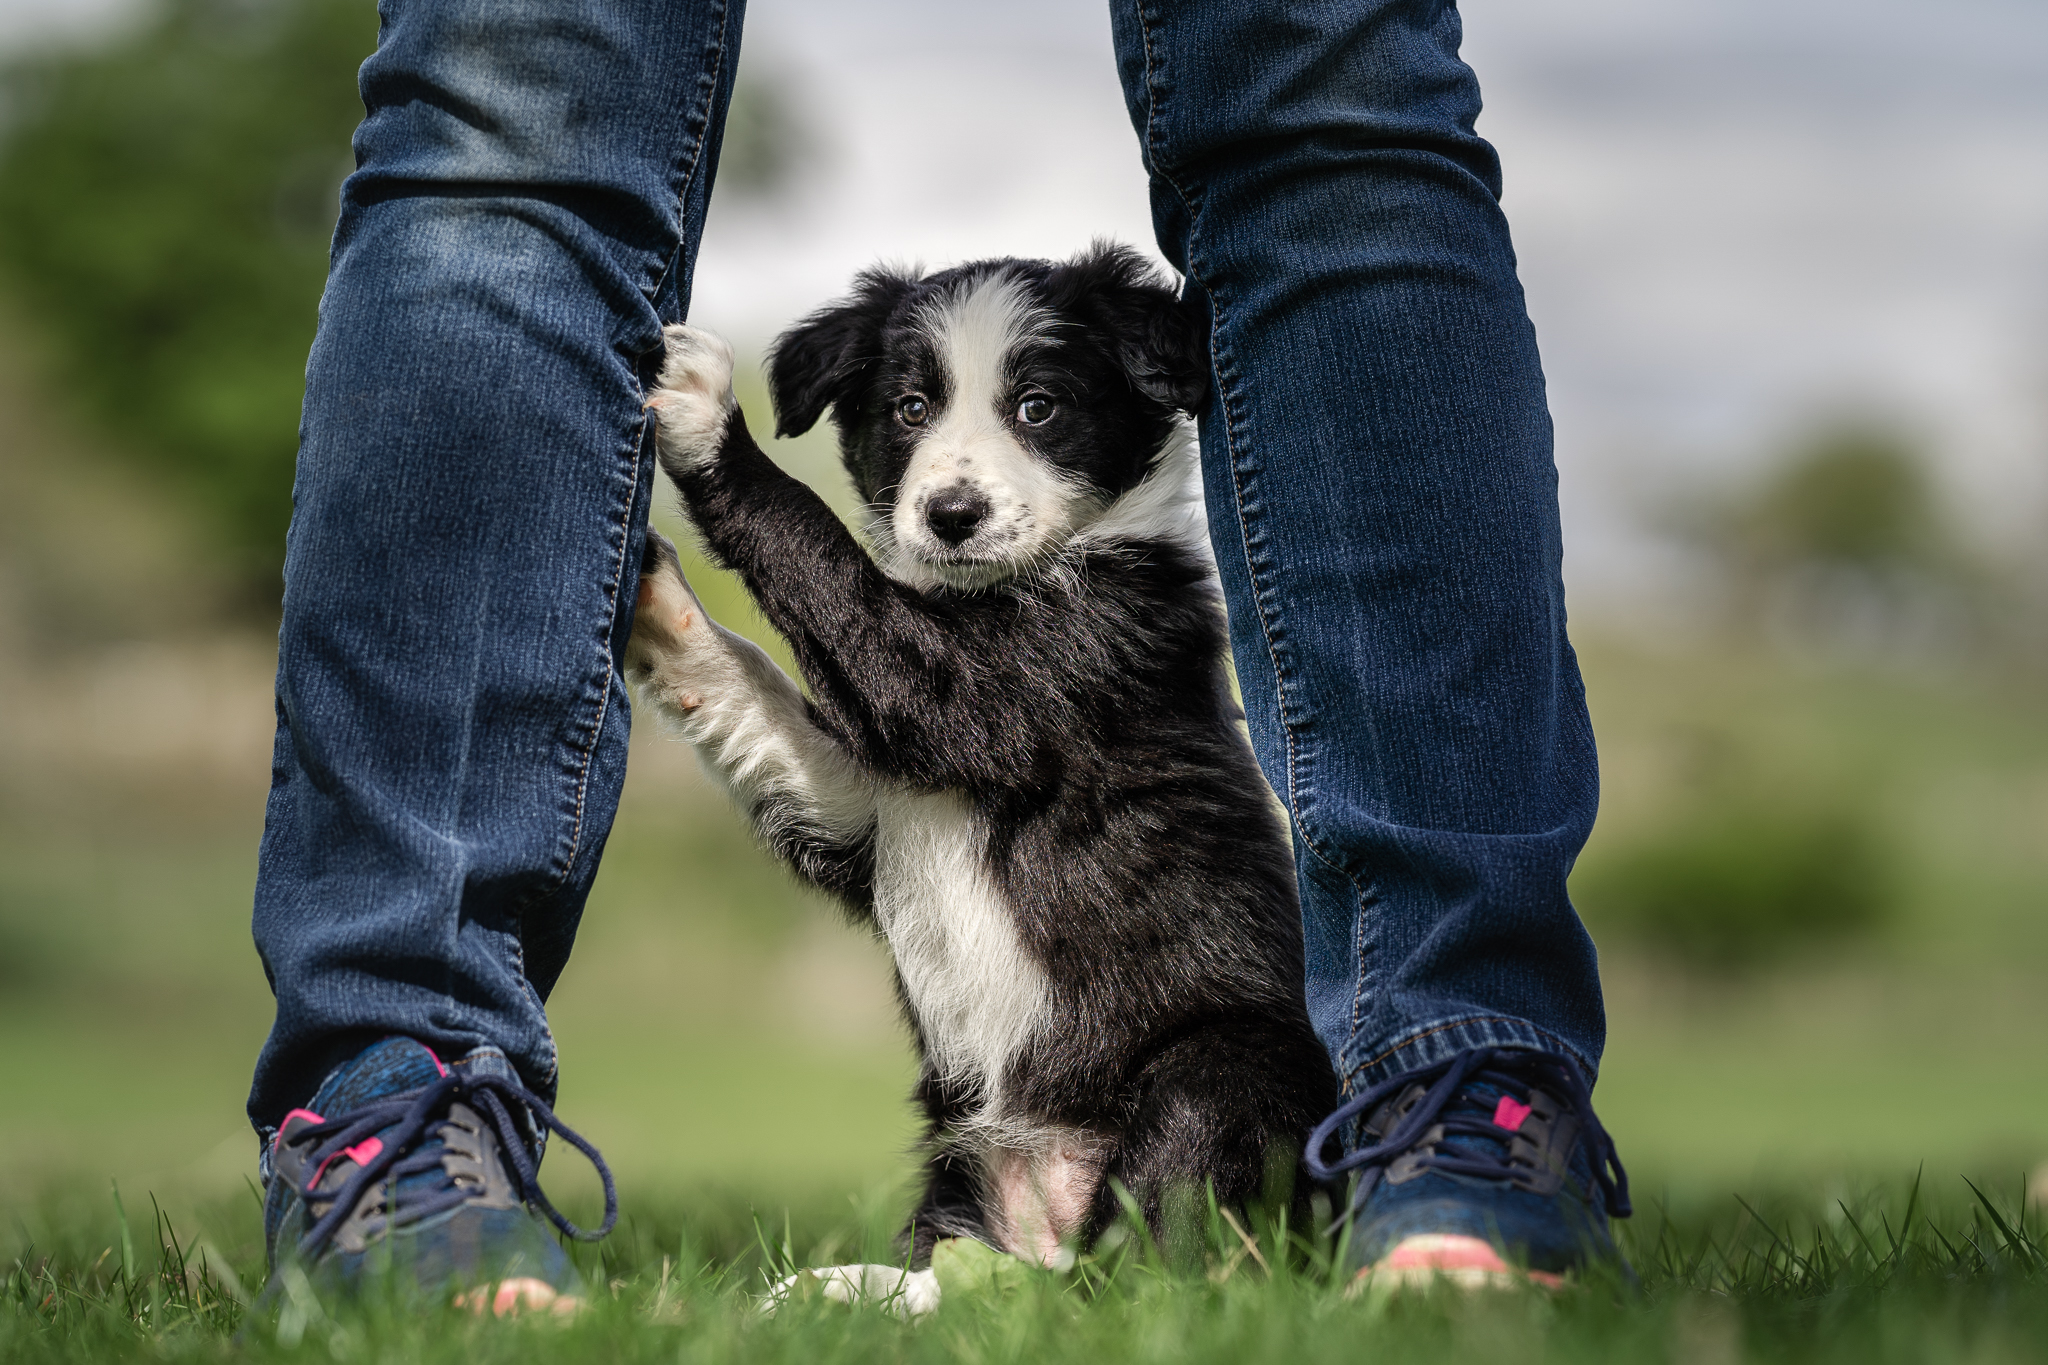
I would say that my #1 piece of advice is to get down low to the ground.
And no matter how many times I say it, whenever I teach a workshop or a lesson, I usually STILL need to tell the student to get low. Nope, lower than that. Keep going.
You may need to be lying on your belly, or crouching over your camera if you have a flip-out screen. The important thing is to (almost always) get down low.
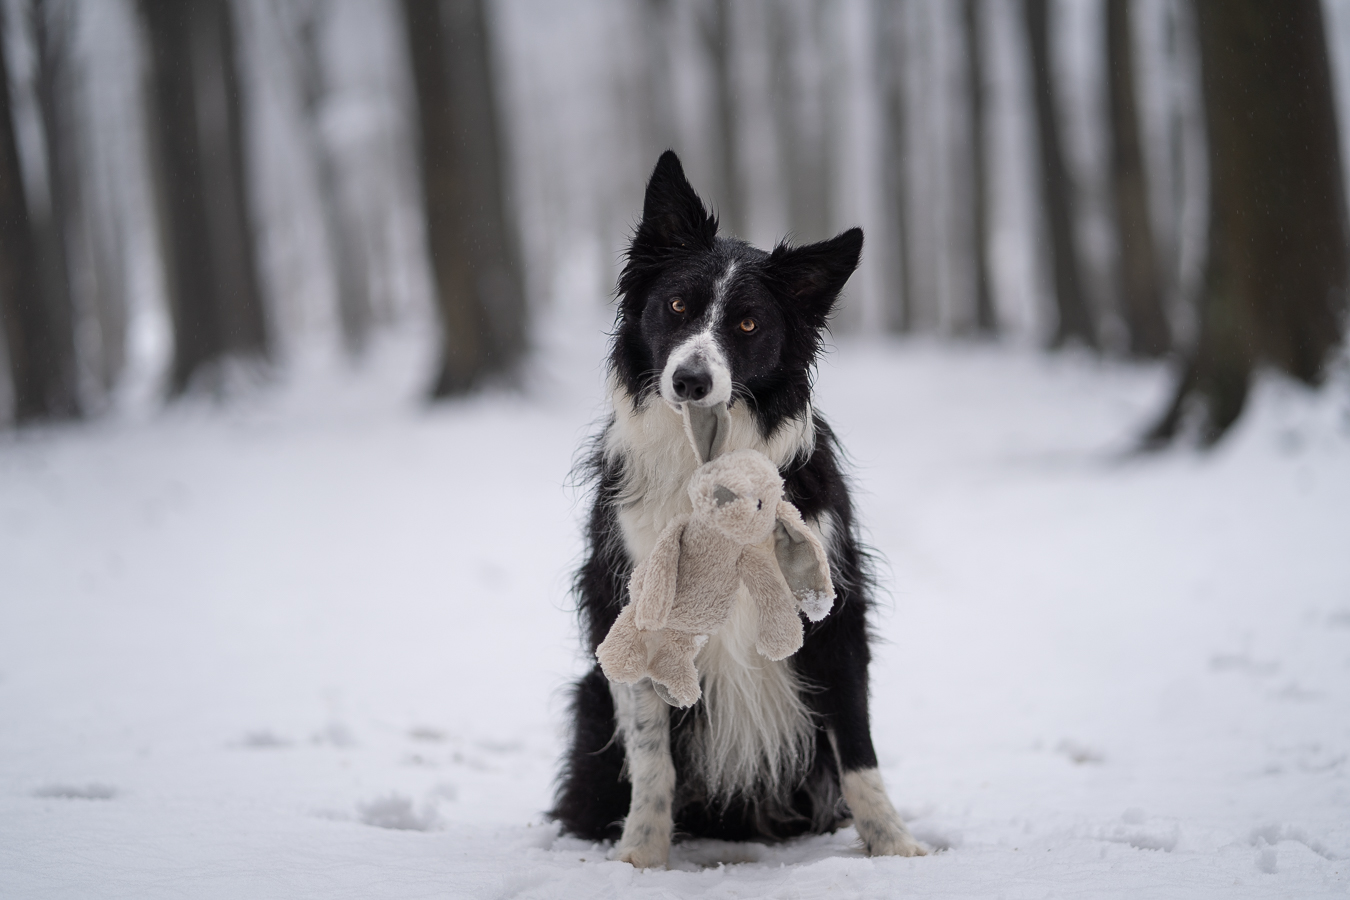
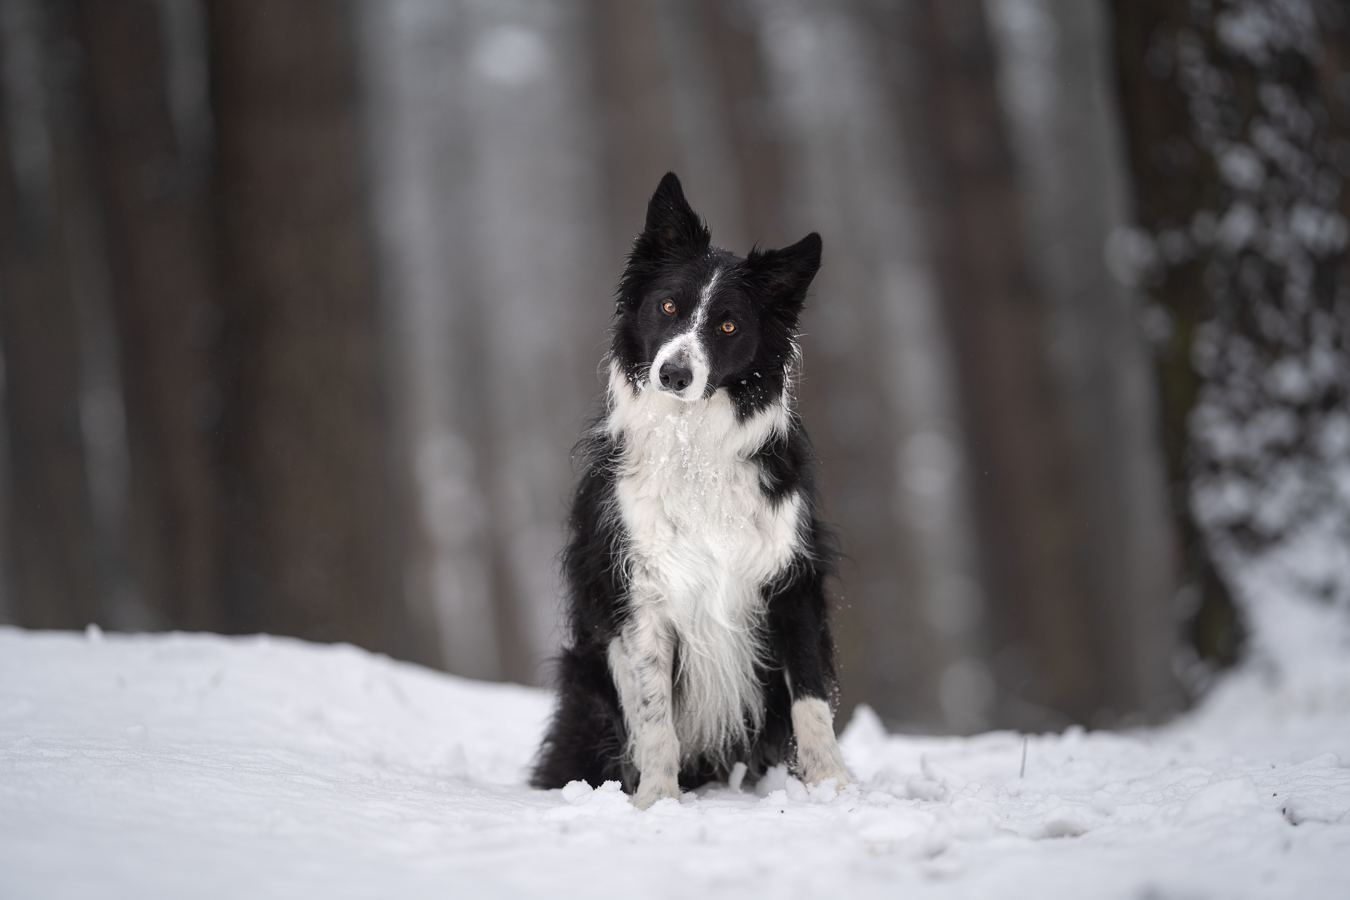
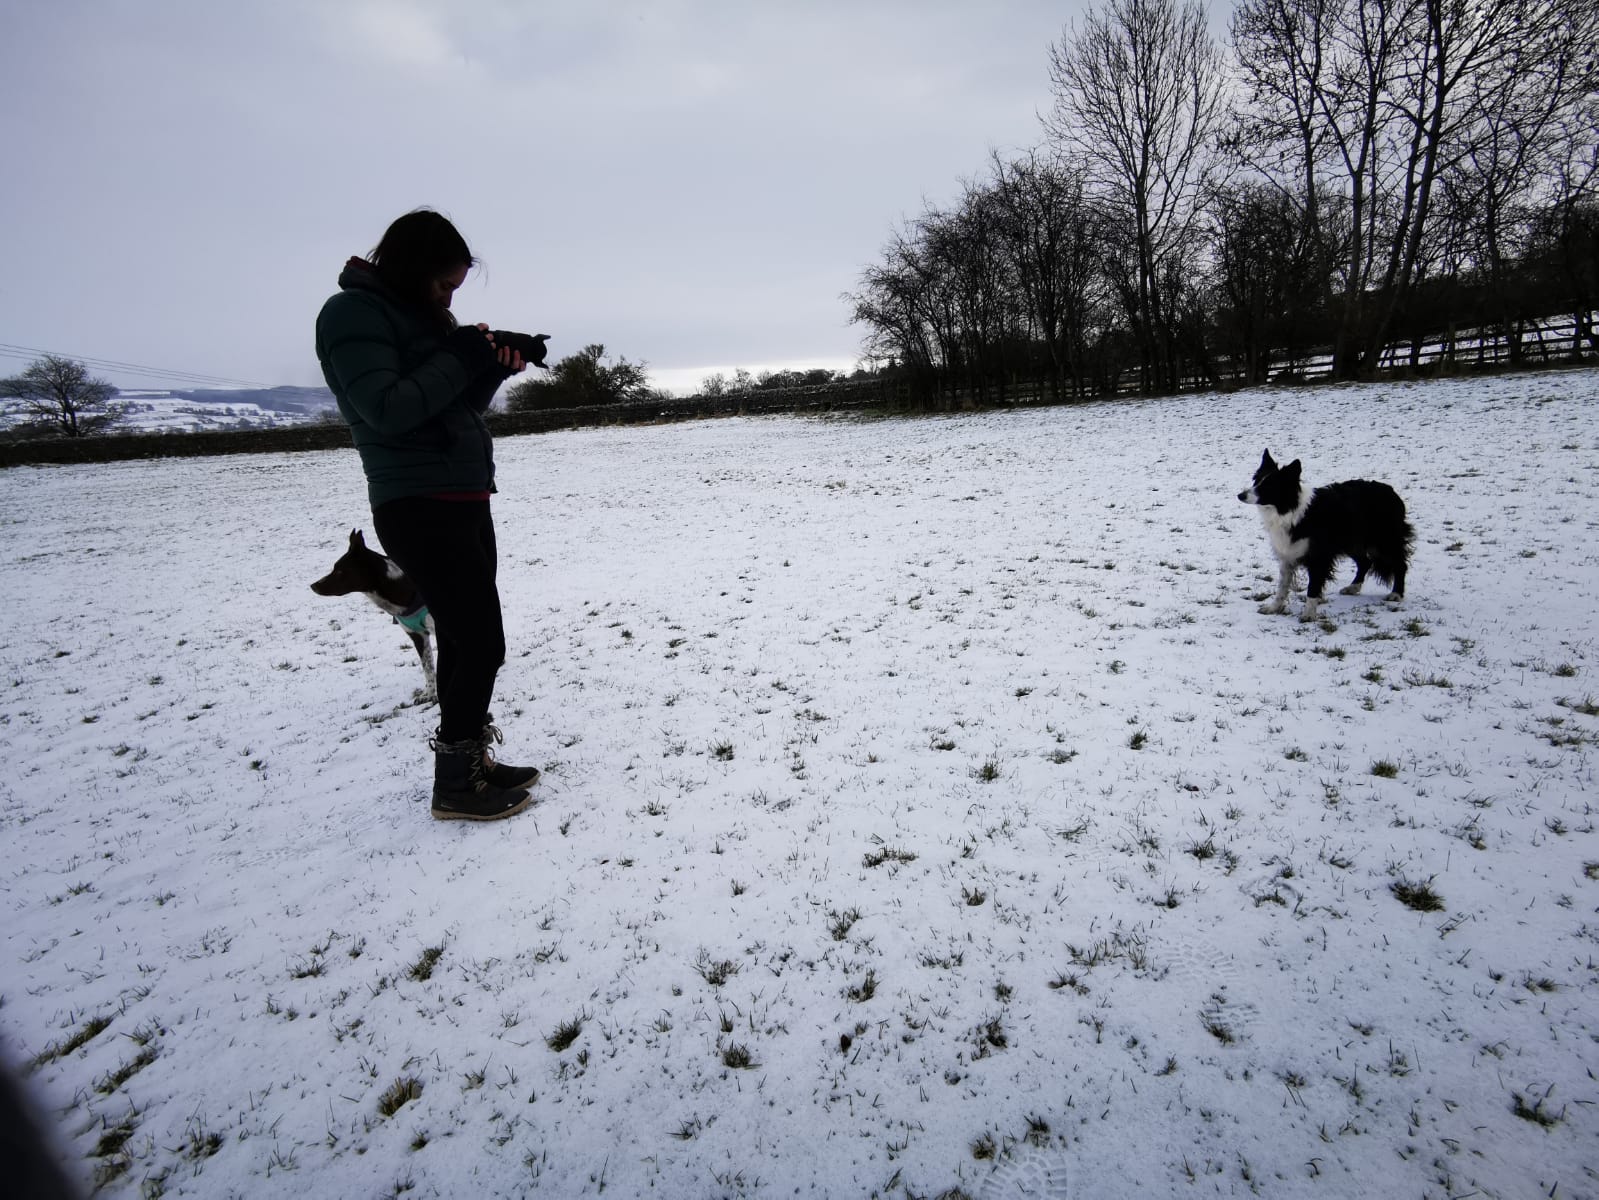
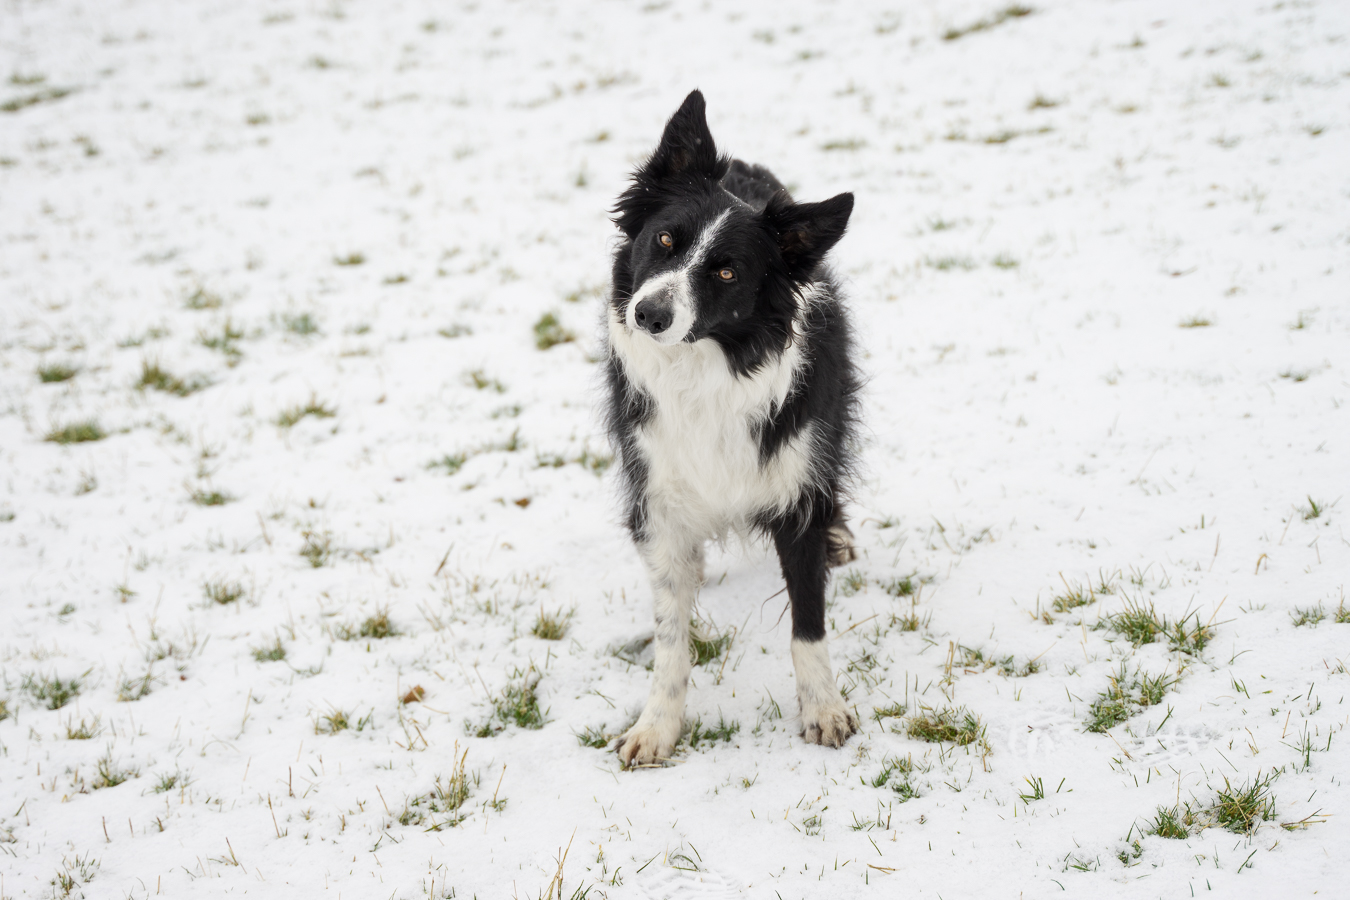
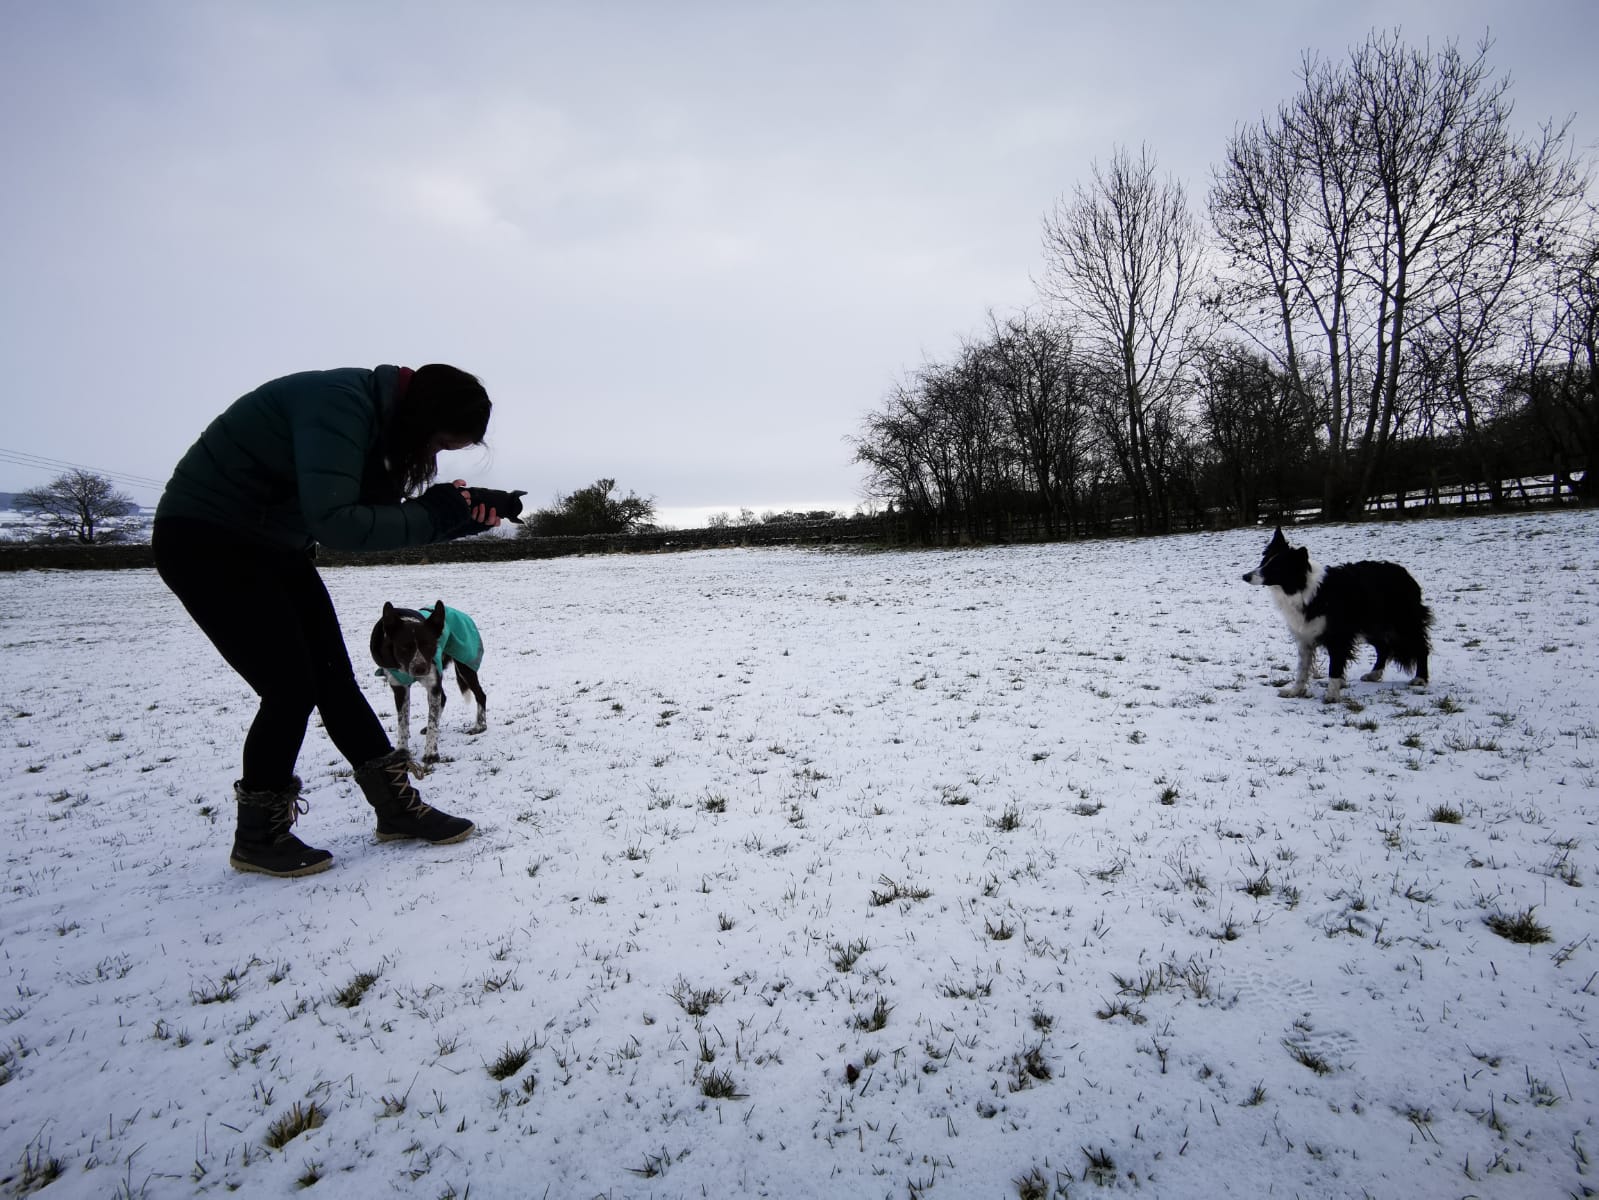
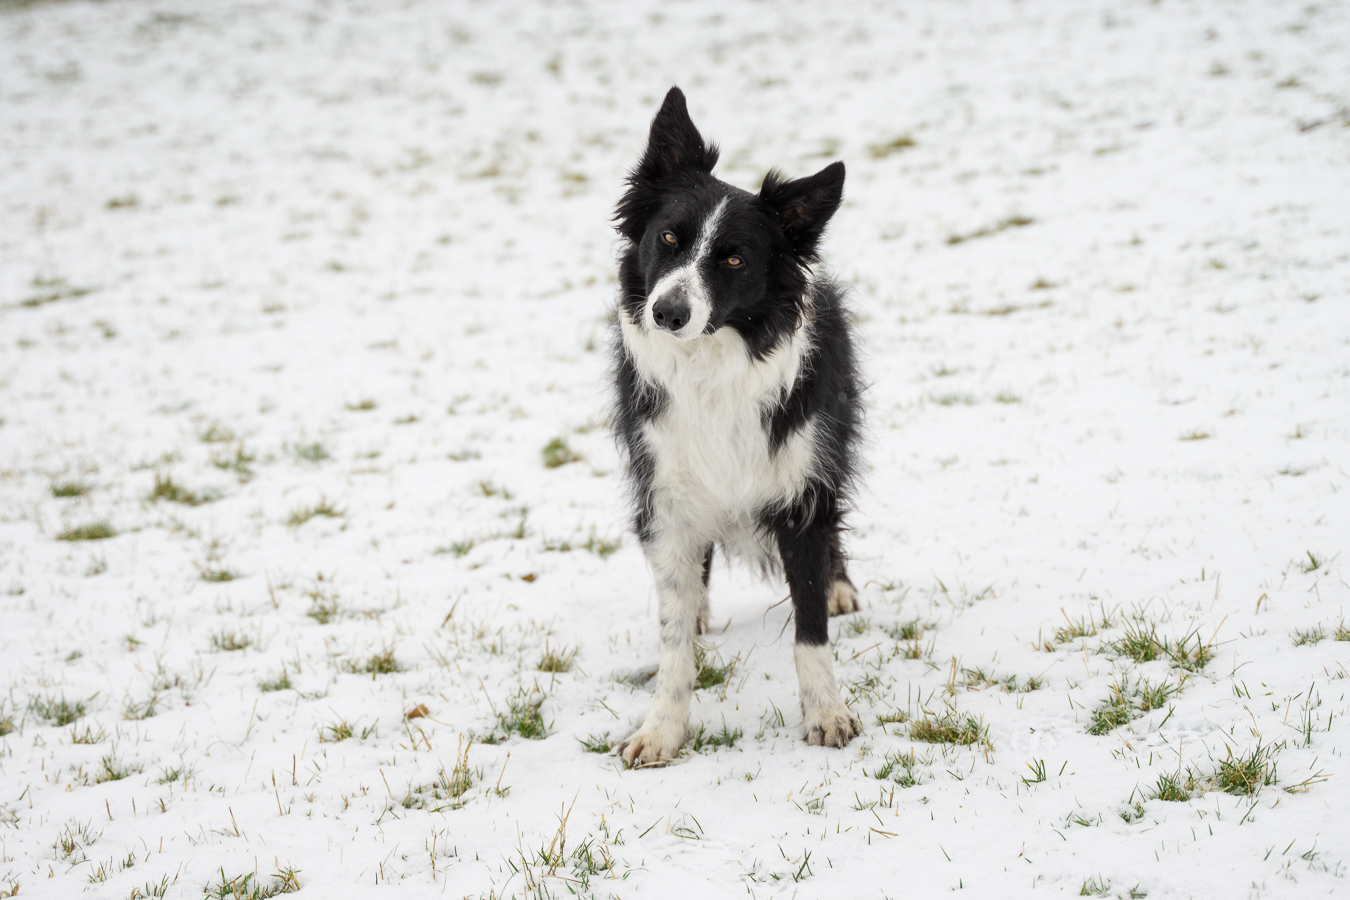
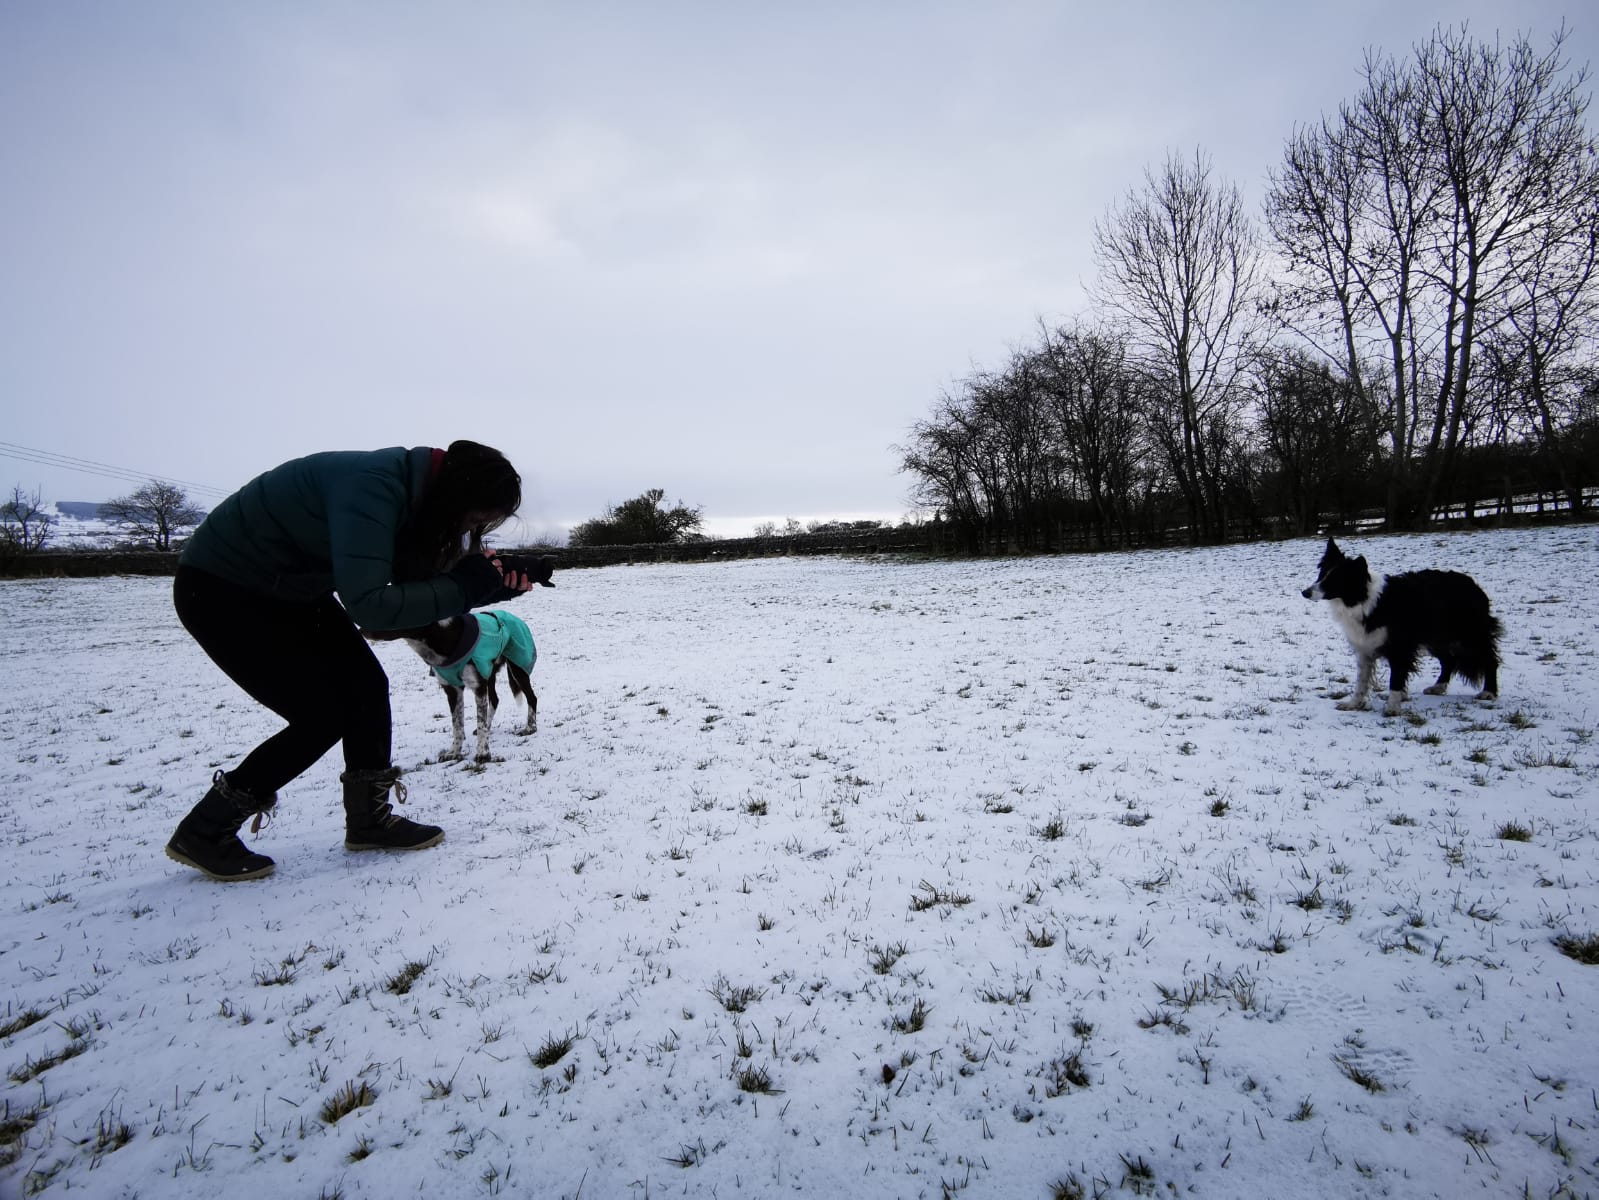
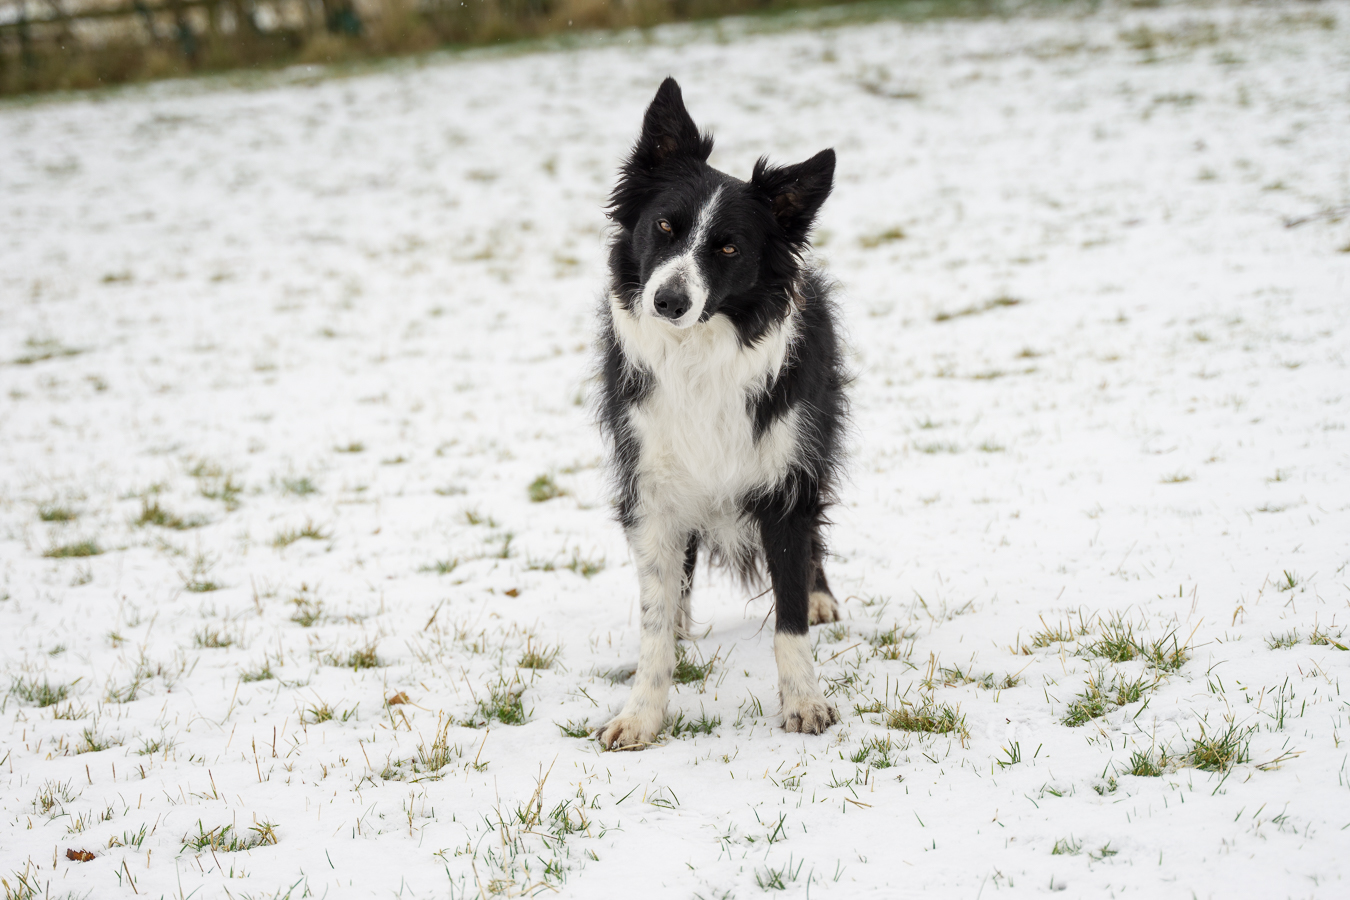
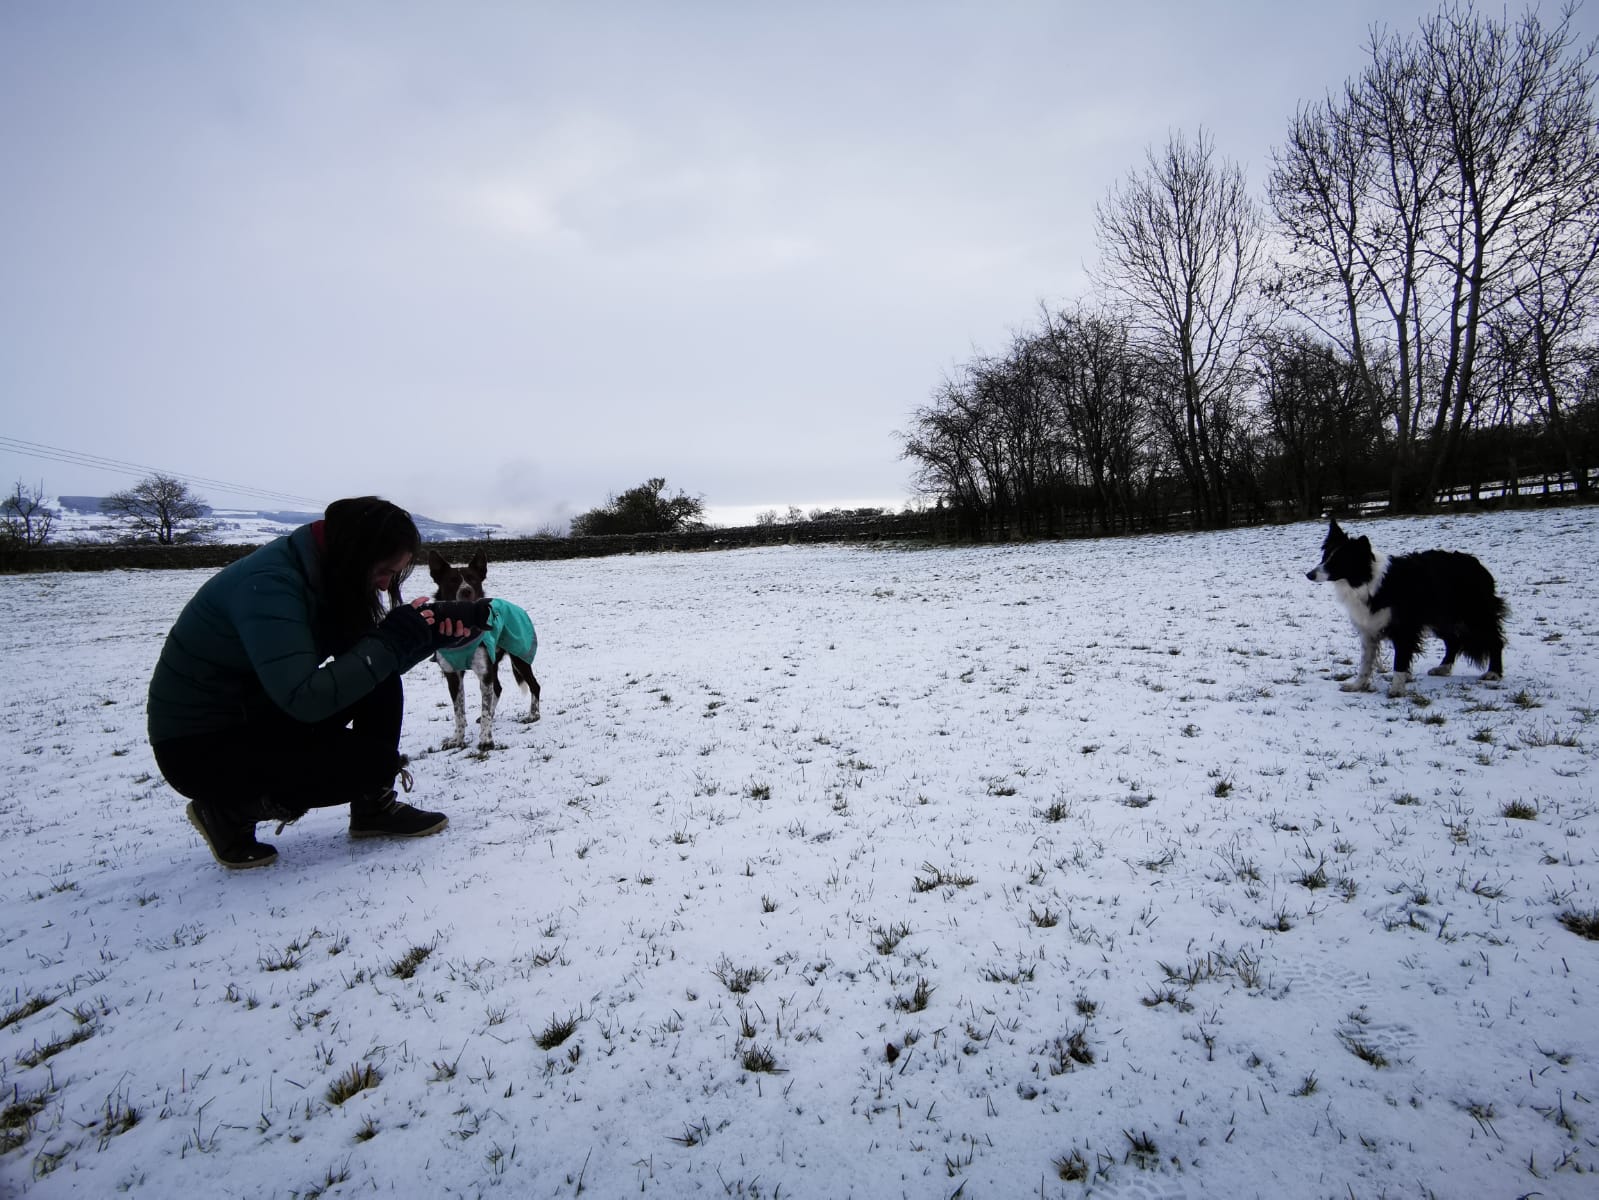
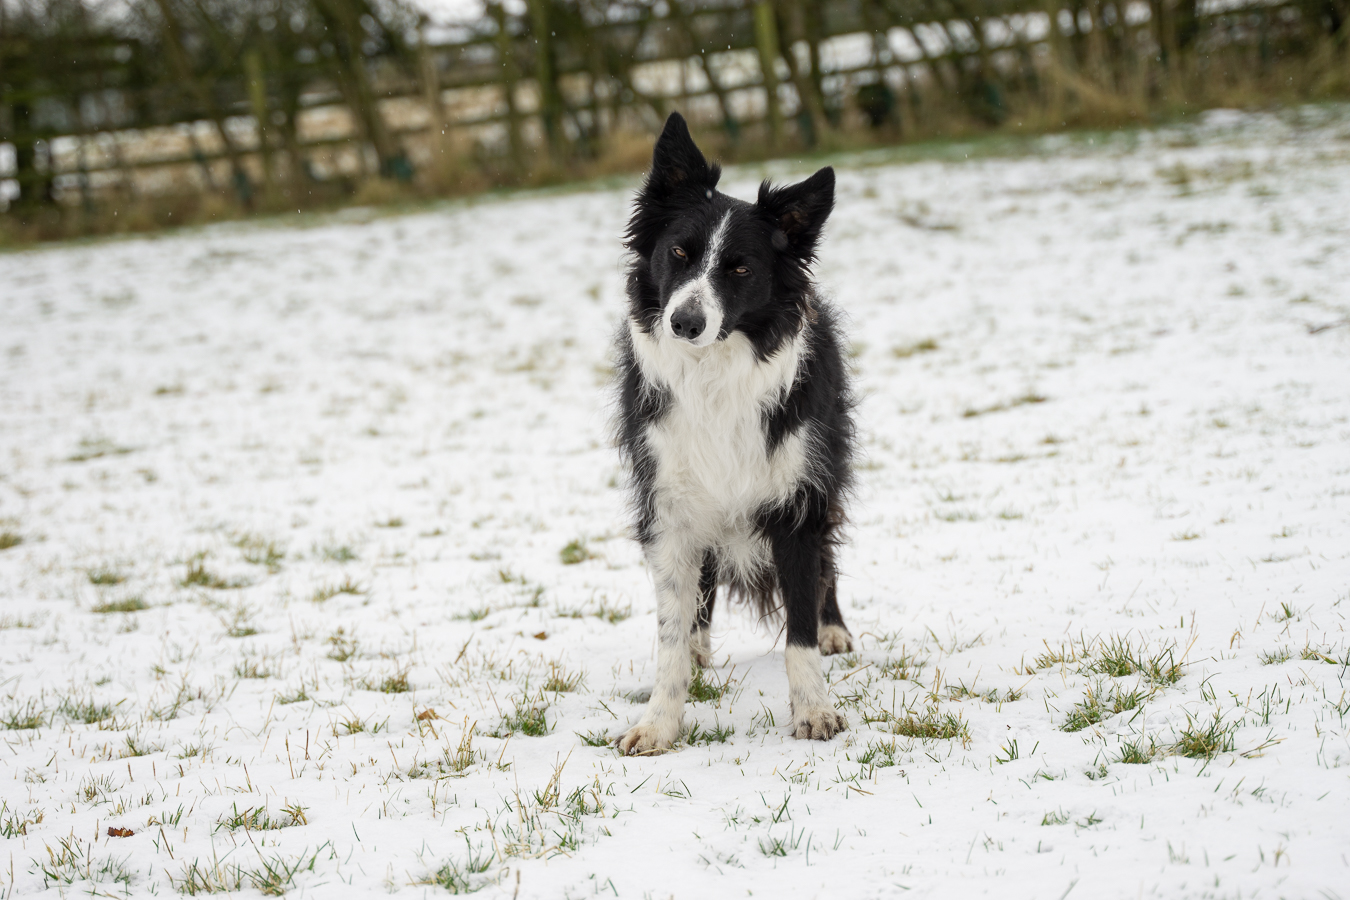
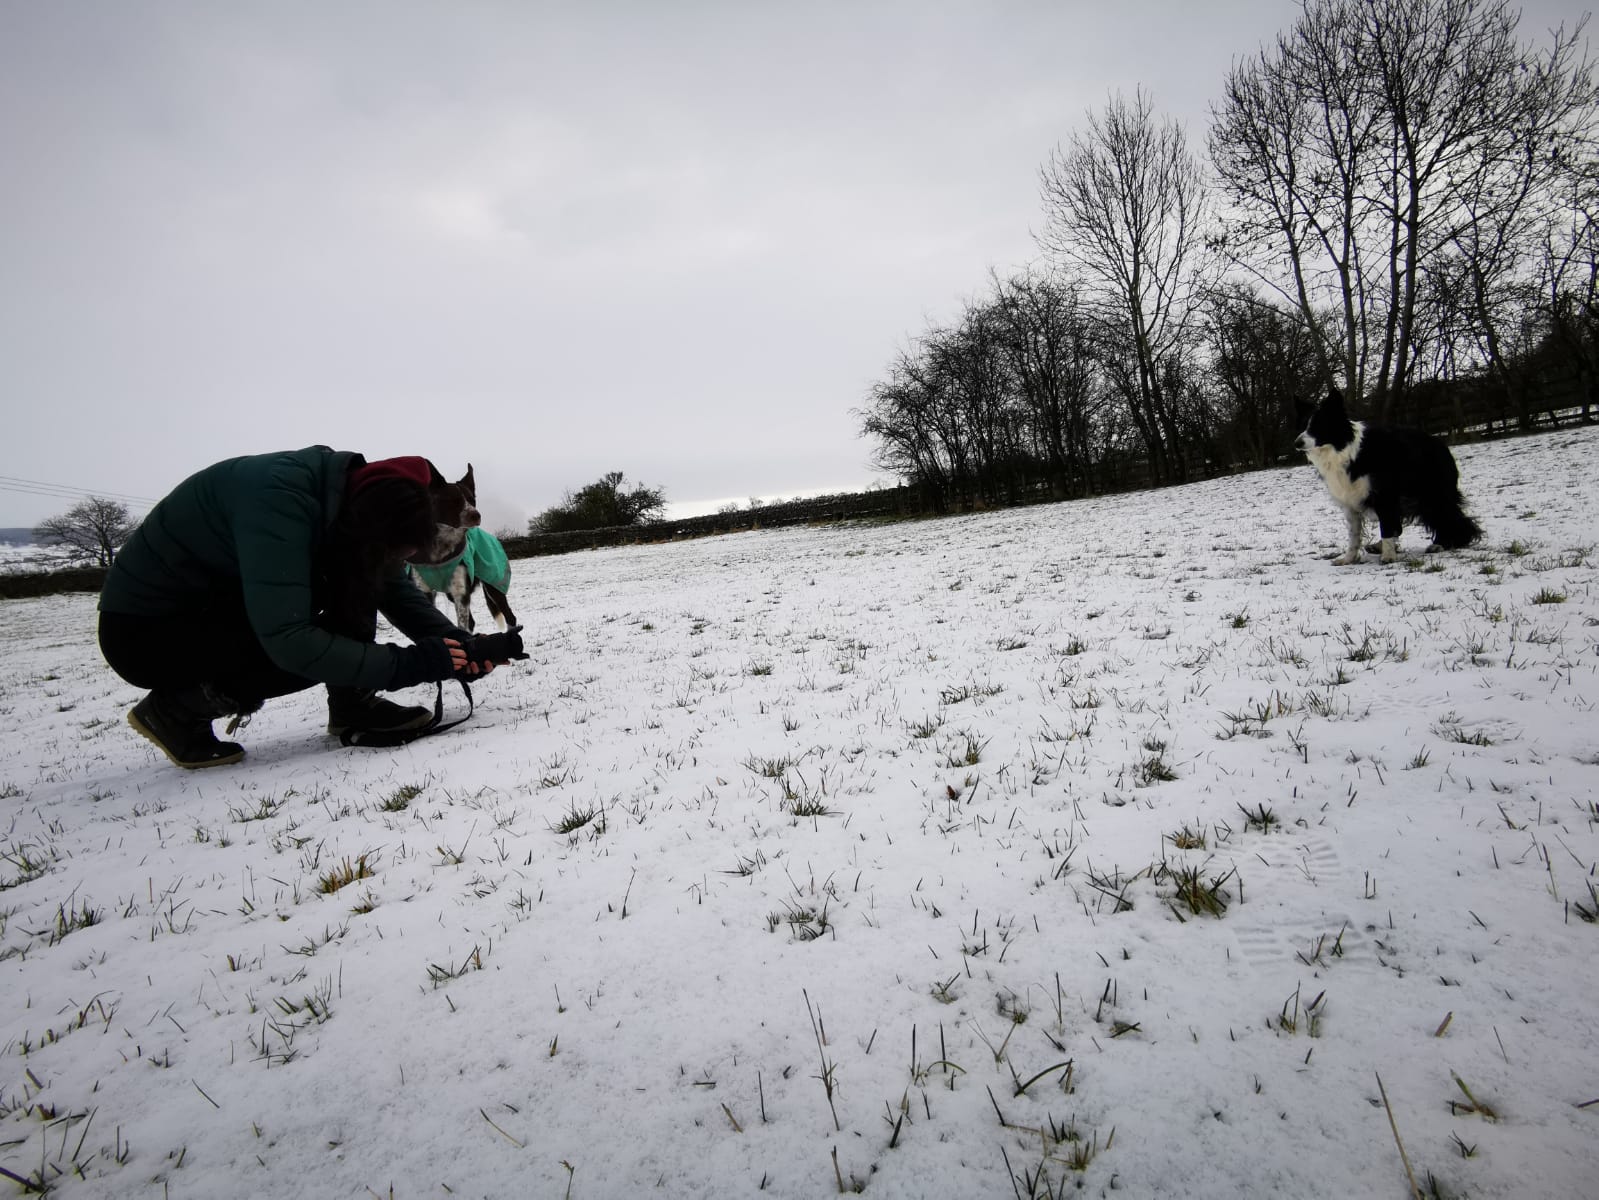
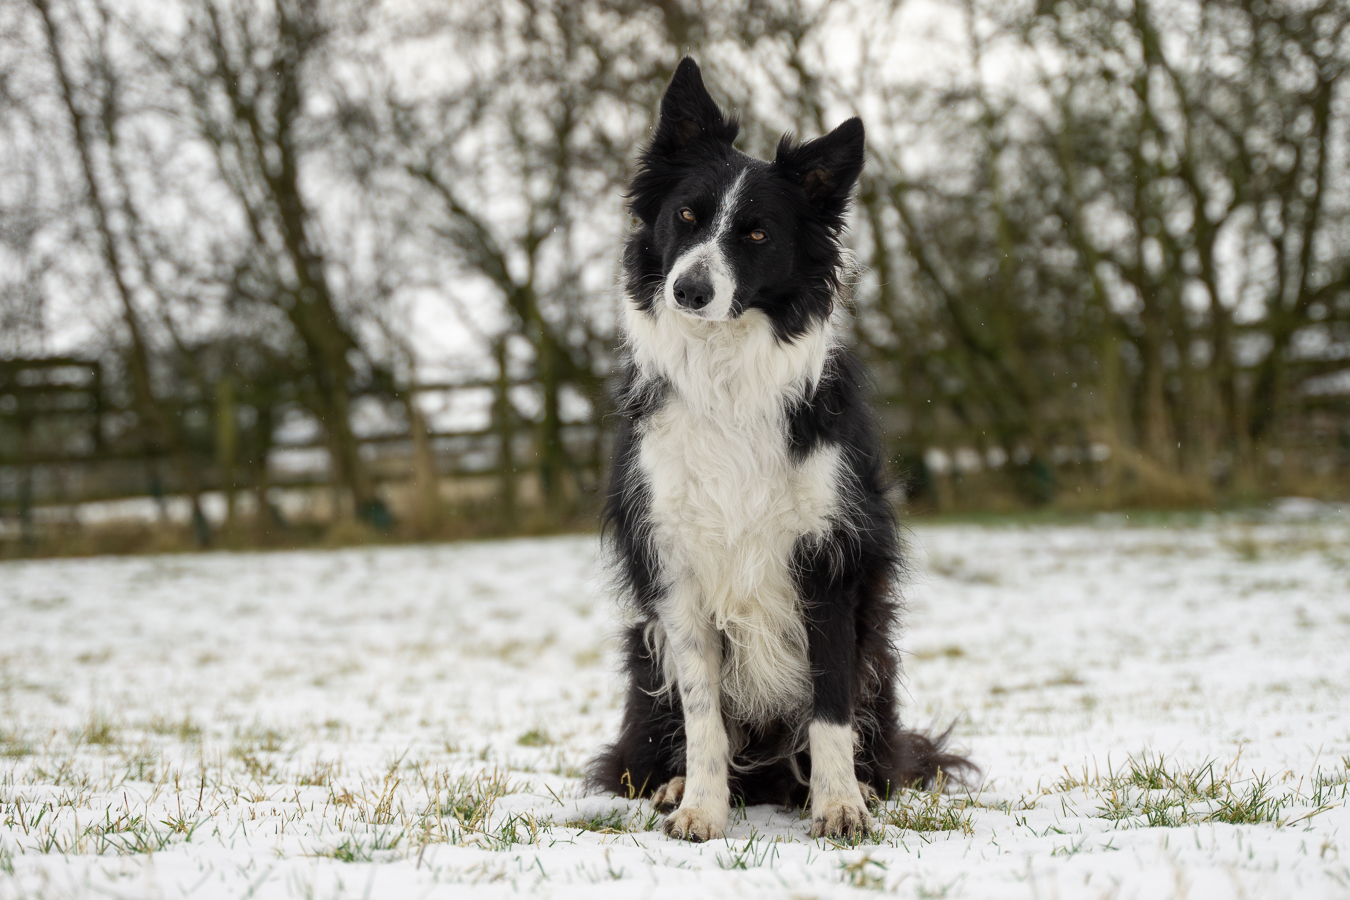
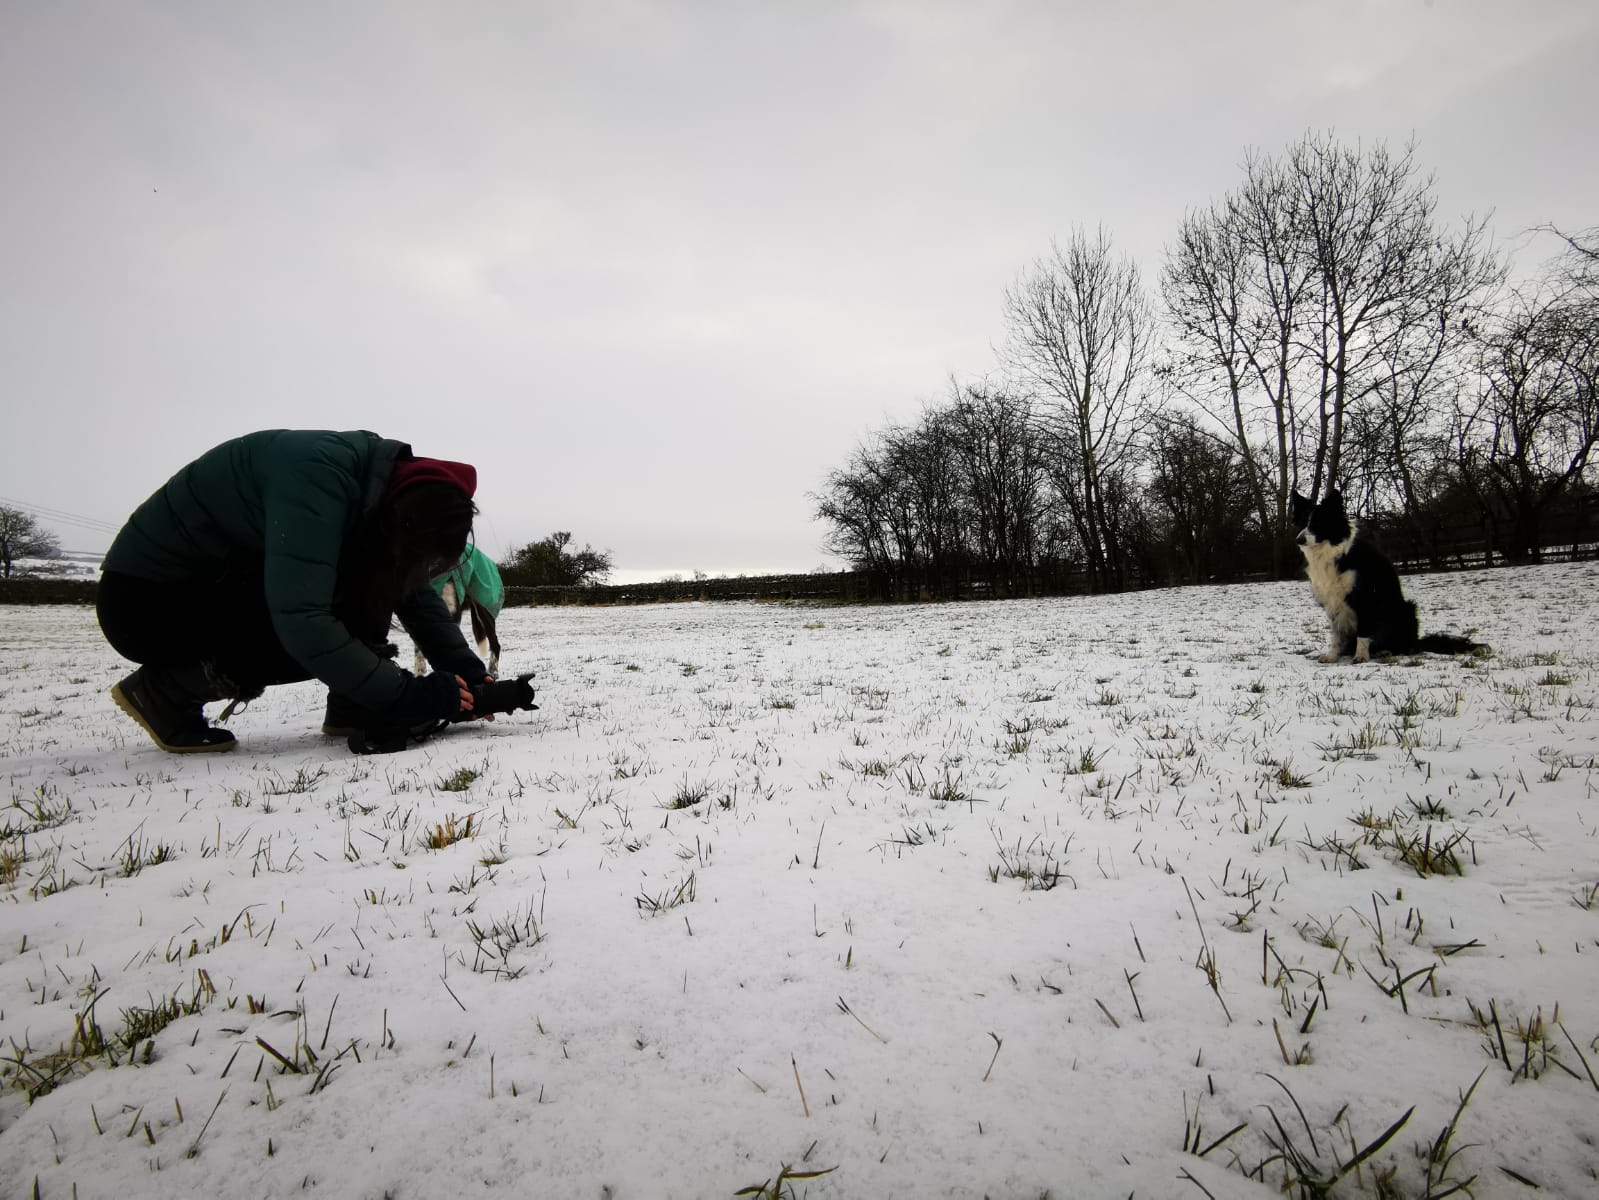
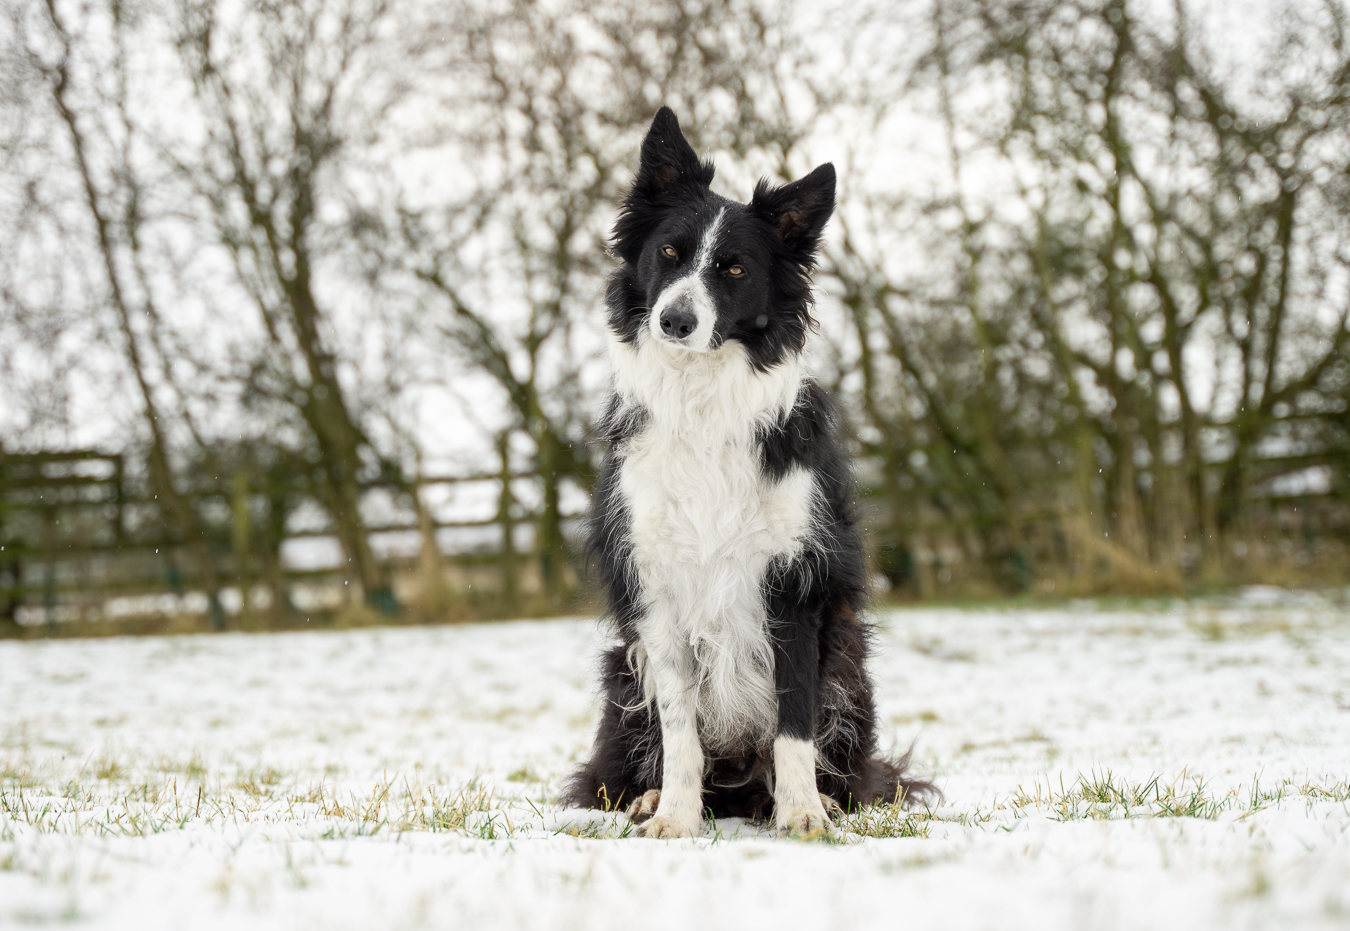
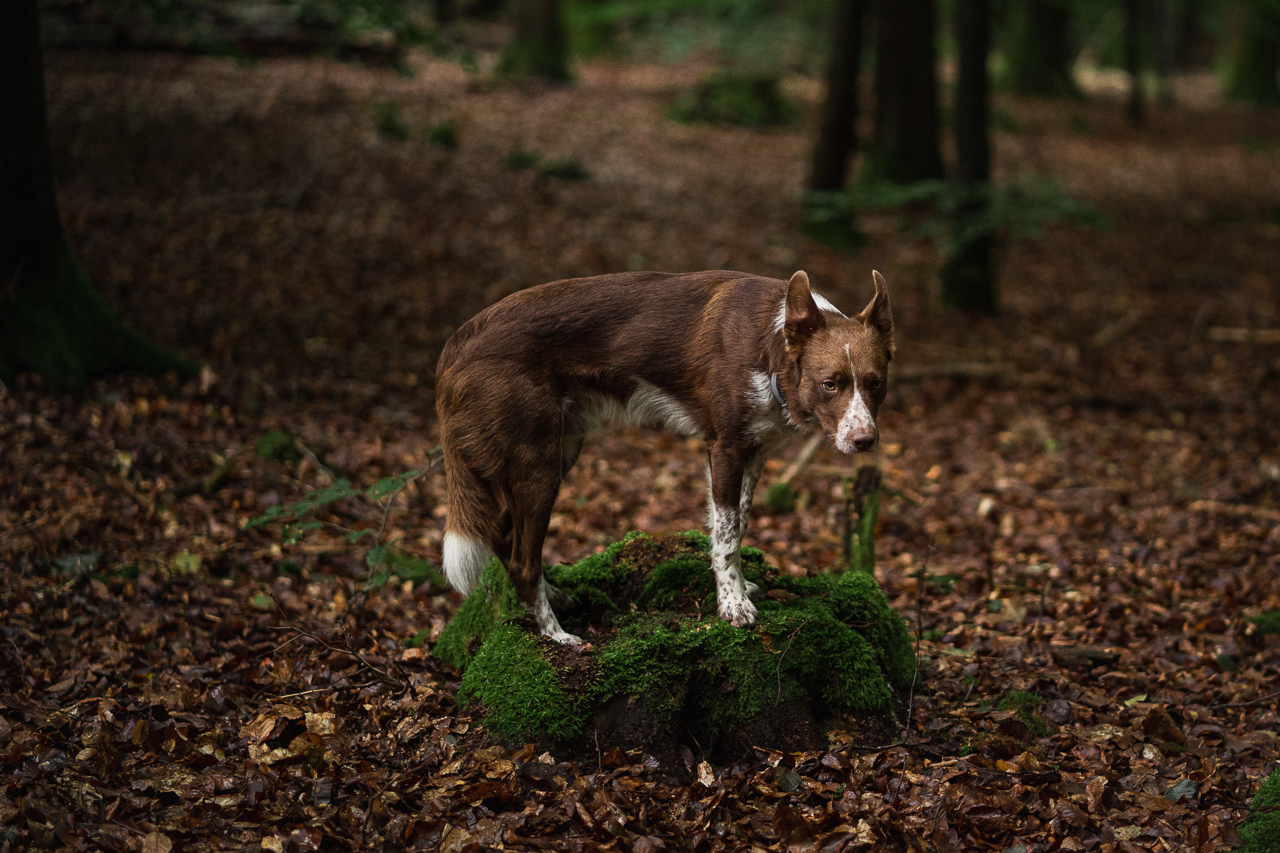
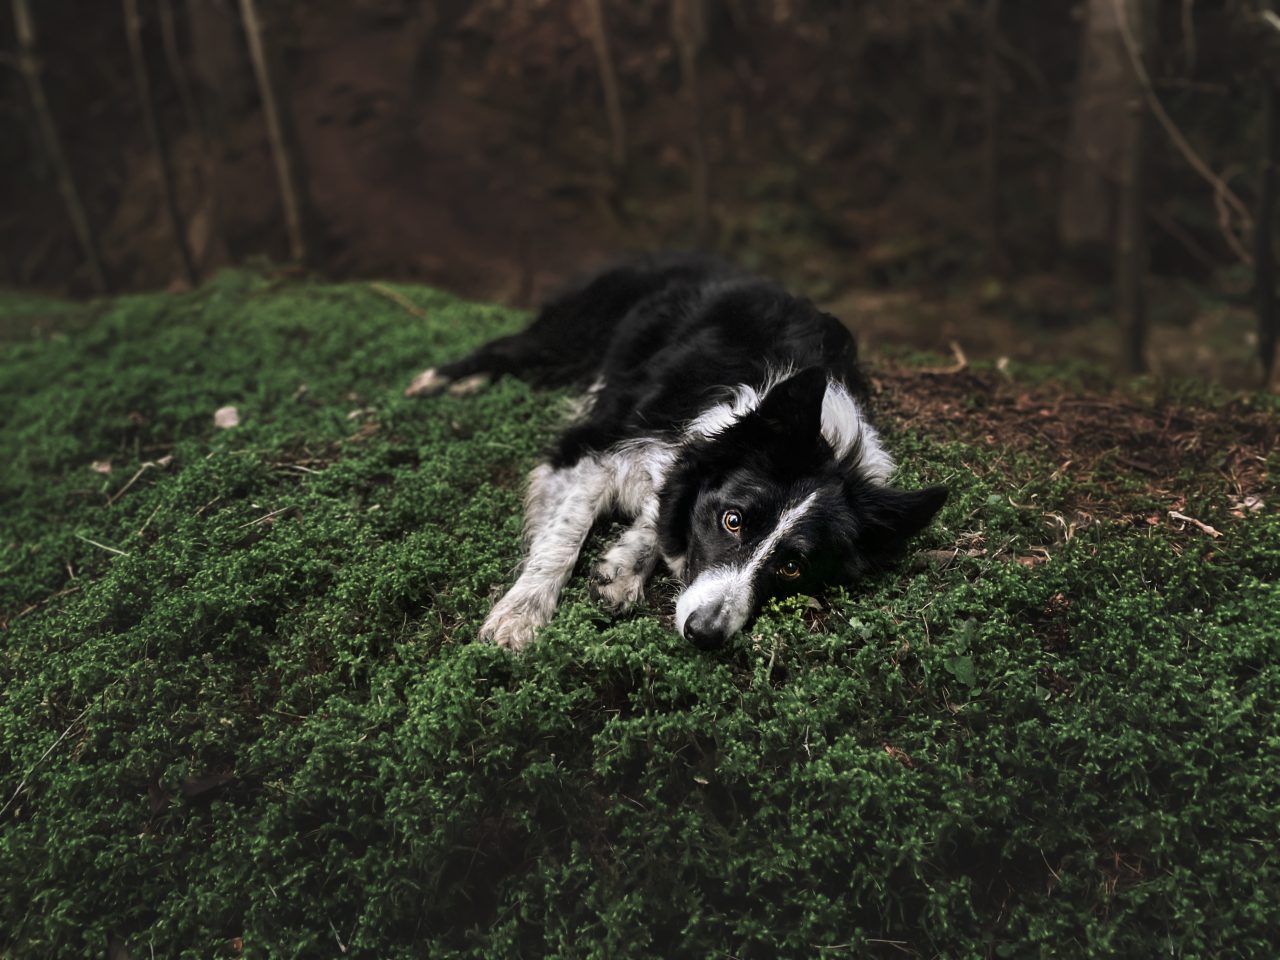
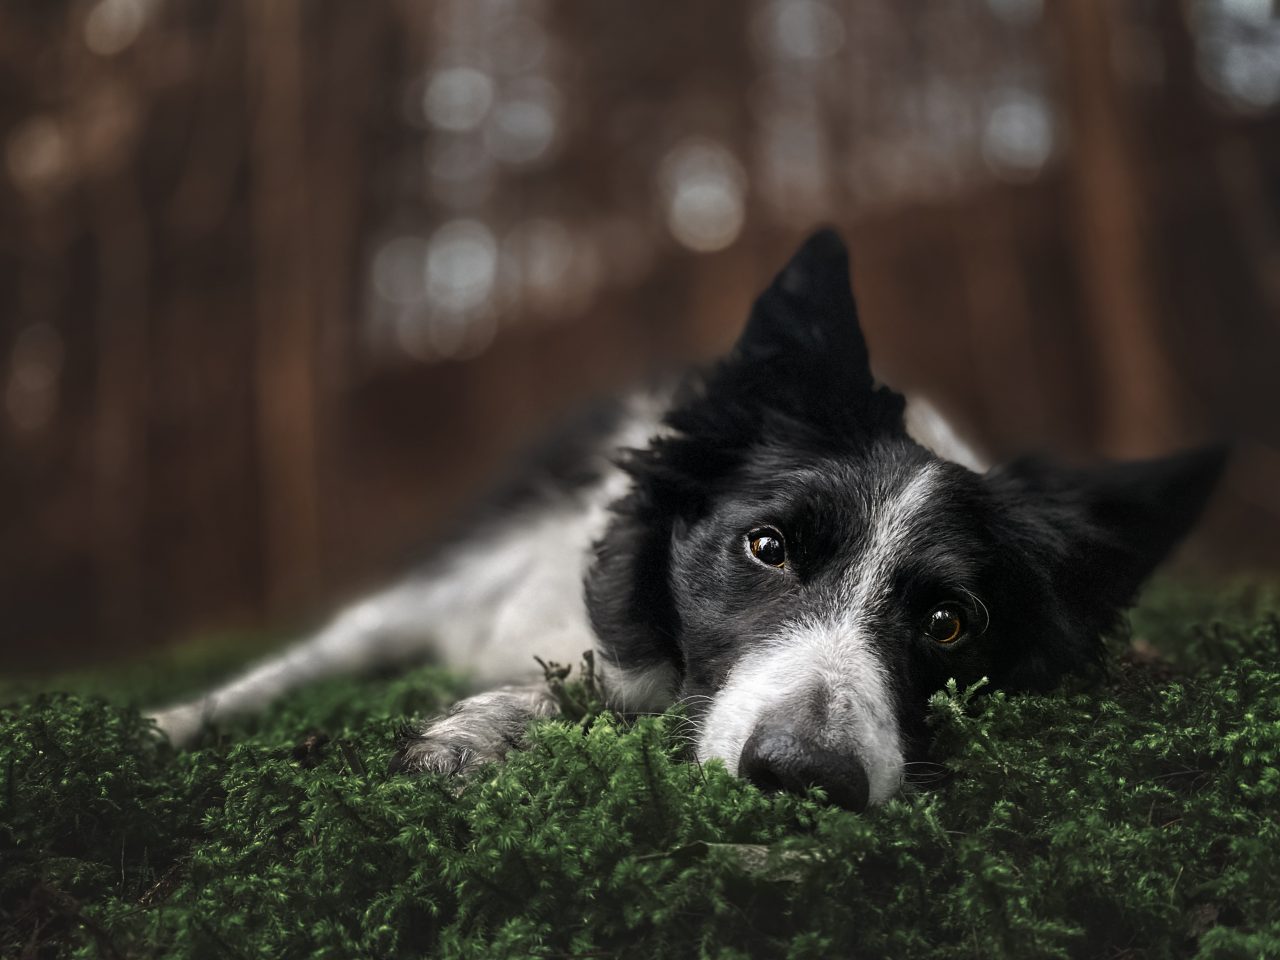
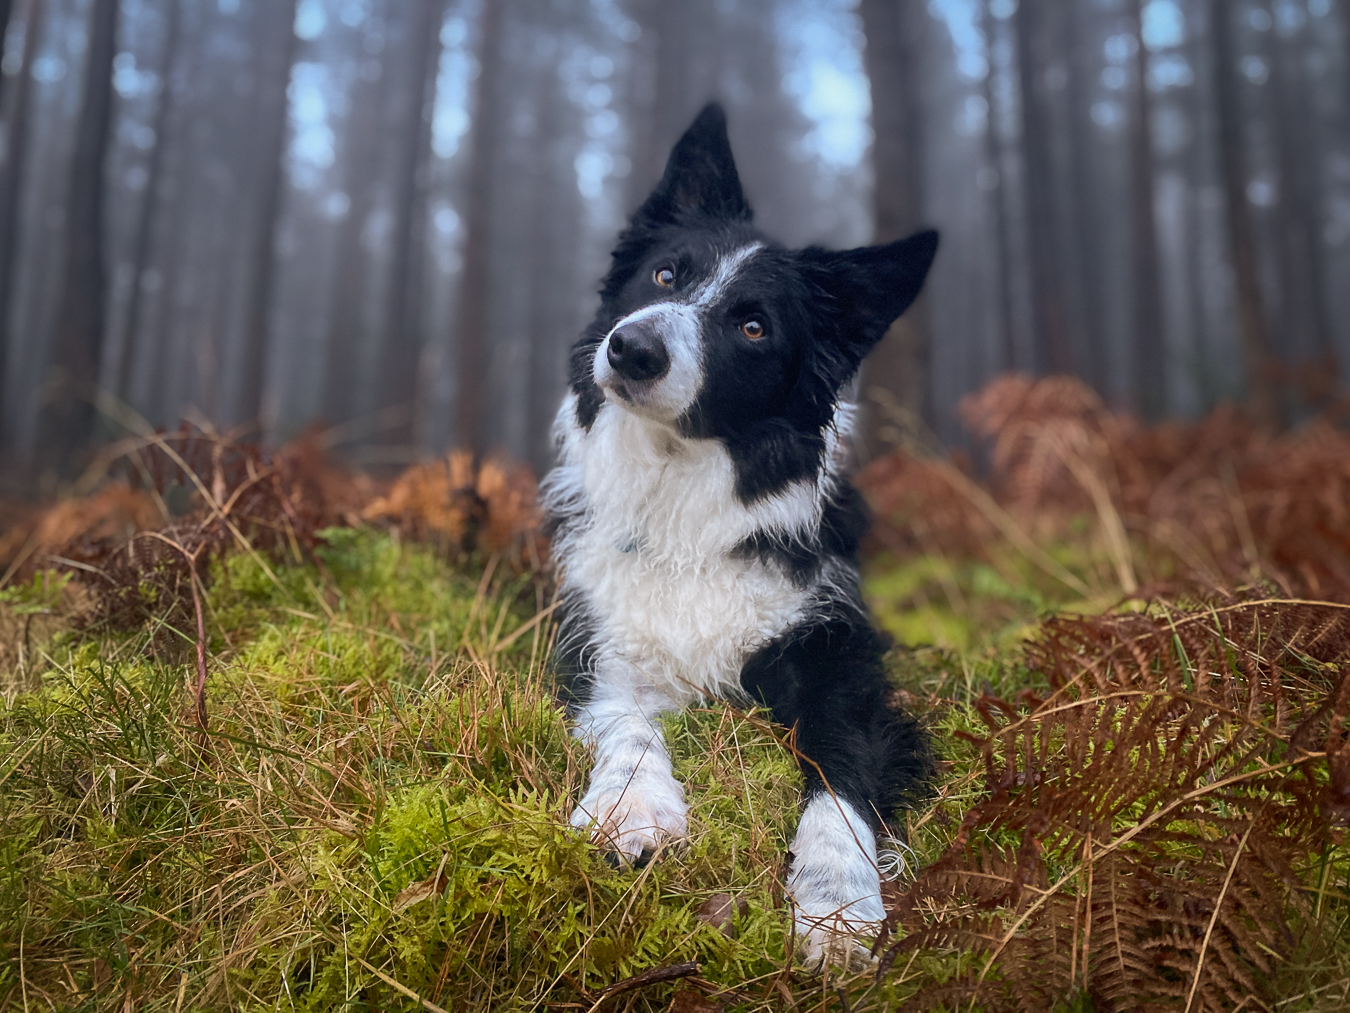
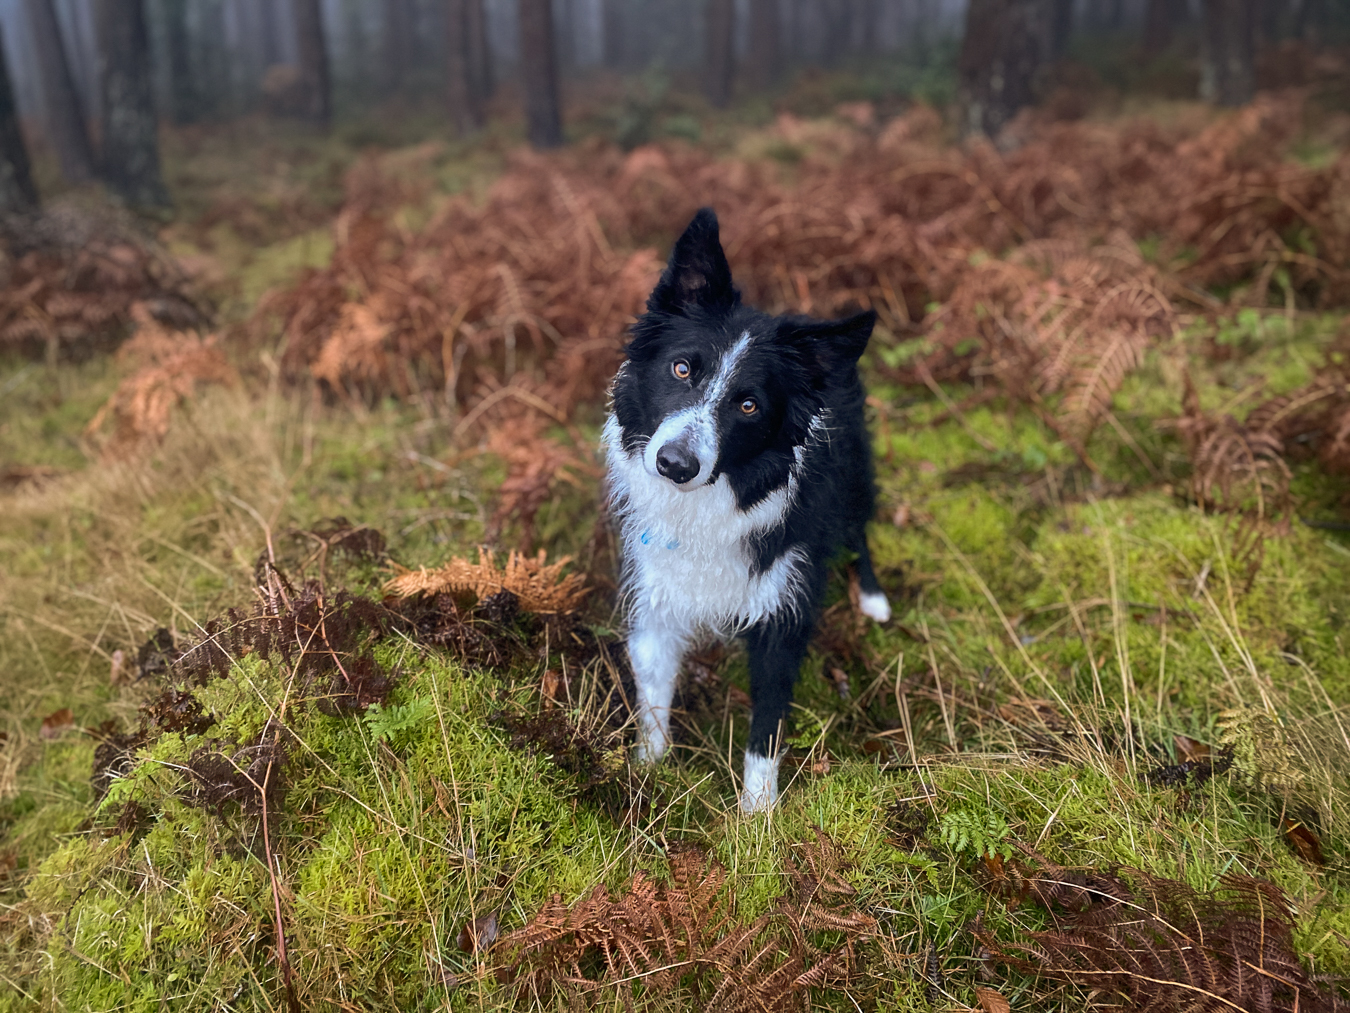
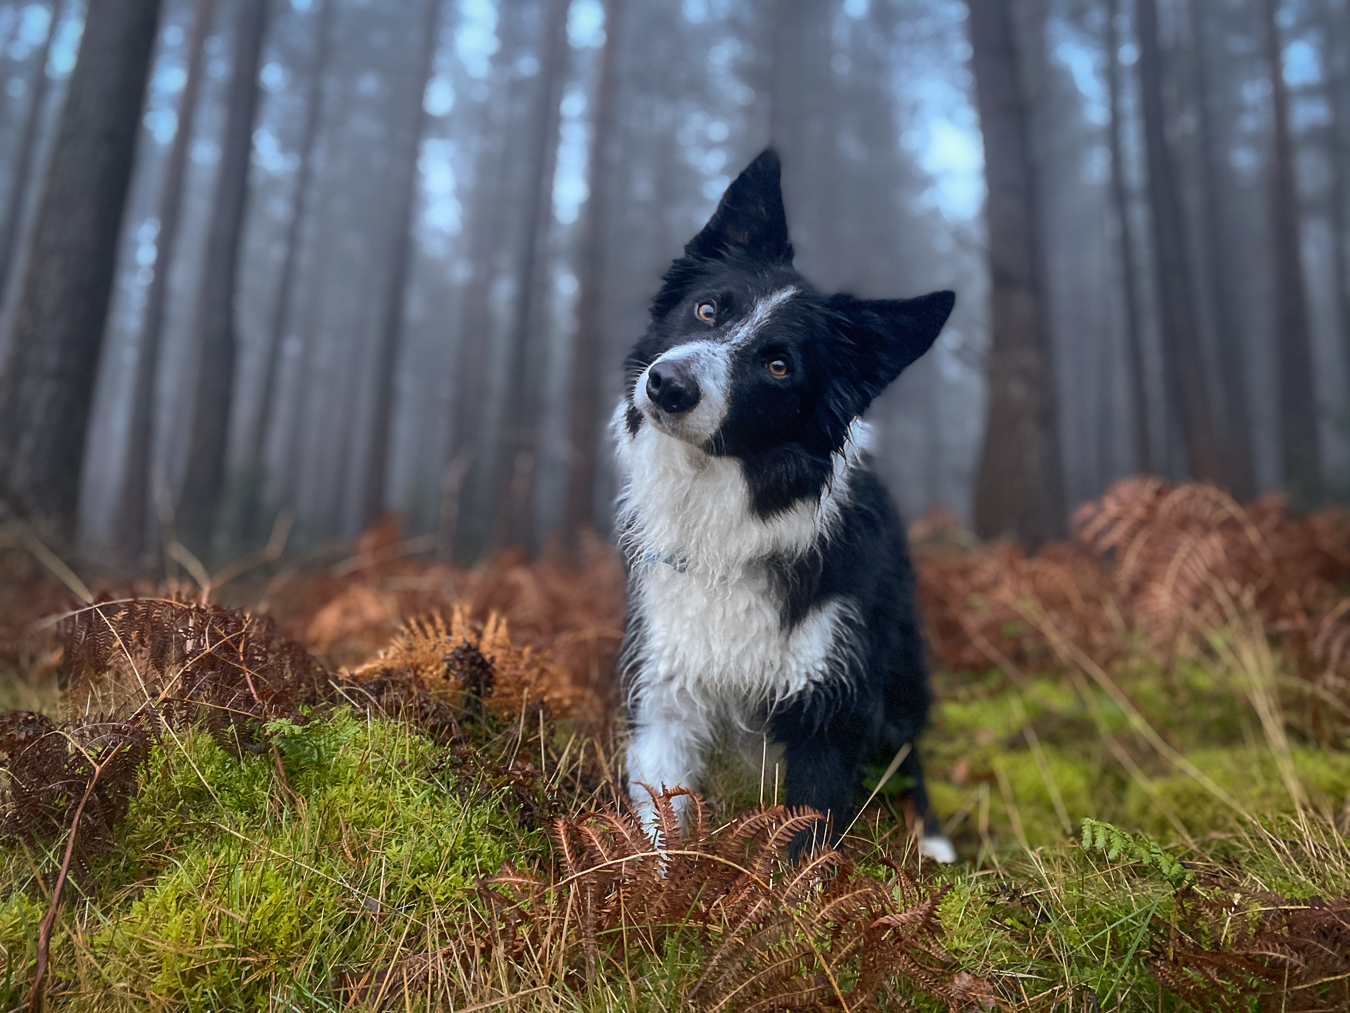
Take a look at the photos below.
Which one connects you with the dog more? (okay, Journey’s expression in one is TERRIBLE)
Which one gives you more of a sense of “place”?
Which one FEELS like a more interesting photo?
These were all taken at the EXACT same location. I didn’t move, I simply got closer to the ground!
Portrait Photos / Portraiture
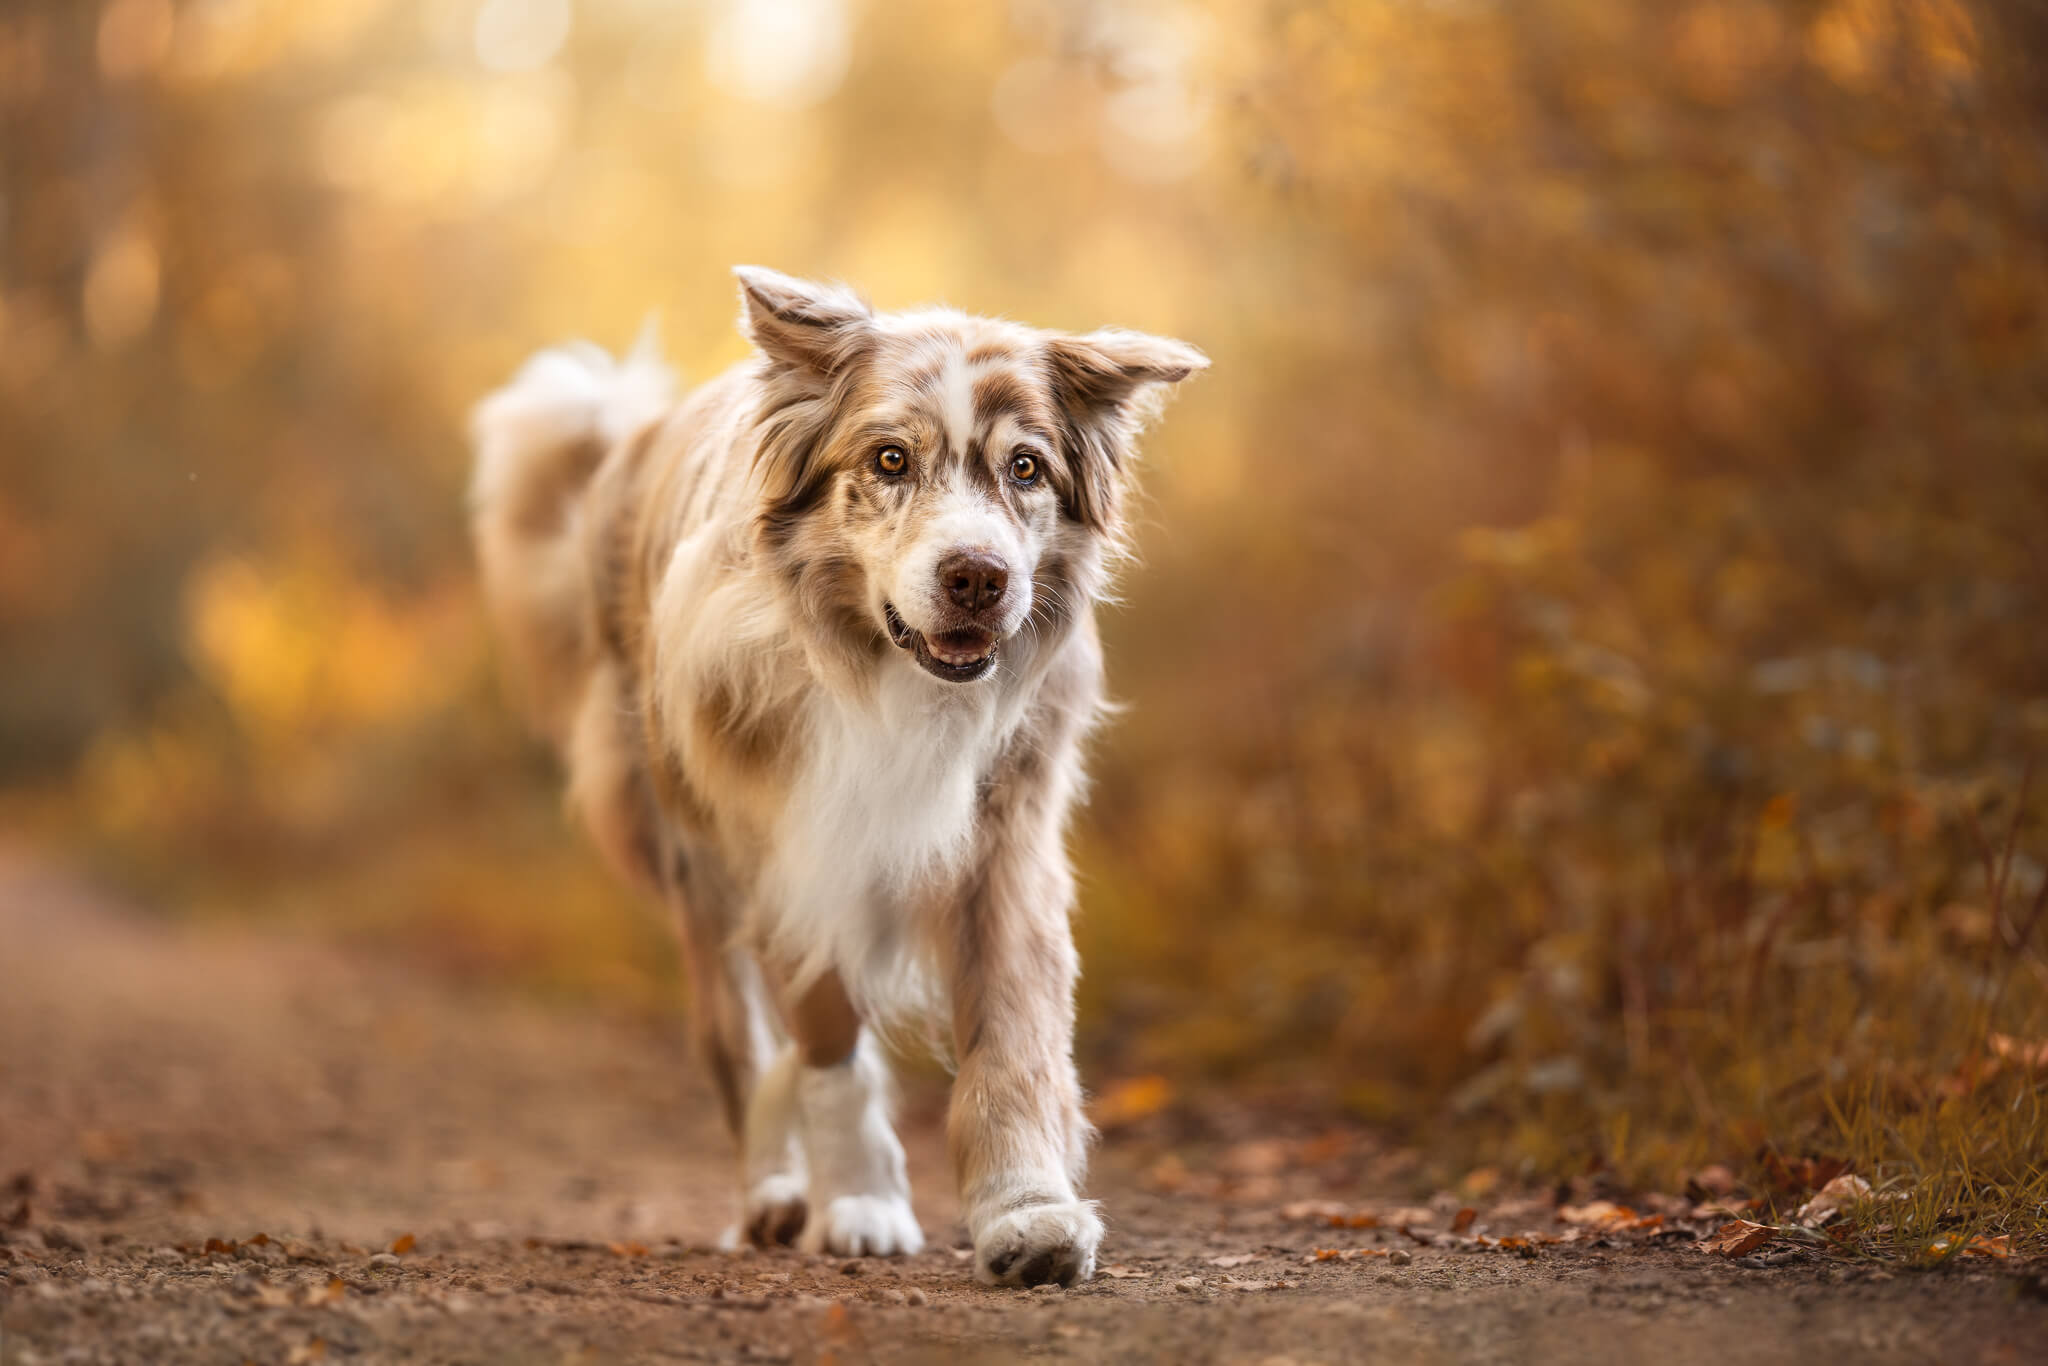
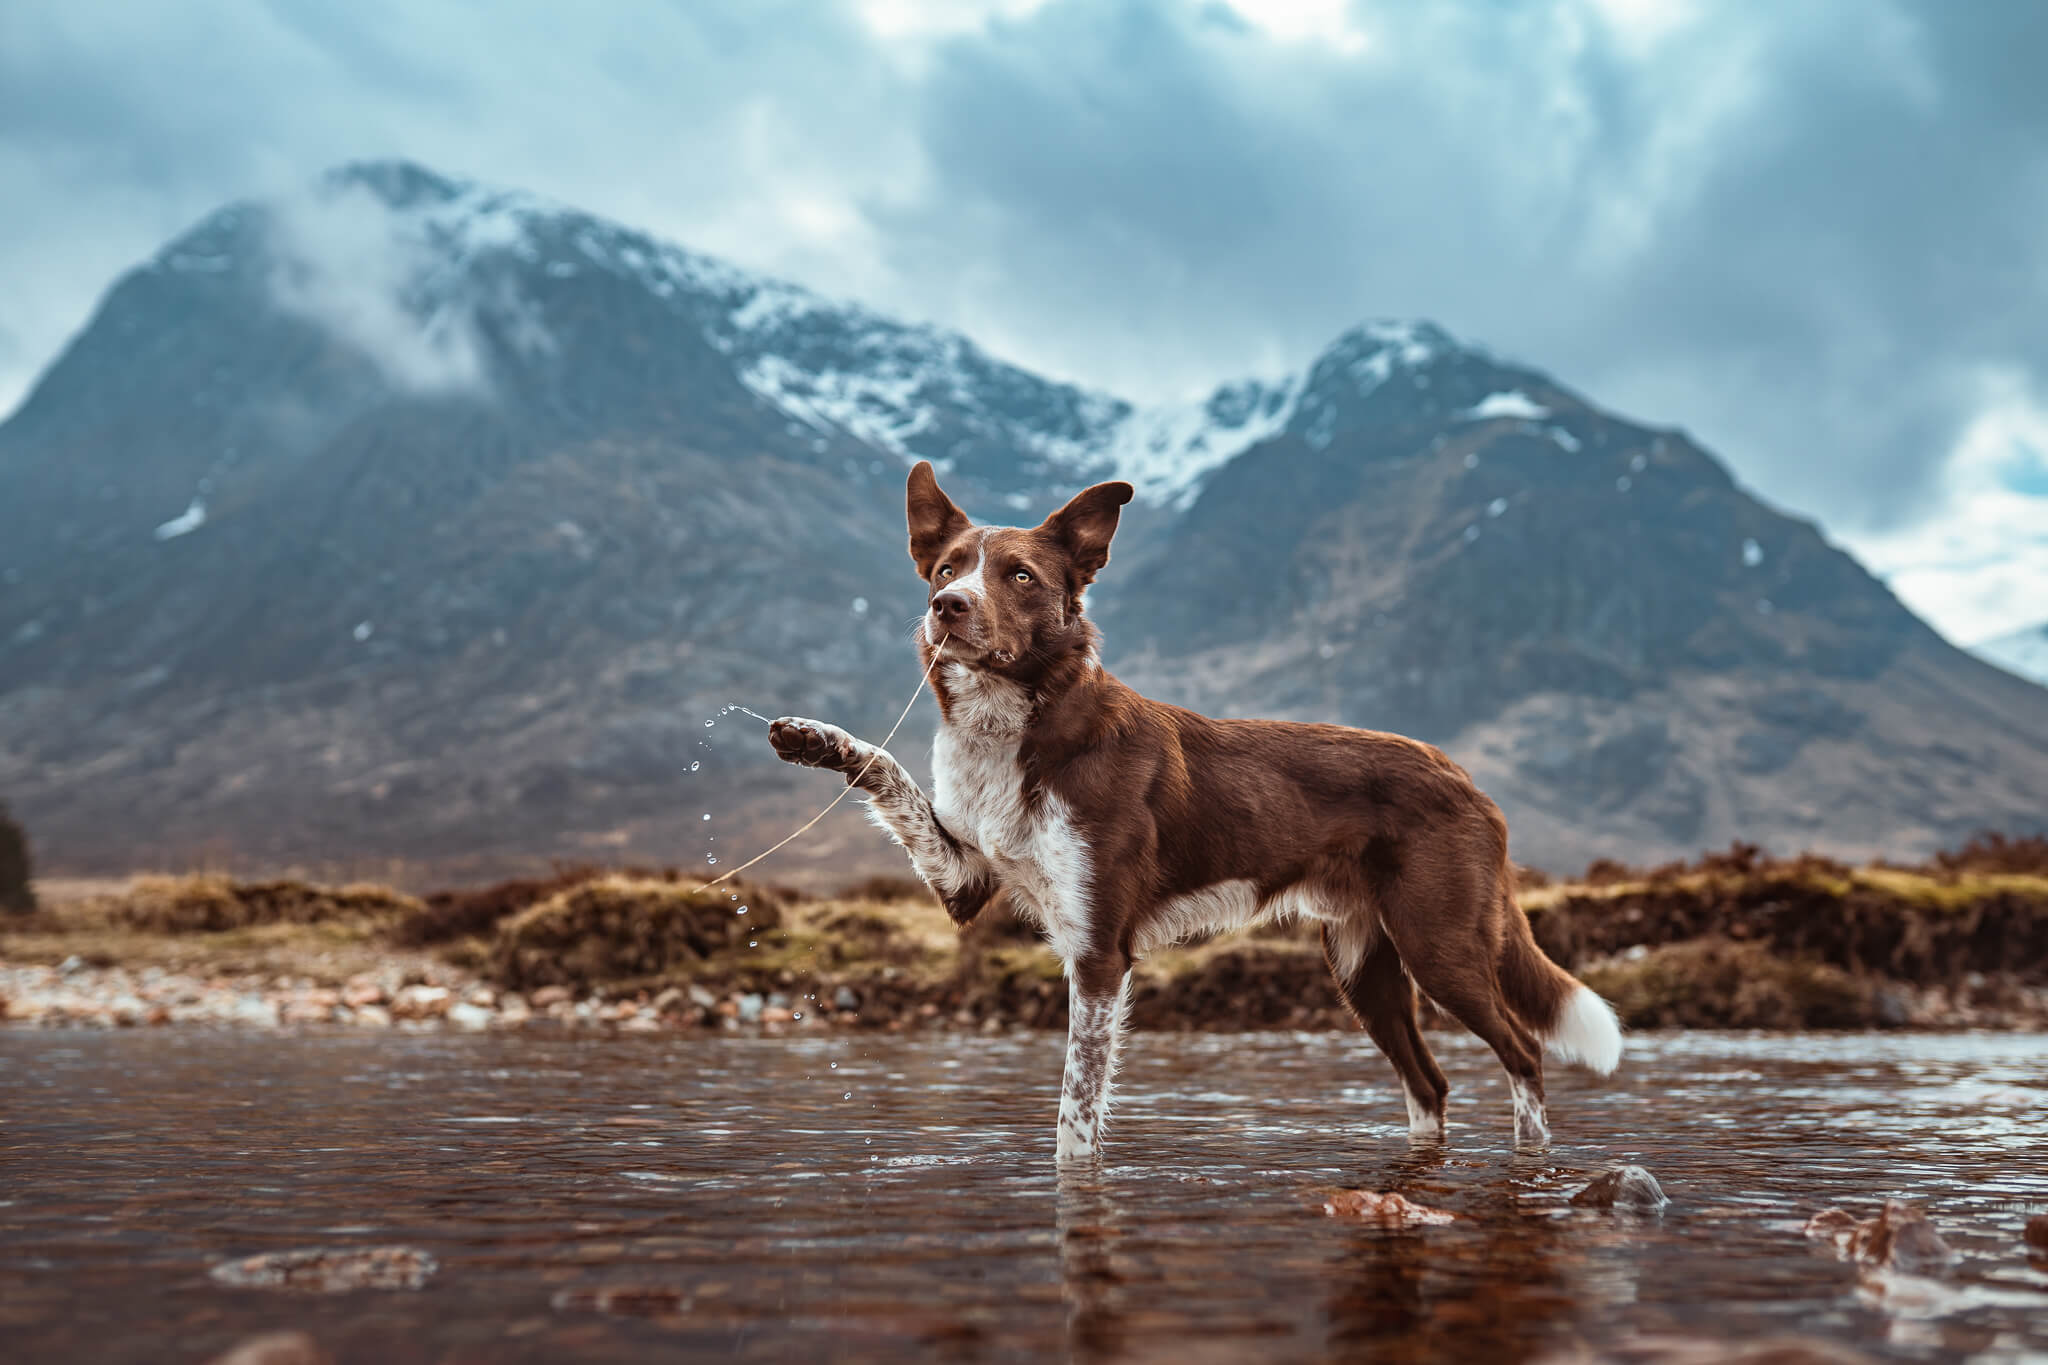
In general, for our portrait-style shoots, we want to focus on including a soft blurred foreground in our image. This helps to give a sense of depth and perspective, and to really place the dog within the scene. These layers can really help our images feel more 3D, and invite our viewers into them. !
Our subjects need to have presence. If you’re here,I can only assume it’s because you’ve moved beyond taking happy snaps of your pet, and want to create something beautiful, with presence. Maybe you want to find your style, and make something that could be powerful, or emotive, dramatic, intense, or joyful. In any case, I would argue that our subjects always need to have some kind of presence in the scene, whether it’s a close-up headshot, or they are amongst a mountain range. Without presence, we may as well continue scrolling.
Even just slight changes in height and angle can affect this feeling of presence and depth.
Some people recommend you try to be at the level of the dog’s eyes… but I’d go one step further and say you should be at the level of their elbow, at the highest. Most of the time, my camera is about 10cm off the ground, unless there’s a lot of foreground & bushes.
You can play with the angle and perspective. Sometimes shooting straight across works better, sometimes shooting with your lens angled upward works better.
I’m always trying to achieve a balance between the amount of blurry foreground in the image, and the rest of the scene. Getting low doesn’t mean you need 1/3 of your image to be blurry foreground!
Below are two sets of two very similar photos in terms of mood, location, lighting and so on, but to me one of them definitely feels like you are more drawn into the scene, that you have a sense of the whole scene, and of Loki or Journey’s presence within the scene.
Notice how that bit of extra foreground blur just adds an extra element of depth to the scene.
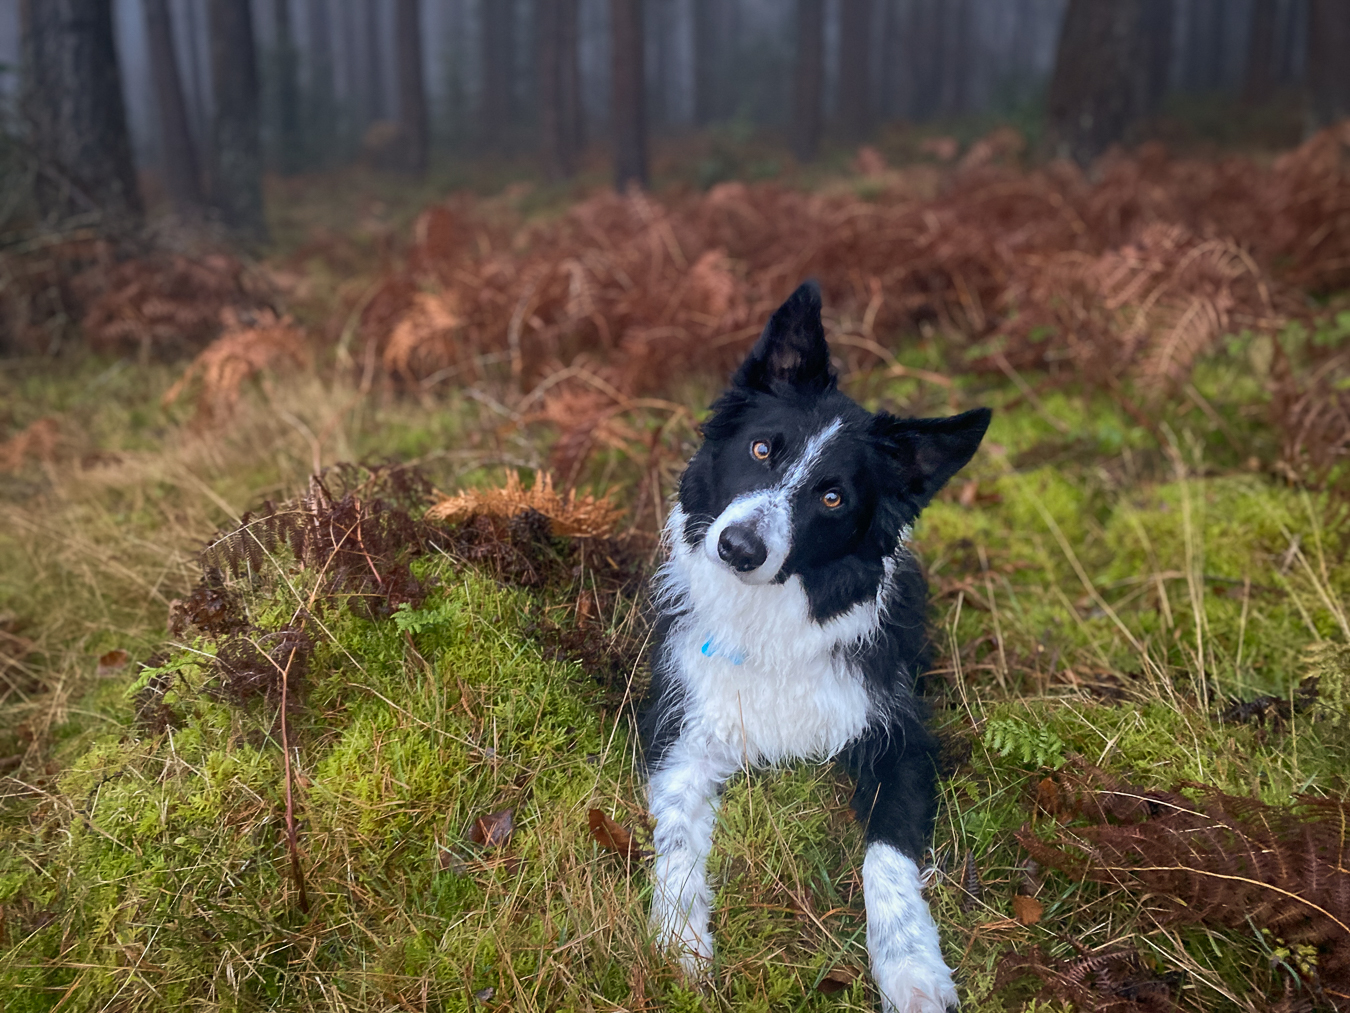
This concept applies equally to Phone photos, as well as wider-angle lenses… however! You may need to play around a little more to get the perfect angle, as going too low can look a bit comical and strange with wider angle lenses. The photo examples below: one taken higher, or the normal angle I see many new photographers using, and one getting very low, were all taken with my iPhone 11.
How low do I need to be though, really?
This really depends a lot on the foreground and even on the camera and lens you’re using.
My camera which hasn’t articulating screen, for example, means I don’t have to (myself) get quite so low, however my camera is usually still very close to the ground.
In order to achieve this we may need to lie on our belly, kneel down on hands and knees, be on all fours with our elbows and knees on the ground, crouch down with one knee on the ground and the other up – you’ll see that I do this quite often because of my screen.
We may be able to sit cross-legged and really lean forward if you’re flexible enough. I’ve even seem people lying on their back and kind of twisting forward, so it really depends on the situation, the location and exactly what you’re trying to achieve.
As long as you’re focusing on the foreground and the dog having a sense of presence, that is the most important thing.
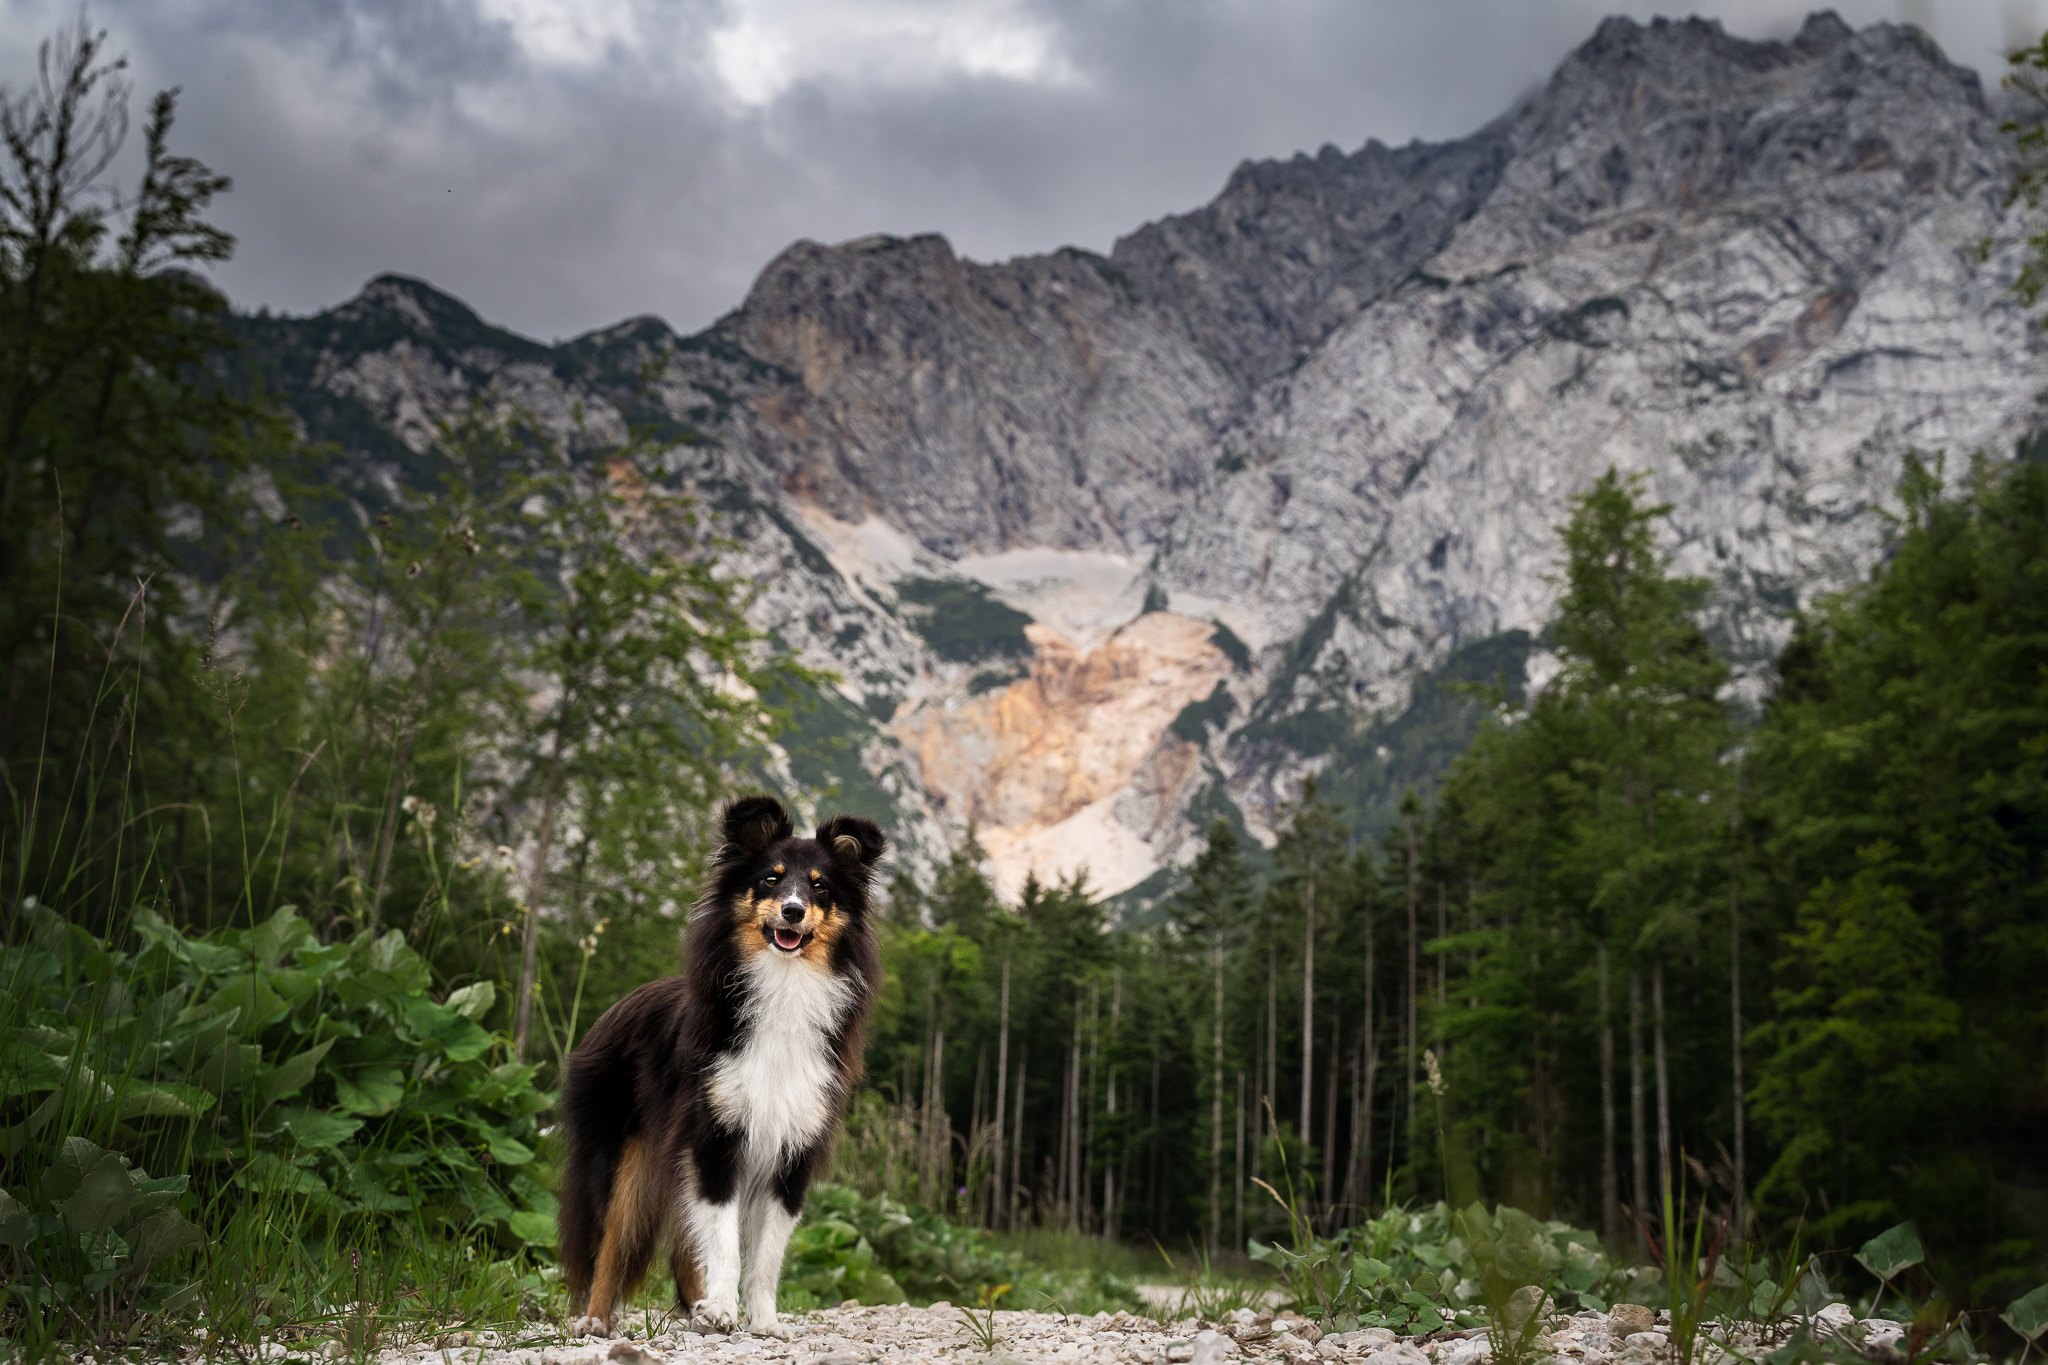
As you look at the images below, think about how you may have been positioned when taking your most recent photos. Have a look through some recent photos and ask yourself: is the dog powerful? Do you have a sense of the scene? Are there layers to the image? Do you get a sense of the dog’s size and presence?
Could you be even lower?
Different perspectives
There are a few different “image types” we want to consider when it comes to deciding how low or high to take our photos. In general, we should aim to be quite low – enough that we have a foreground layer of some description, however it may not be enough to apply a blanket rule to all images that one should simply “get down low.”
After all, we can be taking:
- Portrait photos
- Candids
- Action
- Head/shoulders
- Puppy-dog-eyes/looking down from above
- Dog on an object
- Other creative options
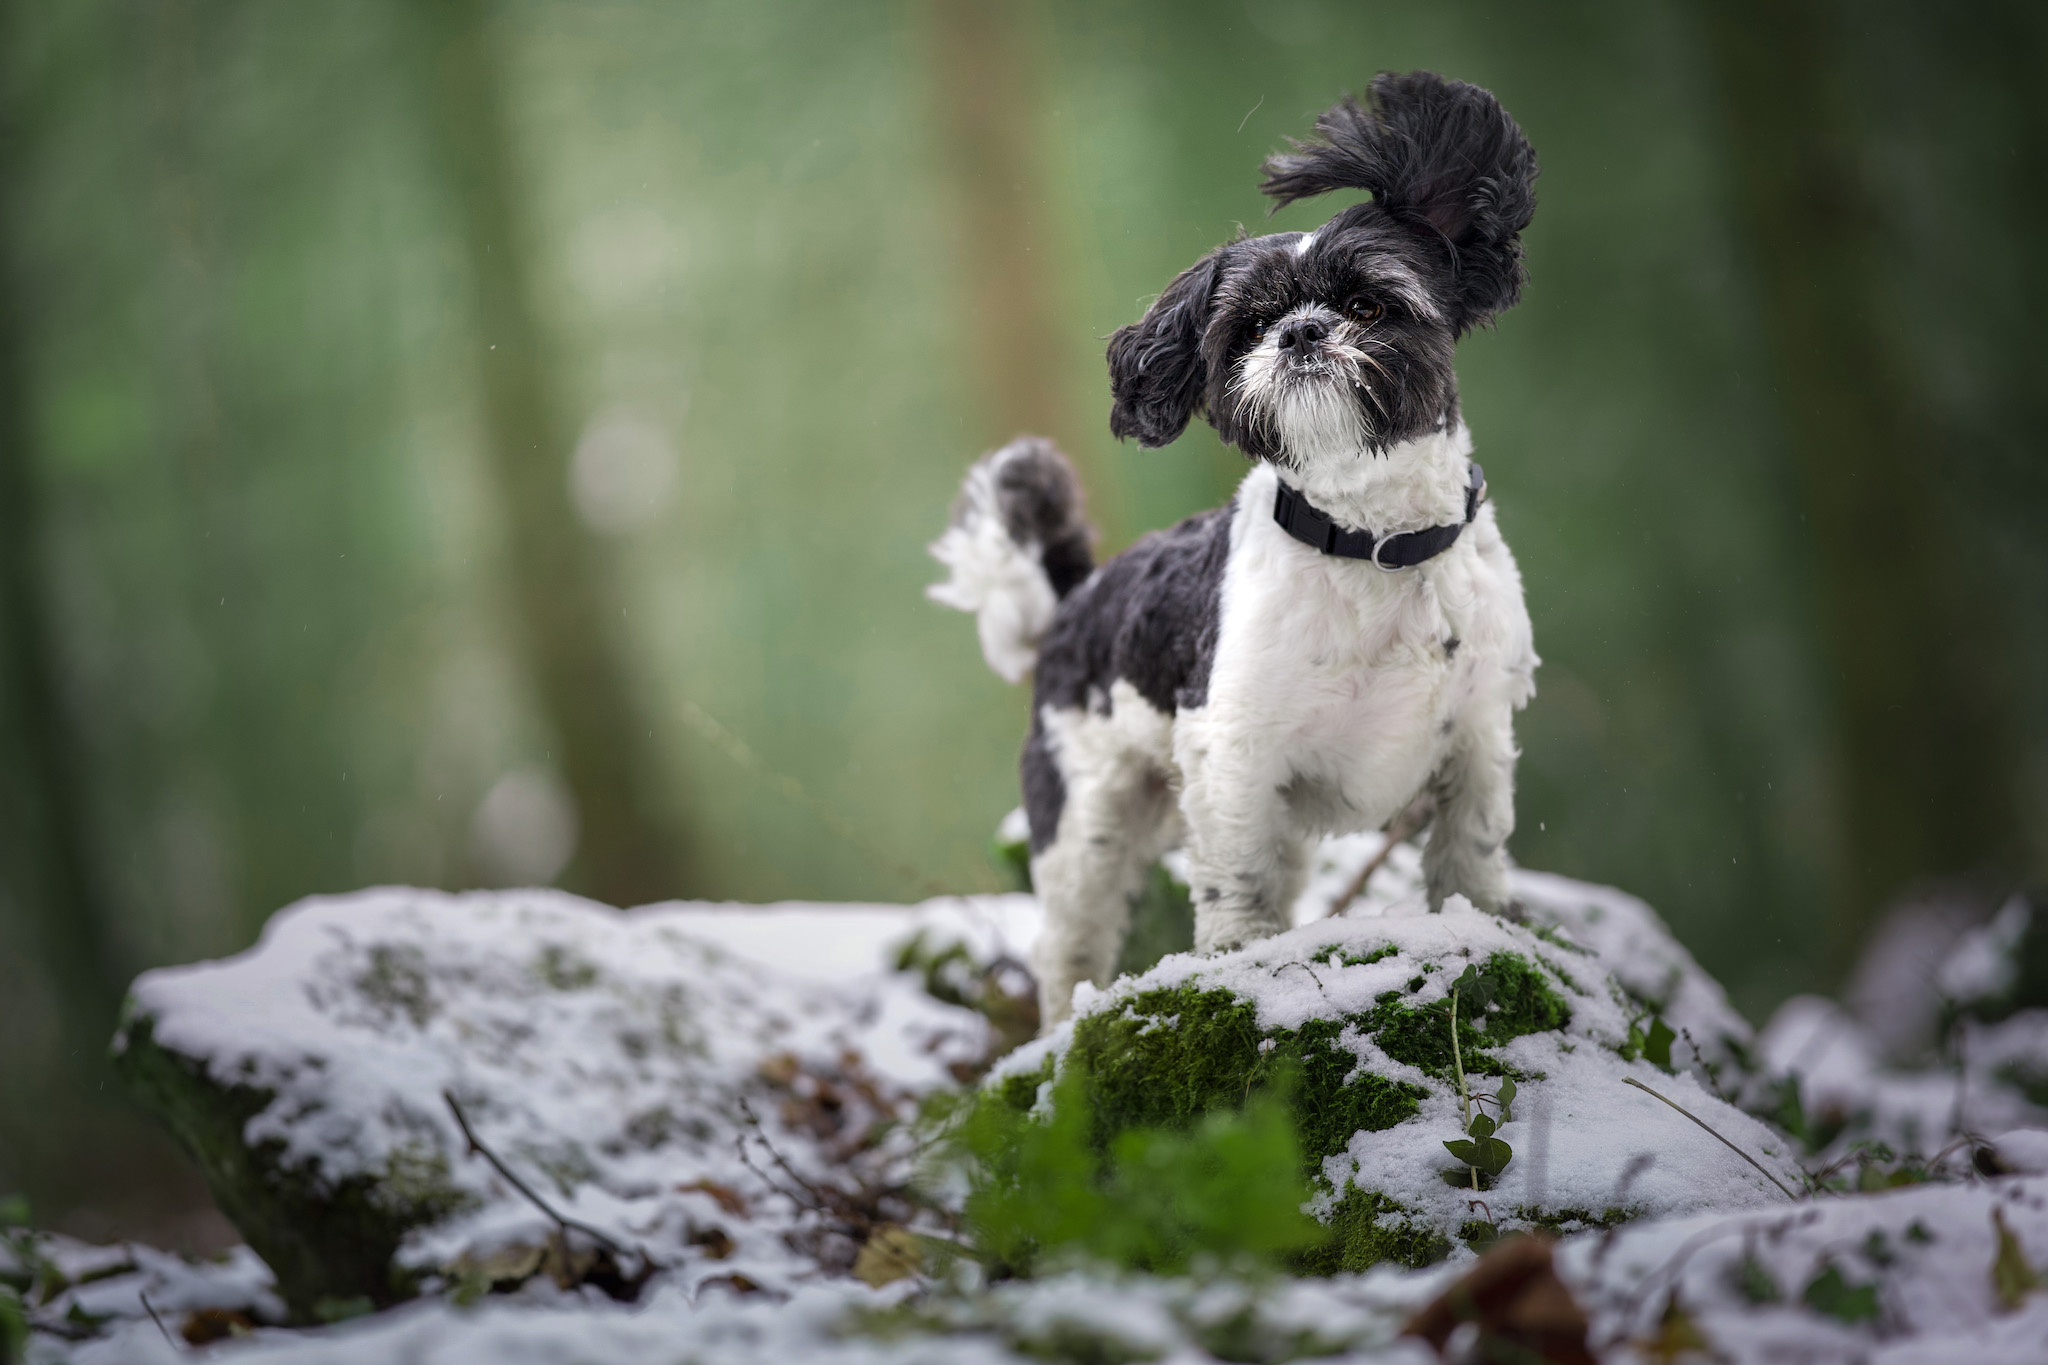
And of course, the exact height and angle of our camera and photo will depend on the height and pose of the dog, the location we’re shooting in, whether there are bushes, leaves, flowers etc in the foreground, or if the space is more open.
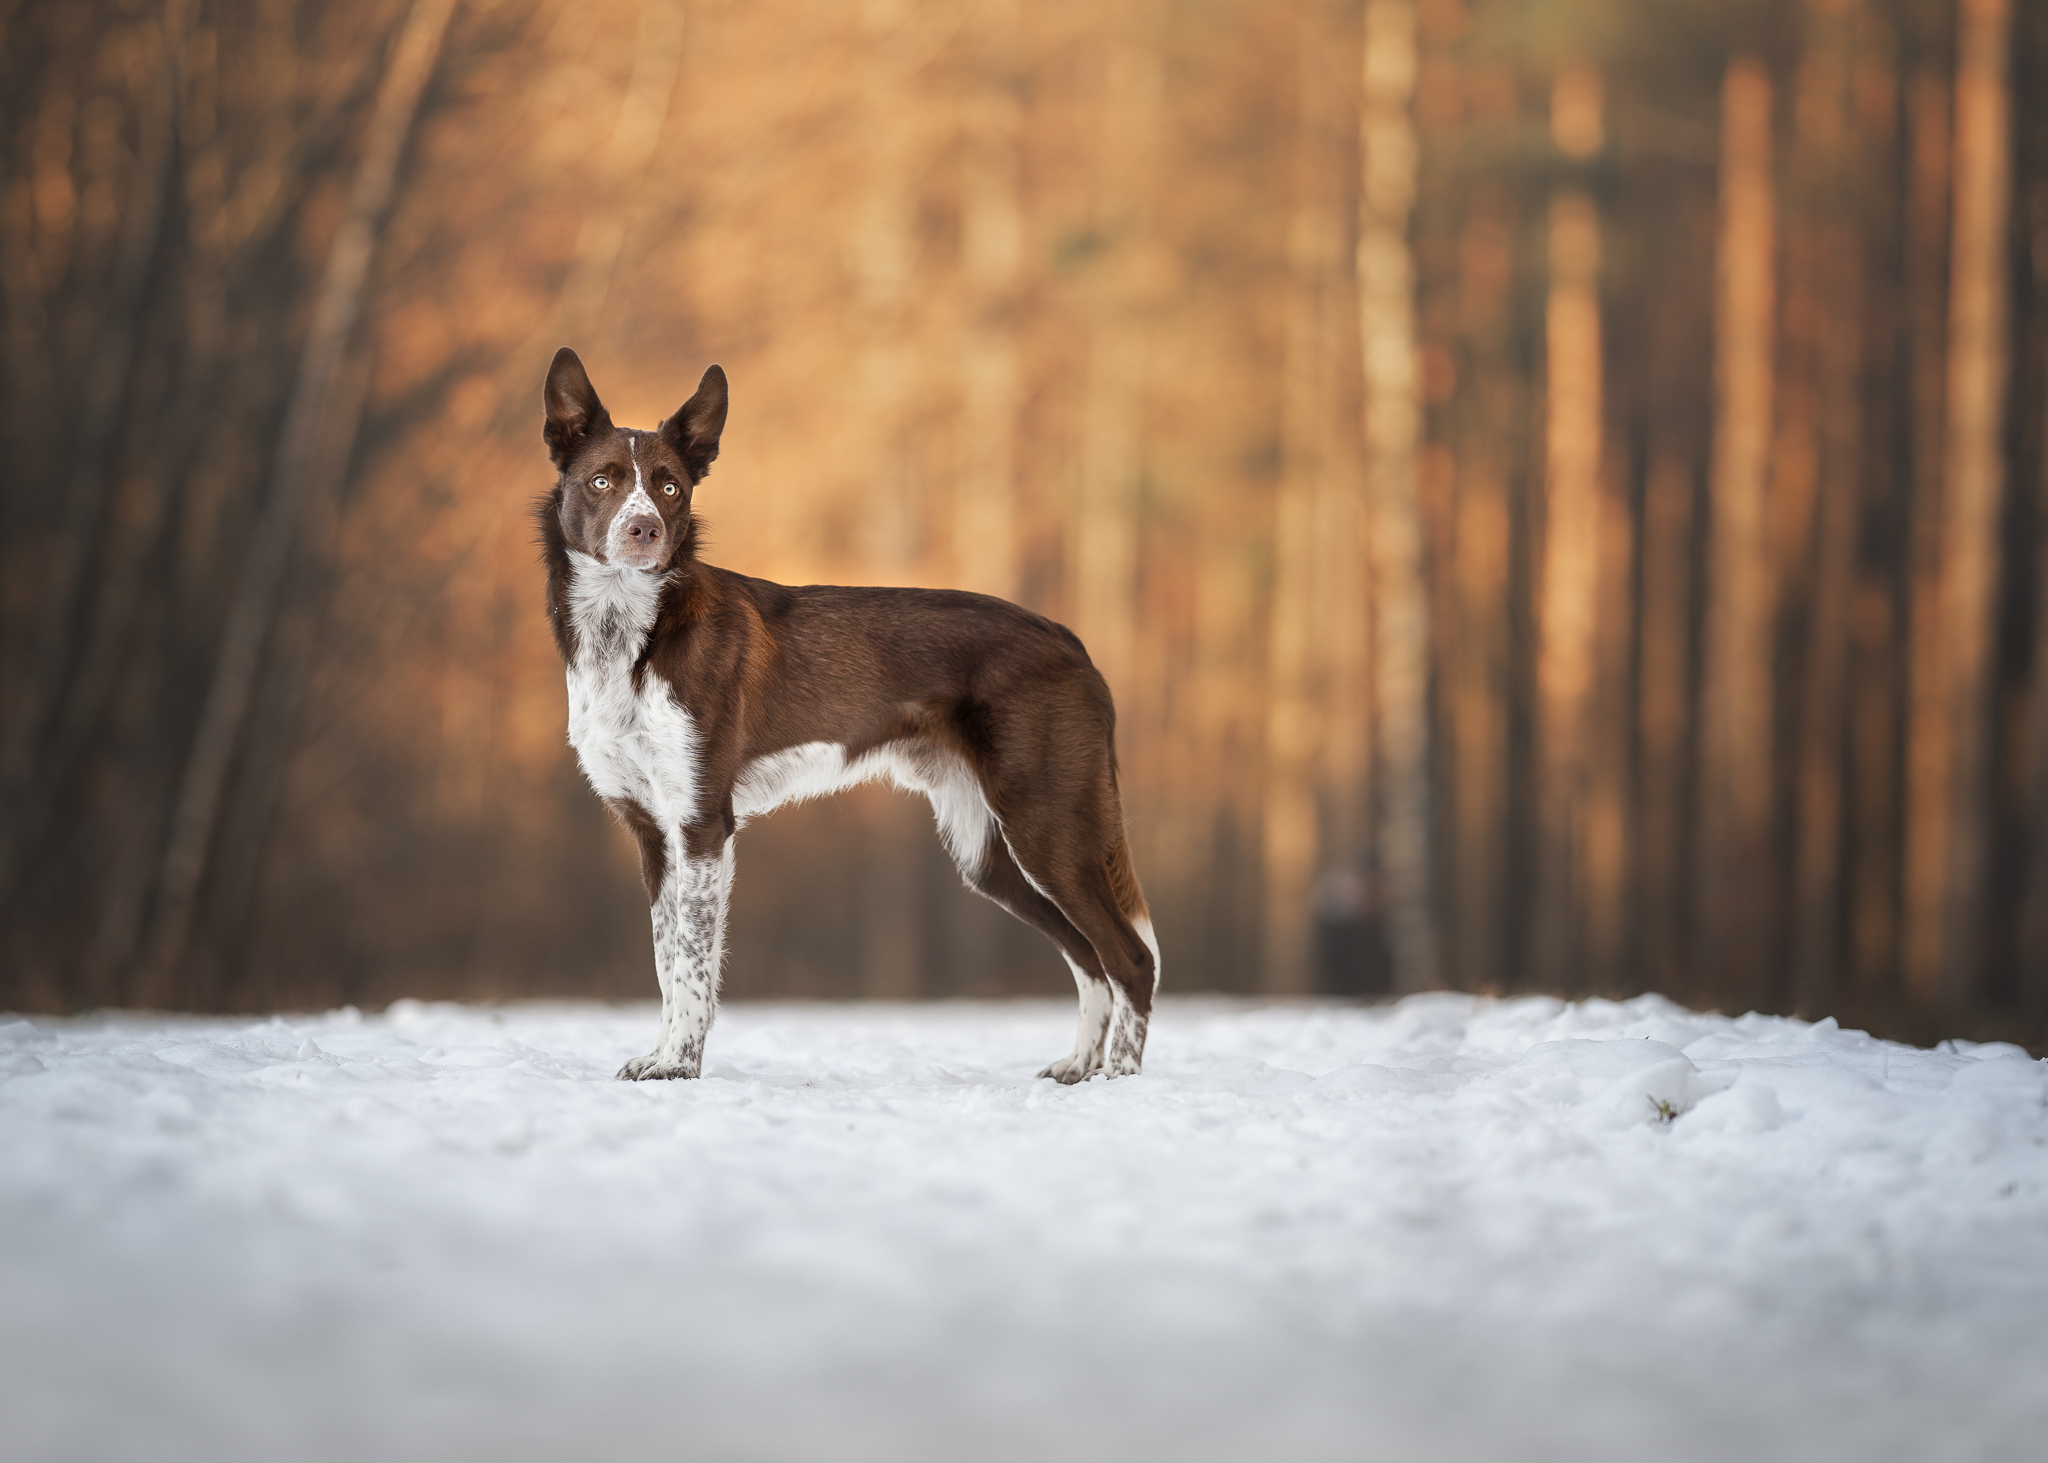
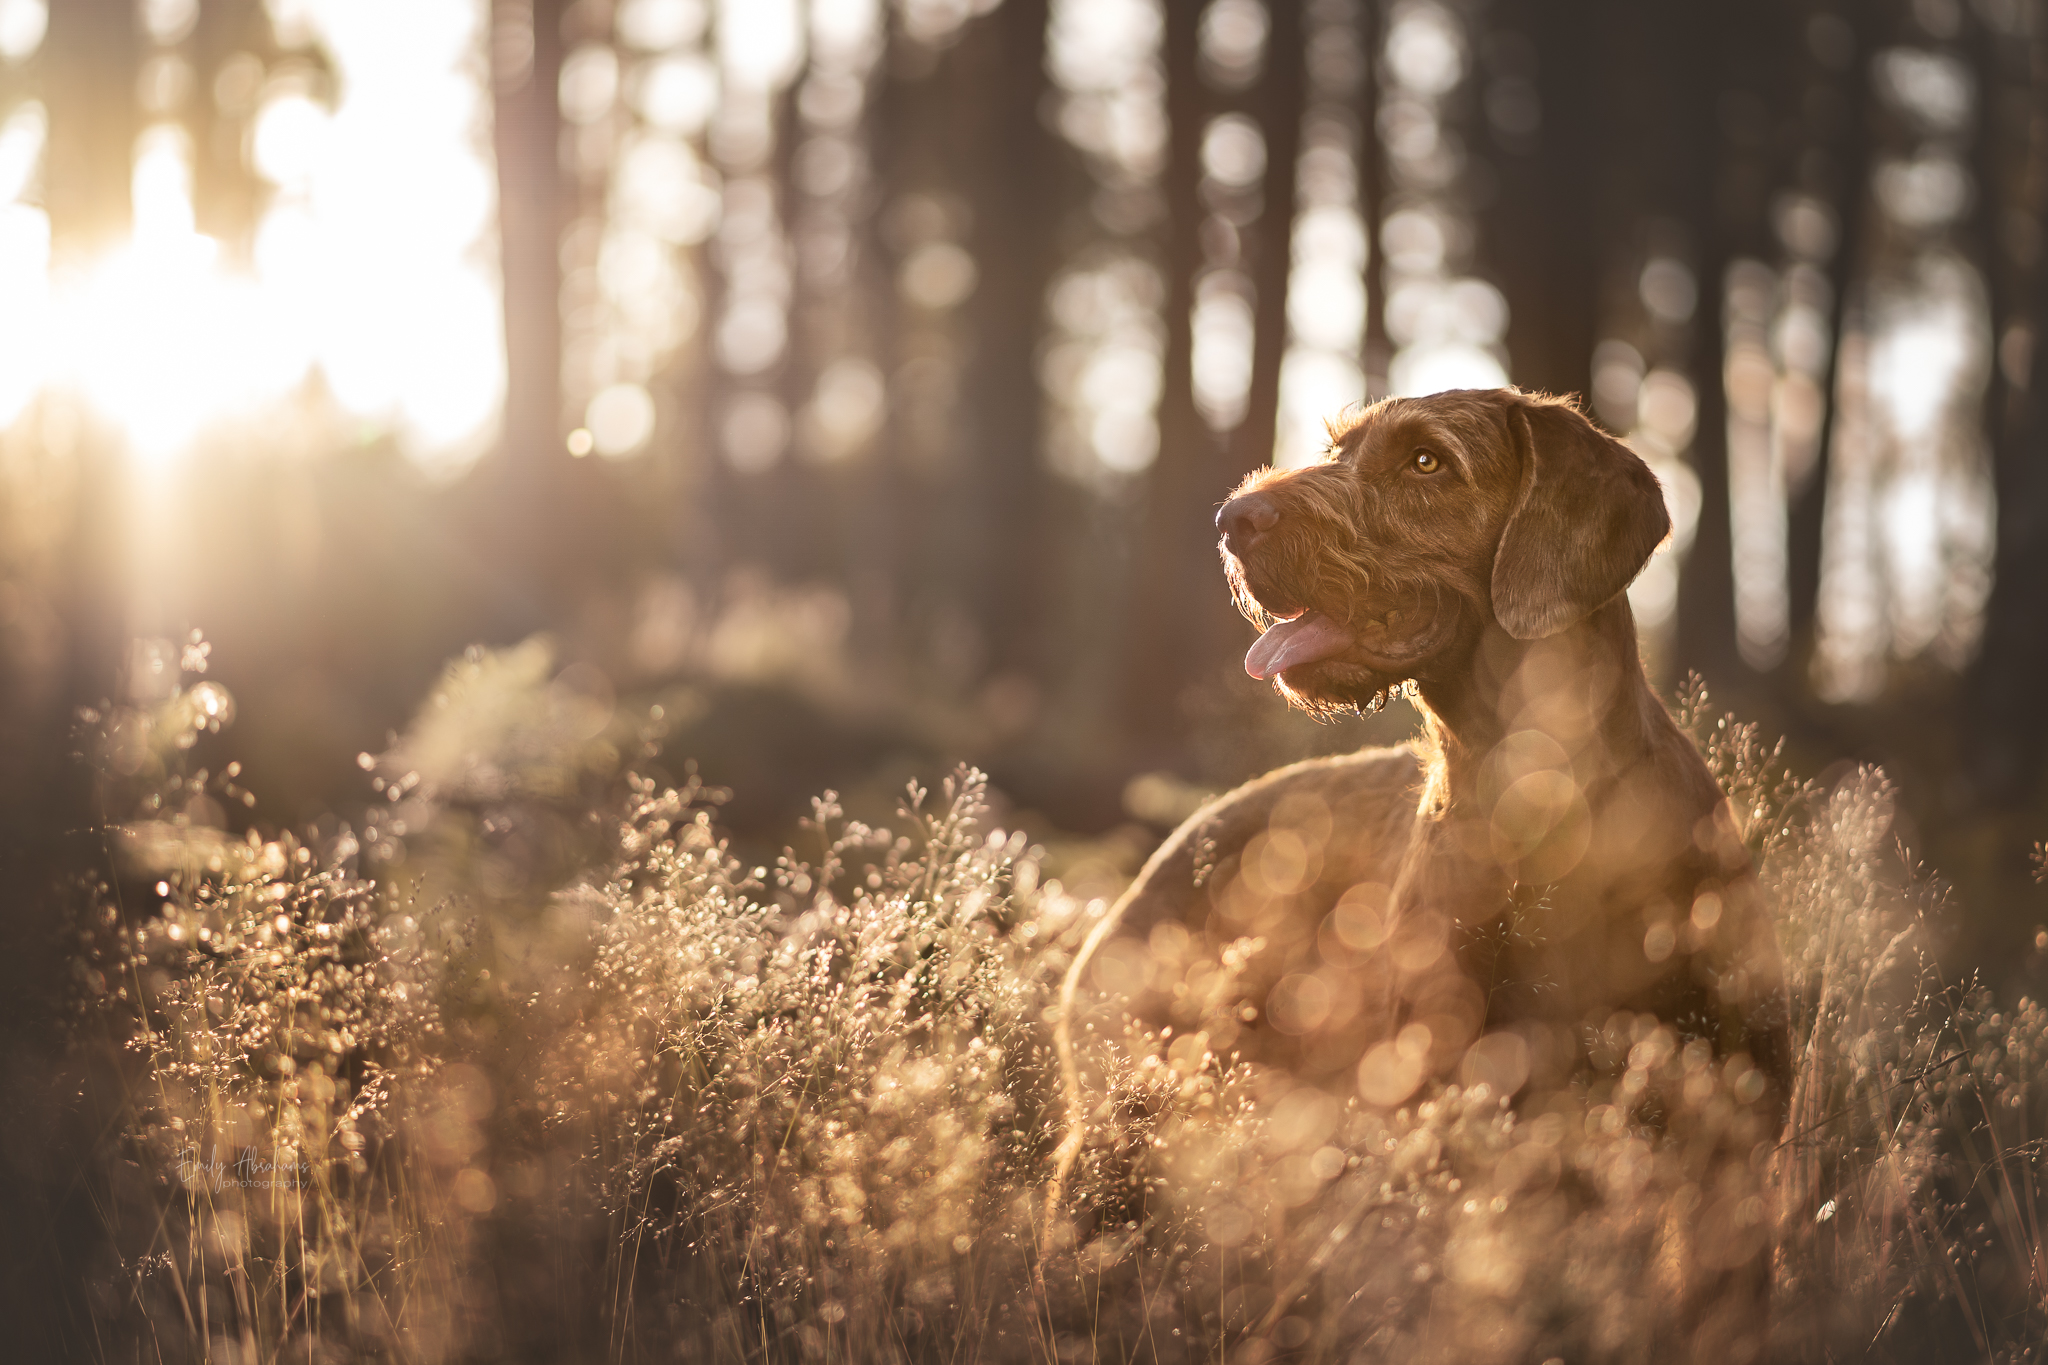
These images needed quite different considerations when it came to the height at which I held the camera. The image to the left needed me to be very low to get any kind of foreground to to the flat, open nature of the snow. The image to the right required me to be higher, and in fact to cut off much of the dog’s legs. To be any lower would have meant half an image full of dark grass, and probably the dog’s face covered by the sparkly tops of the grass. What I’m saying is that by making conscious choices about where we position our camera, our images will make more sense.
And of course, the type of foreground you have in your image (whether bushy or open) is also a stylistic choice, but we will cover that more in the location lesson.
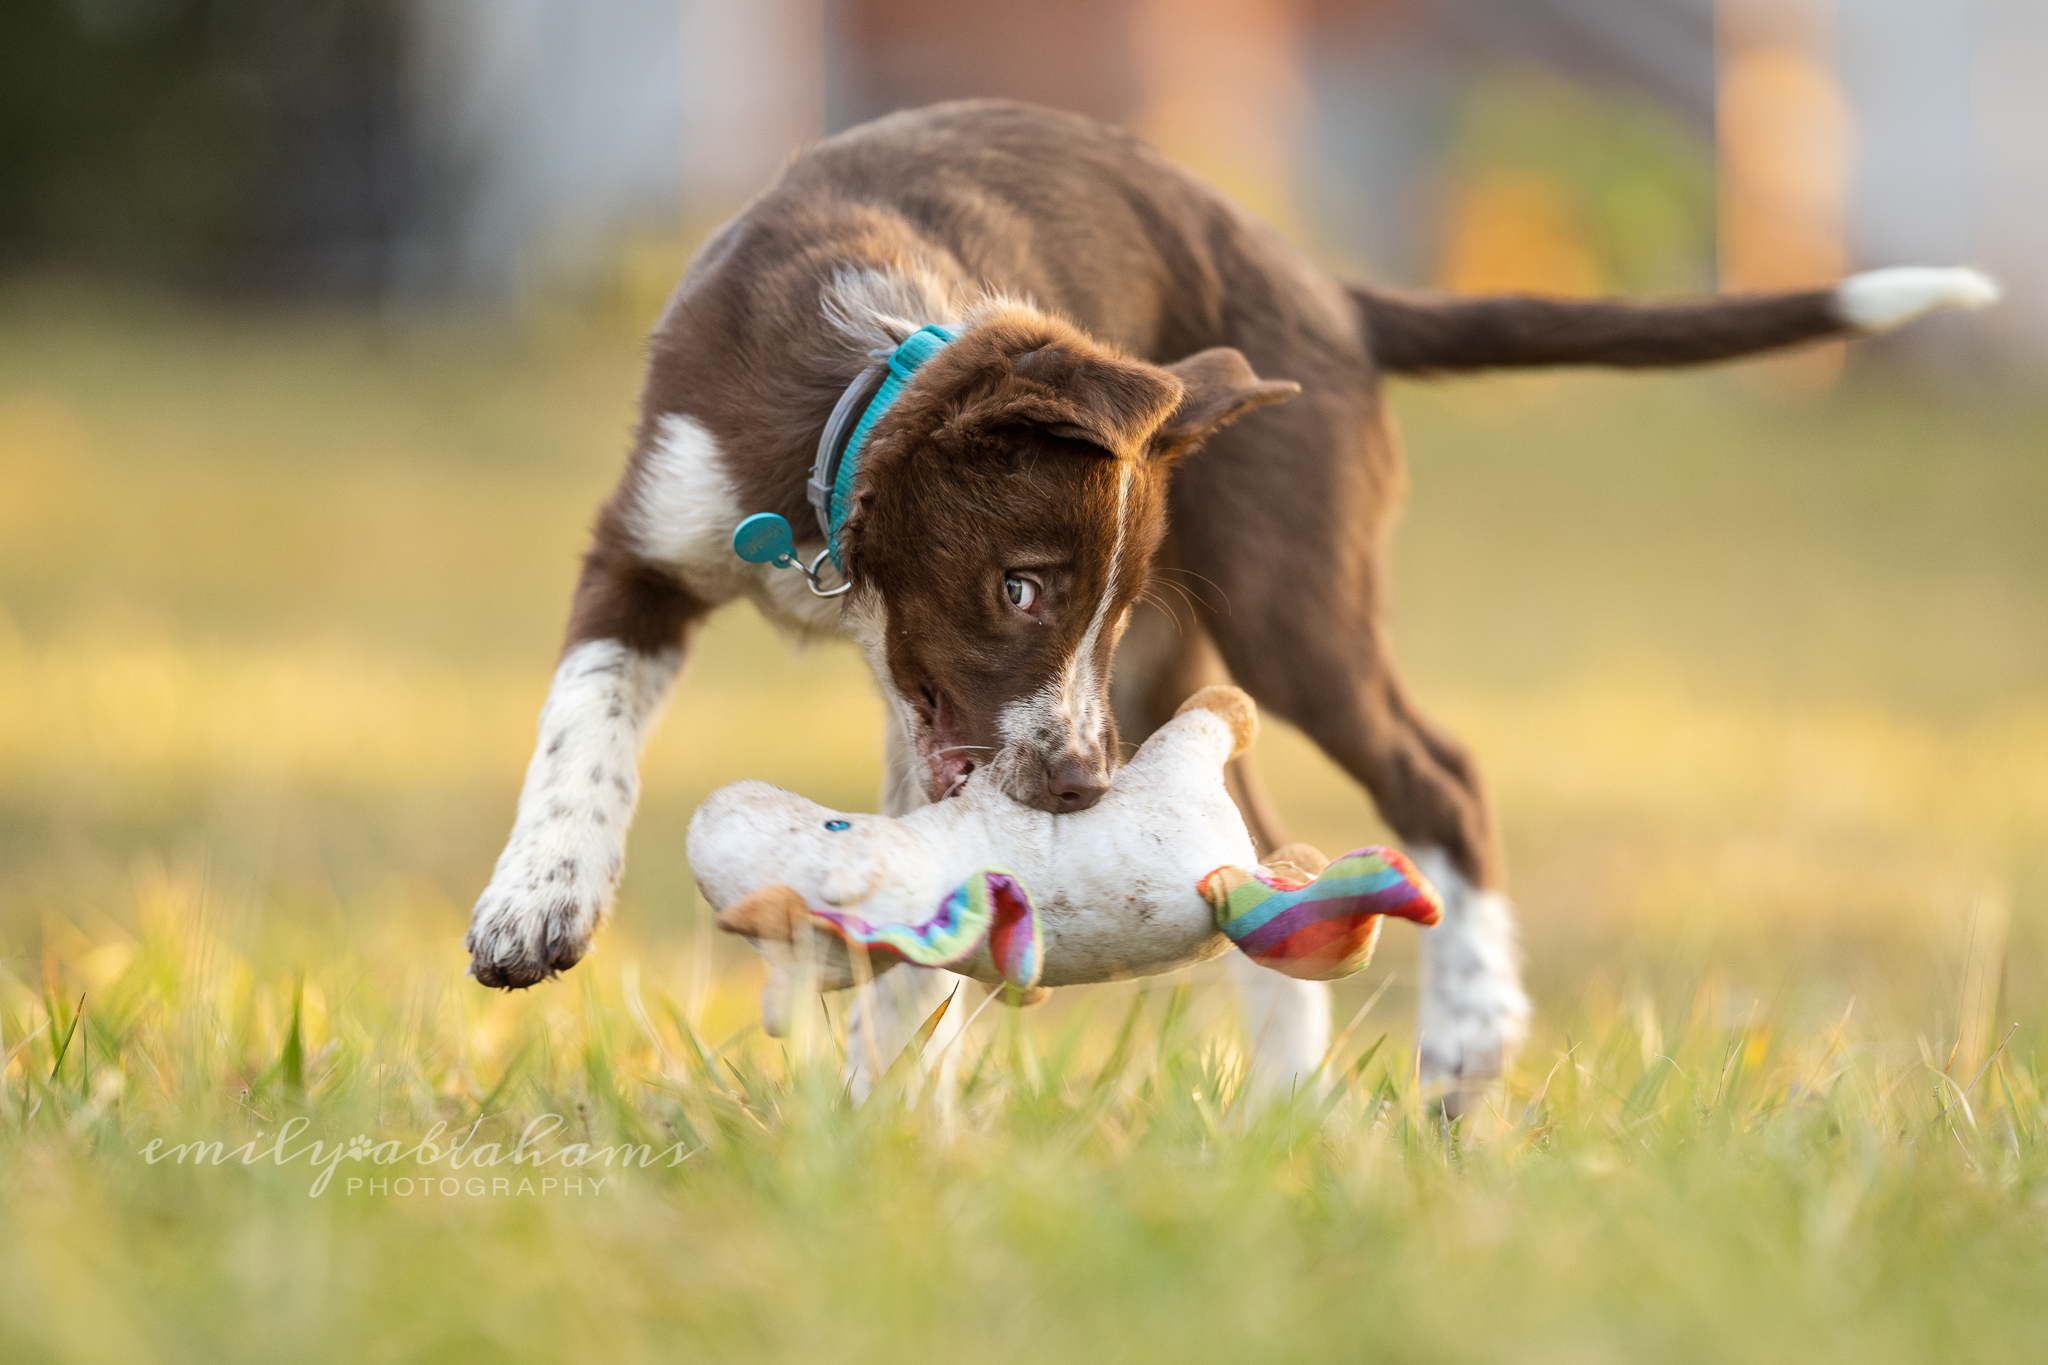
Candids & Action Photos
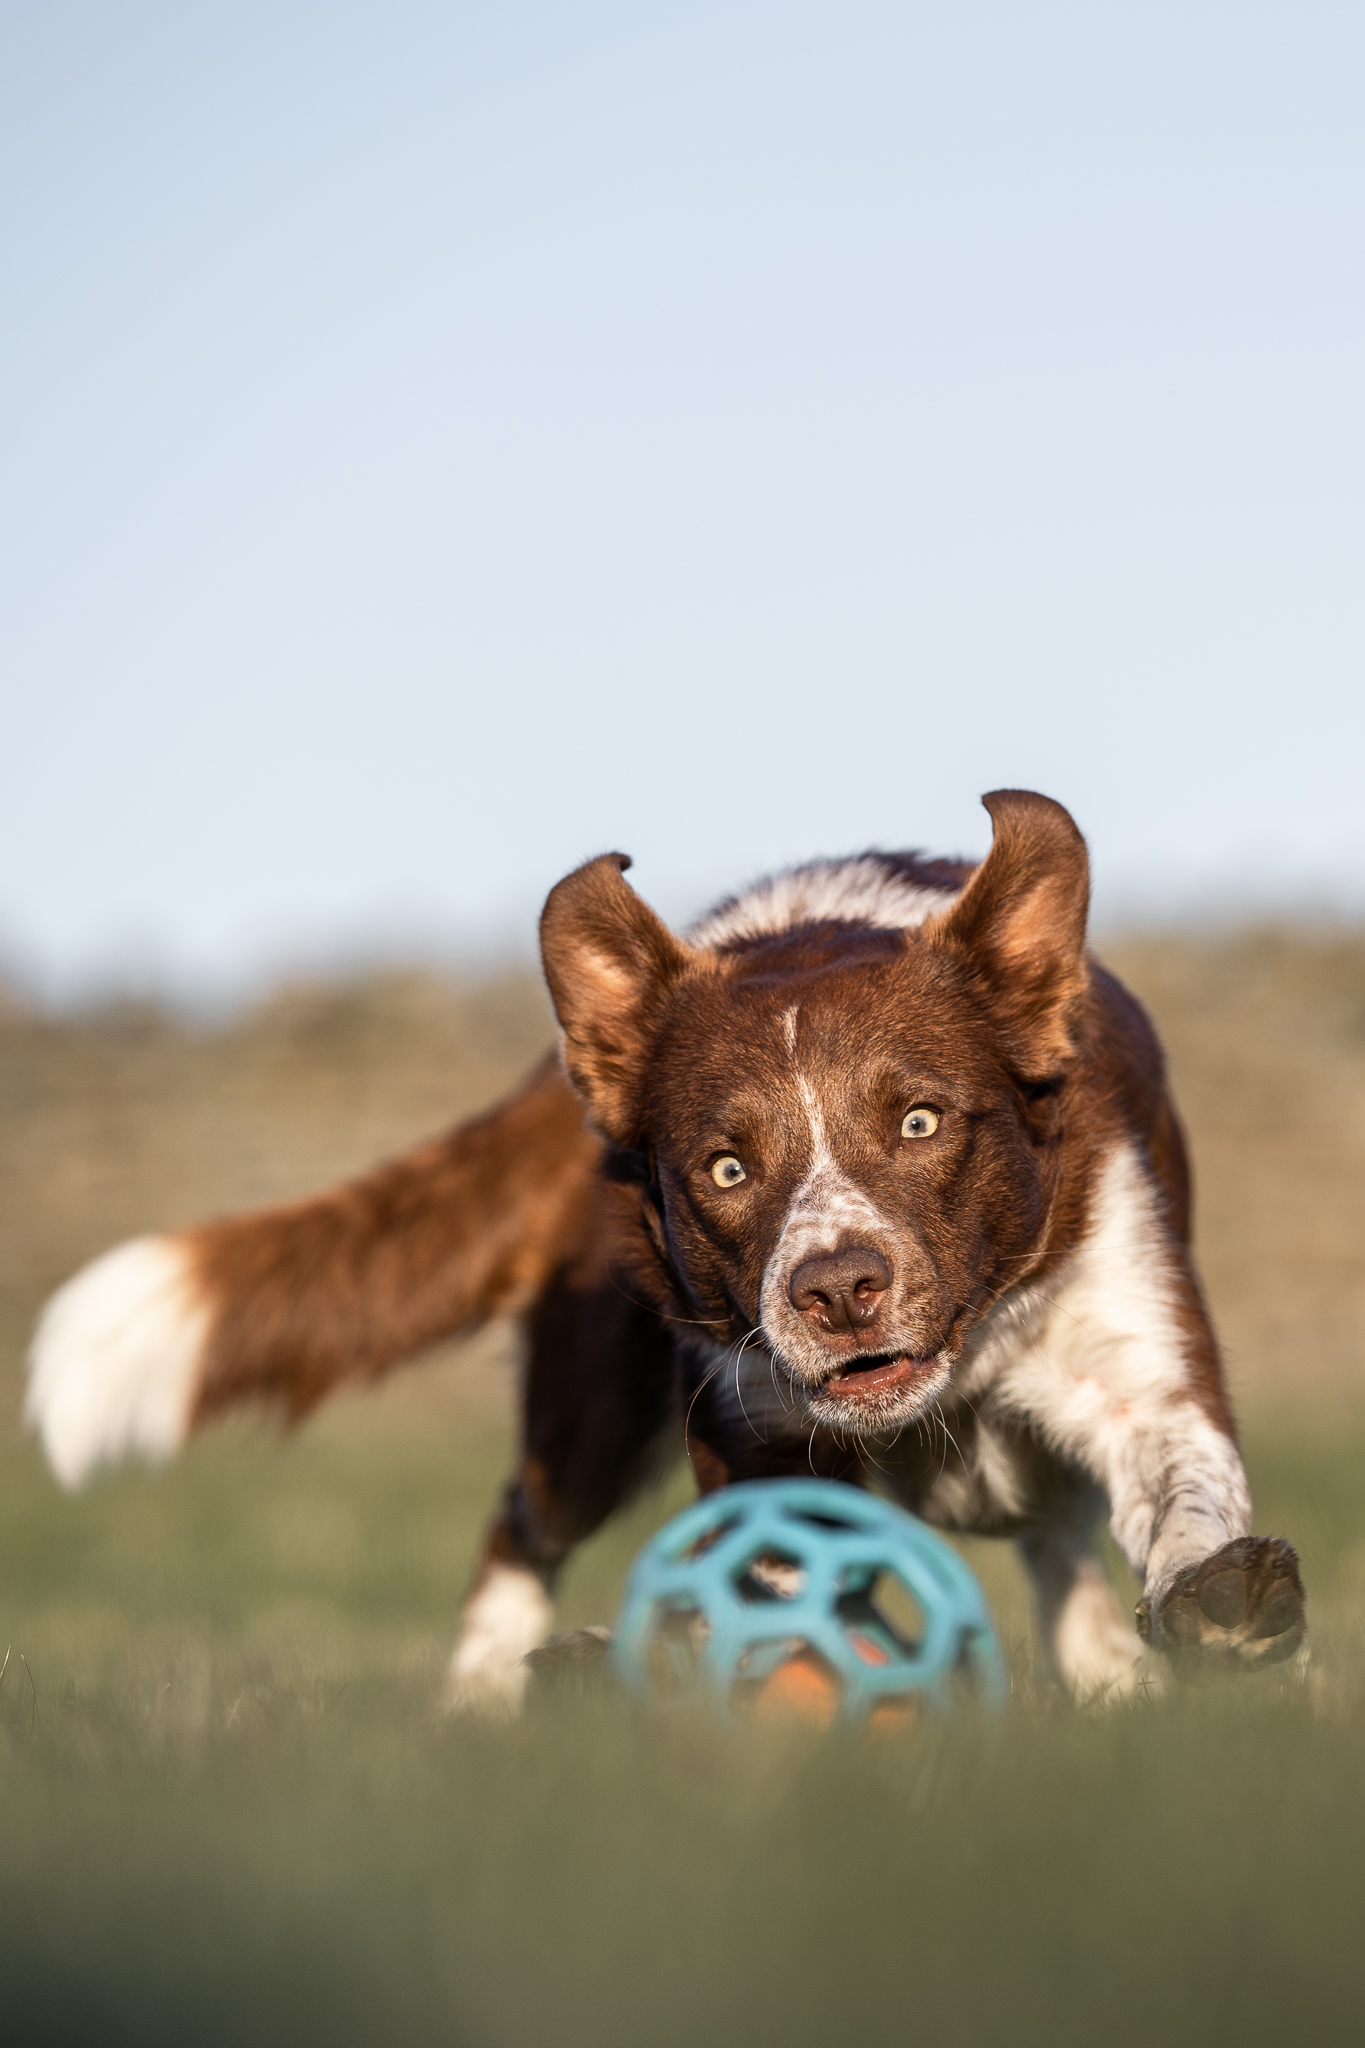
For the most part, candid photos and action photos still require us to be low to the ground so that we can get that soft for foreground in.
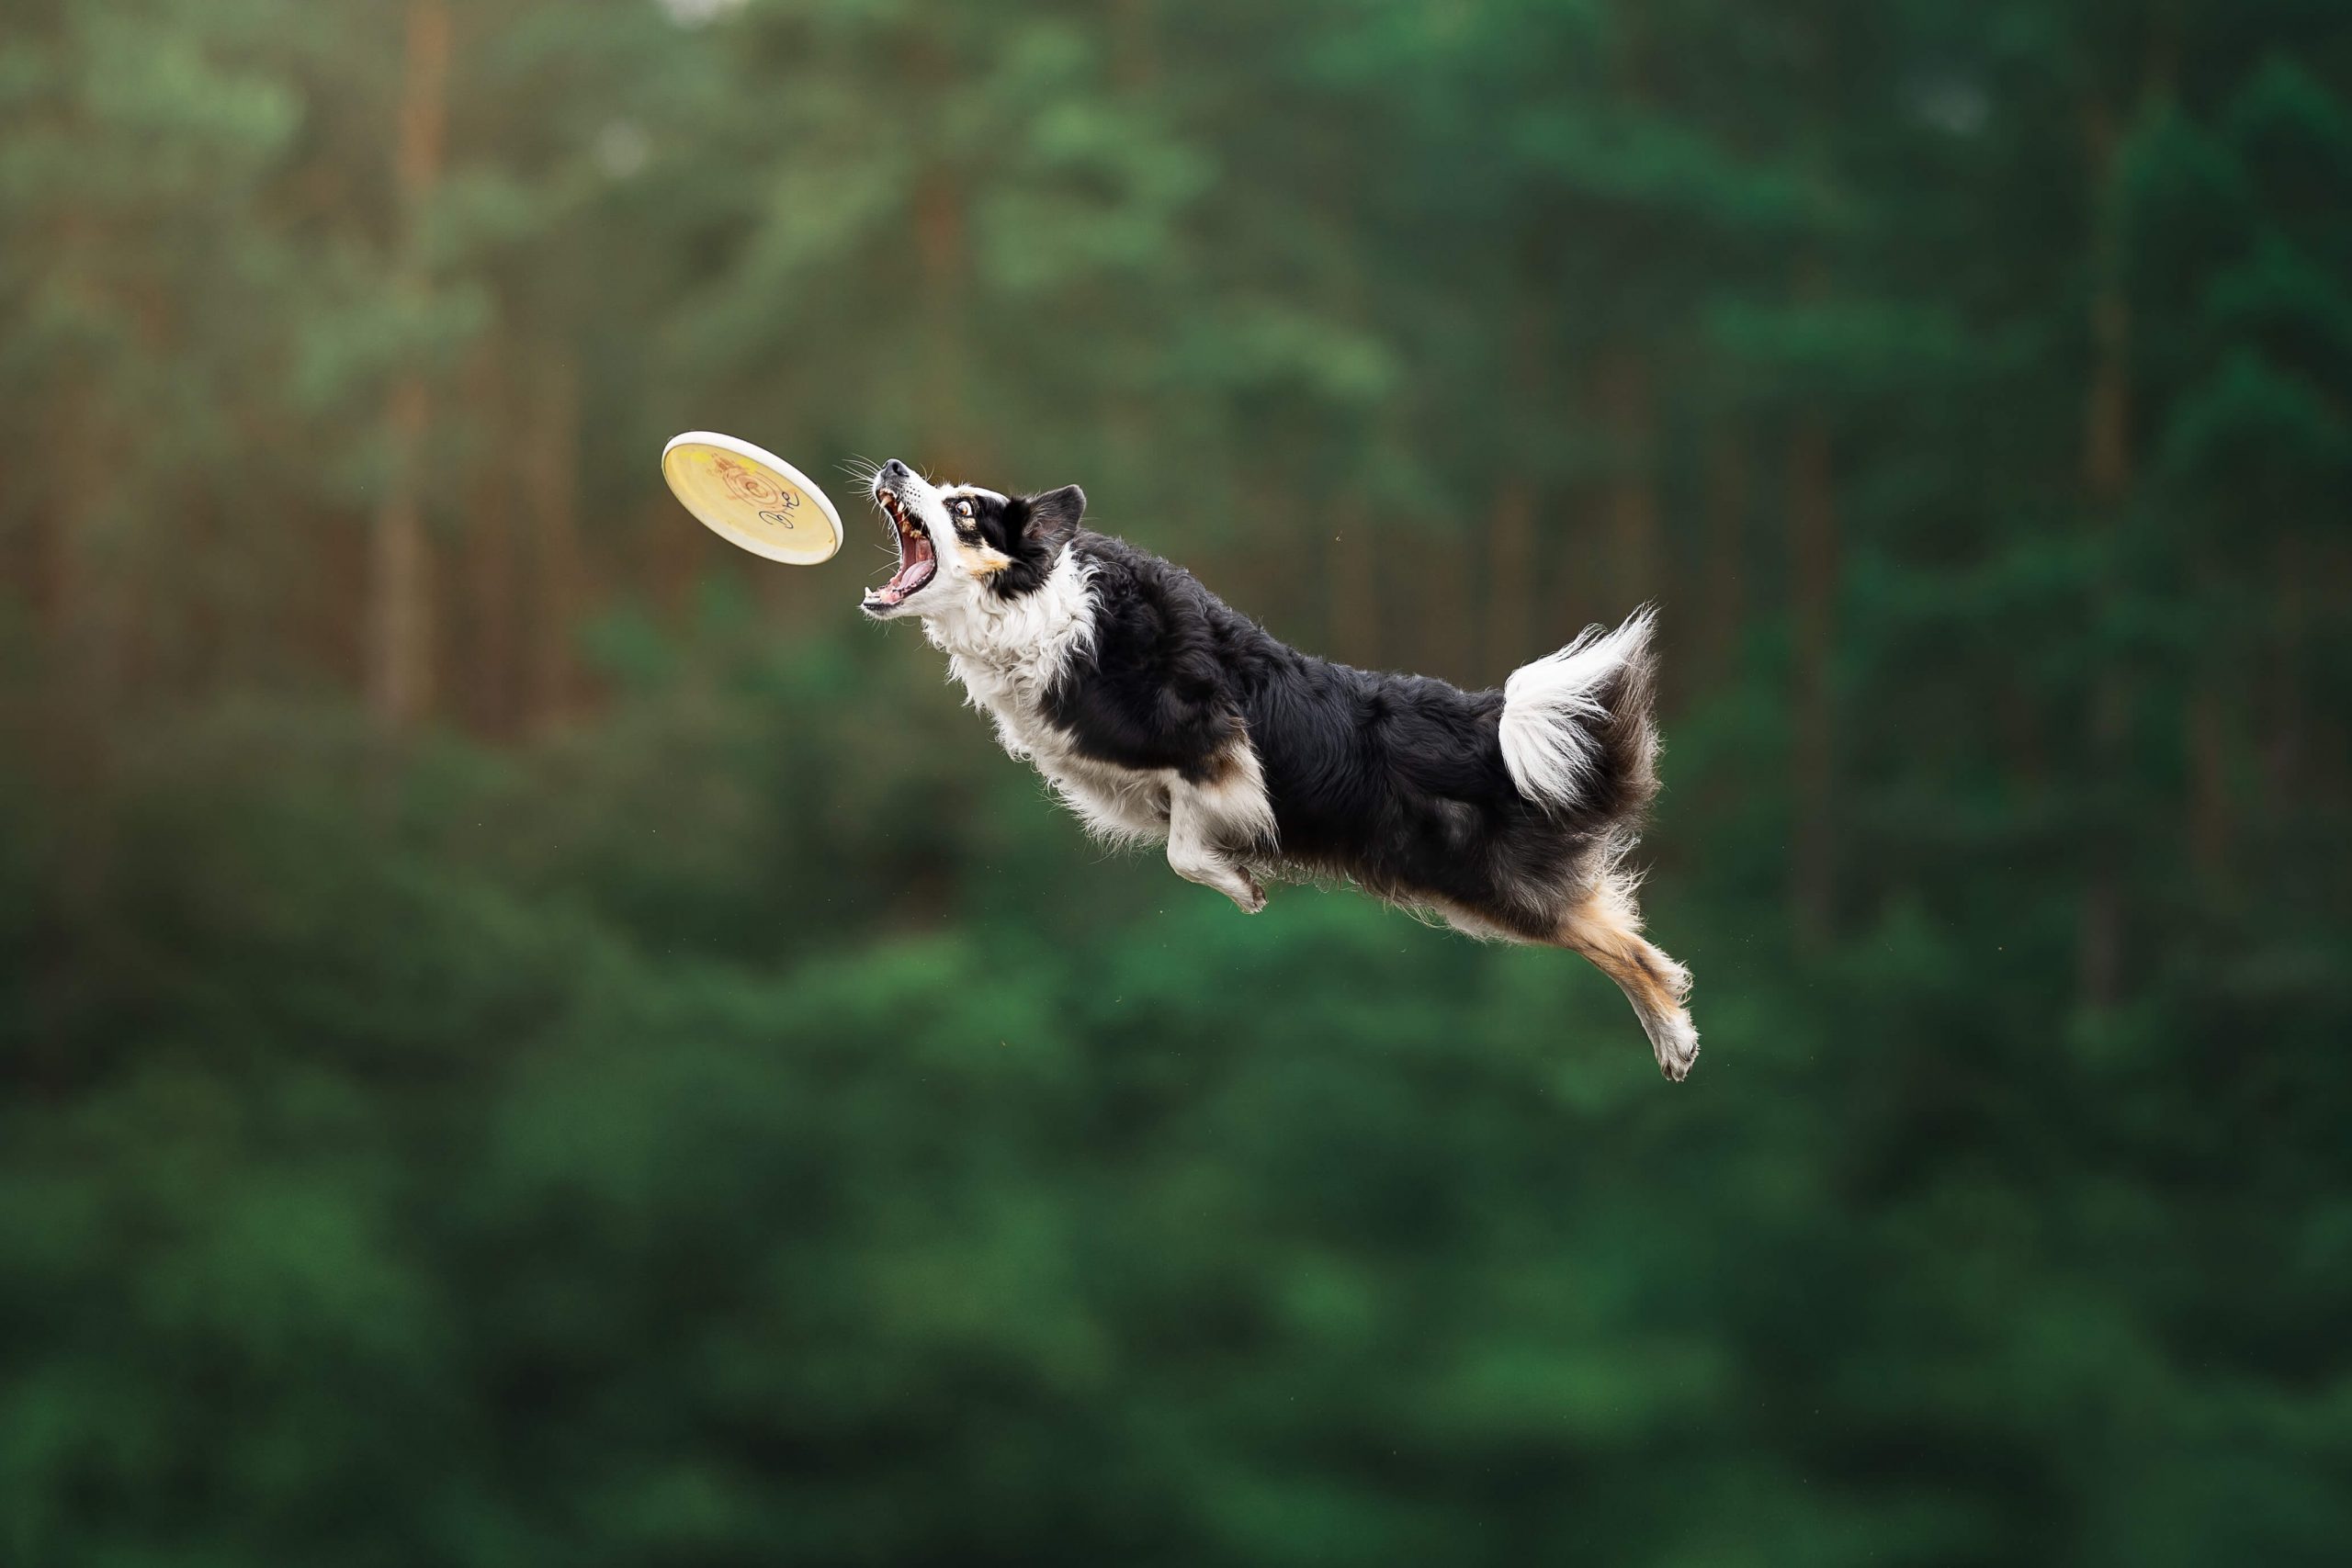
However if you are doing photos of say disc dogs or agility dogs or dogs who are kind of in the air you may then need to lift your camera higher in order to track them so you just follow them up as high as they go.
So it really depends on the effect you’re going for. By seeing no ground and pointing the camera higher, they will have the sense of being higher… but sometimes having the ground gives us context as to their height!
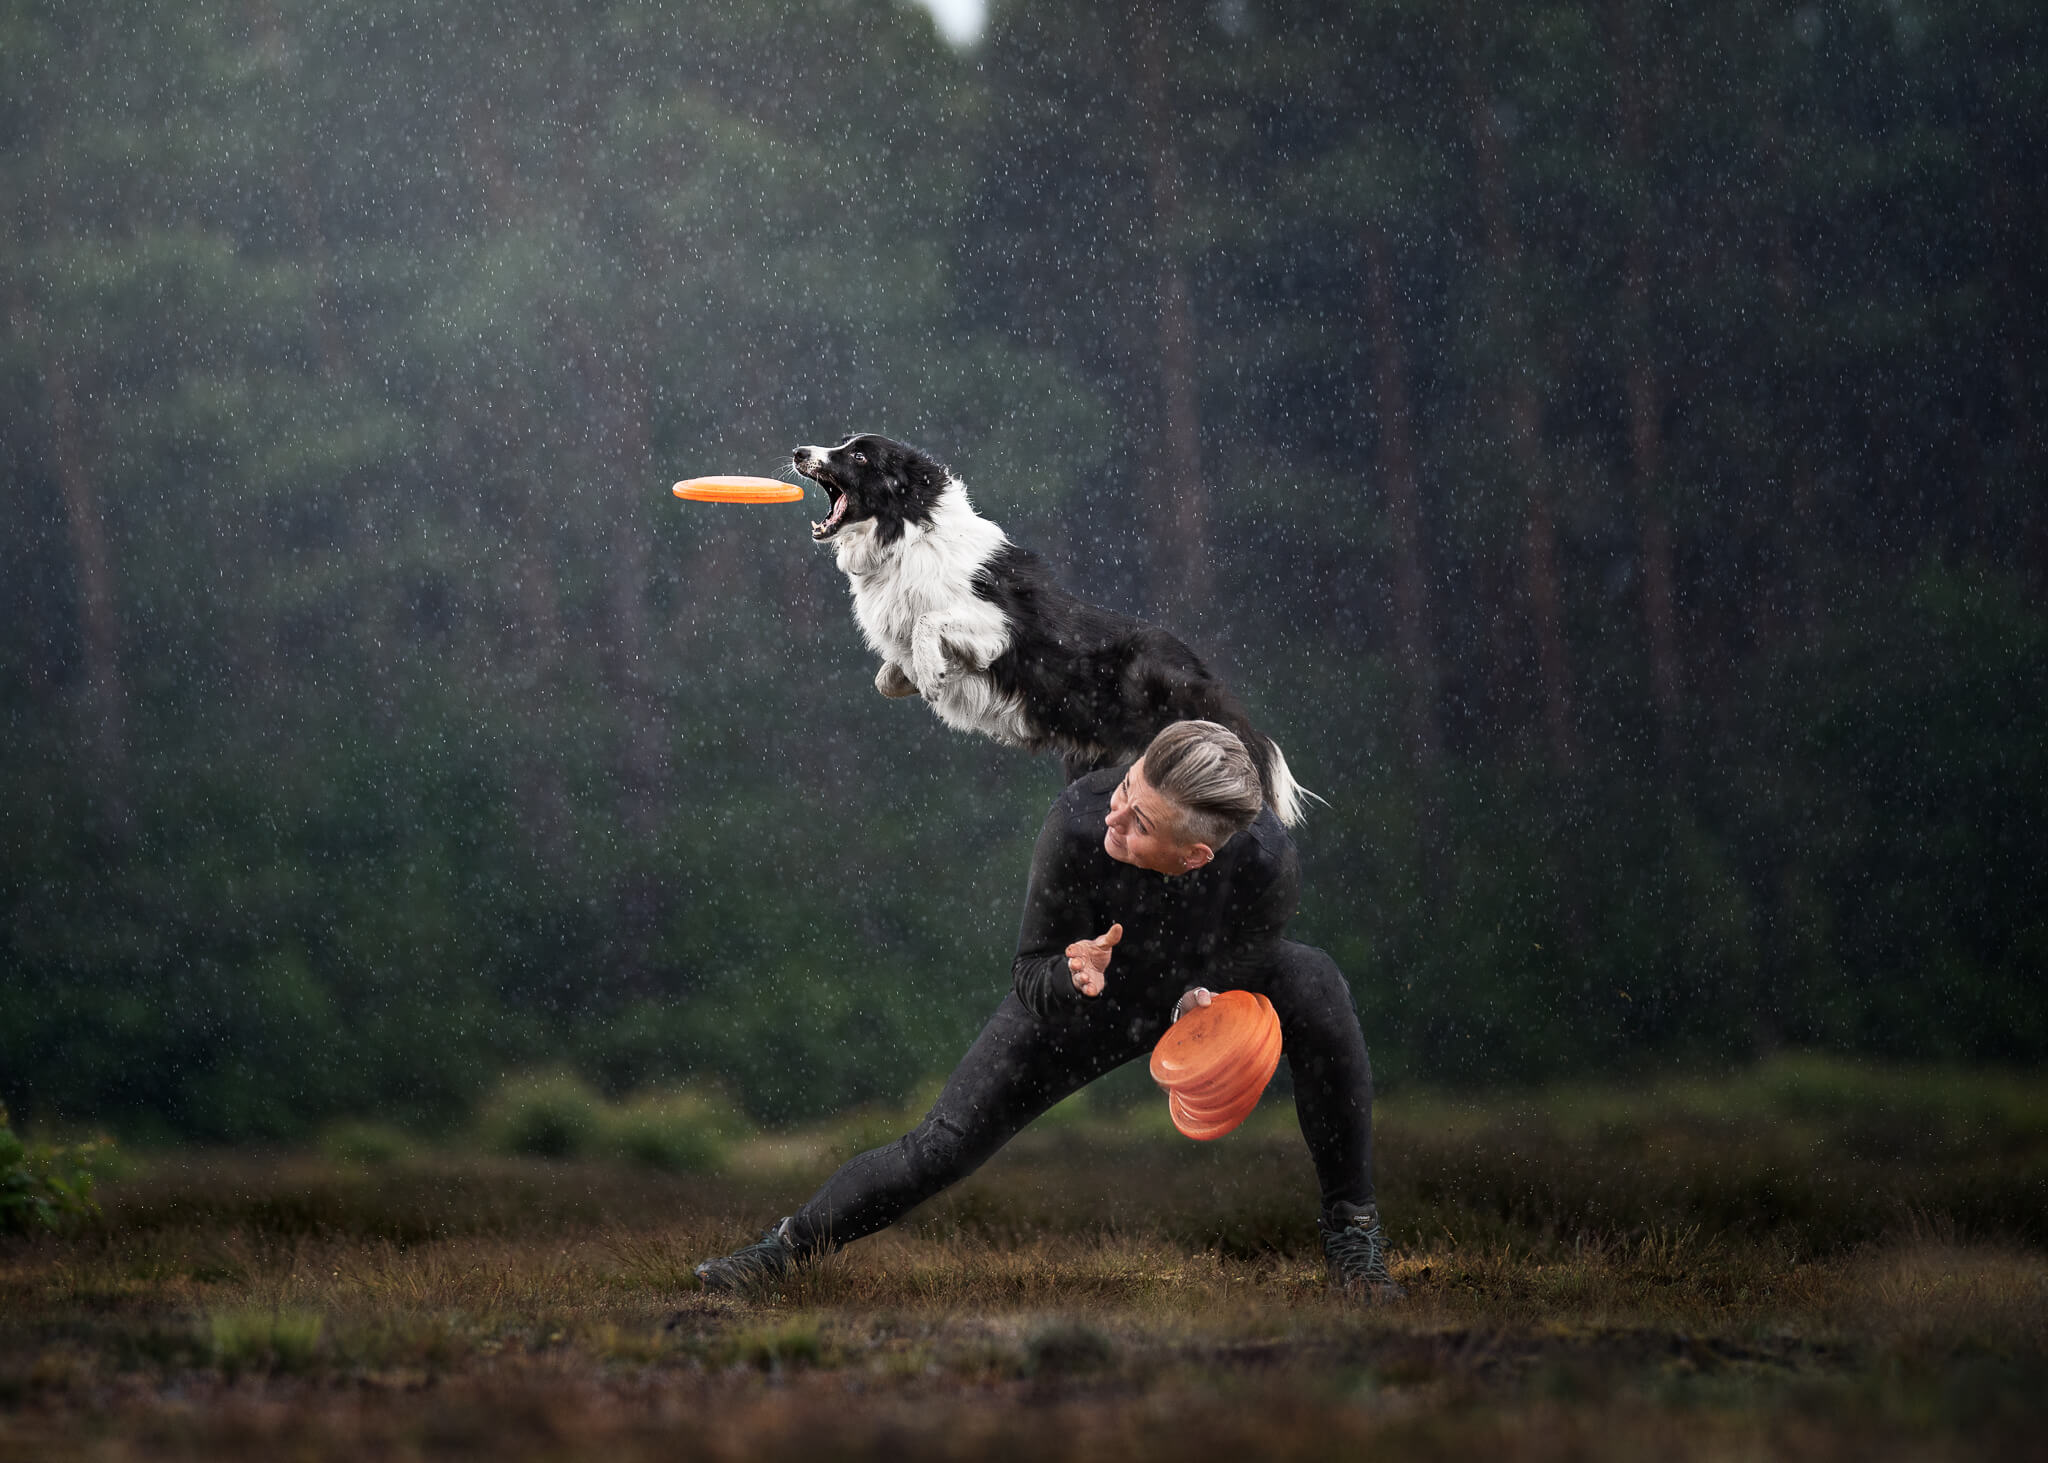
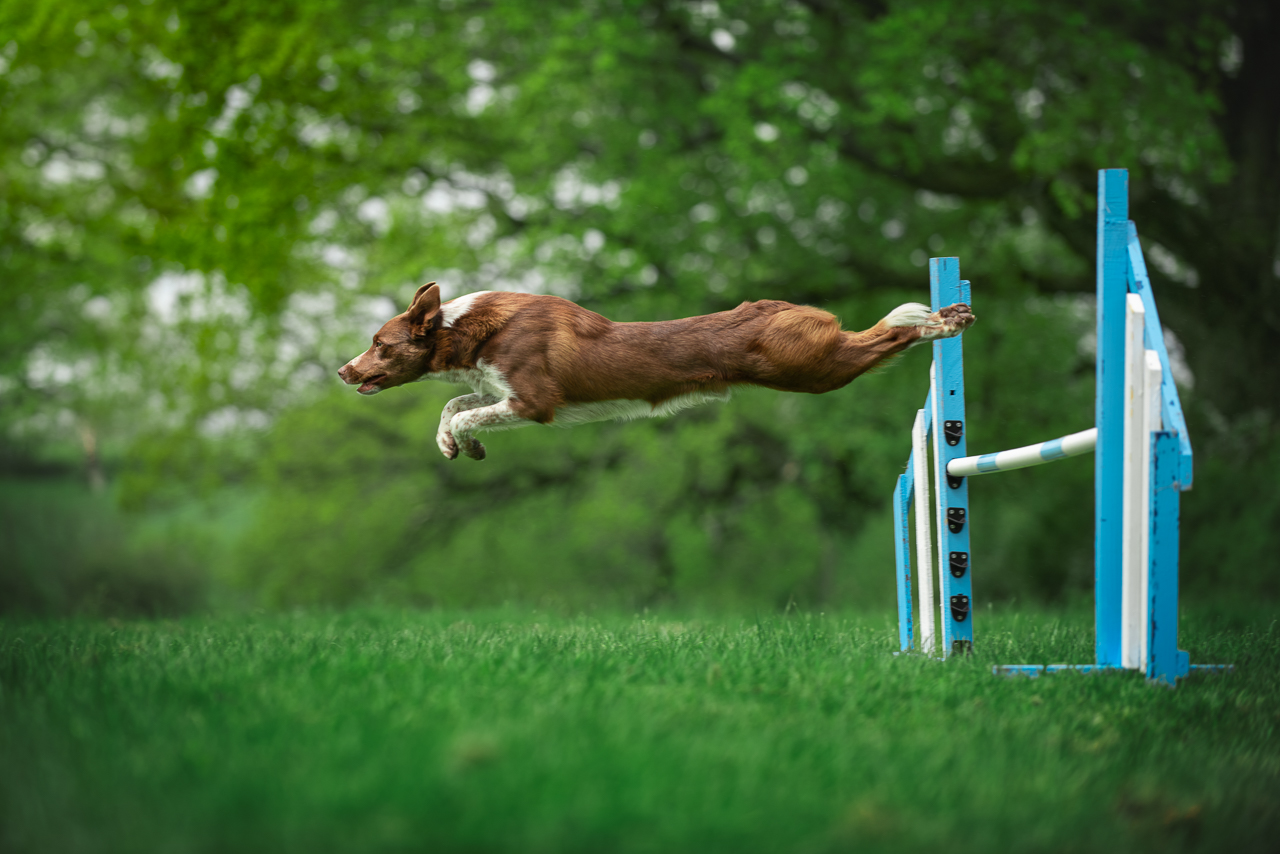
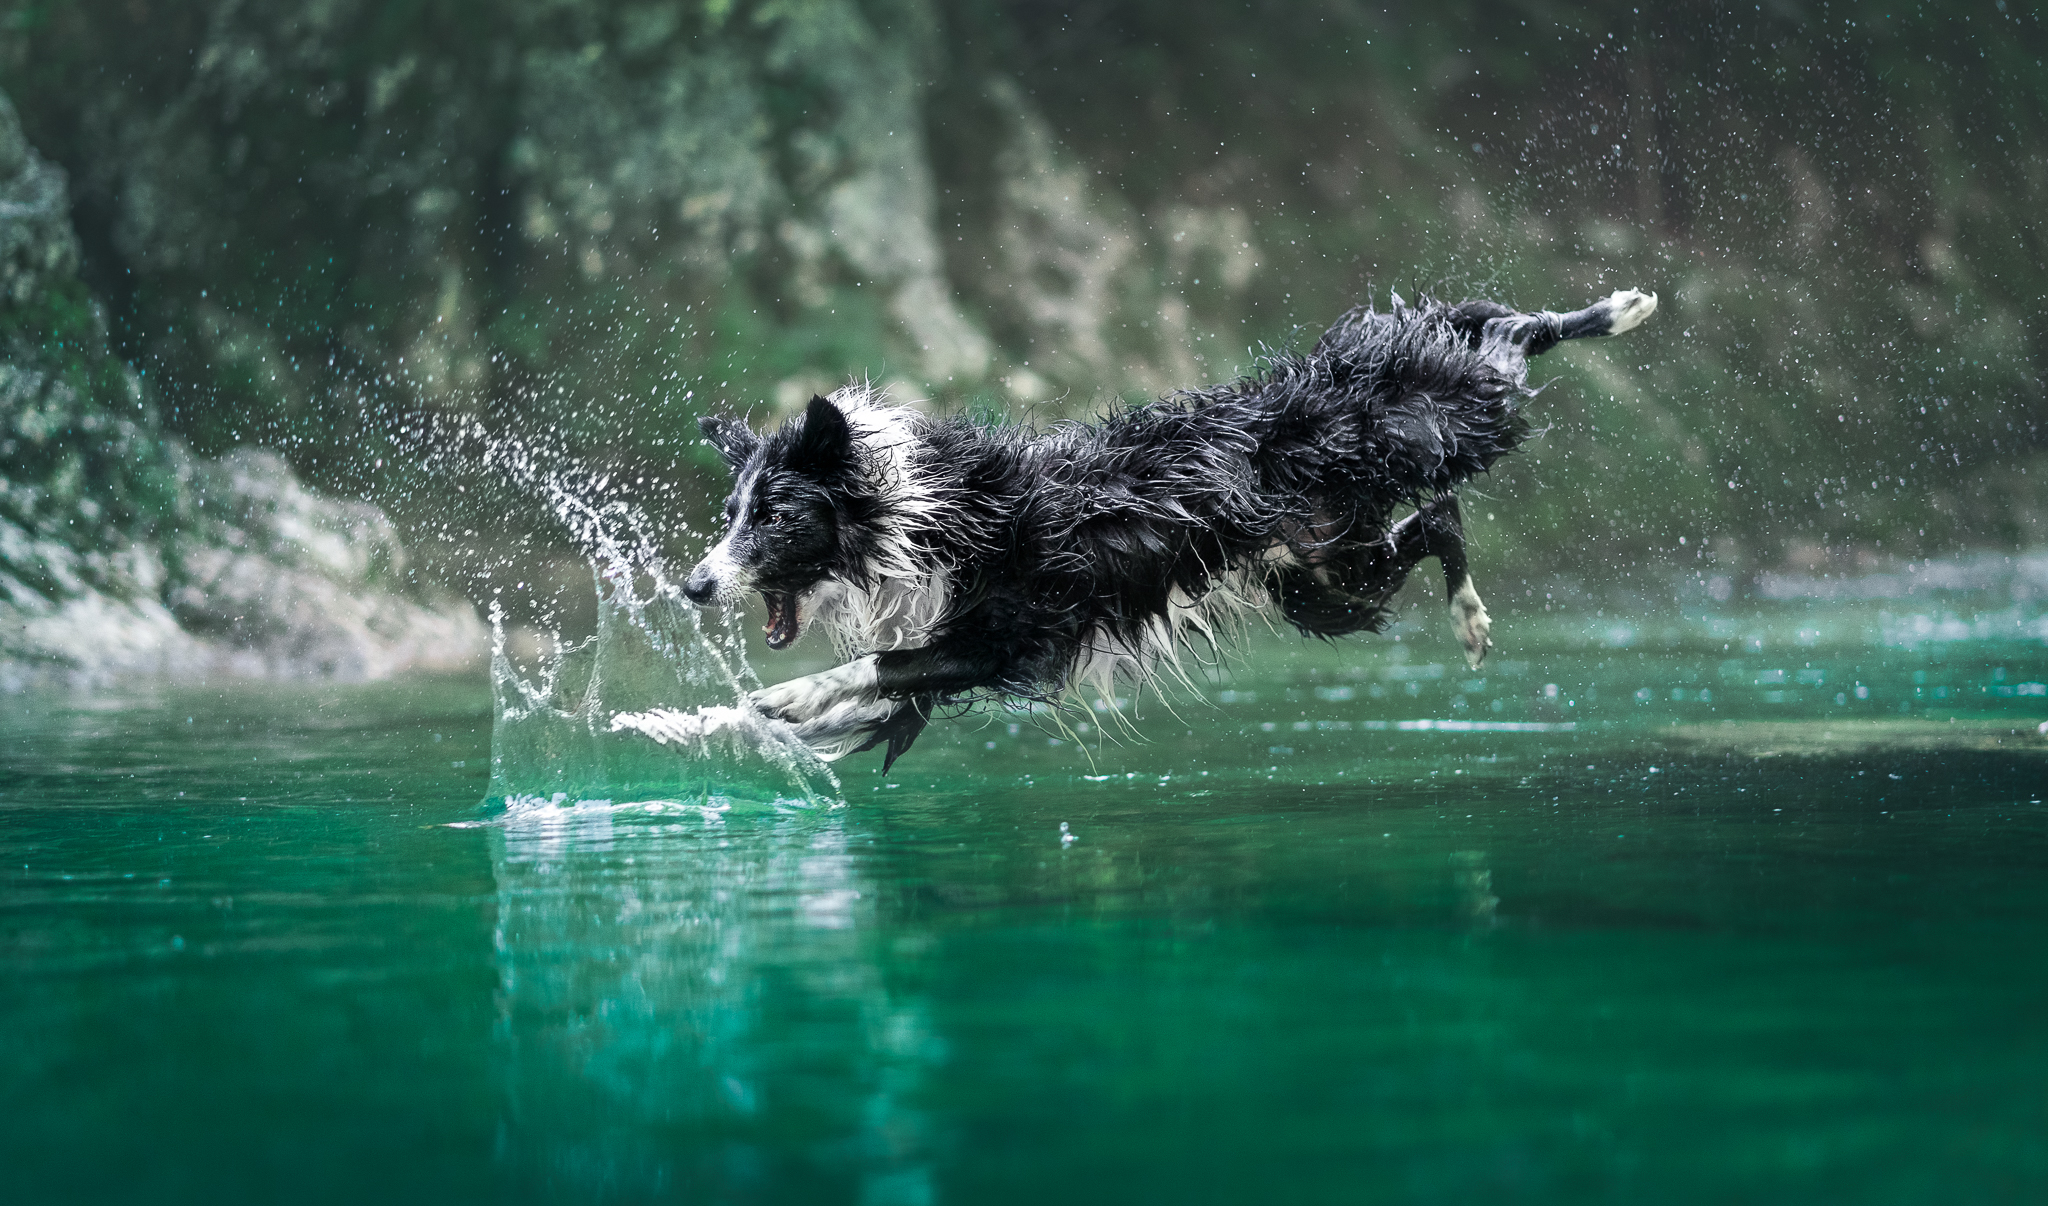
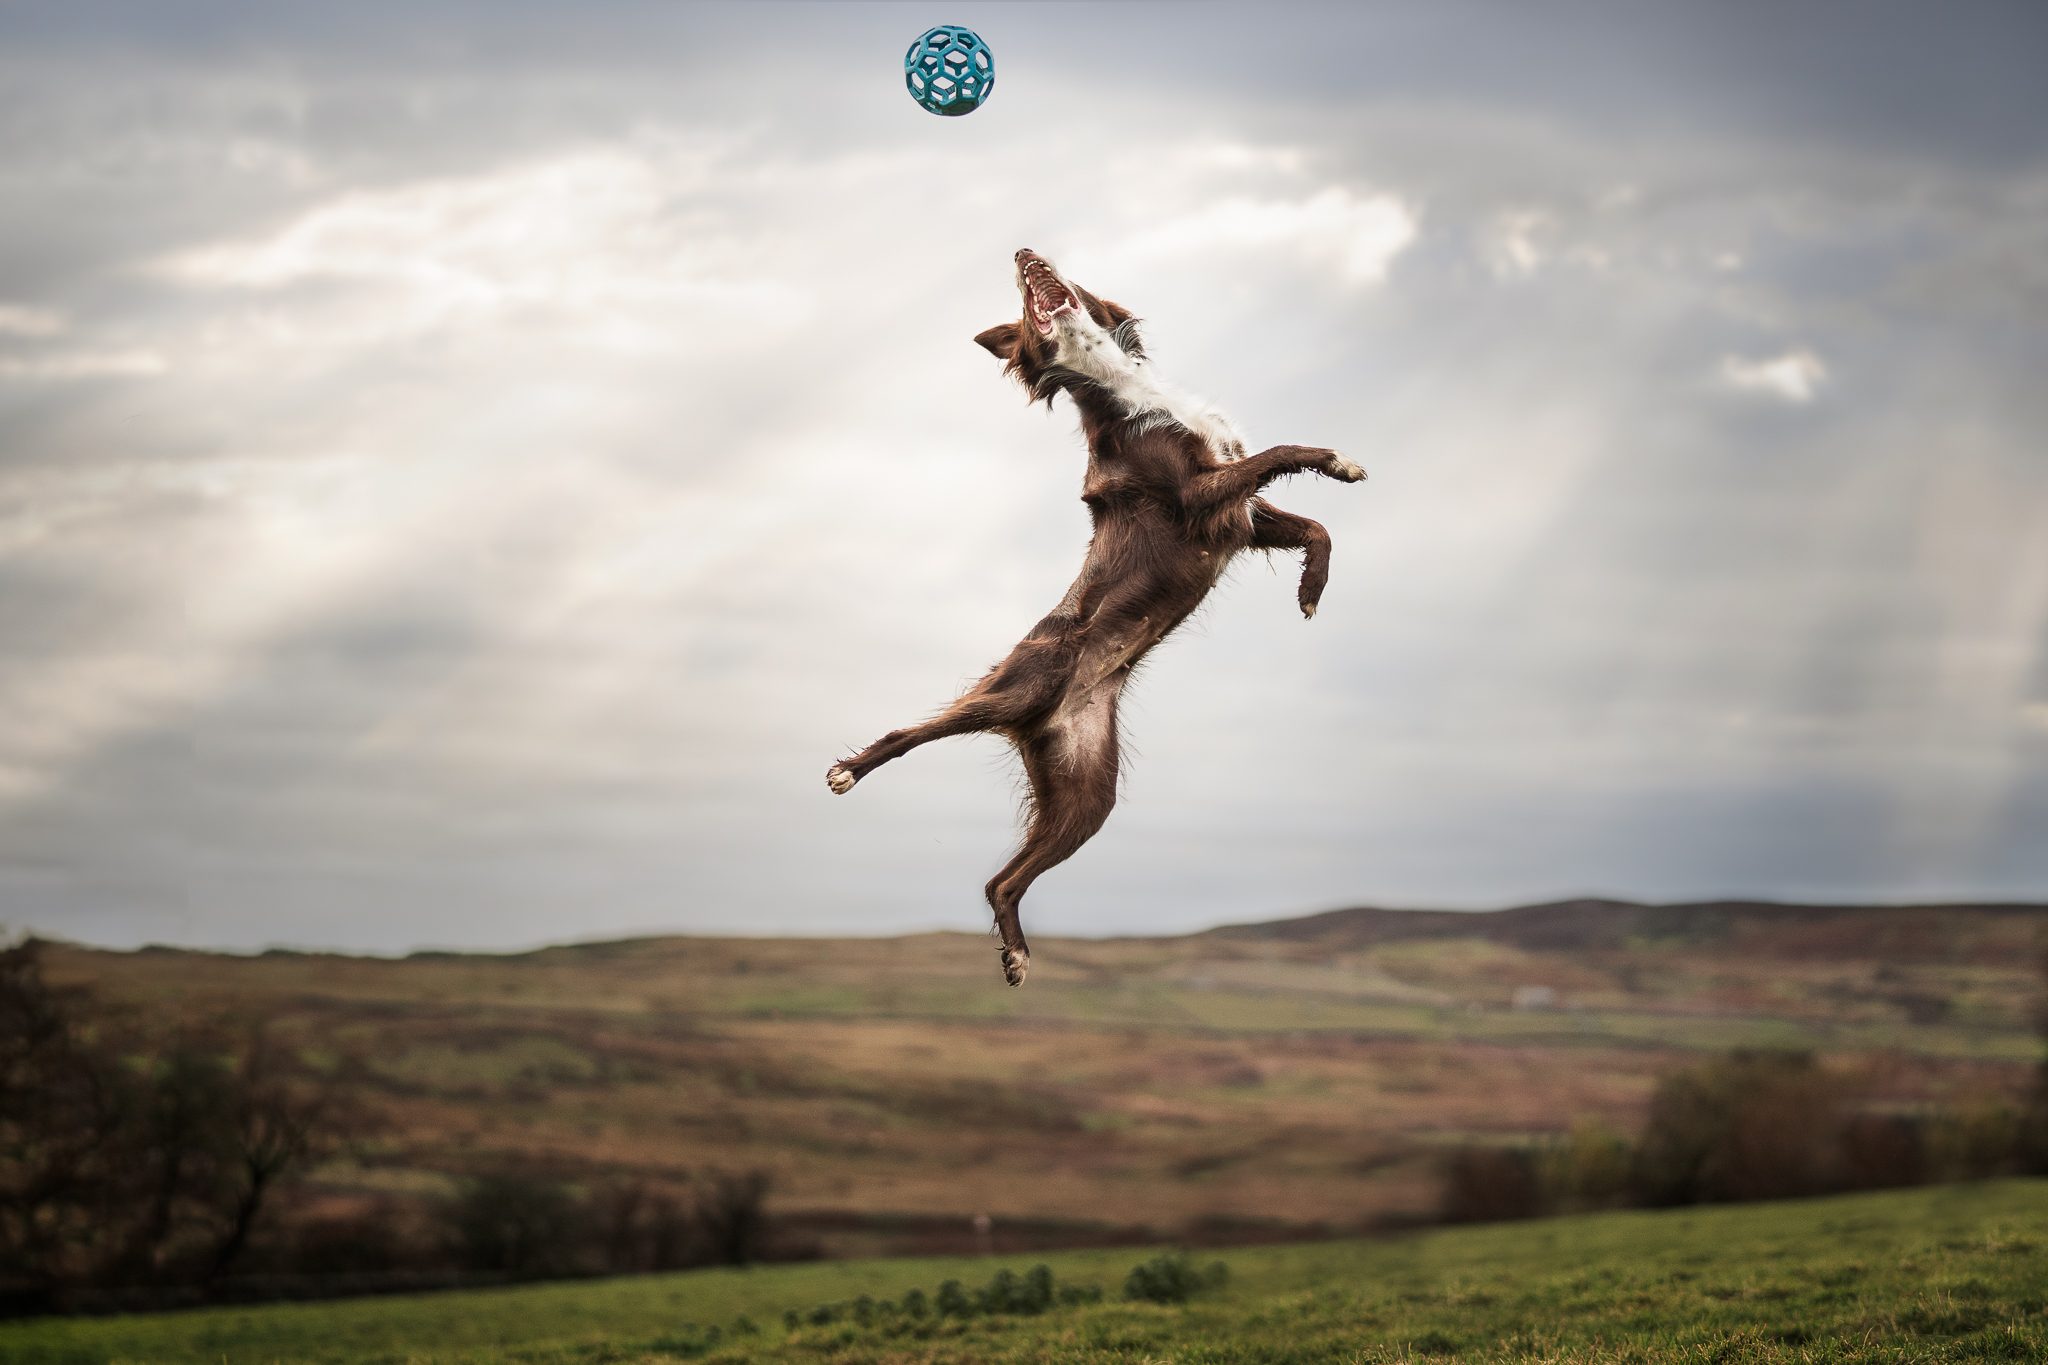
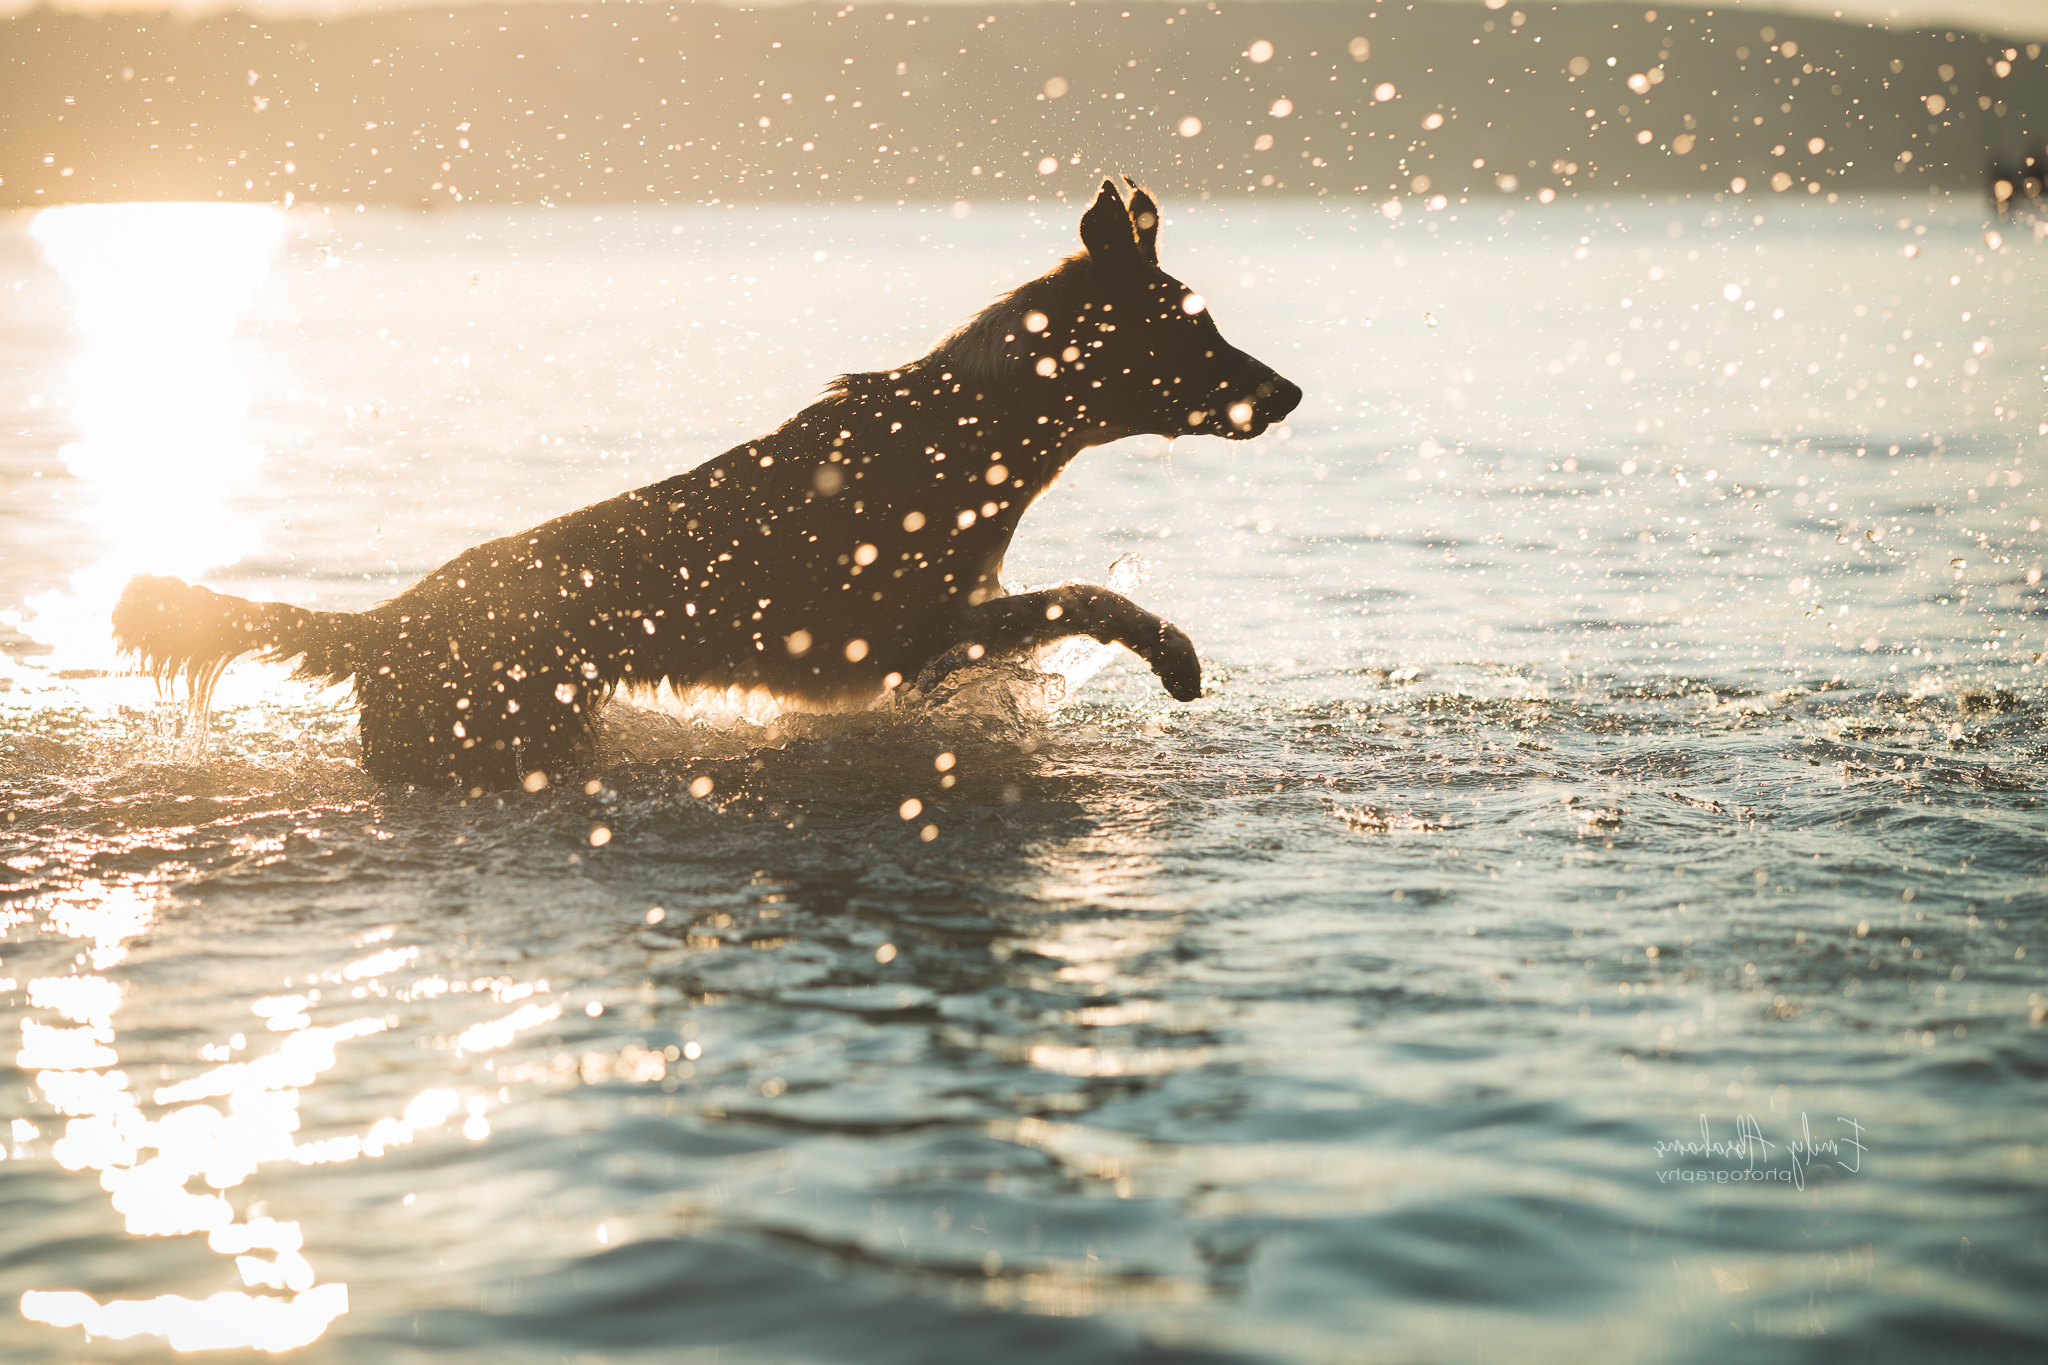
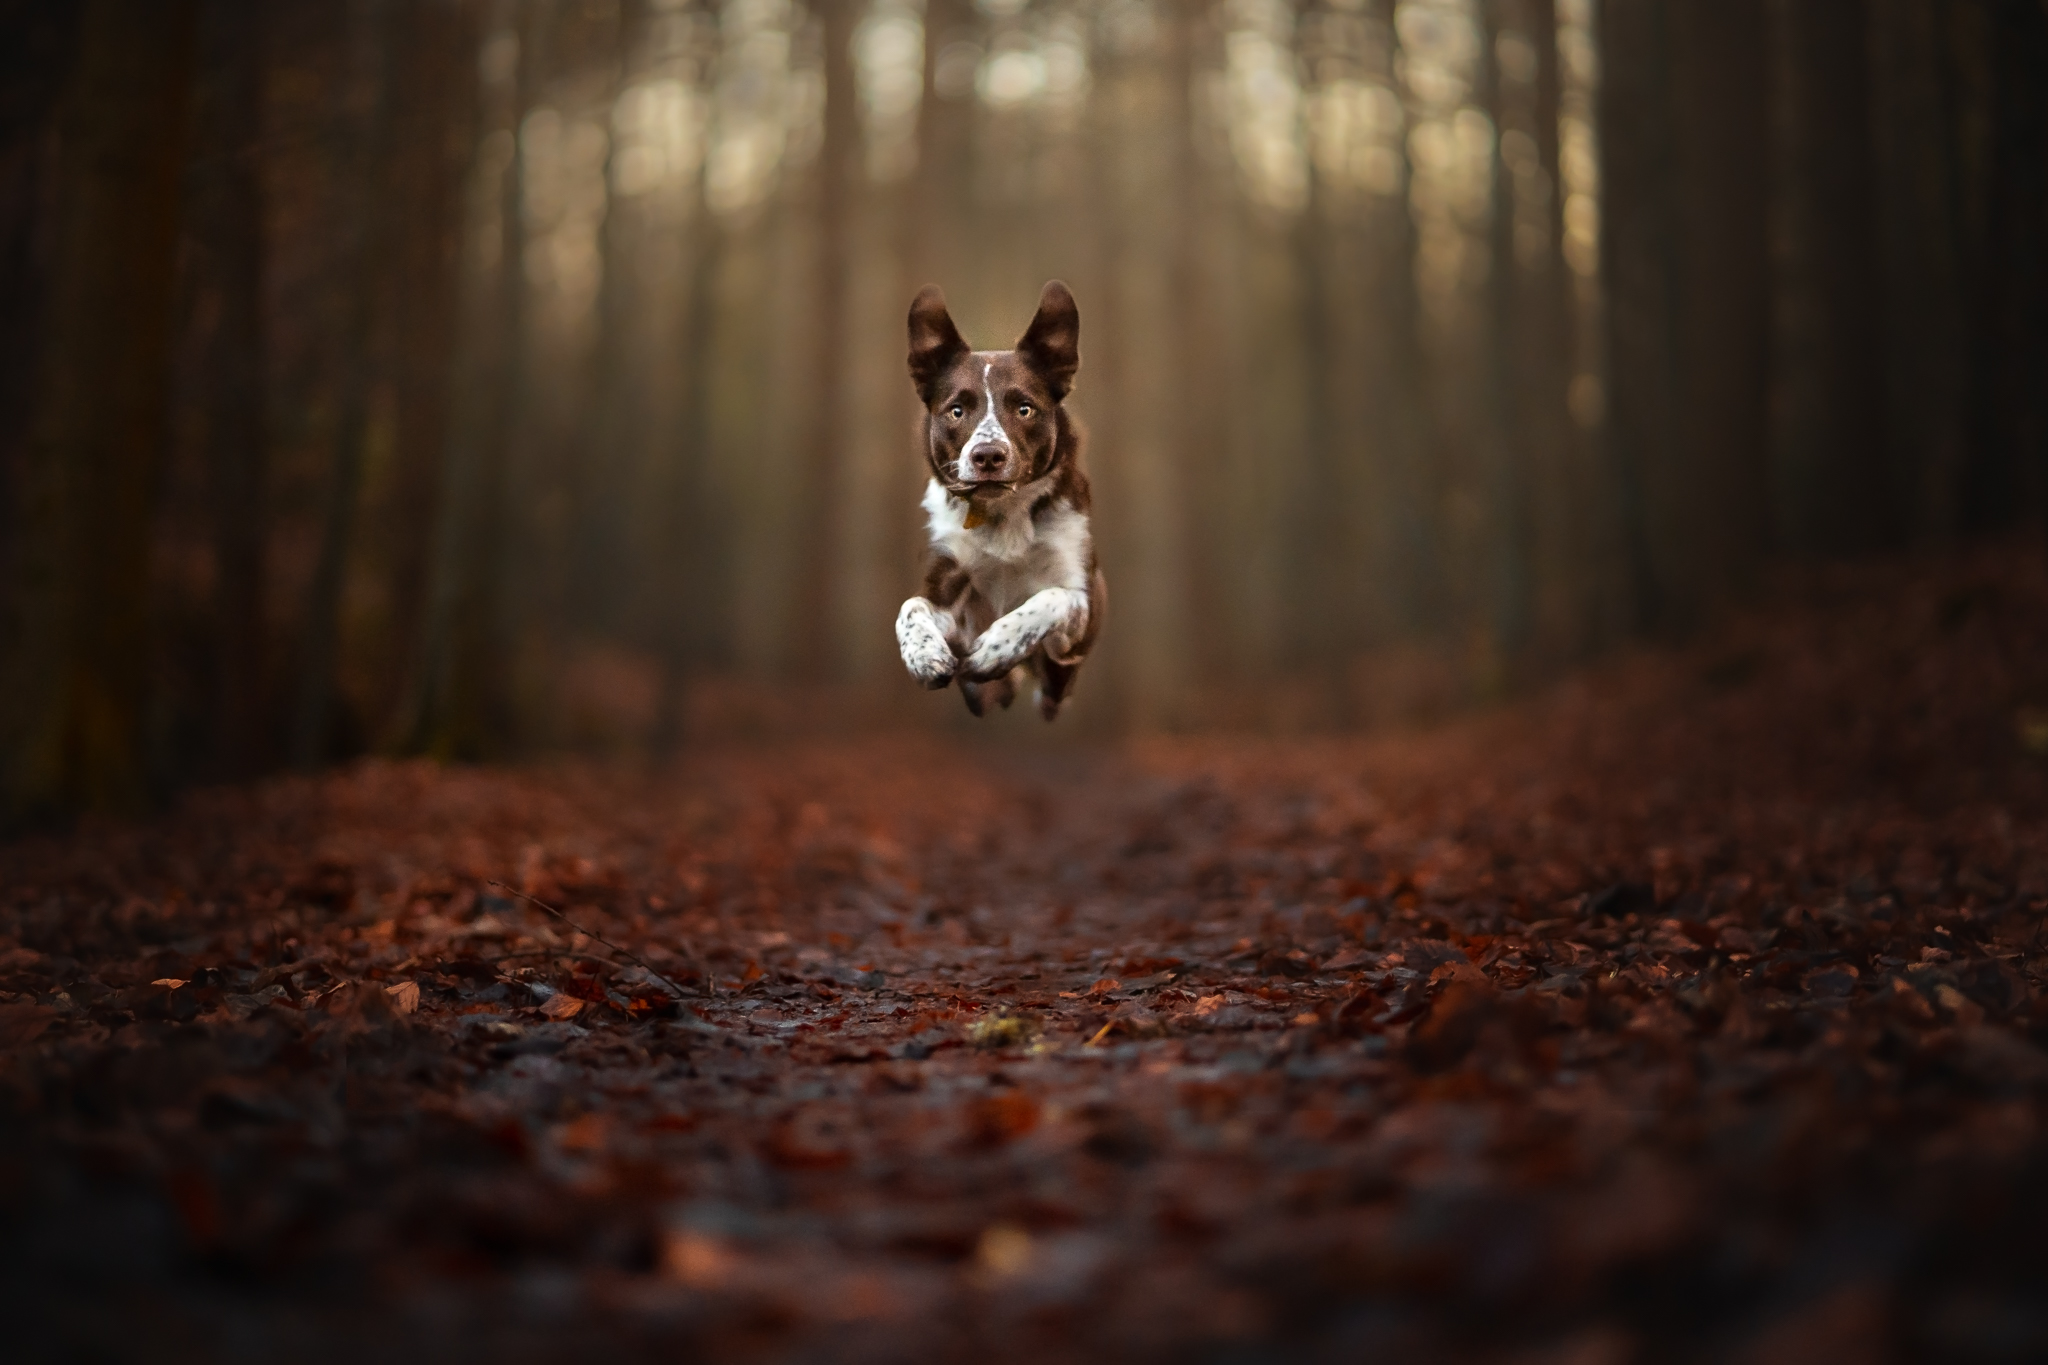
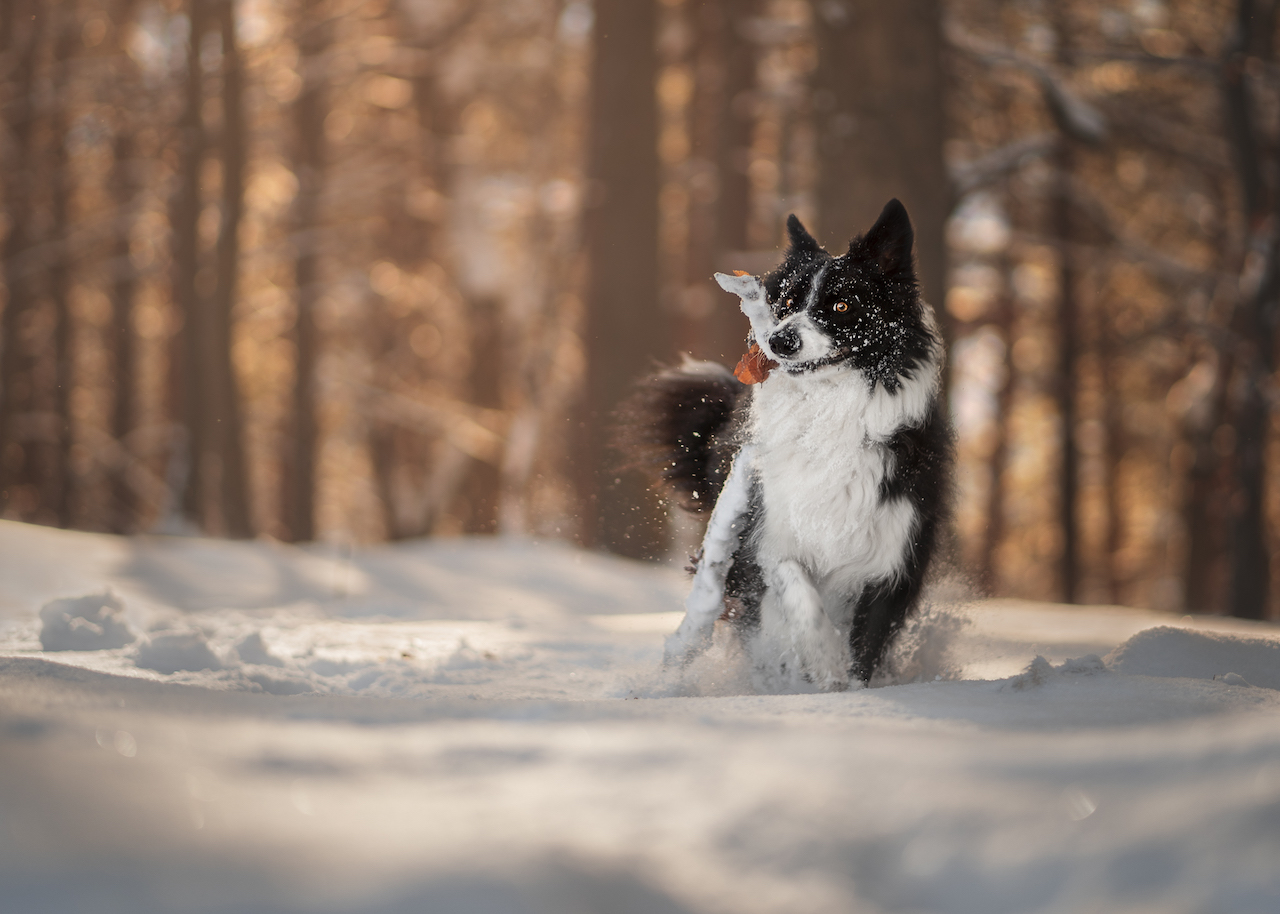
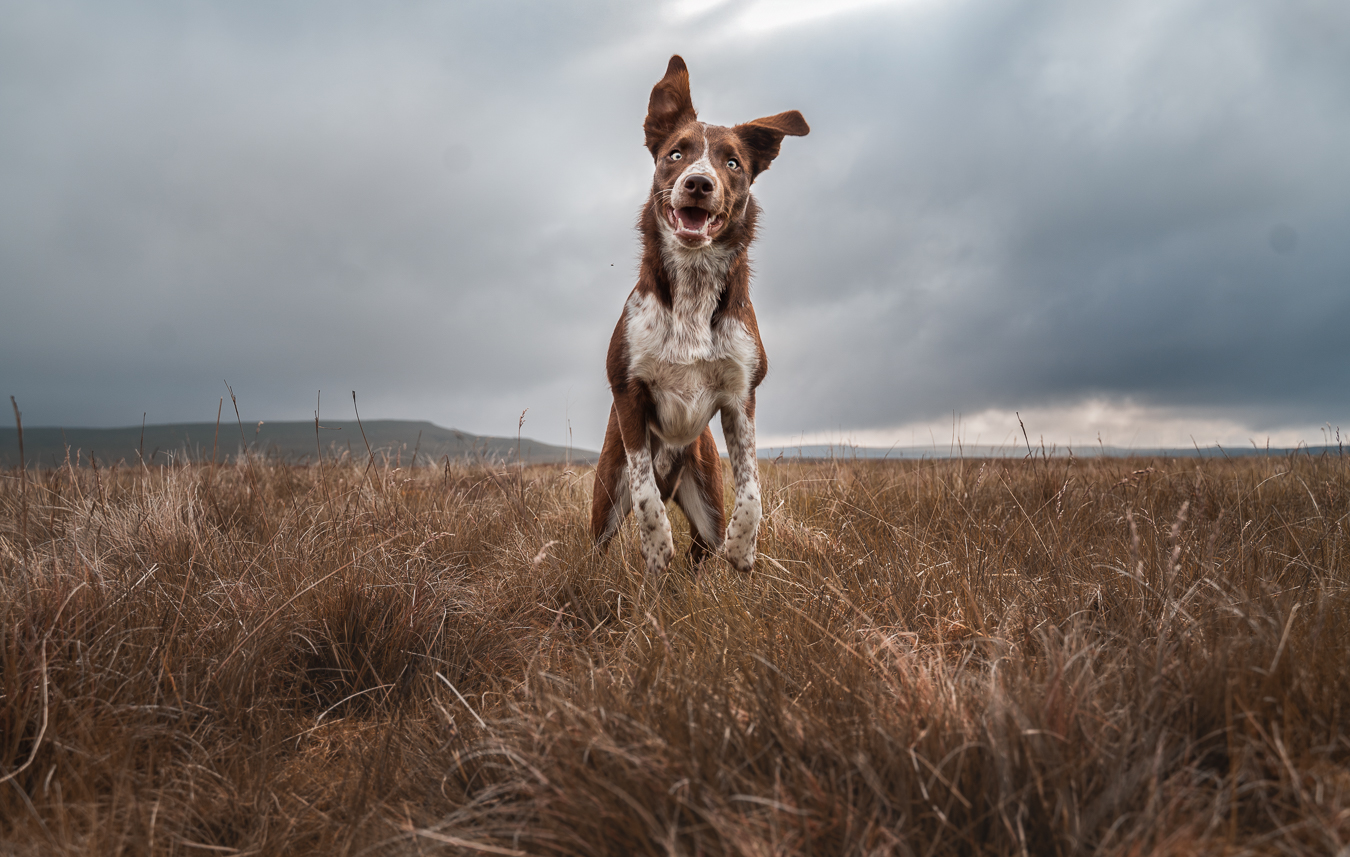
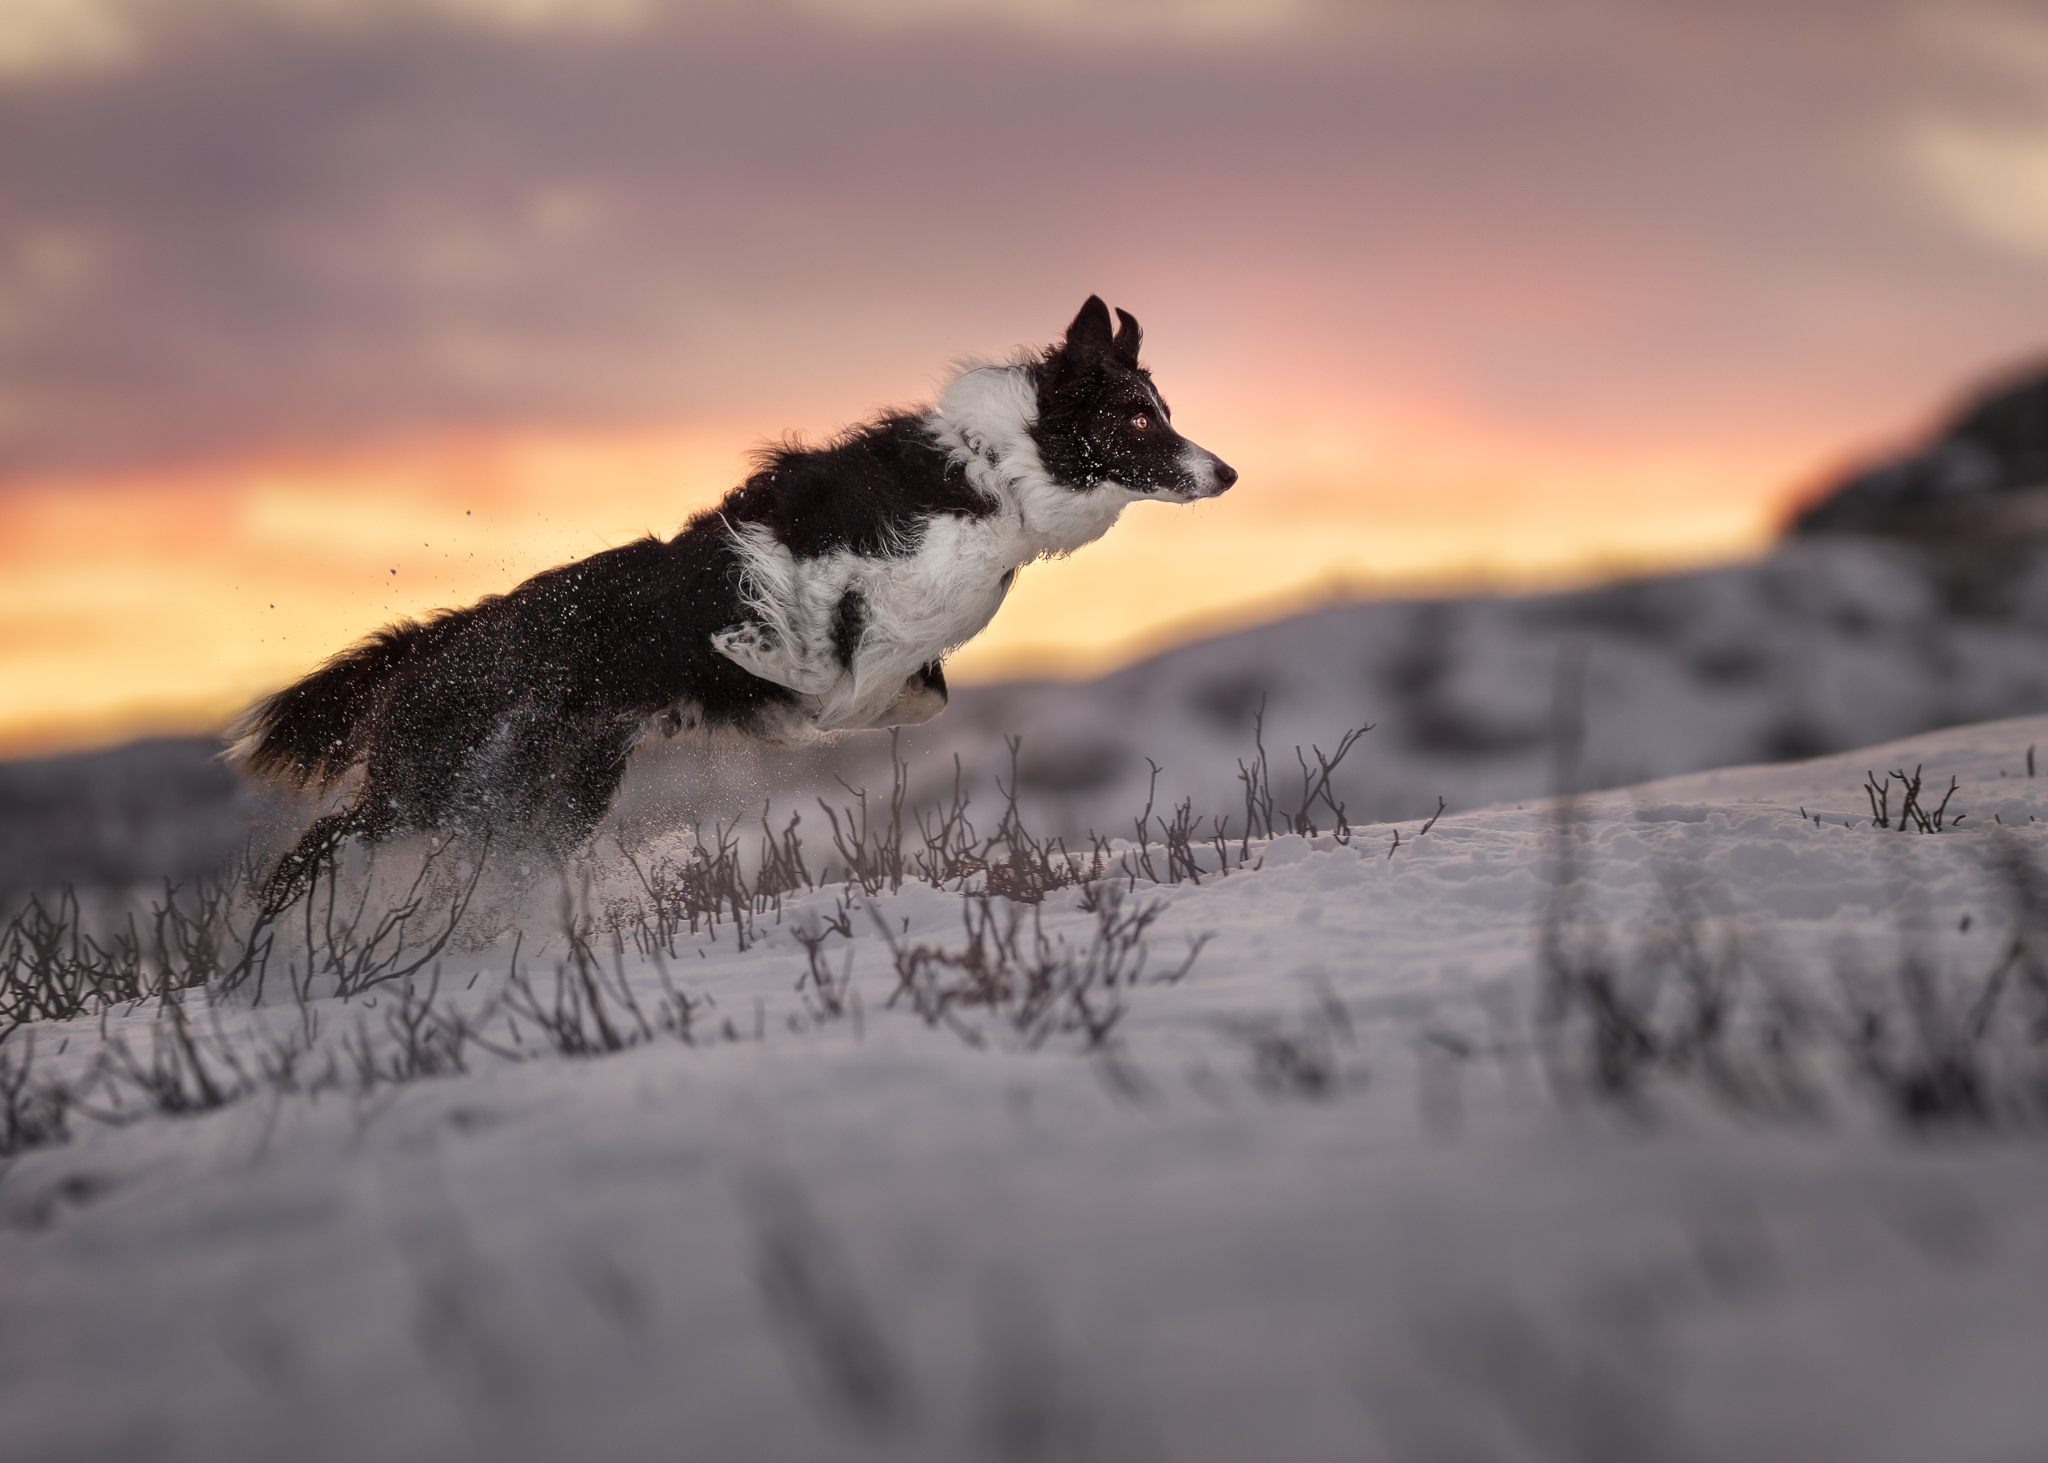
The photos below are variations of “leaping” photos. For some, the drama comes from perceived height: they are so high we can’t even see the ground.
For a few others, the drama comes from seeing the ground and having that extra layer with the blurry foreground. We get more of a sense of their place in that space and how they’re moving through it.
Otherwise in general we still need to be trying to keep a sense of the space and of the size of the dog and we can do that by being nice and low.
However we also need to be conscious of not cutting our dogs ears off or having them get too close to the top of the frame which can be quite a challenge in candid shots where they are moving around and you’re trying to track them.
So just try and keep them more less in the centre of the frame. You may just need to lie on your belly so that you’re forced to stay down low.
Plenty of examples below of different kinds of movement or candid photos.
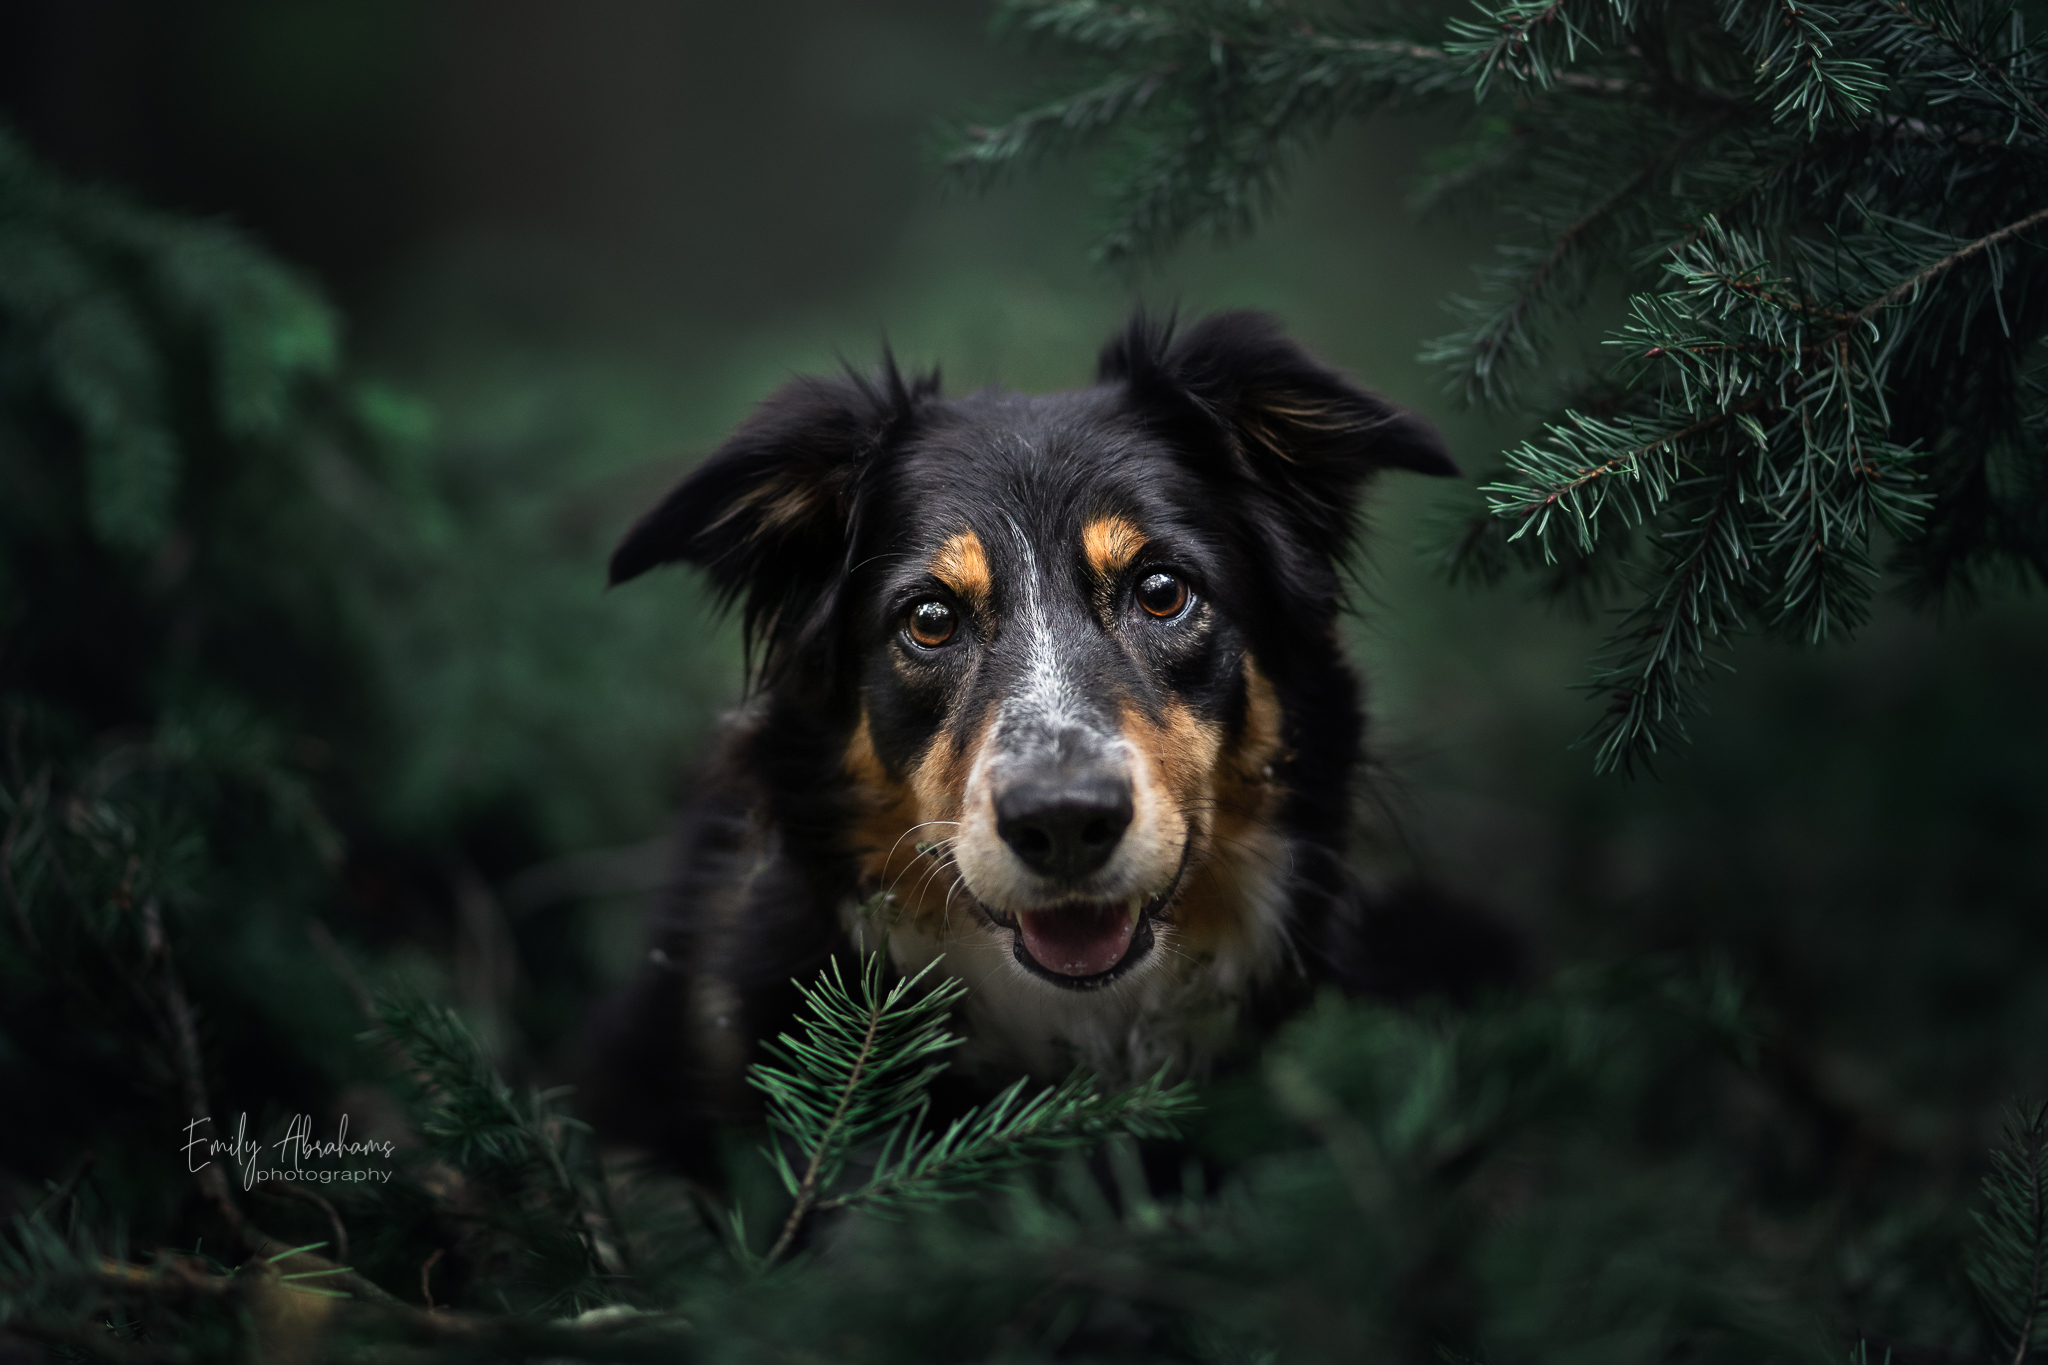
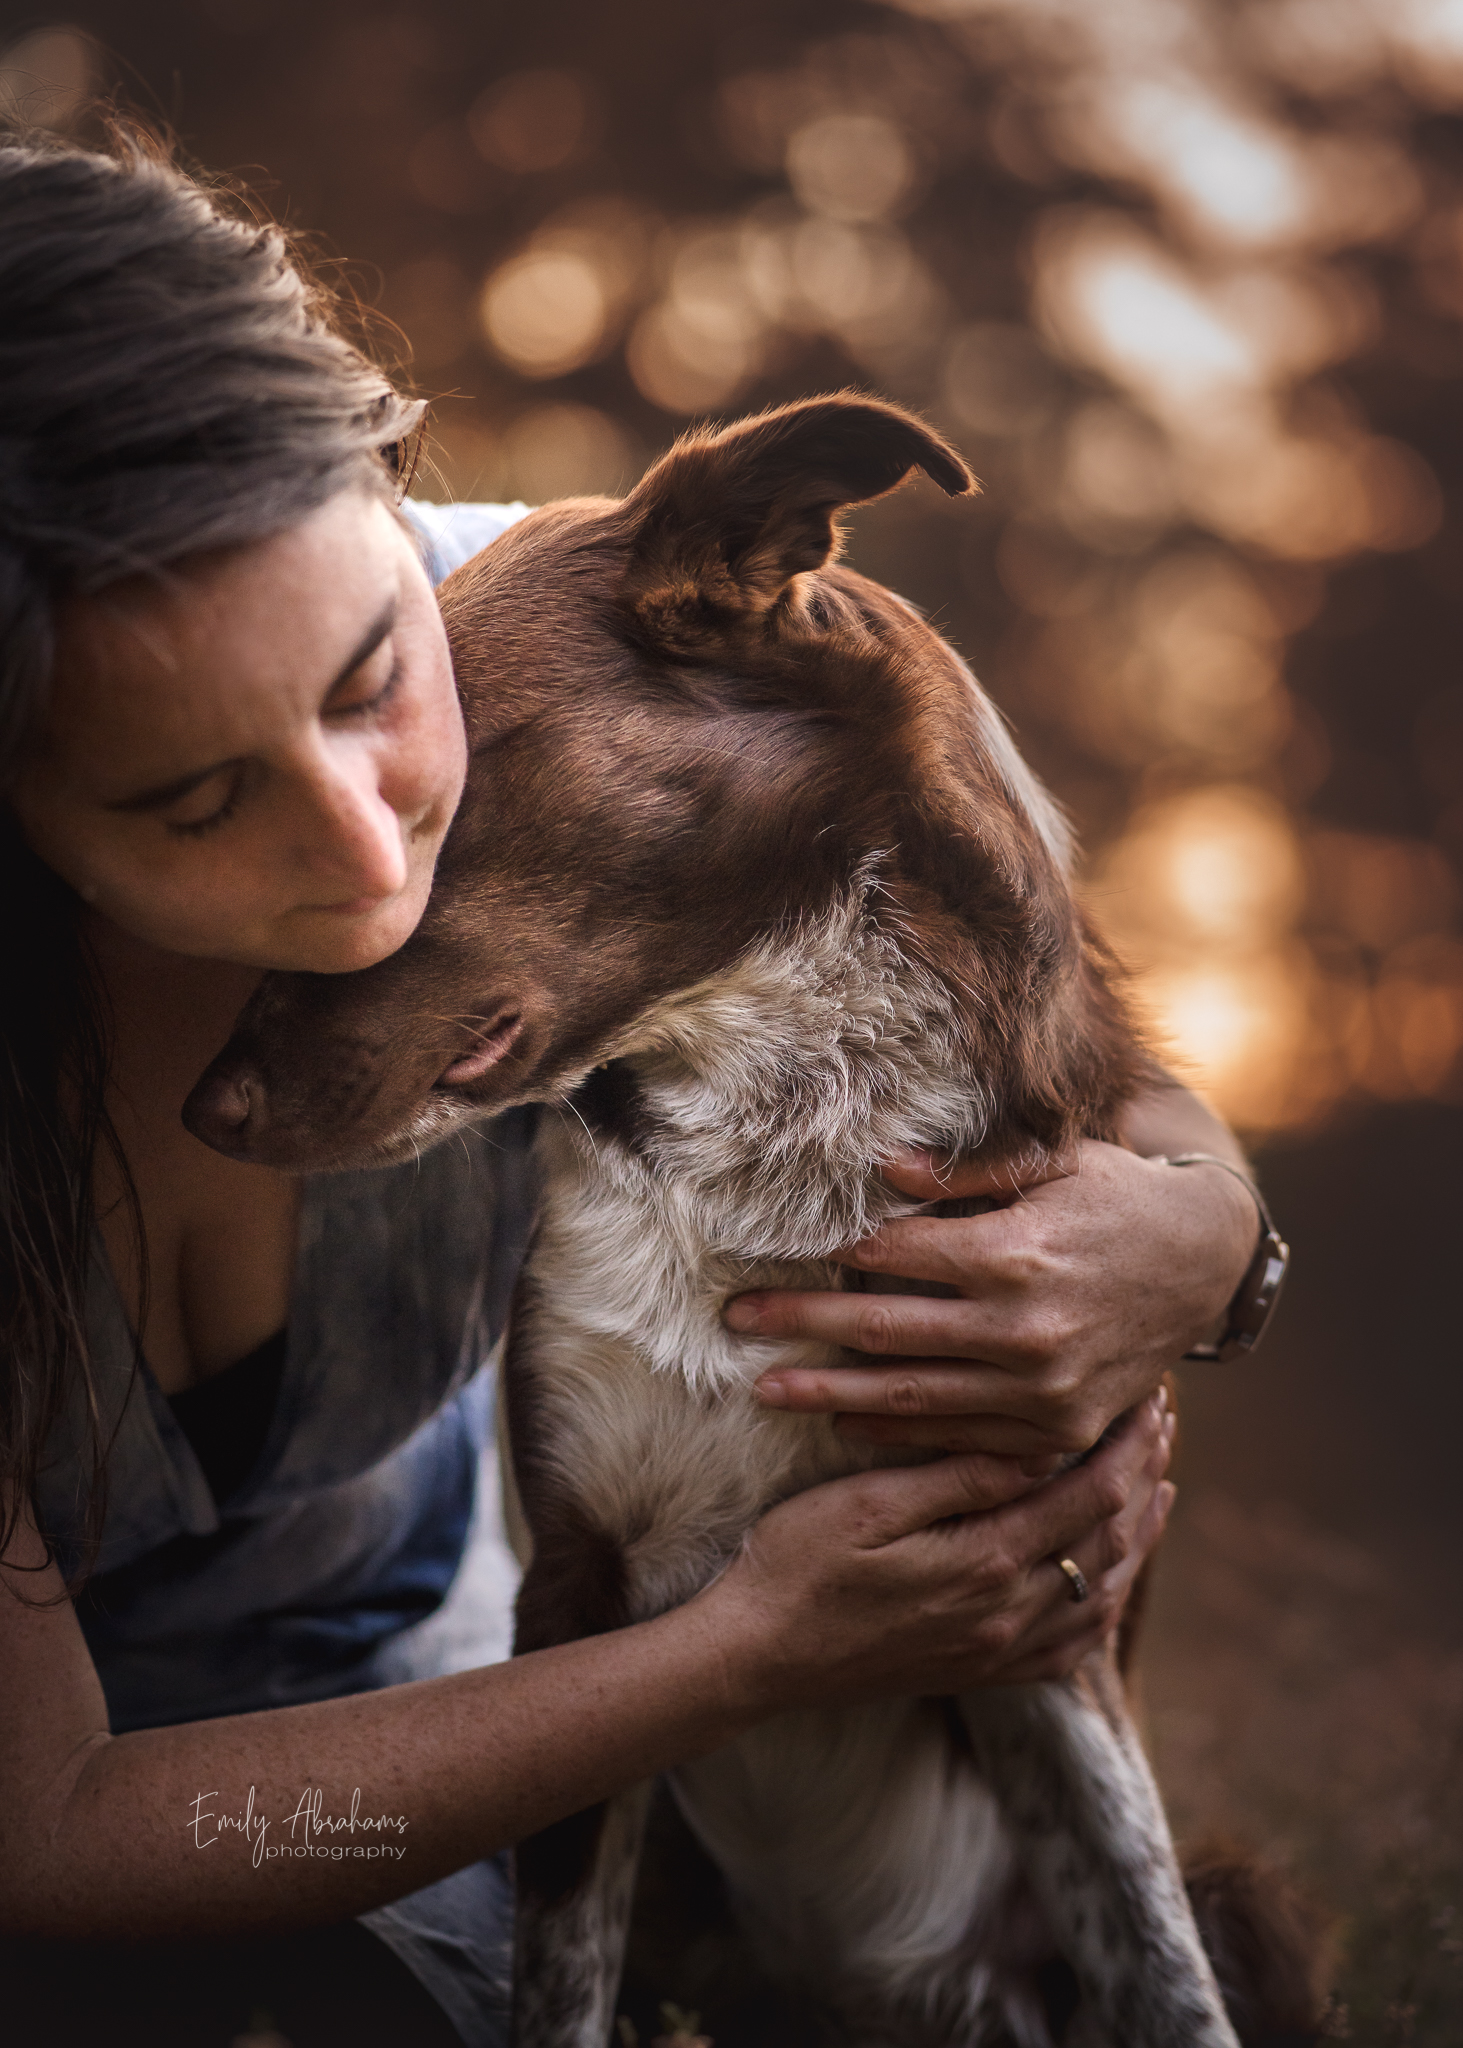
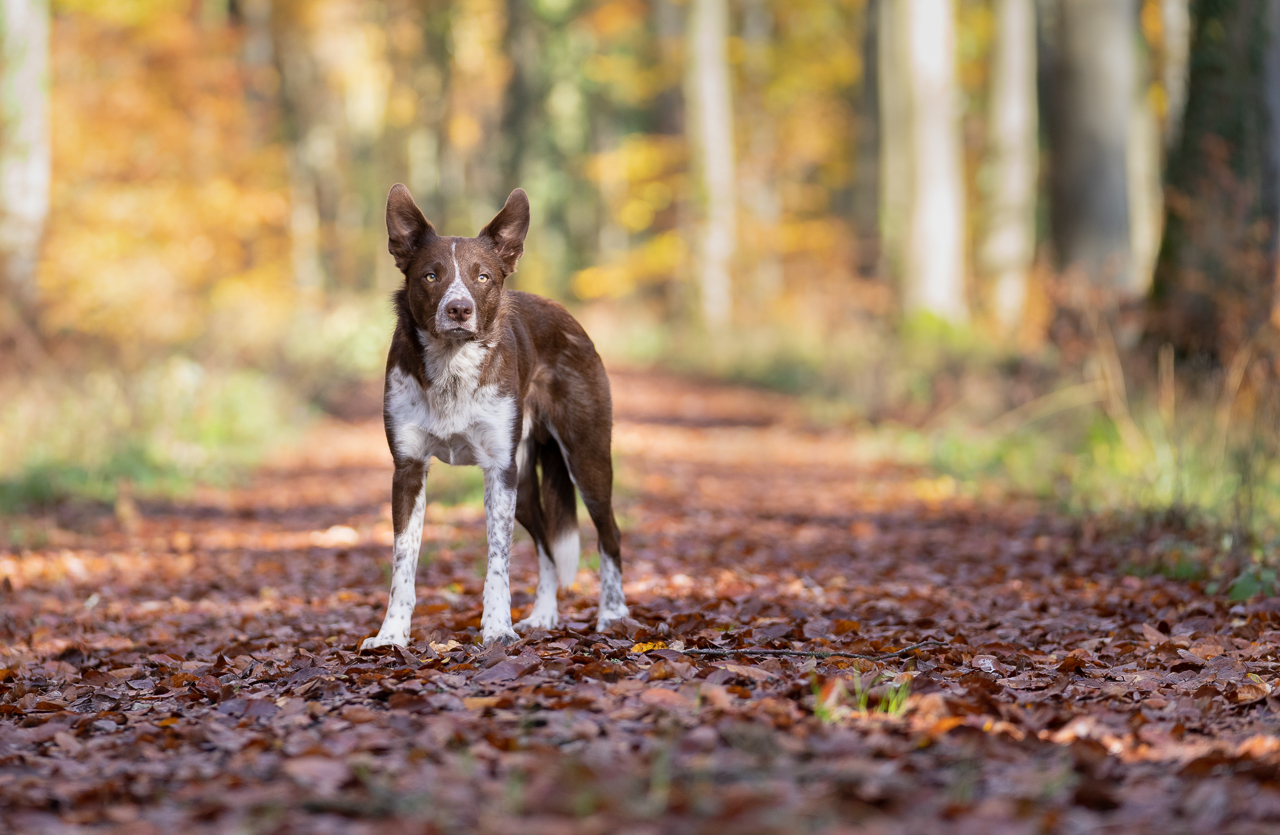
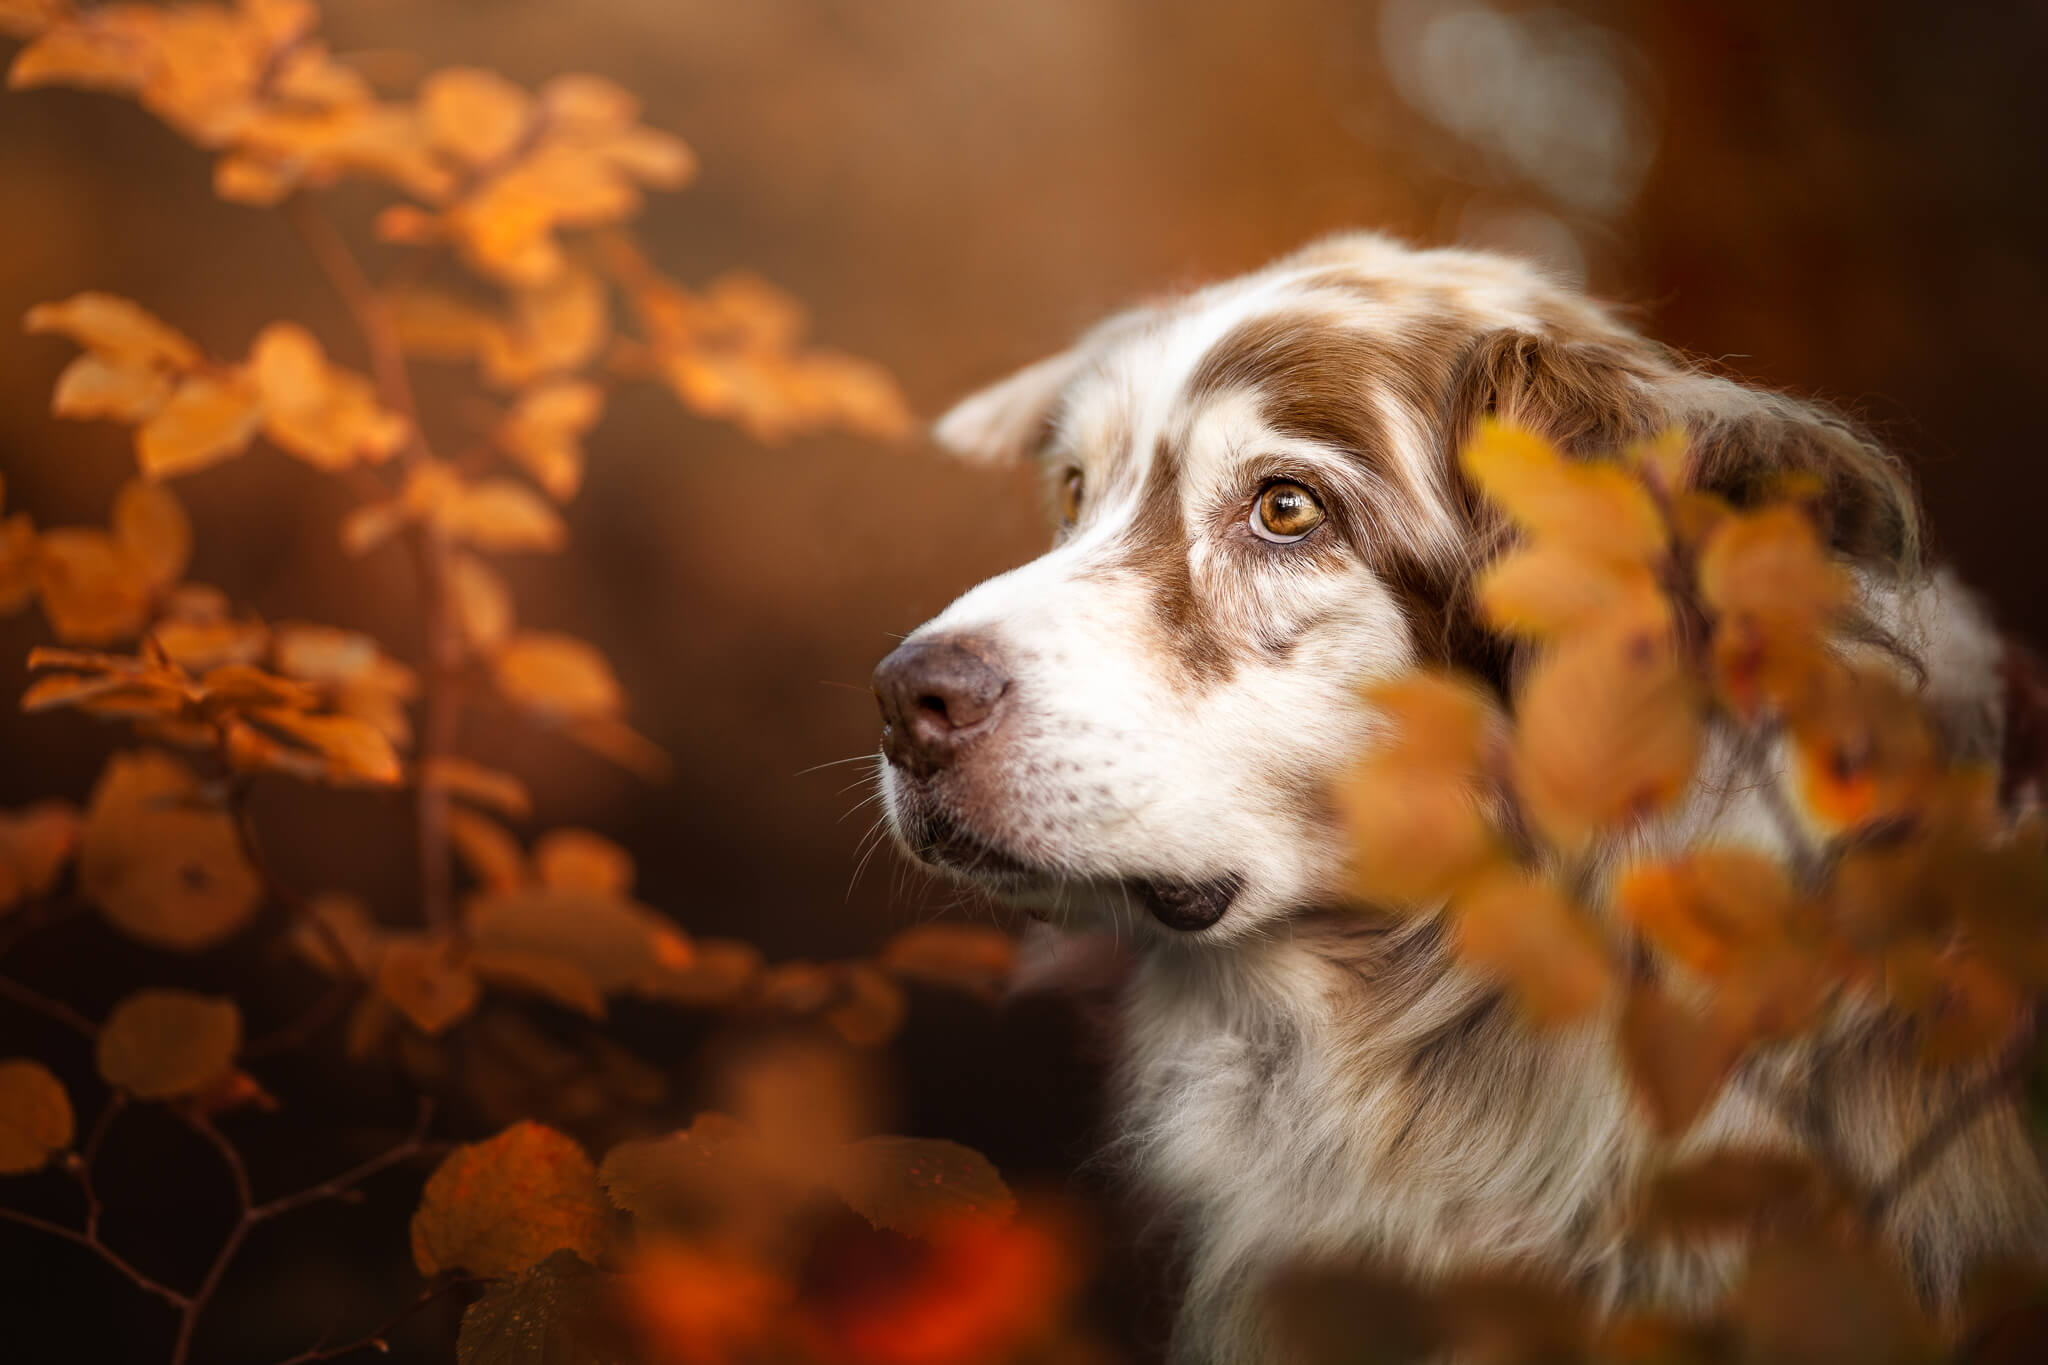
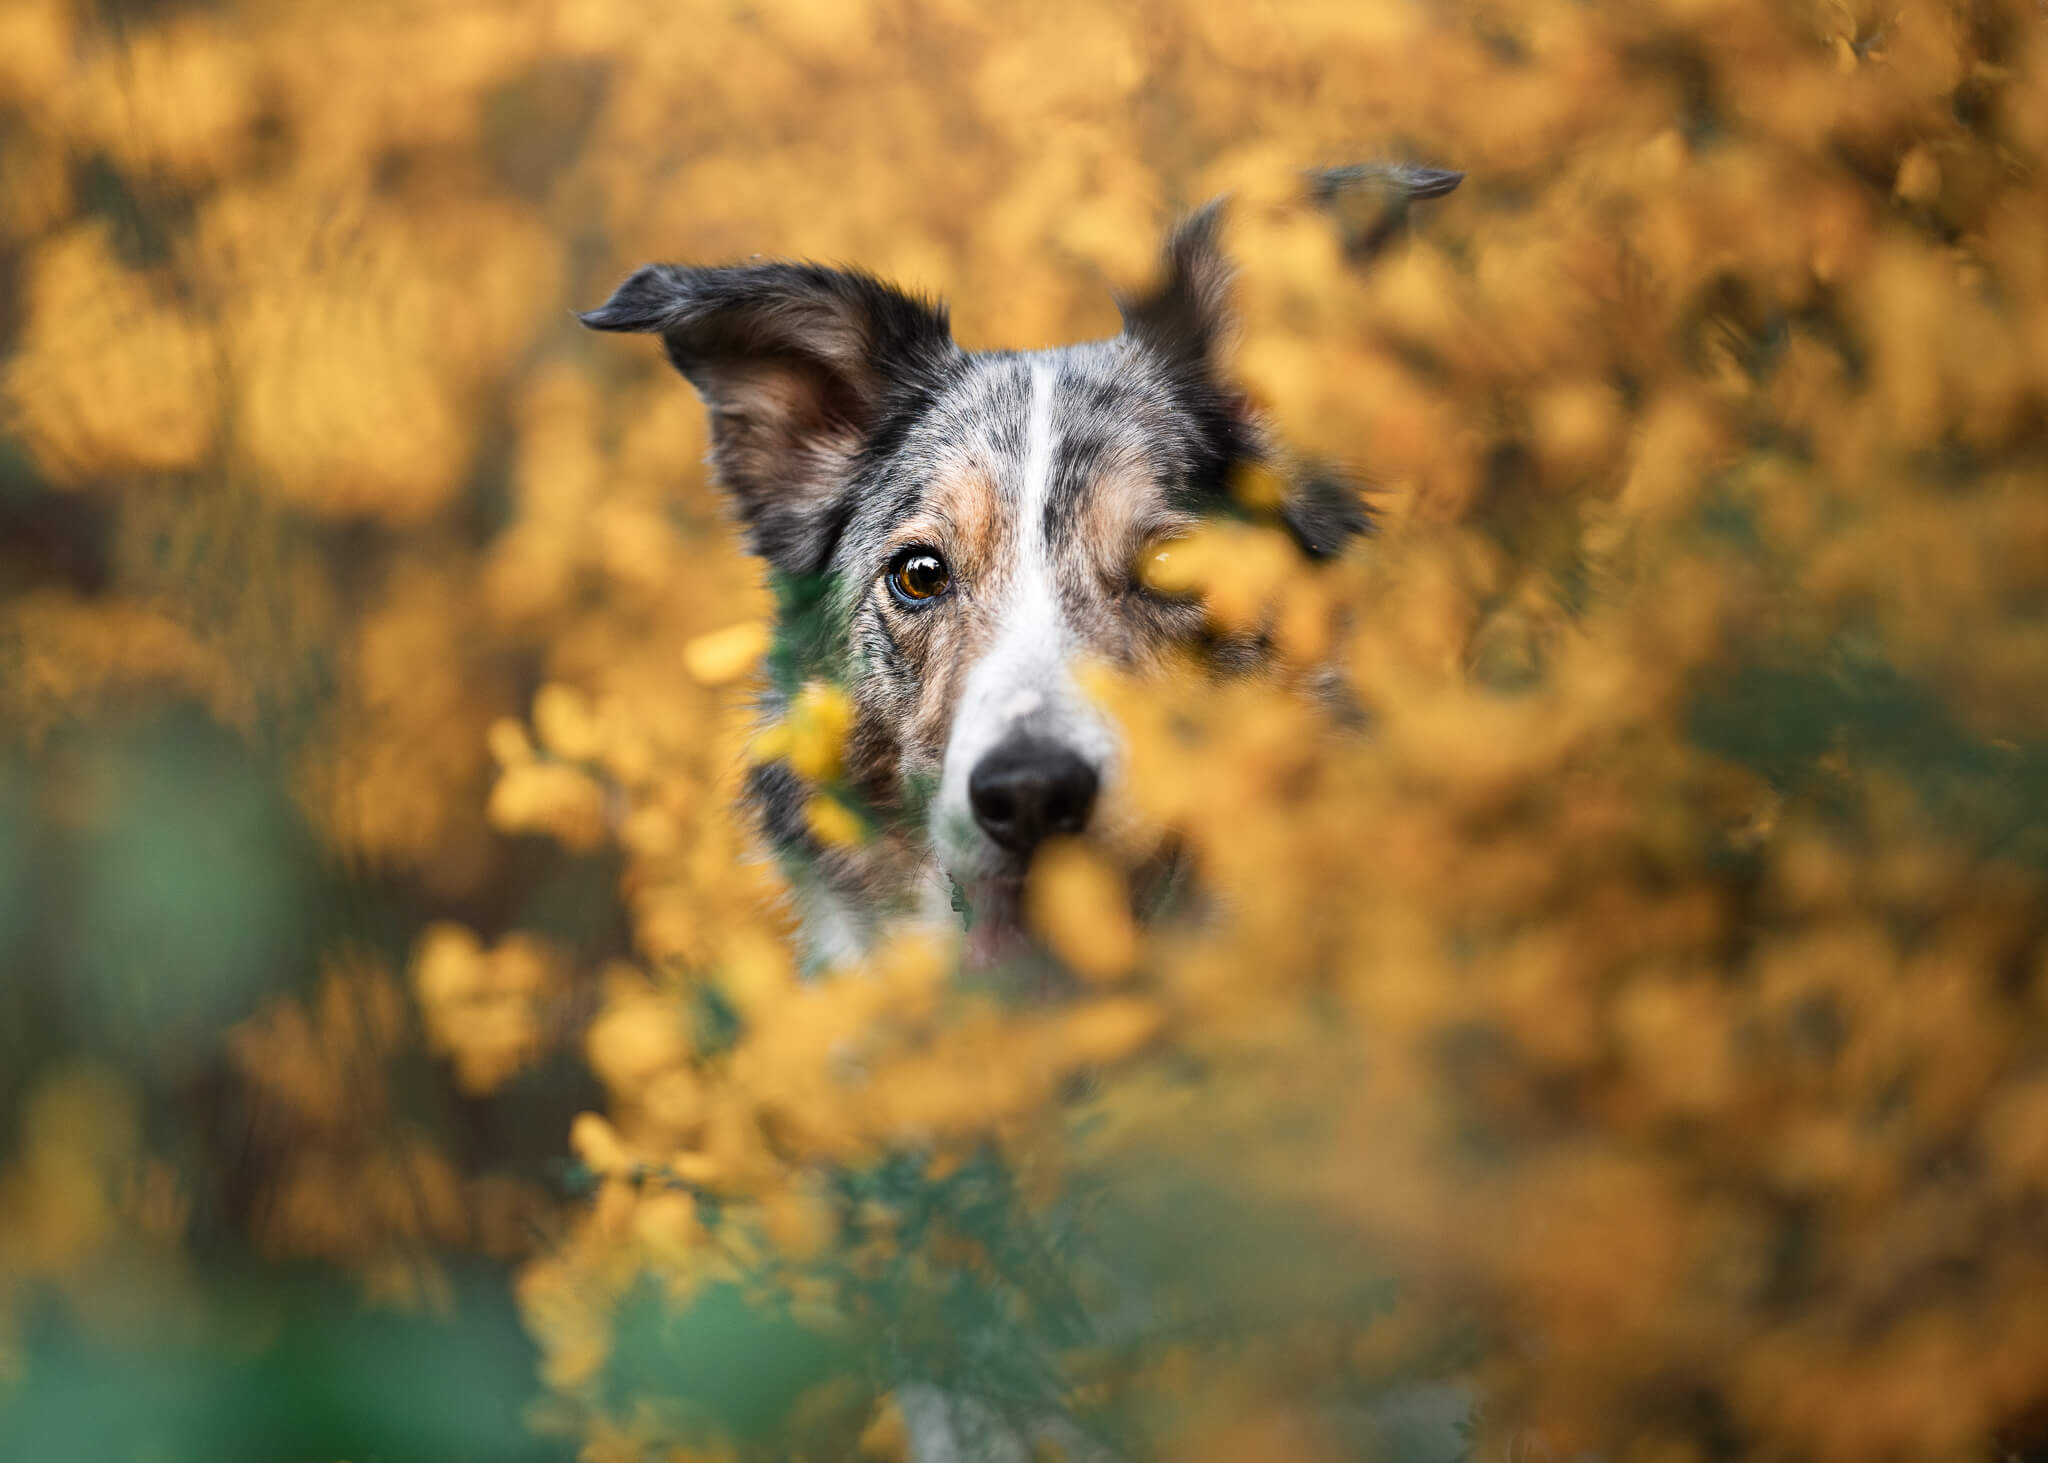
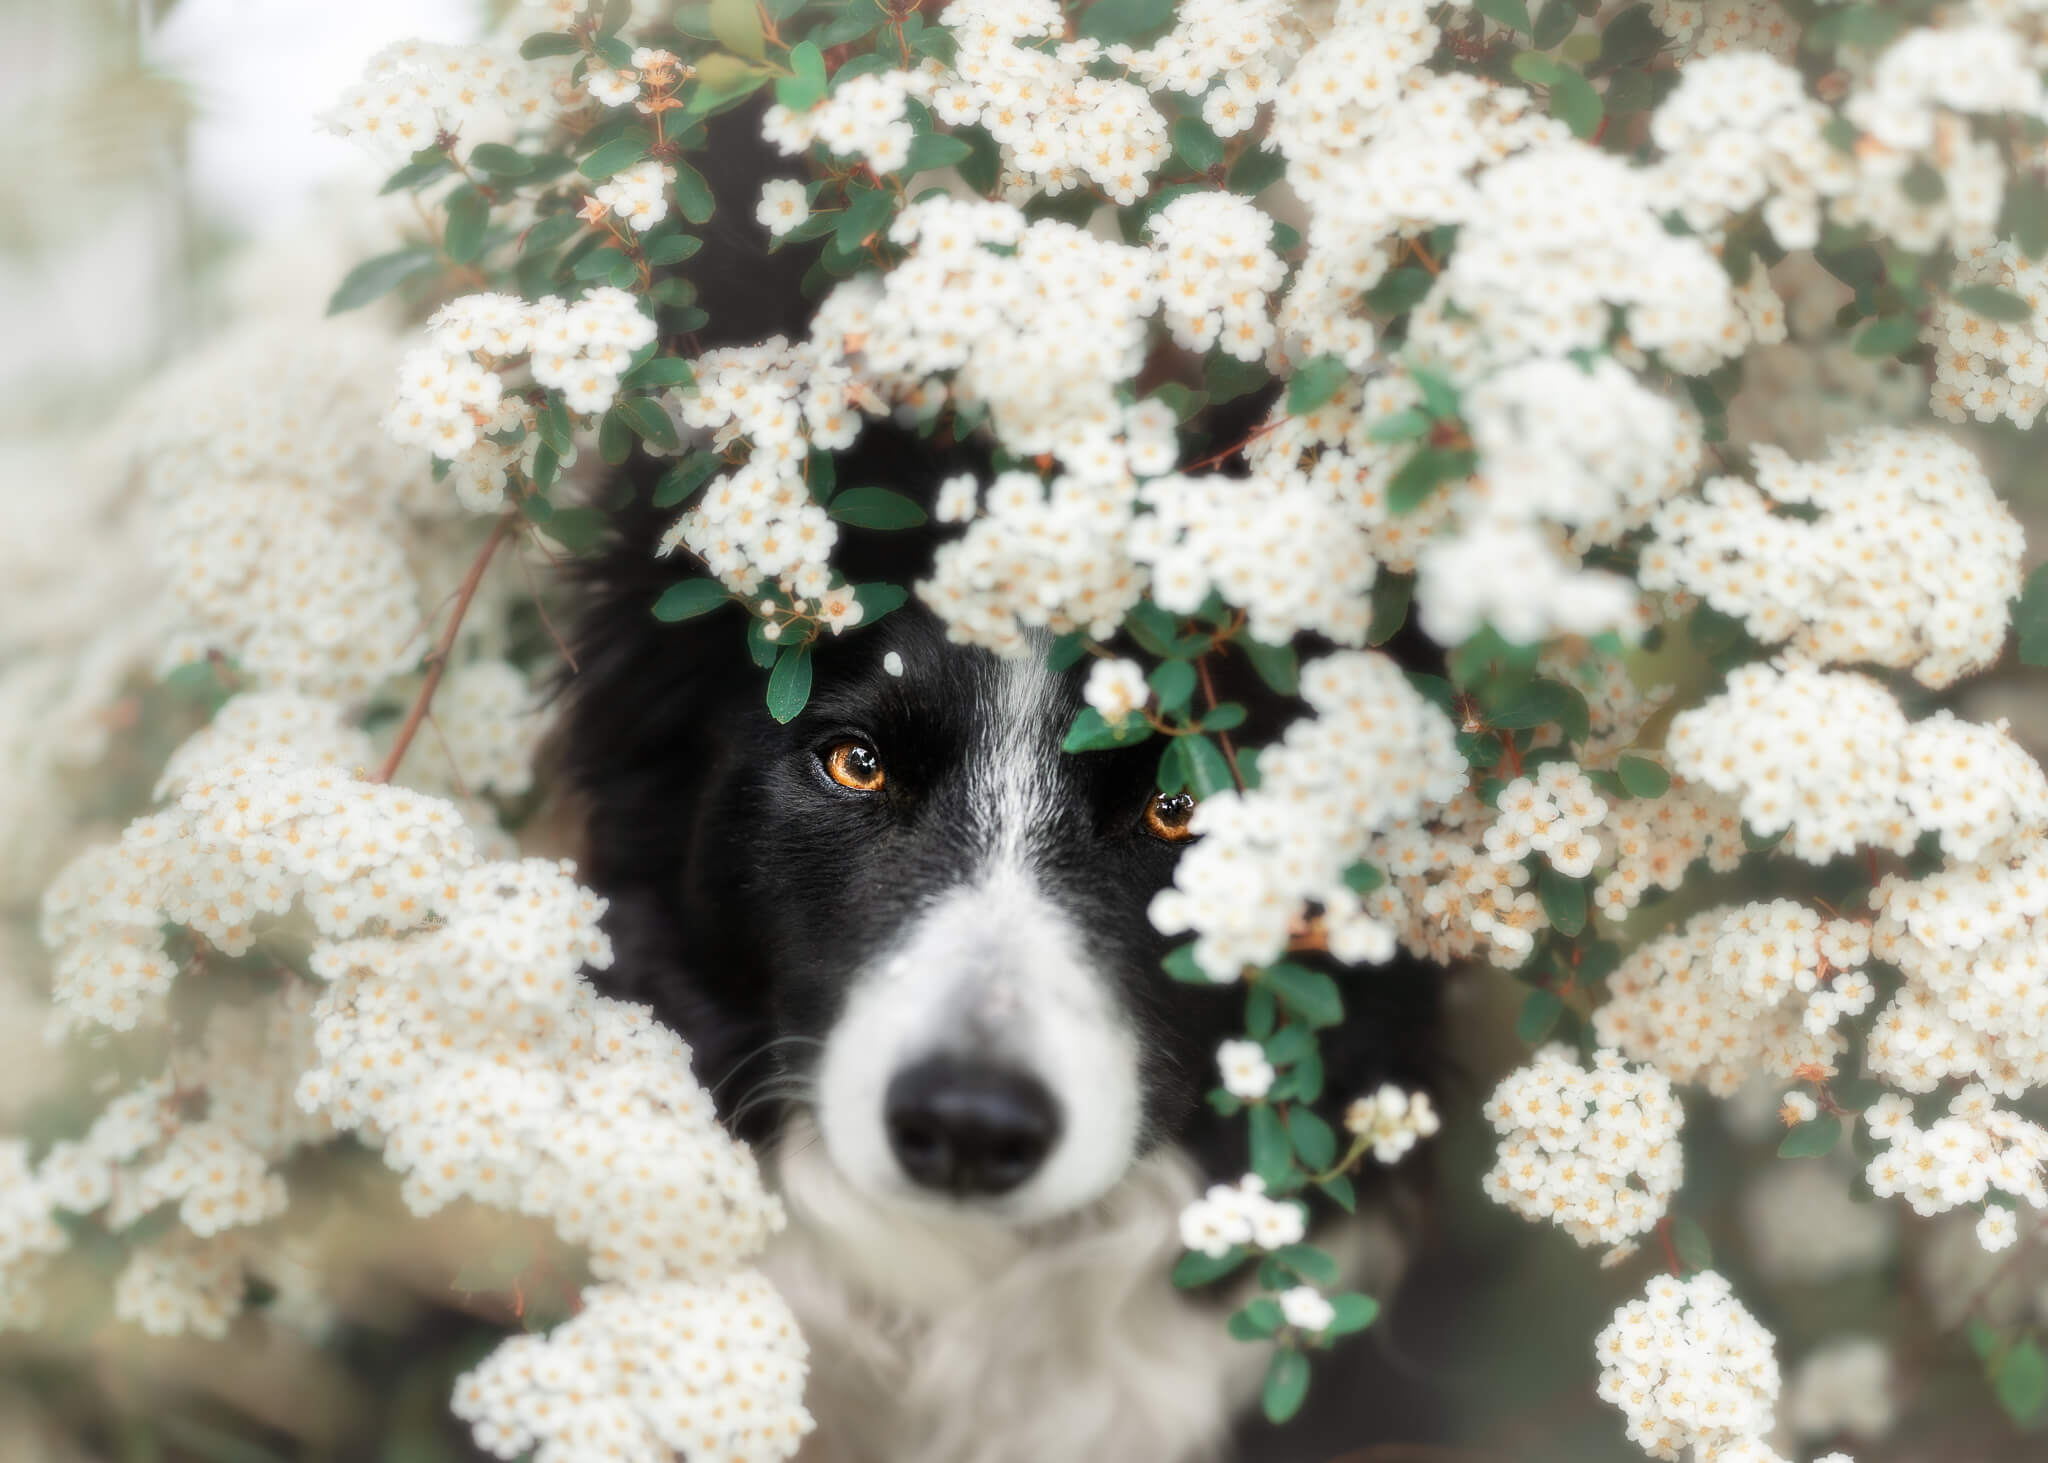
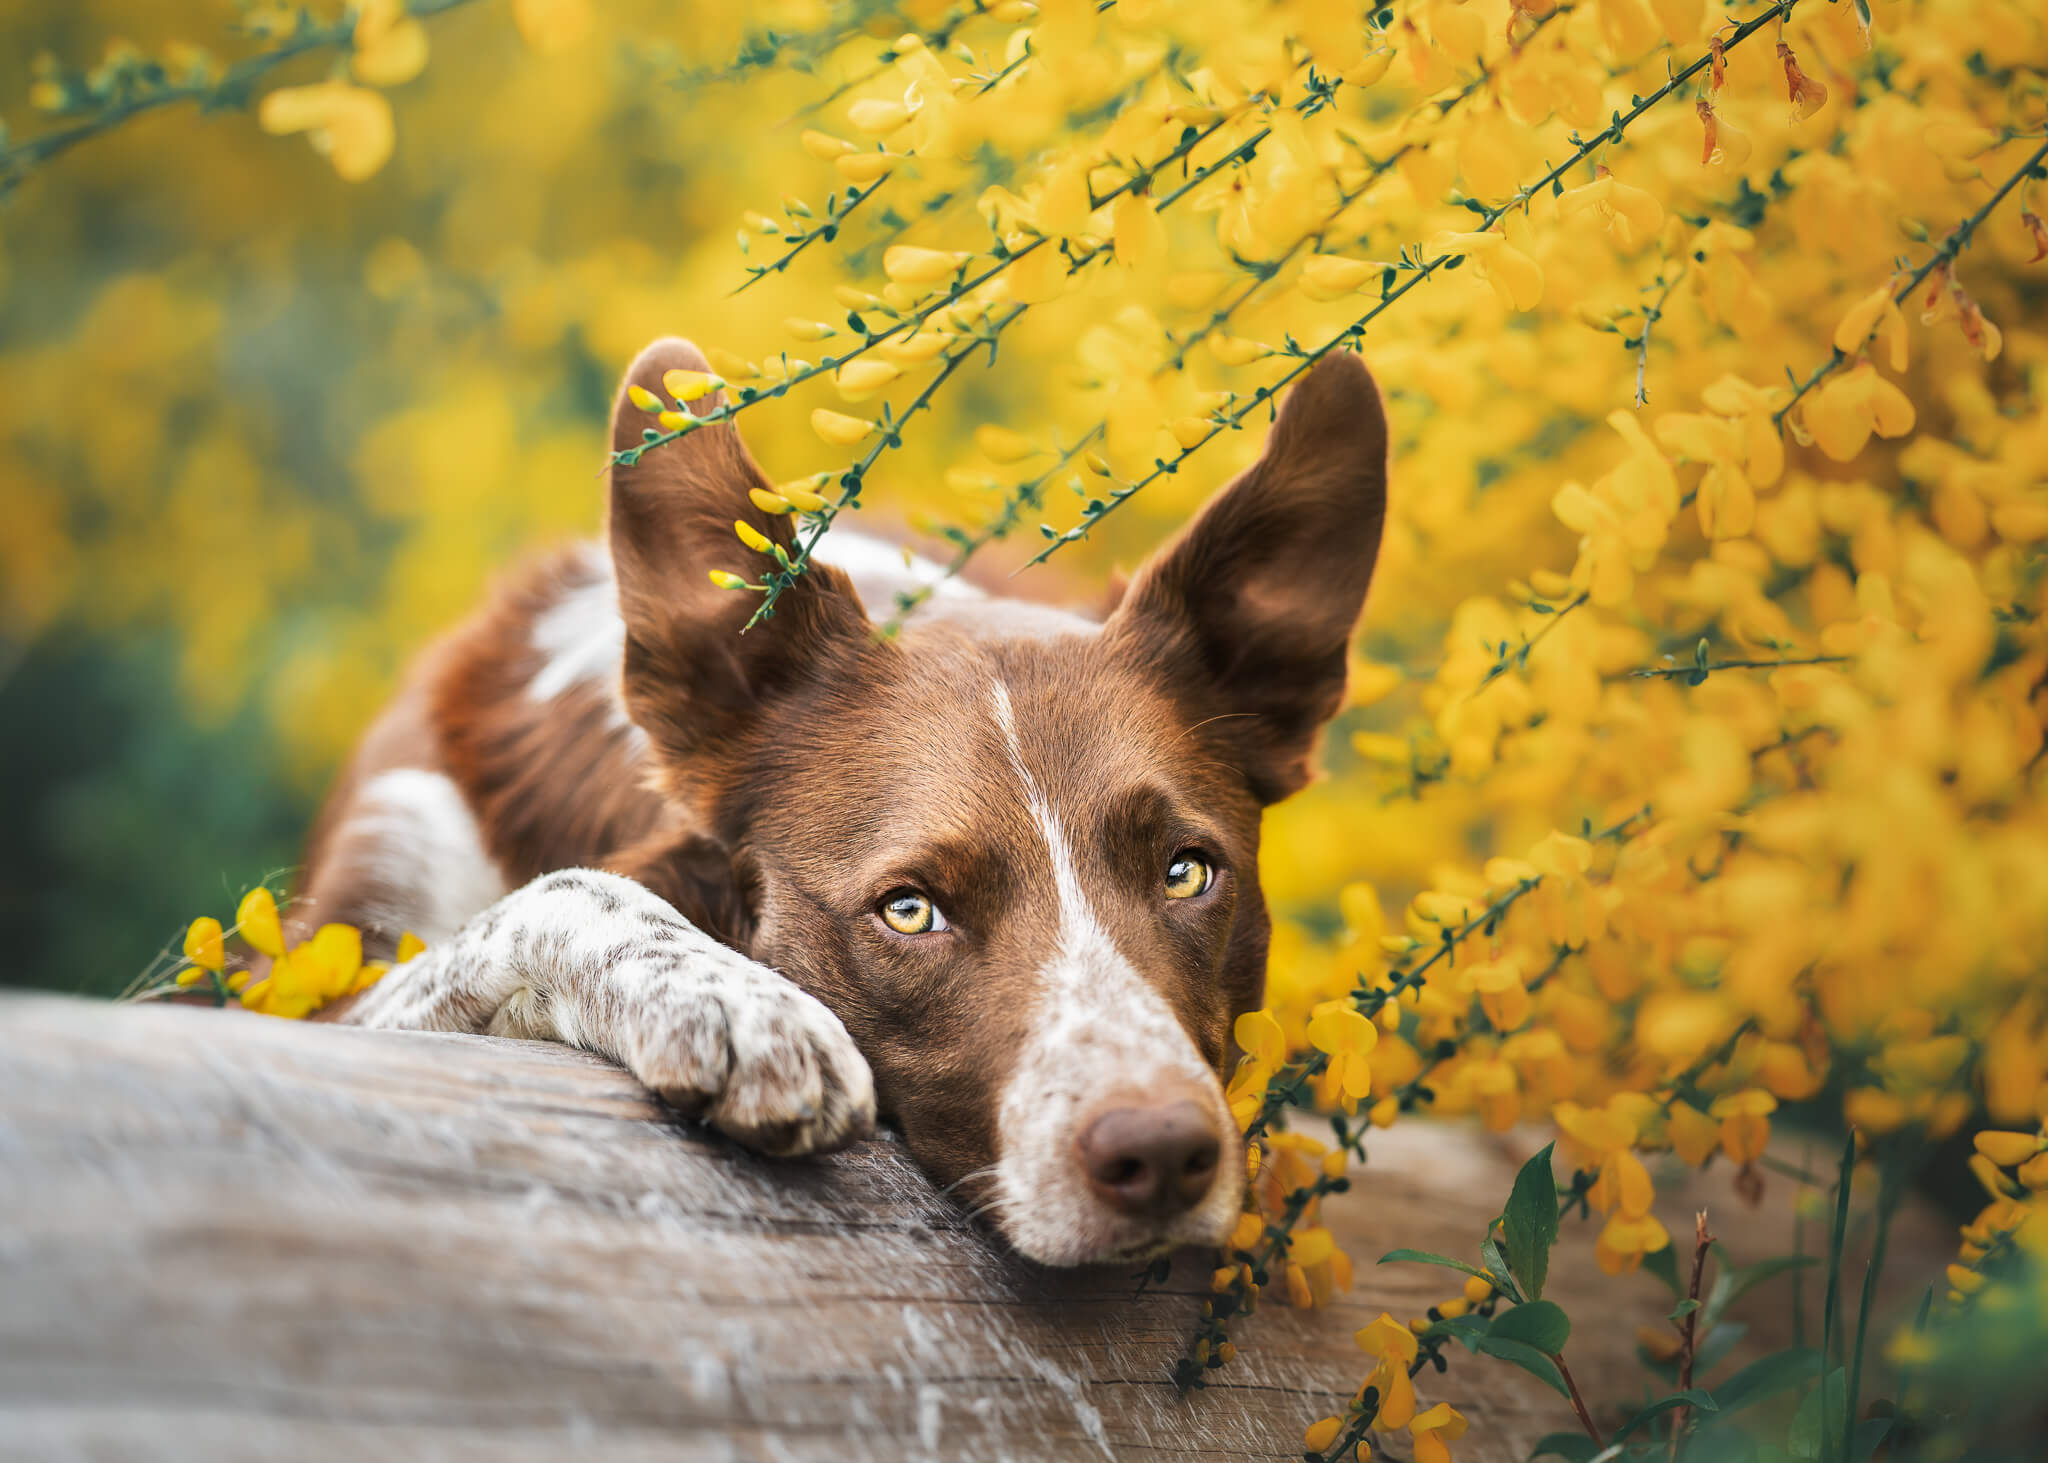
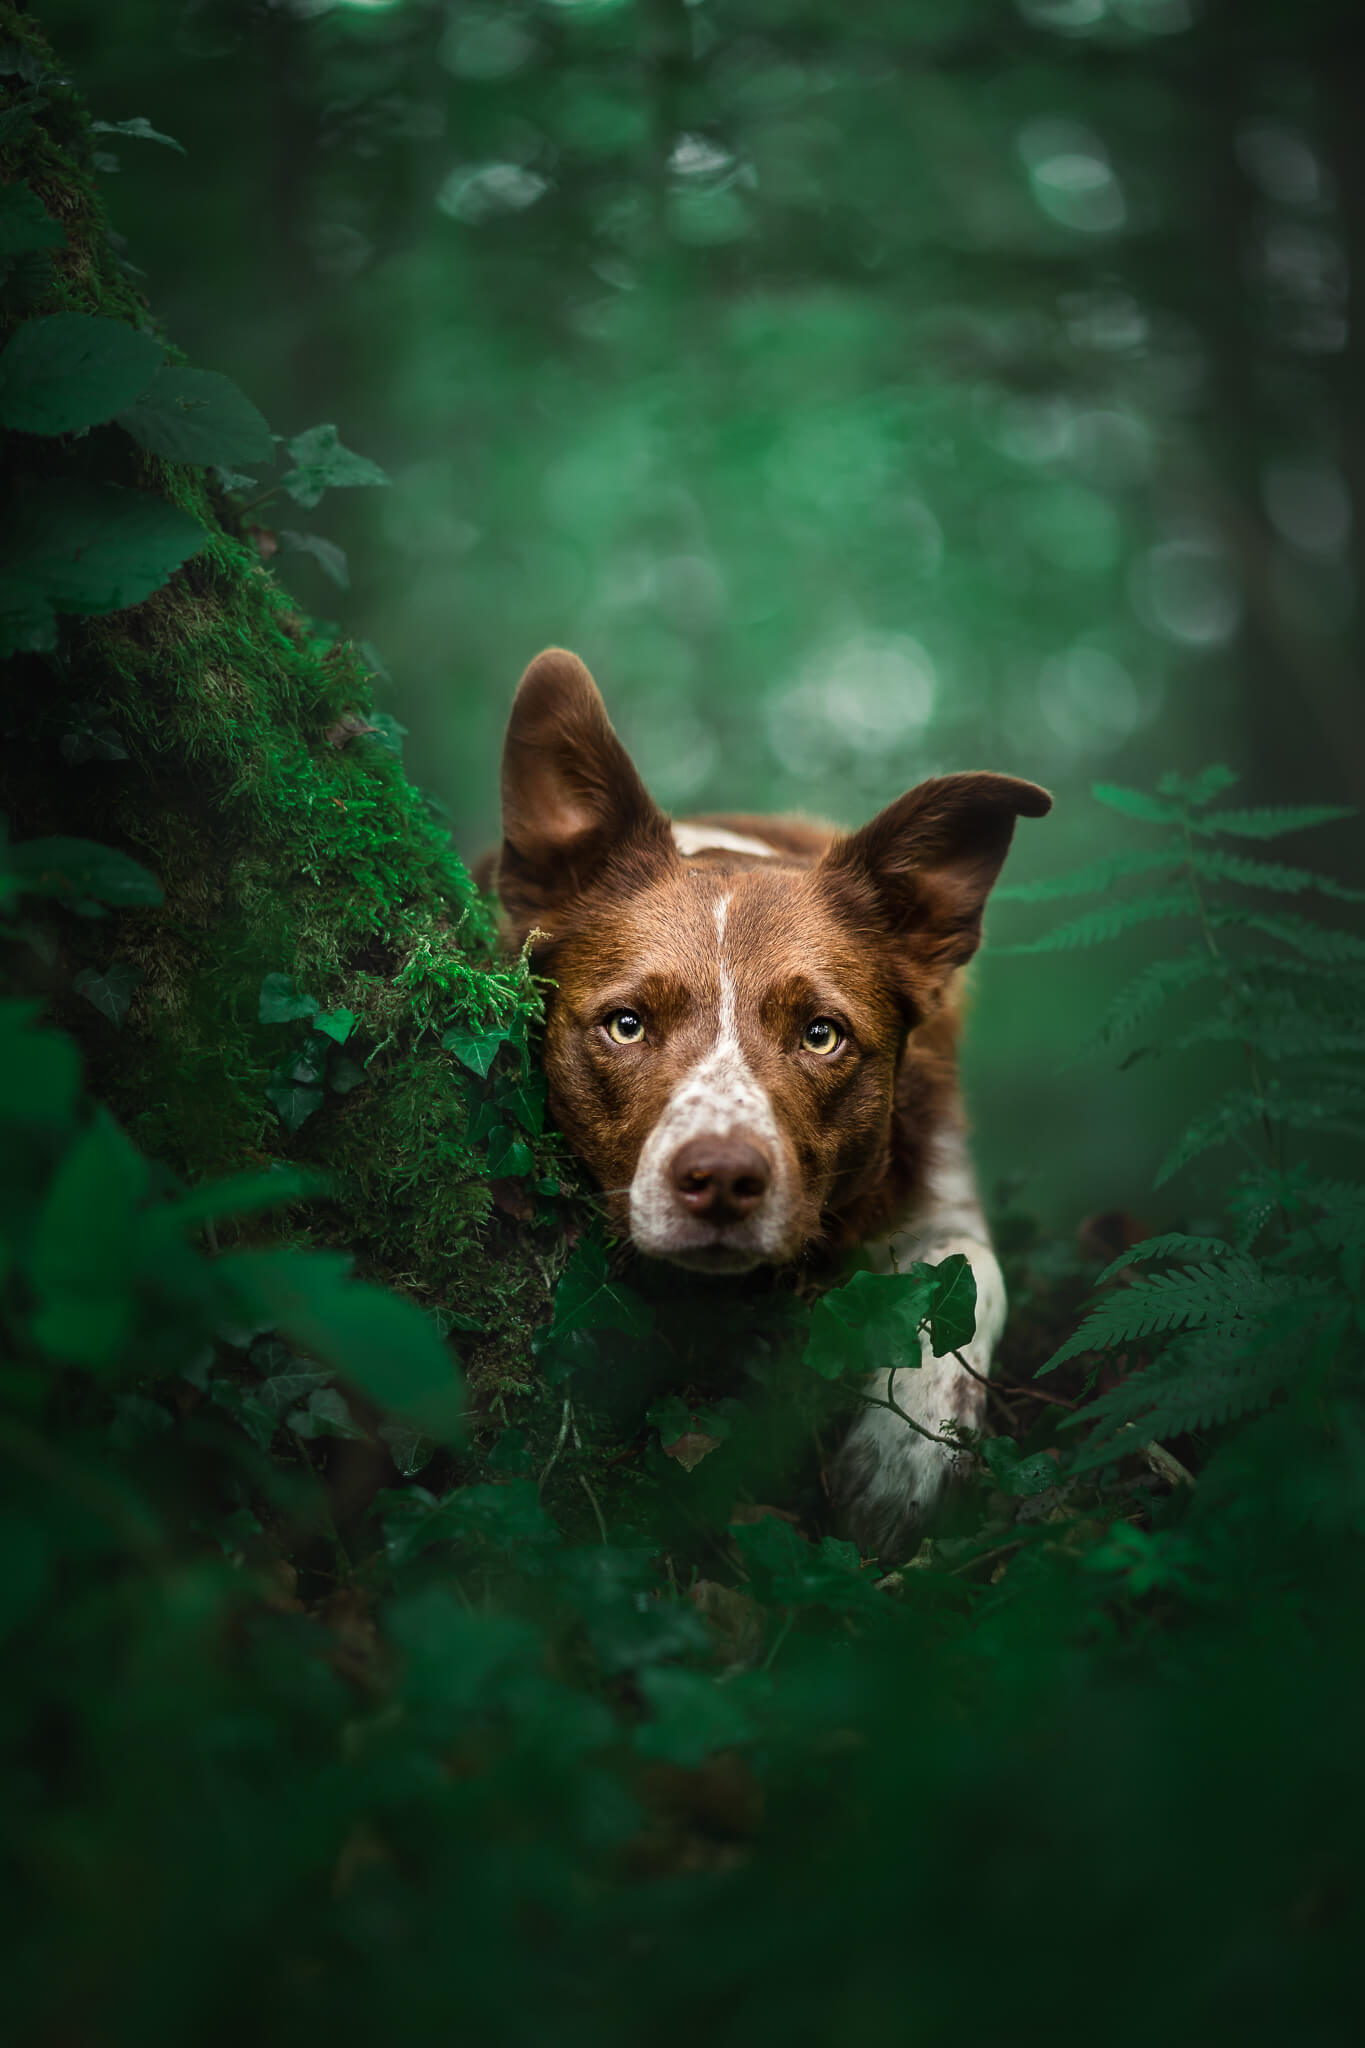
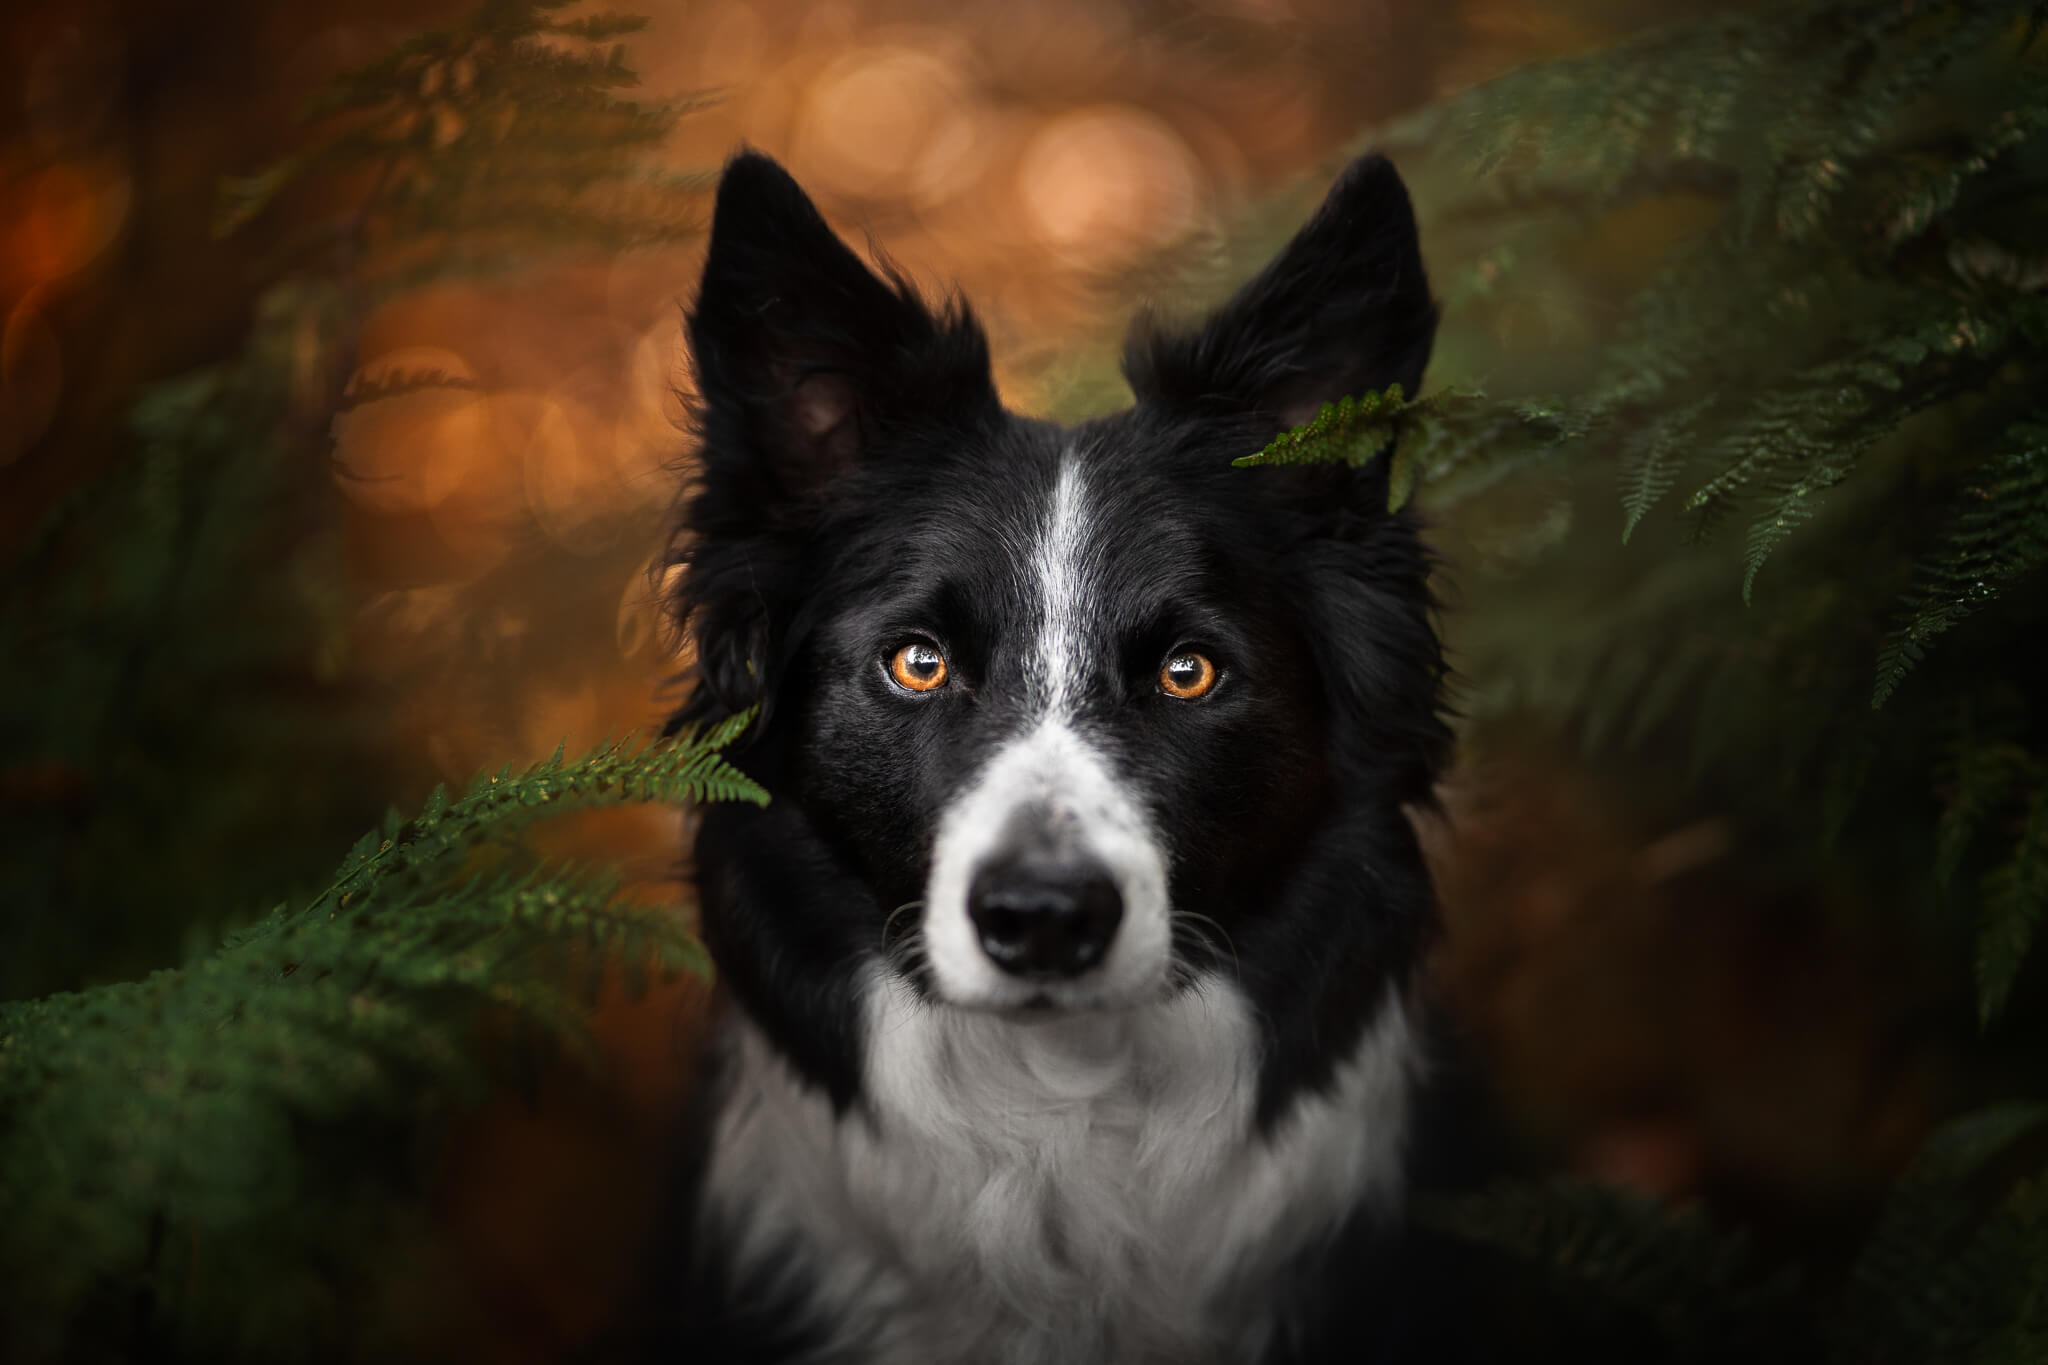
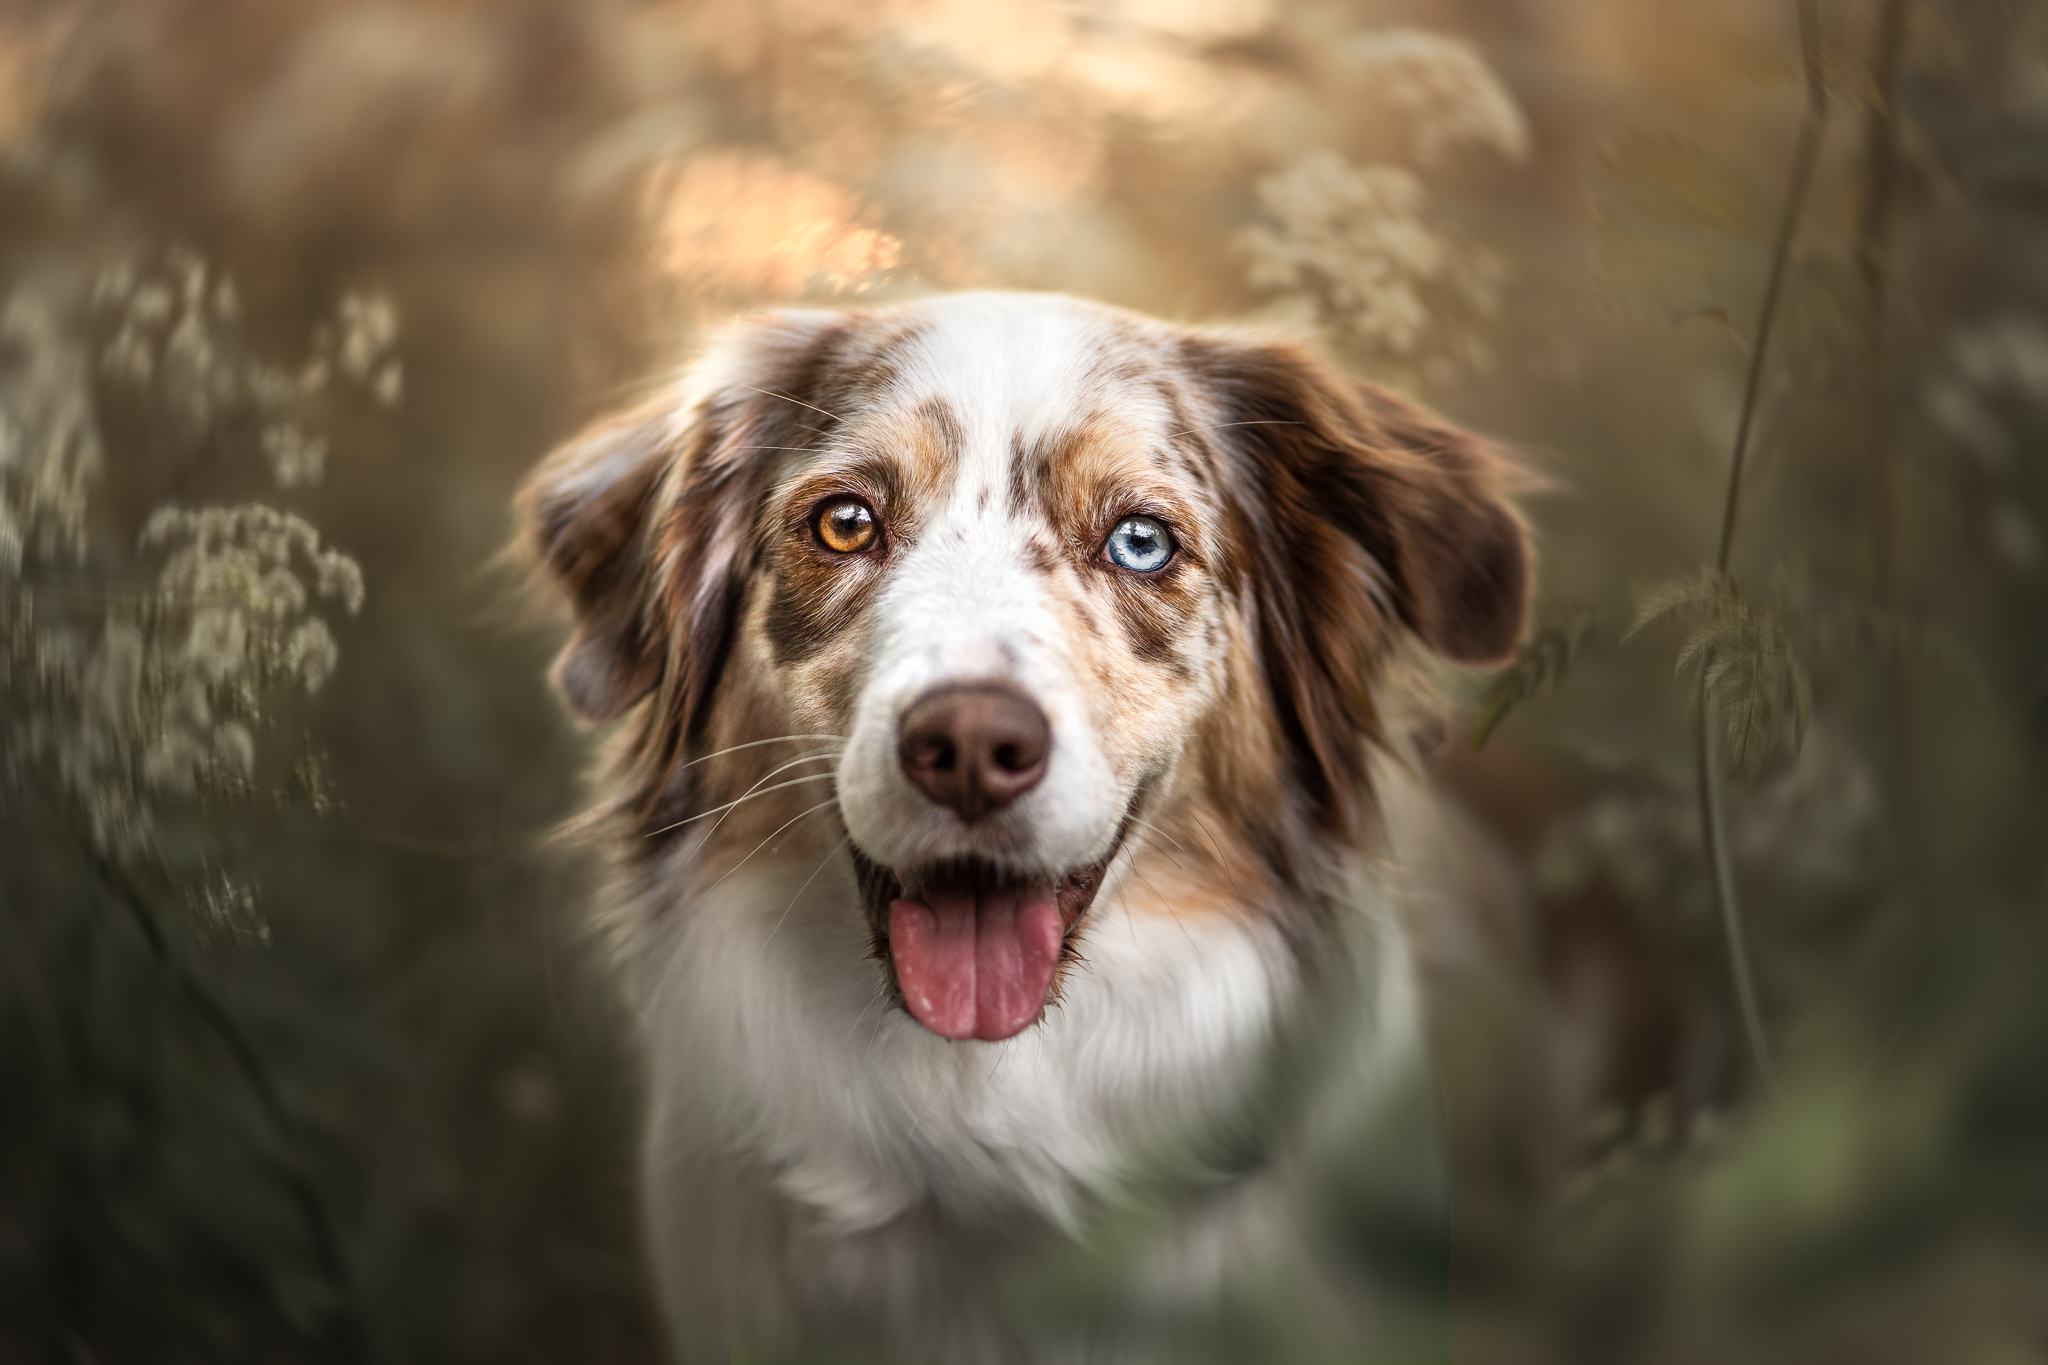
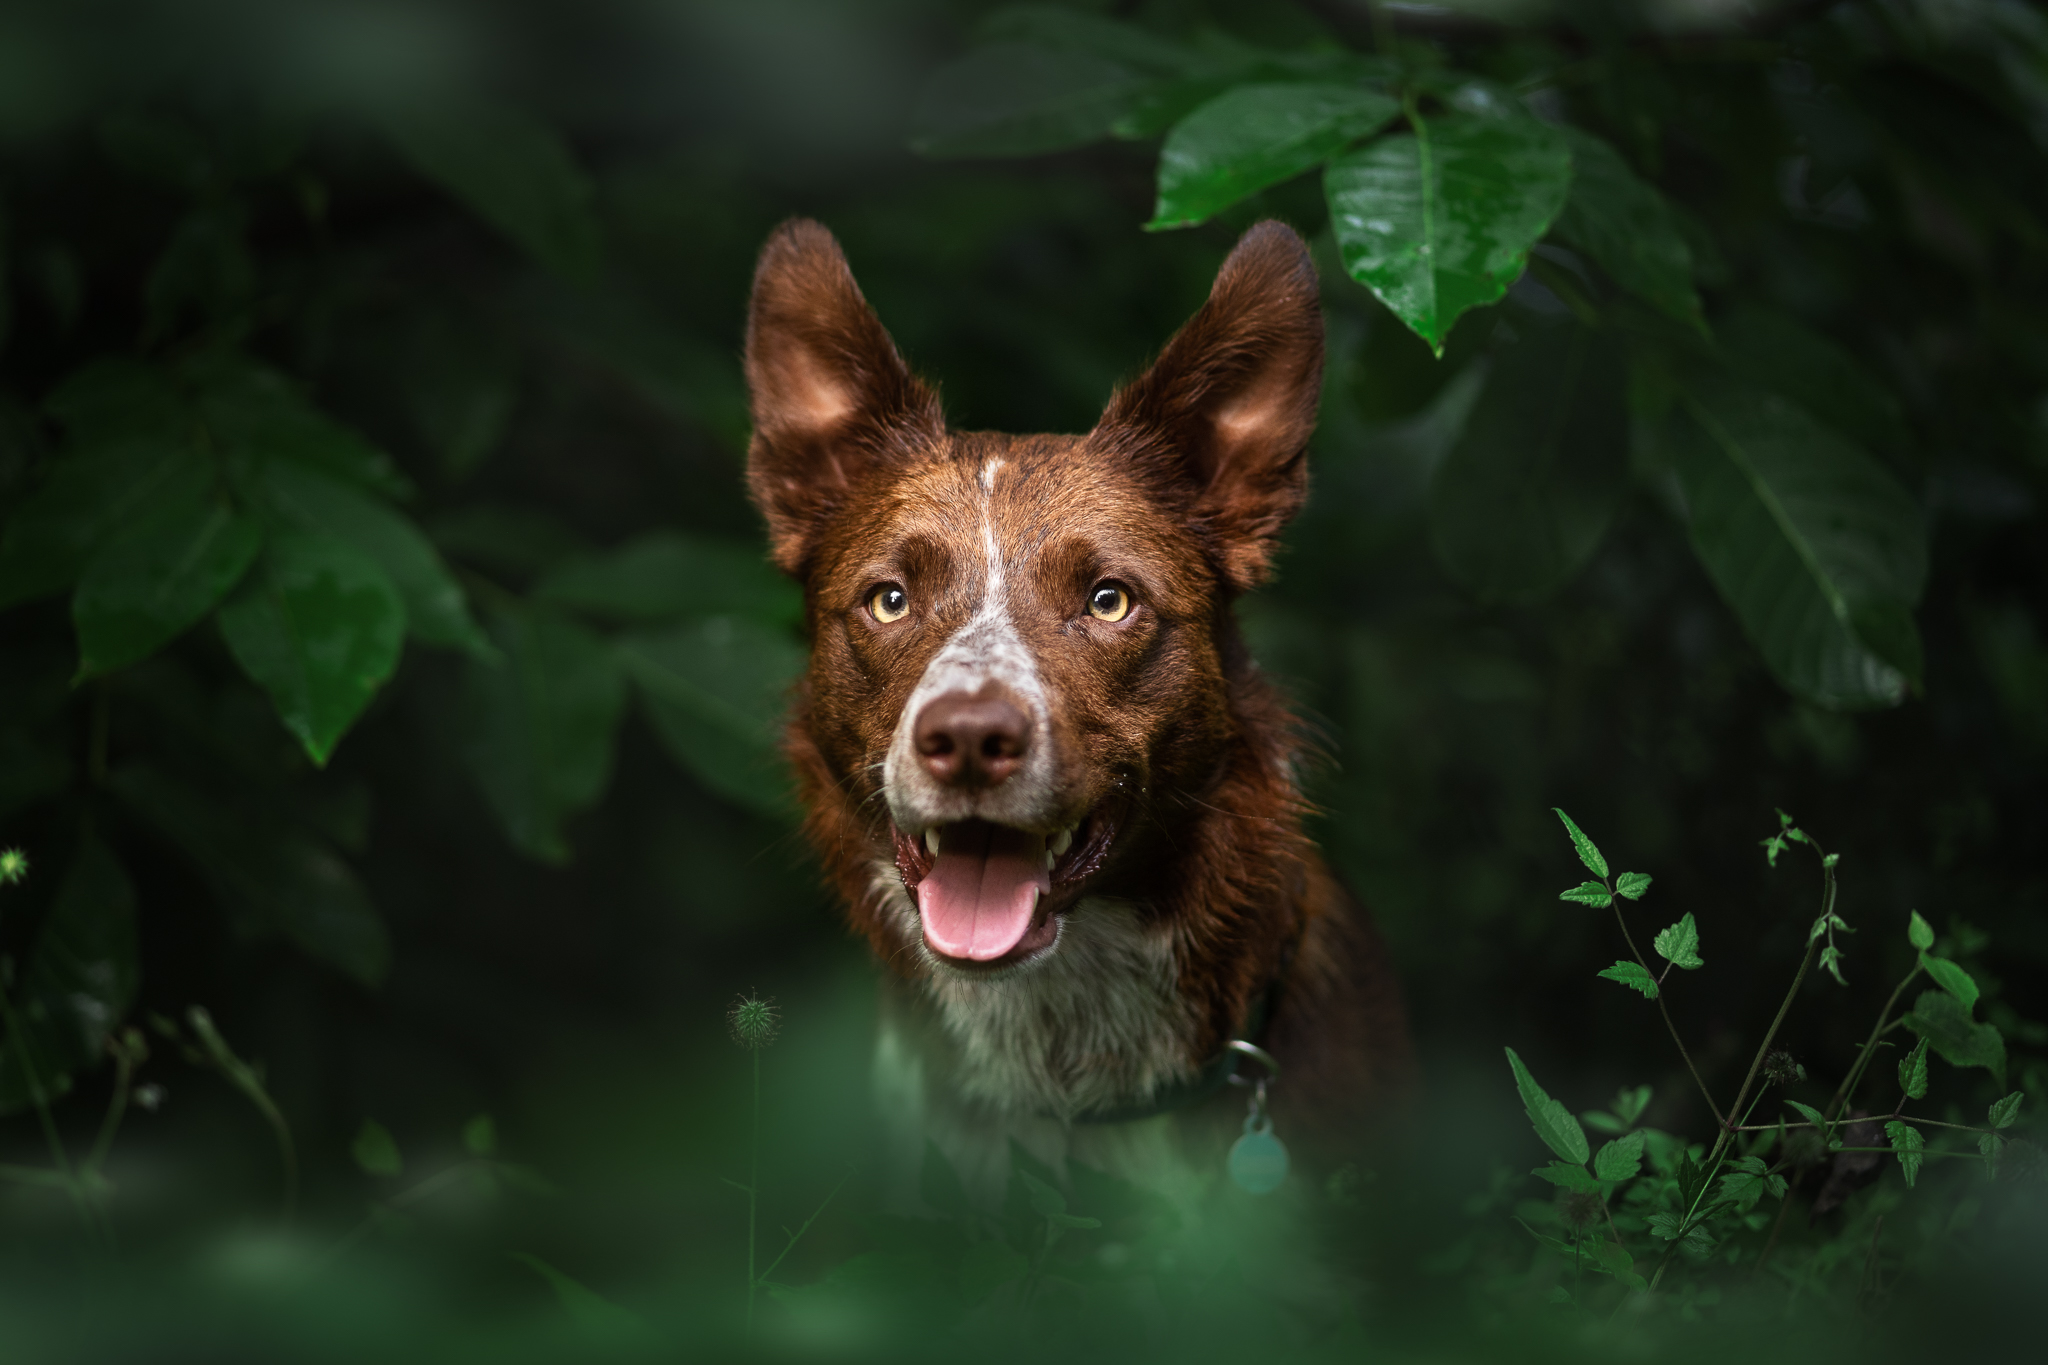
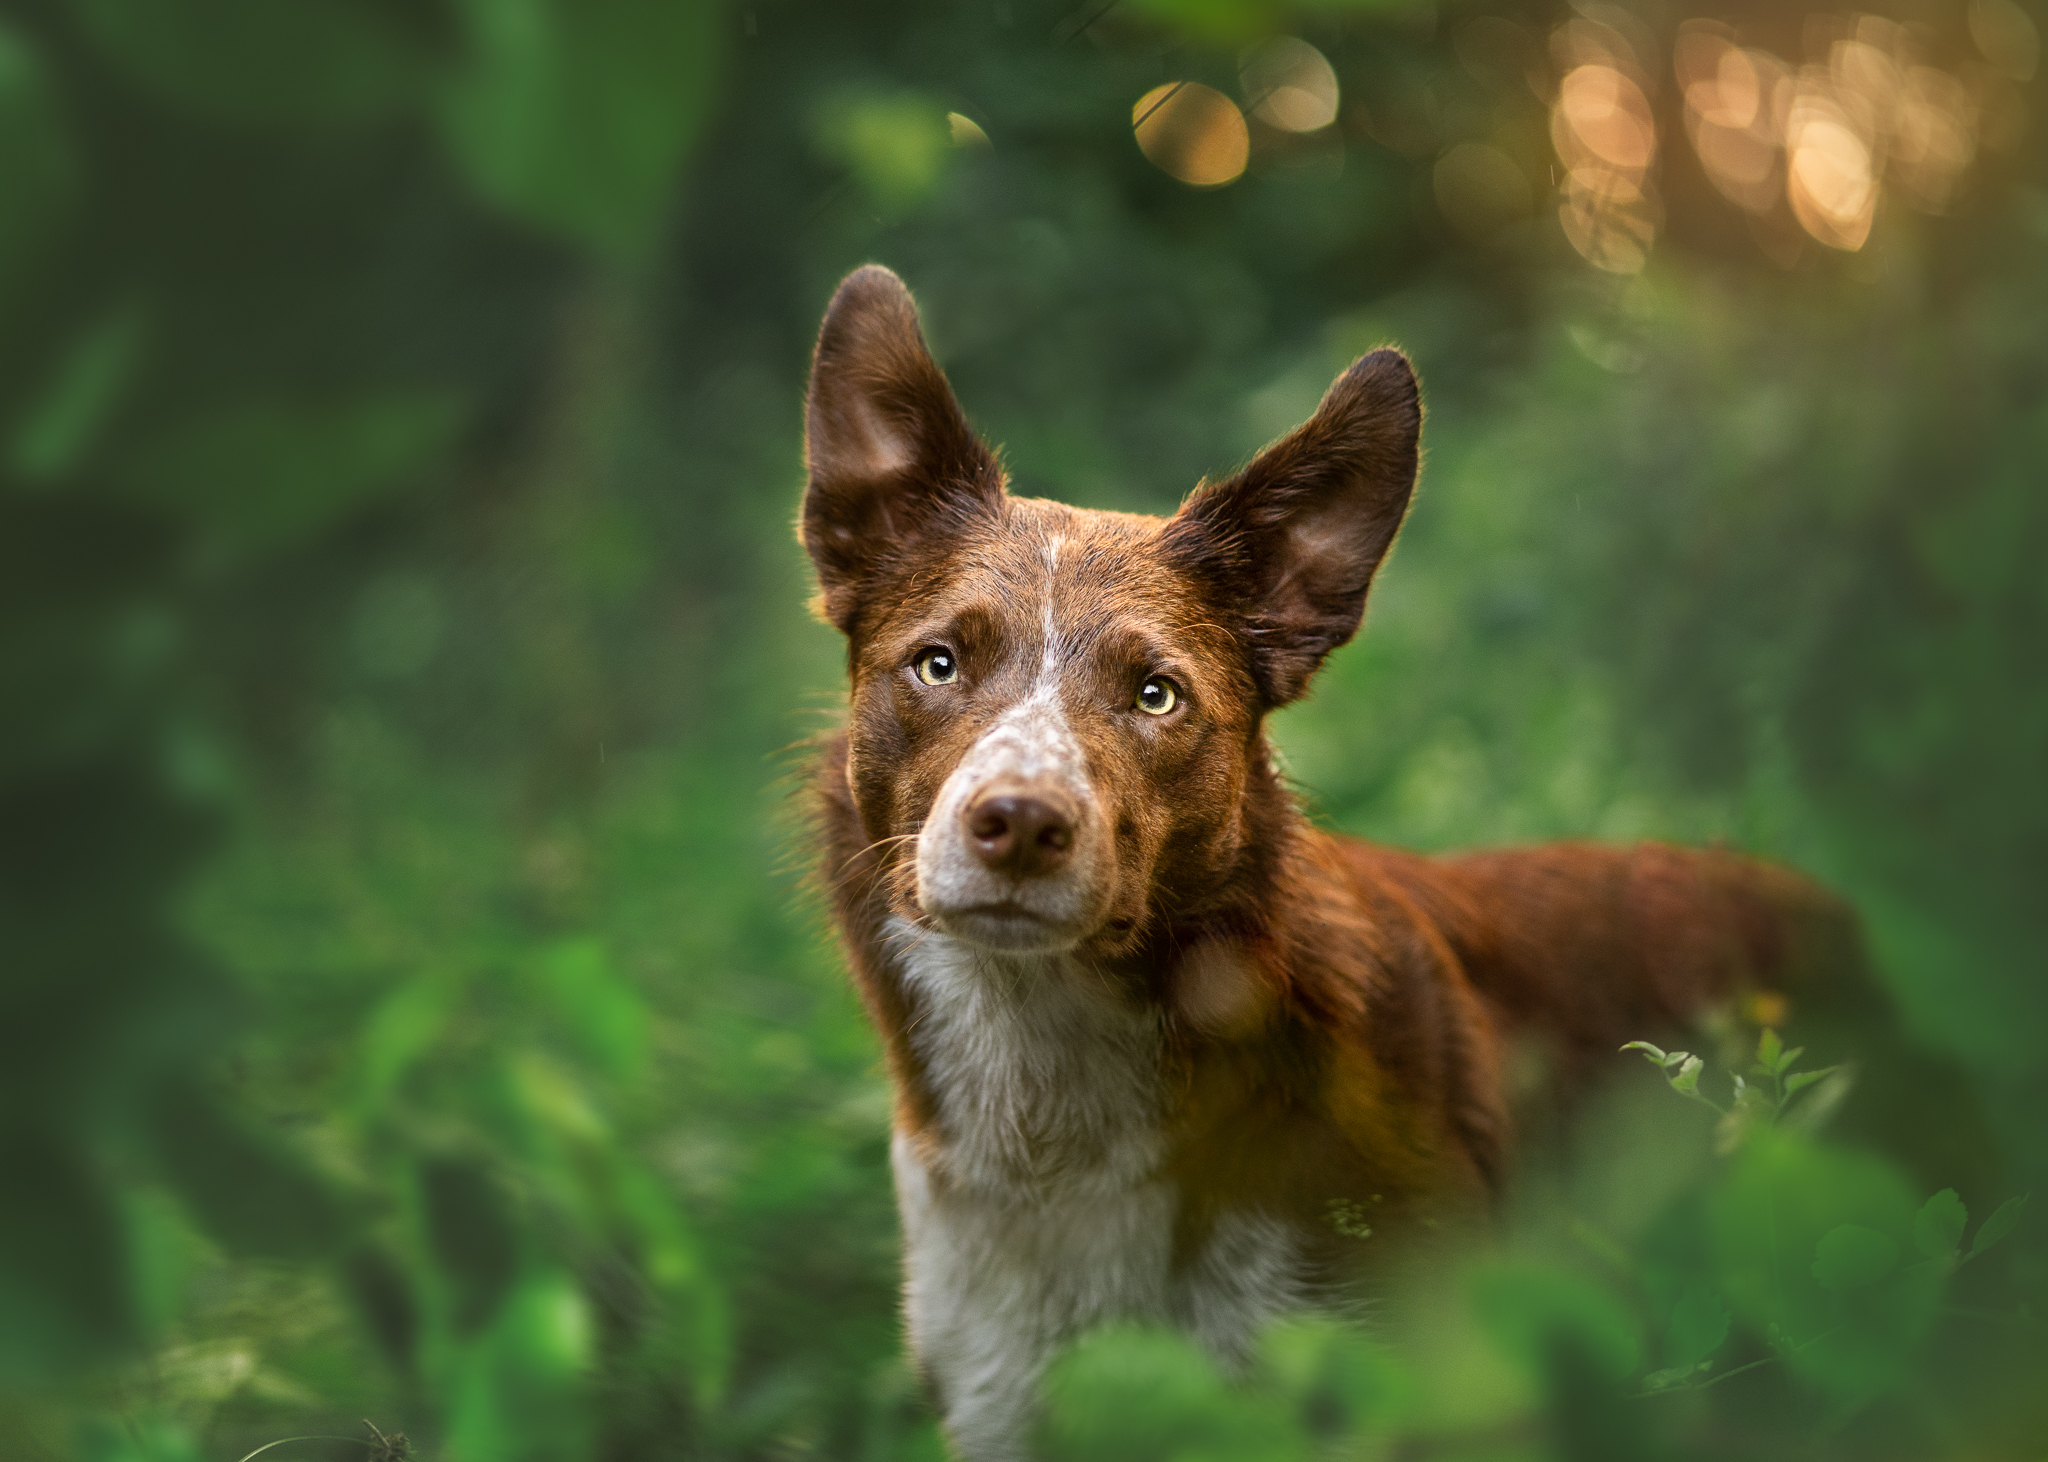
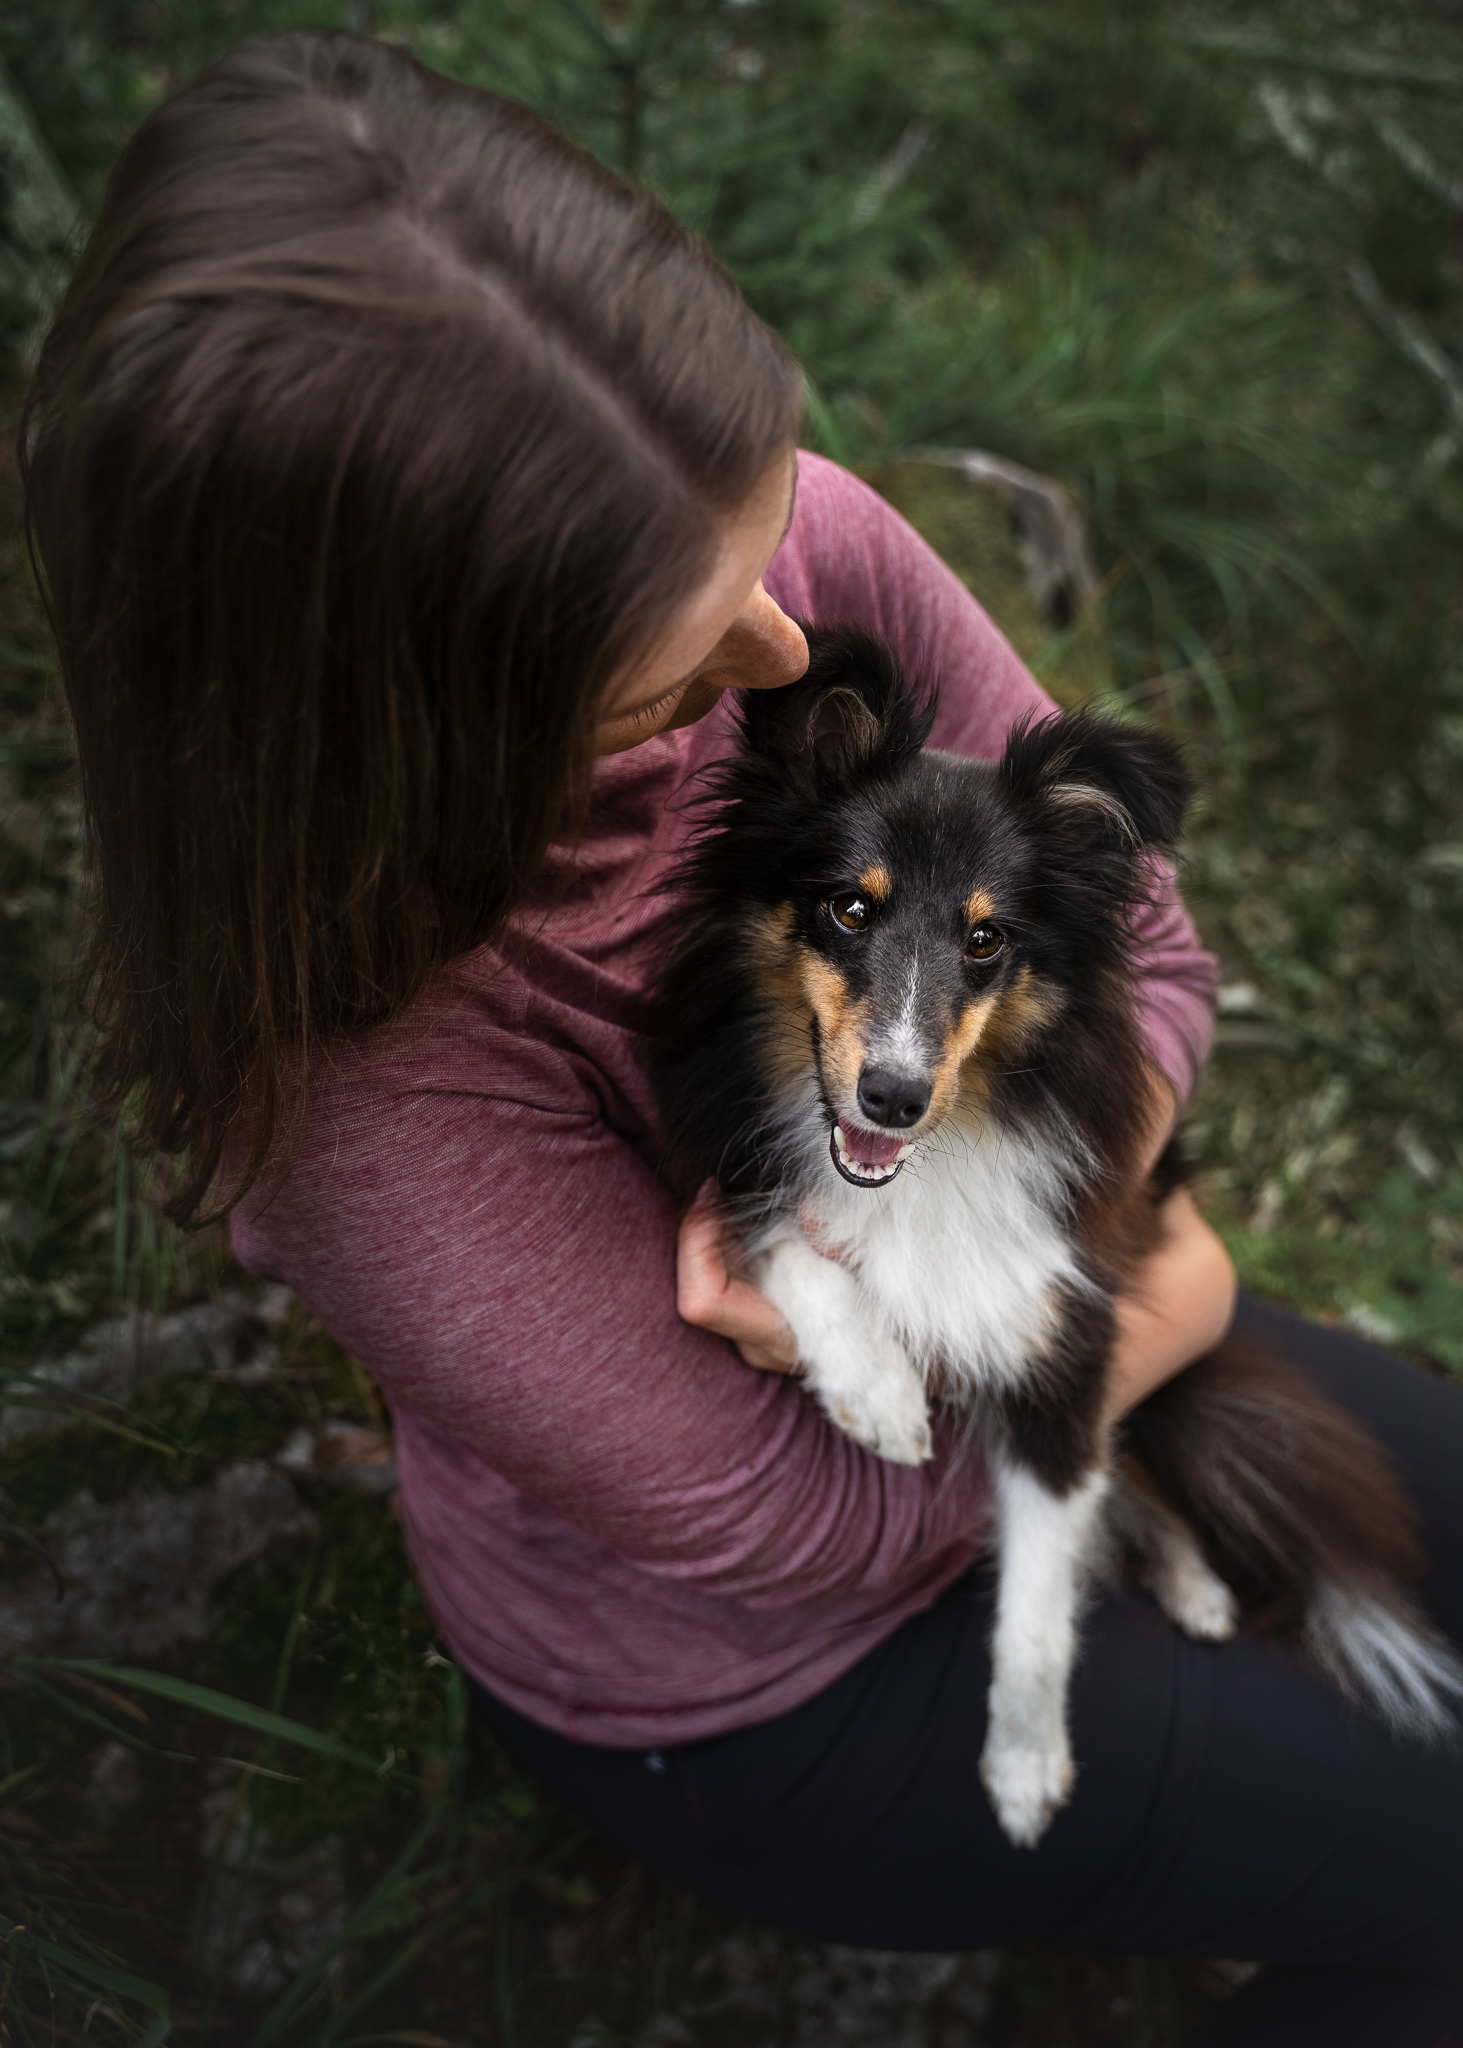
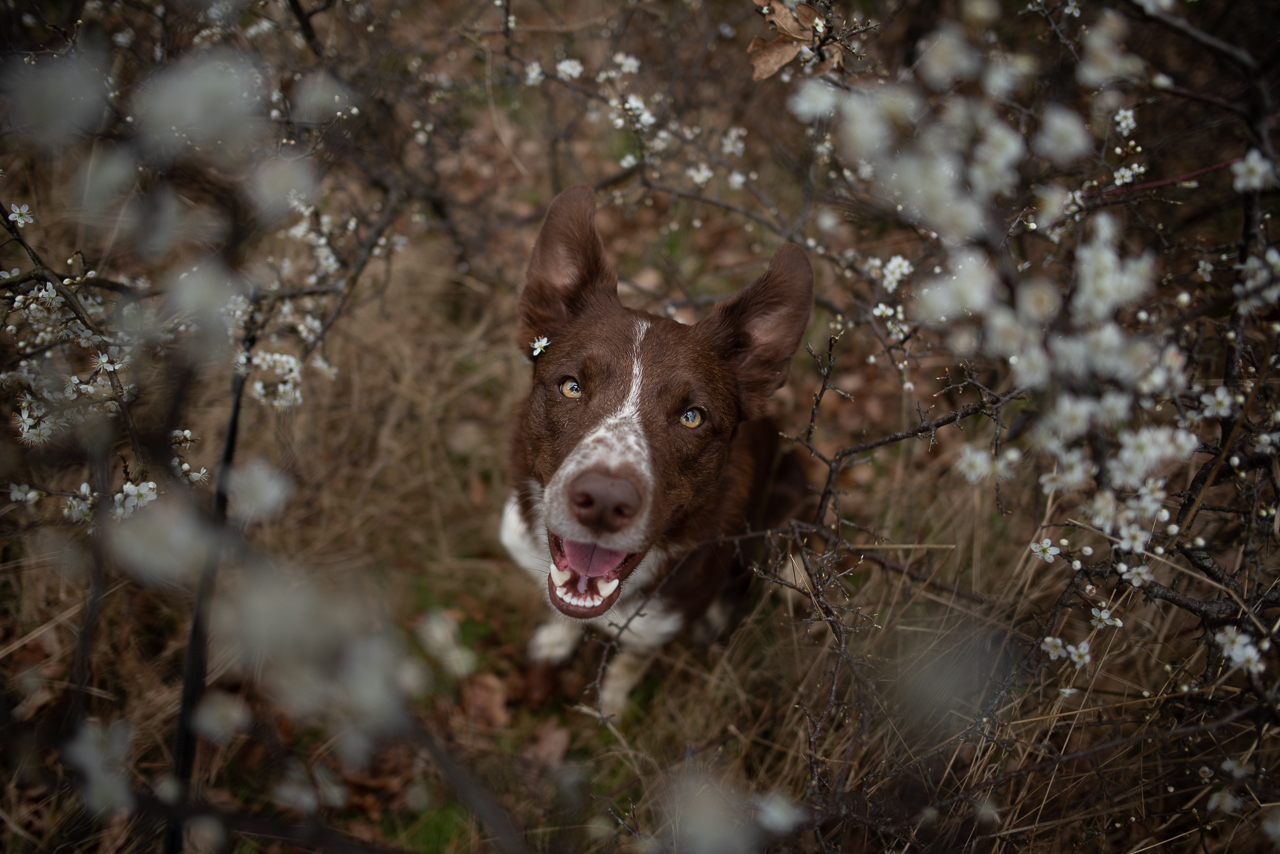
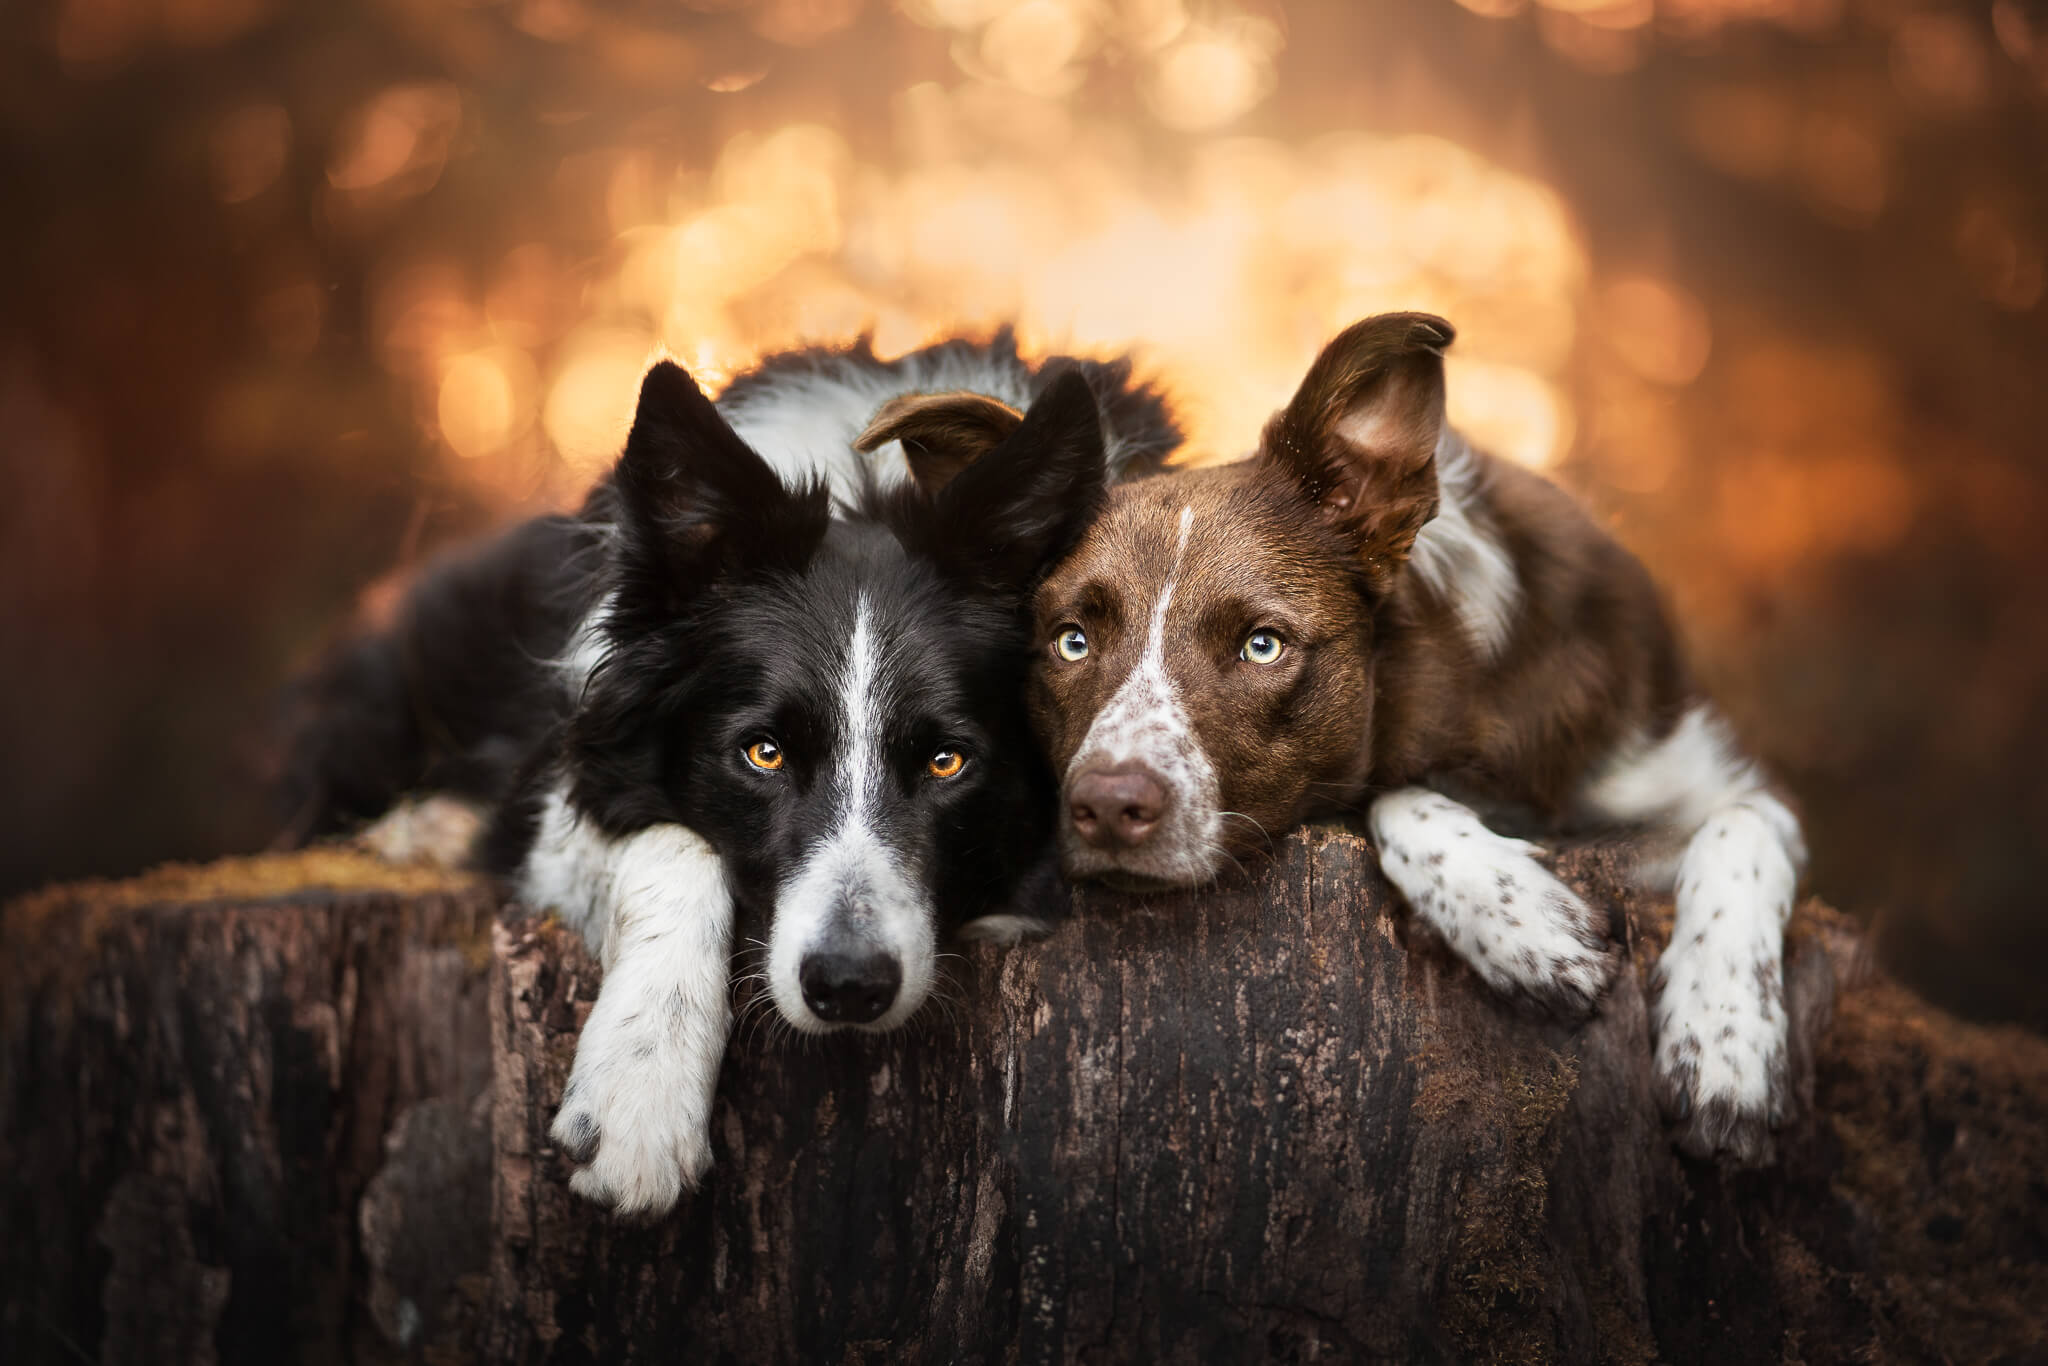
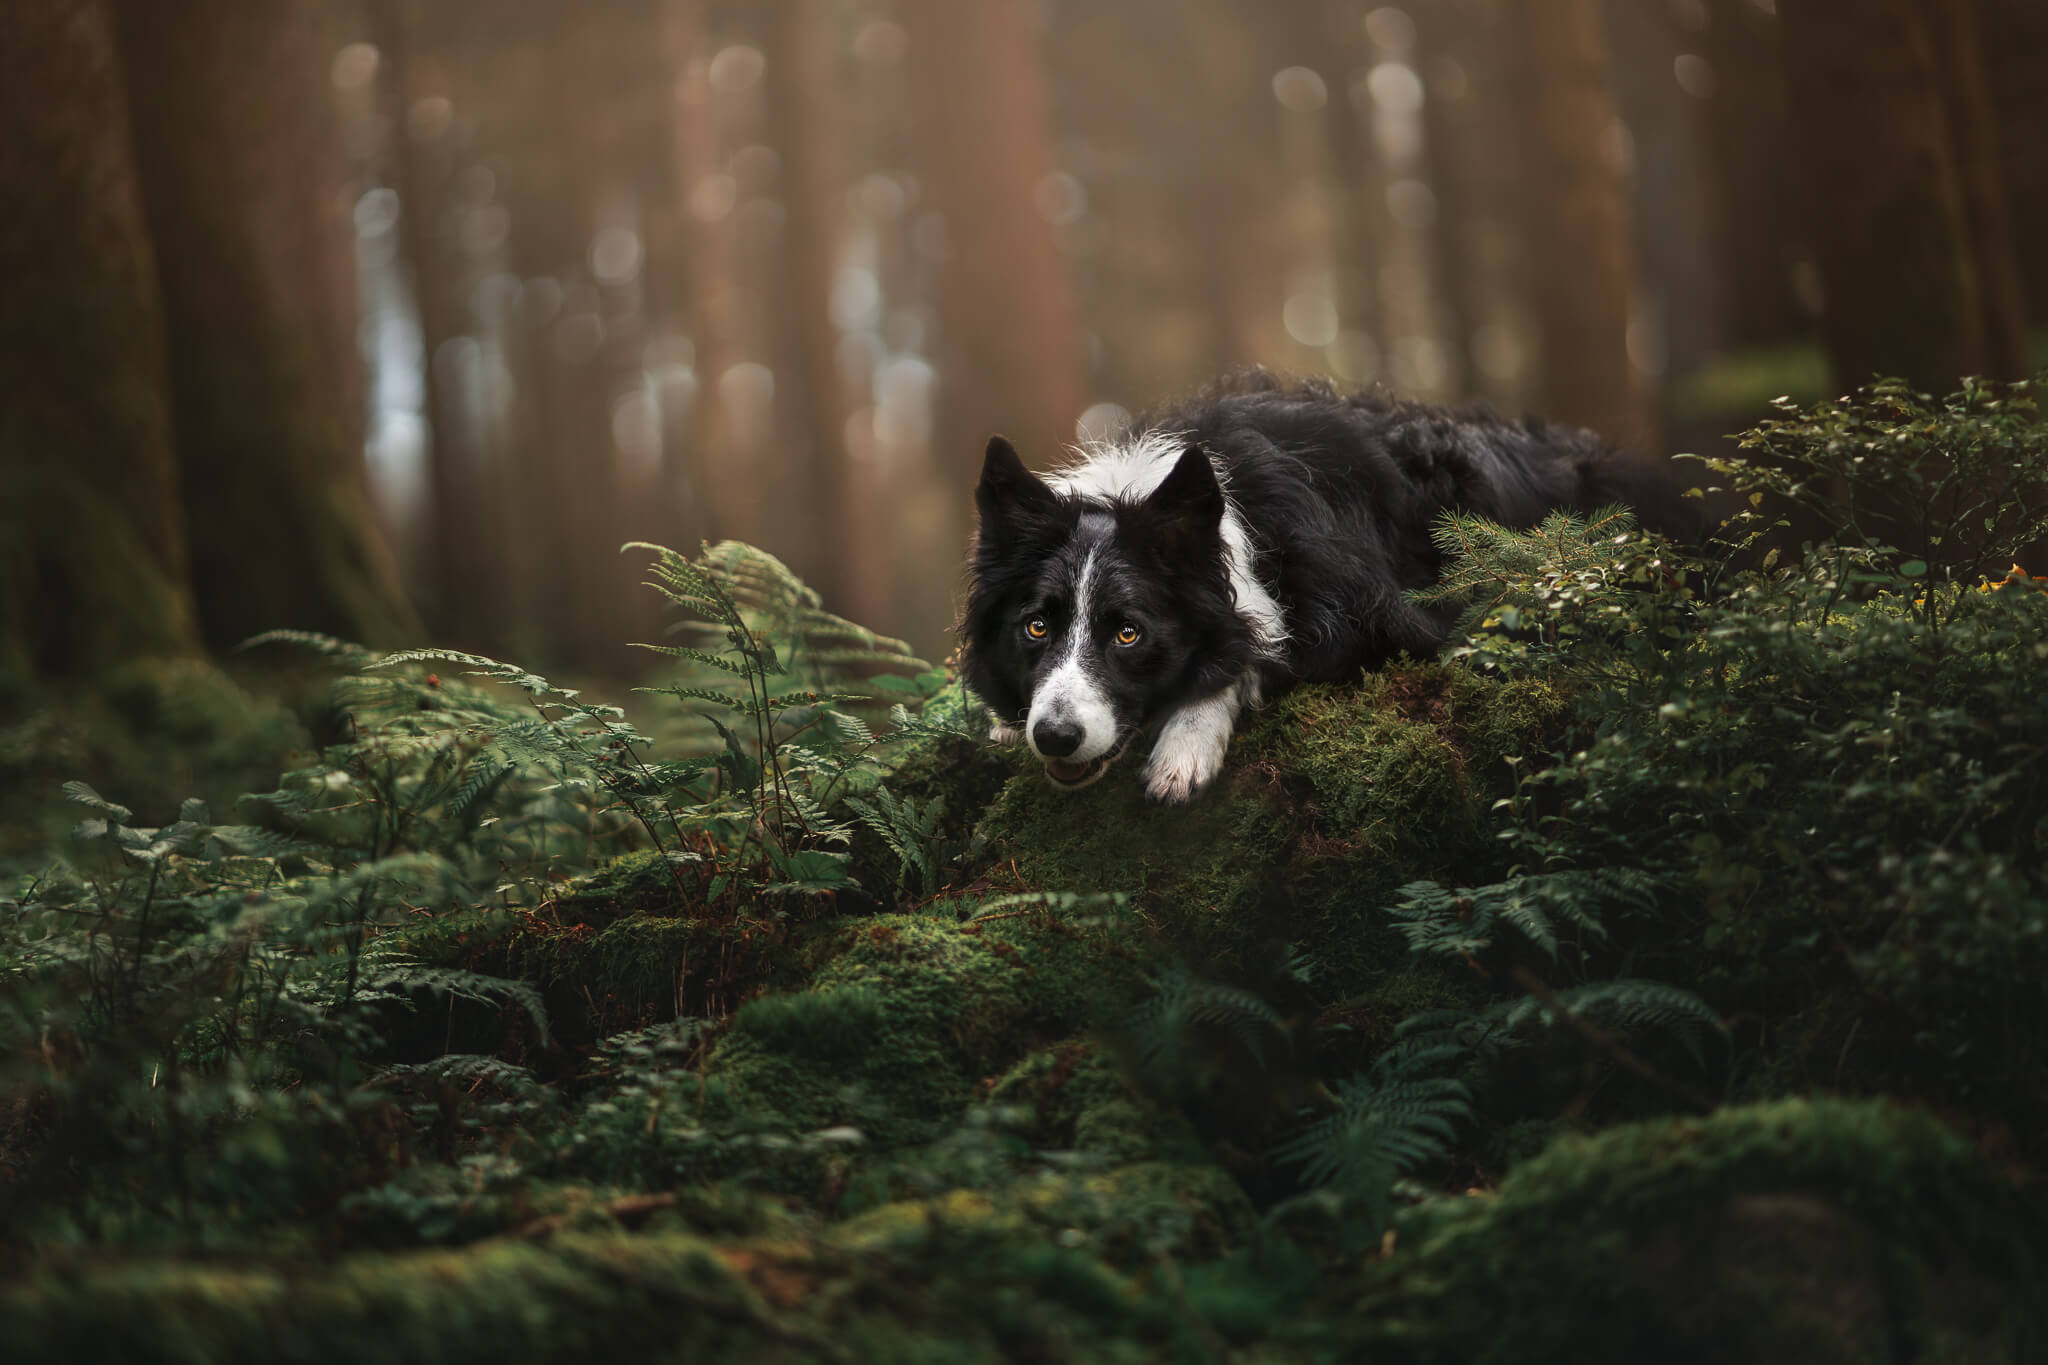
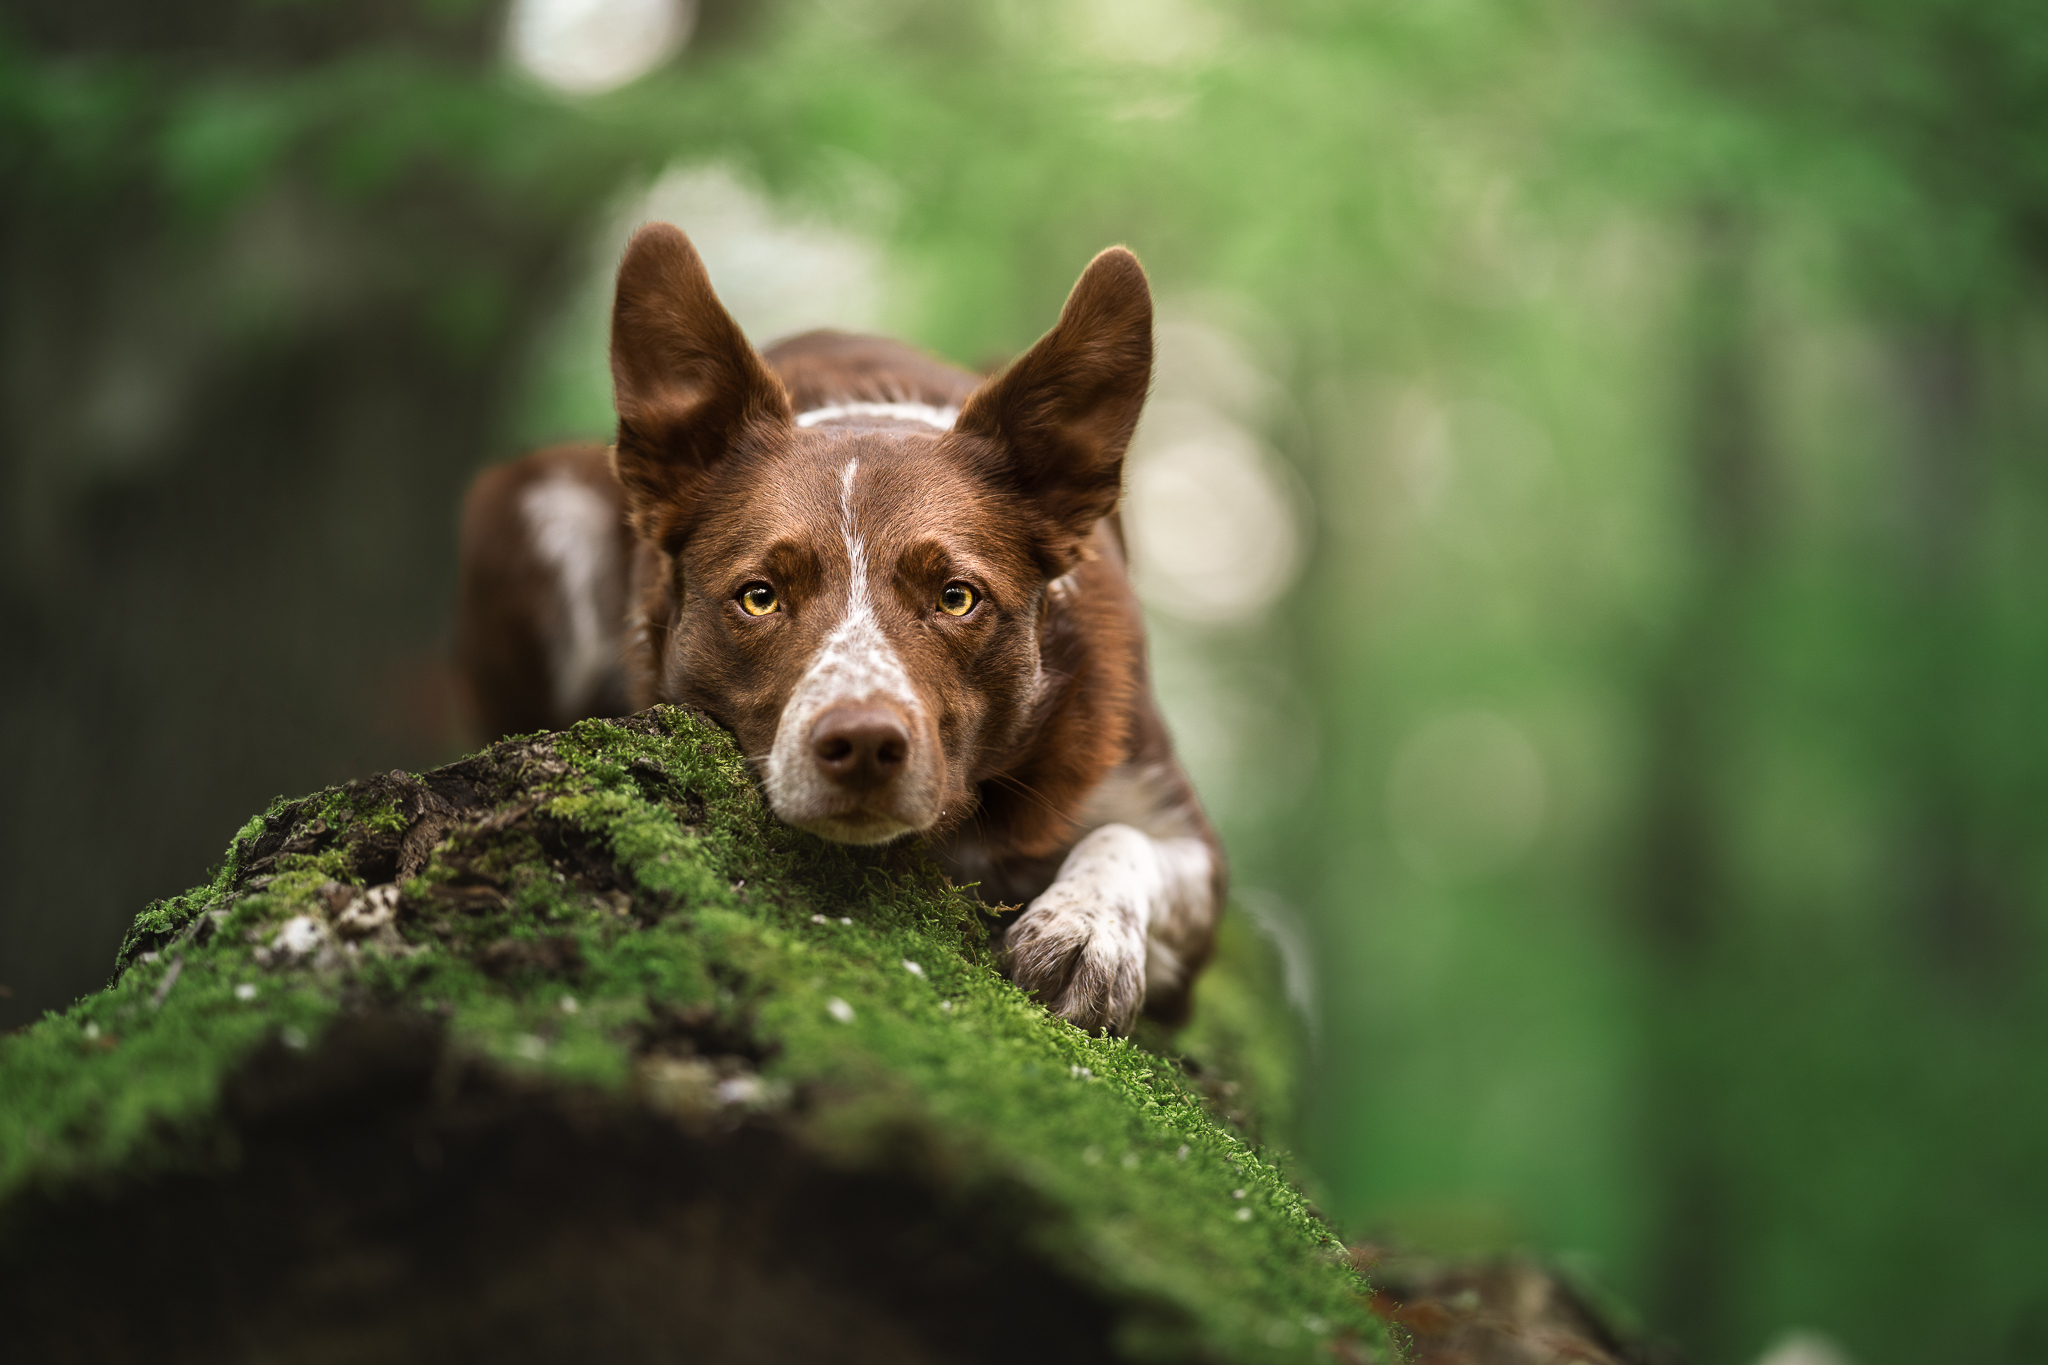
Head & Shoulders Portraits
Head and shoulder portraits obviously don’t require you to be quite as low, but still aim to be no higher than the dog’s eye level – and this is possibly even lower than you would think!
It’s still worth getting some foreground or surrounding foliage for context and to really place the dog in the scene. Finding a place where you can frame the photo with some leaves, flowers or other bushes can help create the depth we are aiming for in more “artistic” portraits.
Notice how all of these photos feel like you’re looking directly AT, or slightly up at the subject. We have a real sense of being on the dog’s level.
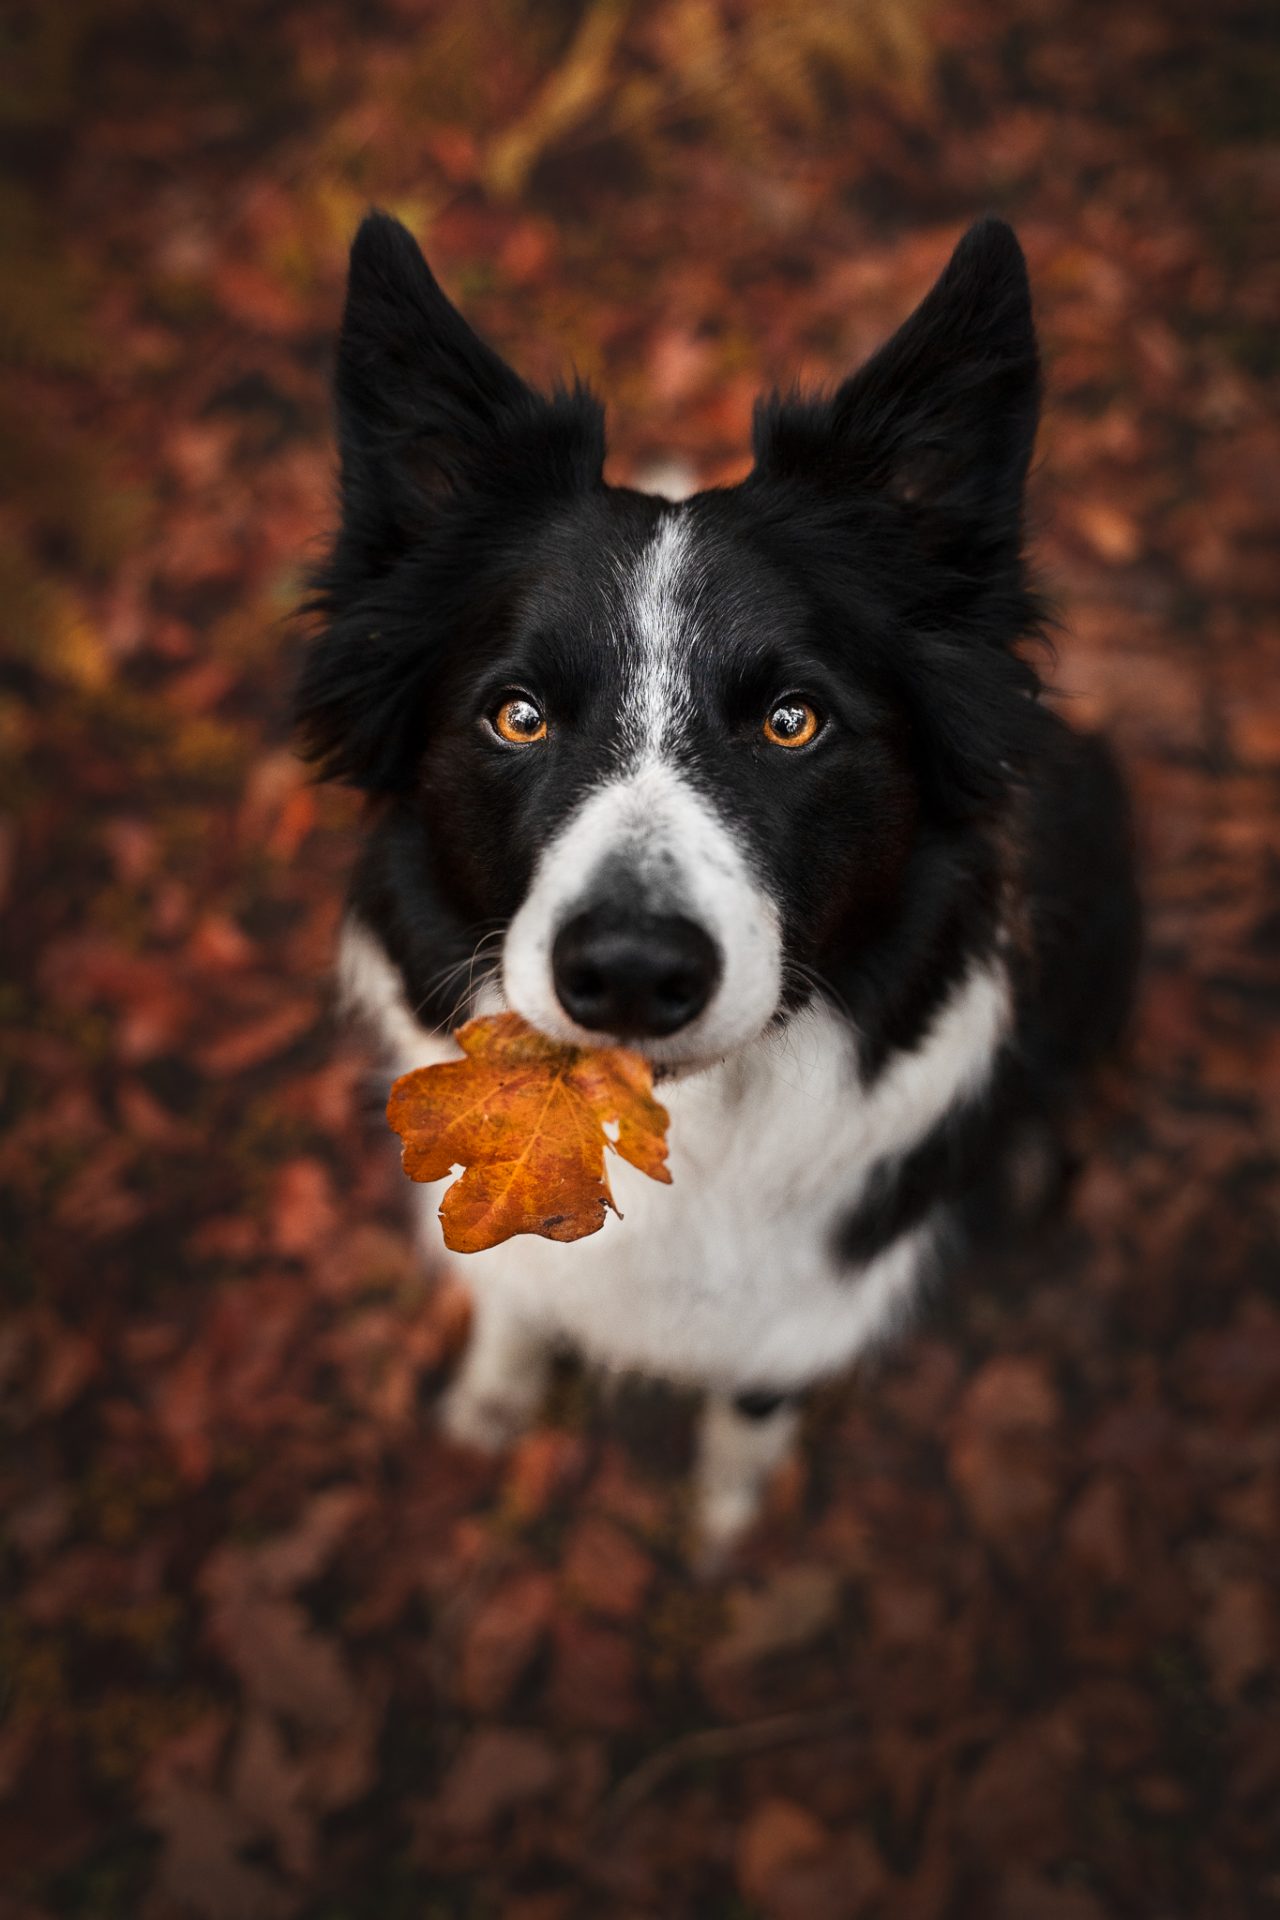
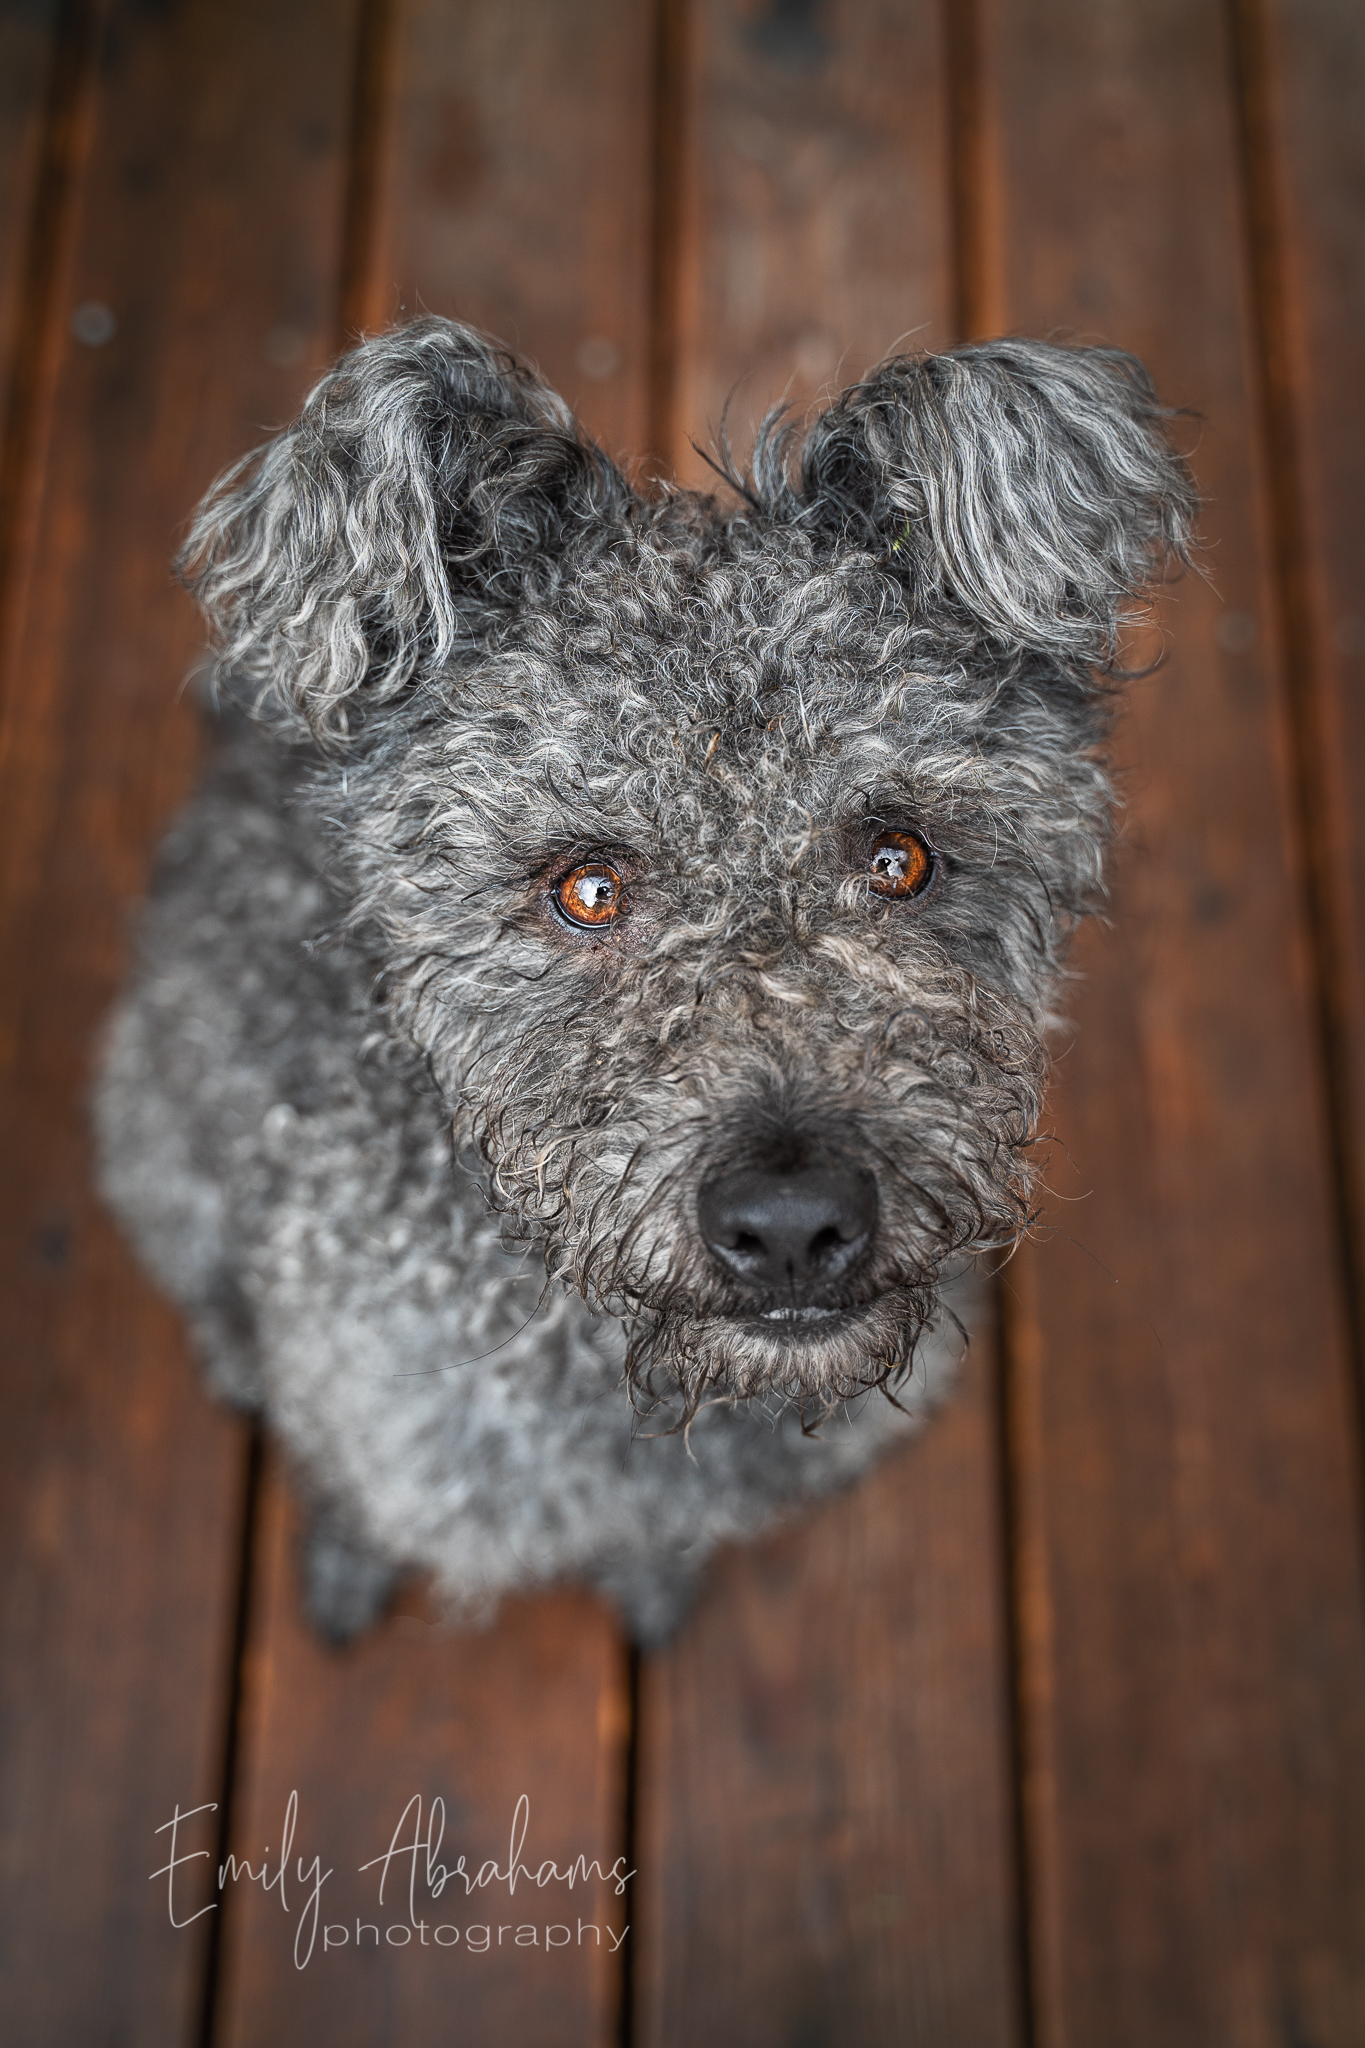
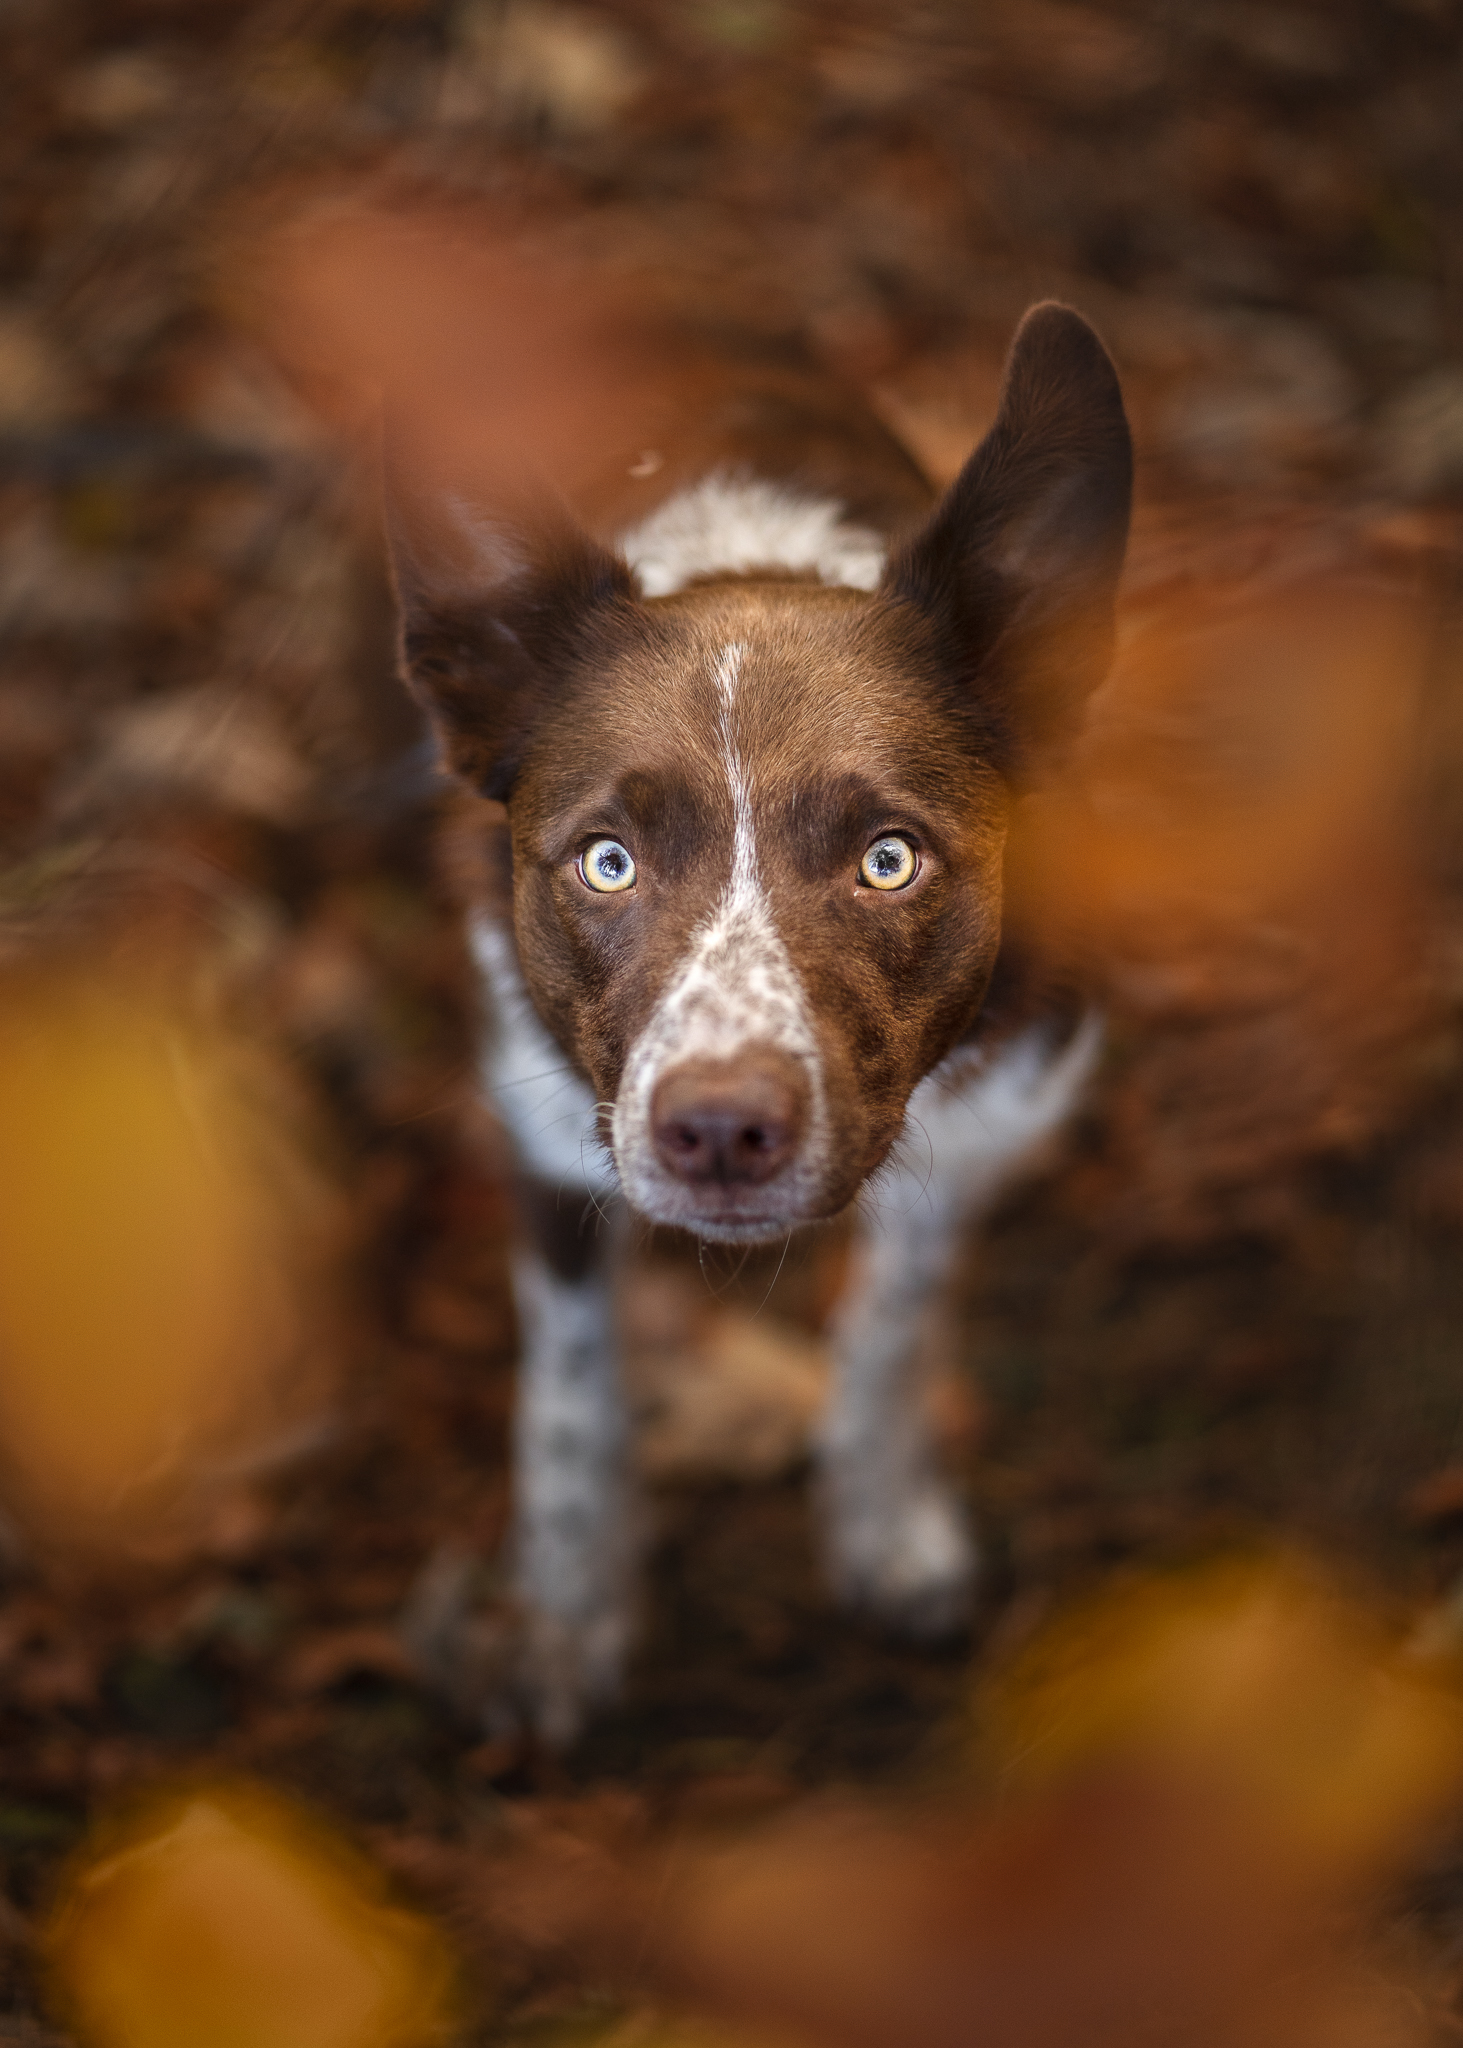
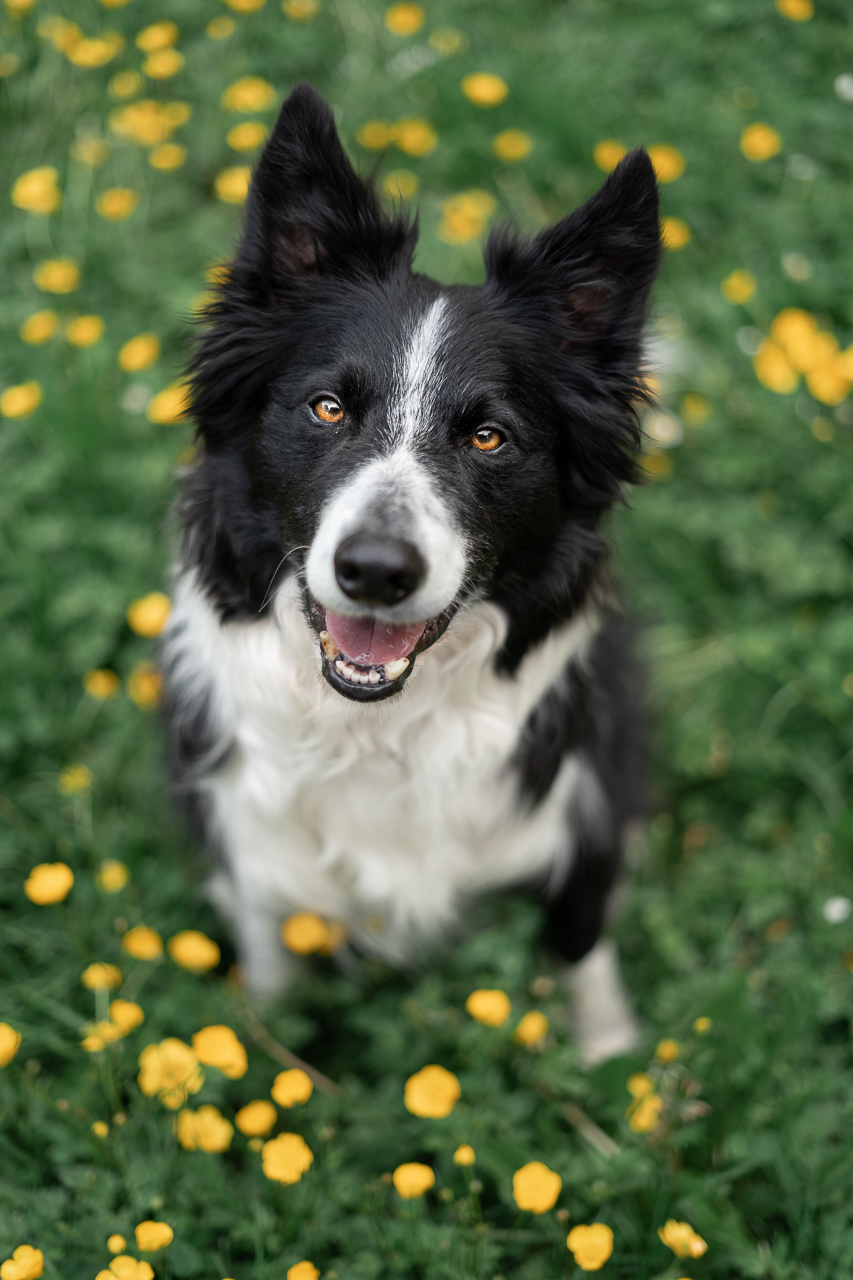
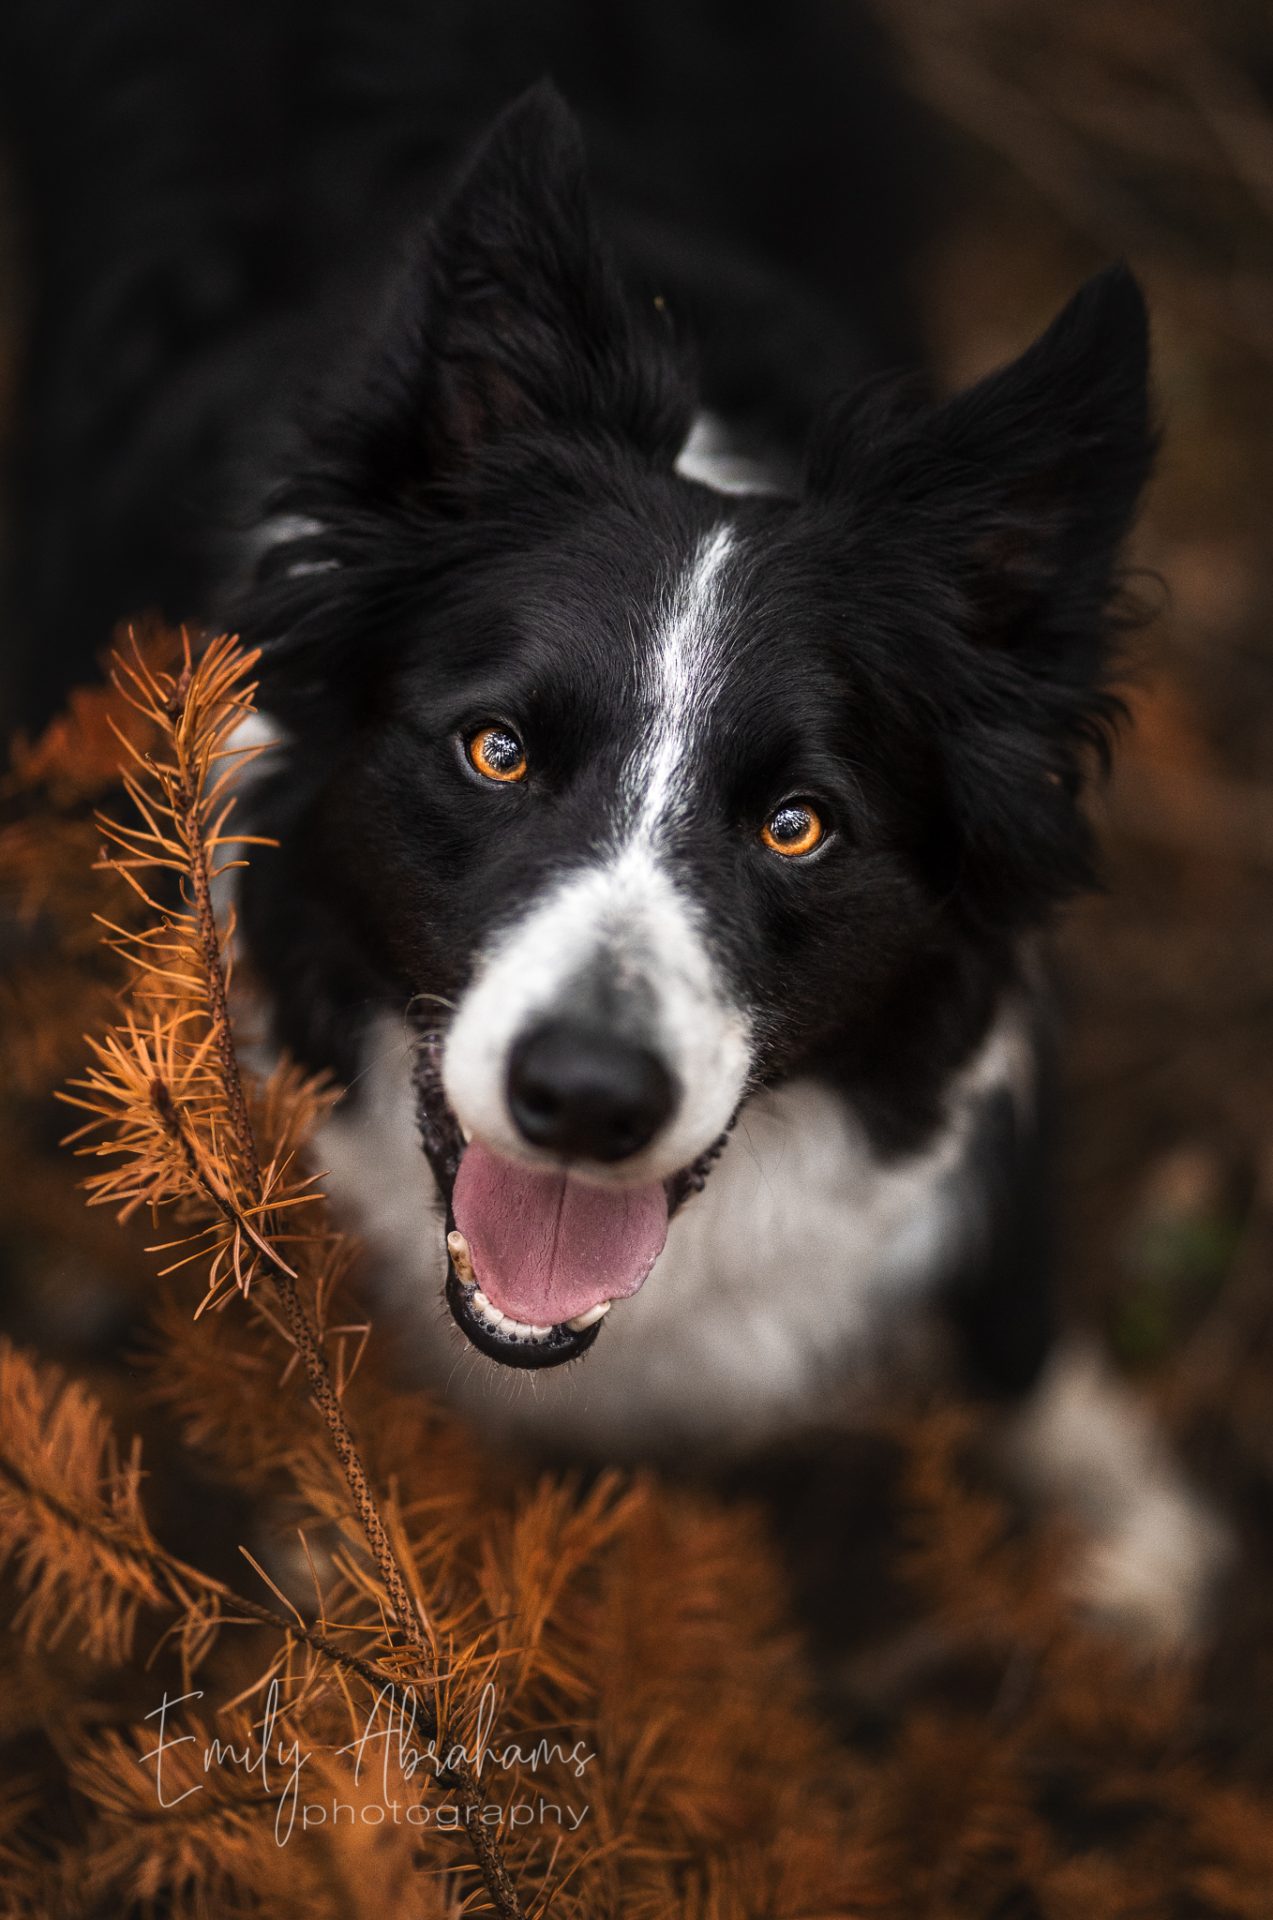
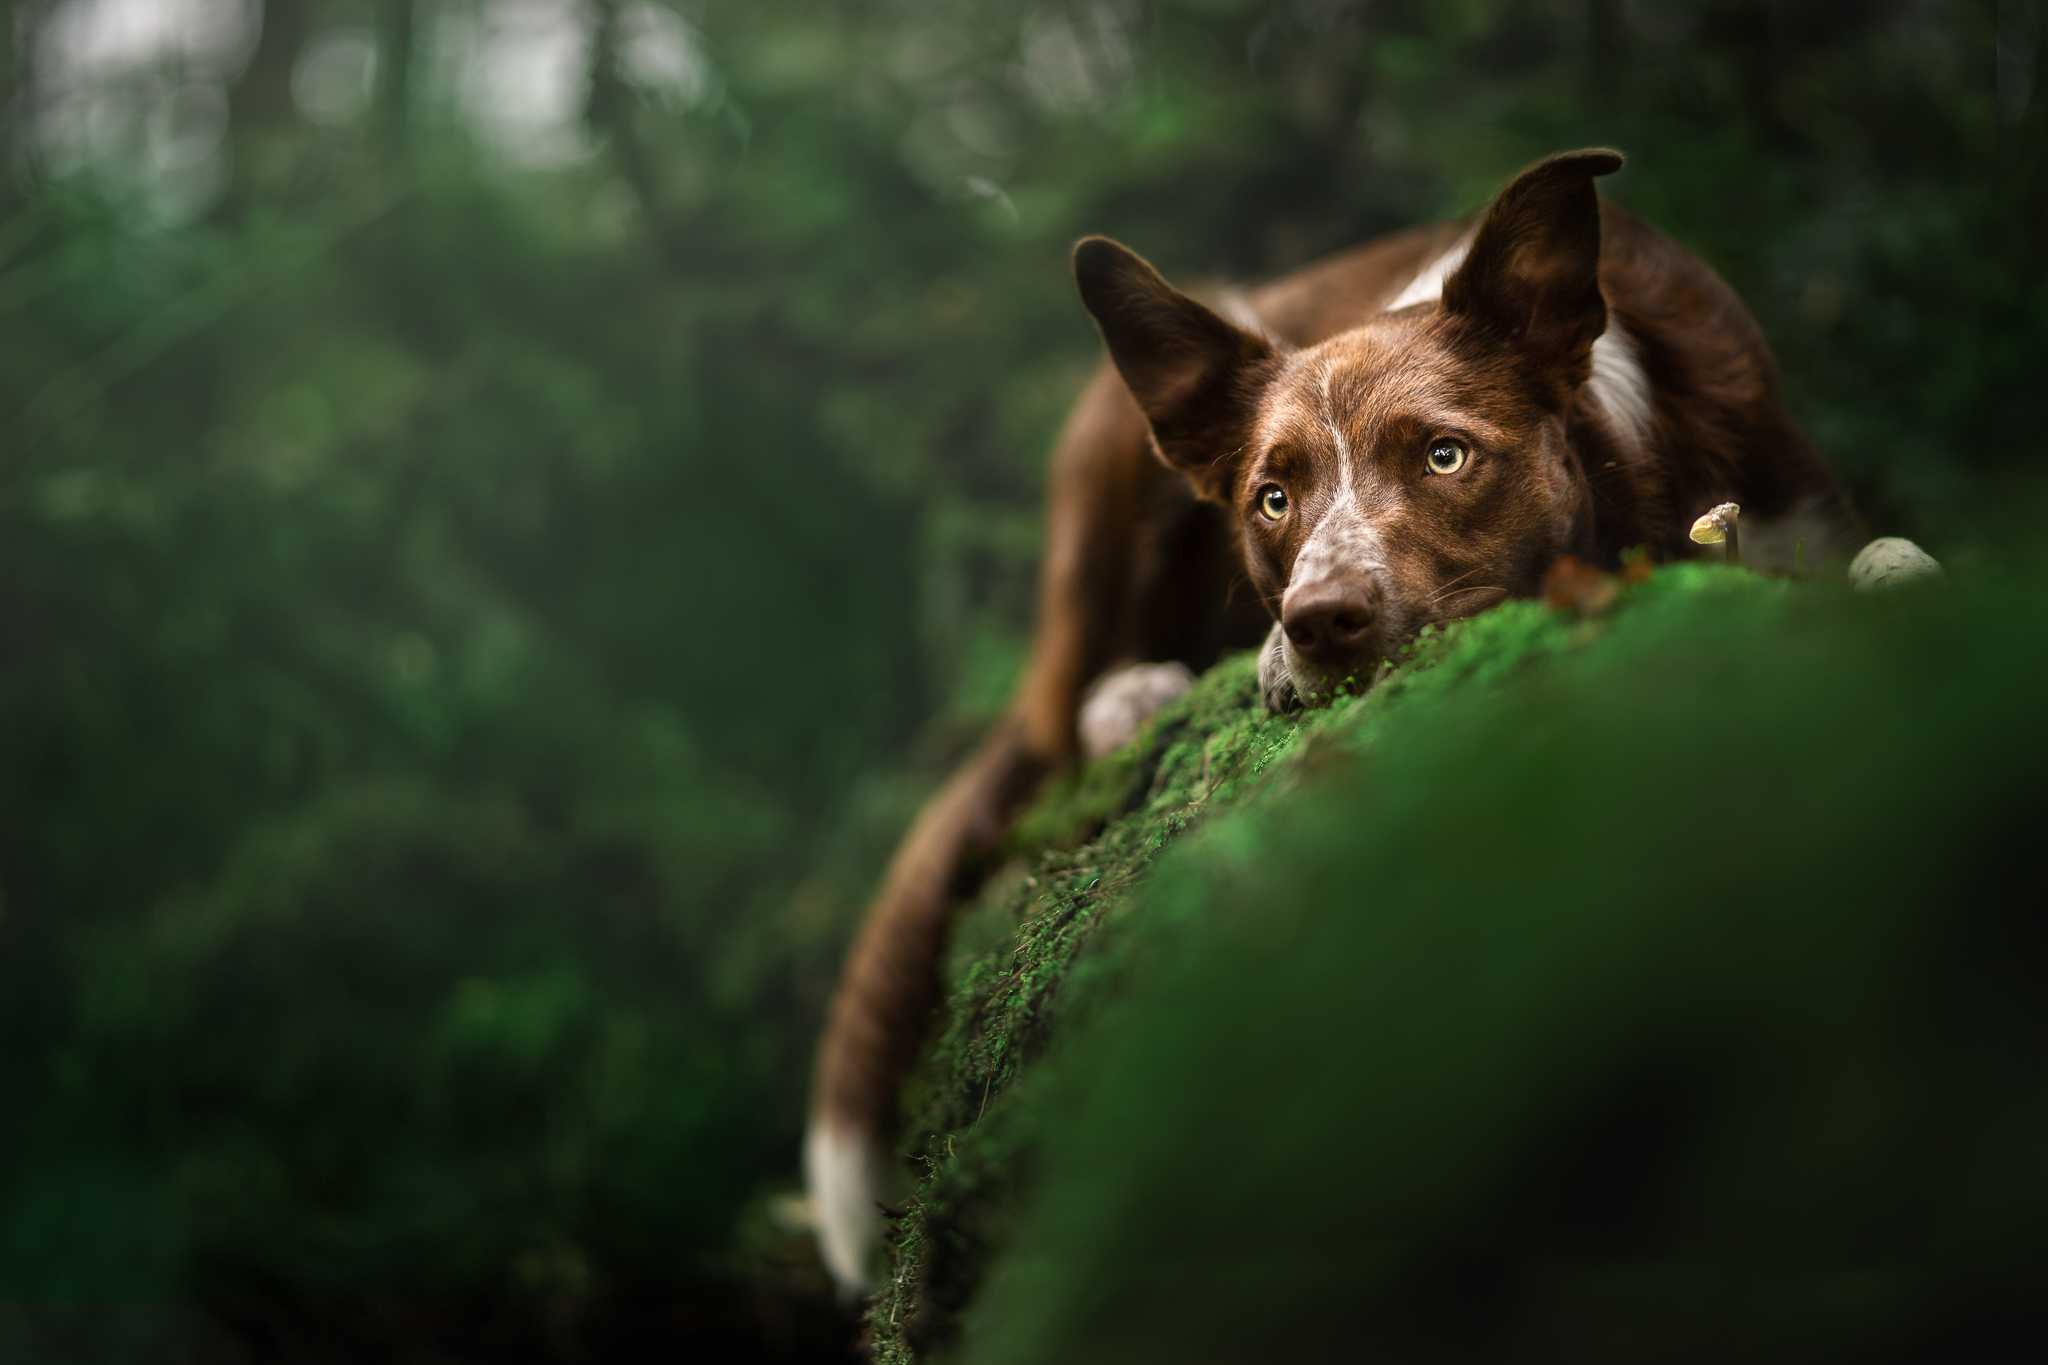
Puppy dog eyes/looking down from above
These photos work best with a wider-angle lens, unless you’re really tall – although I have taken them with my 85mm before, but then I’m usually standing on a stump or a hill.
They work best when you aren’t directly overhead of the dog but overhead enough that they’re looking up at you, with a good amount of catchlight in their eyes but not so much that it overwhelms the eye with the reflection of the sky and the trees above, making it turn completely white.
It will just take some experimentation and practise to find the perfect overhead angle for these types of shots.
In these photos, I don’t think it’s necessary to have context or foreground. They work best as the dog alone, though it doesn’t hurt to have some vaguely interesting ground colour/texture to add some visual interest.
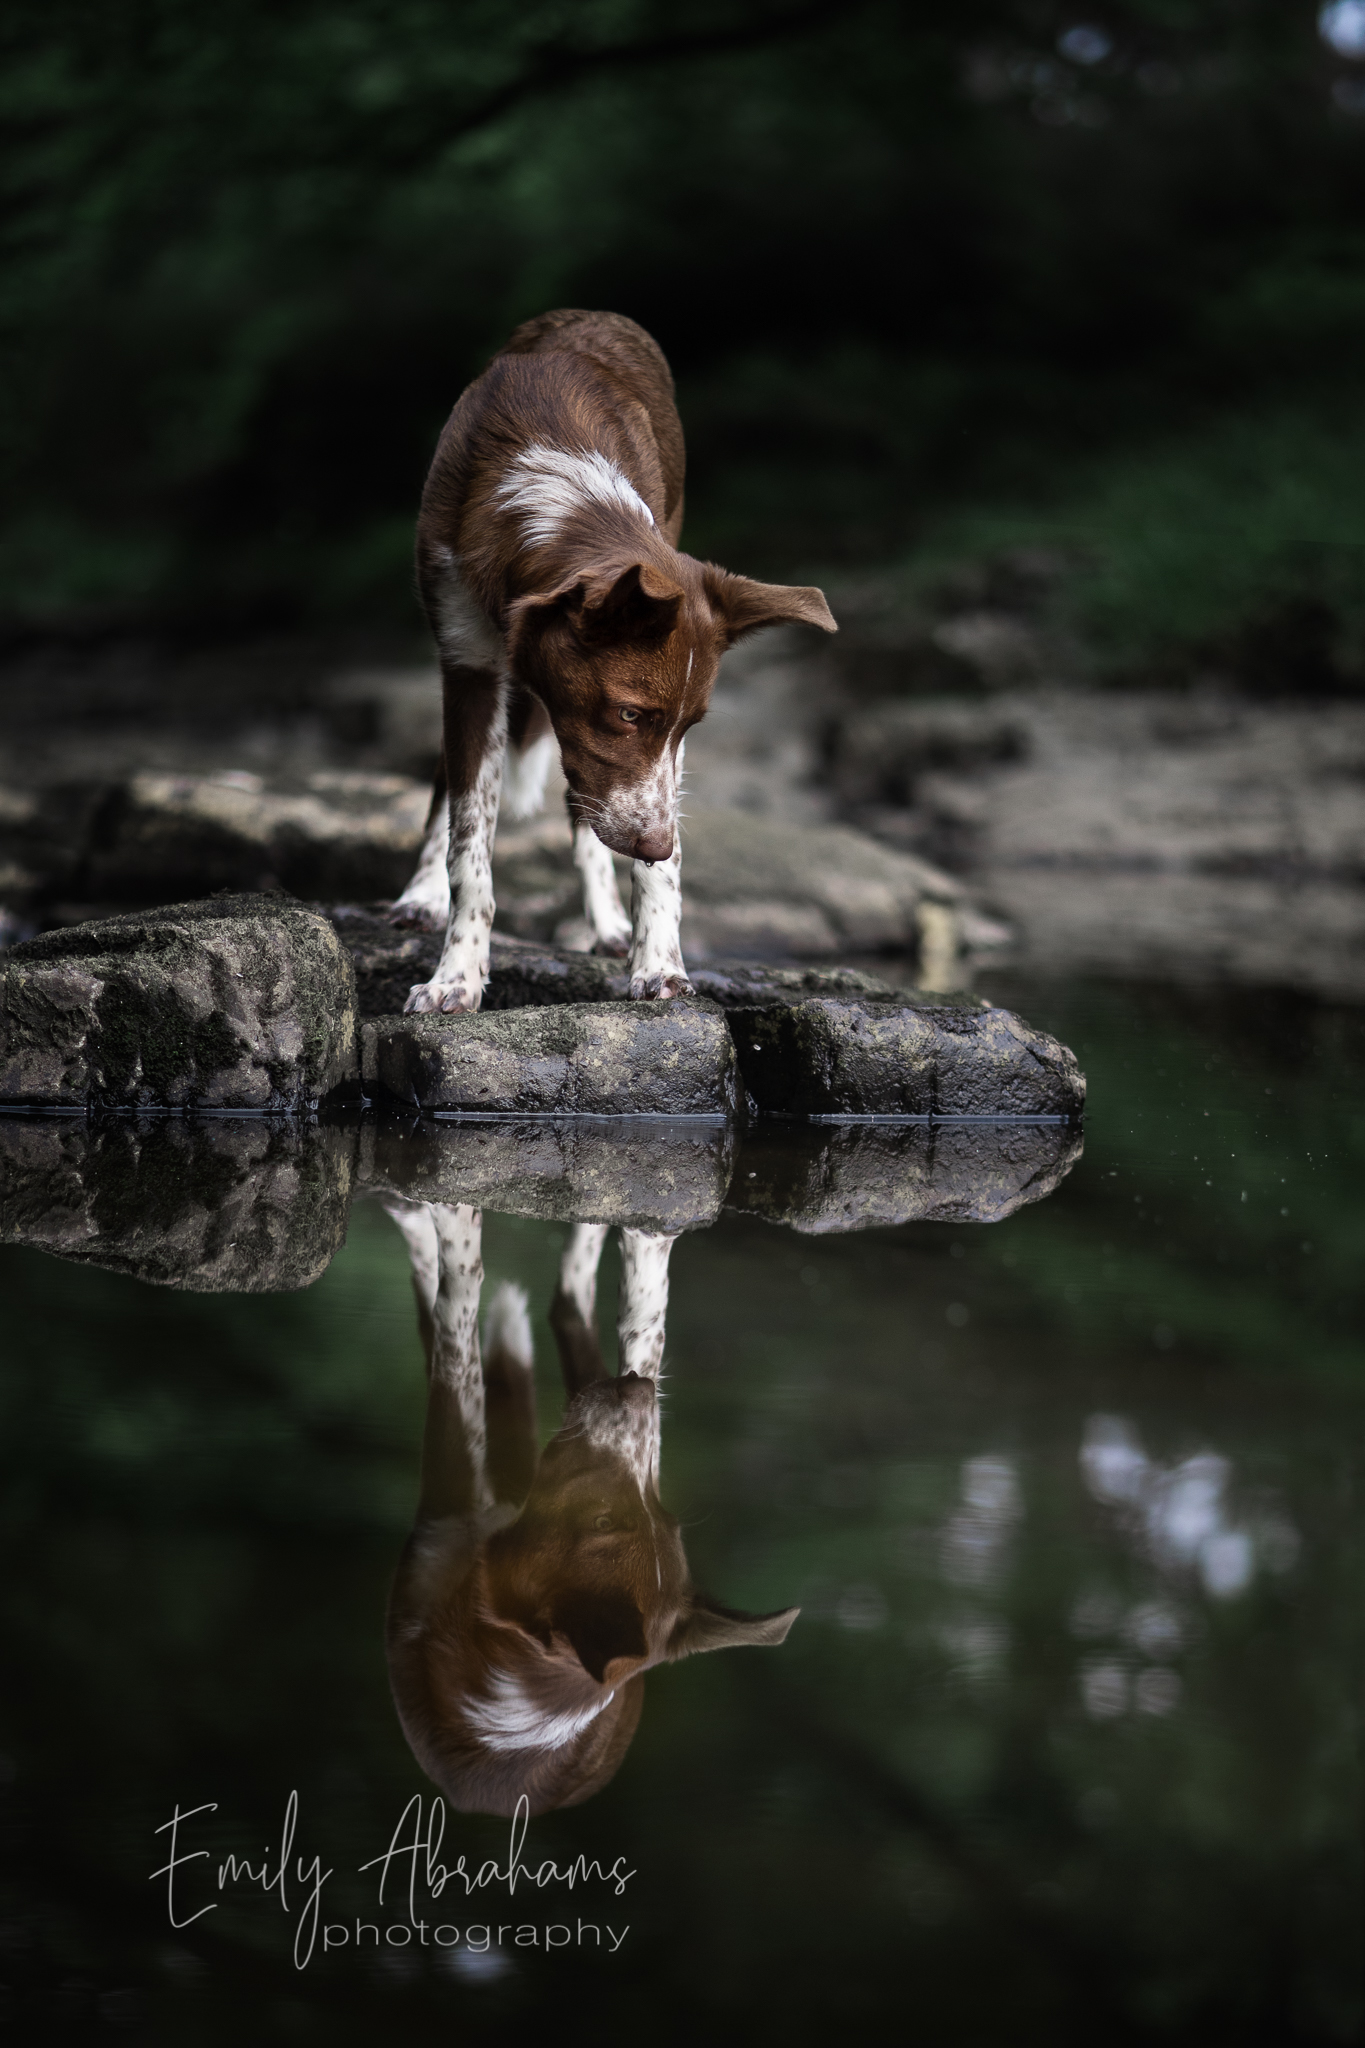
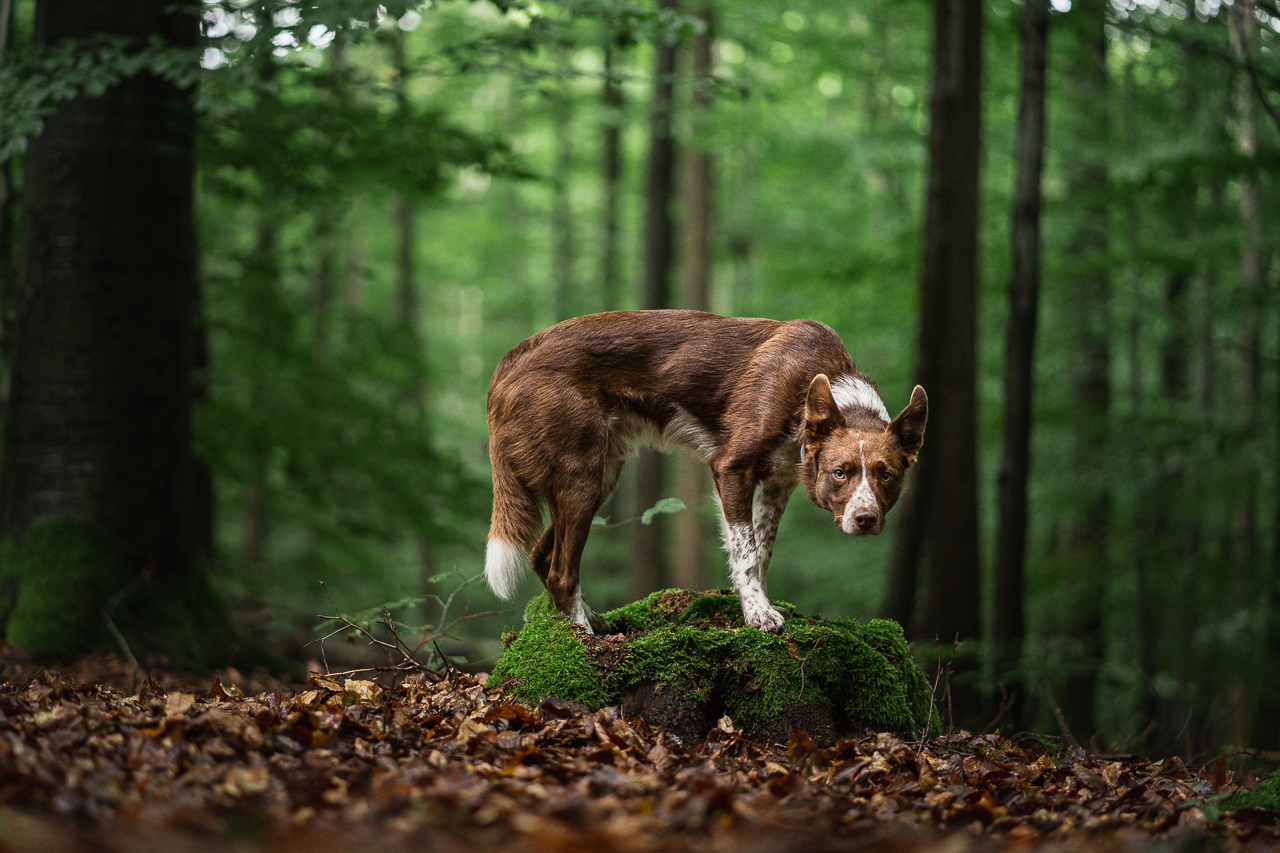
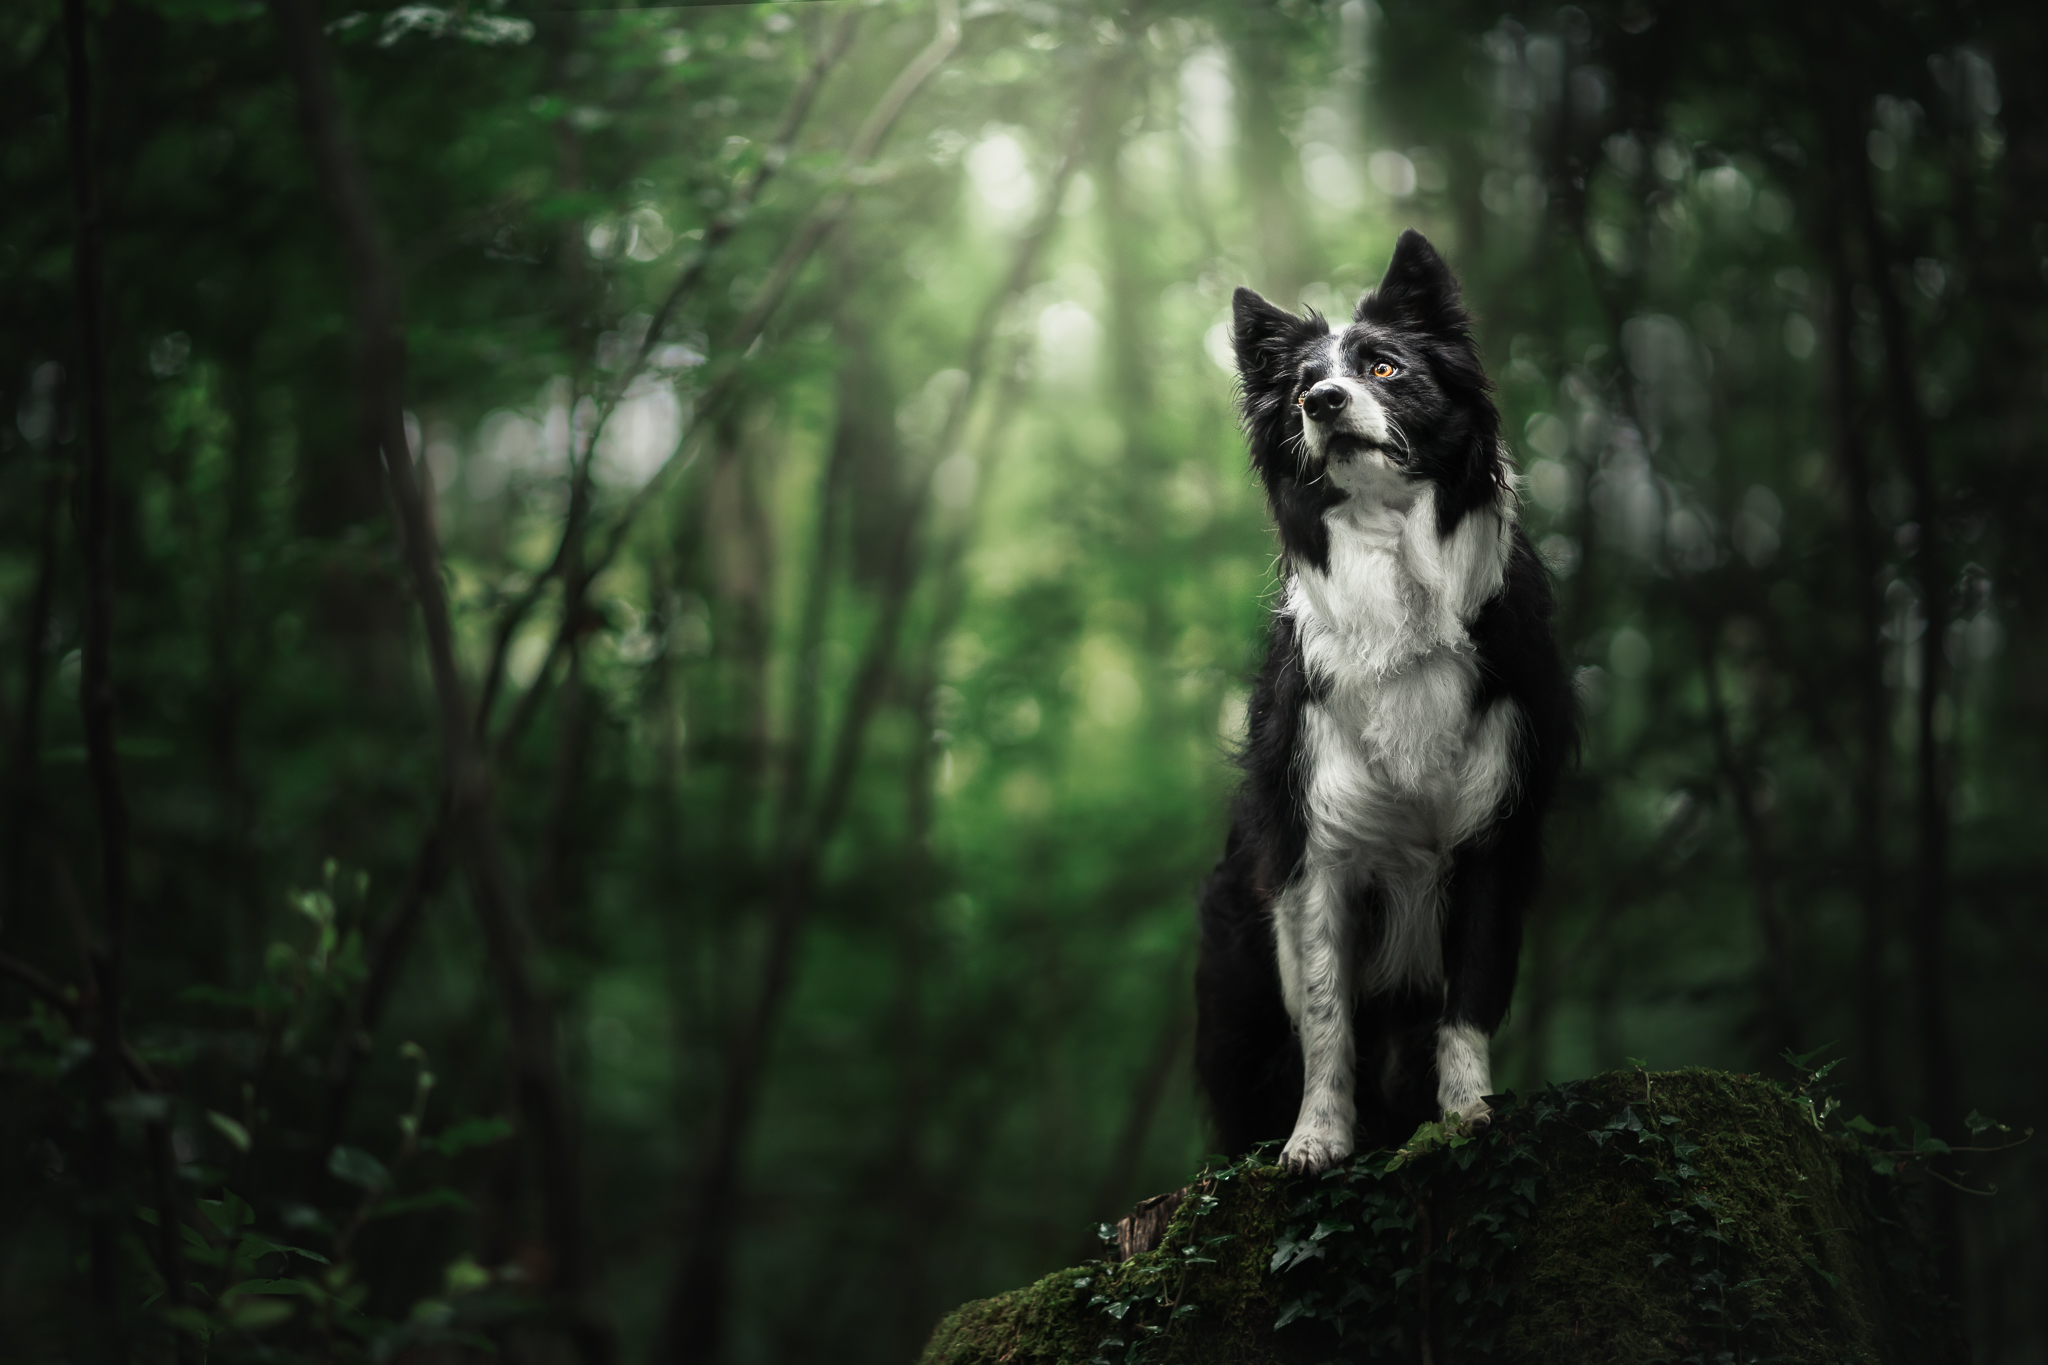
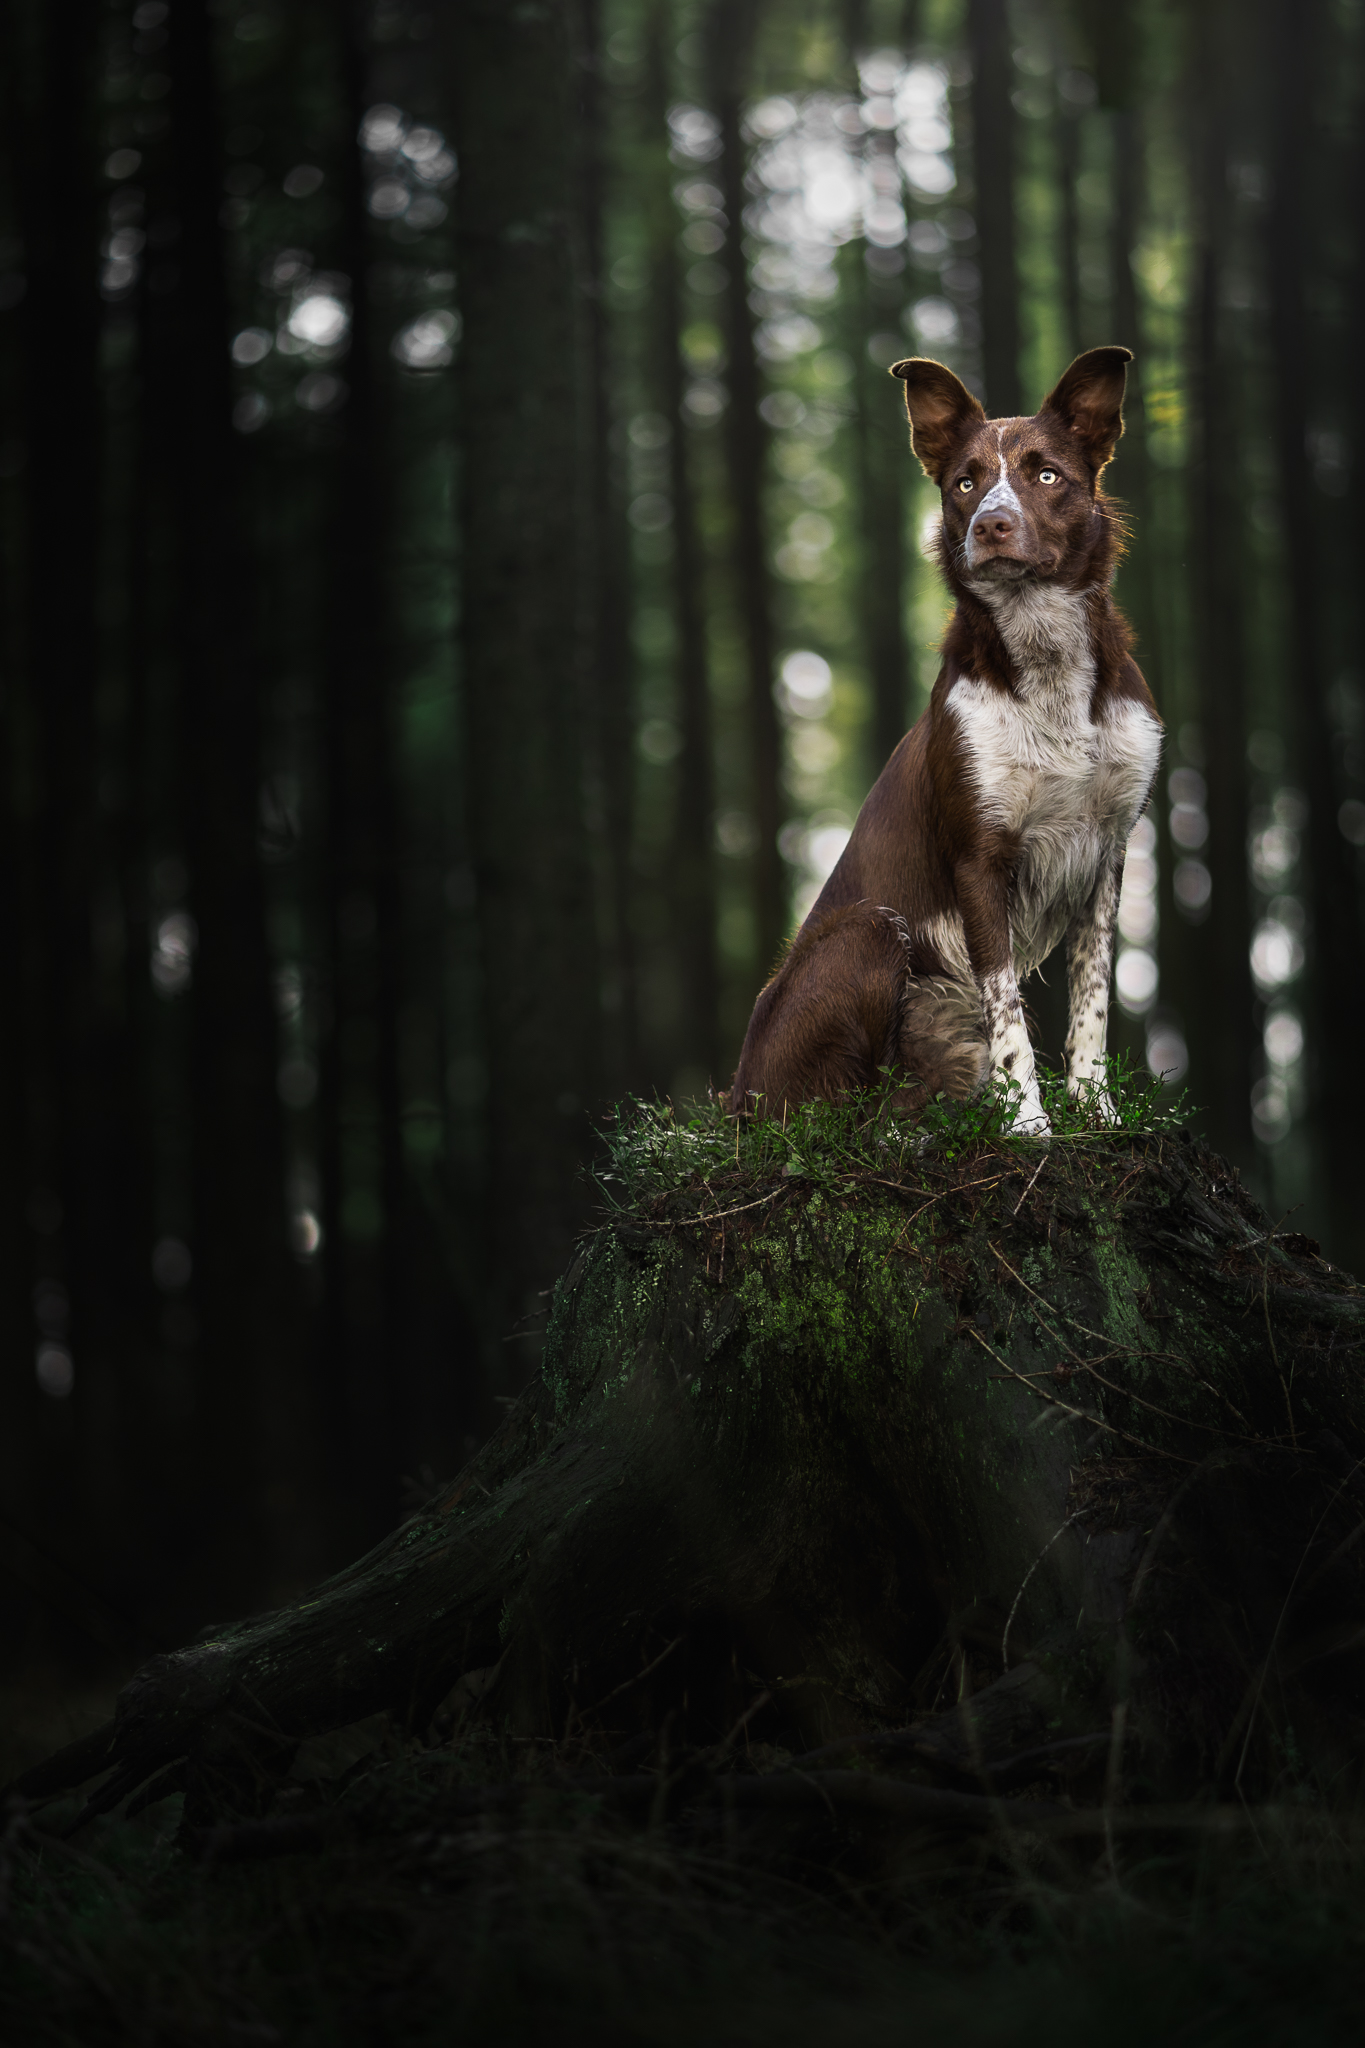
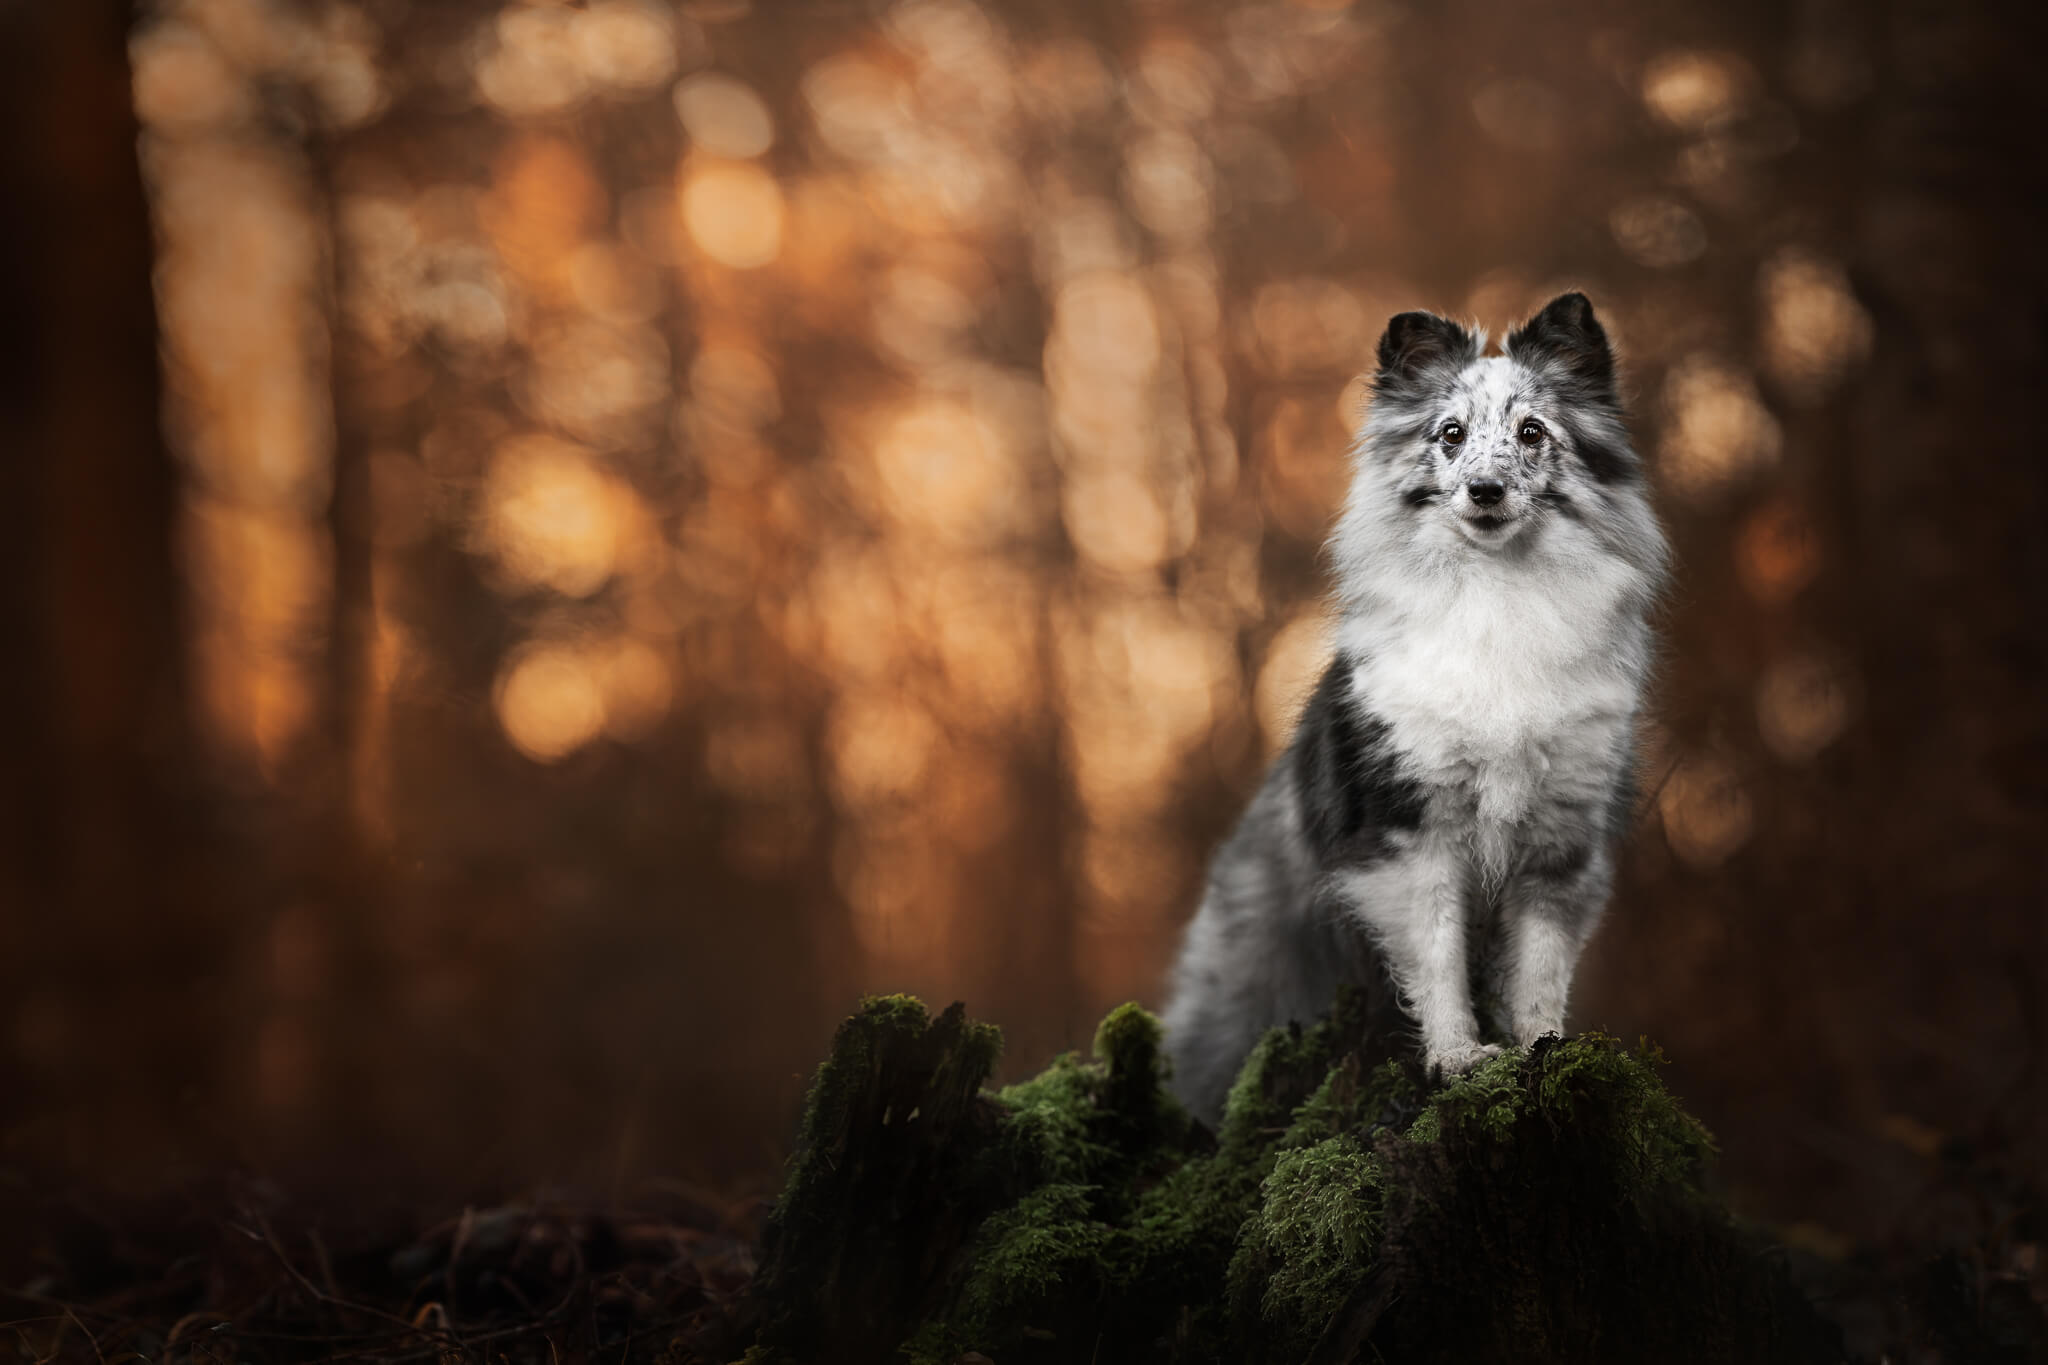
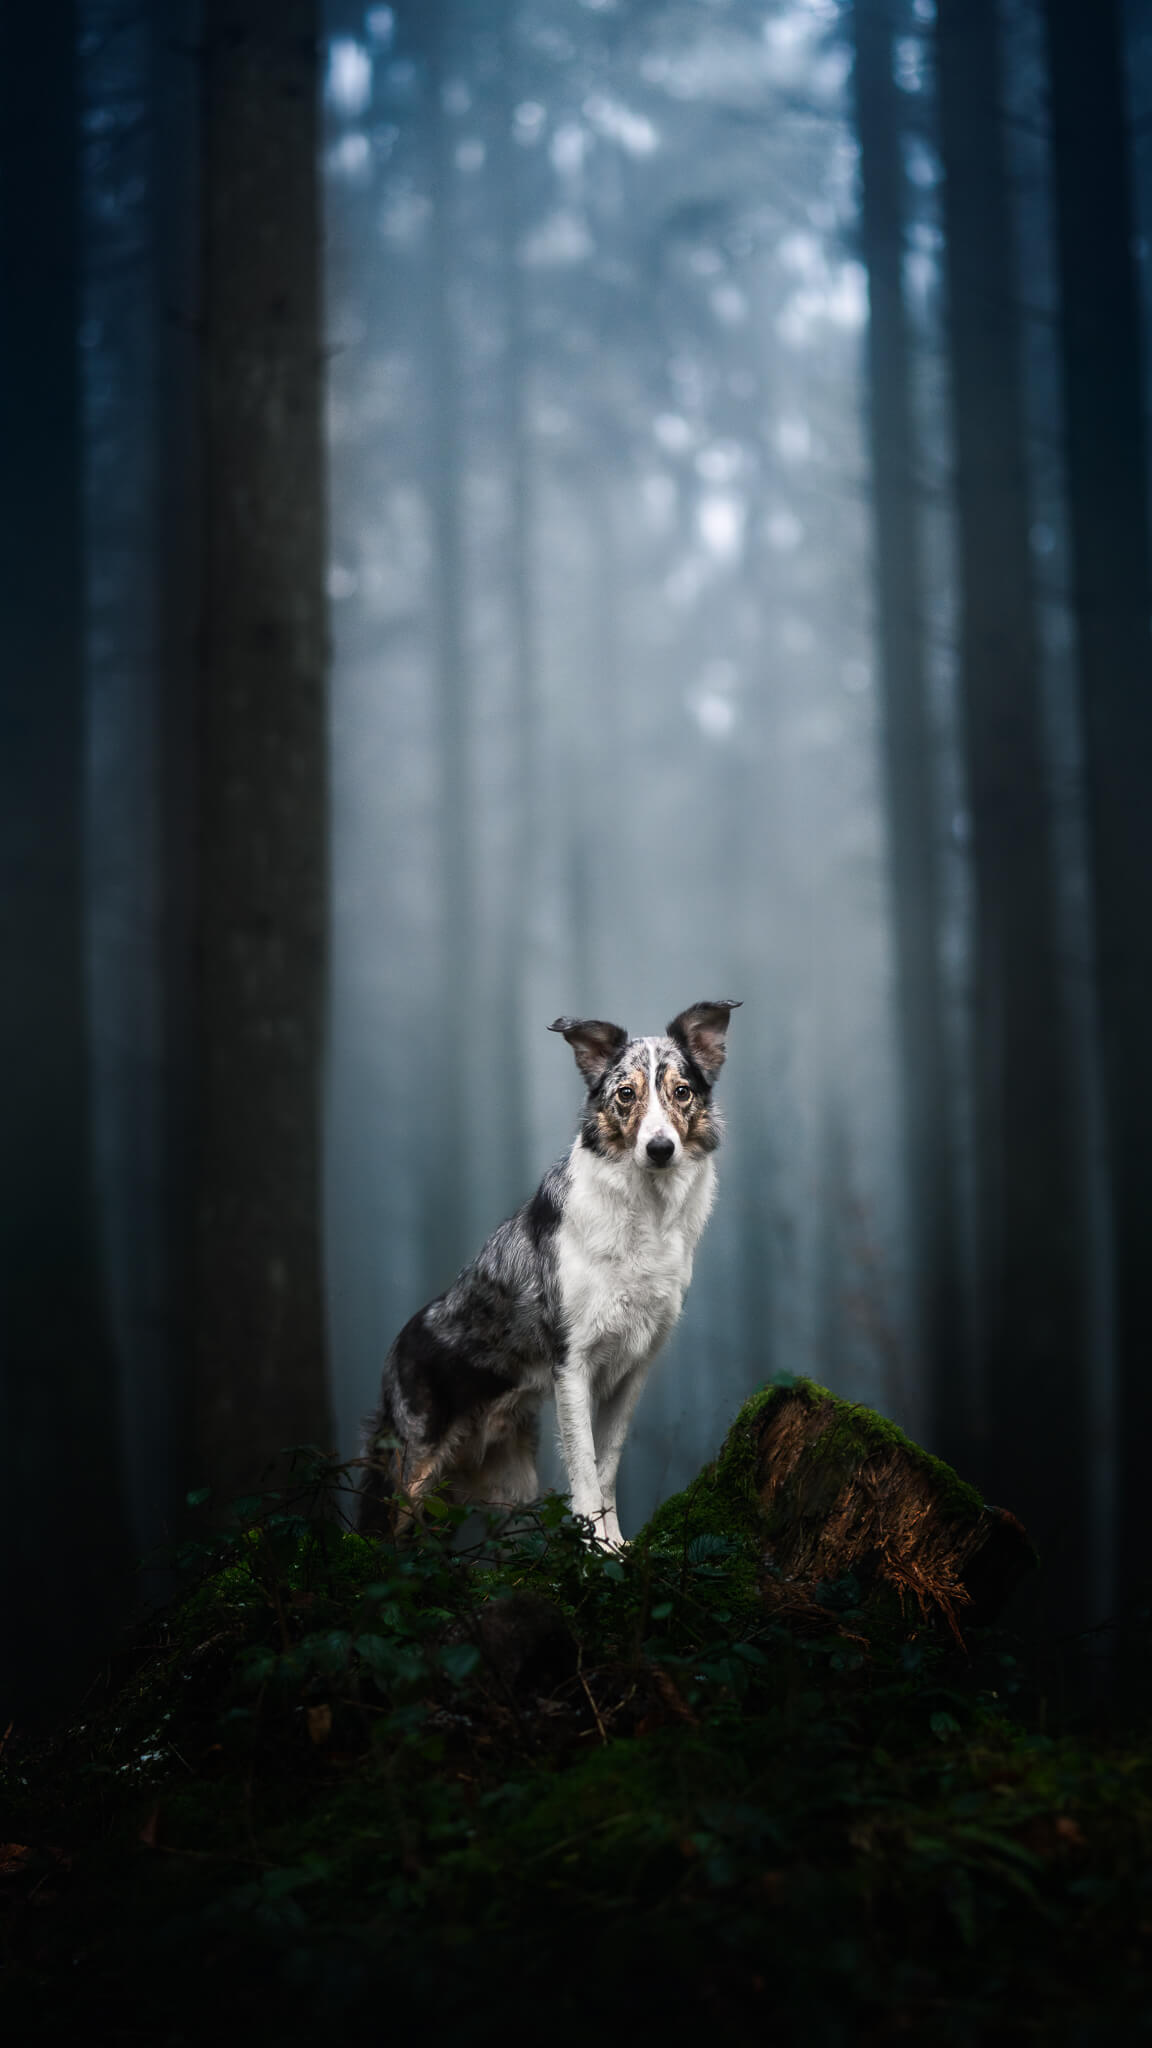
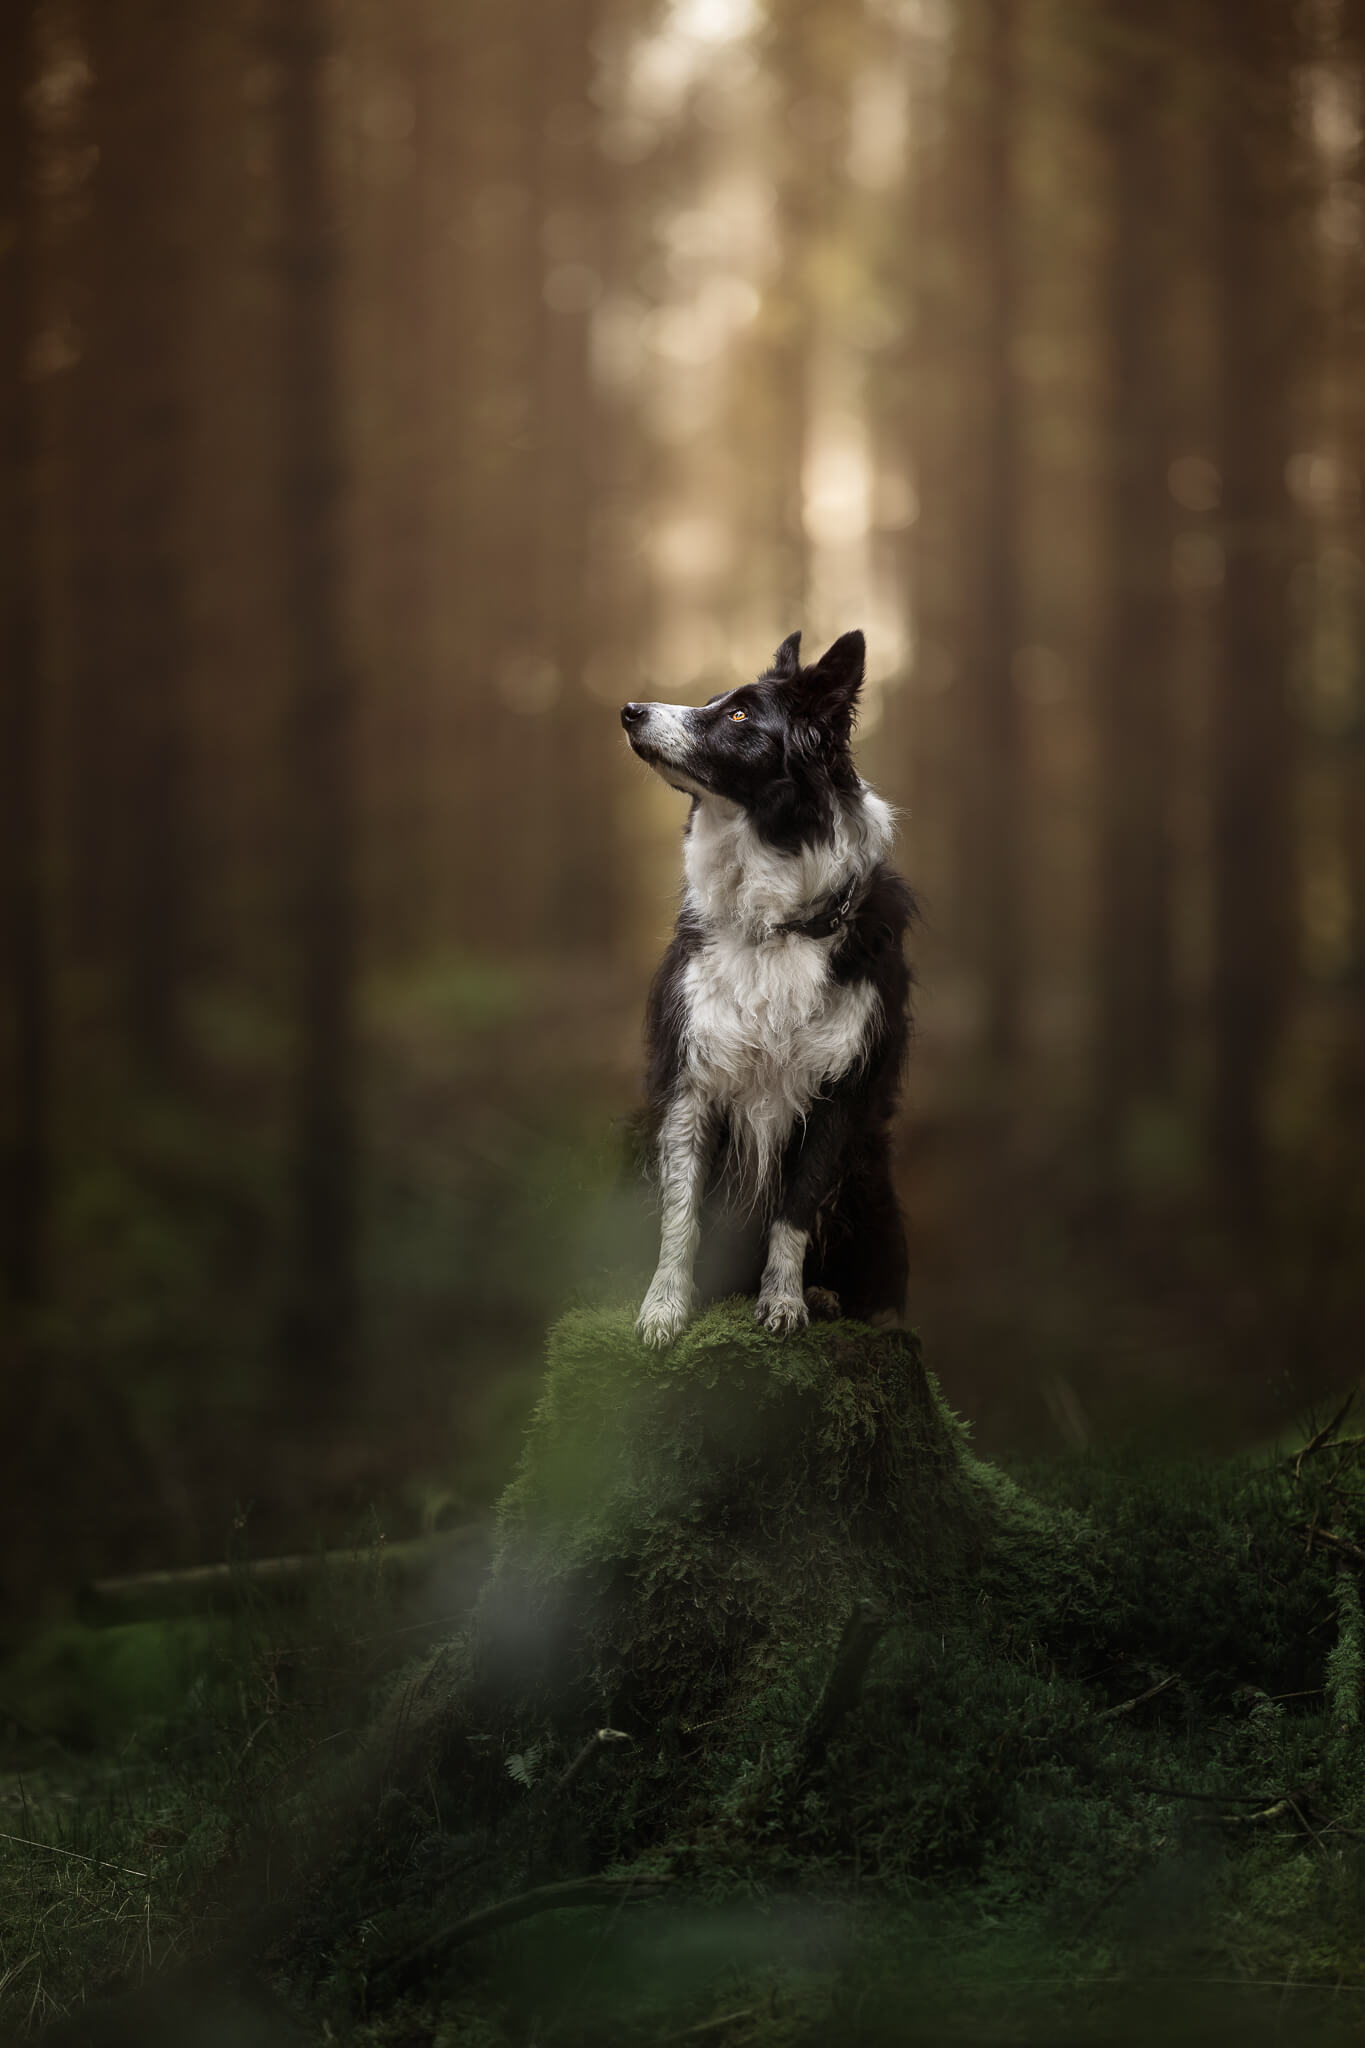
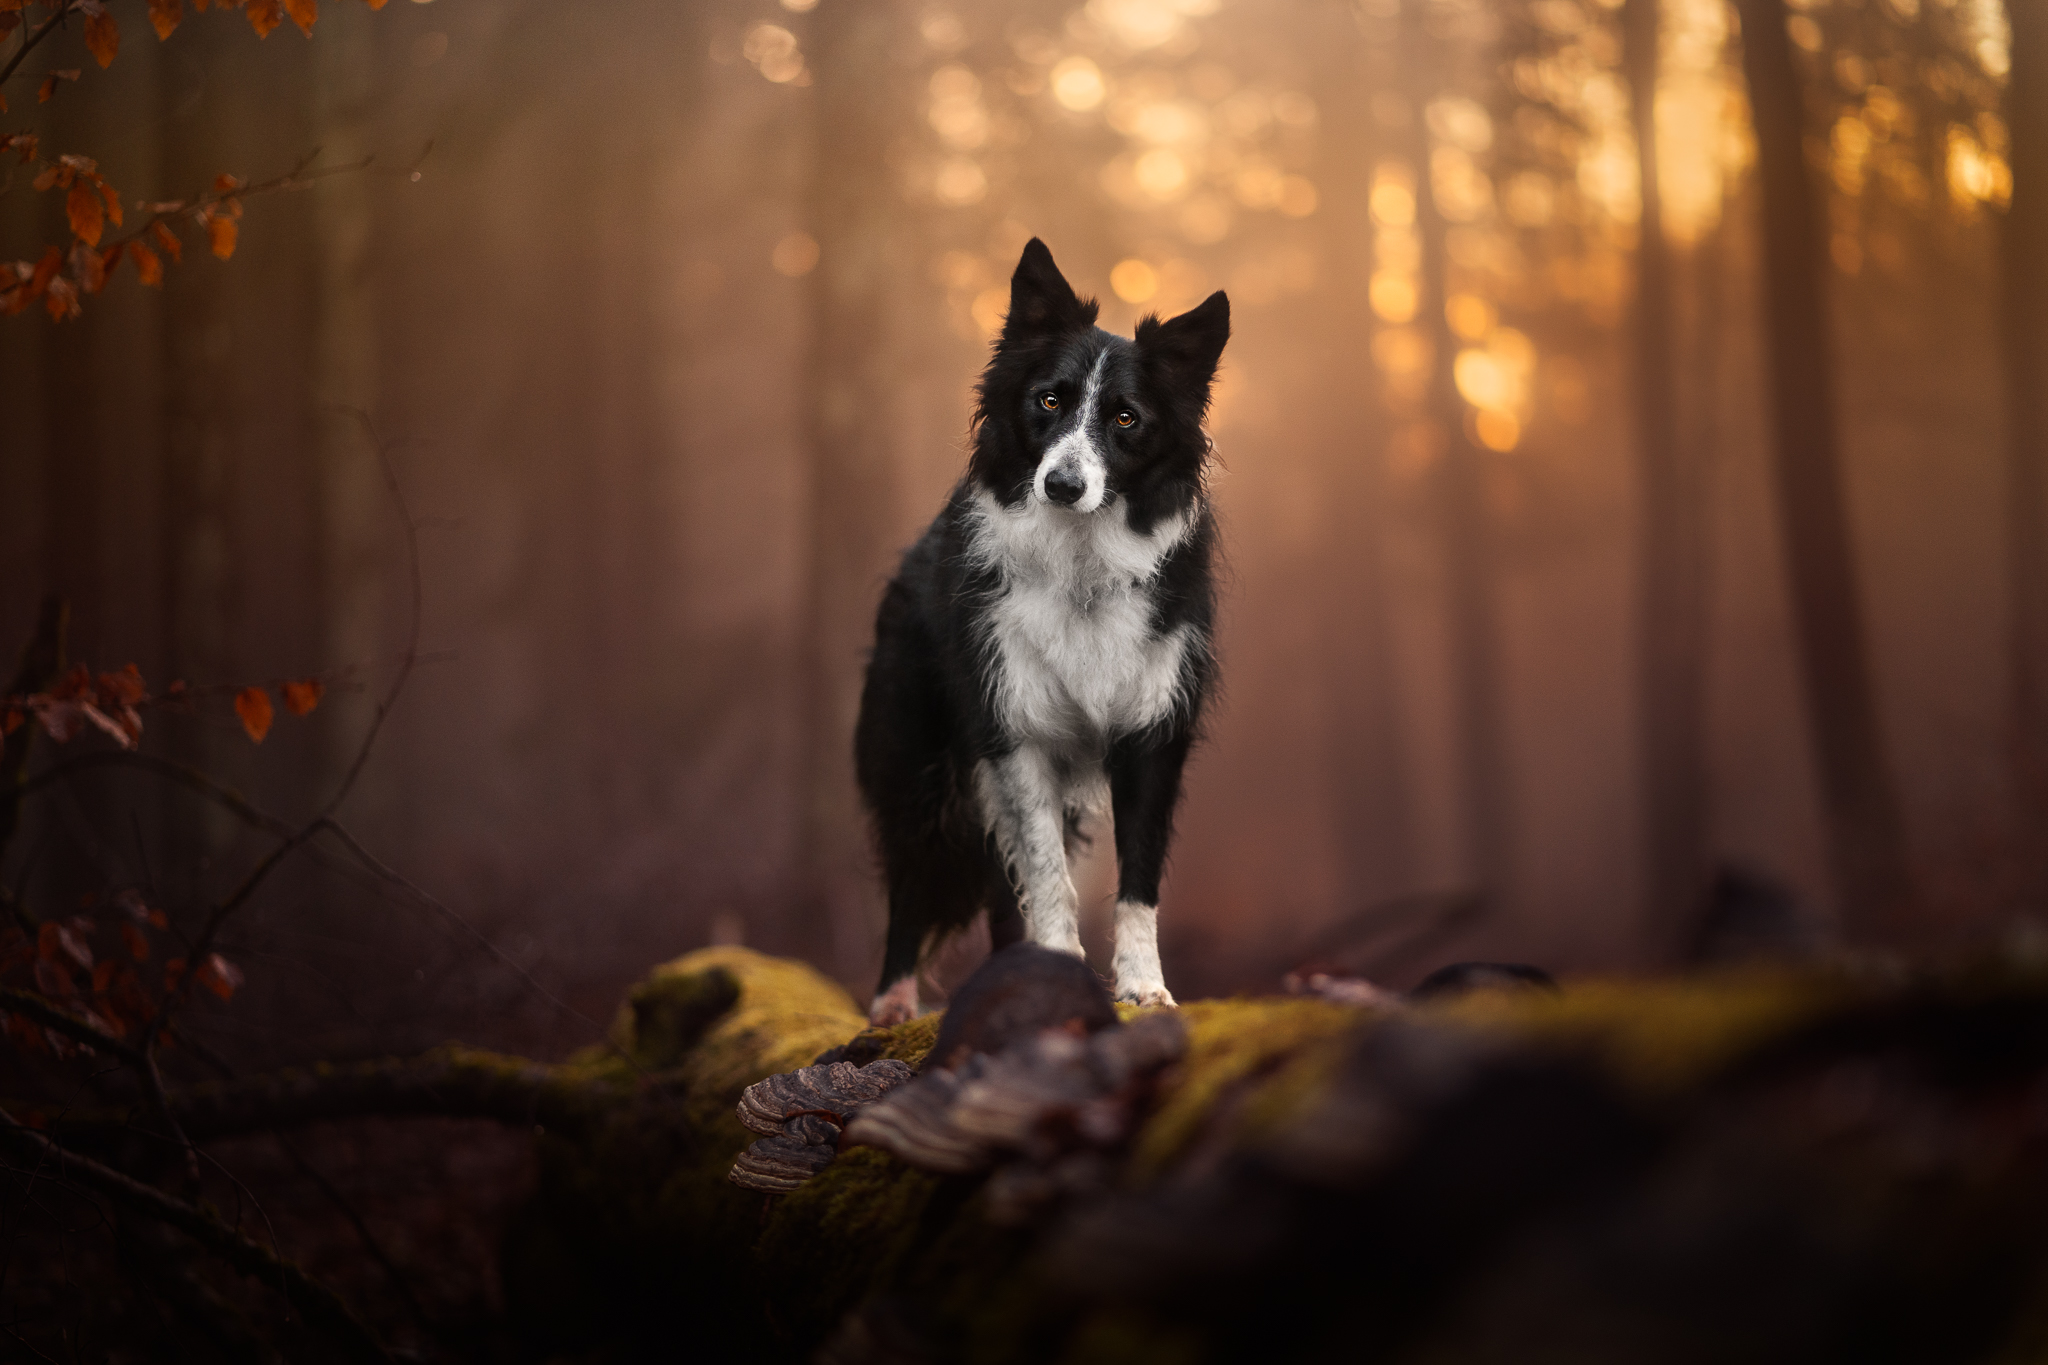
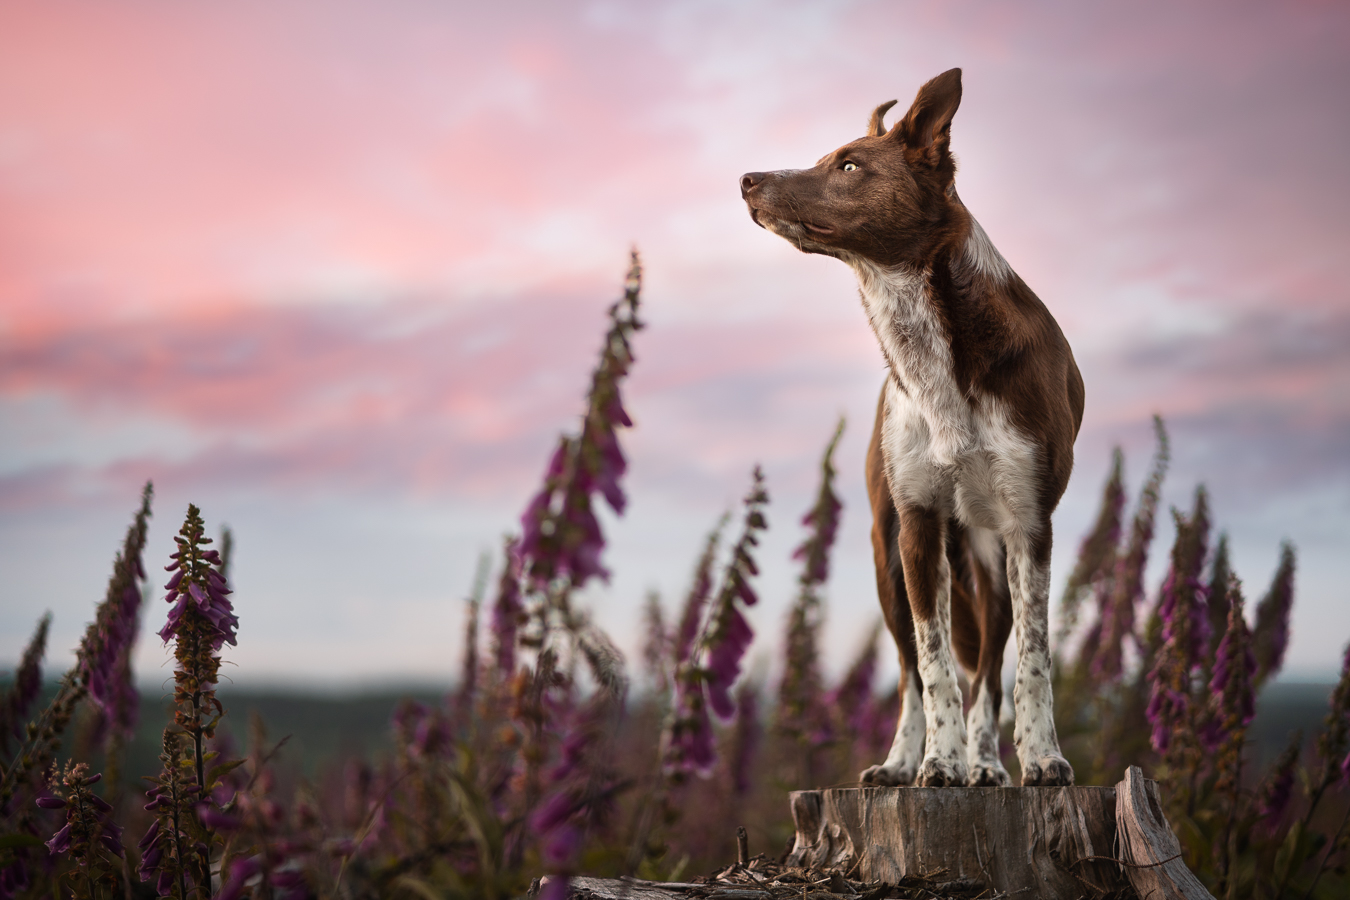
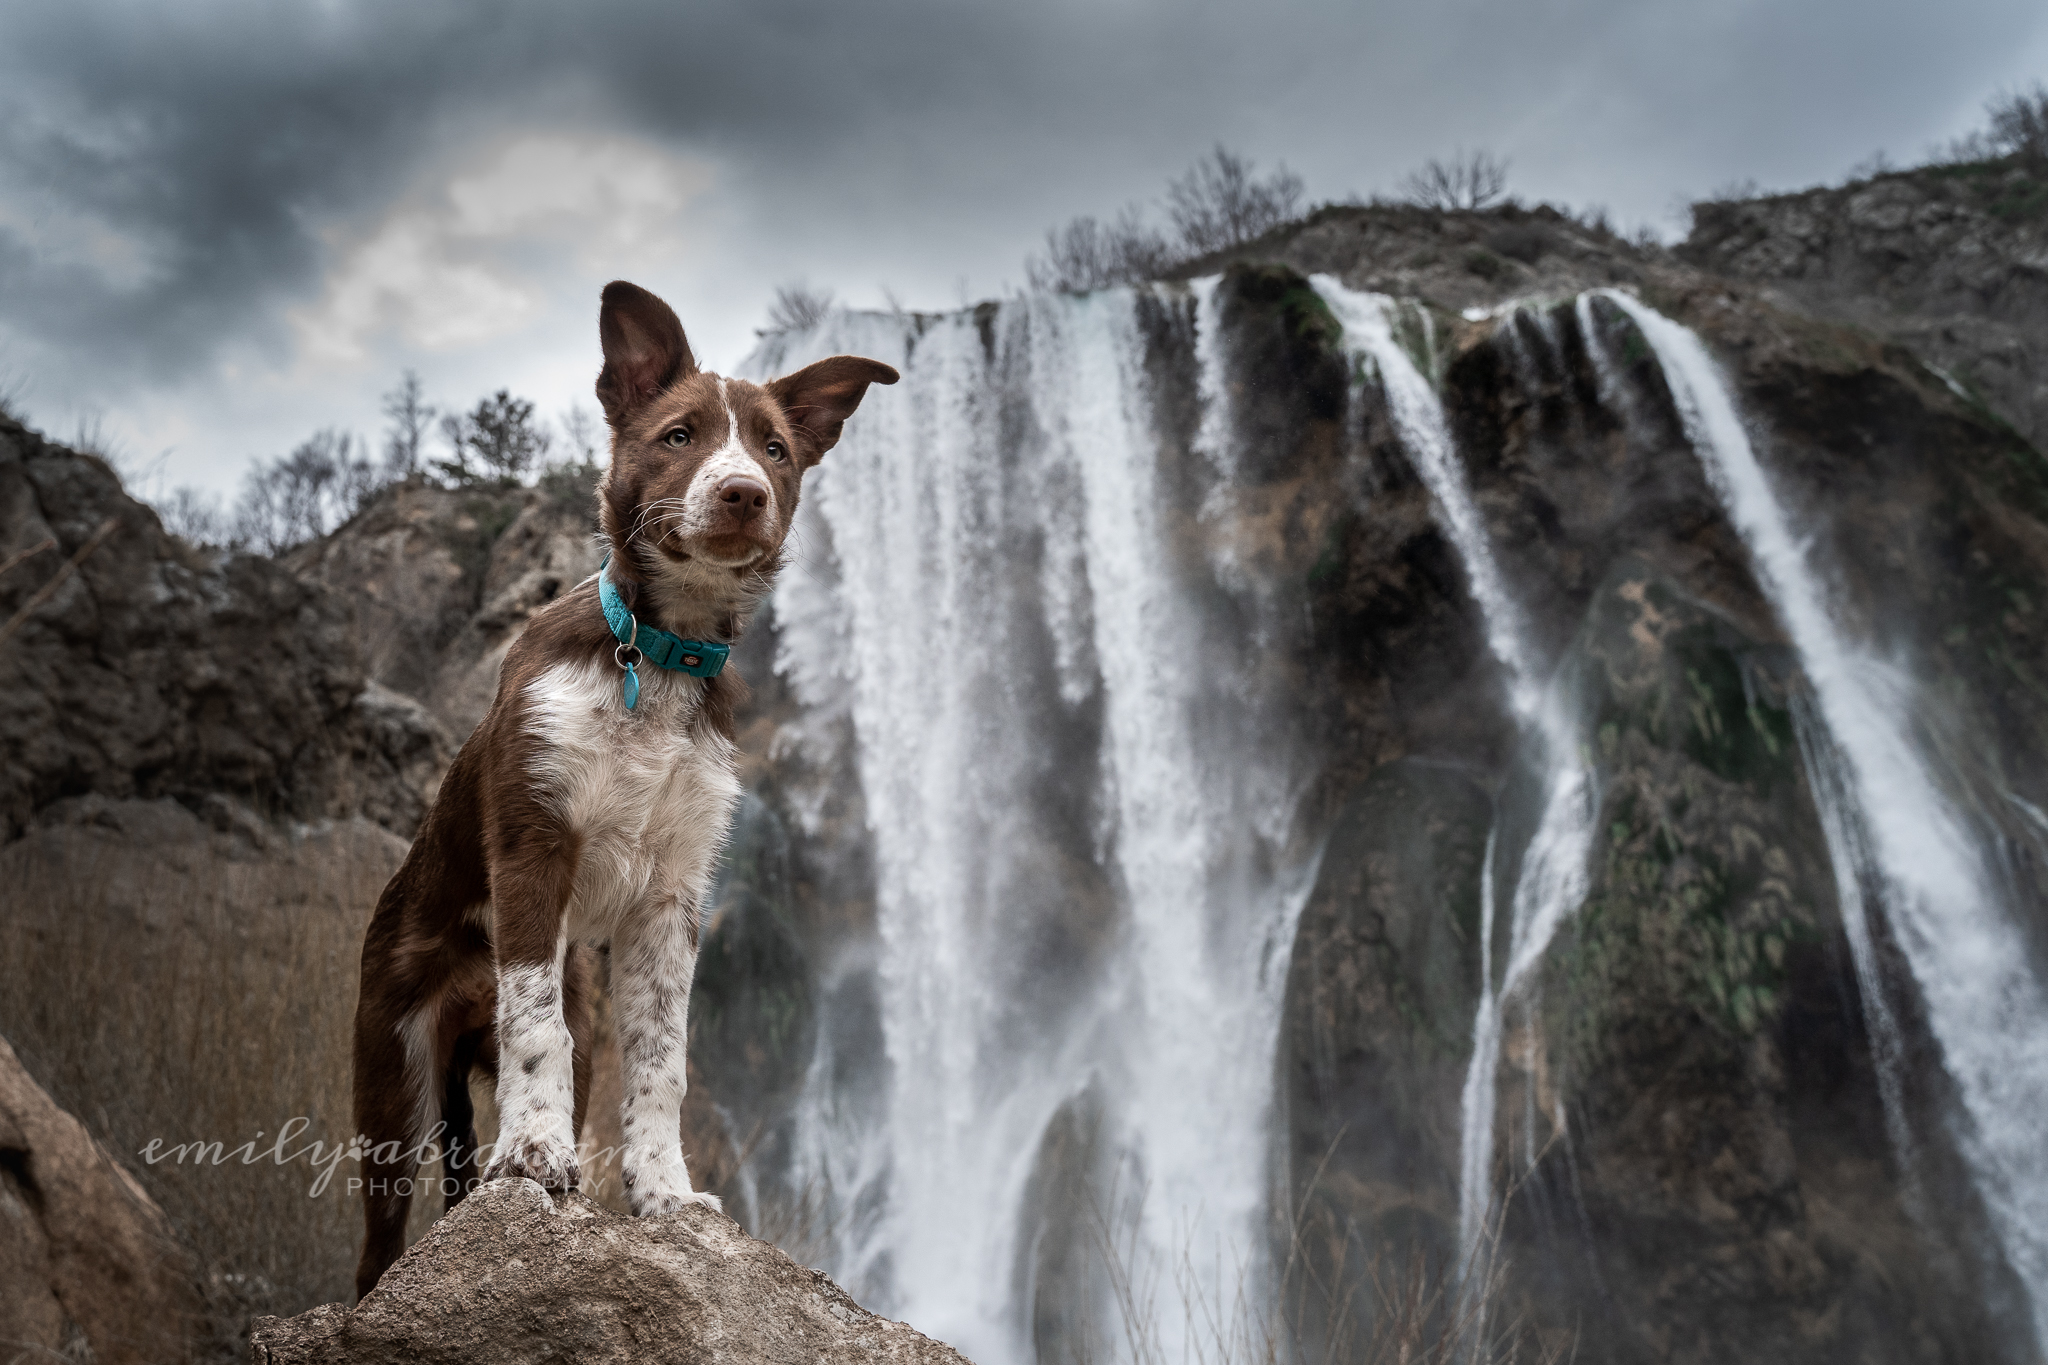
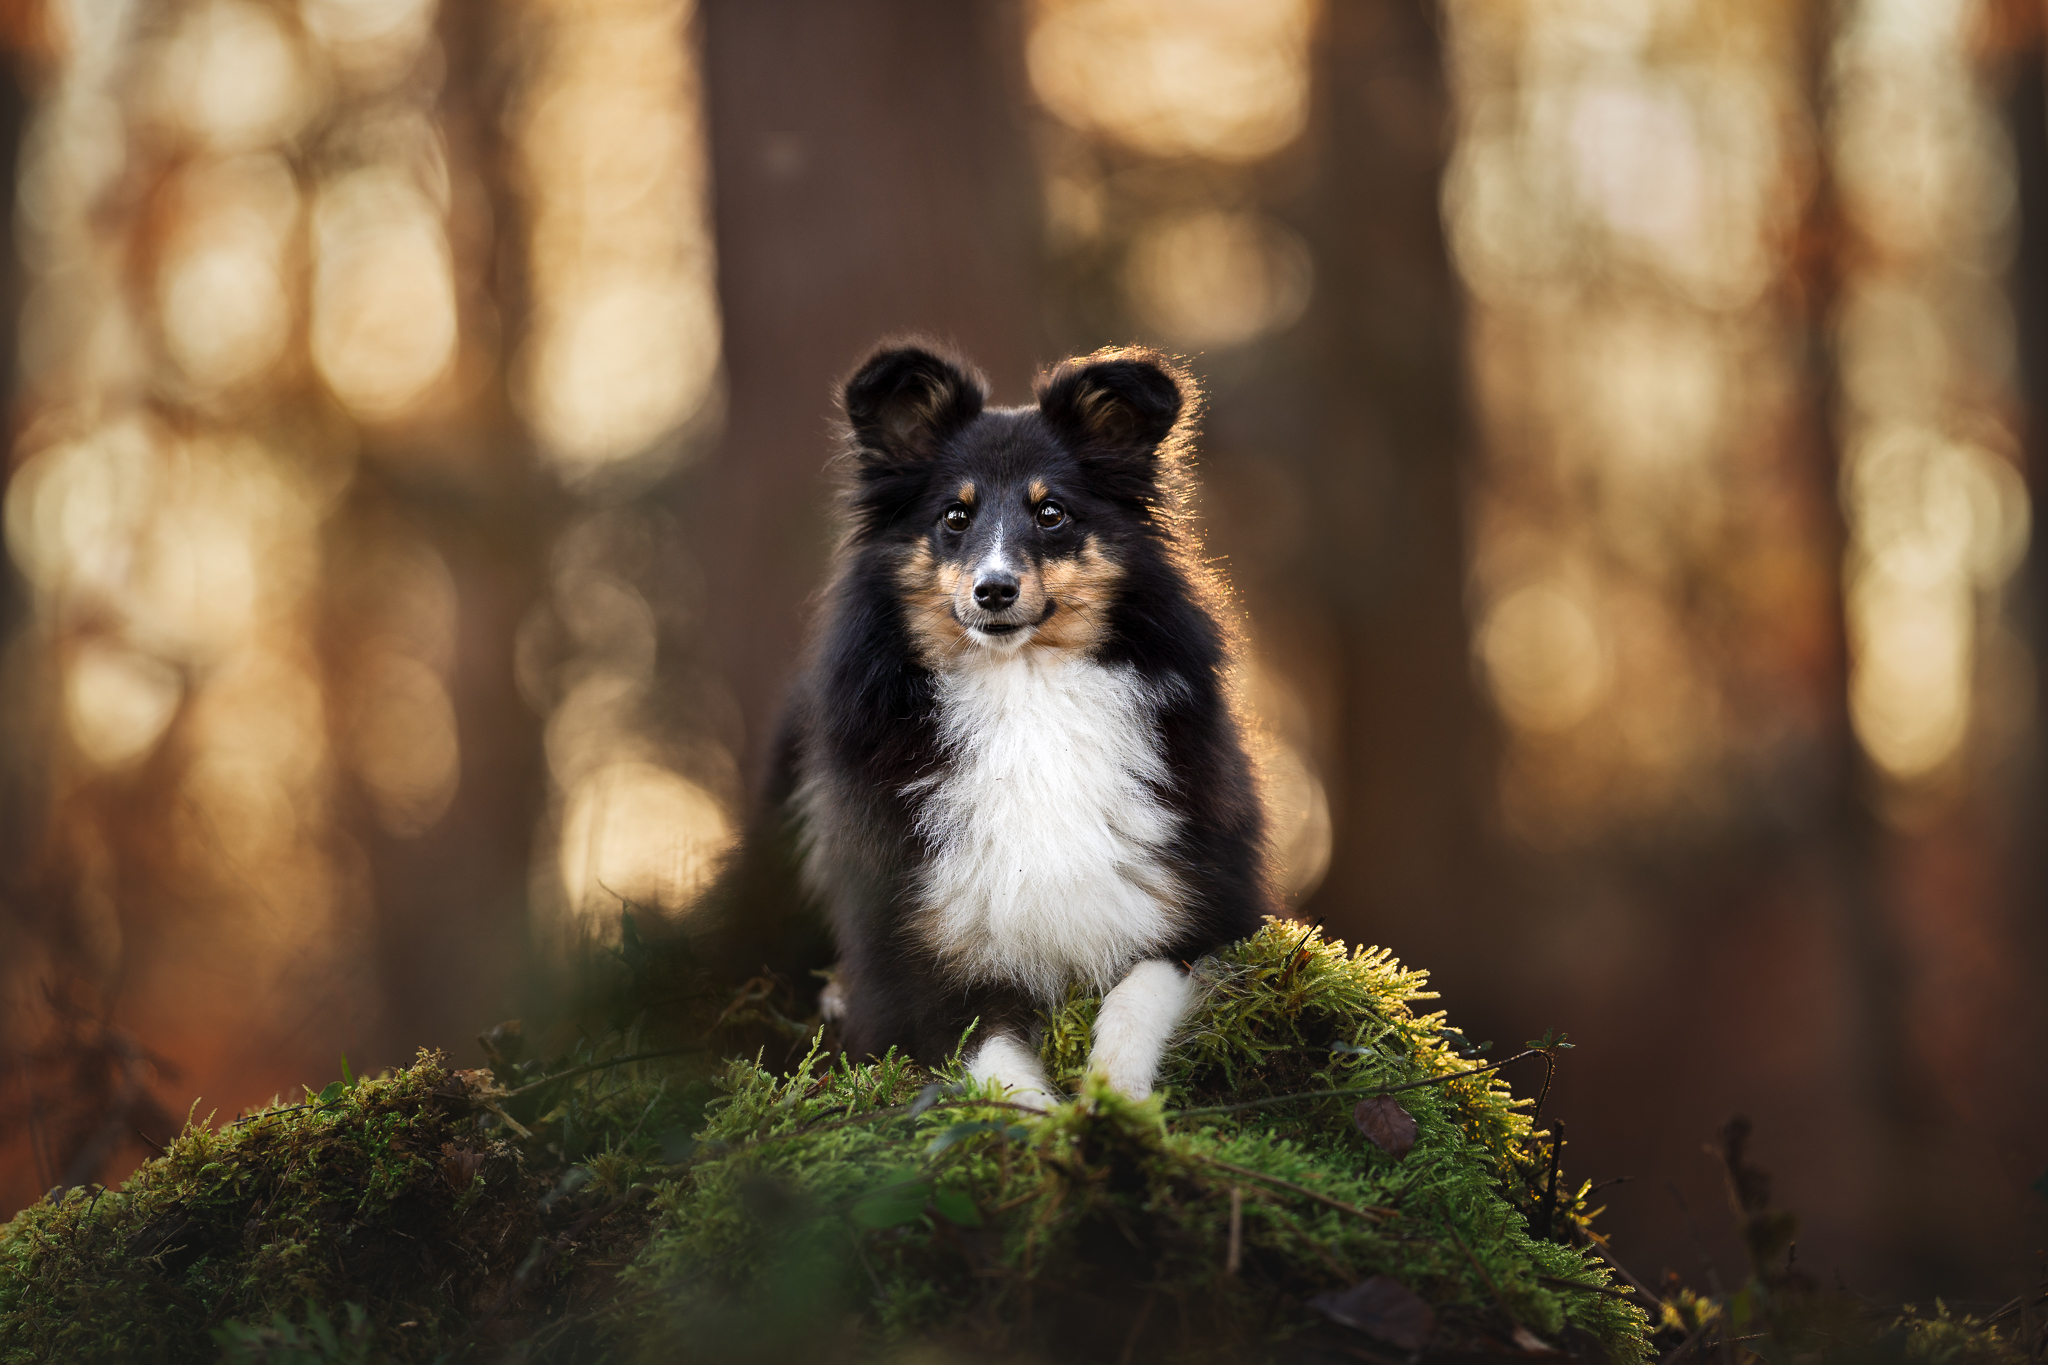
Dog on a log/hill/bench/raised surface
A point to be careful of, is having the dog on some kind of raised surface – such as a log, bench, stump, rock and so on. If we get too low in this situation, the dog will have to look down to see us, which blocks the light from the sky from hitting their face (meaning their face is dark) and because of this, they also may not have catchlights in their eyes.
For these shots, you may want to treat them similar to head and shoulders photos – be at eye level to them, or slightly lower. You may not be able to get a foreground layer from the ground because then you’ll just be too low. Having something else in the foreground (leaves, the log itself, the slats of the park bench, bushes) can help add extra depth to your image.
If you are not used to shooting with a low perspective, you may need to be slightly lower than you think! But remember, we probably don’t want our dog looking down! If you want to get them towering over you for artistic effect, have them looking off to the side, or up (like watching a bird) to keep their faces and eyes bright and well lit.
In each of the examples below, I was either NOT on the ground/down extremely low… and/or, if I was, the dog was looking up or up and to the side.
Other Creative Options?
Of course there are a lot of other creative ways that you may want to pose your subject, so how high or how low you need to be is really relevant to the kind of mood and aesthetic that you’re going for.
If you want your dog really towering over you then you’re going to need to be quite low. I would however, caution that in most cases being slightly above your dog is usually not the most flattering angle, or the most impressive.
It doesn’t really tell a story and it doesn’t really do much to enhance our images at all.
In general it’s better to err on the side of being slightly lower, assuming that the dog still has catchlight in their eyes, so whether you have them posed somewhere interesting or doing something interesting it usually works better in our favour if we are lower rather than higher.
I can’t really think of very many examples except for the overhead shots where I would want to be taking photos of my dogs from a higher perspective.
